Let us know all about Autify
この記事は公開されてから1年以上経過しています。情報が古い可能性がありますので、ご注意ください。
Hi, I am Charu from Classmethod. In this blog, I will be writing about all you need to know in order to get started with Autify.
What is Autify?
It is becoming increasingly difficult for developers to test software releases as they get faster. The more you develop, the more you have to test. Keeping quality high while releasing frequently is a challenge. Here's where Autify comes in!
Autify uses machine learning to automate testing. For testing websites and web apps, we offer Autify for web, and for testing mobile apps, we offer Autify for mobile. Since it's a cloud service, you can start using it immediately after creating an account. Autify is easy to use!
You can test your app by simply opening it in Autify and recording the actions you want to test. With Autify, you can generate high-quality automated test scenarios. It's a no-code platform that anyone can use. Once the scenario is ready, pick a browser or device and run the test.
Do UI specifications change frequently? Nothing to worry about! Autify's AI technology detects changes, and automatically suggests edits to your test scenario. In this way, automated tests can be maintained at a much lower cost. With Autify, you can focus on development. Autify helps maintain or even accelerate development speed in the long term.
Let's get started-
Let us get a brief overview of Autify's capabilities.
Scenarios:
The first thing a user should do is to create a 'Scenario'.
Click 'New' on the top right corner, give your scenario a name, enter your website and start recording.

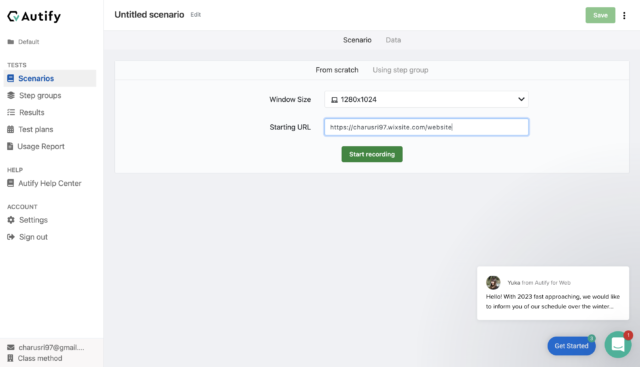
Now, the screen should show your own website with the recording in progress. In the bottom right corner, you can also see Autify recorder. Any activity you perform in your website will be recorded.
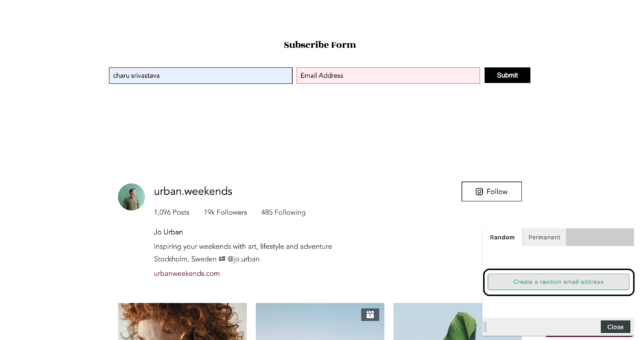
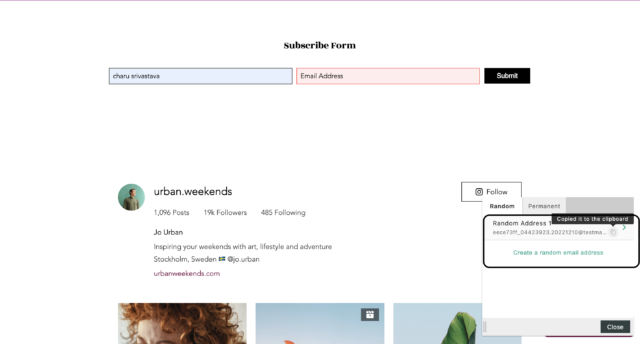
You can even generate a random dummy email address for your testing.
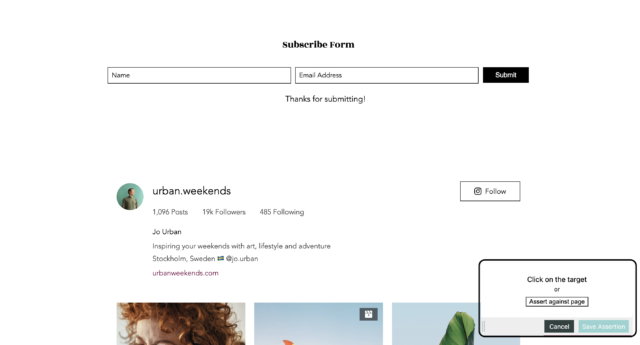
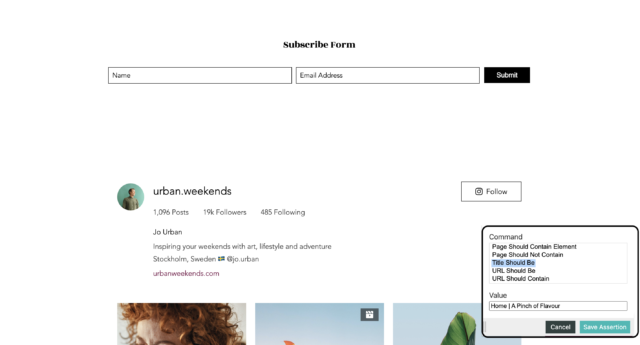
Alsp, you can create assertions. You can either assert your whole page or just click on the target.
Once you are done, click on 'Save'. You can now find your scenario with all the snapshots.
You can go to each of the '+' signs between snapshots to go, edit and even insert JS, sleep etc steps.
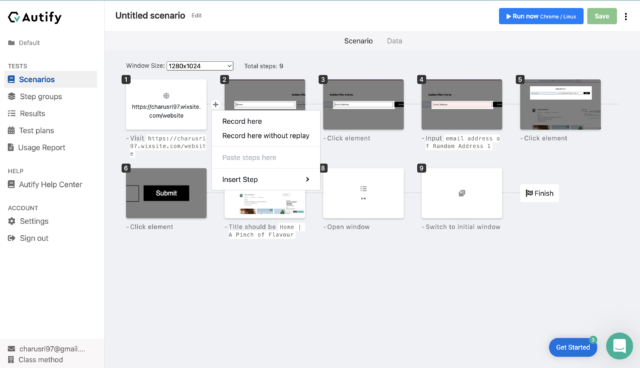
You can also copy, paste, delete and move these snapshots by selecting them. Go ahead and do experiment with all the possible functionalities.
Results:
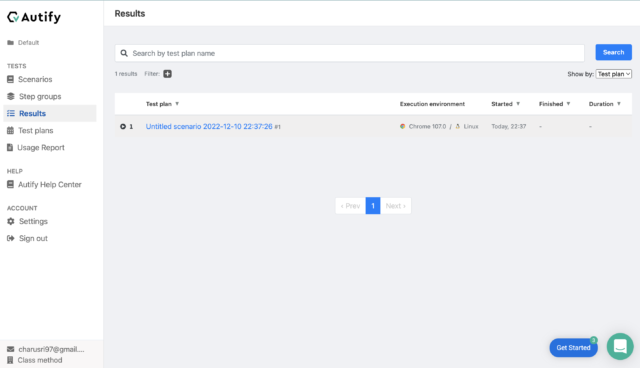
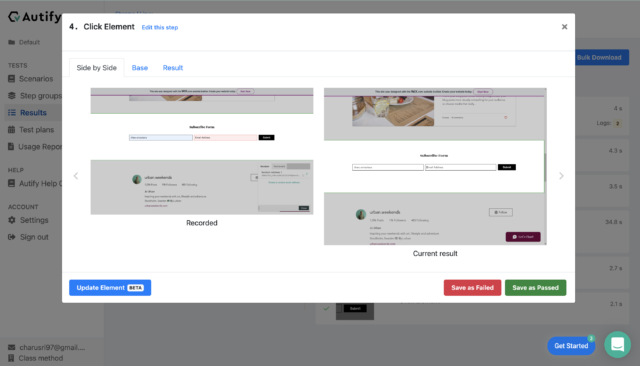
You can now hit 'Run' button on the top right corner. Under the 'Results' tab, you can find list of all the scenarios.
Autify will show you all the suggested changes. It is up to you if you want to keep the change or ignore it. This is how powerful Autify's AI is.
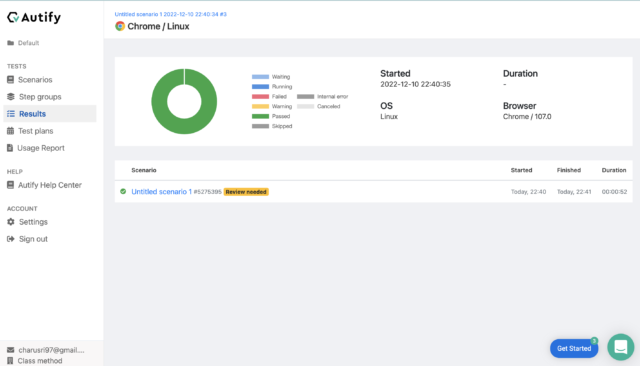
You can also find the result summary as shown below.
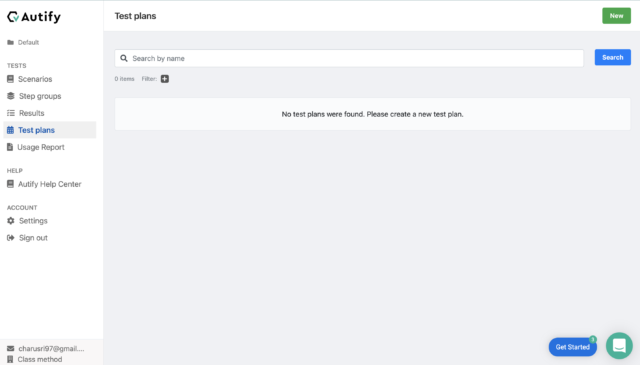
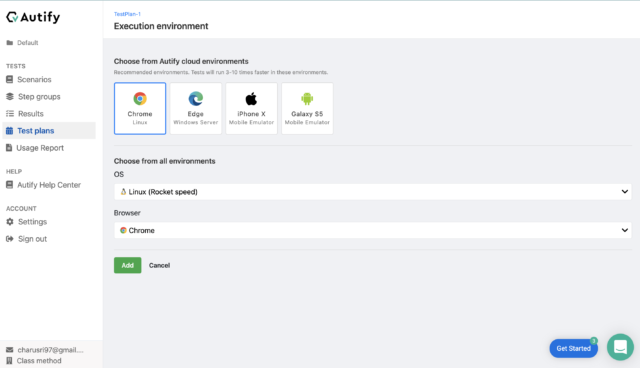
Test Plans:
You can now go to 'Test Plan' tab and create your own test plan. Test plans are an integral part of viewing and running your scenario's to get results. The purpose of a test plan is to run a group of scenarios after apply certain rules to them.
In the next window, you can do your cross browser testing.
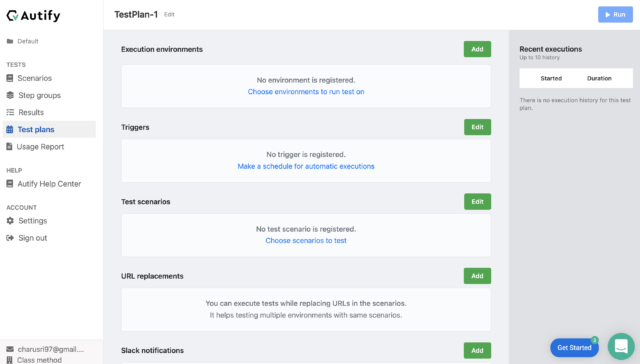
You can use any number of browsers in 'Execution environments' as well as devices.
You can also see your recent test executions on the right hand side and add triggers and scenarios. You can even decide if you want to run it parallel or sequential. You can even integrate your test plans with slack and get to know when your plan is ready and finished.
Step Groups:
Step Groups are a way of grouping a series of steps and using them in multiple scenarios without having to re-record them. The way you use and record step groups is the same way as you use and record scenarios; by clicking on the 'New' button and going through the workflow.
There are tons of things to try and experiment with Autify. Don't be left behind and test everything ;)
Thank you for your time.
Happy Learning :)