
Reactが分かれば難しくない! React Native for Web 入門
この記事は公開されてから1年以上経過しています。情報が古い可能性がありますので、ご注意ください。
こんにちは、CX事業本部 IoT事業部の若槻です。
最近、モバイルのネイティブアプリケーションを作れないか?と問われる場面がちょくちょくあるのですが、わたしは今のところフロントエンドフレームワークだとReactの開発経験しかなく、そろそろネイティブアプリにも手を広げねばと思っている今日この頃でした。
いきなりAndroidやiOSの習得に取り掛かっても良いのですが、バニラReactの経験者ならまずはReact Nativeであればファーストステップとしては敷居が低いだろうと考え、今回はReact Native for Webに入門してみました。
React Nativeとは
React Nativeとは、Reactを使用してAndroidやiOSアプリケーションを構築できるオープンソースフレームワークです。Reactと同じくMeta社により作成され、公開されています。
AndroidやiOSアプリケーションではUIの開発をviewというパーツを組み合わせて行いますが、React Nativeではこのviewに対応したReact Componentが用意されており、それを使用してUIの構築を行います。

https://reactnative.dev/docs/intro-react-native-components より
またReact Native特有のComponentの分類として、Native ComponentsとCore Componentsというものがあります。
AndroidyやiOSなどのプラットフォーム上でネイティブアプリケーションと同じUIや動作を実現できるComponetがNative Componentsです。
またNative Componentsのうち、React Nativeに既定で用意されている、AndroidyやiOSのviewに対応したComponentがCore Componentsです。代表的なものとして次のようなものがあります。
<View><Text><Image><ScrollView><TextInput>
React NativeにおけるComponentsの関係は次のようになります。

https://reactnative.dev/docs/intro-react-native-components より
Core Componentの一覧は下記をご確認ください。
やってみた
それではドキュメントのサンプルコードを参考に、create-react-appで作成したプロジェクトでReact Native for Web(TypeScript)の作成を行ってみます。
はじめに
create-react-appでプロジェクトを作成します。言語はTypeScriptを指定します。
$ npx create-react-app web --template typescript
react-nativeとその型定義をインストールします。
$ cd web
$ npm install react-native
$ npm i --save-dev @types/react-native
Core Componentとして、レイアウトのコンテナとなる<View>と、テキスト表示に使用する<Text>を使ってみます。src/App.tsxを下記のように変更します。
import React from 'react';
import { Text, View } from 'react-native';

const App: React.FC = () => {
  return (
    <View style={{ flex: 1, justifyContent: 'center', alignItems: 'center' }}>
      <Text>Try editing me! 🎉</Text>
    </View>
  );
};

export default App;
アプリケーションを起動します。
$ npm run start
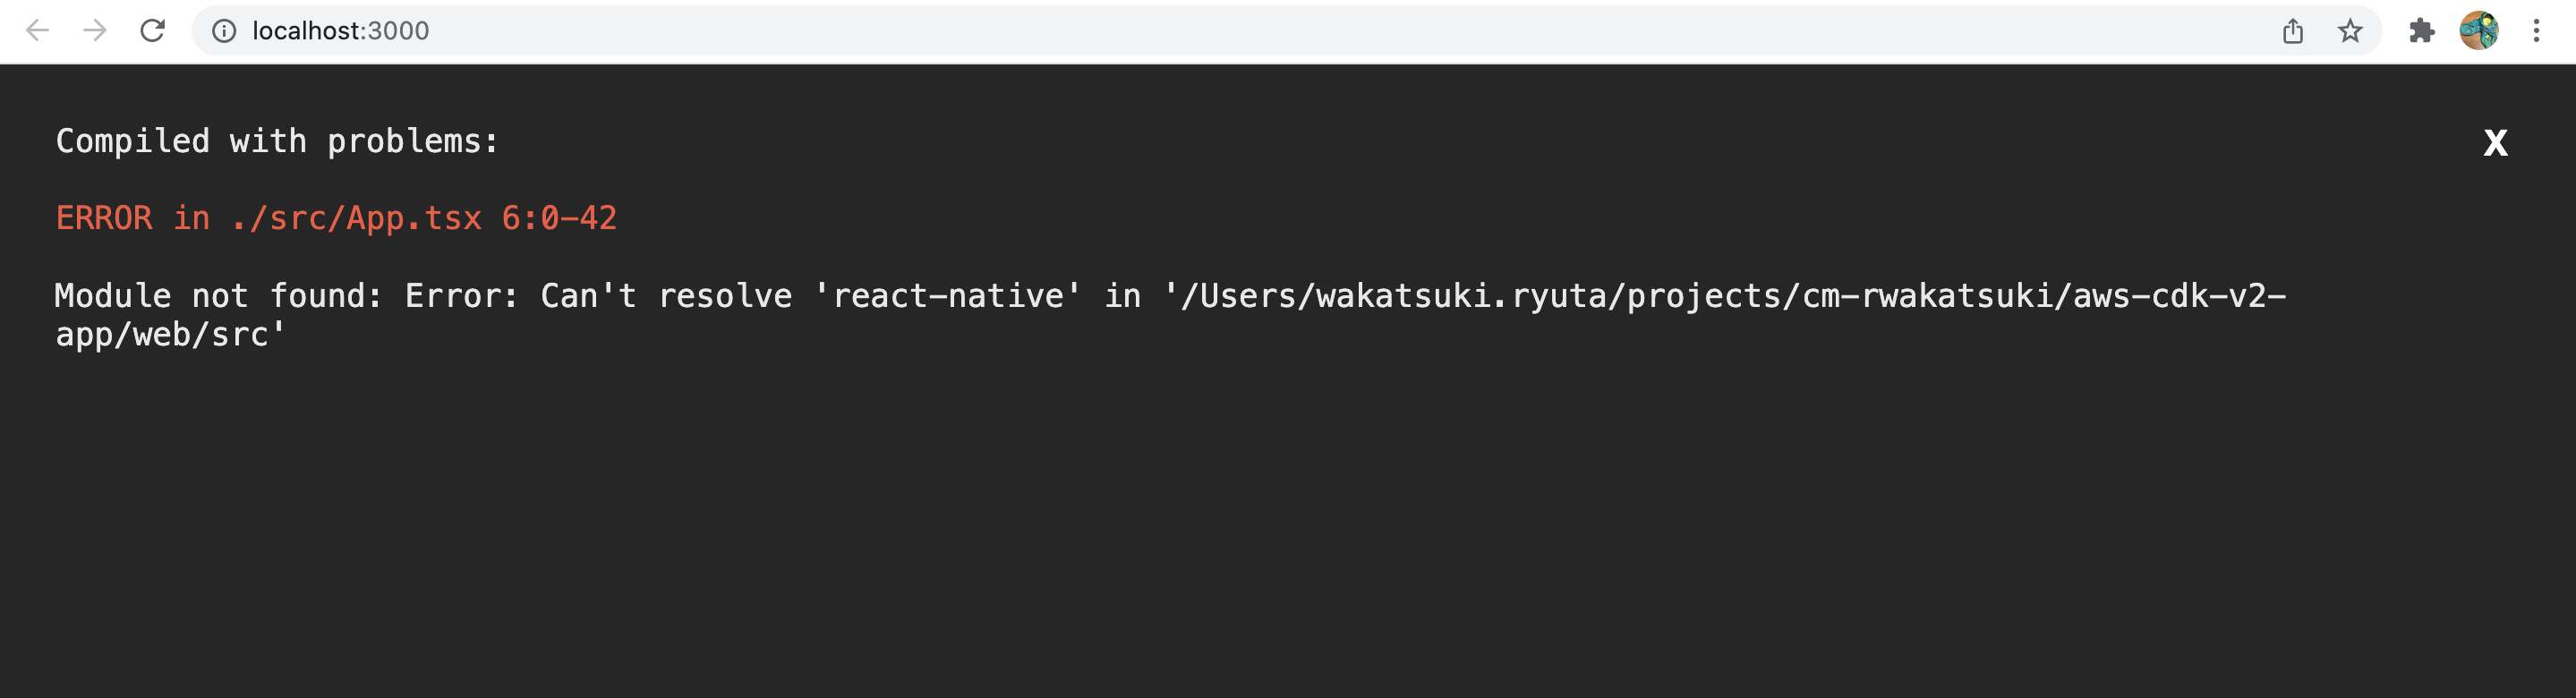
するとエラーとなりました。たった今導入したはずのreact-nativeがなぜか無いと言われています。
下記によるとreact-native-webを導入すれば良いとのこと。(詳細は後述しますが、ここで初めてReact Native for Webというものを知りました。)
react-native-webをインストールします。
$ npm install react-native-web
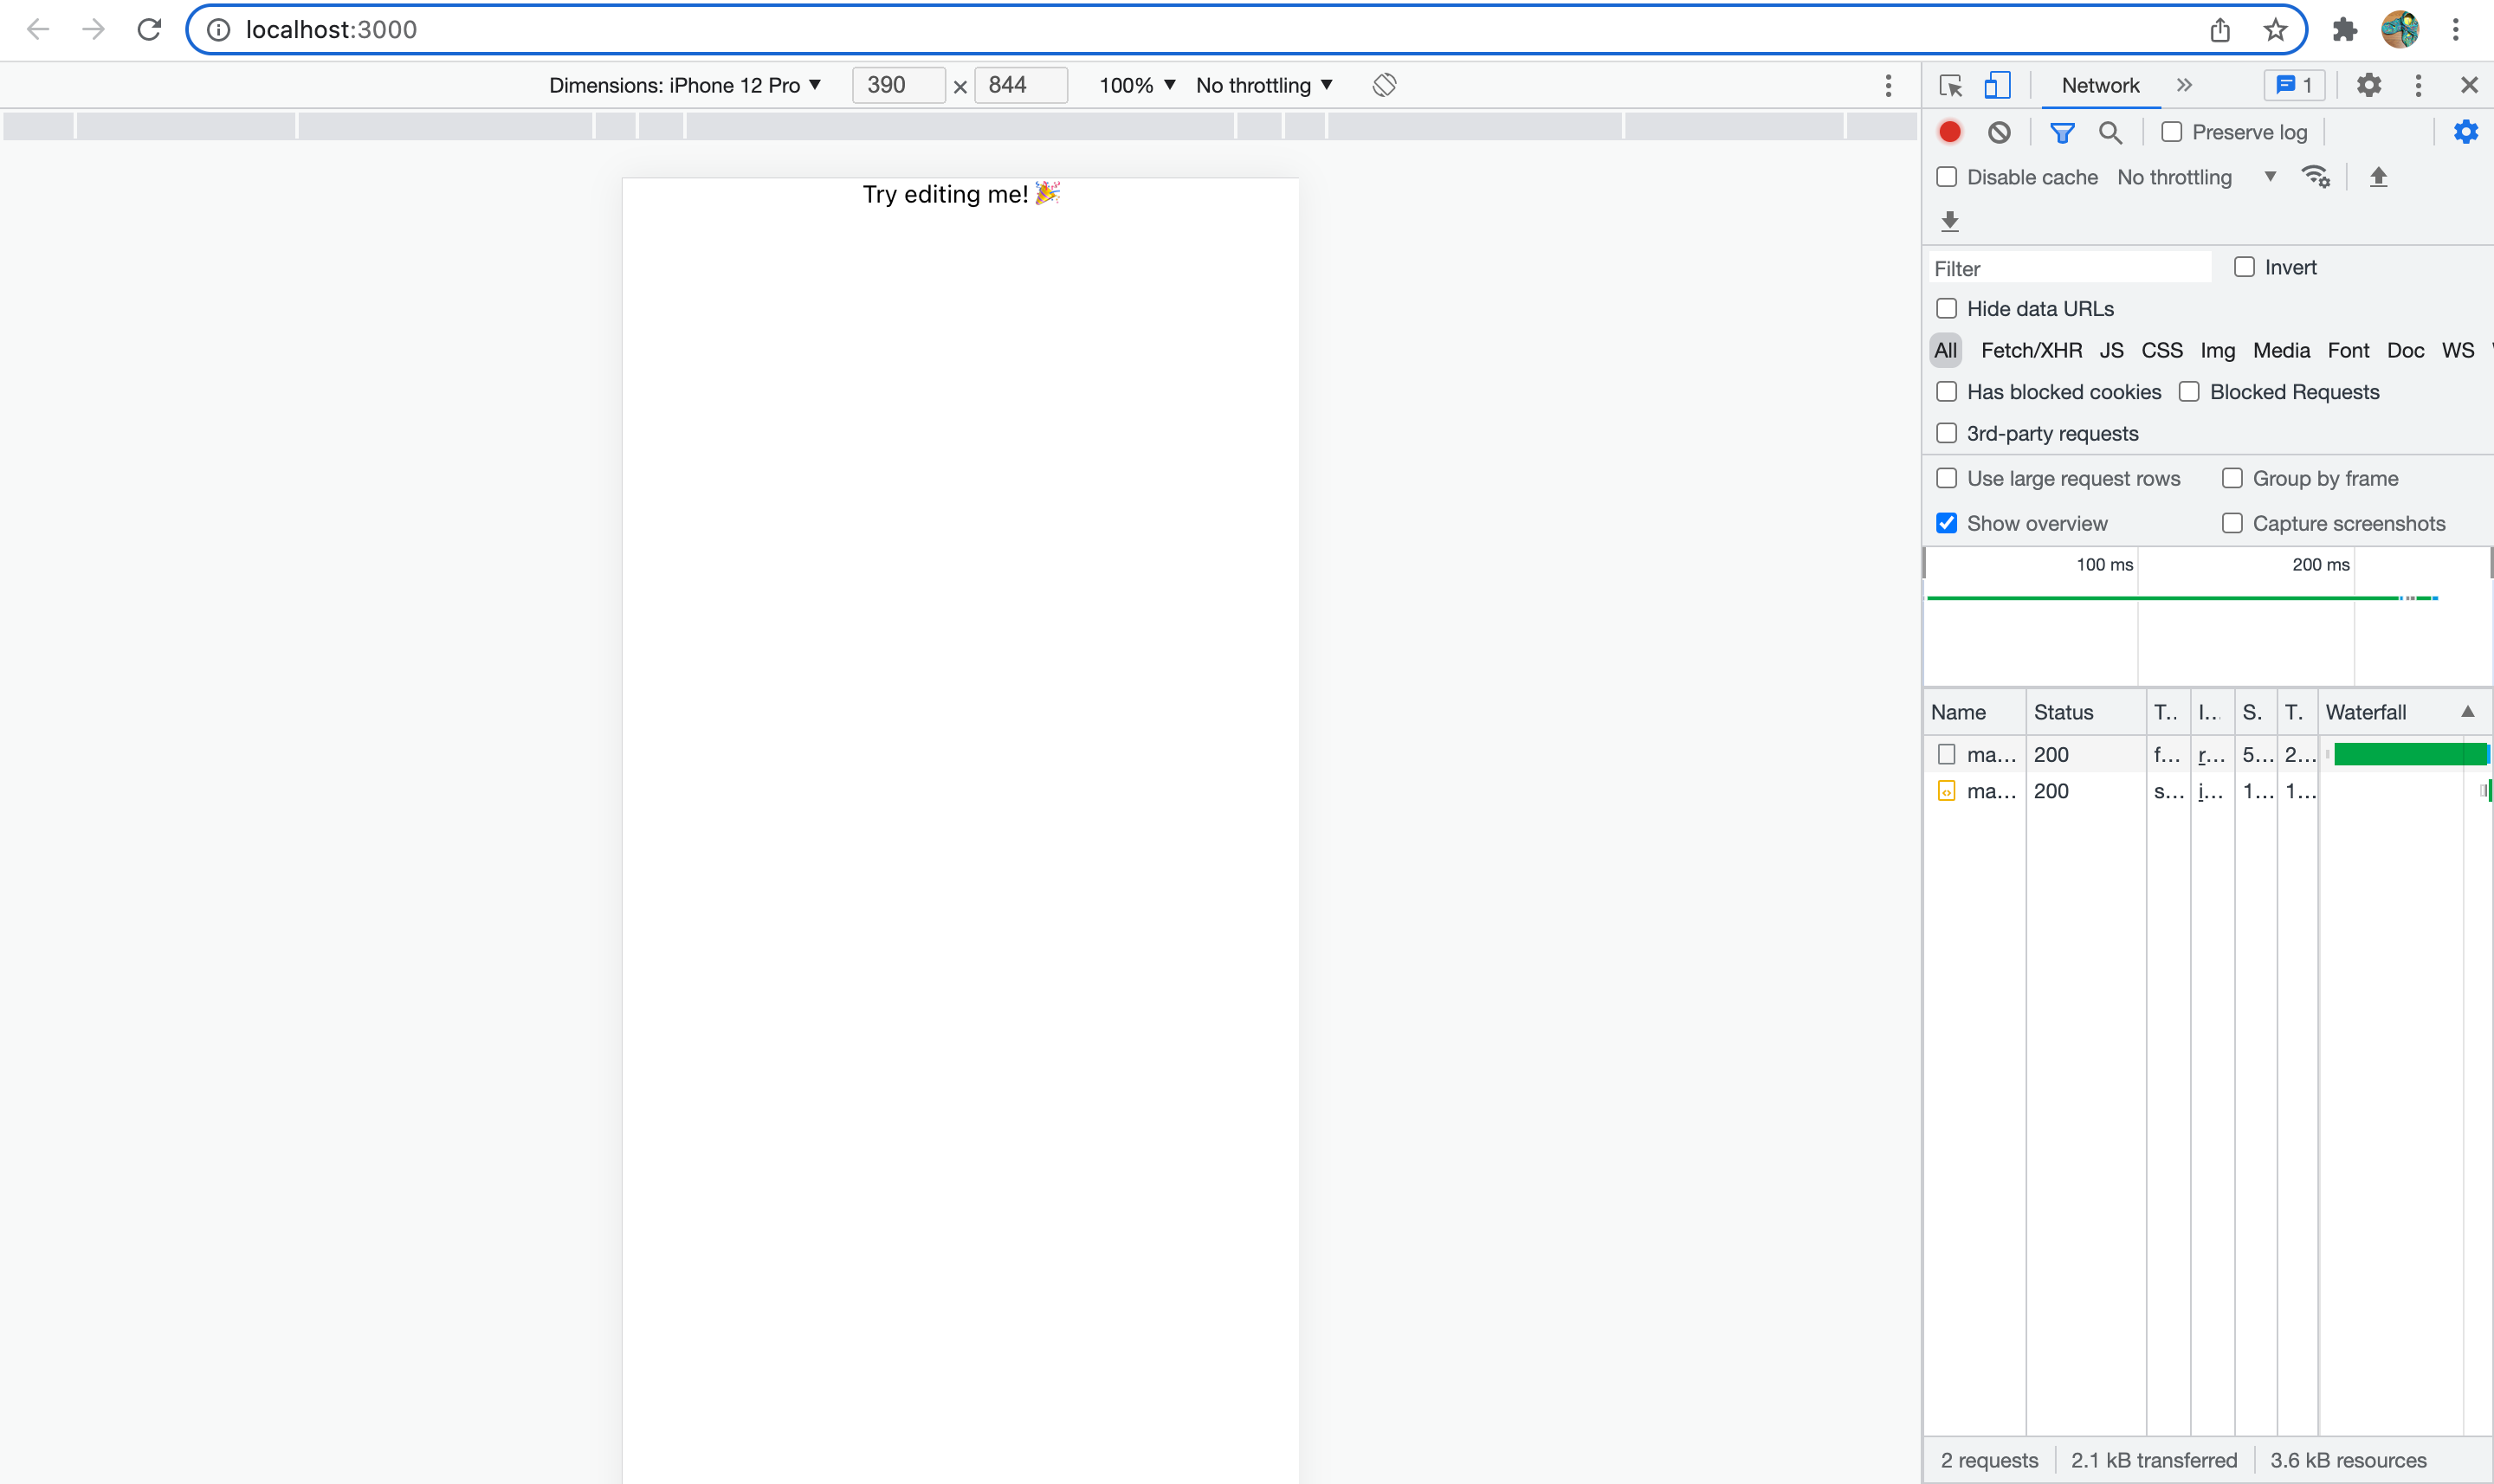
すると今度はちゃんと表示できました!
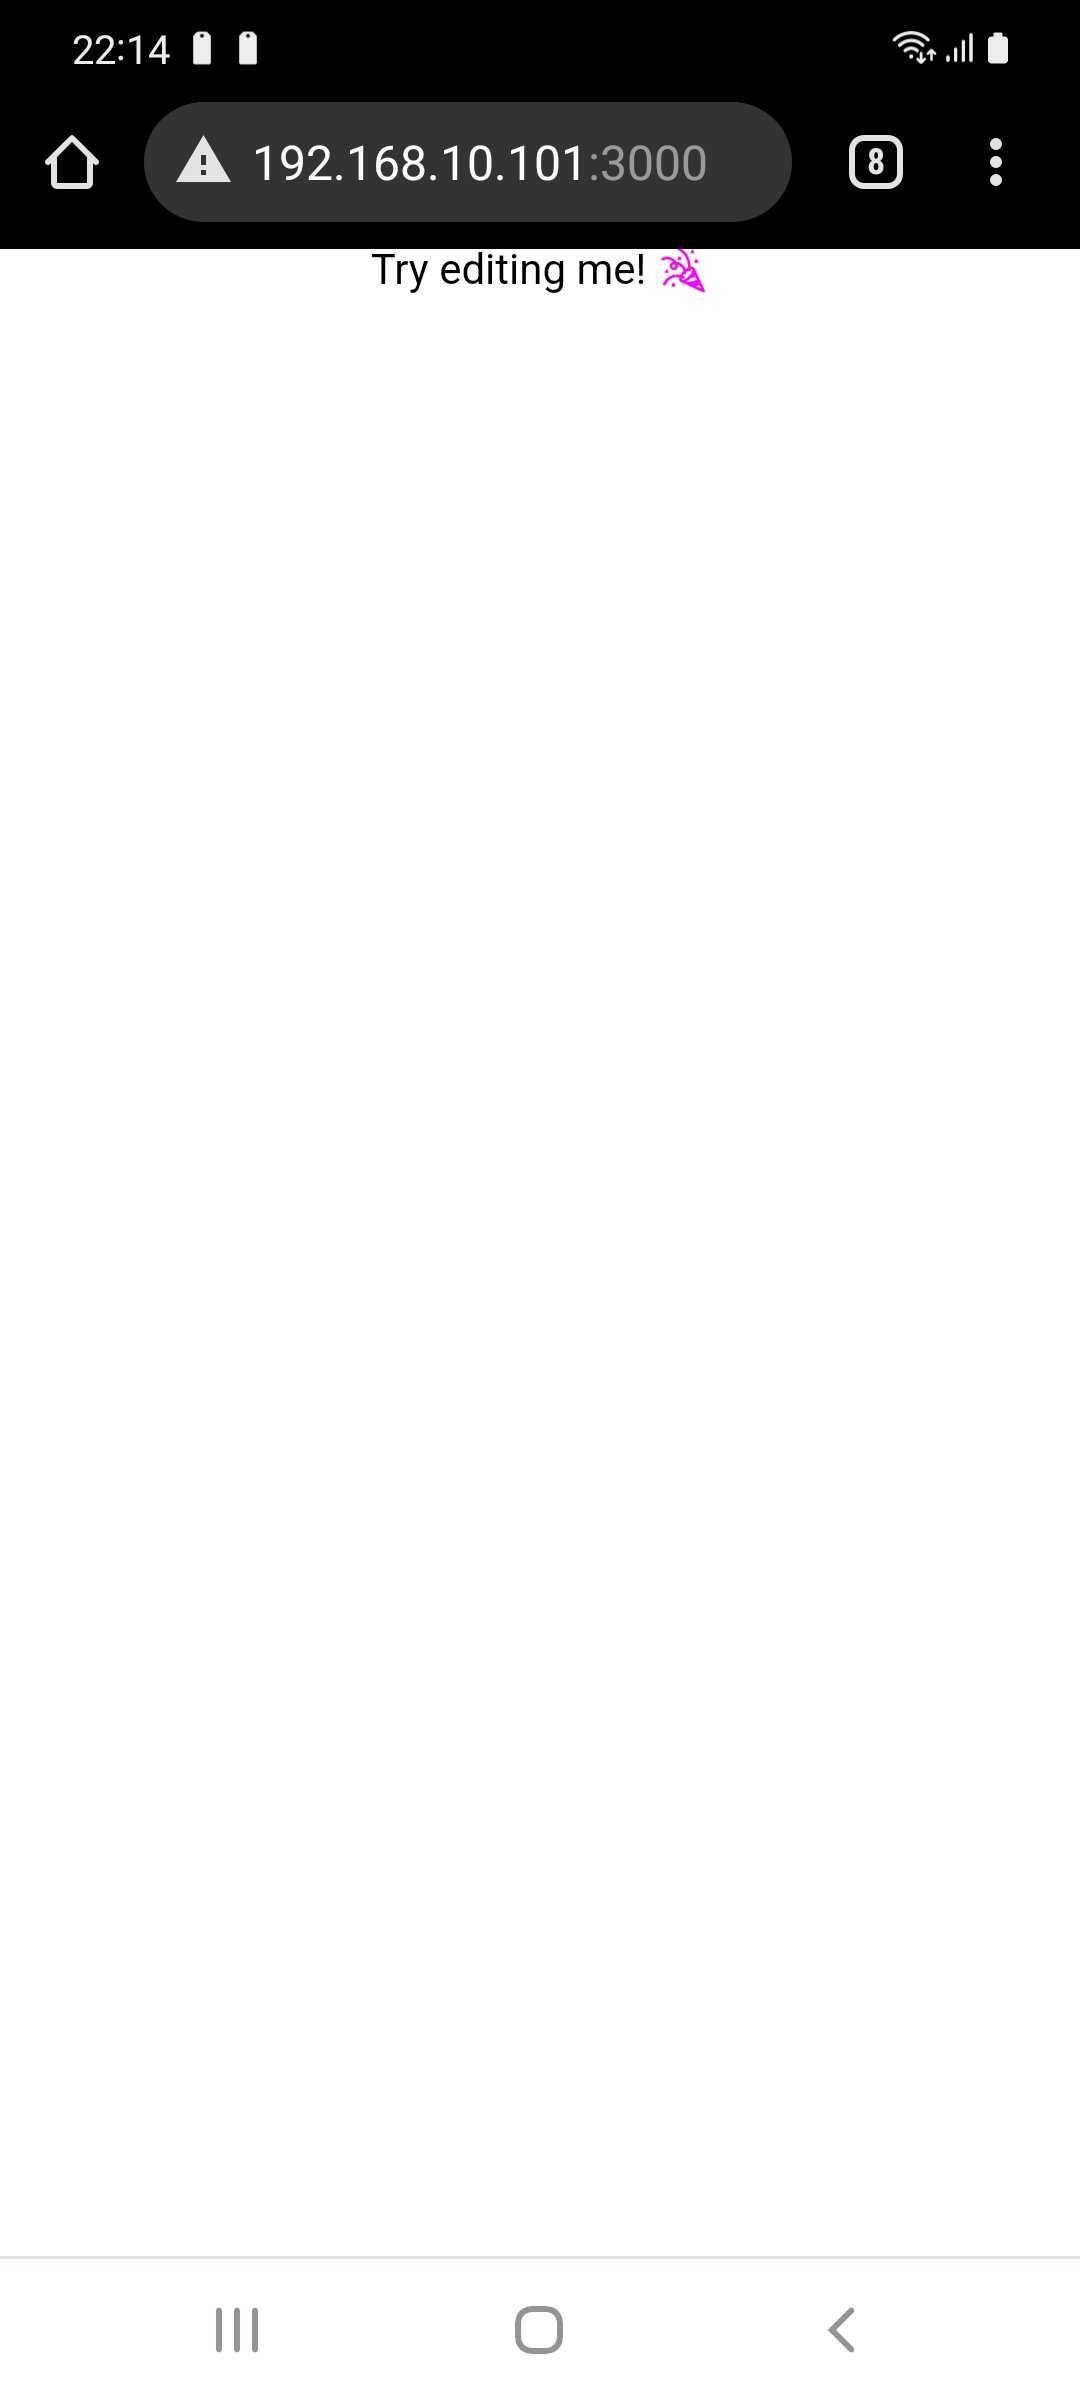
スマホのブラウザからローカルネットワークで接続すると、こちらも表示できました!
その他のCore Componet
他のCore Componetについてもドキュメントを参考に試してみます。
Text Input
<TextInput>を使えば、テキスト入力を実装できます。
import React, { useState } from 'react';
import { Text, TextInput, View } from 'react-native';

const App: React.FC = () => {
  const [text, setText] = useState('');
  return (
    <View style={{padding: 10}}>
      <TextInput
        style={{height: 40}}
        placeholder="Type here to translate!"
        onChangeText={newText => setText(newText)}
        defaultValue={text}
      />
      <Text style={{padding: 10, fontSize: 42}}>
        {text.split(' ').map((word) => word && '🍕').join(' ')}
      </Text>
    </View>
  );
};

export default App;
テキスト入力の可能な画面を実装できました。

ScrollView
<ScrollView>を使用すれば、スクロール可能な画面を実装できます。
import React from 'react';
import { Image, ScrollView, Text } from 'react-native';

const logo = {
  uri: 'https://reactnative.dev/img/tiny_logo.png',
  width: 64,
  height: 64,
};

const App = () => (
  <ScrollView>
    <Text style={{ fontSize: 96 }}>Scroll me plz</Text>
    <Image source={logo} />
    <Image source={logo} />
    <Image source={logo} />
    <Image source={logo} />
    <Image source={logo} />
    <Text style={{ fontSize: 96 }}>If you like</Text>
    <Image source={logo} />
    <Image source={logo} />
    <Image source={logo} />
    <Image source={logo} />
    <Image source={logo} />
    <Text style={{ fontSize: 96 }}>Scrolling down</Text>
    <Image source={logo} />
    <Image source={logo} />
    <Image source={logo} />
    <Image source={logo} />
    <Image source={logo} />
    <Text style={{ fontSize: 96 }}>What's the best</Text>
    <Image source={logo} />
    <Image source={logo} />
    <Image source={logo} />
    <Image source={logo} />
    <Image source={logo} />
    <Text style={{ fontSize: 96 }}>Framework around?</Text>
    <Image source={logo} />
    <Image source={logo} />
    <Image source={logo} />
    <Image source={logo} />
    <Image source={logo} />
    <Text style={{ fontSize: 80 }}>React Native</Text>
  </ScrollView>
);

export default App;
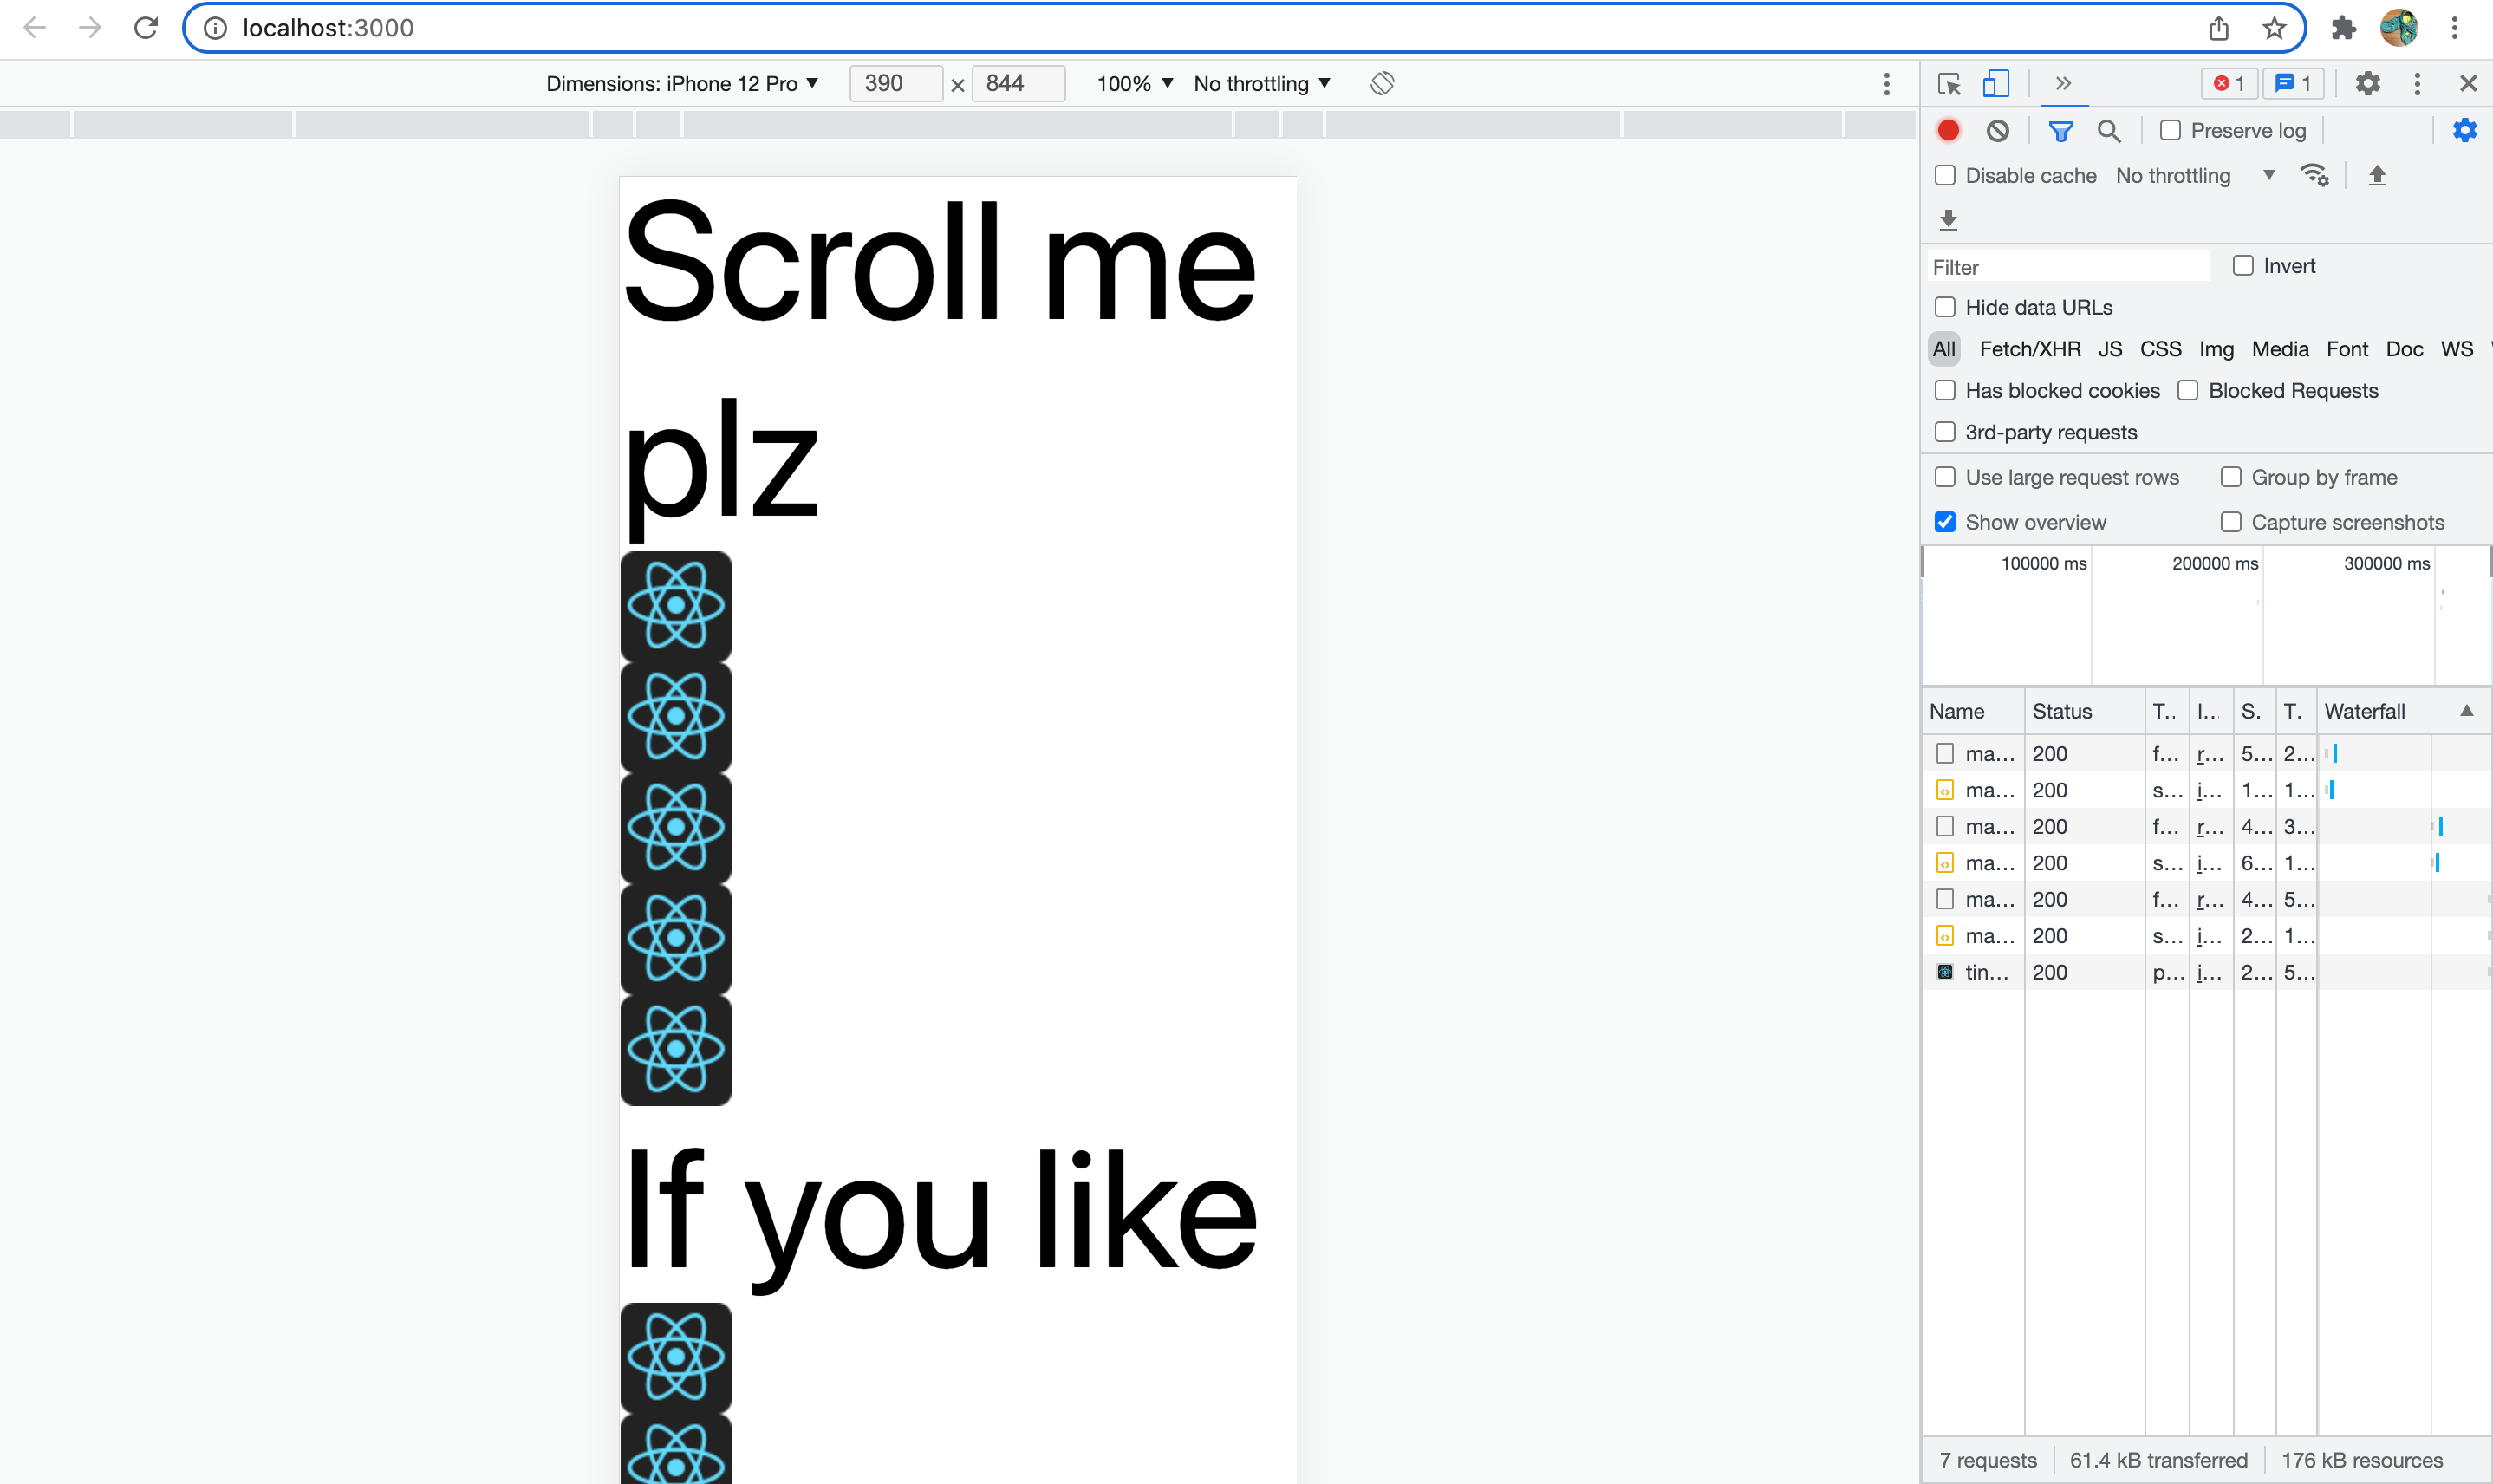
スクロール可能な画面が表示できました。
List Views
List Viewsの<FlatList>を使用すれば、アイテムをリスト形式で表示することができます。
import React from 'react';
import { FlatList, StyleSheet, Text, View } from 'react-native';

const styles = StyleSheet.create({
  container: {
    flex: 1,
    paddingTop: 22,
  },
  item: {
    padding: 10,
    fontSize: 18,
    height: 44,
  },
});

const App = () => {
  return (
    <View style={styles.container}>
      <FlatList
        data={[
          { key: 'Devin' },
          { key: 'Dan' },
          { key: 'Dominic' },
          { key: 'Jackson' },
          { key: 'James' },
          { key: 'Joel' },
          { key: 'John' },
          { key: 'Jillian' },
          { key: 'Jimmy' },
          { key: 'Julie' },
        ]}
        renderItem={({ item }) => <Text style={styles.item}>{item.key}</Text>}
      />
    </View>
  );
};

export default App;
表示できました。
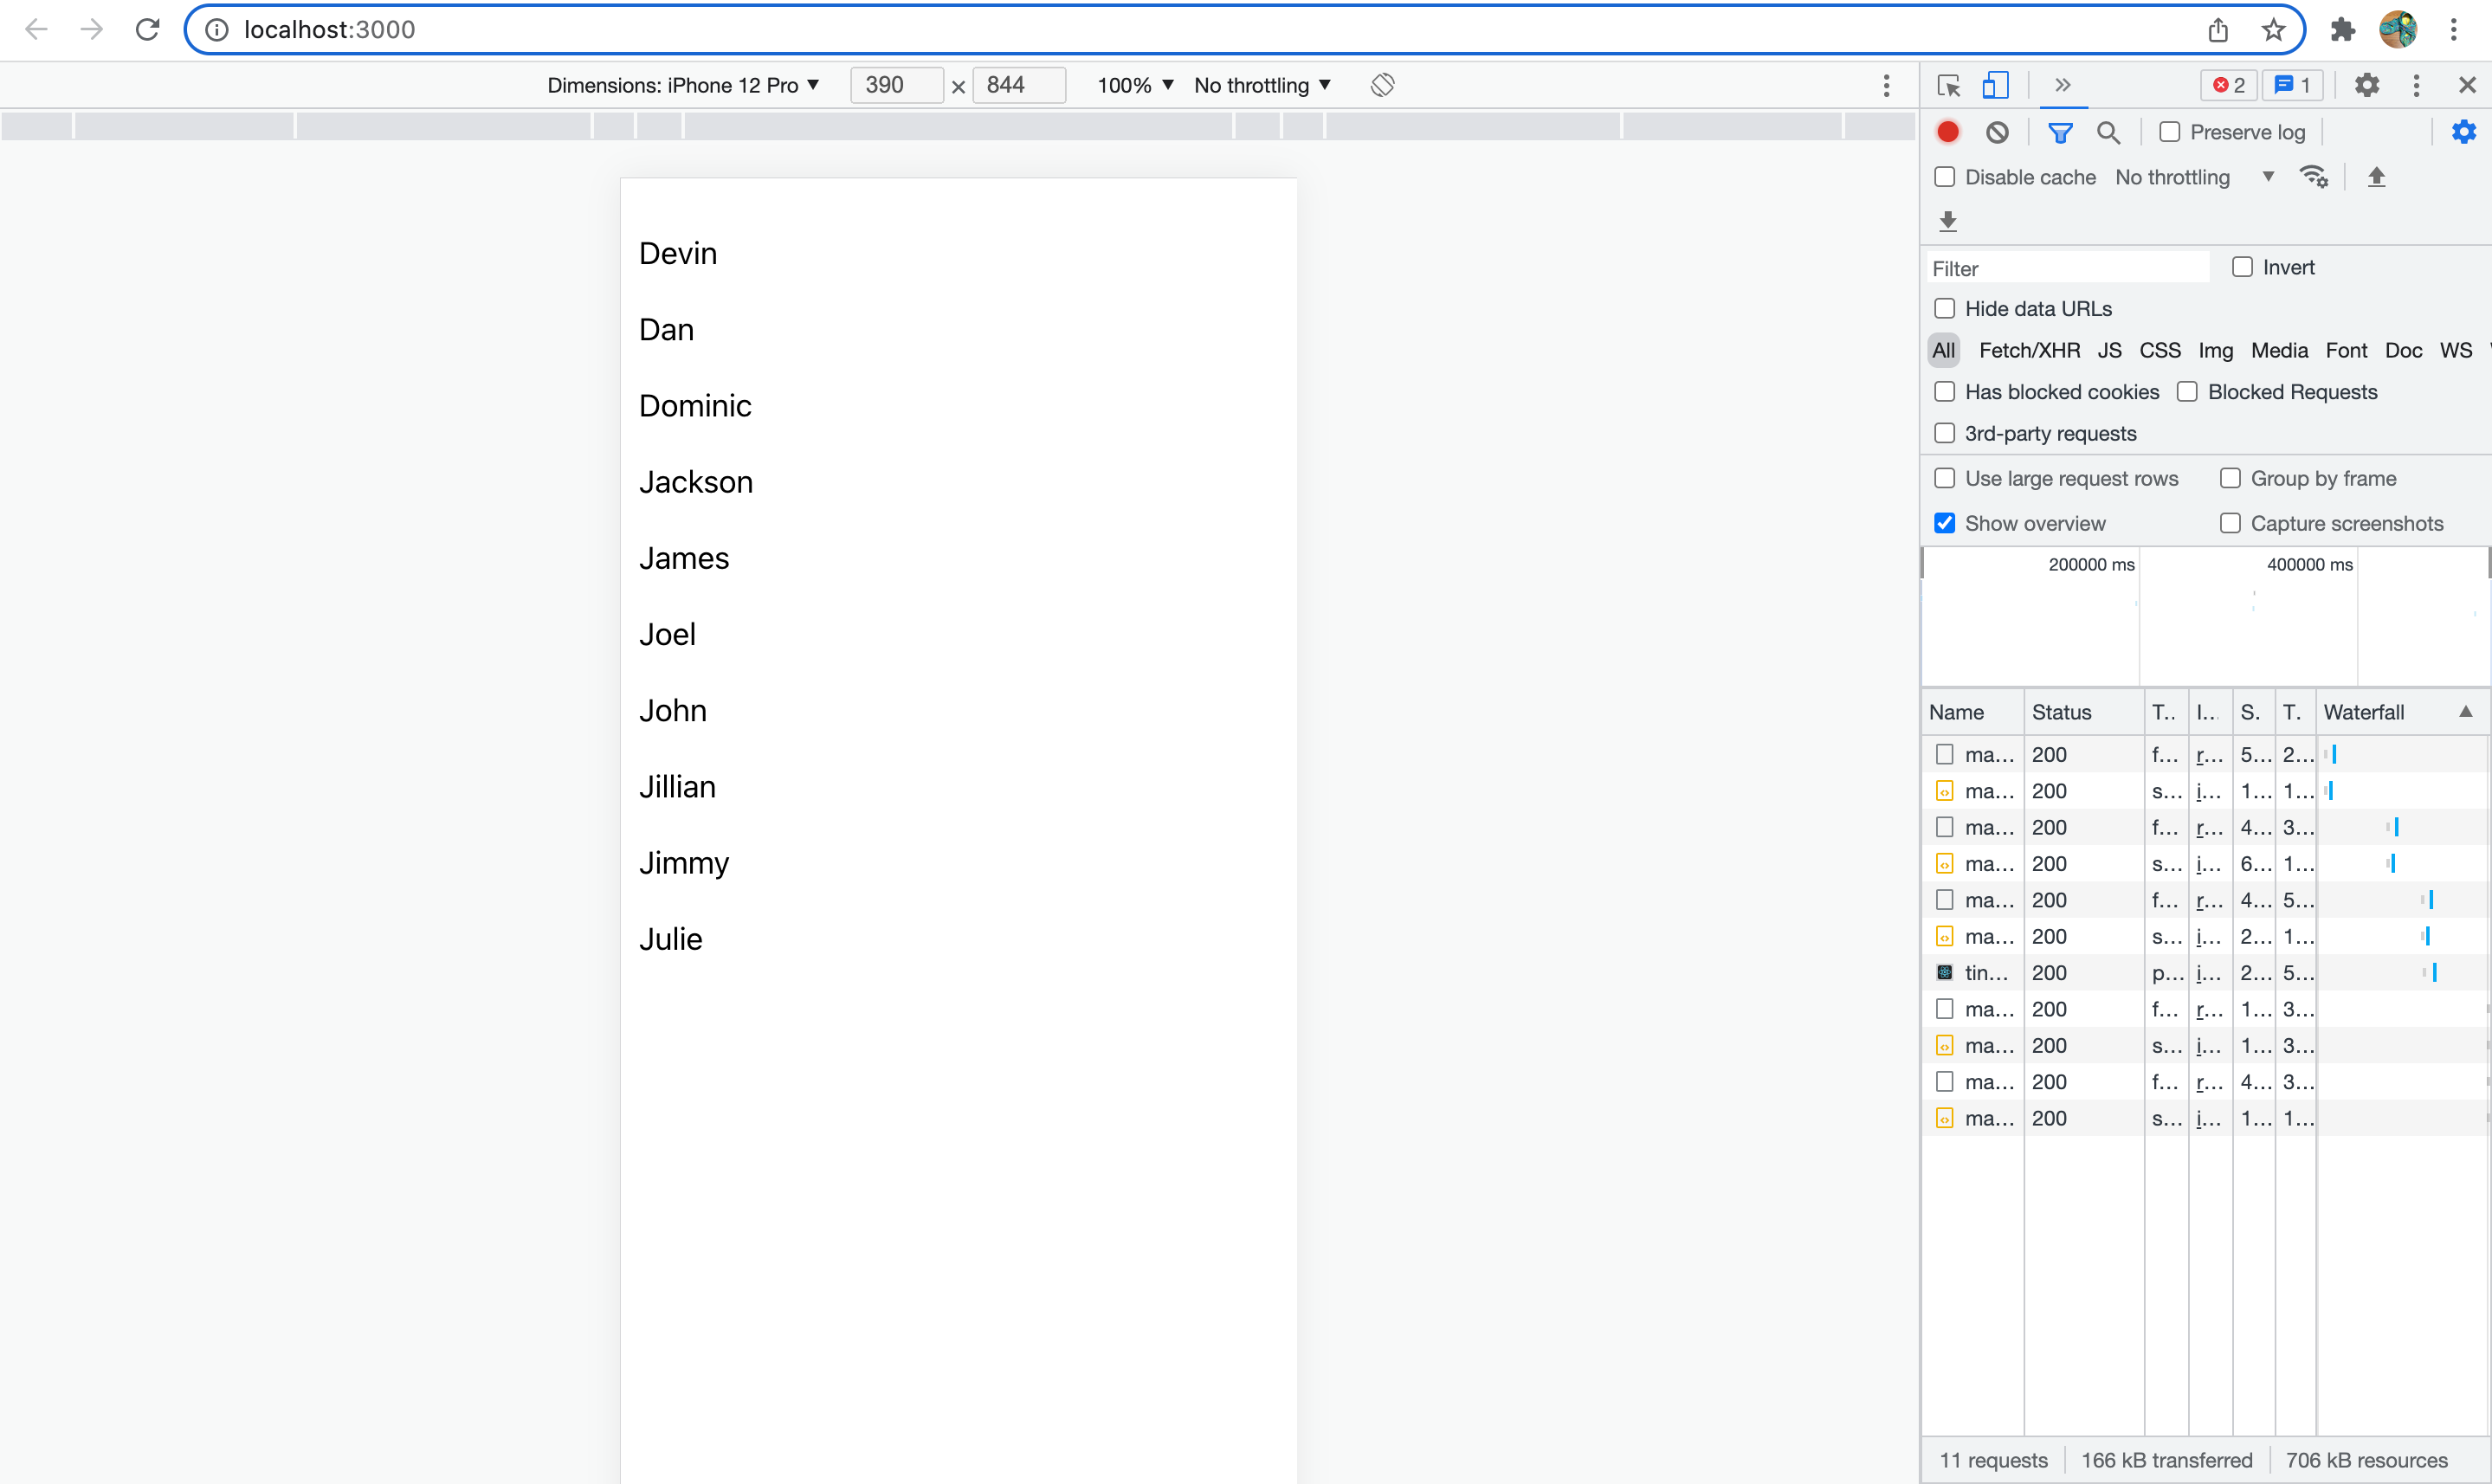
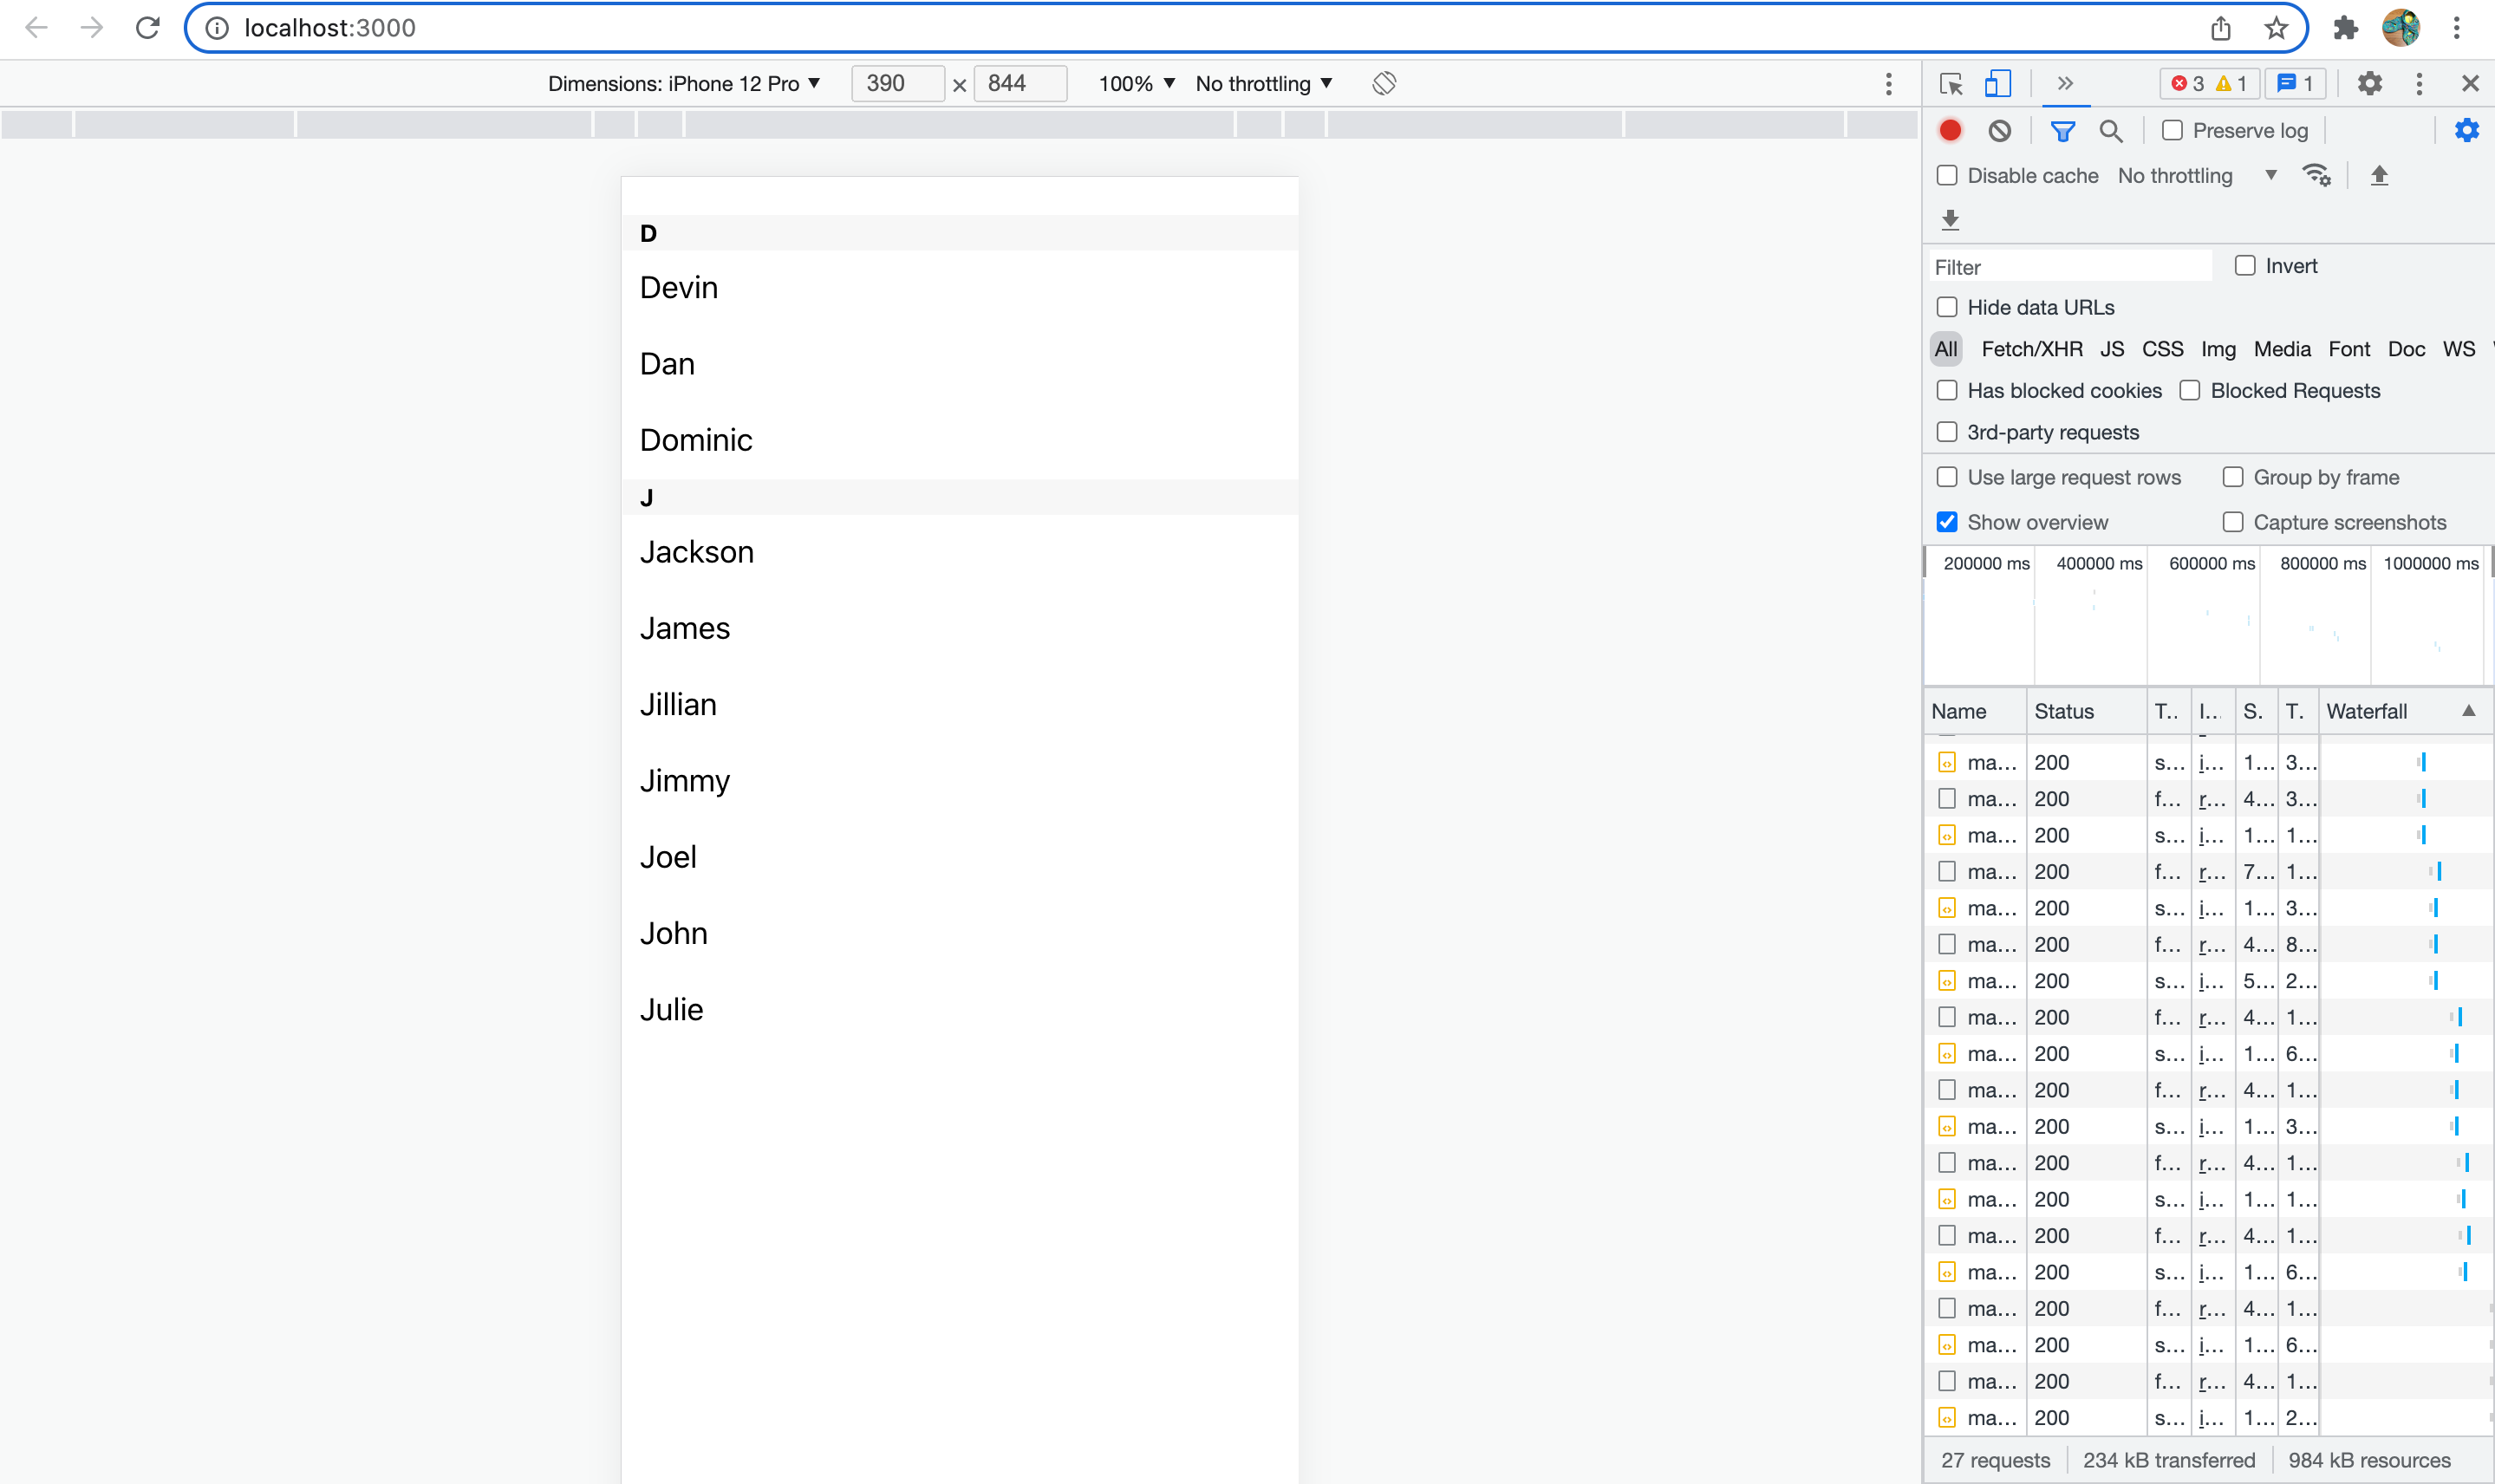
<SectionList>を使用するとリストを任意の単位で分けて表示することができます。
<SectionList>のkeyExtractorでアイテムにキーを割り当てる場合は、indexの型を数値から文字列に変換しなければ型エラーになるので注意。
import React from 'react';
import { SectionList, StyleSheet, Text, View } from 'react-native';

const styles = StyleSheet.create({
  container: {
    flex: 1,
    paddingTop: 22,
  },
  sectionHeader: {
    paddingTop: 2,
    paddingLeft: 10,
    paddingRight: 10,
    paddingBottom: 2,
    fontSize: 14,
    fontWeight: 'bold',
    backgroundColor: 'rgba(247,247,247,1.0)',
  },
  item: {
    padding: 10,
    fontSize: 18,
    height: 44,
  },
});

const App = () => {
  return (
    <View style={styles.container}>
      <SectionList
        sections={[
          { title: 'D', data: ['Devin', 'Dan', 'Dominic'] },
          {
            title: 'J',
            data: [
              'Jackson',
              'James',
              'Jillian',
              'Jimmy',
              'Joel',
              'John',
              'Julie',
            ],
          },
        ]}
        renderItem={({ item }) => <Text style={styles.item}>{item}</Text>}
        renderSectionHeader={({ section }) => (
          <Text style={styles.sectionHeader}>{section.title}</Text>
        )}
        keyExtractor={(_, index) => `${index}`} //indexを文字列化している
      />
    </View>
  );
};

export default App;
表示できました。
React Native for Webとは
解説を最後まで引っ張ってしまいましたが、React Native for Webを使用するとReact Nativeによる実装をWeb上で動作可能とすることができます。作成はMeta社ではないのですが、Meta社のエンジニアであるNicolas Gallagherさんが個人プロジェクトとして作成および公開しているようです。
本来であればWeb上では動作しないReact Nativeですが、React Native for WebはNative Componentによる実装をReact DOMに変換して、バニラなReactであるかのようにWebブラウザ上で動作させることができます。
これにより同一のソースコードを使用してiOS、Android、Webのアプリケーションの開発を行うことができるようになるので、プロジェクトによっては開発効率を大きく上げることが可能となります。
おわりに
モバイルアプリ開発未経験者が React Native for Webに入門してみました。
バニラReactの経験があればReact Native for Webはさすがに取っつきやすかったです。次回はReact NativeアプリをAndroid上でネイティブアプリとして動かしてみようと思います。
以上


