![[Update] You can now improve call quality using Amazon Nova Sonic in specific Amazon Connect regions #AWSreInvent](https://images.ctfassets.net/ct0aopd36mqt/33a7q65plkoztFWVfWxPWl/a718447bea0d93a2d461000926d65428/reinvent2025_devio_update_w1200h630.png?w=3840&fm=webp)
[Update] You can now improve call quality using Amazon Nova Sonic in specific Amazon Connect regions #AWSreInvent
This page has been translated by machine translation. View original
Hello, this is Takei (@takaakikakei).
A new feature has been announced that integrates Amazon Nova Sonic with Amazon Connect to improve call quality. Amazon Nova Sonic is an AI "speech-to-speech" model provided by Amazon. This integration is expected to improve call quality when using Amazon Connect in specific regions.
As of the time of writing (2025/12/2), the available regions and supported languages are as follows. Japanese regions and the Japanese language are not yet supported.
- Amazon Connect
- US East (Northern Virginia)
us-east-1 - US West (Oregon)
us-west-2
- US East (Northern Virginia)
- Supported languages
- Full support
- English
- Spanish
- Preview version
- French
- Italian
- German
- Full support
Trying it out
Creating an instance
First, I created an Amazon Connect instance in a supported region. In my environment, the "Speech-to-Speech" configuration item didn't appear when I created it in the Northern Virginia region, so I created it in the US West (Oregon) region. The default instance configuration settings were fine.
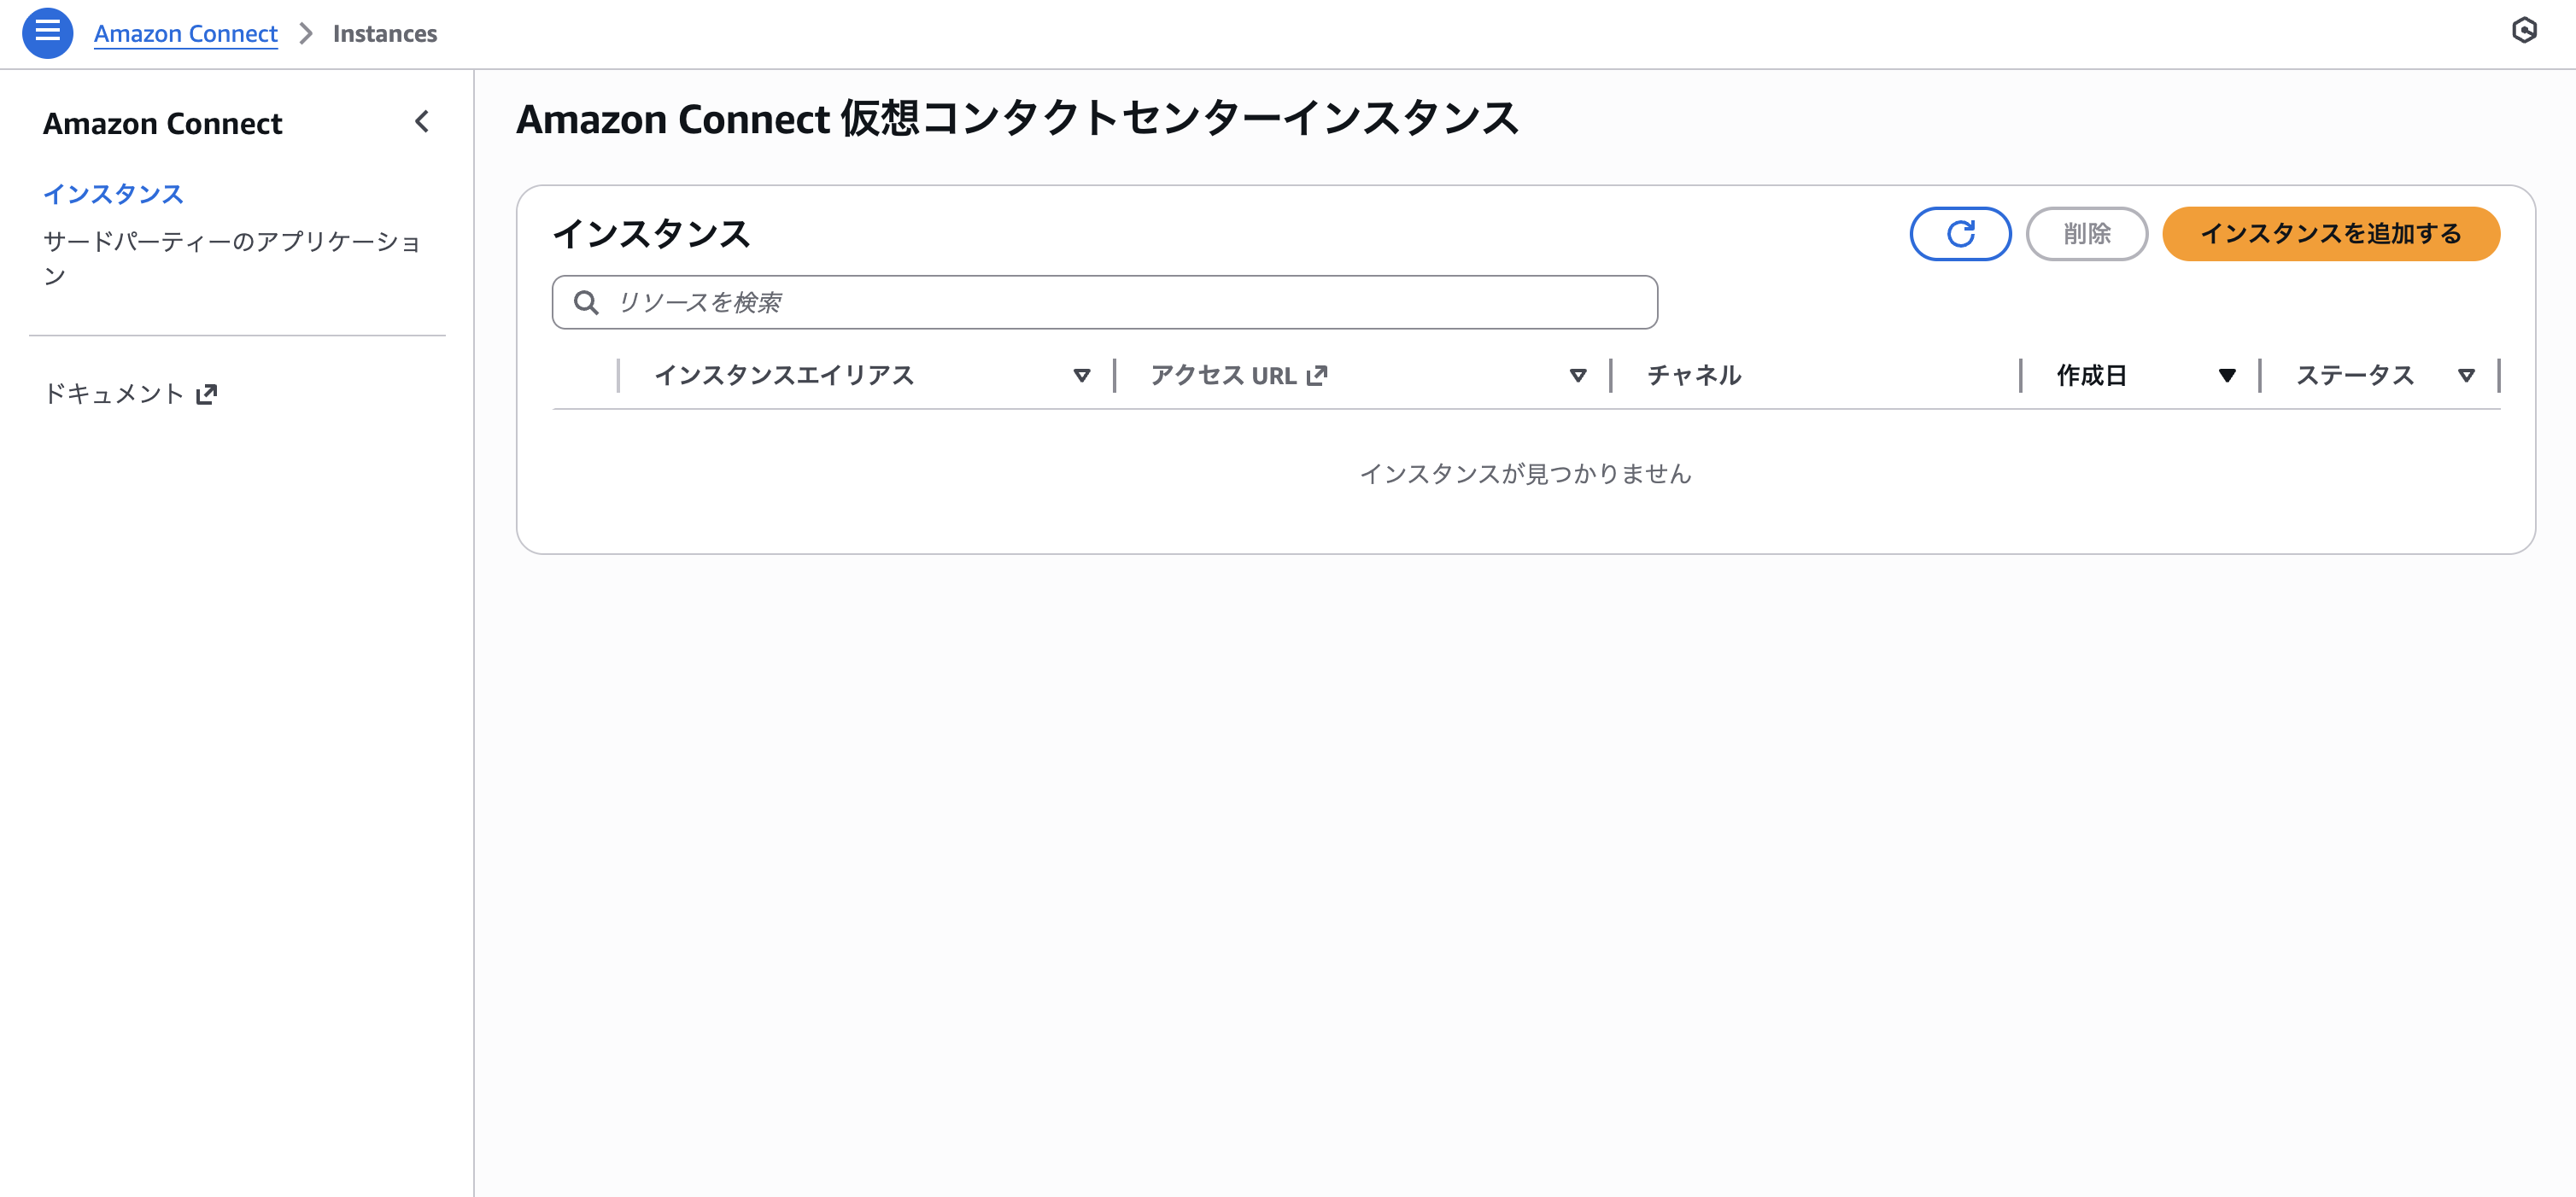
Creating a Bot
Navigate to the management console of the created instance, select "Flows" from the left sidebar, and click on the "Bots" tab. Incidentally, this tab did not exist in the Tokyo region (ap-northeast-1).
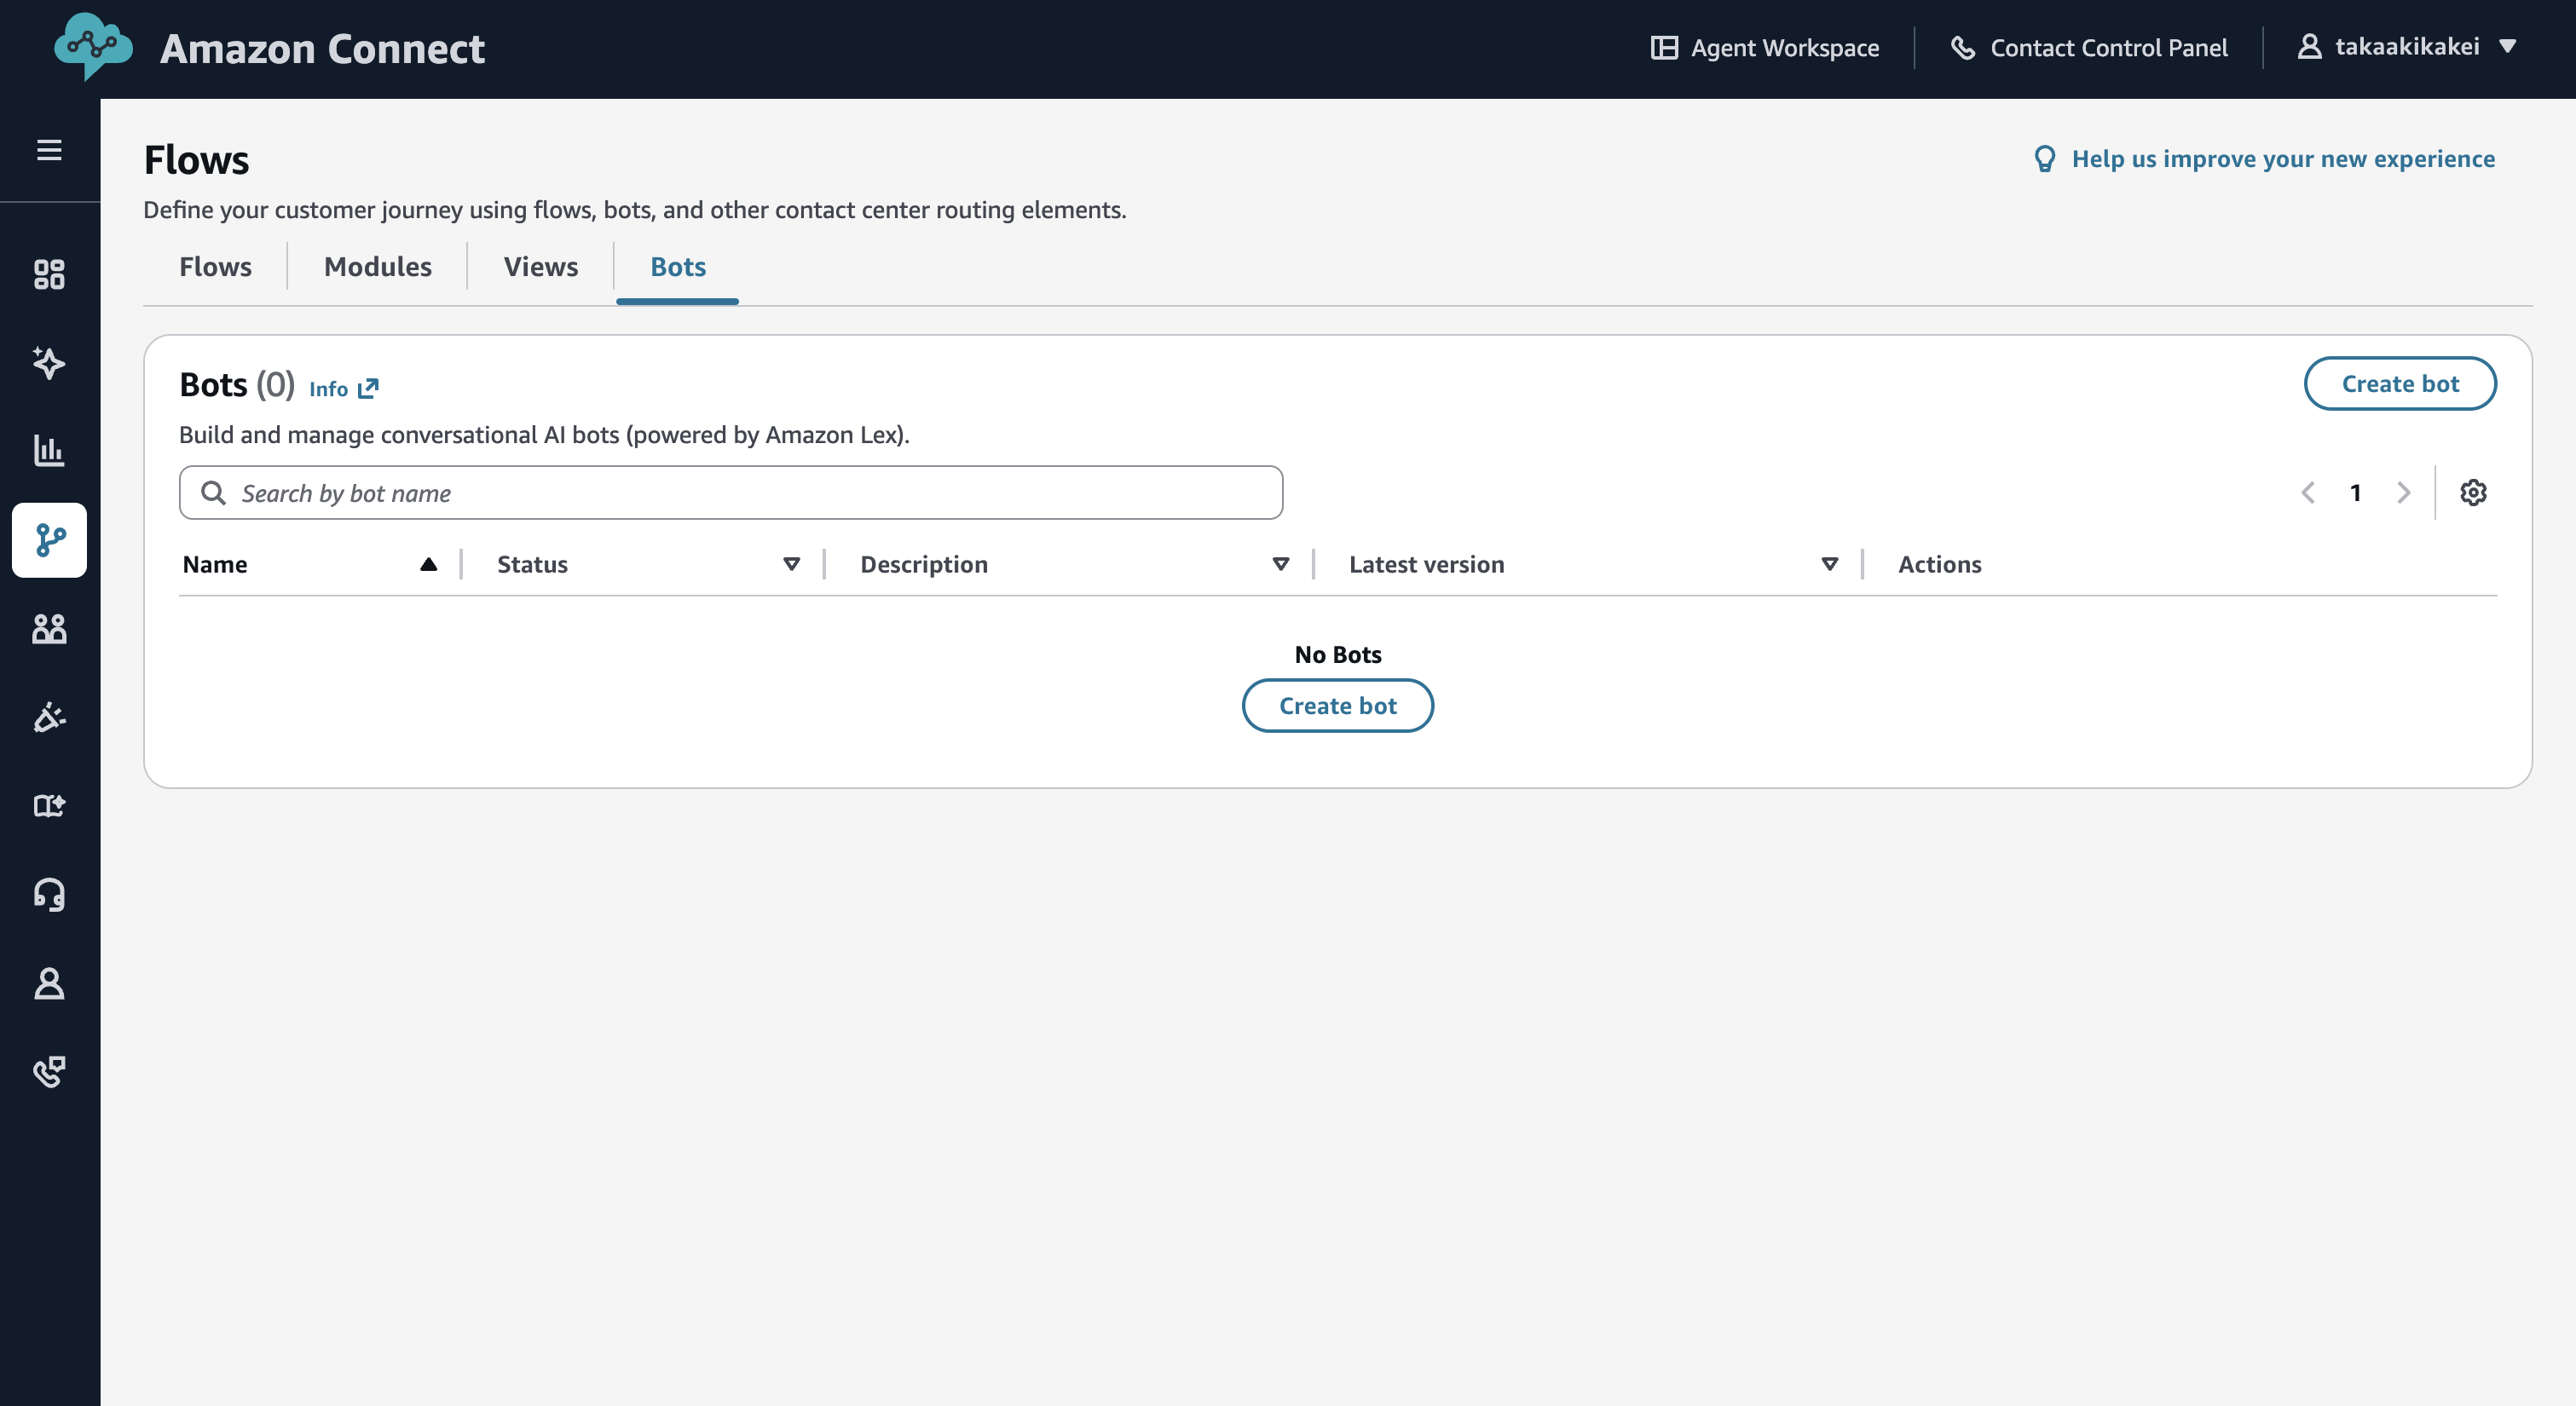
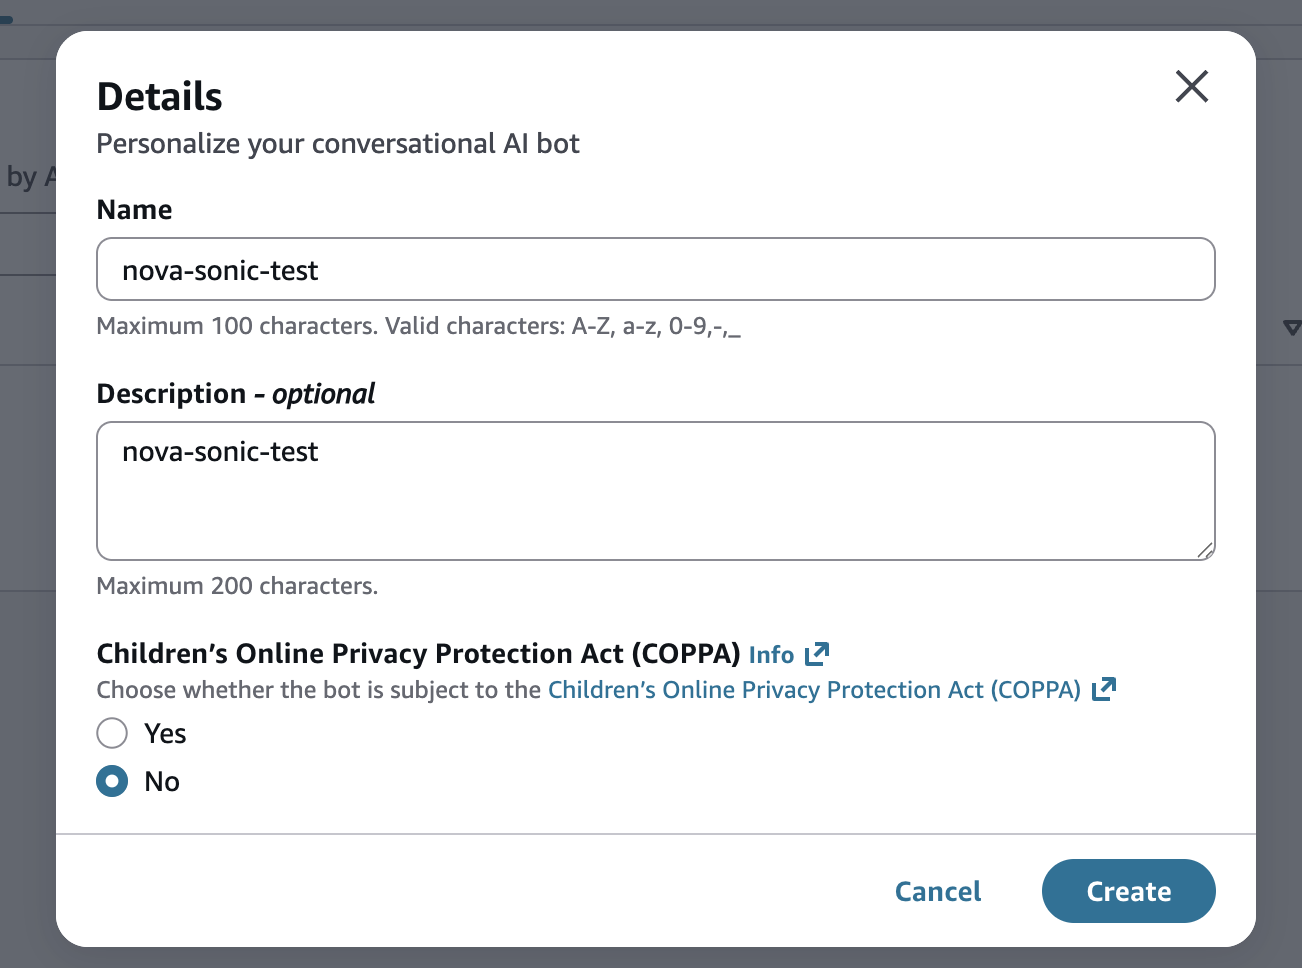
Click the "Create bot" button to move to the bot creation screen. Select "Amazon Nova Sonic speech-to-speech bot" as the Bot type. For this verification purpose, since it's not aimed at children, I selected "No" for Children's Online Privacy Protection Act (COPPA).
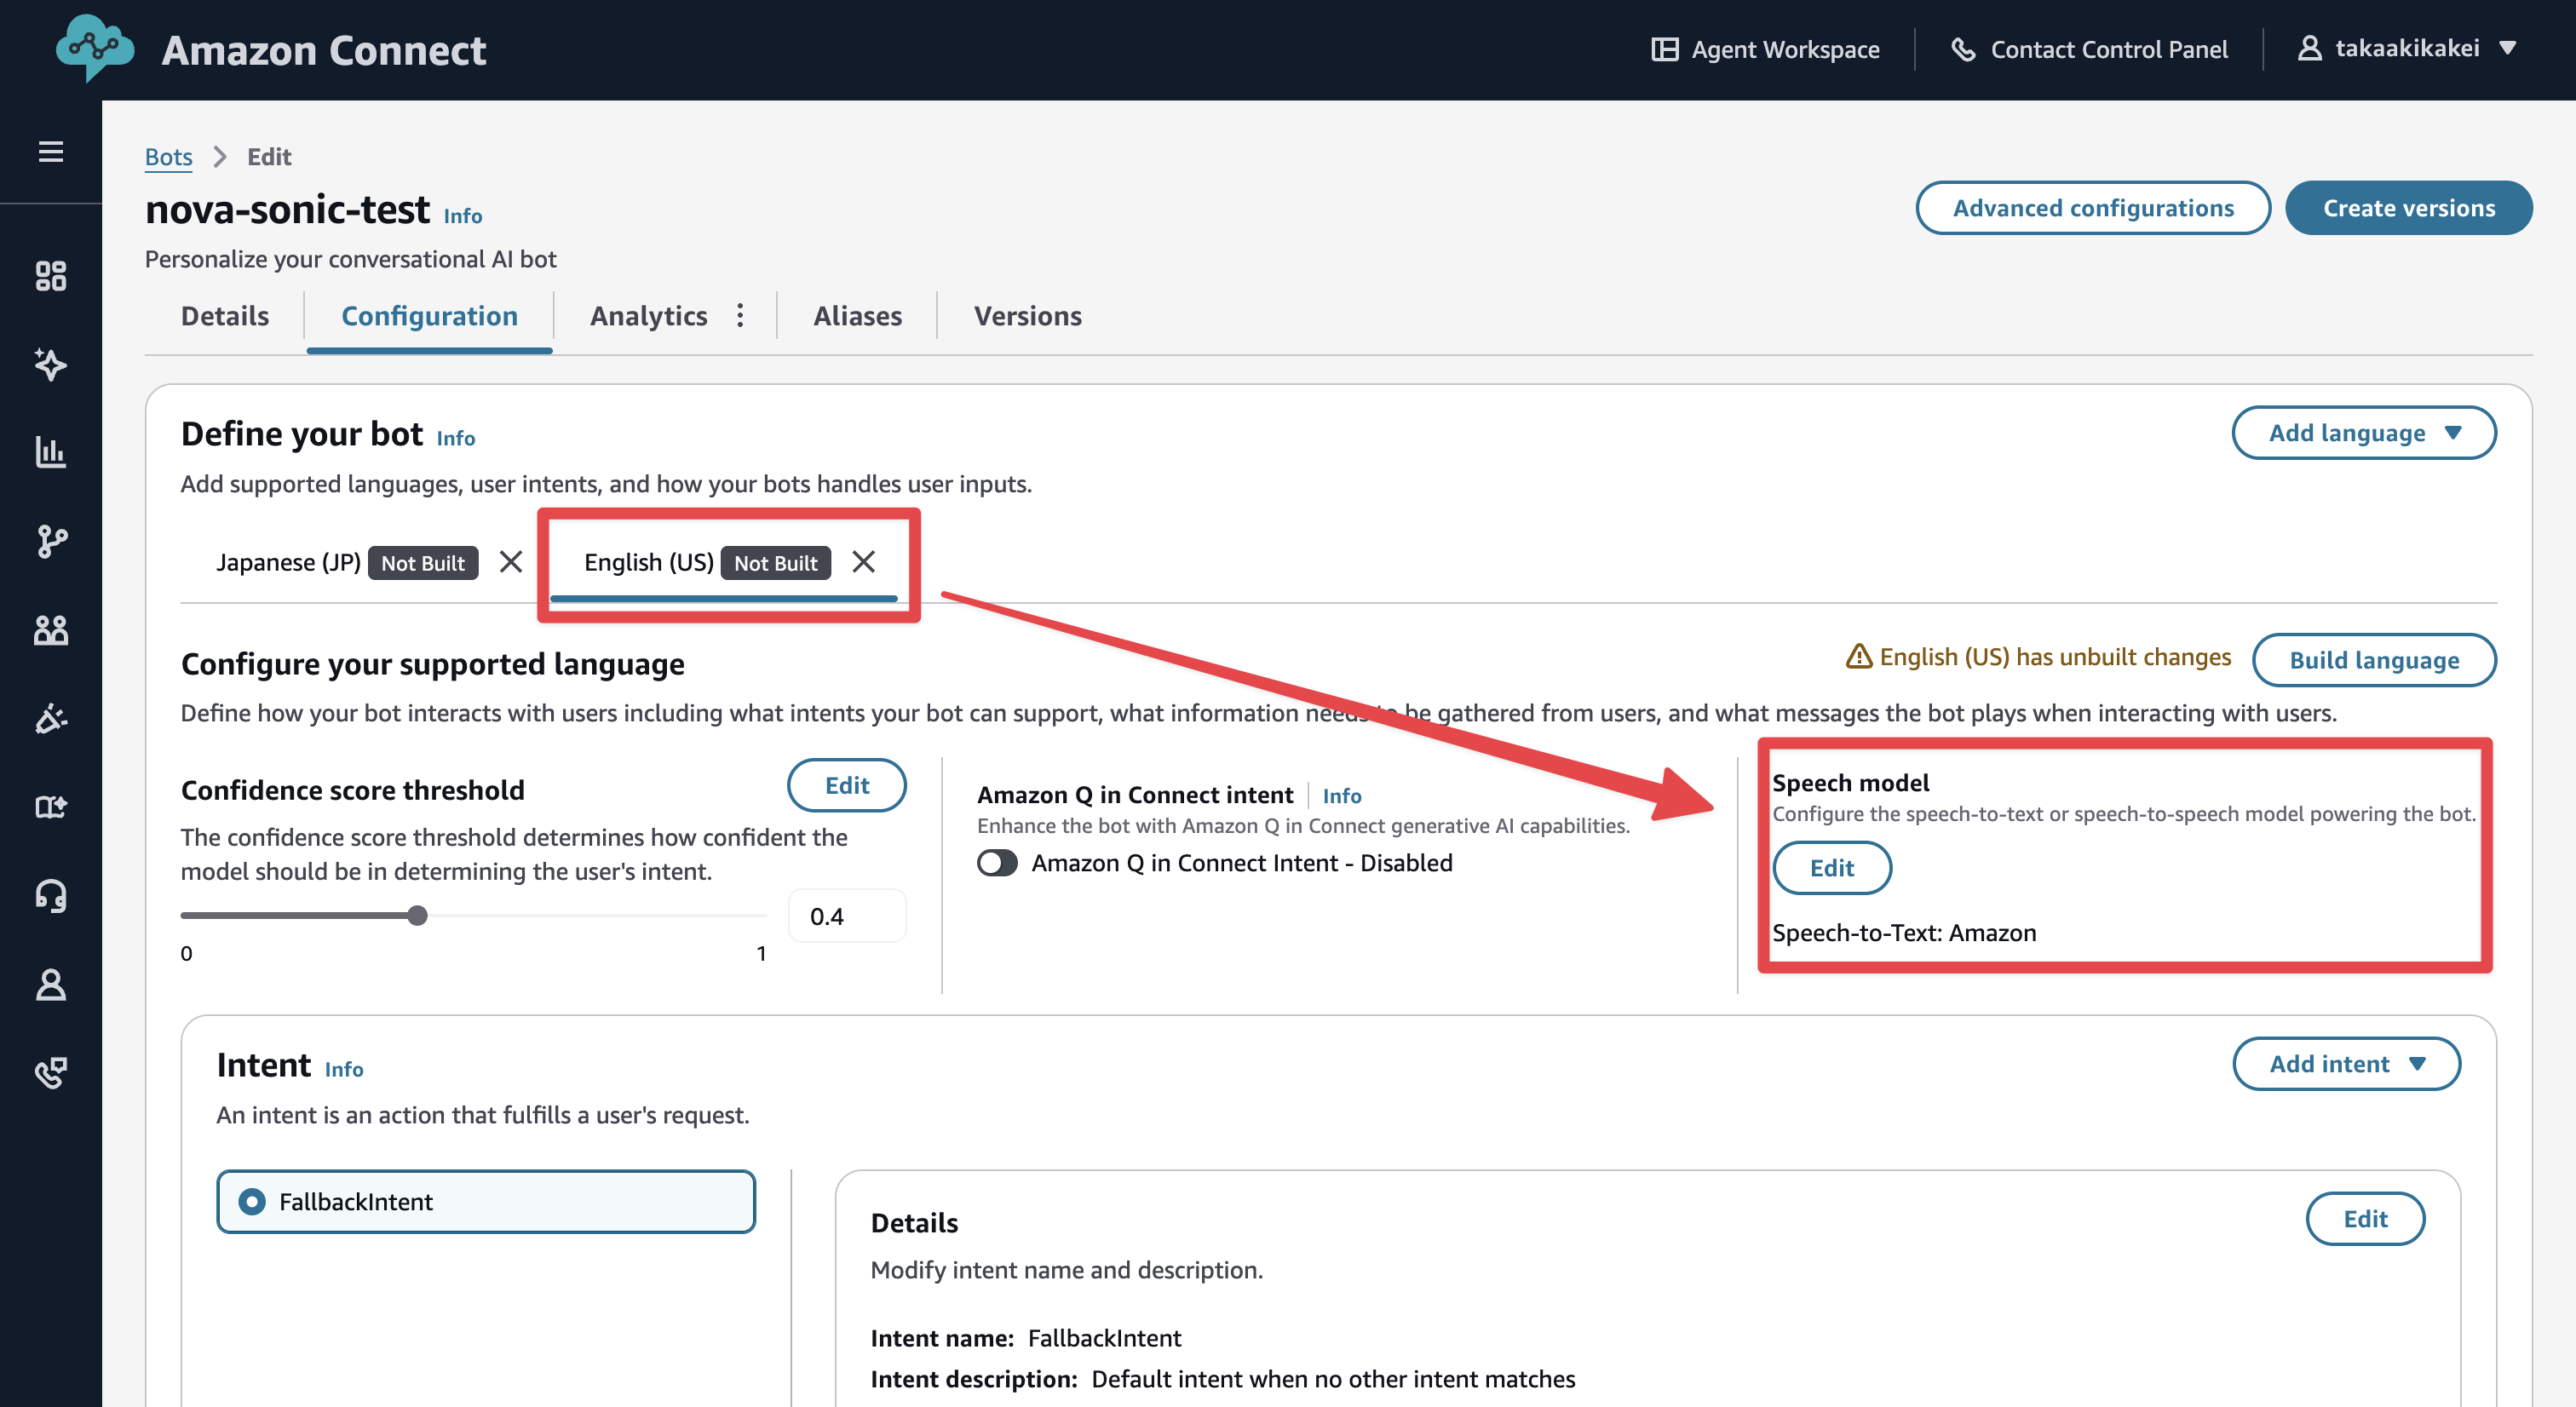
Select the created bot and move to the settings screen. Here, select "Add Language." I chose "English (US)" for this test.
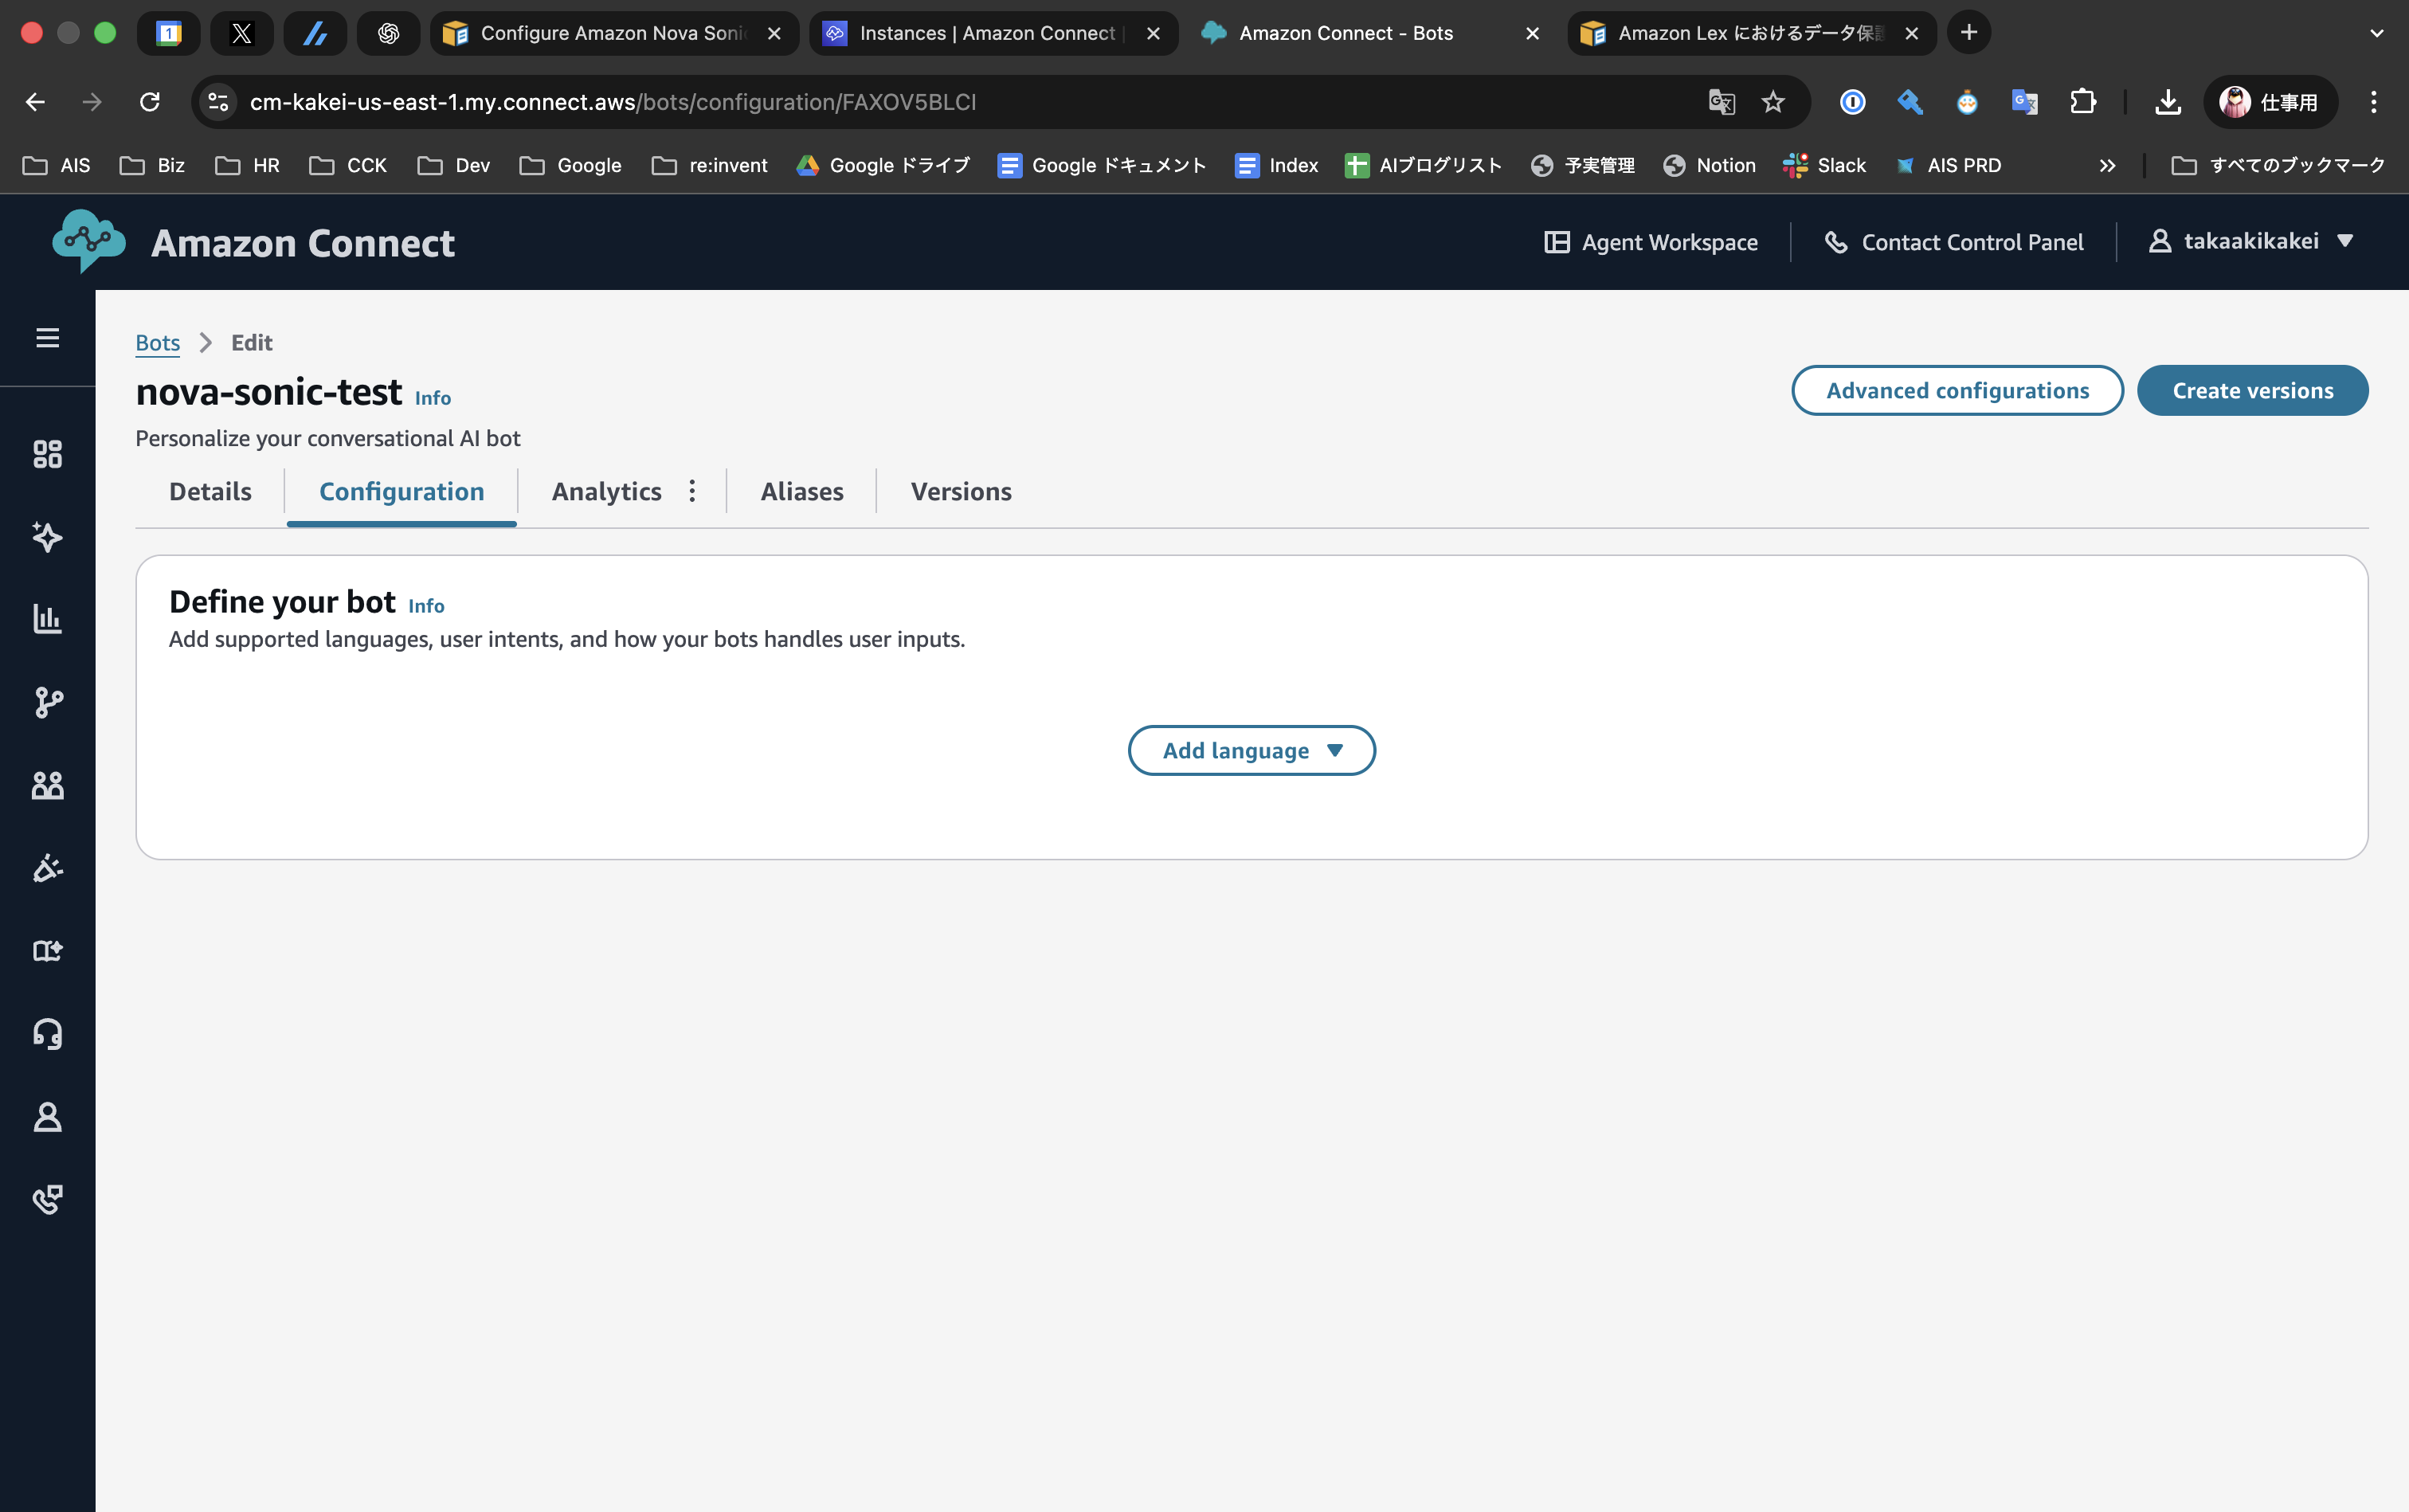
The Speech model field only appears when you specify a region that supports this feature in "Add language."
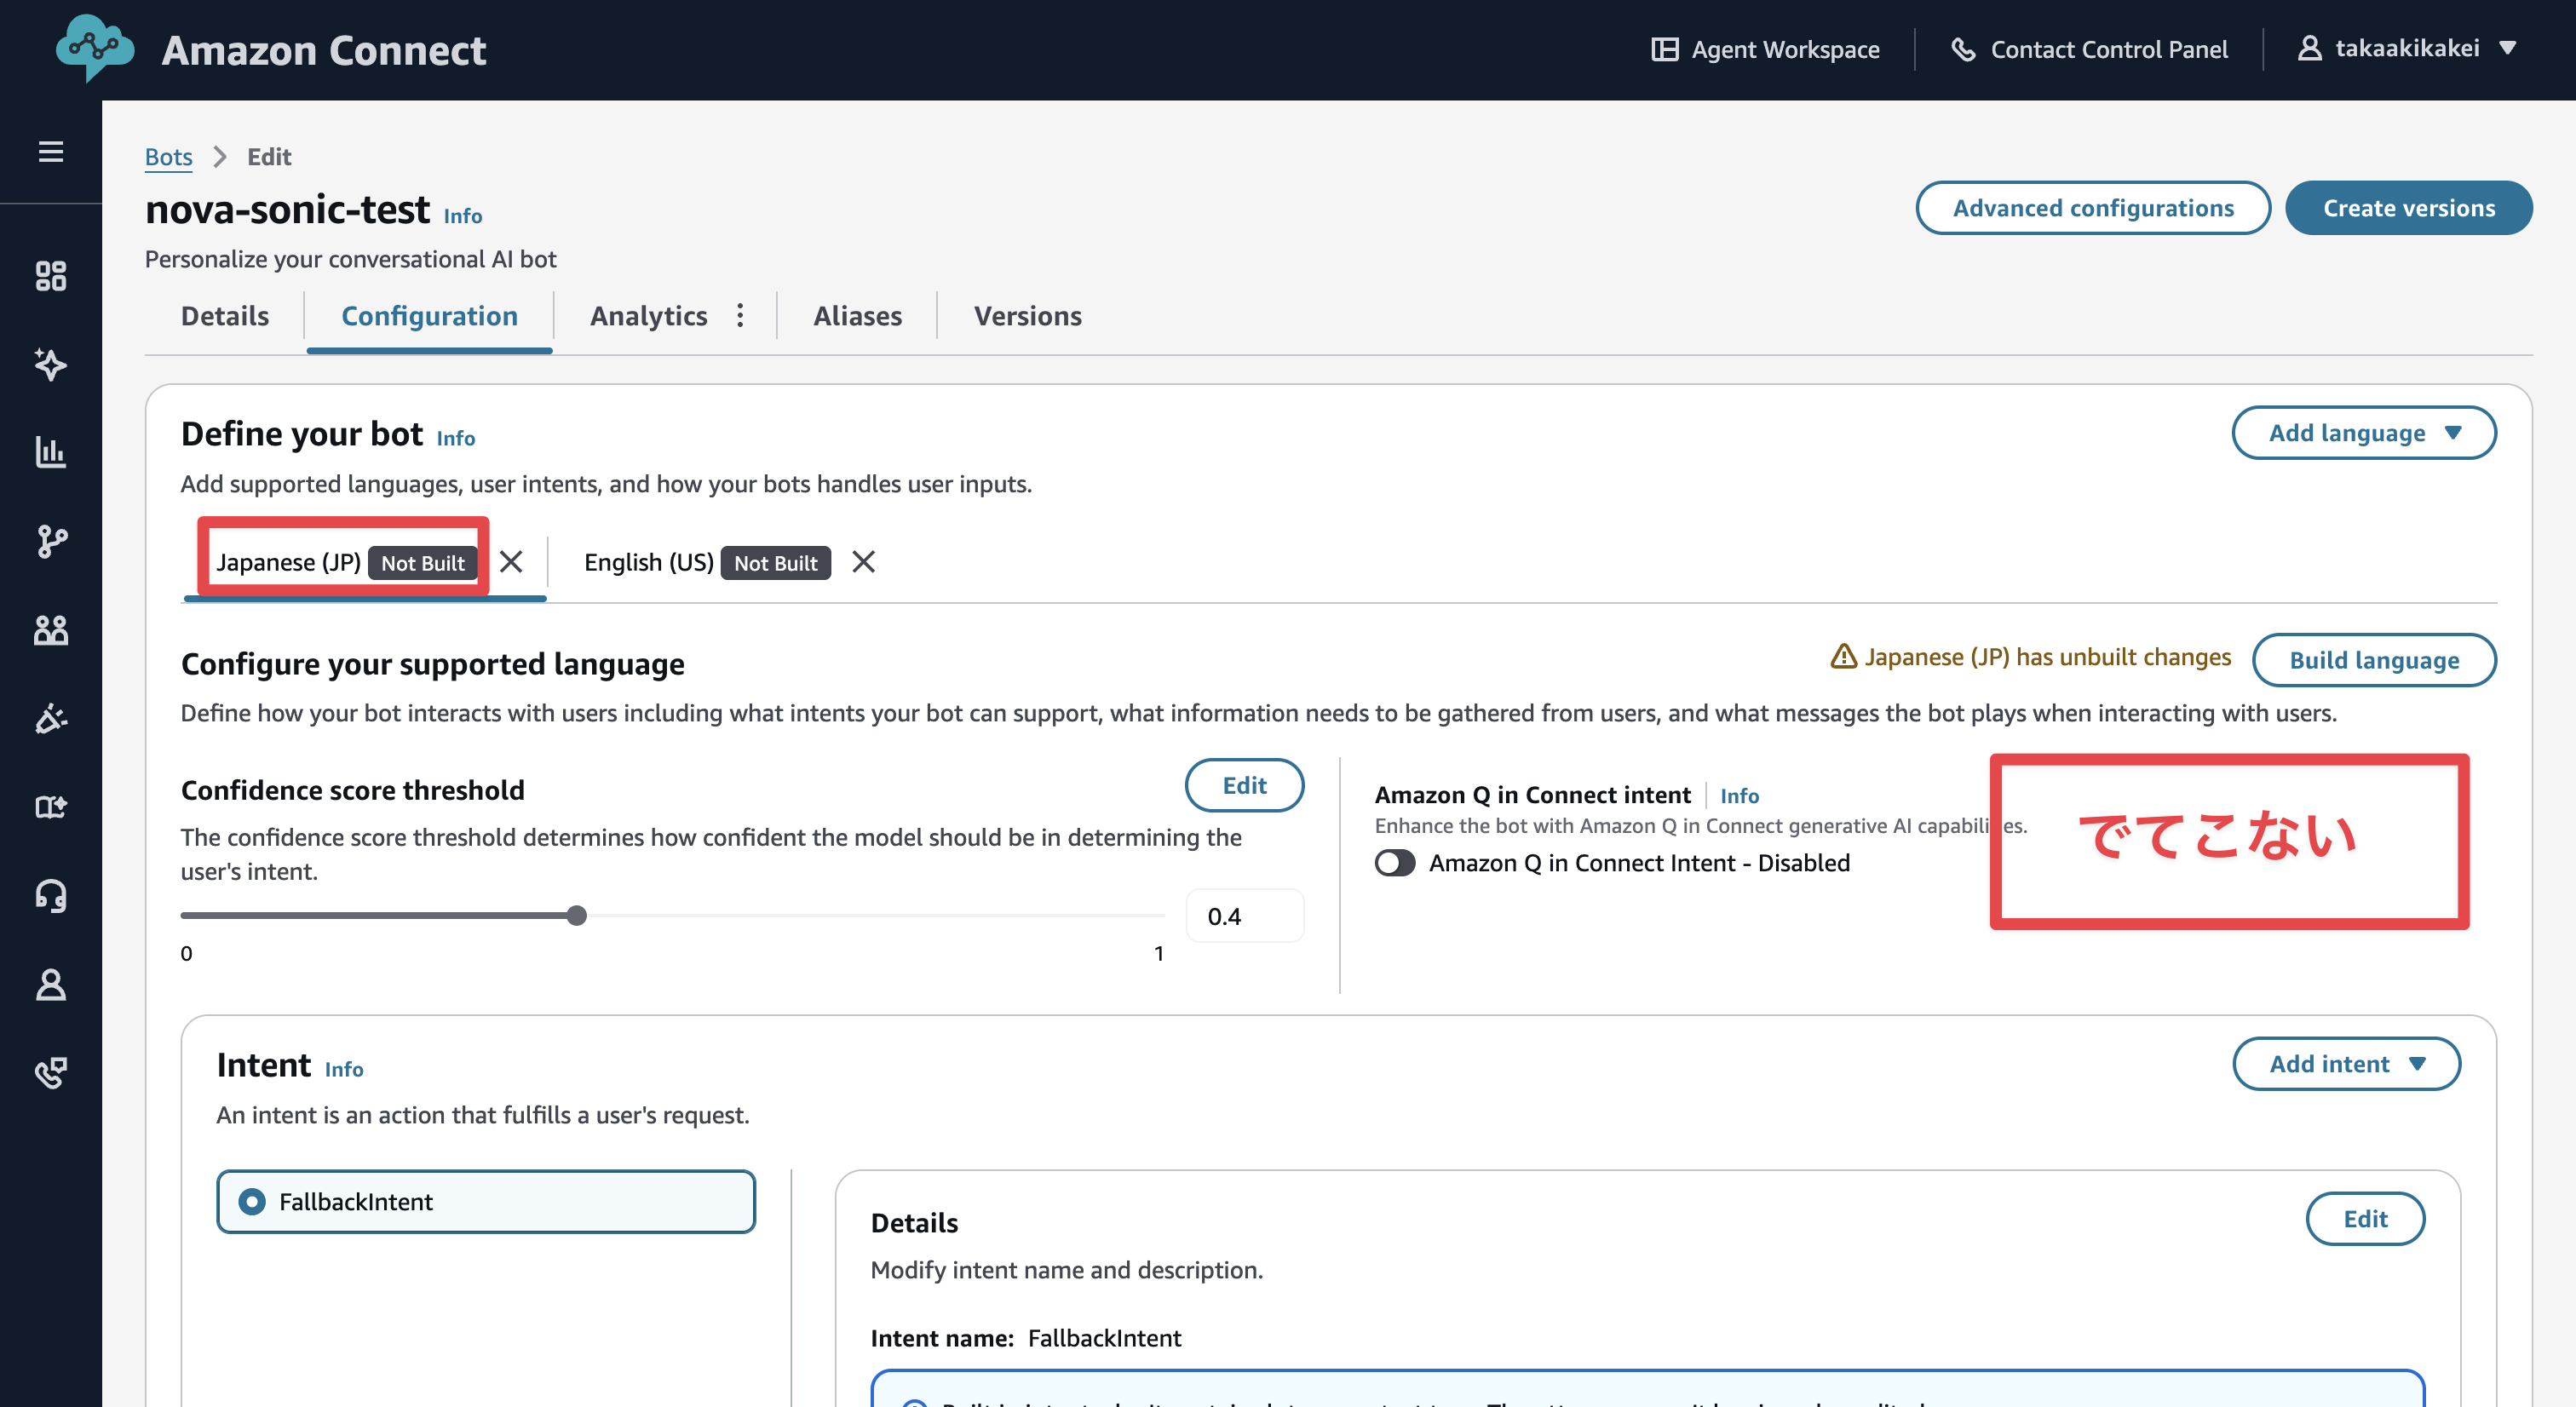
By the way, if you select "Japanese(JP)," the speech model field is not displayed.
Click the "Edit" button in the Speech model field to go to the settings screen. Select "Speech-to-Speech" for Model type. Select "Amazon Nova Sonic" for Voice provider. Note that there's a caution stating that you need to use voices supported by Nova Sonic in the flow.

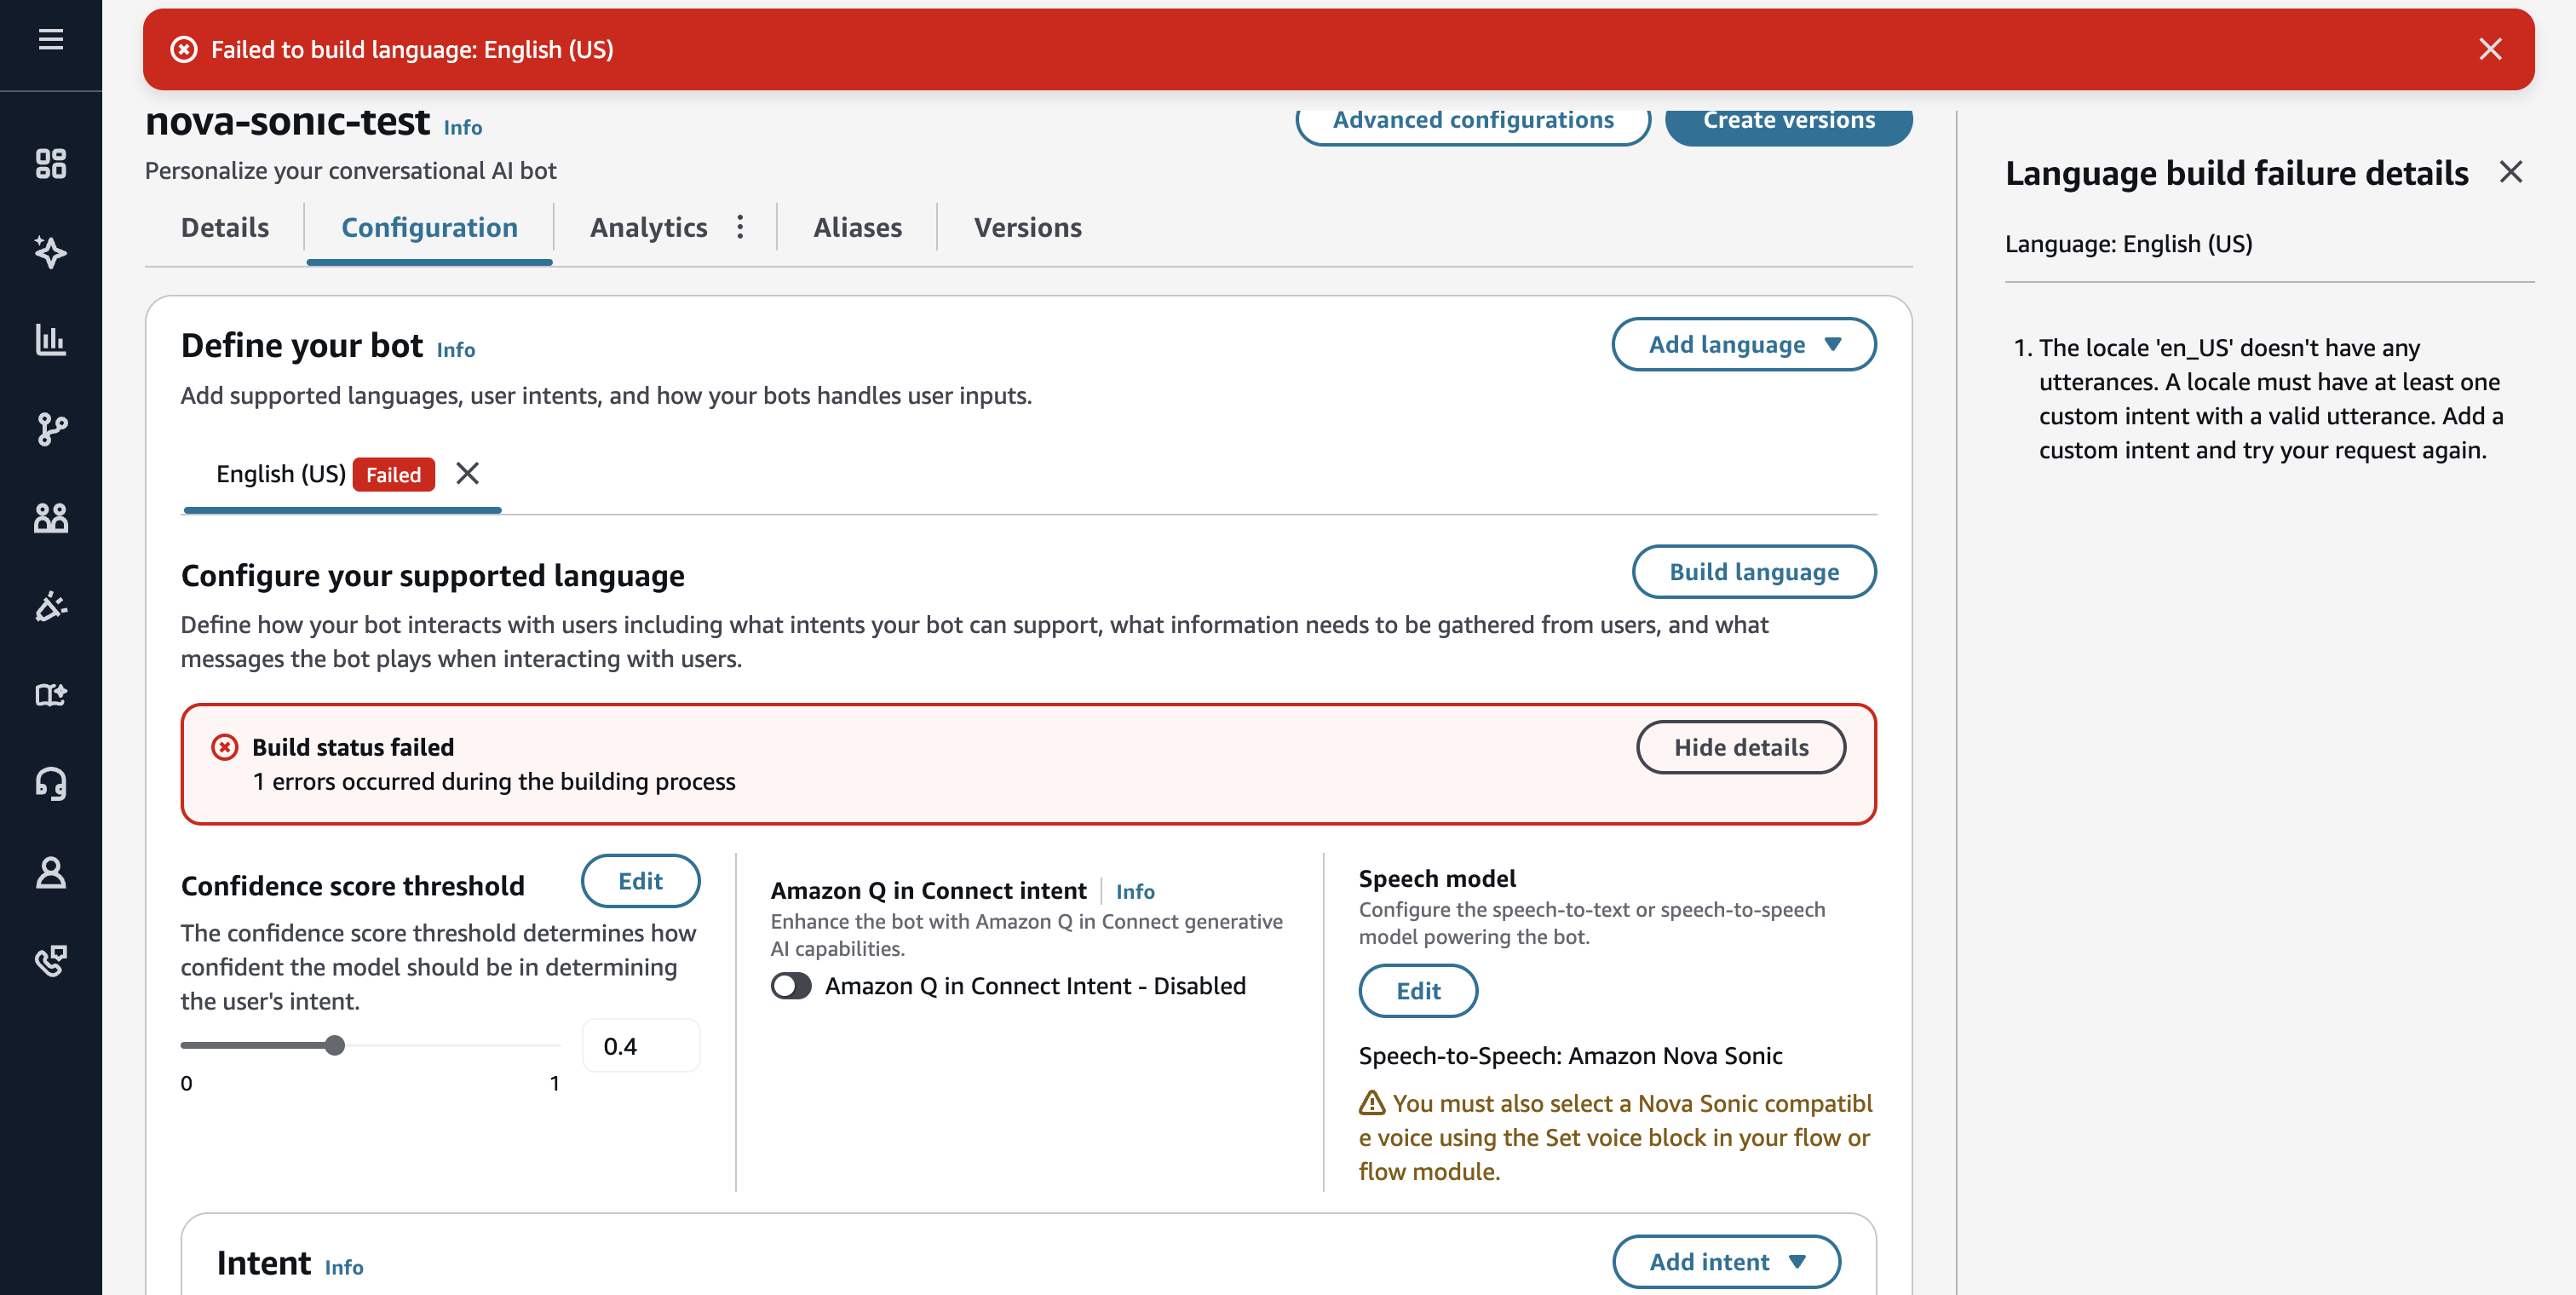
When I clicked "Build language" in this state, I got the error shown below. It seems you need to add at least one Custom Intent.

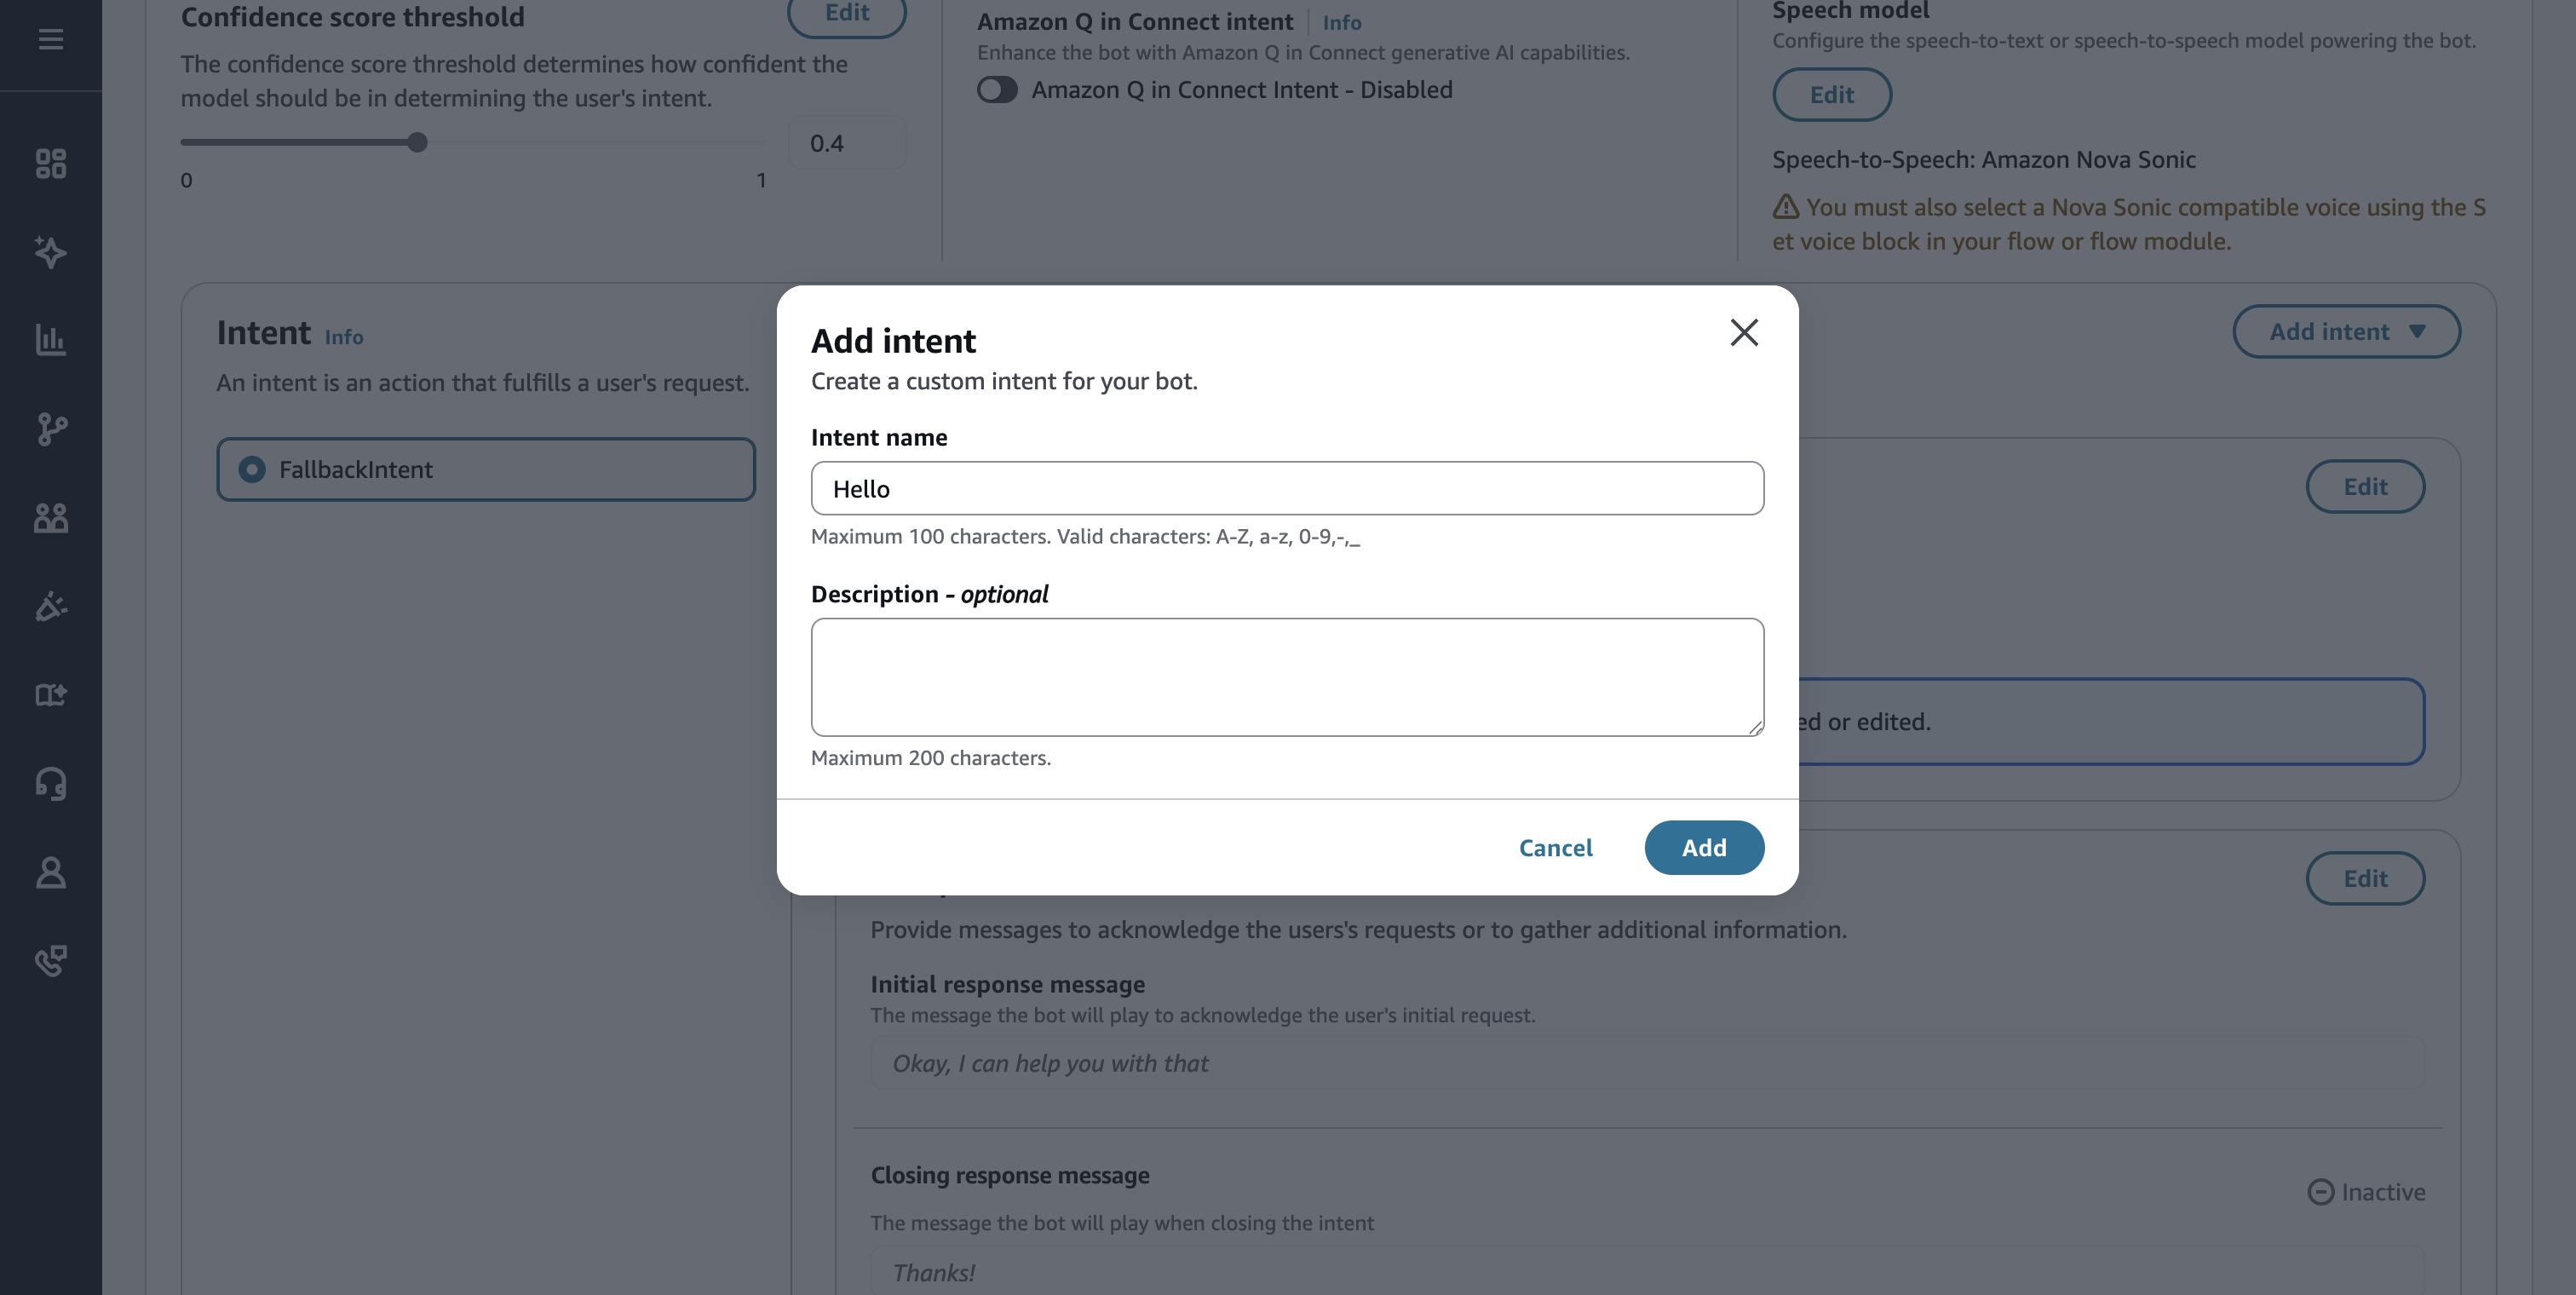
Scroll down to the bottom of the screen and click "Add intent."

Since a Custom Intent is needed, you should select "Add empty intent" rather than "Use built-in intent."

Give it an appropriate name and click the "Add" button.
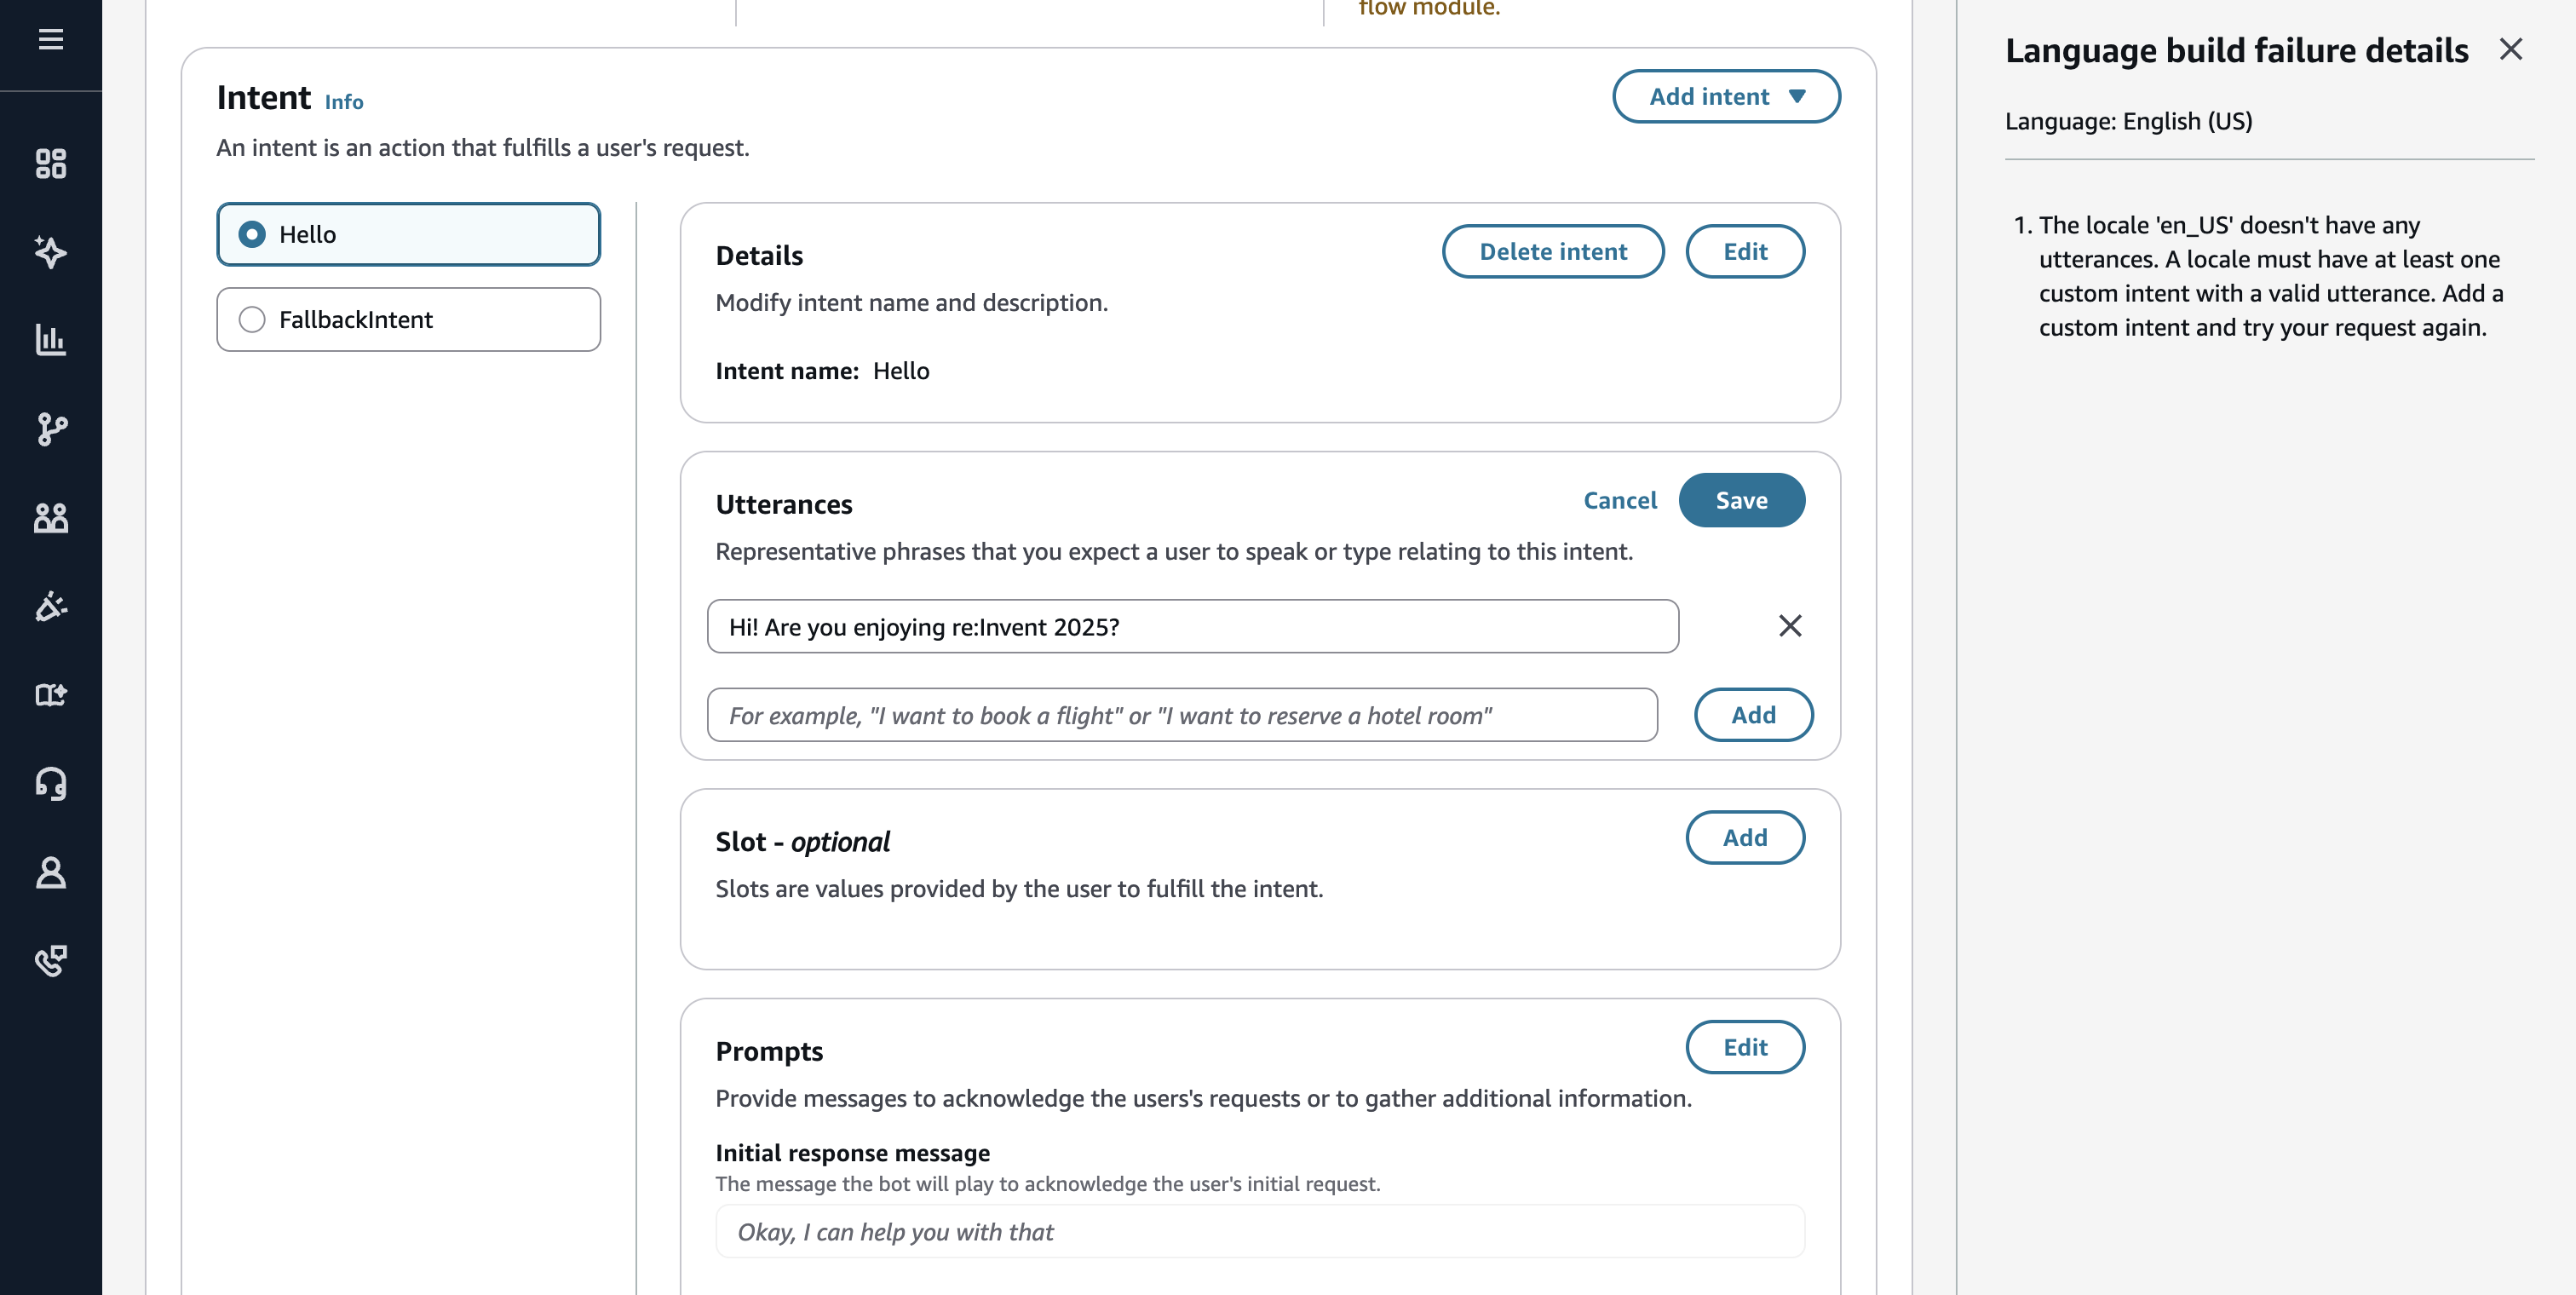
When I clicked the "Build language" button again in this state, I got the error shown below. It seems you need to add at least one utterance example to the Intent.
Scroll to the bottom of the screen, add an item to Utterances, and click the "Save" button. This time I added the utterance example "Hi! Are you enjoying re:Invent 2025?"
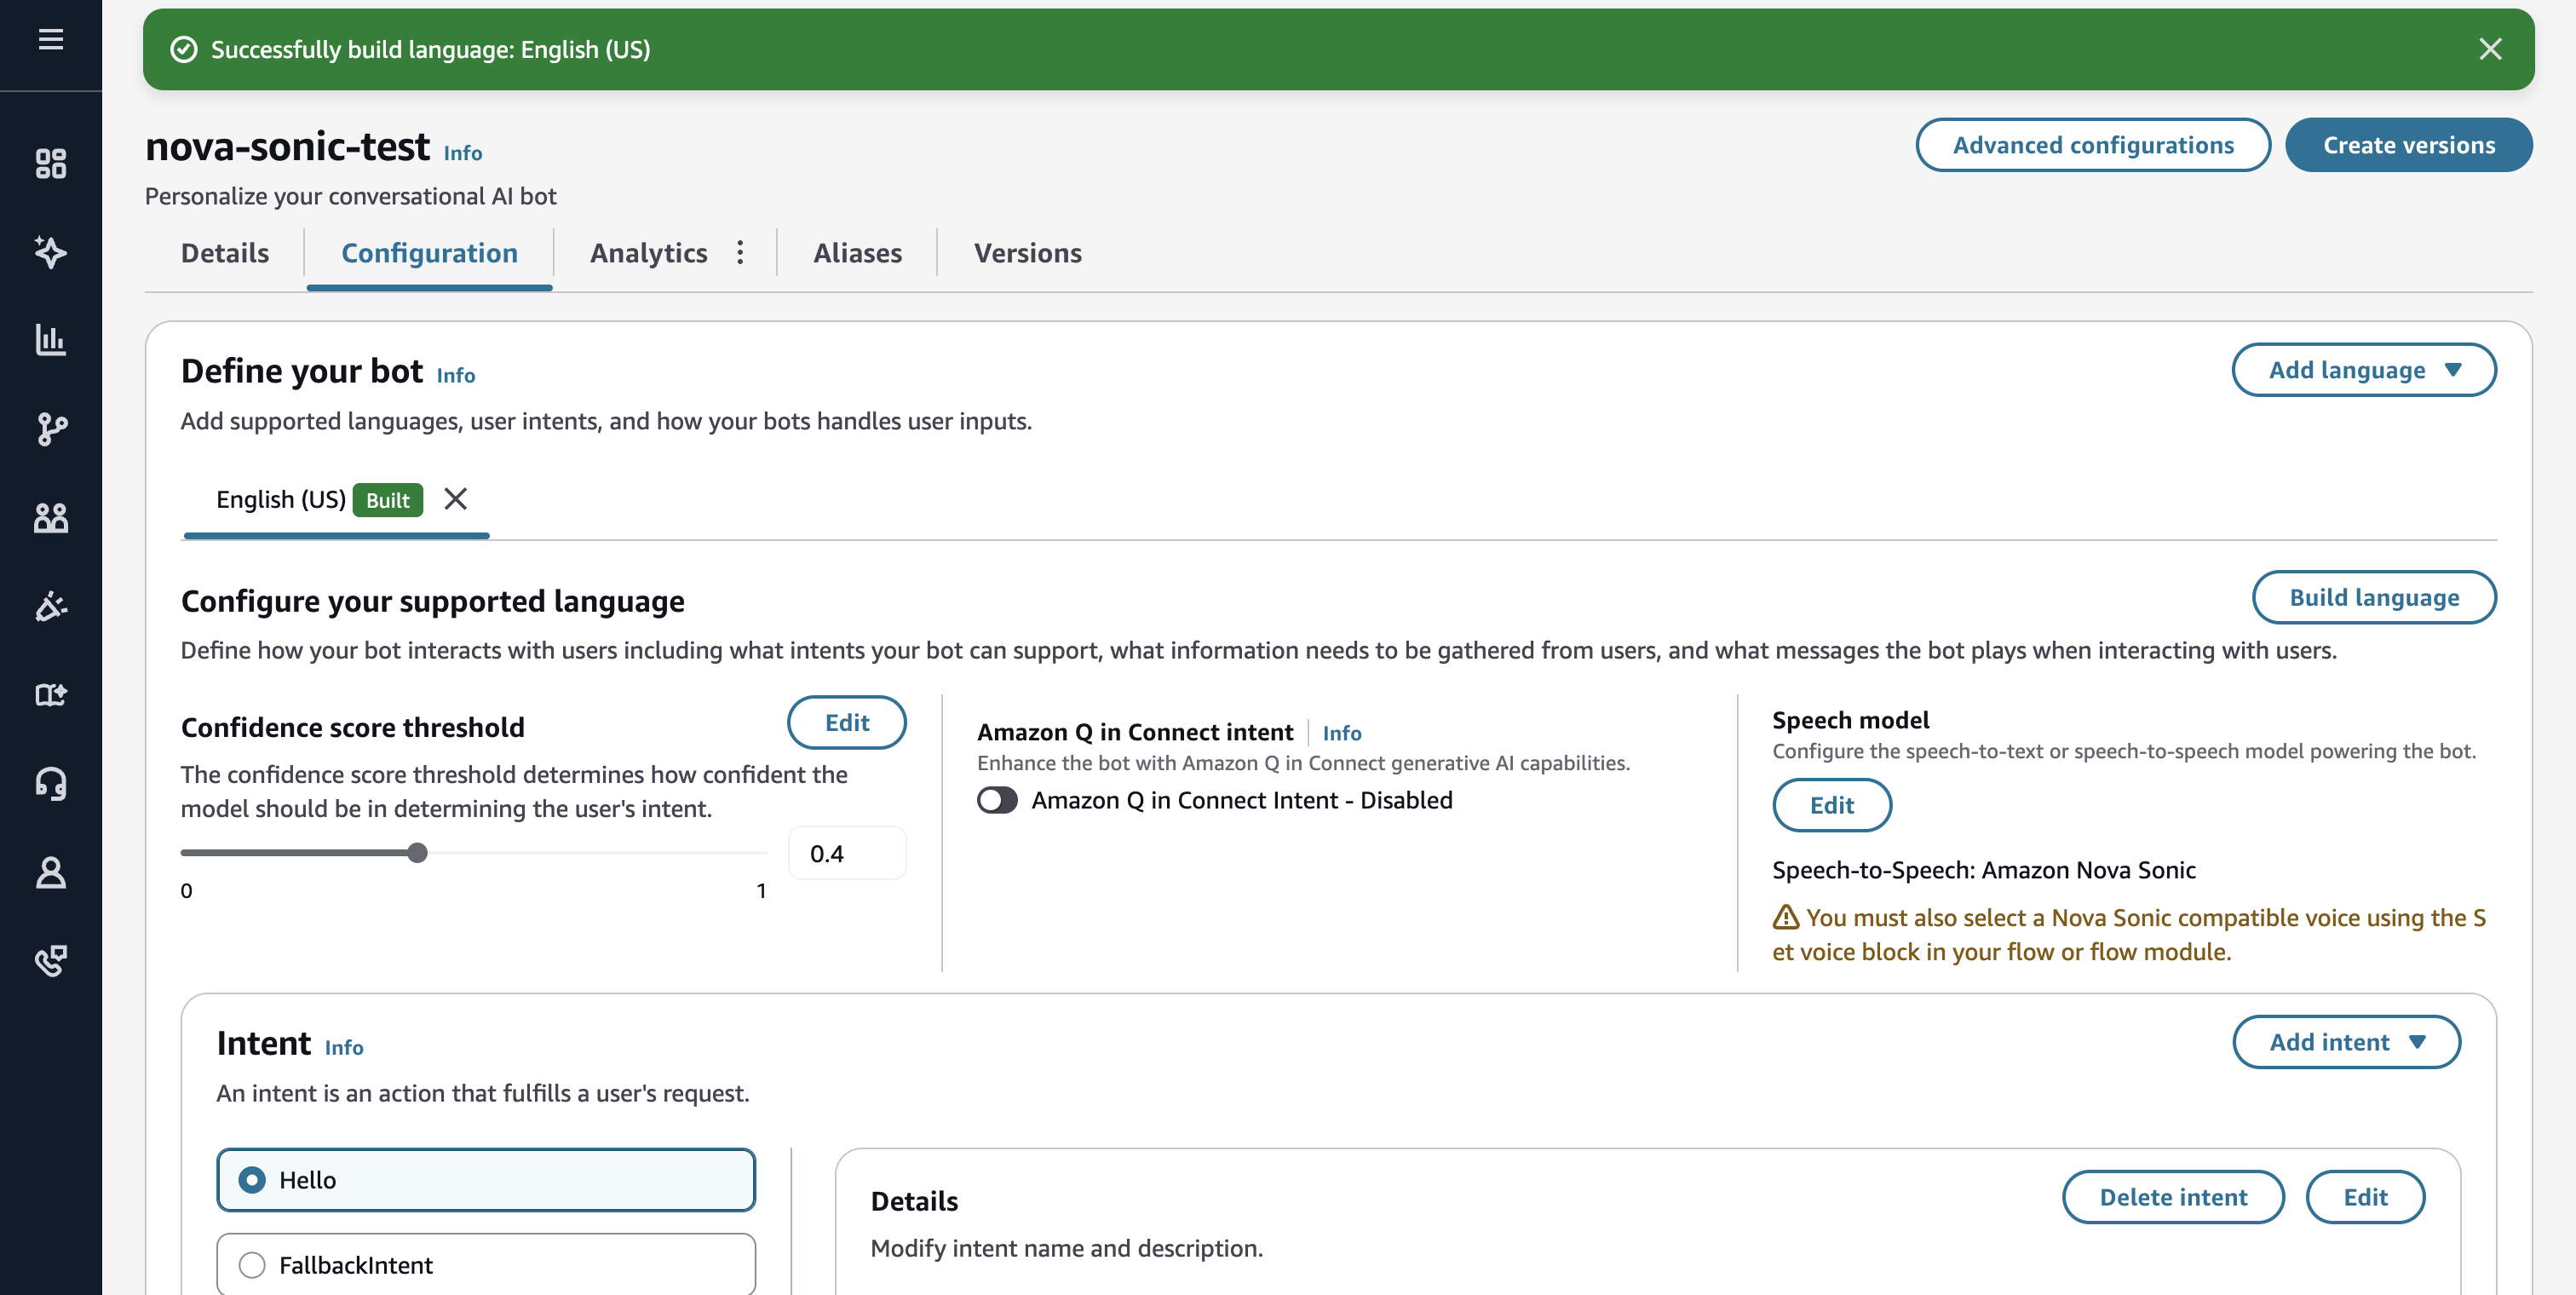
When I clicked the "Build language" button again in this state, the build succeeded.
Creating a flow
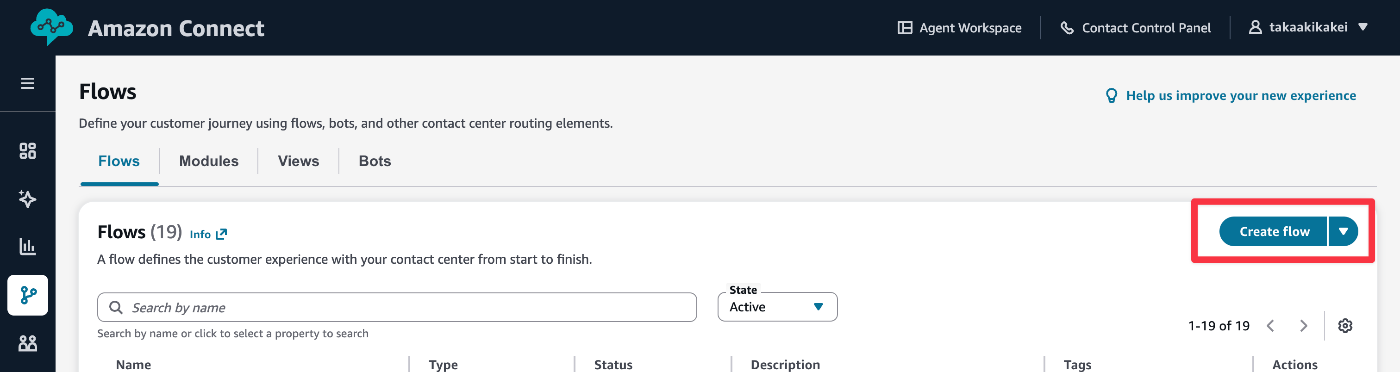
Next, create a flow. Navigate to "Routing" > "Flows" in the sidebar, and click the "Create flow" button in the "Flows" tab.
Drag and drop the "Set Voice" block from the Block Library and connect it from the Entry point.

Click the three dots on the "Set Voice" block and select "Edit settings."

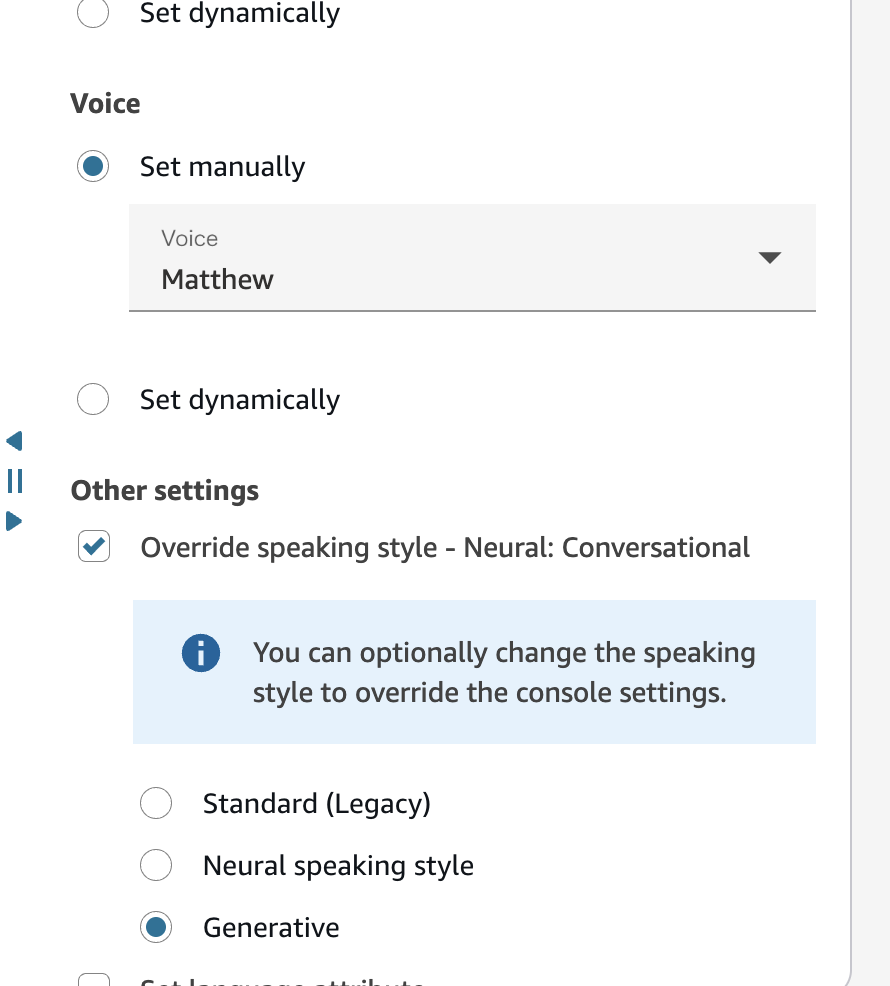
Remember the caution note from when creating the Bot. You need to use voices supported by Nova Sonic in the flow. As of the time of writing, the following voices are supported. This time, I selected Matthew using "Voice" > "Set manually."
- Matthew (en-US, Masculine)
- Amy (en-GB, Feminine)
- Olivia (en-AU, Feminine)
- Lupe (es-US, Feminine)
Turn on "Override voice settings" in Other settings, select "Generative," and click the "Confirm" button.
This time, I'll focus on the setup and create a simple flow. Drag and drop the "Play prompt" block from the Block Library and connect it from the previous "Set Voice" block. Finally, connect to the "End flow" block.

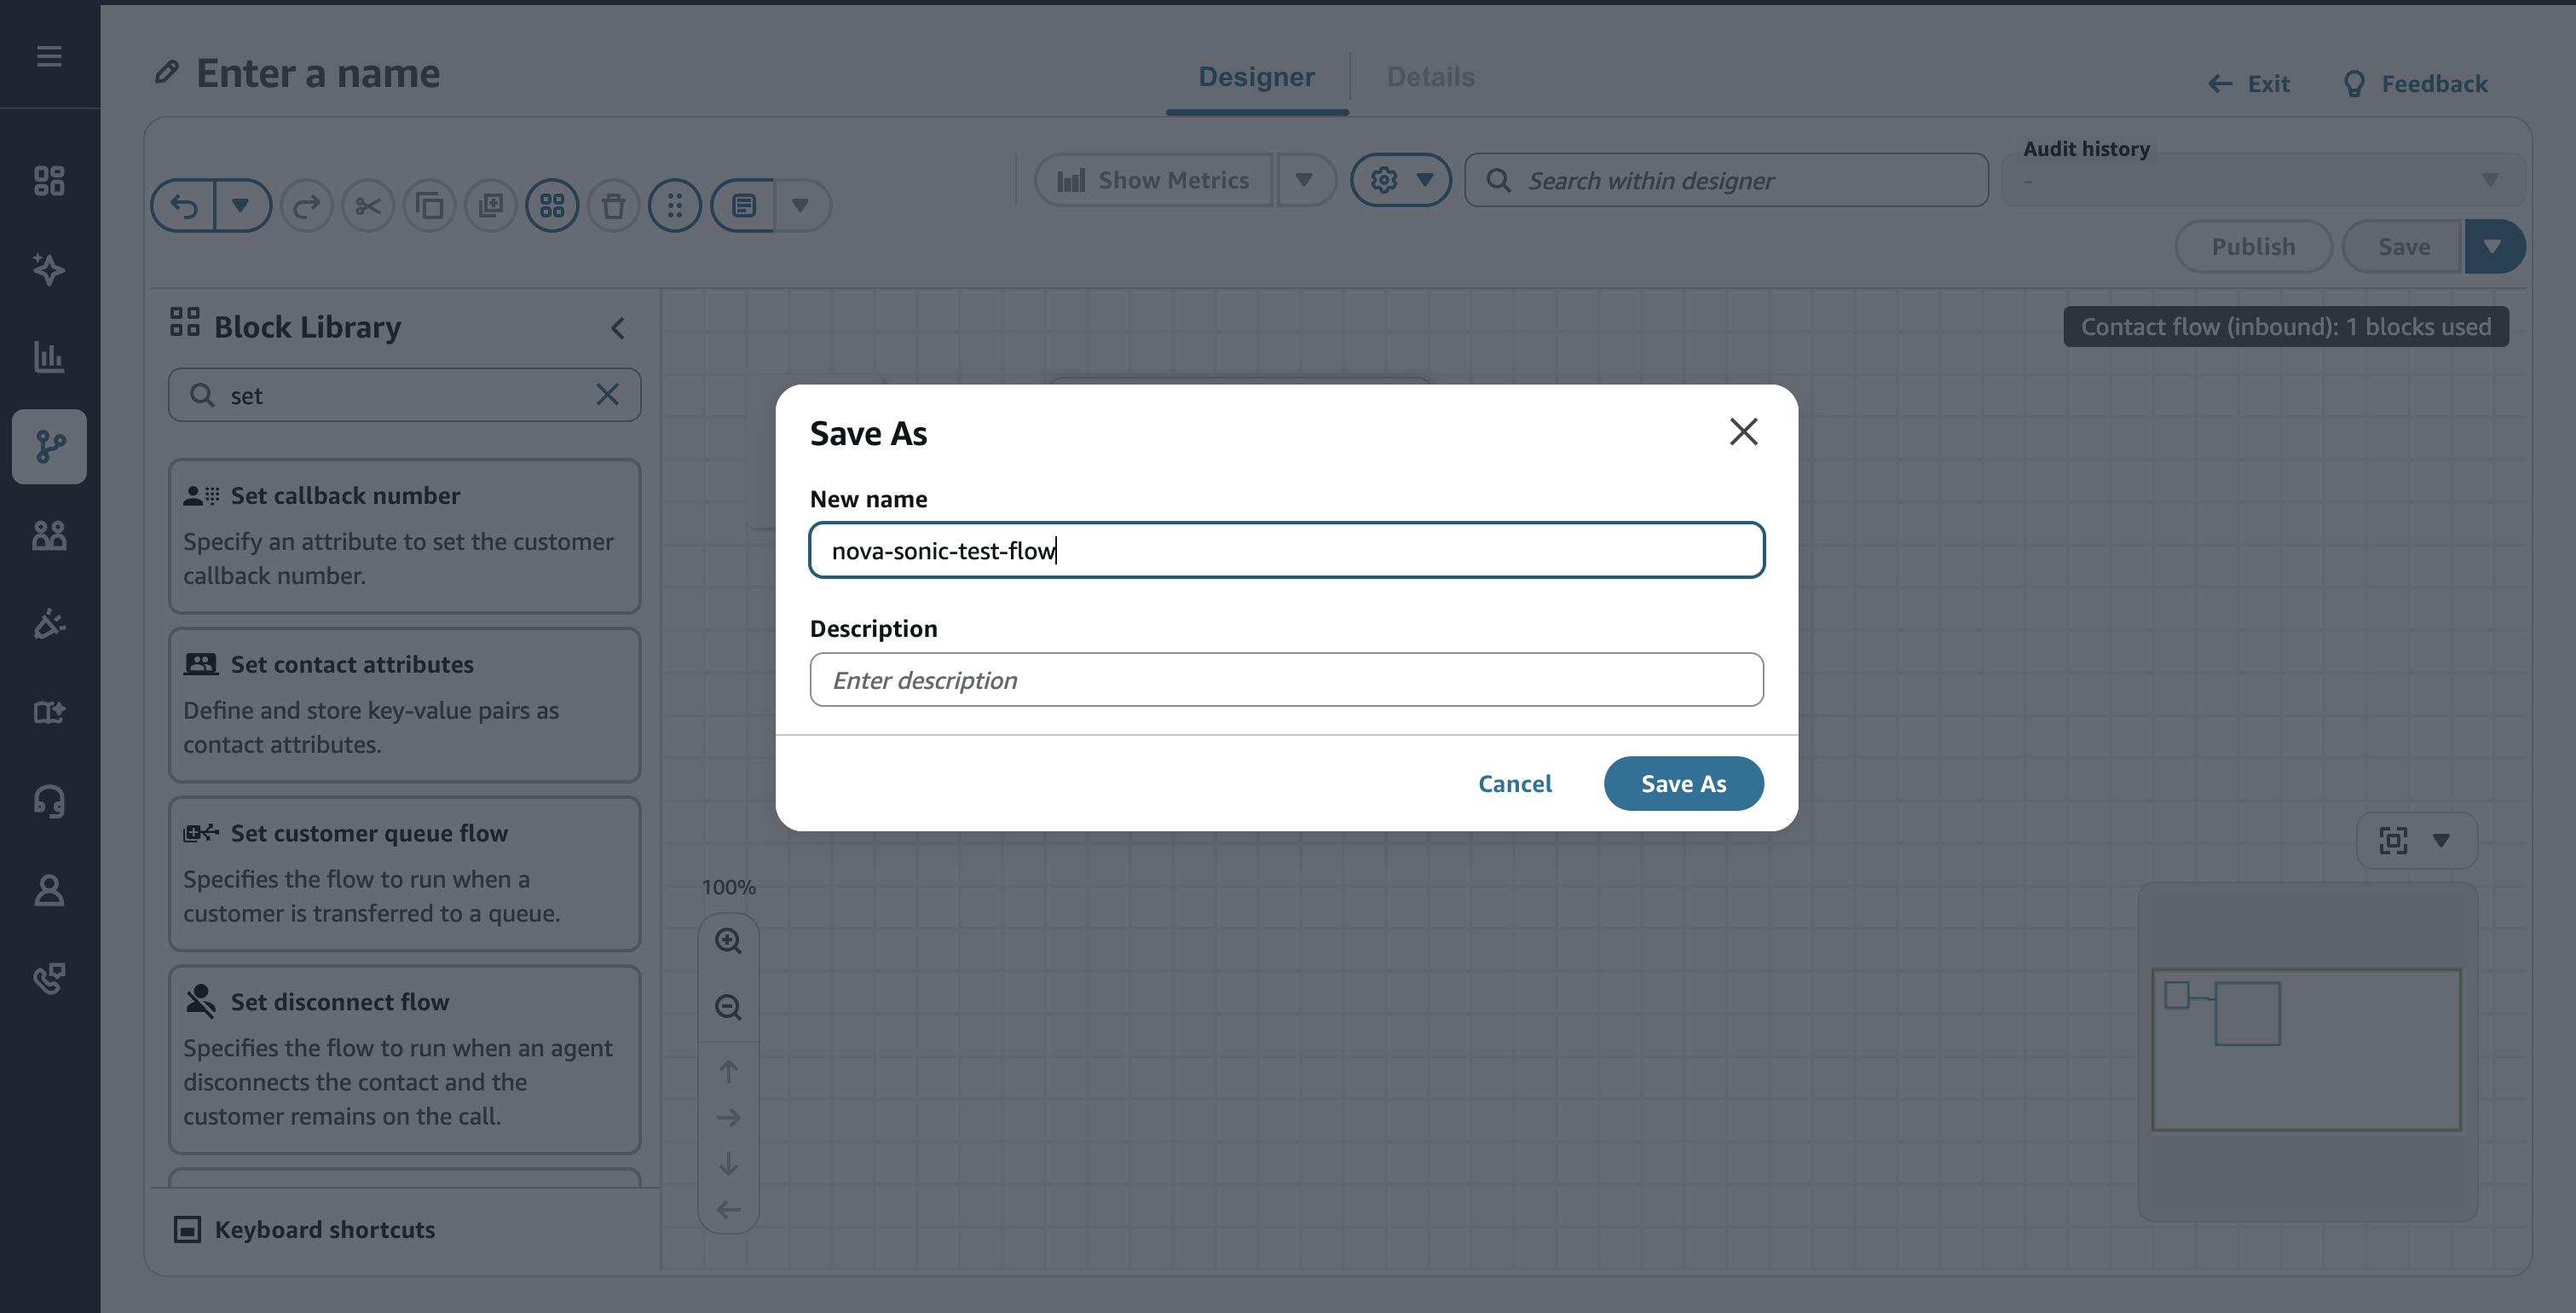
Click the Save button in the upper right corner of the screen to save the flow. I saved it with the name nova-sonic-test-flow.
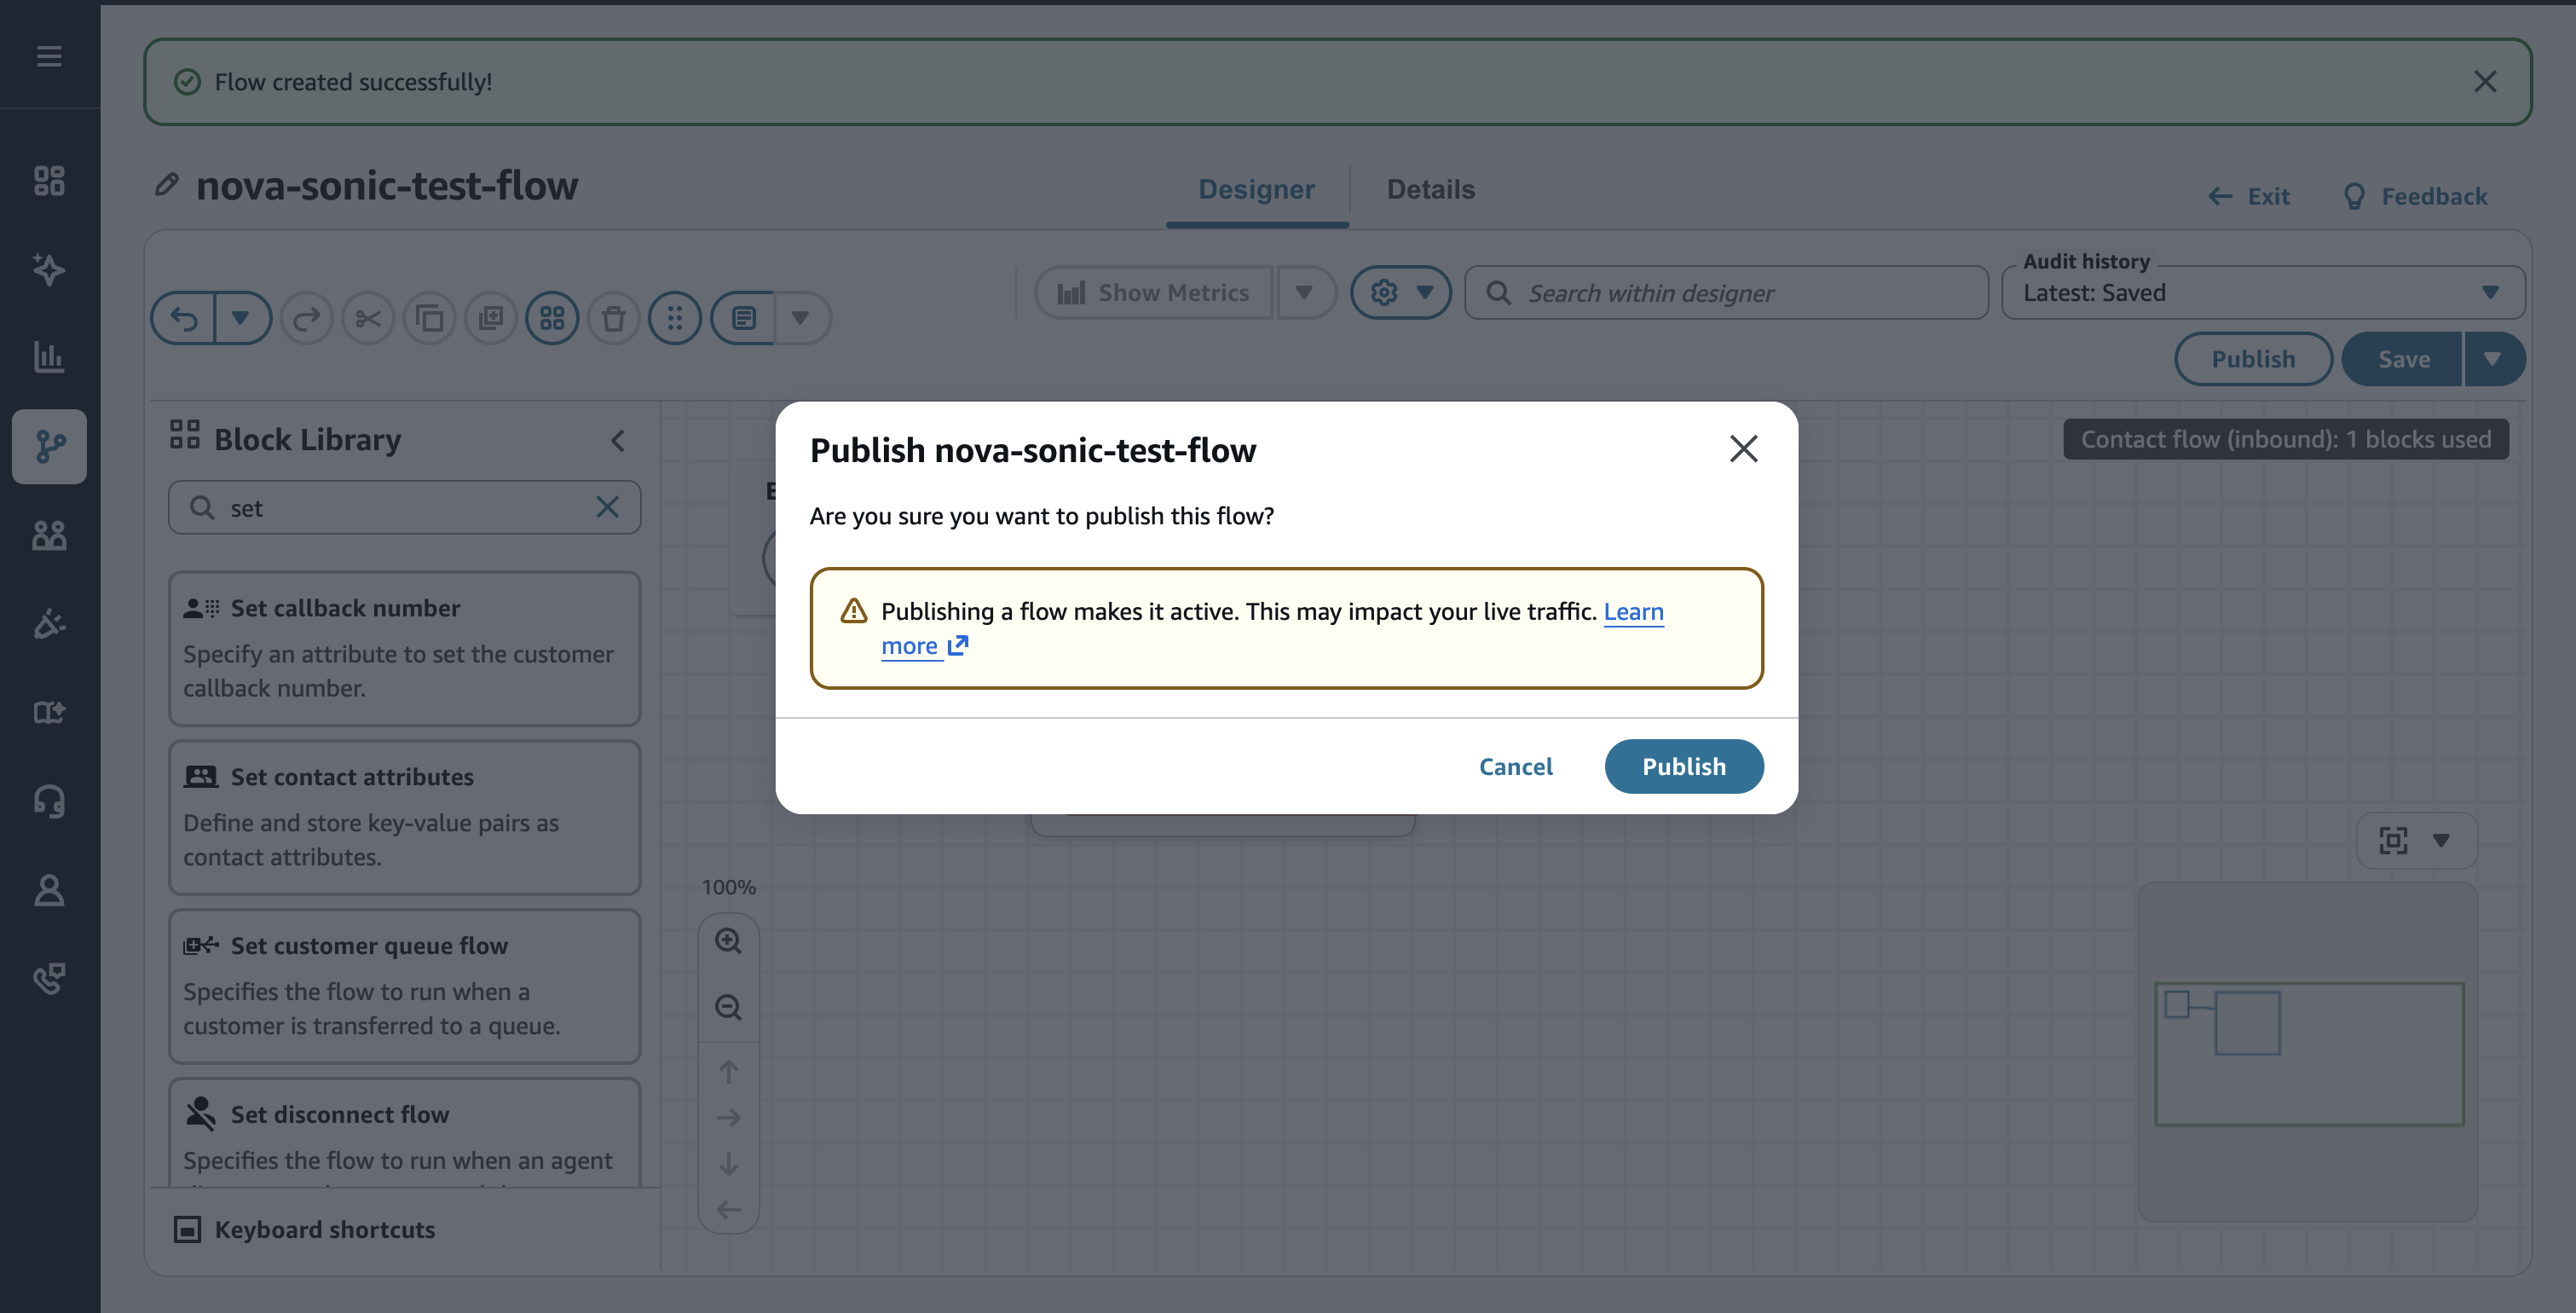
Click the Publish button in the upper right corner of the screen to publish the flow. This is the content described in the official documentation up to this point.
Linking with a phone number
With just the flow set up so far, we haven't created an advanced flow for a Speech-to-Speech Bot leveraging Nova Sonic. However, I found procedures for linking with a phone number in the official documentation below, so I decided to try it for verification.
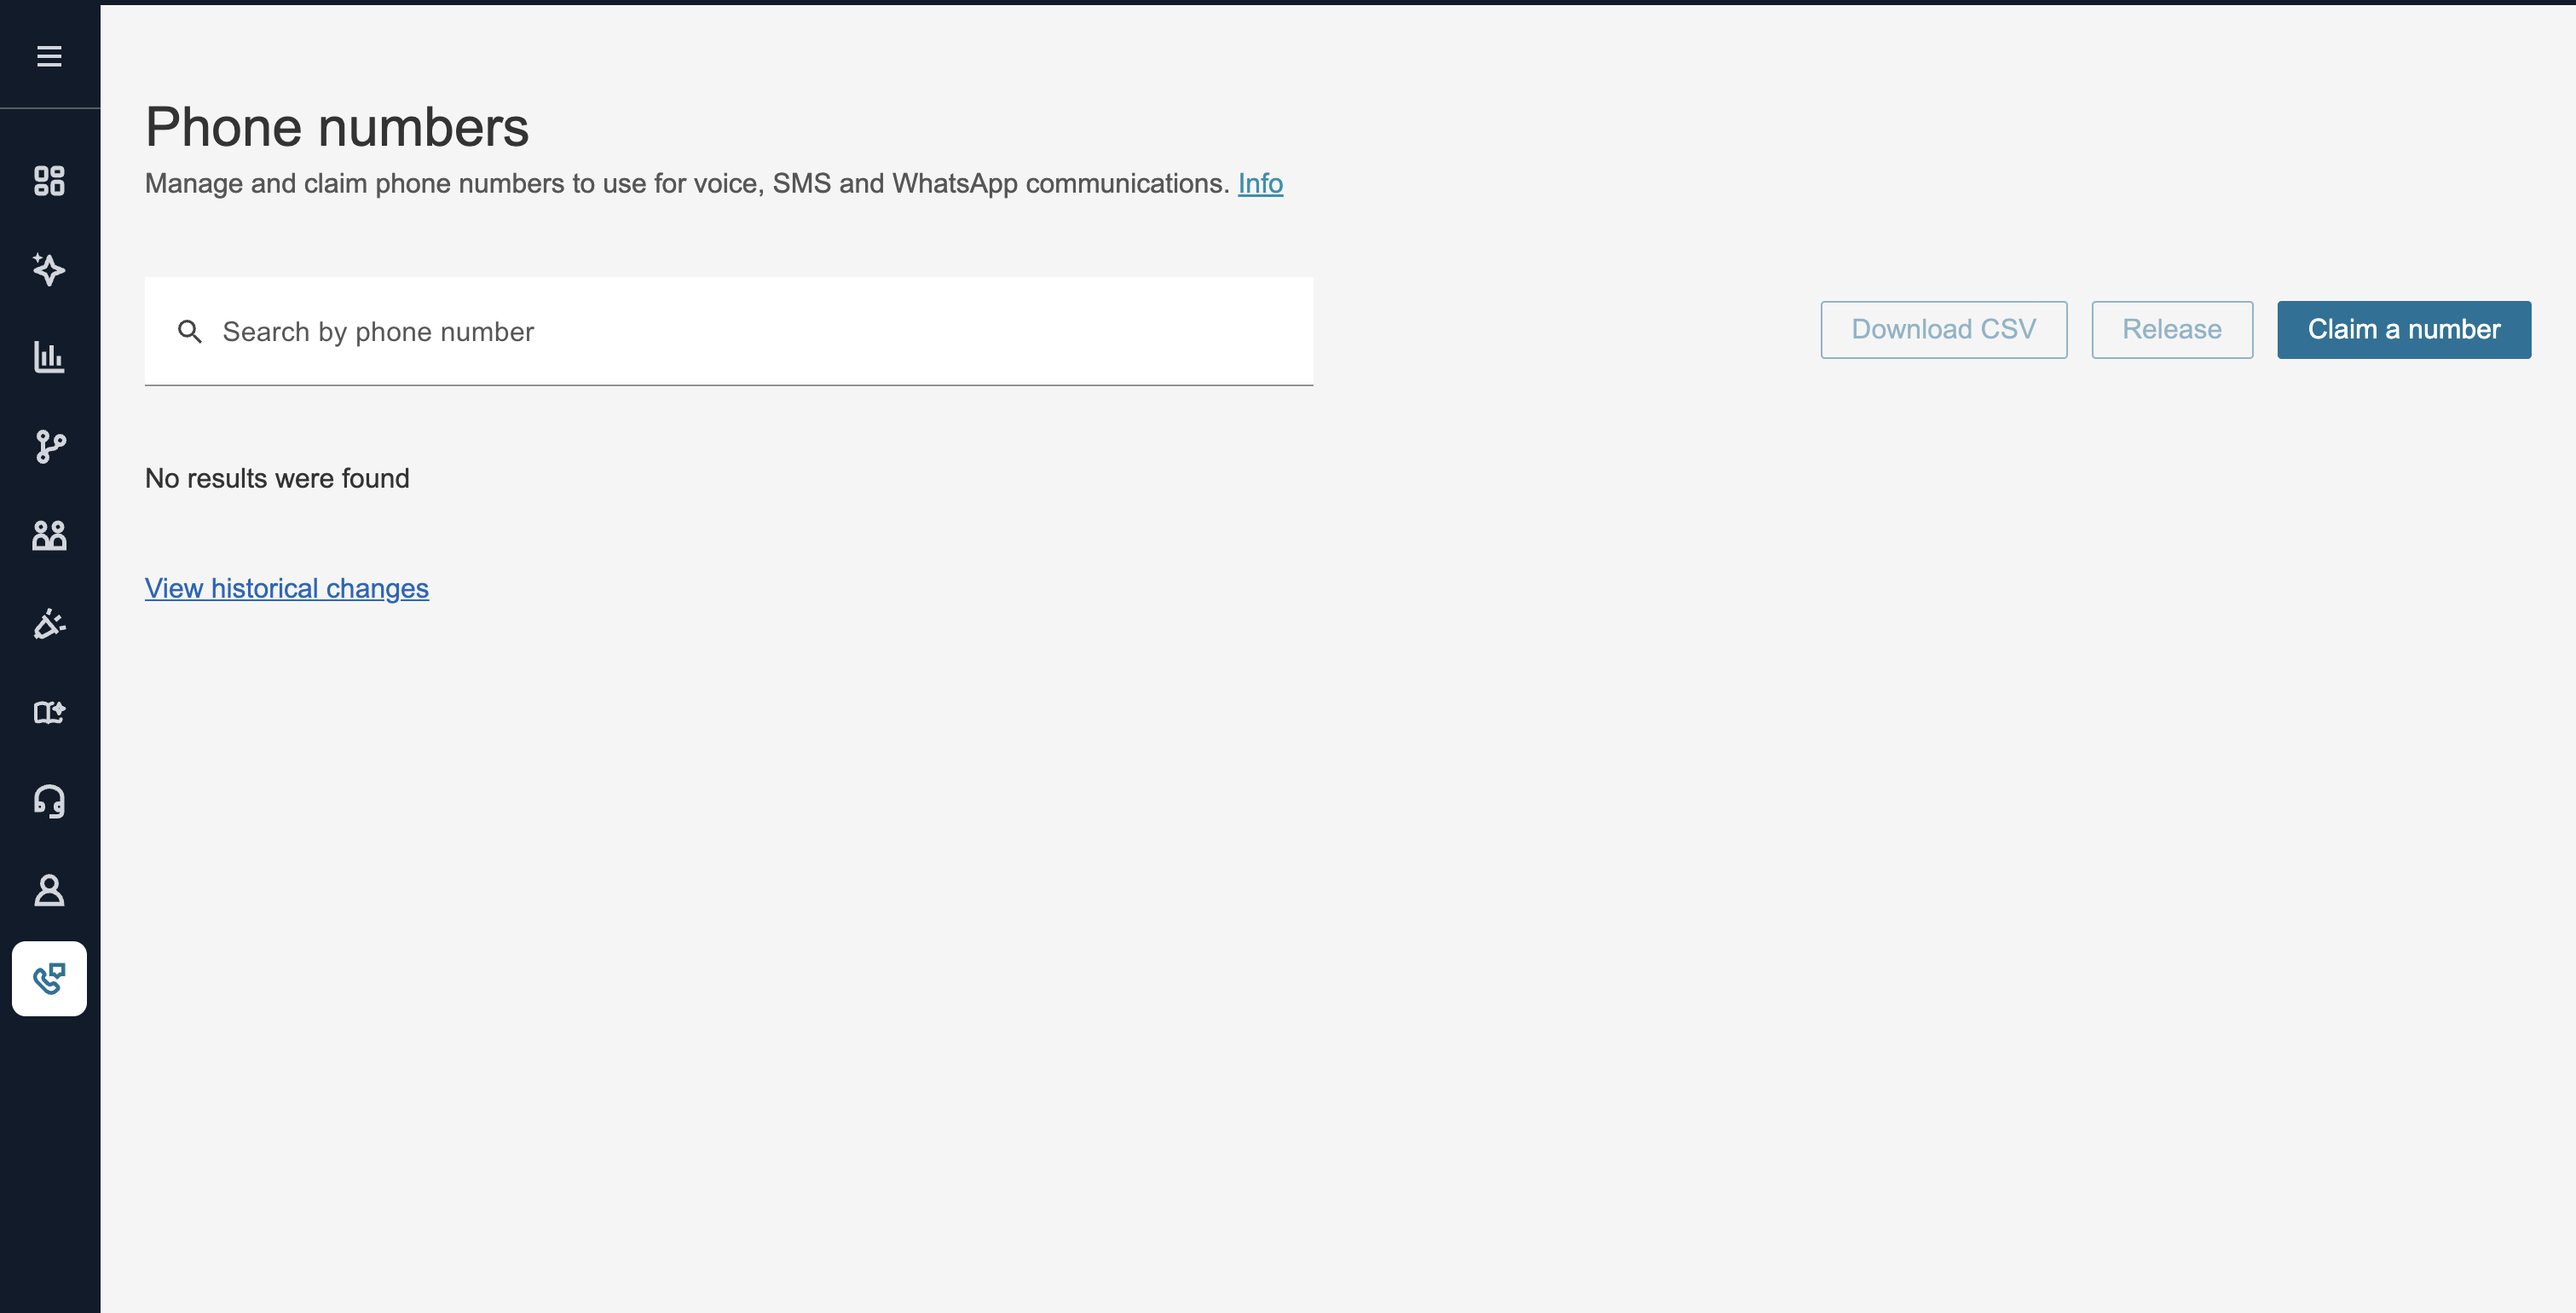
Link a phone number to the created flow. Navigate to "Channels" > "Phone numbers" in the sidebar and click the "Claim a number" button.
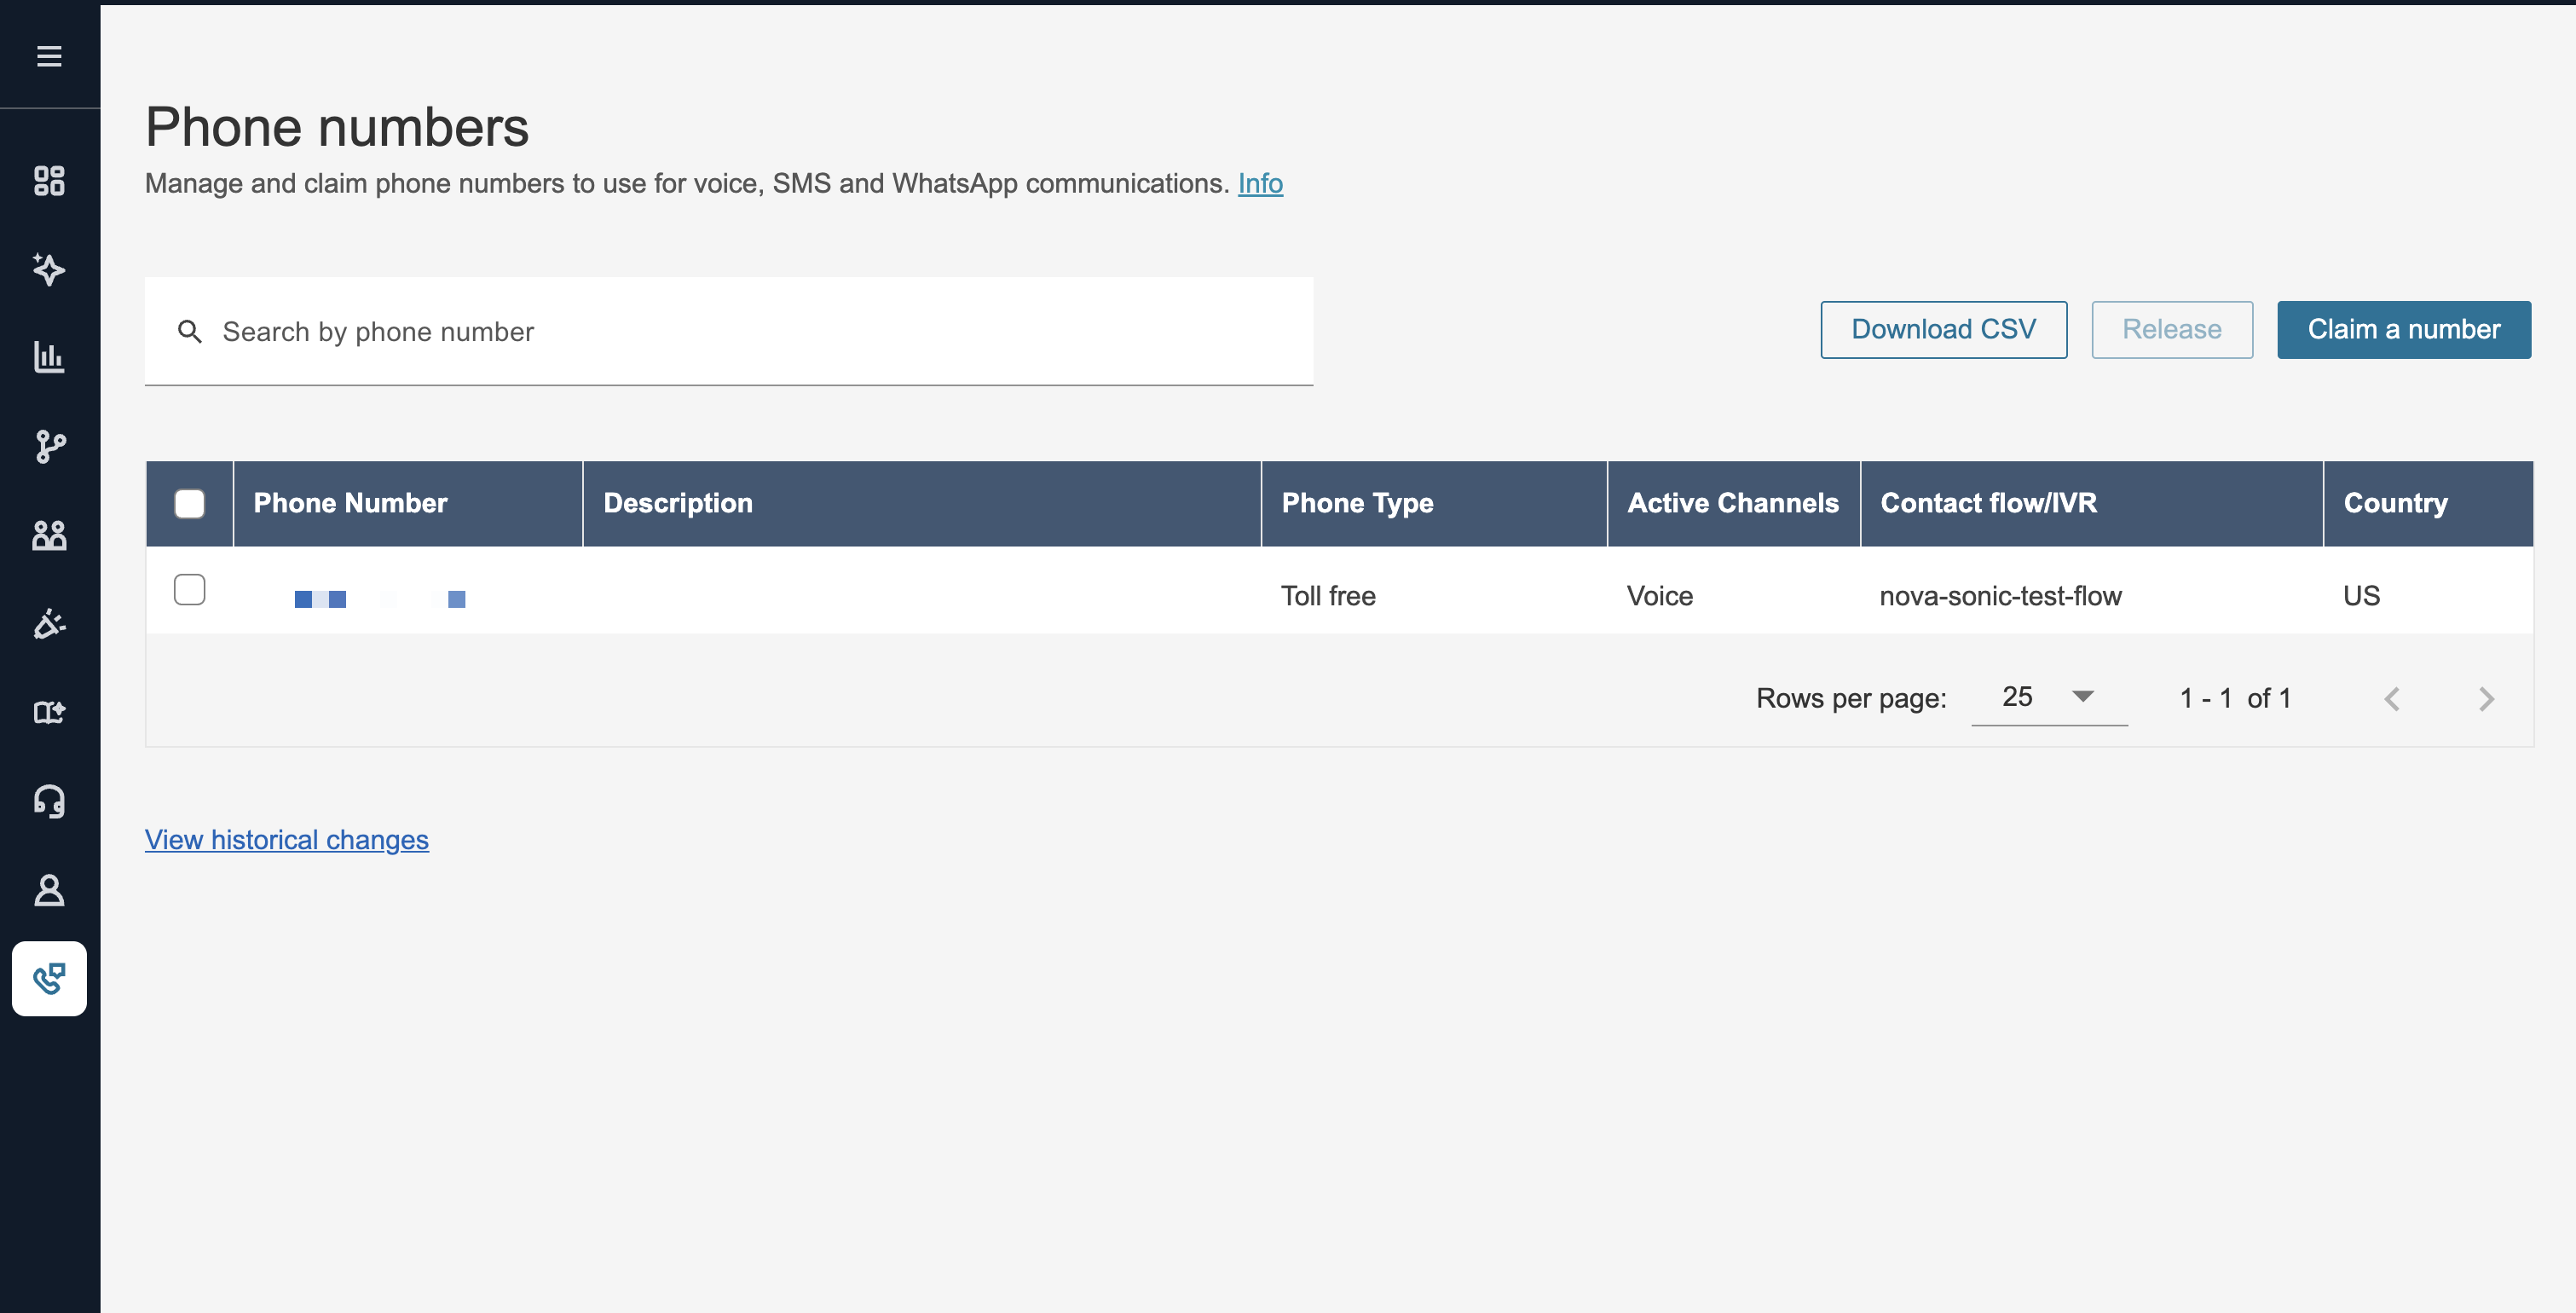
There are several configuration items. For "Choose channel," select Voice. For "Choose phone number," select any country and phone number from the "Toll free" tab. For "Optional information" > "Contact flow / IVR," select the flow created earlier (nova-sonic-test-flow). Finally, click the "Claim number" button. The image below shows the screen after configuration.
I tried calling the linked phone number. The prompt "Hey Yo" was played.
Conclusion
Thank you for reading to the end.
I've introduced the procedure for setting up Amazon Nova Sonic within Amazon Connect flows. I hope that Japanese regions and the Japanese language will be supported in the future.
See you next time!