Implementing Xcode Cloud in an existing project
This article was published more than one year ago. Please be aware that the information may be outdated.
This page has been translated by machine translation. View original
Since CocoaPods will end support in December 2026, I migrated all my personally developed apps from CocoaPods to Swift Package Manager (SPM).
Using CocoaPods with Xcode Cloud requires complex configuration, so I had been using Bitrise for CI/CD until now. With the complete migration to SPM, I decided to also migrate my CI/CD service to Xcode Cloud. Xcode Cloud is a continuous integration and continuous delivery (CI/CD) service integrated with Xcode that can automate building, testing, and delivery of apps.
This article introduces how to implement Xcode Cloud into existing projects.
Testing Environment
The environment used in this article is as follows:
- Xcode 16.2 (16C5032a)
- macOS Sequoia 15.3 (24D60)
- GitHub for source code management
Preparation for Using Xcode Cloud
To use Xcode Cloud, you need the following preparations:
- Registration for the Apple Developer Program
- To use Xcode Cloud, you need to be registered with the Apple Developer Program.
- Install the latest version of Xcode
- To utilize the latest features of Xcode Cloud, install the latest version of Xcode.
- Package manager migrated to SPM
- SPM is recommended for use with Xcode Cloud. While CocoaPods is also available, it requires additional configuration, so migrating to SPM is recommended if possible.
Xcode Cloud Setup Procedure
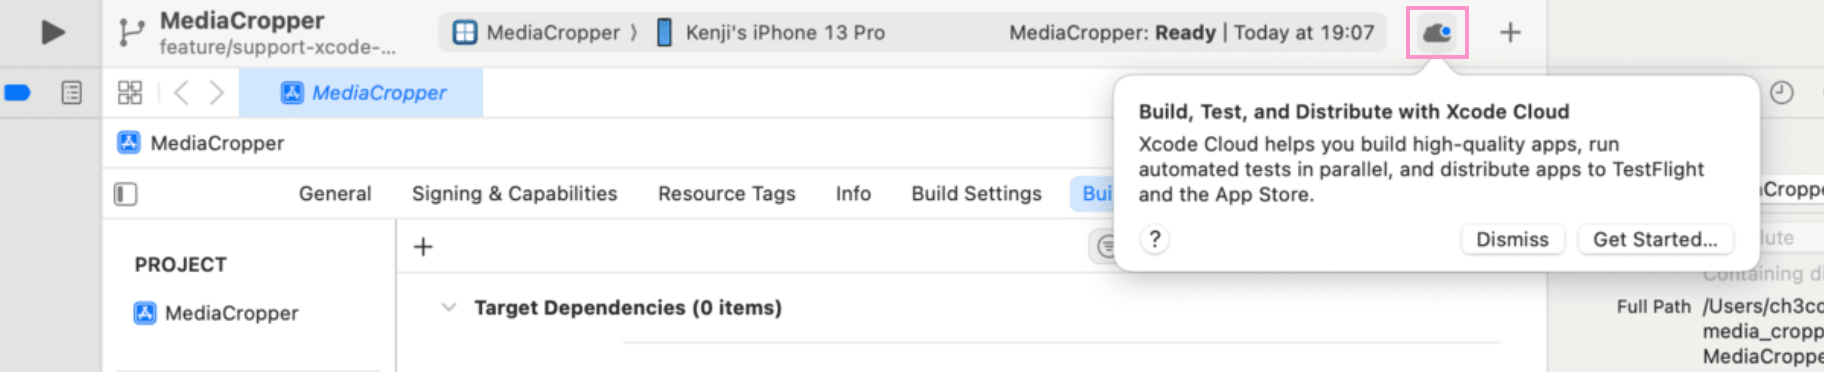
1. Enable Xcode Cloud for the project
Open Xcode and your project. Click the Xcode Cloud button, then click the "Get Started..." button.
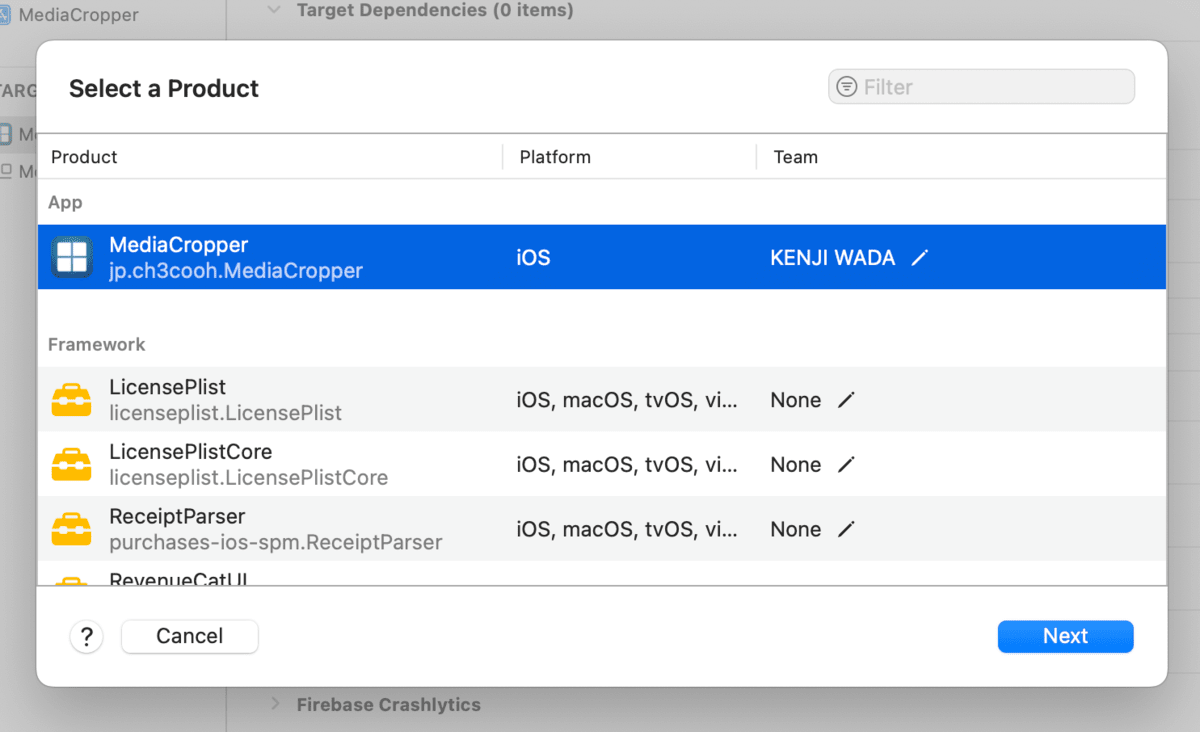
Select the target you want to build, then click the "Next" button.
2. Create a Workflow
A dialog to create a workflow appears. Since editing can be done later, click the "Next" button here.
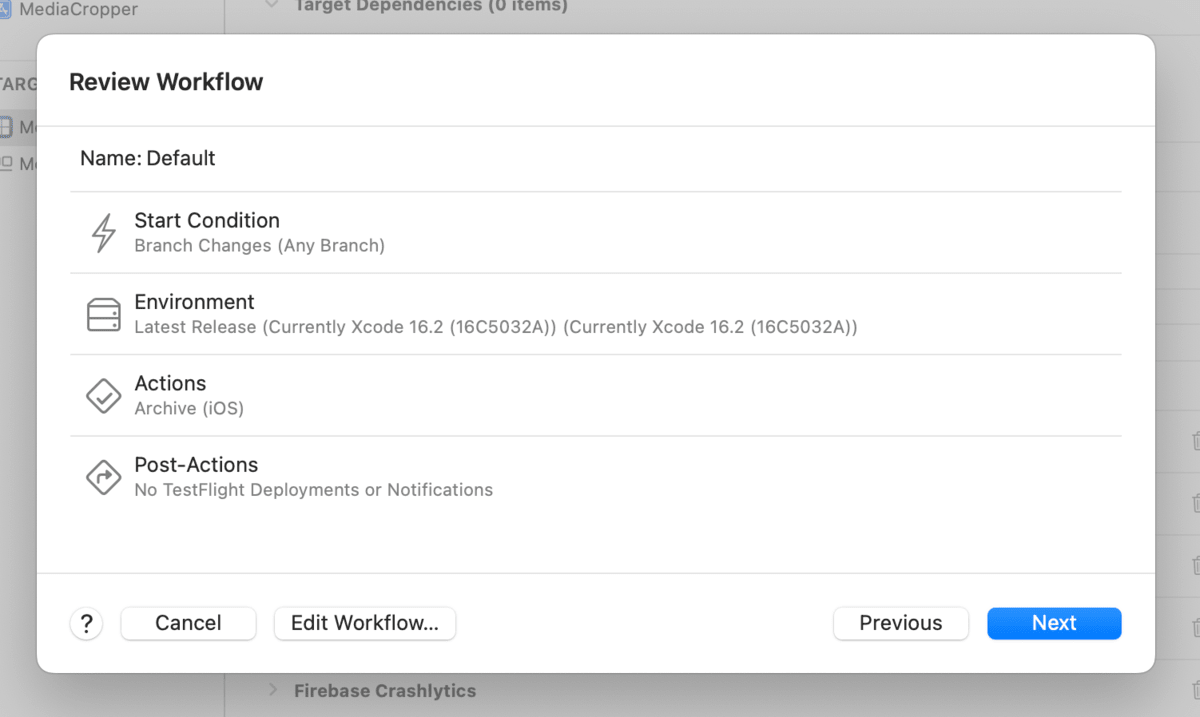
You can edit the workflow name, type (build, test, upload to App Store Connect), trigger events, and build environment (Xcode version) as needed.
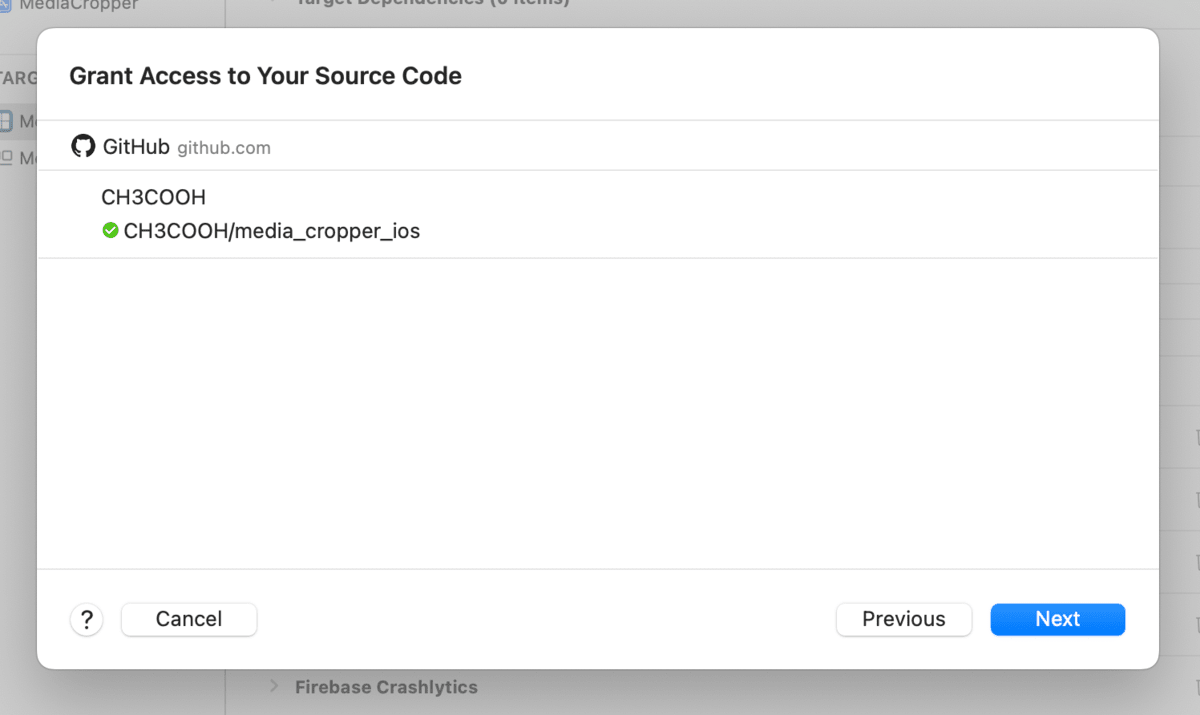
3. Verify Source Code Management
Next, connect GitHub (or other Git services) with Xcode Cloud so that Xcode Cloud can detect when pushes occur.
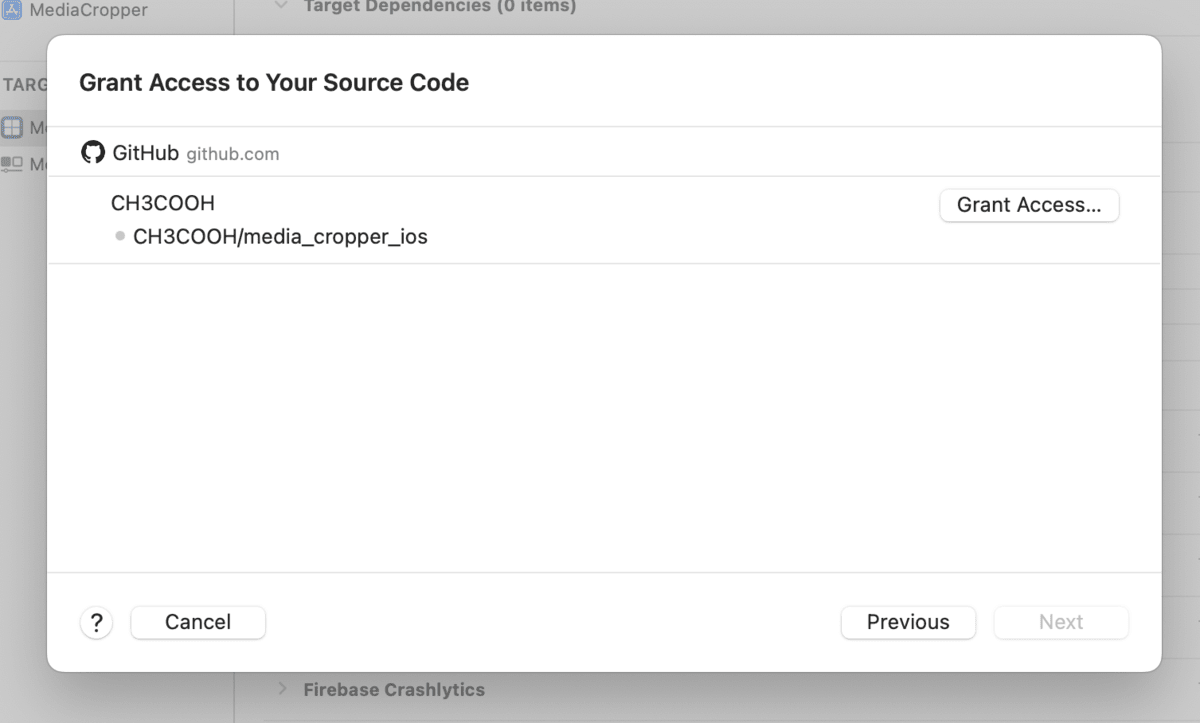
Click the "Grant Access..." button.
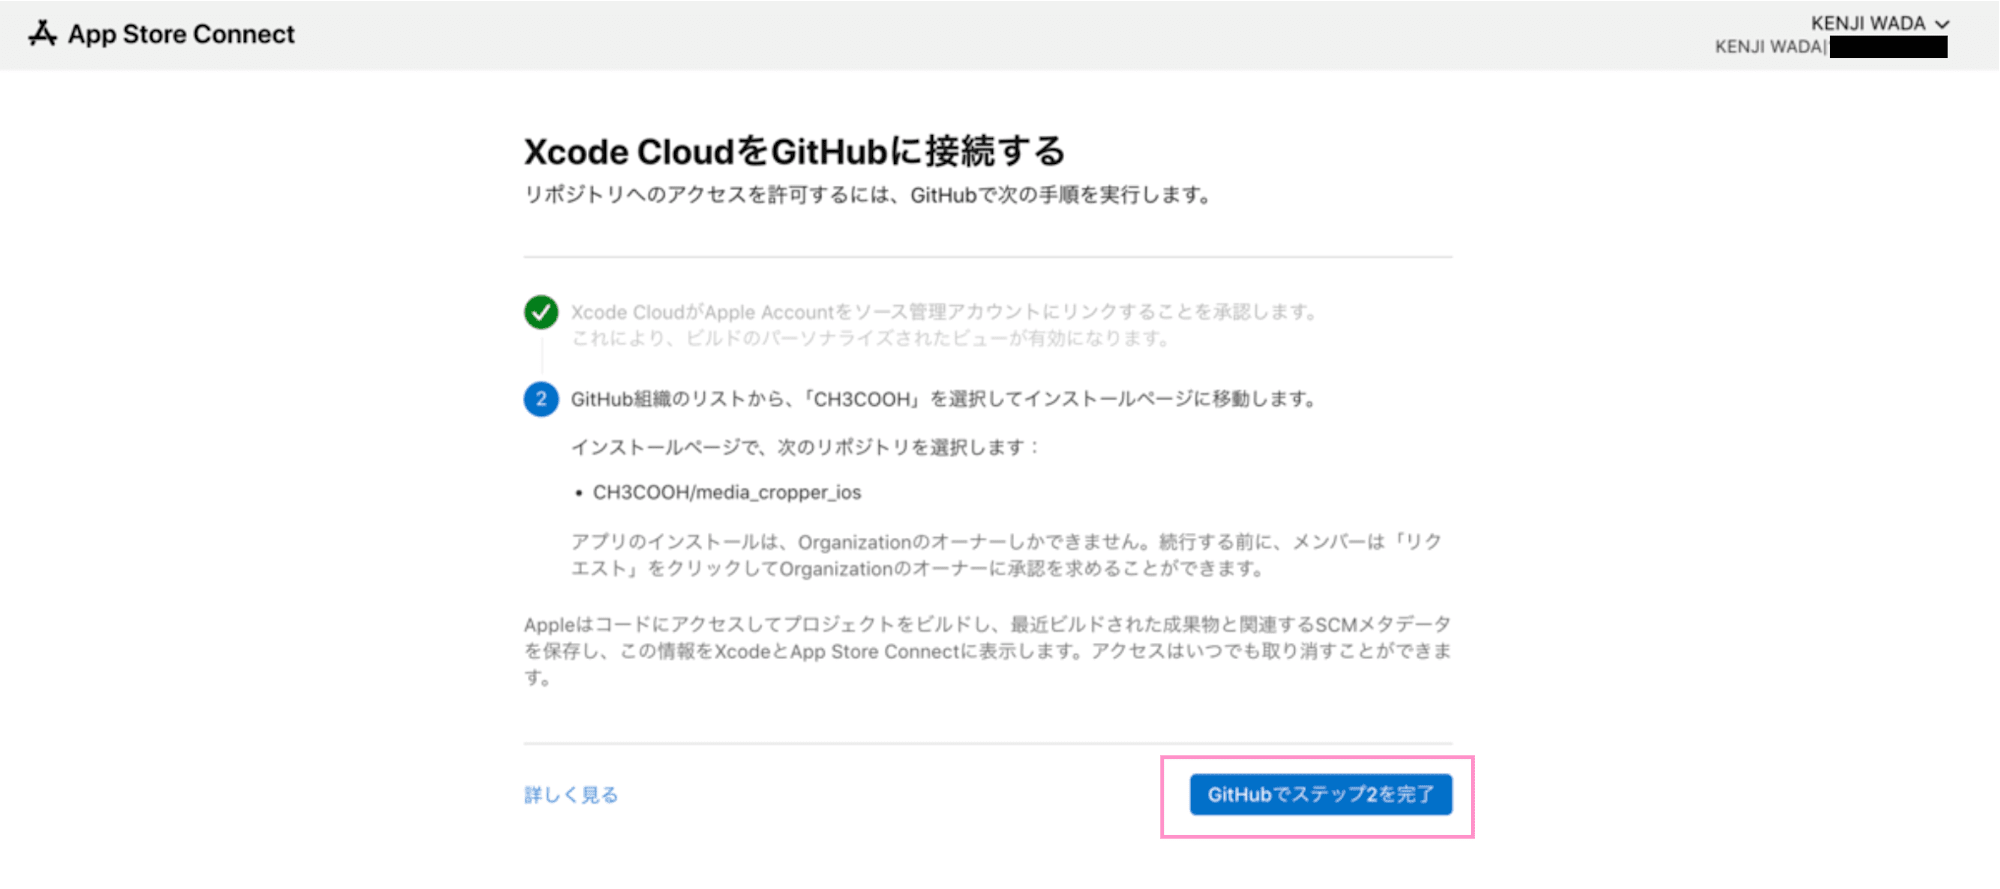
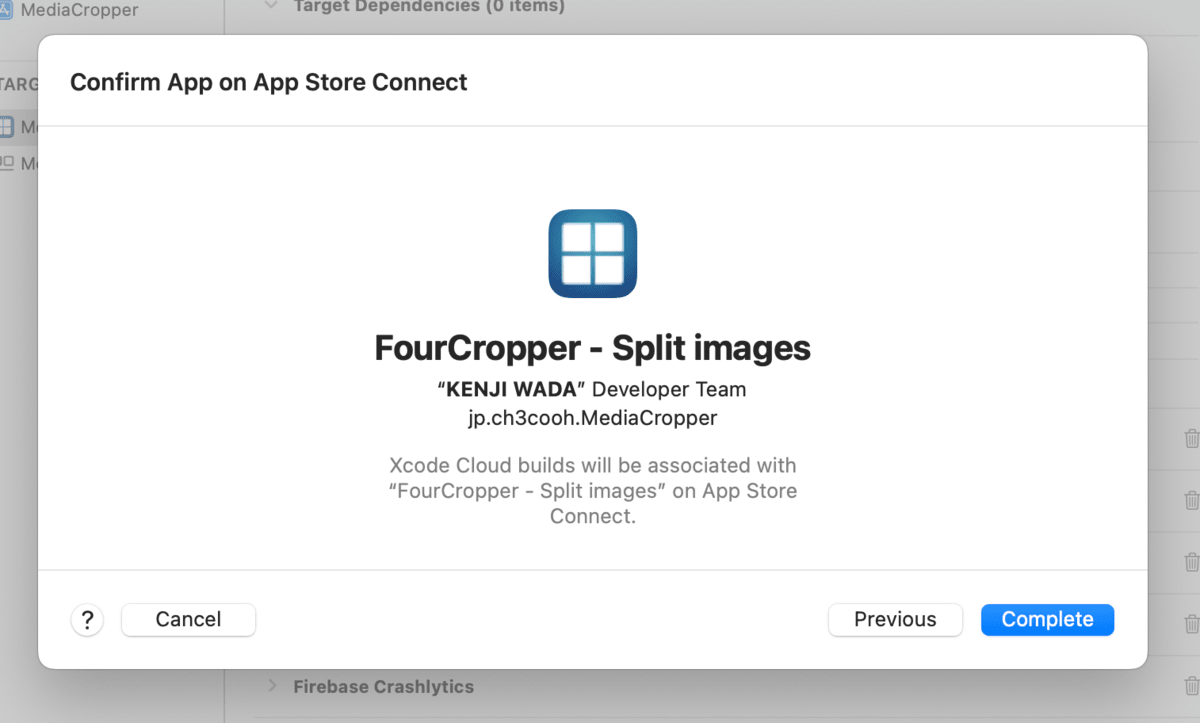
You'll be directed to the "Connect Xcode Cloud to GitHub" page in App Store Connect, so click the "Complete Step 2 in GitHub" button.
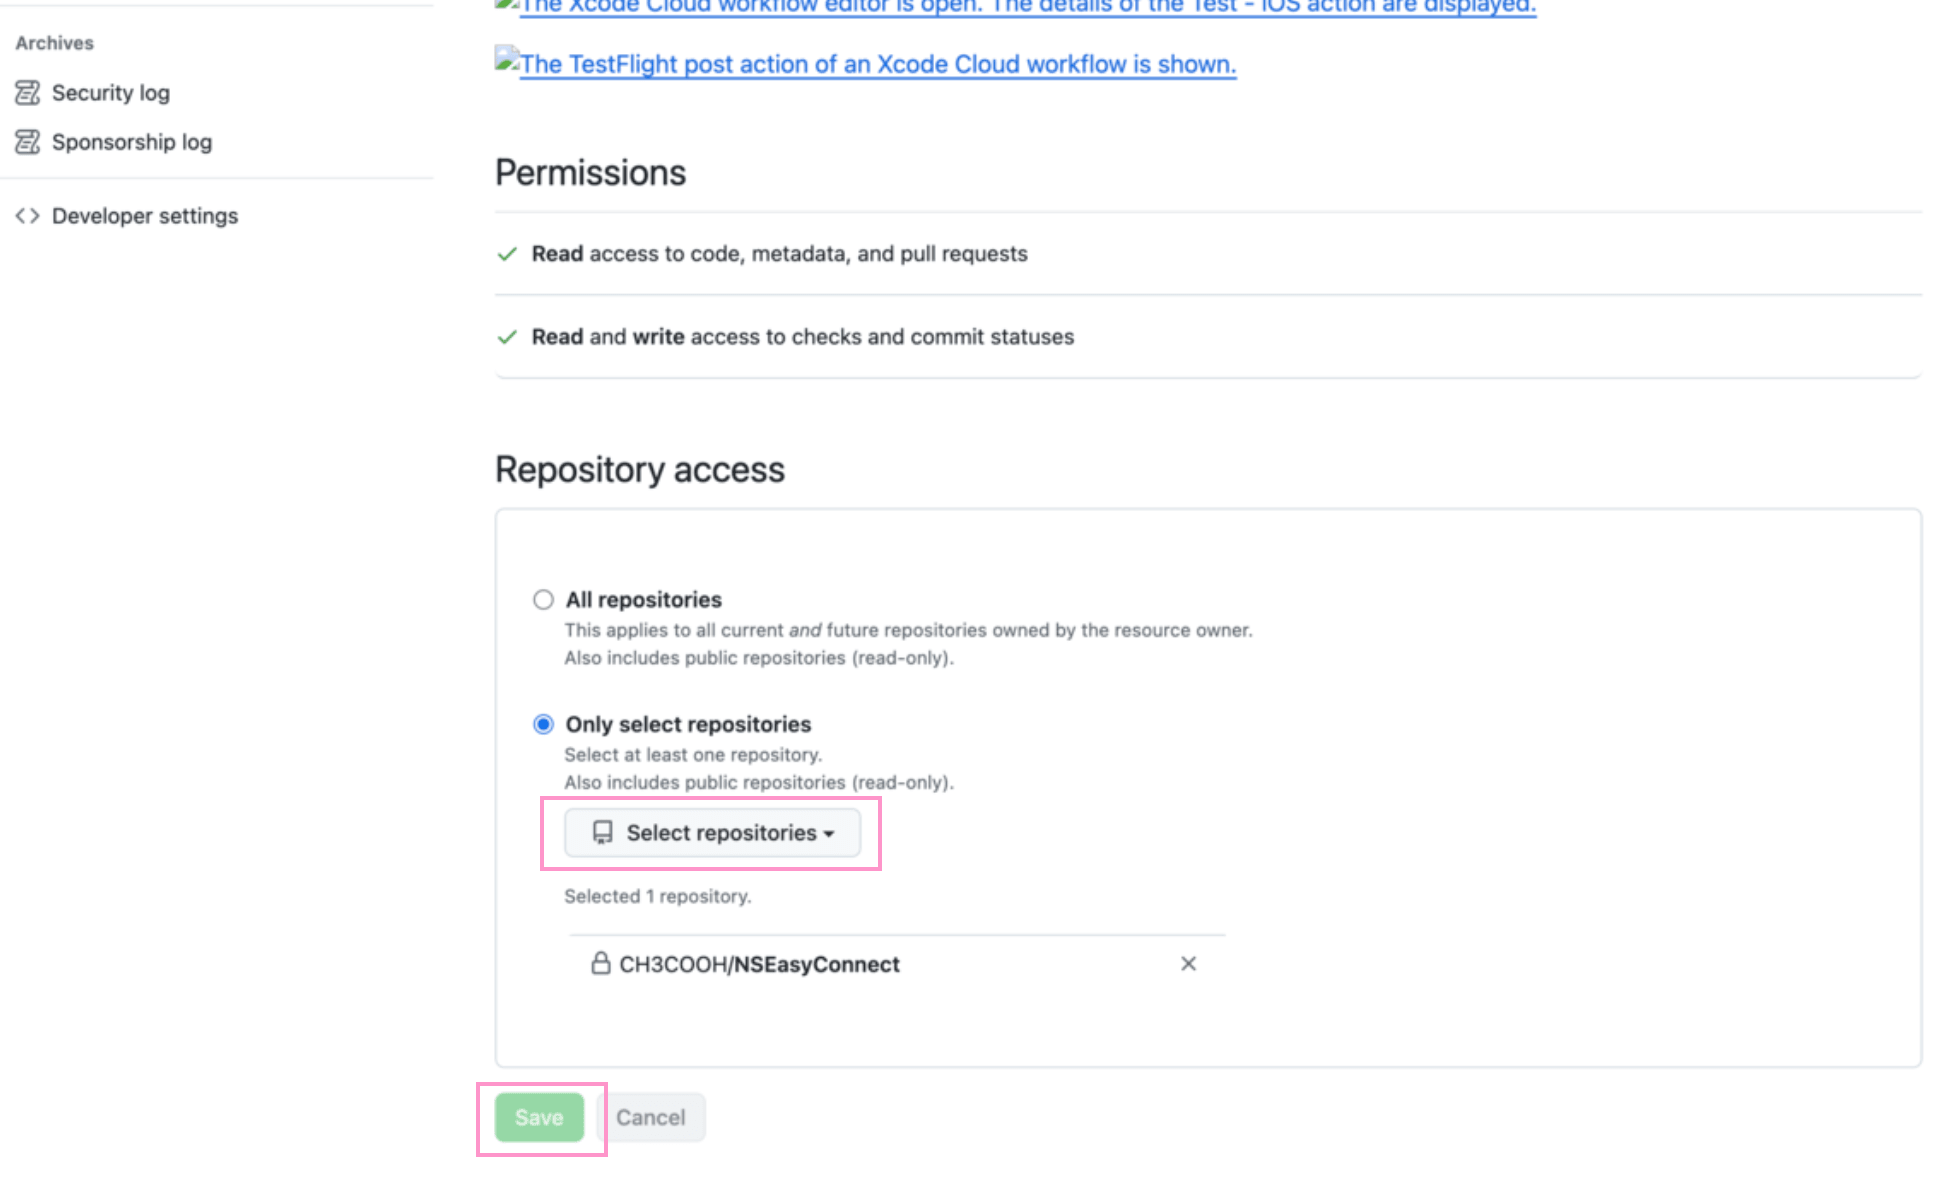
Navigate to GitHub and log in, click "Select Repositories" to add the repositories you want to build with Xcode Cloud. Then click the "Save" button.
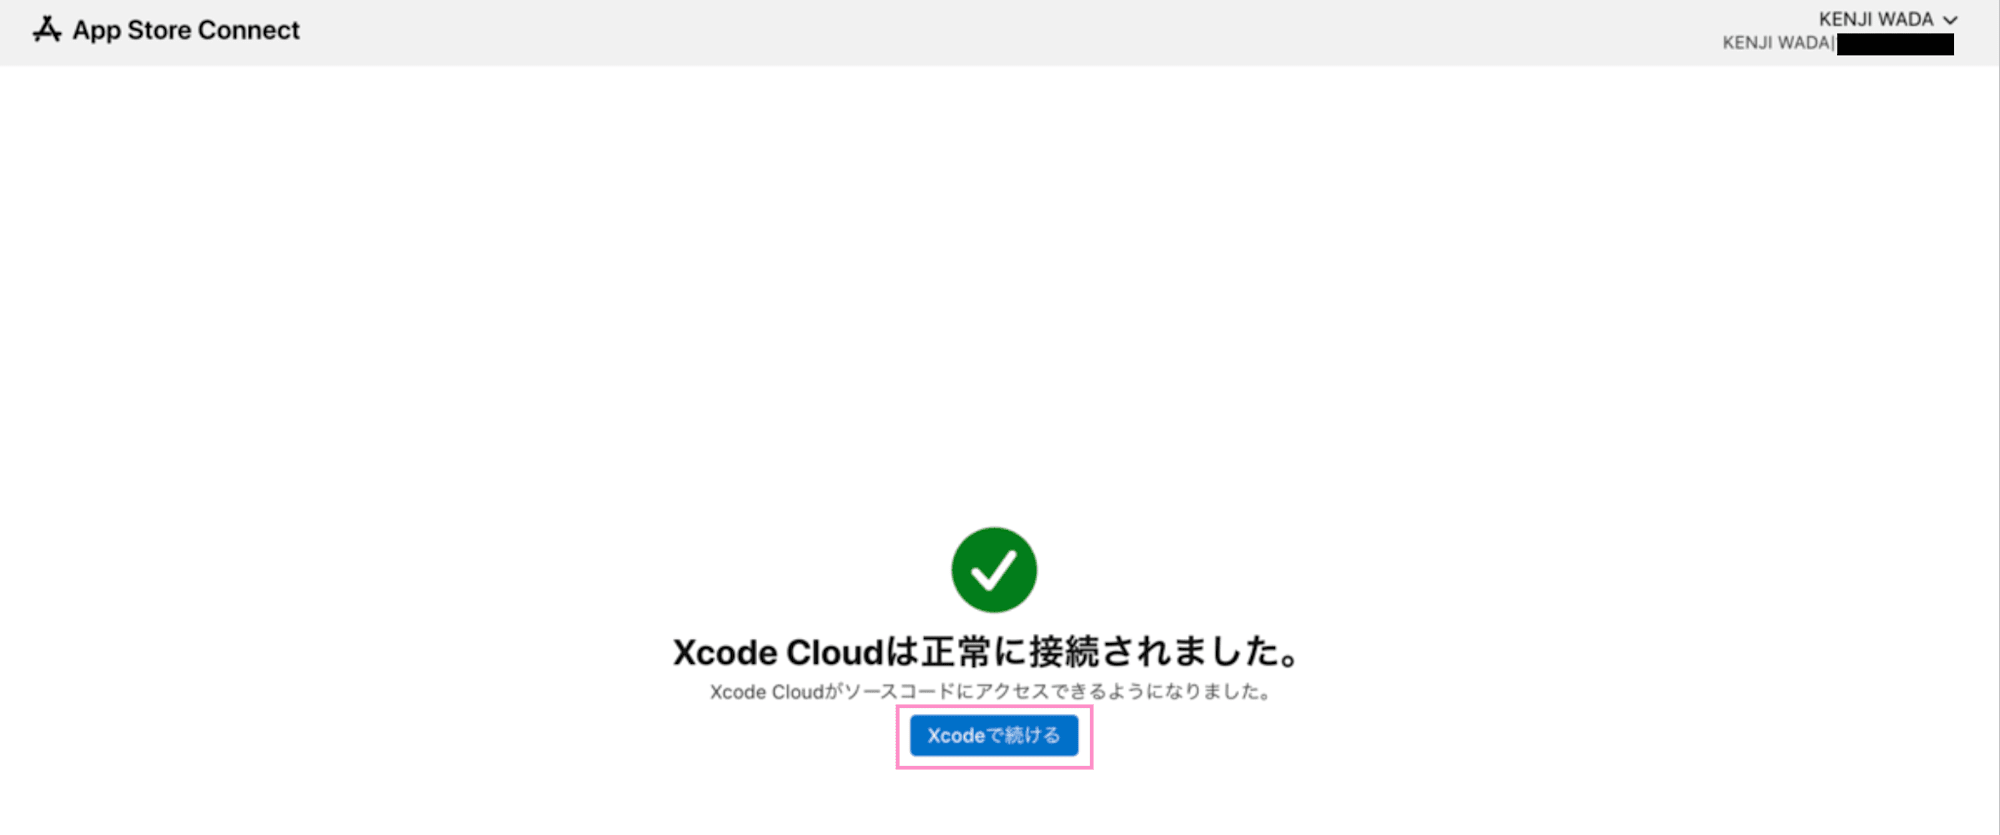
Once Xcode Cloud can access GitHub, click the "Continue in Xcode" button to return to Xcode.
Now that Xcode Cloud has permission to access GitHub, click the "Next" button.
This completes the setup for building with Xcode Cloud.
Running Builds
Triggering a Build
The workflow setup is complete. Click the "Start Build" button to start a build on Xcode Cloud.
It's rare for a build to succeed on the first try. Let's adjust settings through trial and error.

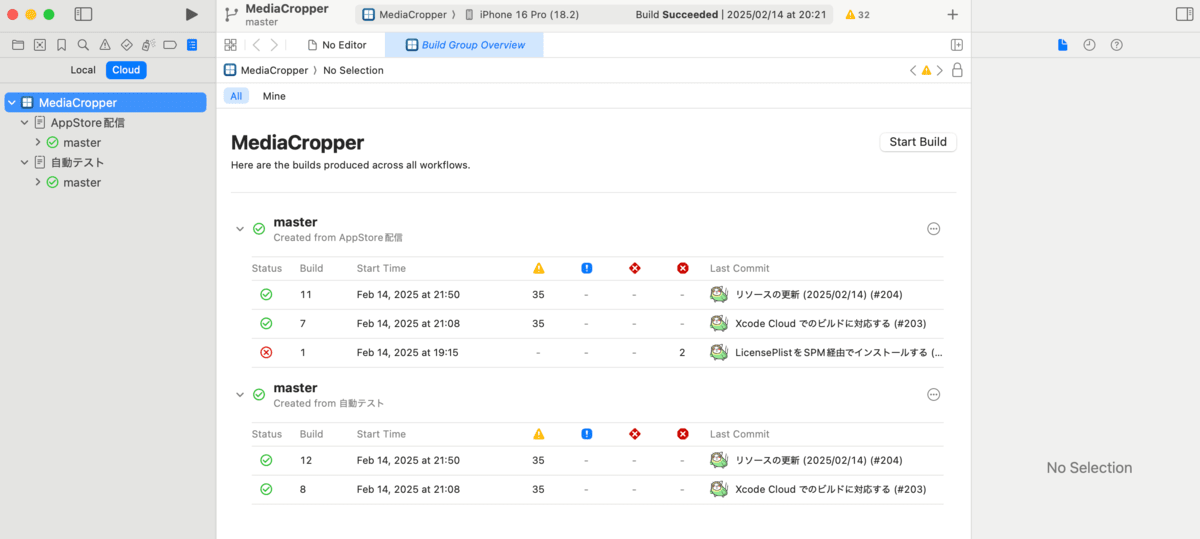
Checking Build Results
When a build is complete, you can check the results in the Xcode Cloud panel within Xcode. Successful builds, failed builds, test results, and more are displayed.
Summary
This completes the setup for building with Xcode Cloud. You can now easily check the build status and number of warnings occurring from within Xcode.
As next steps, you can build a more efficient CI/CD environment by optimizing workflows and automating tests. Also, you can improve release efficiency by automating the distribution process with TestFlight.