
Comparing the setup of Google Social Login and Google Workspace SAML SSO with Amazon Cognito
This page has been translated by machine translation. View original
Introduction
Even when we say "Login with Google" in a single phrase, there is more than one way to connect with AWS Cognito.
When actually trying it out, although Google Social Login and Google Workspace SAML SSO look similar, the setup process, required permissions, and potential pitfalls are somewhat different.
In this article, I'll set up both of these methods for the same Cognito User Pool and summarize the similarities and differences based only on what I was able to verify myself.
Note that I'll proceed with the assumption that the User Pool has already been created. The User Pool creation procedure is not covered in this article.
Test Environment
- AWS Cognito
- Chrome
- For Google Social Login: Google Cloud
- For Google Workspace SAML SSO: Google Workspace
For both configurations, permissions to access the admin panels are necessary.
Conclusion First
To summarize my findings upfront, here are the differences I felt during this verification:
Google Social Loginis relatively quick to try outGoogle Workspace SAML SSOhas more organization-oriented settings and requires mutual configuration- On the Cognito side, both can be added from
Authentication -> Social and external providers - For final verification, testing from the
App client'sLogin pagesis the clearest approach
Even though both are "Google login," it was easier to organize my thinking by considering the former as Social Login and the latter as Google Workspace SAML integration.
Setting up Google Social Login
Let's start with Google Social Login.
Overall Flow
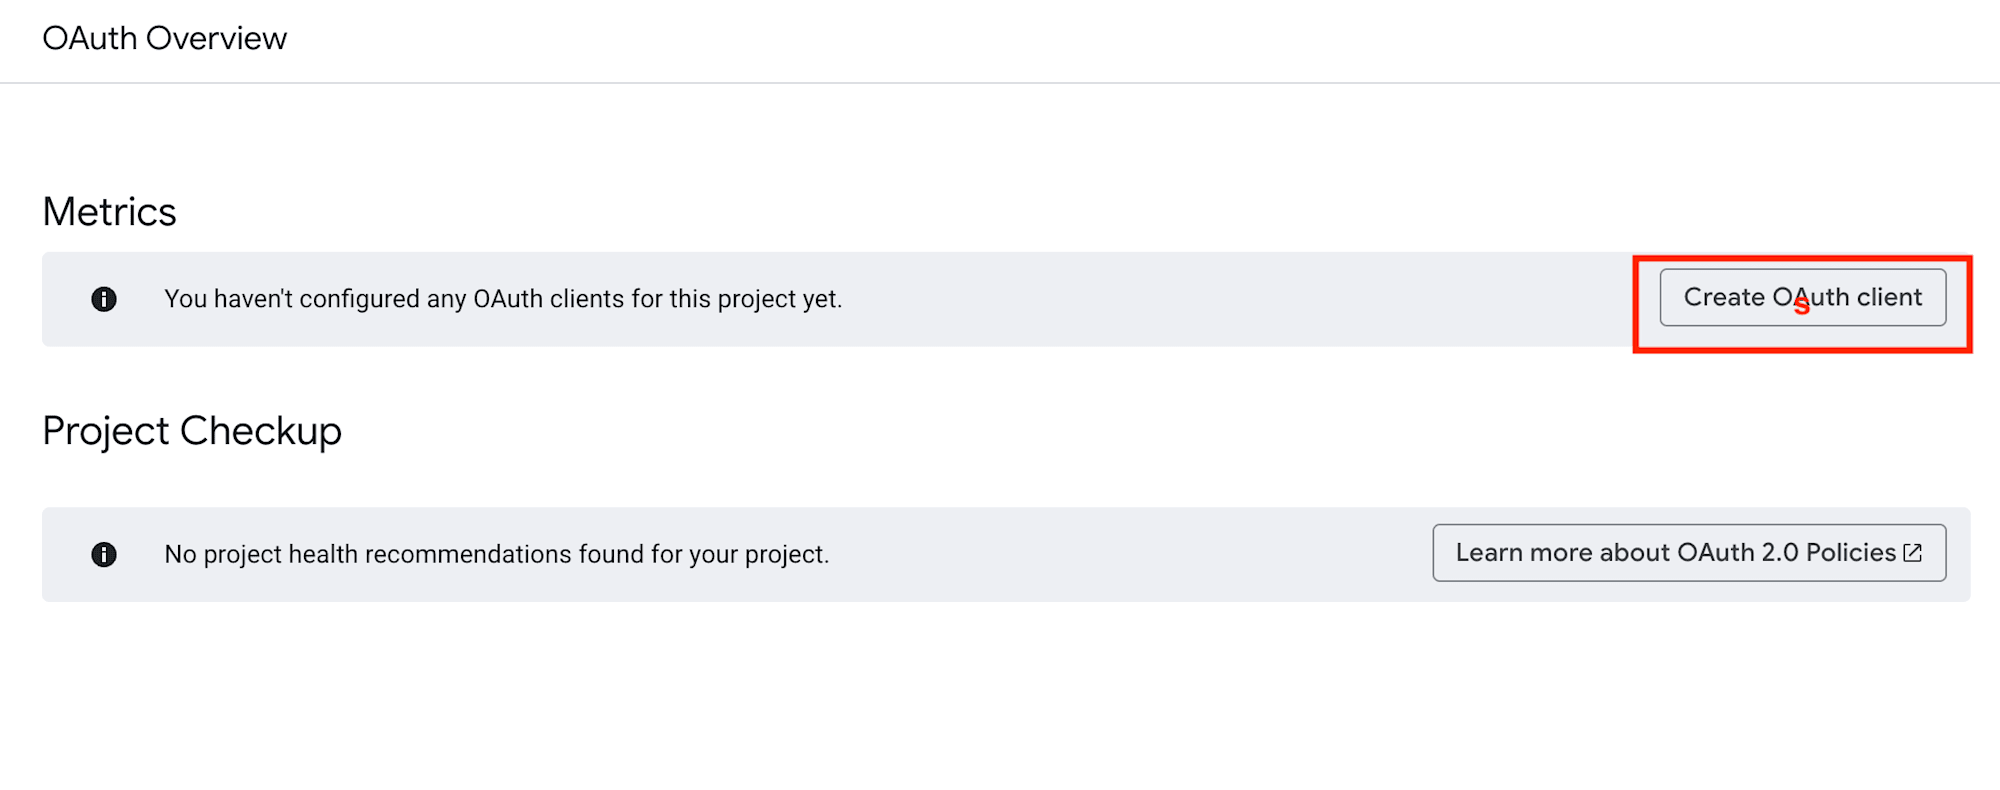
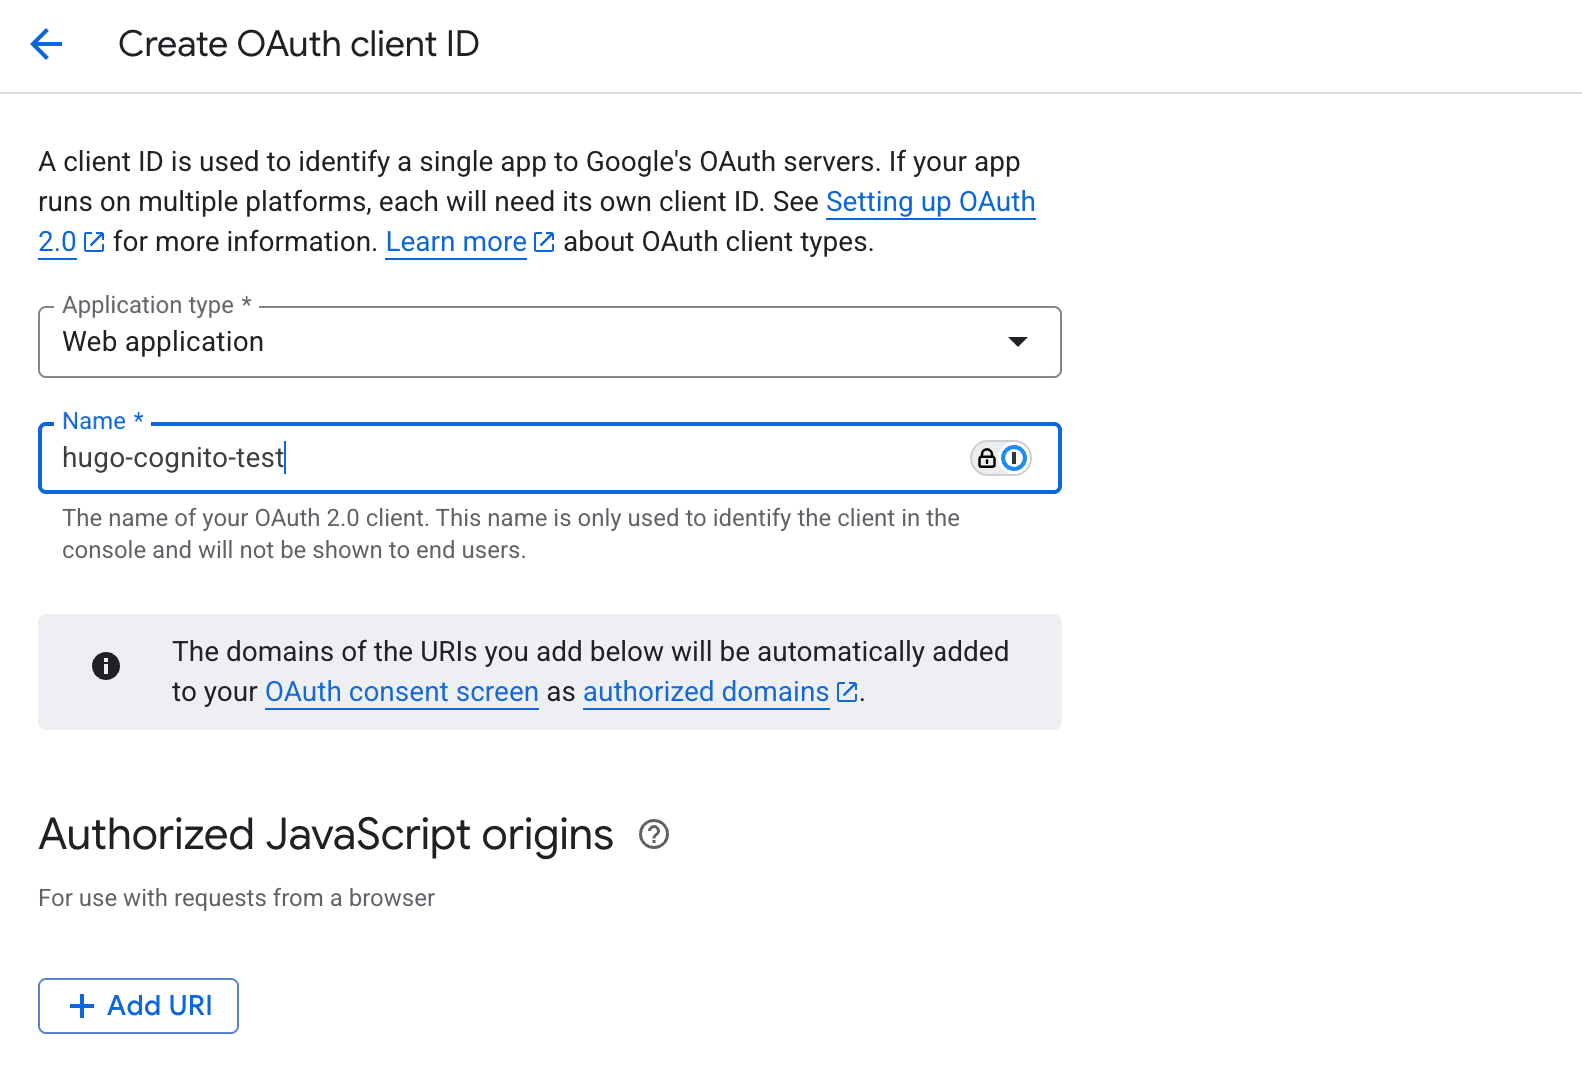
The general process was as follows (please refer to the screenshots for details):
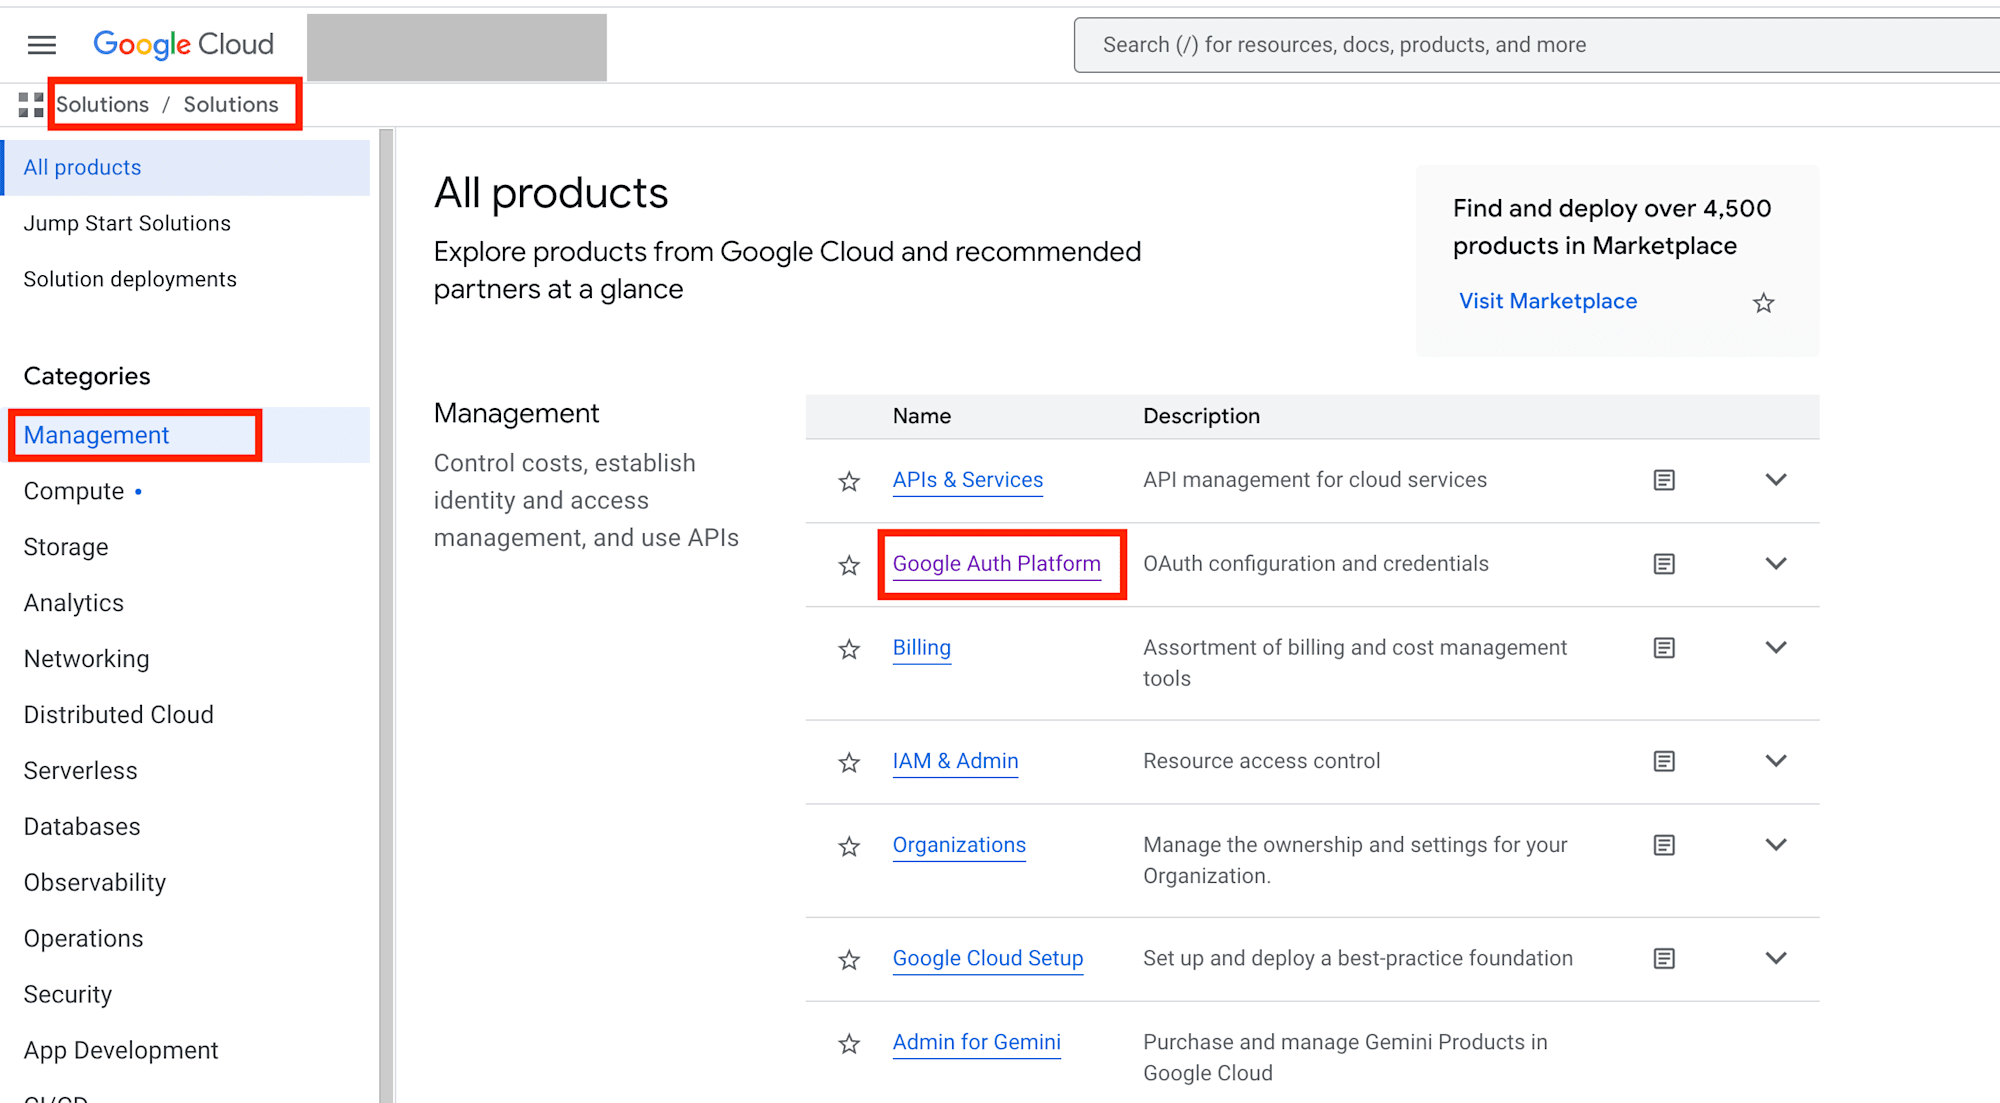
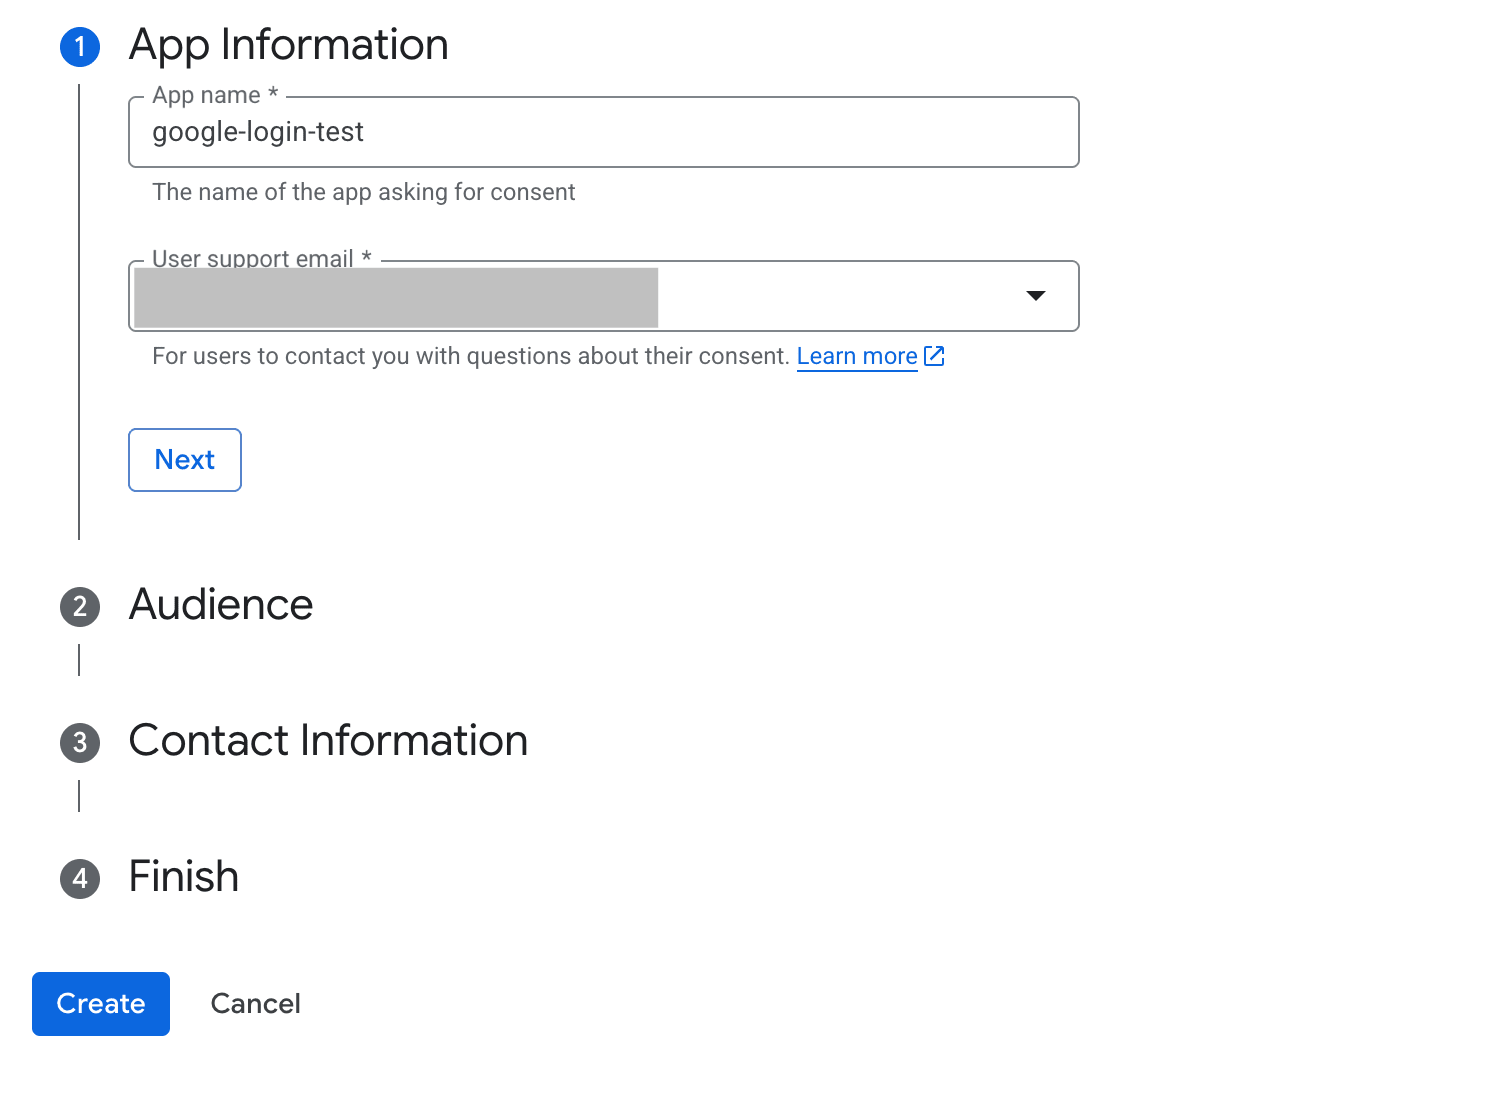
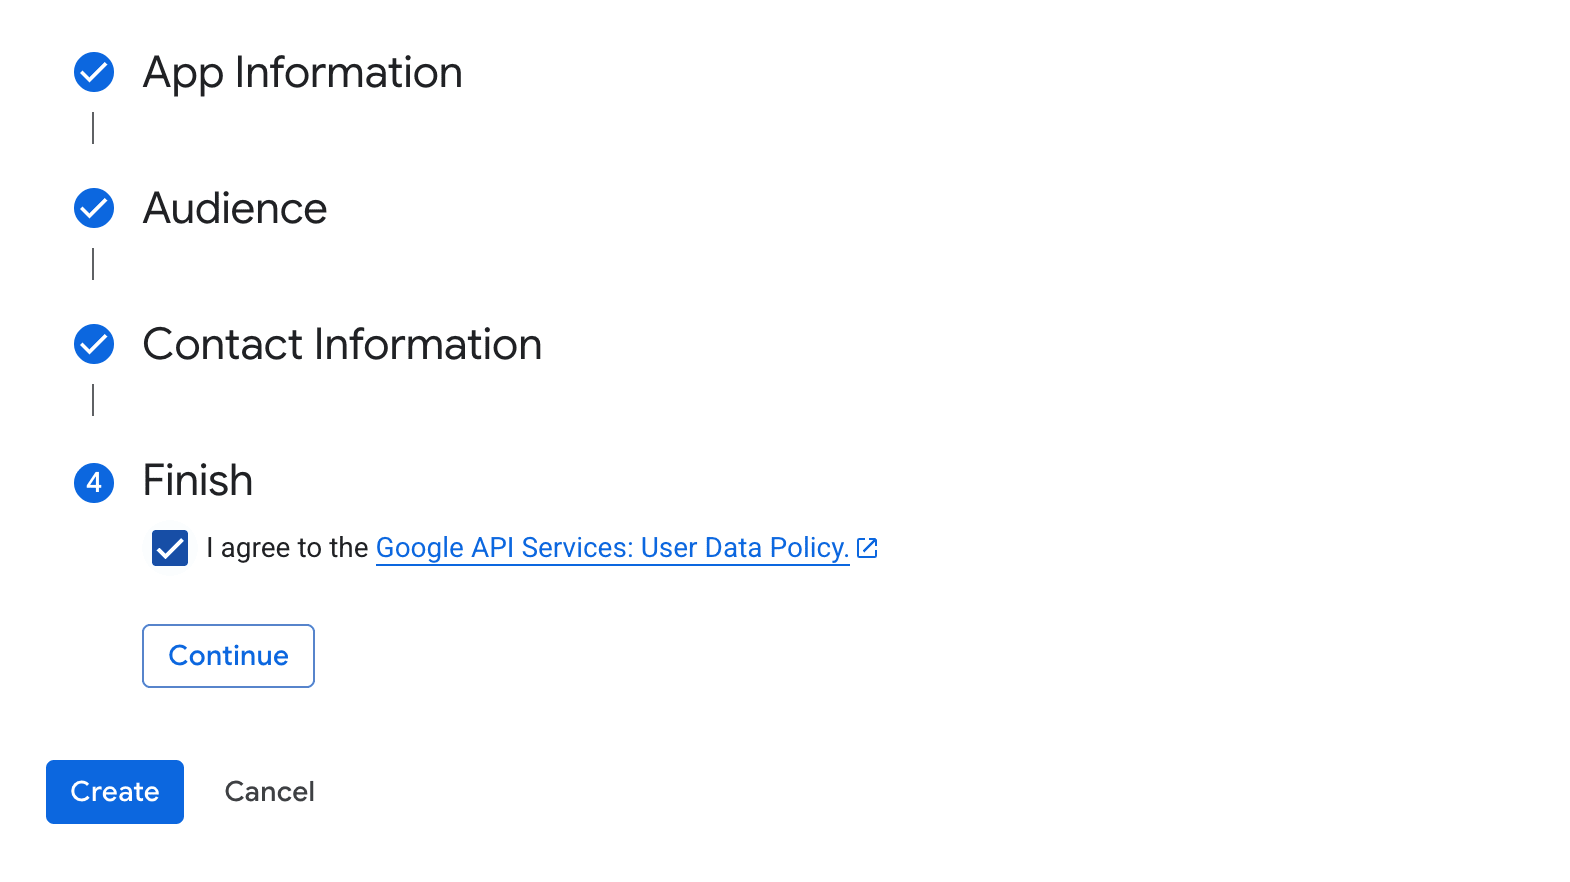
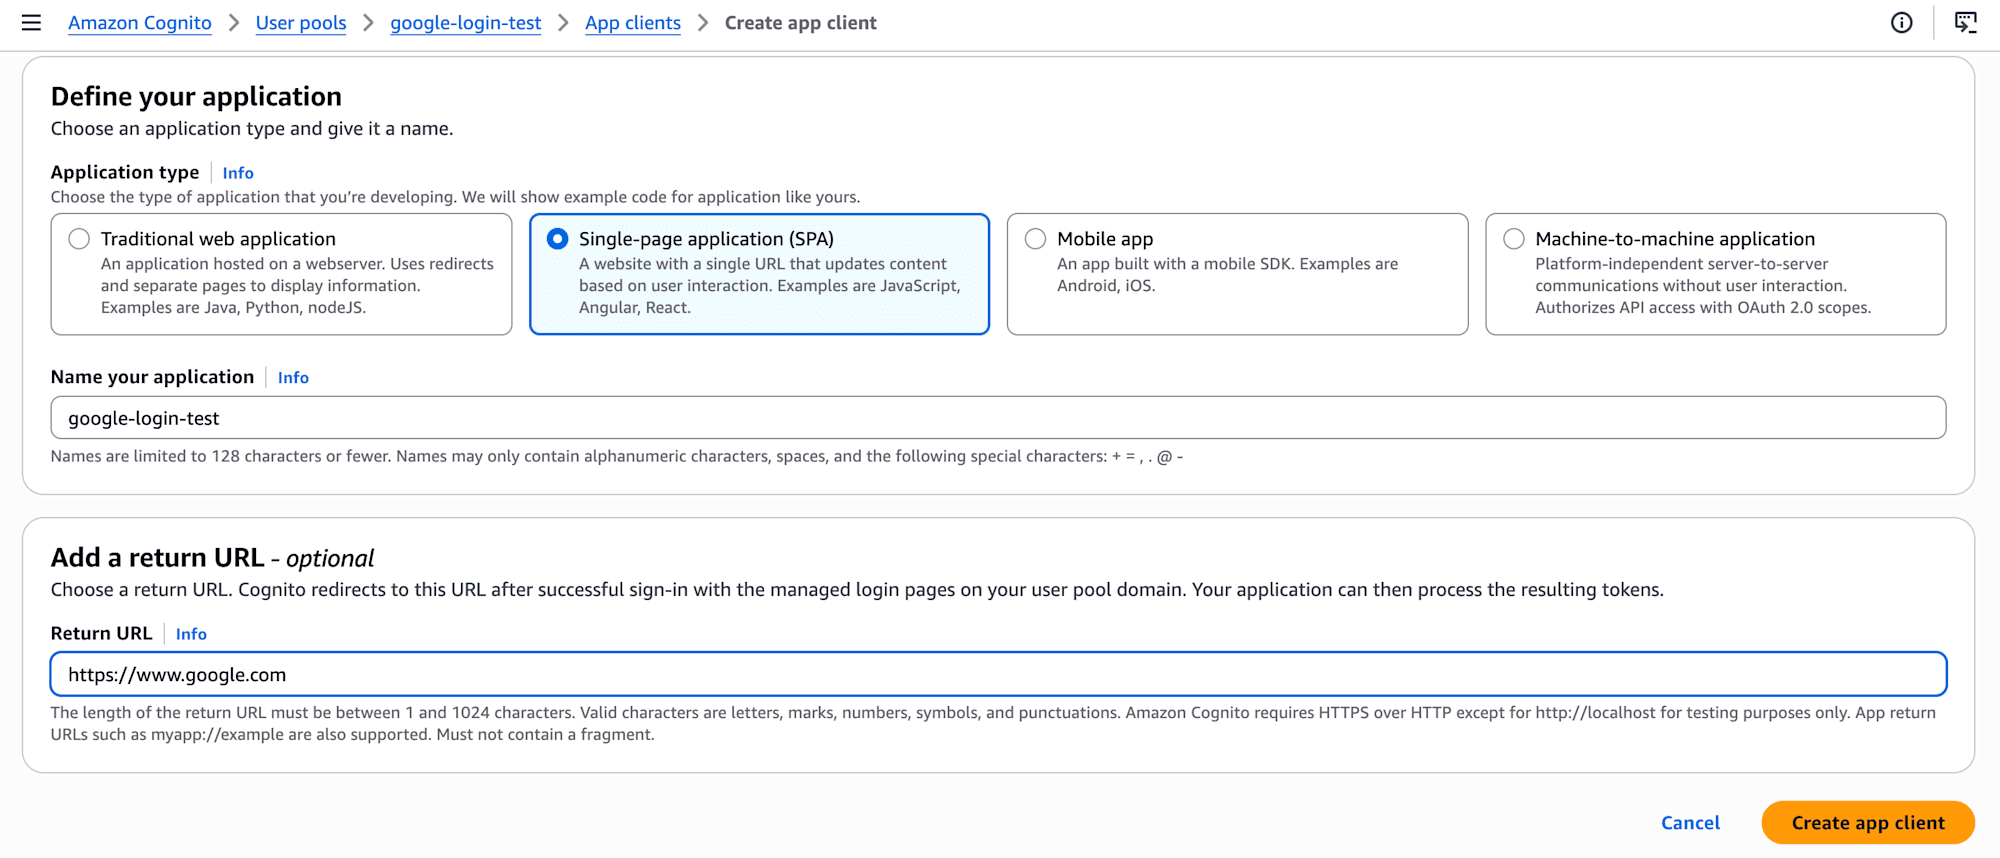
- Create an OAuth Client in Google Cloud and obtain the
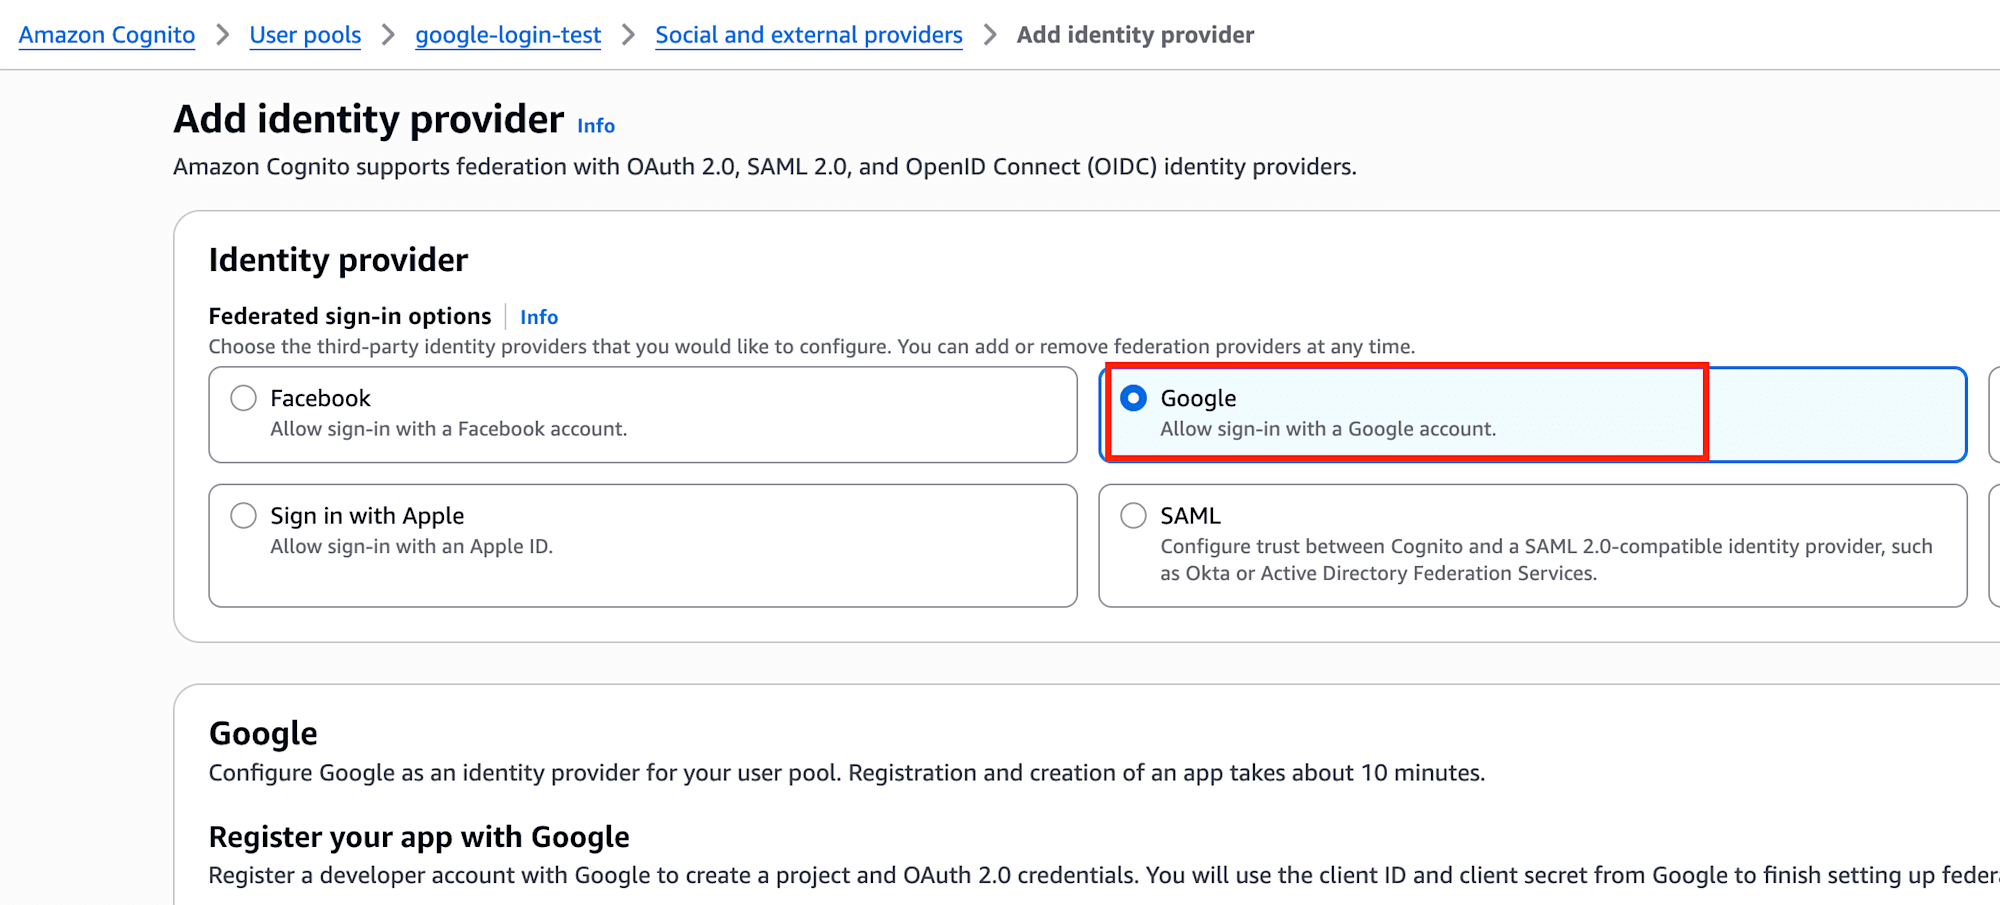
Client IDandClient secret - Choose
Googlein Cognito'sAuthentication -> Social and external providers - Register Cognito's redirect URL in Google Cloud
- Enable
Googleon theApp clientside and verify operation with the Hosted UI
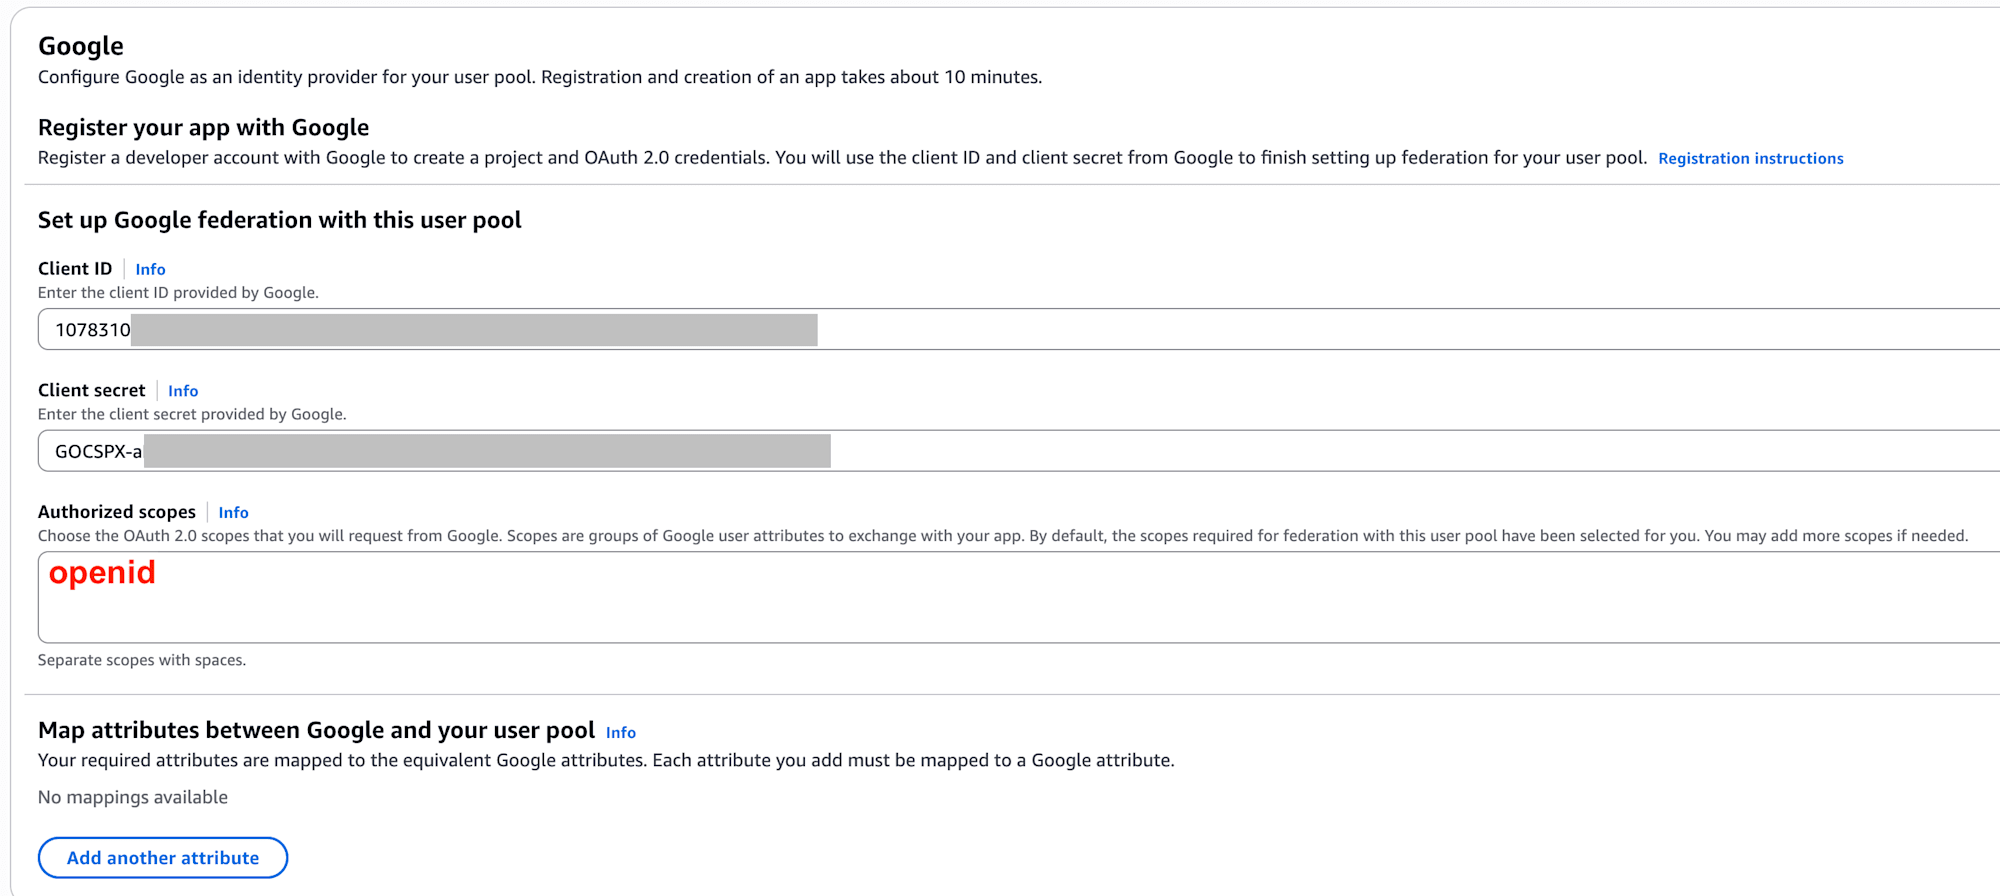
Key Points on the Cognito Side
When selecting Google, I needed to input the Client ID and Client secret created on the Google Cloud side.
Additionally, setting Authorized scopes was necessary. Here, openid was required.
At first, I thought setting this to * to broadly allow access would work, but this wasn't successful. At least for this verification, explicitly specifying the required scope was the correct approach.
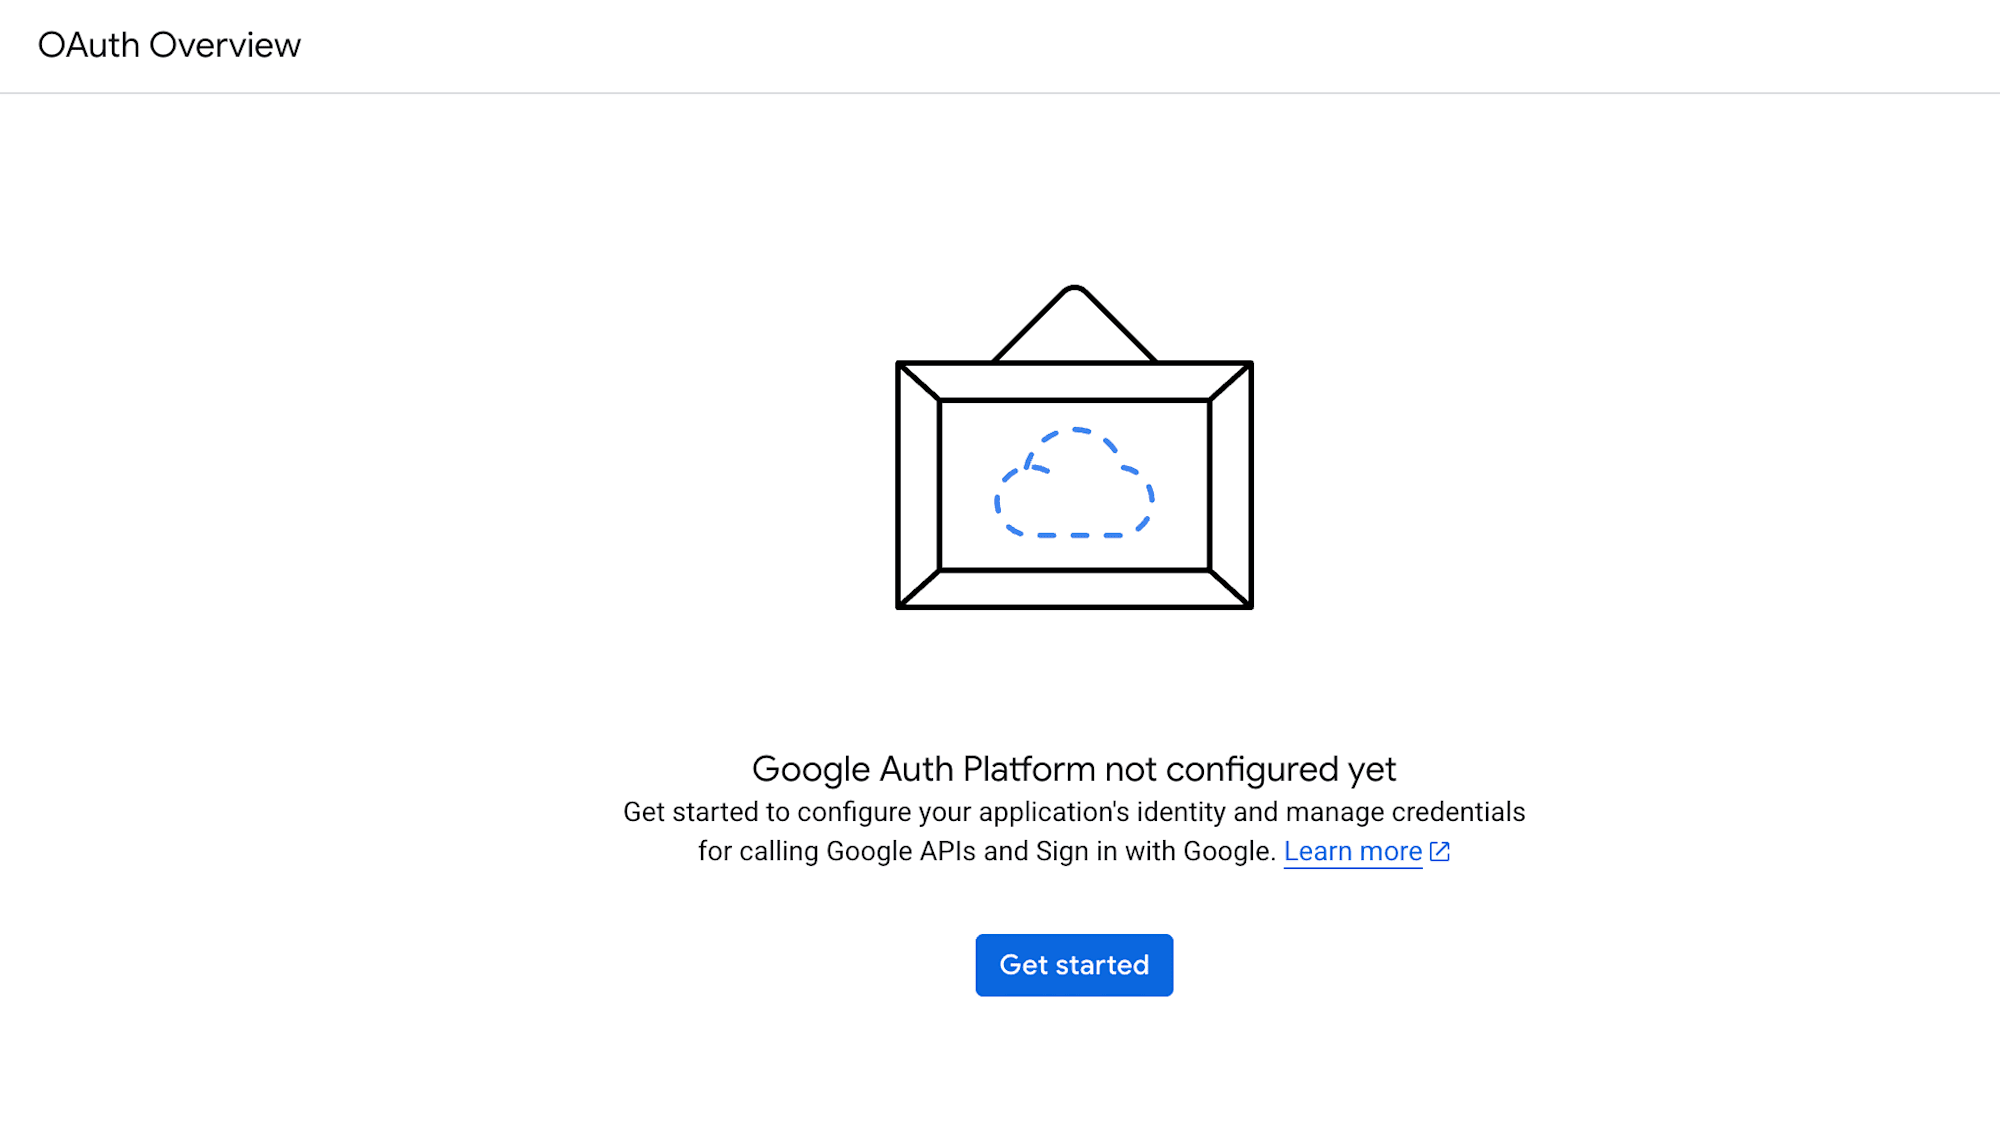
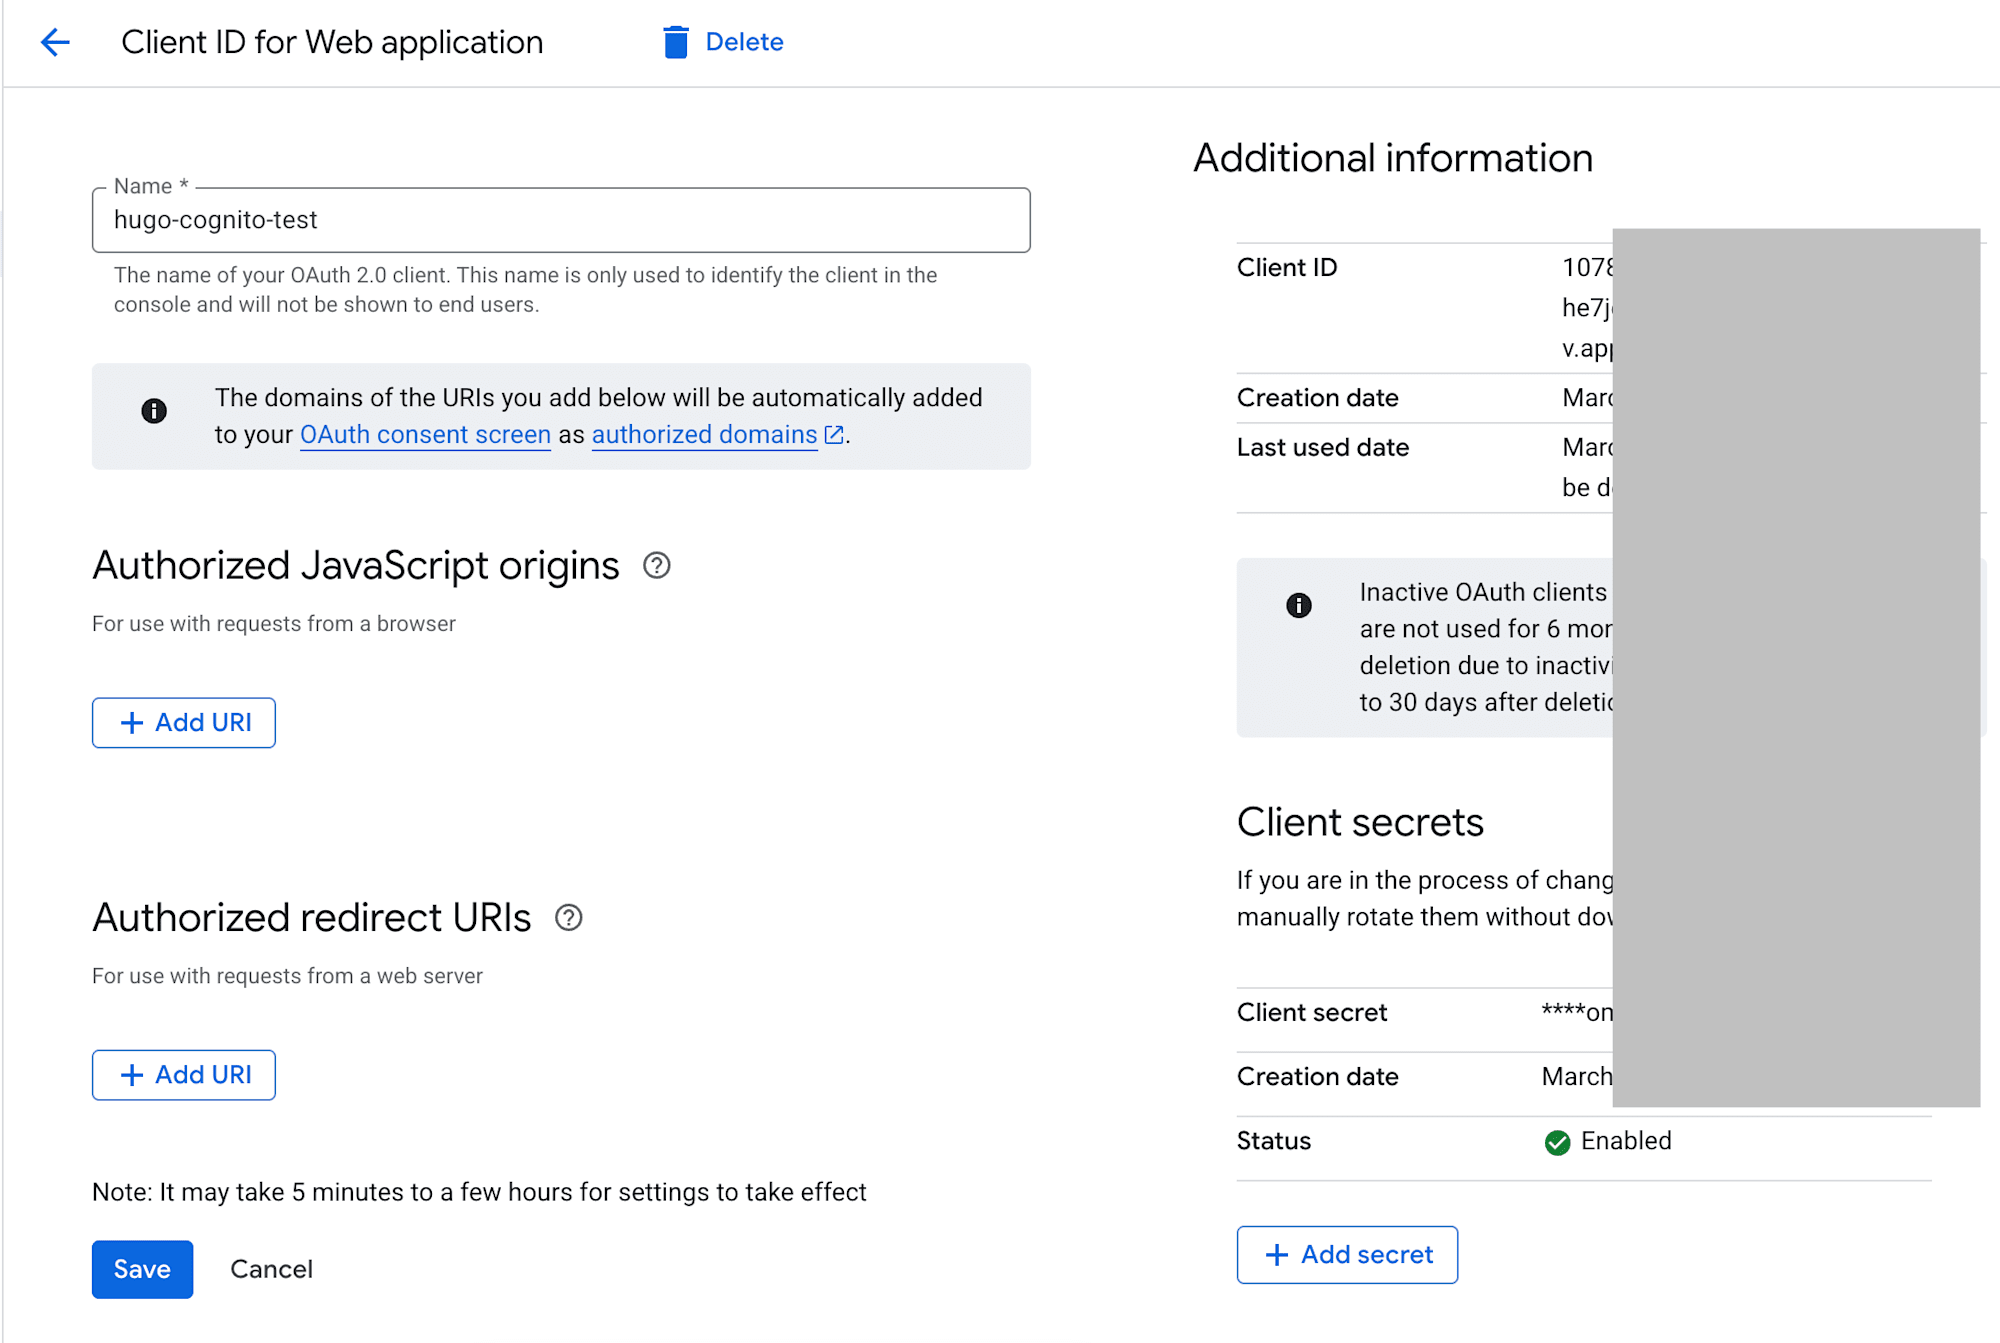
Key Points on the Google Cloud Side
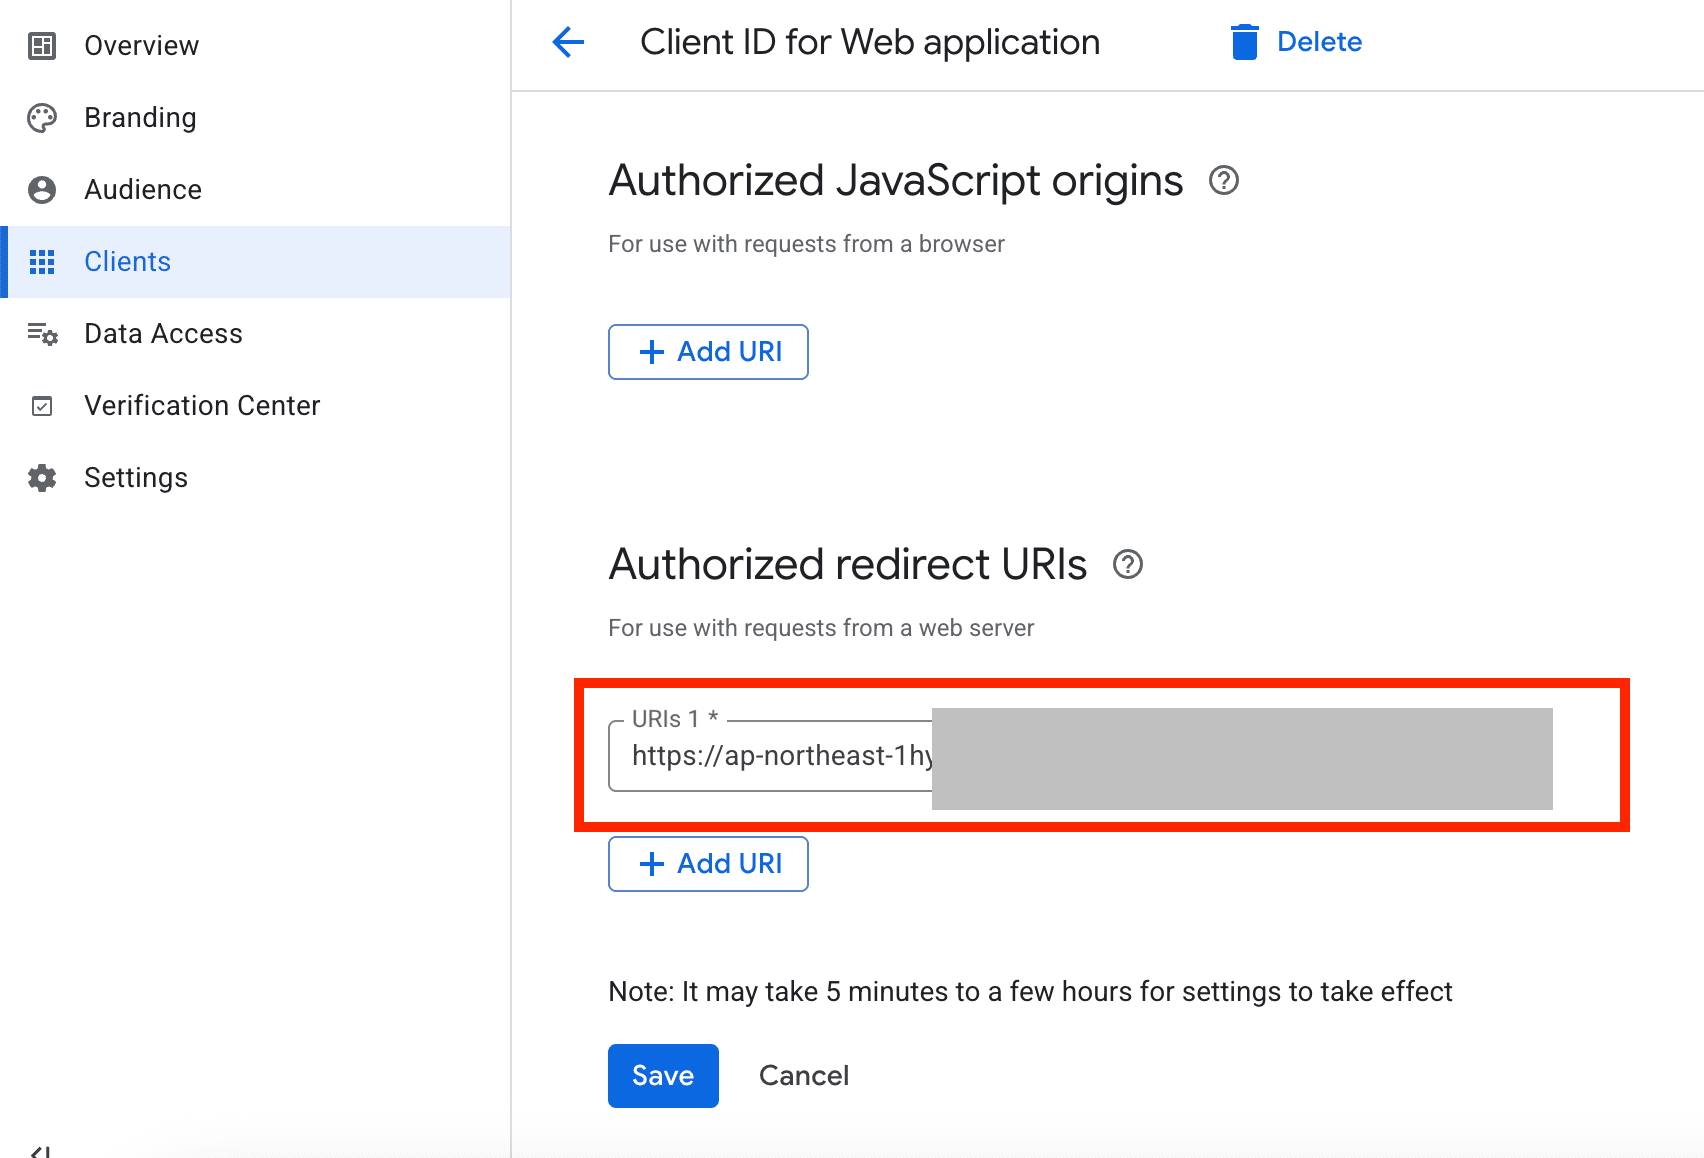
For the Google Cloud OAuth Client, I needed to add Cognito's redirect destination to the Authorized redirect URIs.
The format I used was:
https://{your-cognito-domain}/oauth2/idpresponse
For the Cognito domain part, using the Cognito prefix domain that can be found around Authentication -> Authentication methods was the most straightforward approach.
If this redirect URL is incorrect, you won't be able to return properly after transitioning to the Google side.
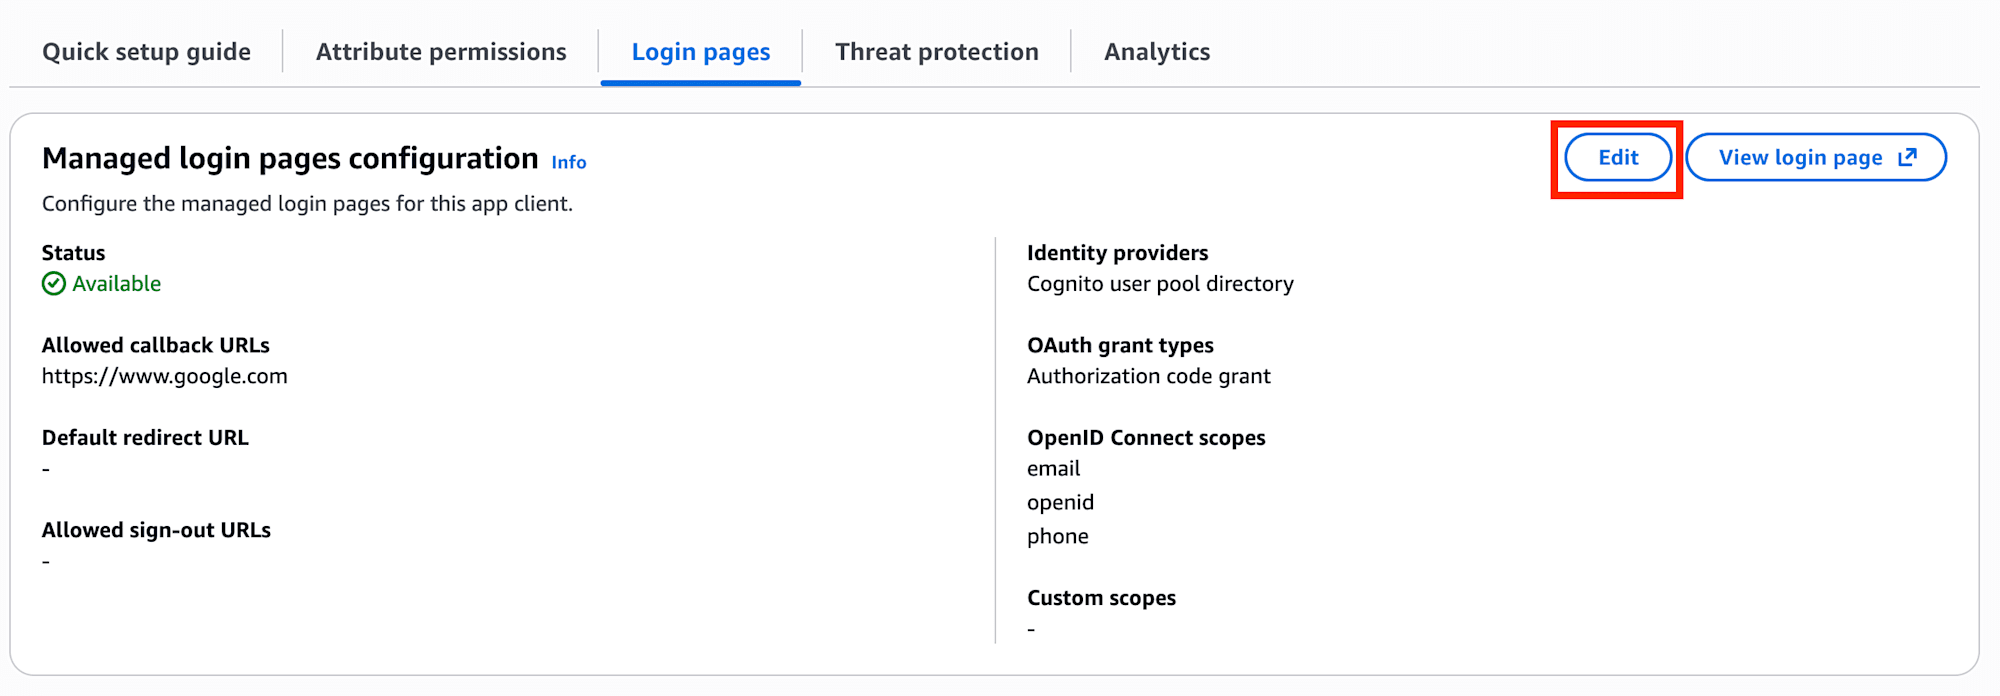
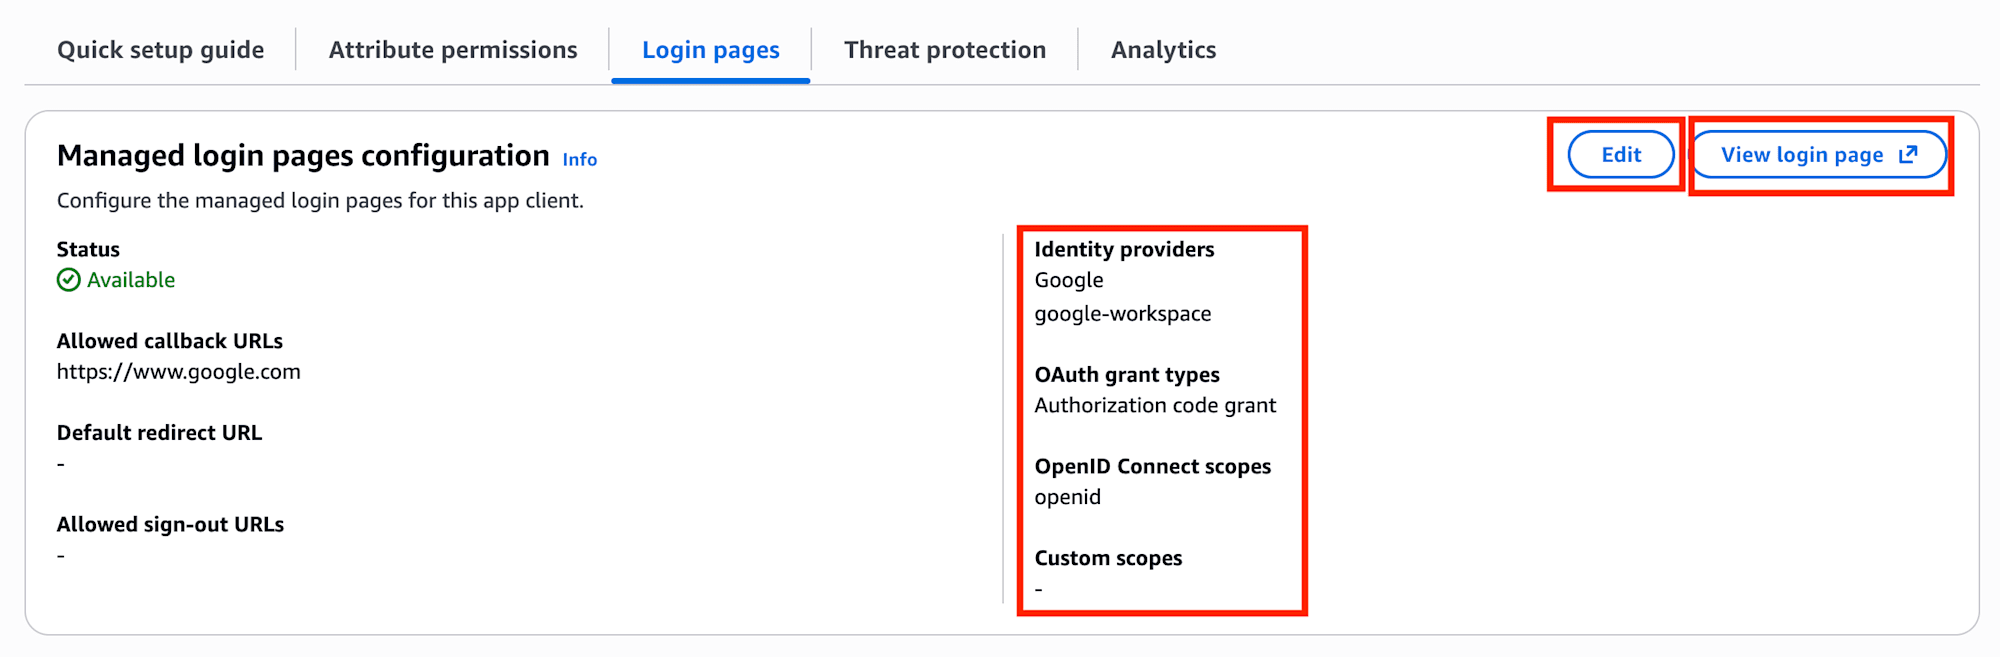
Points to Check on the App Client Side
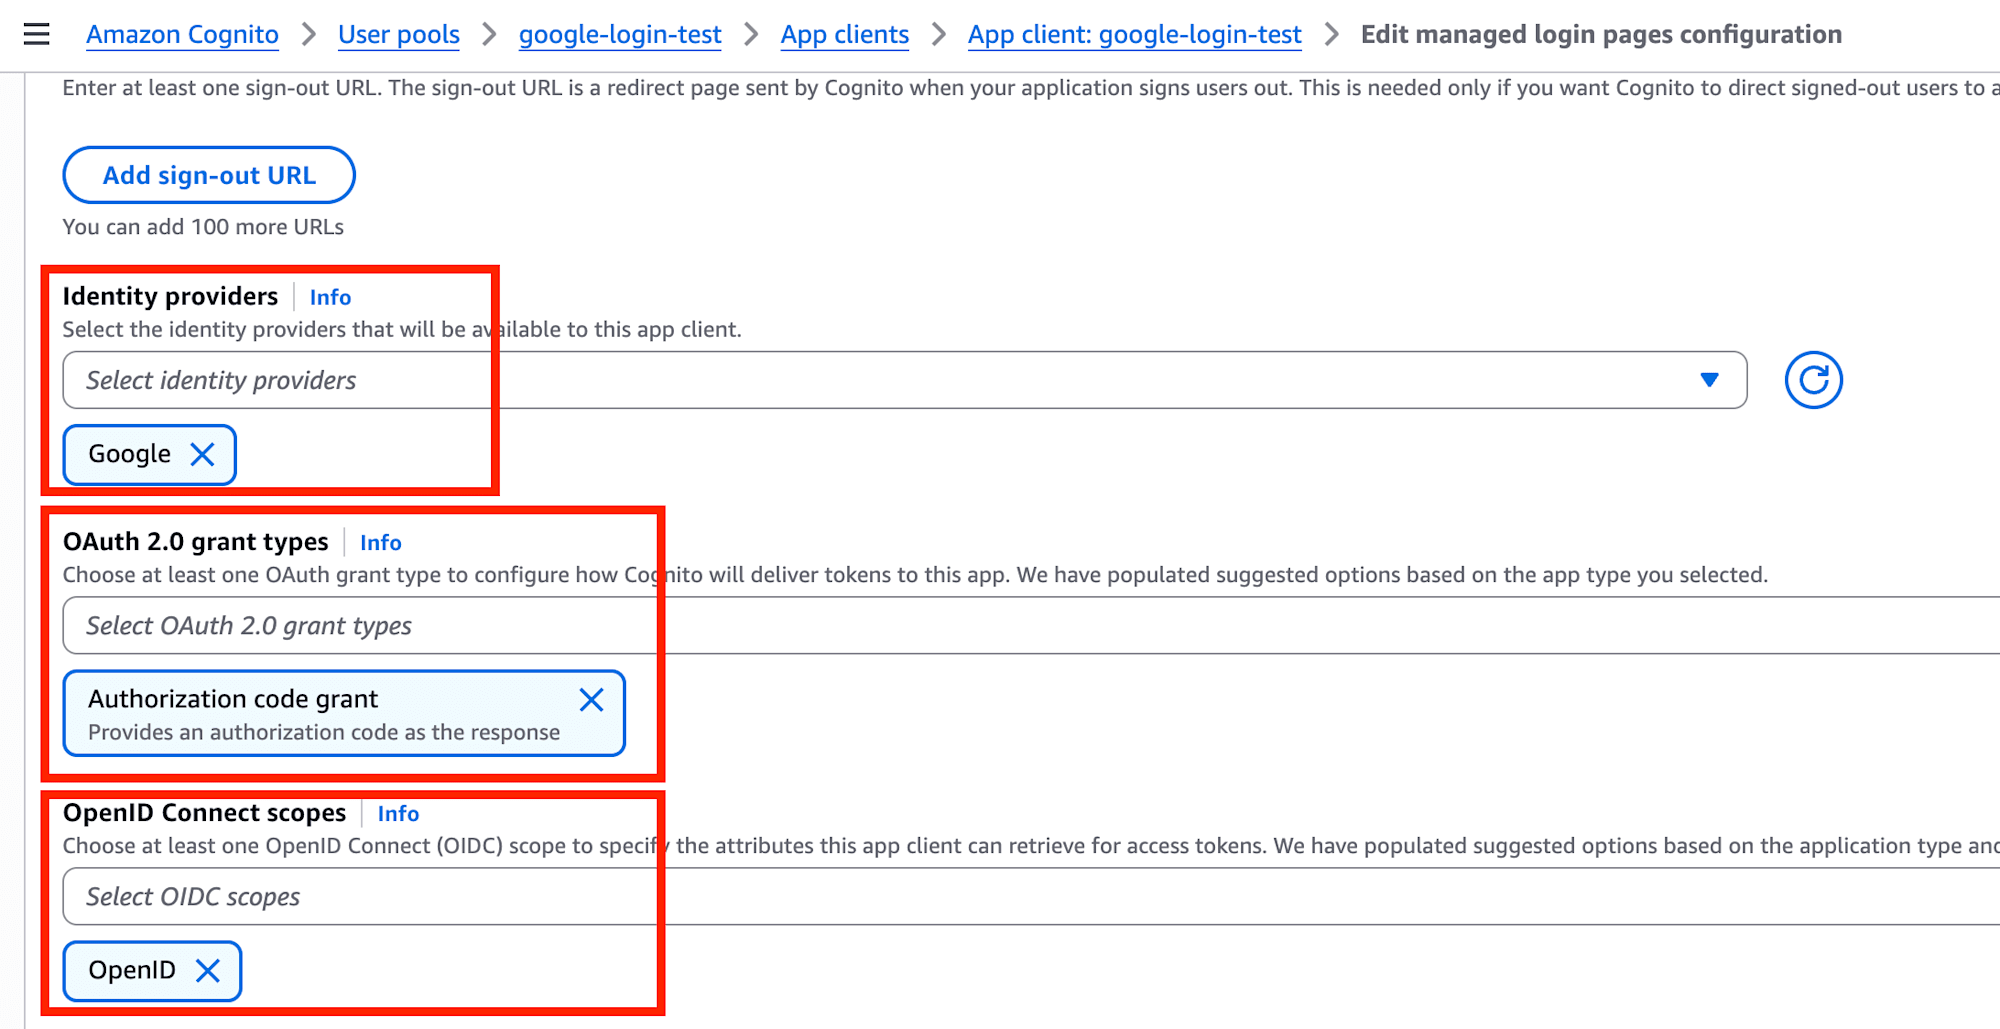
Adding an IdP is not enough; I also needed to check settings on the App client's Login pages side.
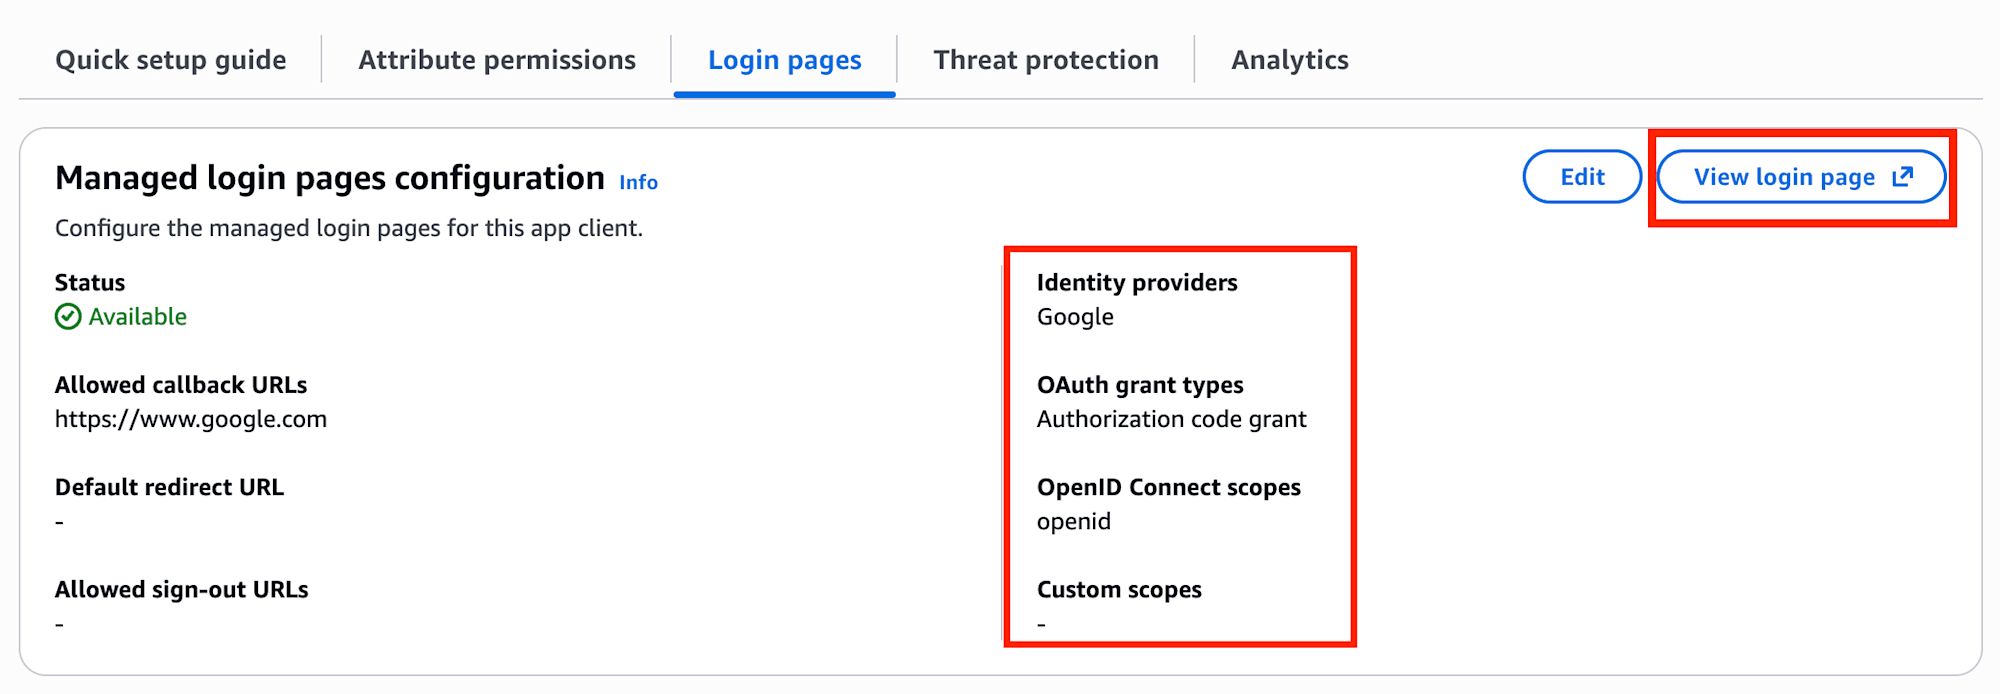
The verification points here were:
Googleis included inIdentity providers- Using
Authorization code grantinOAuth grant types openidis included inOpenID Connect scopes
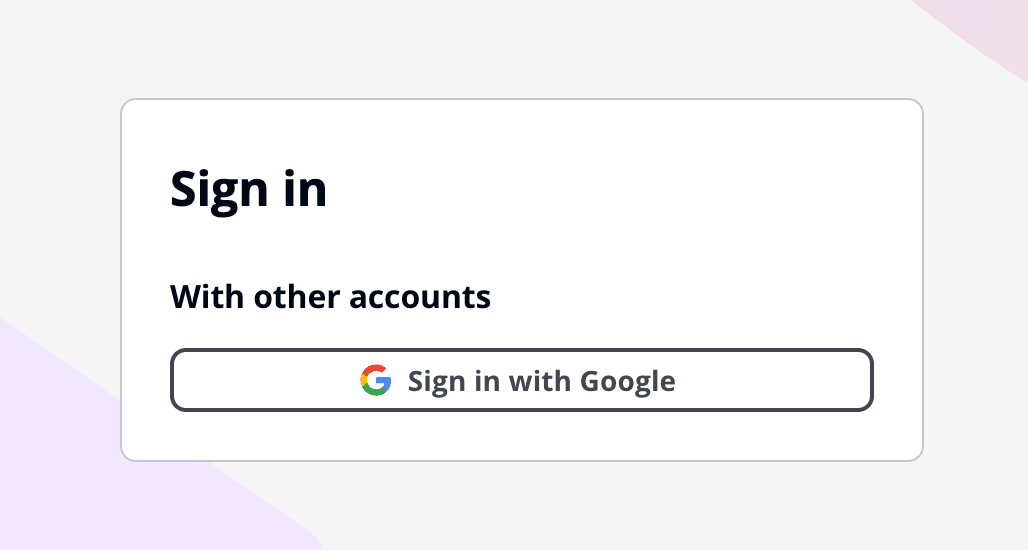
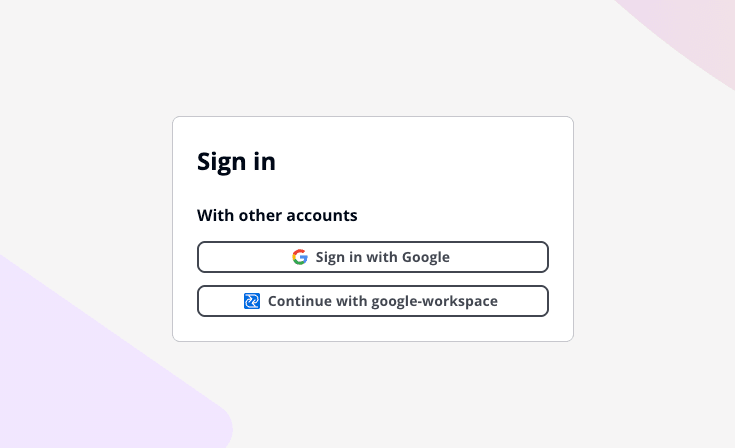
After configuration, checking from View login page showed Sign in with Google, and if everything was set up correctly, I could log in directly.
Setting up Google Workspace SAML SSO
Next is Google Workspace SAML SSO.
Unlike Google Social Login, this involves creating a SAML app in Google Workspace's Admin Console.
Overall Flow
The general process was as follows (please refer to the screenshots for details):
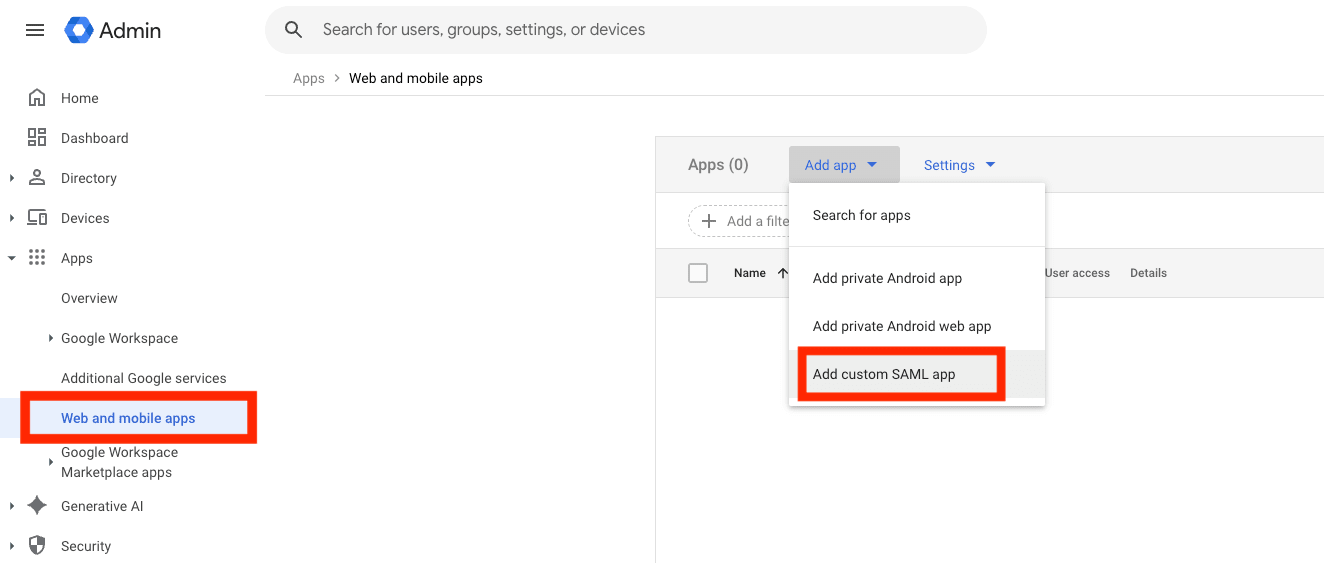
- Access Google Workspace's
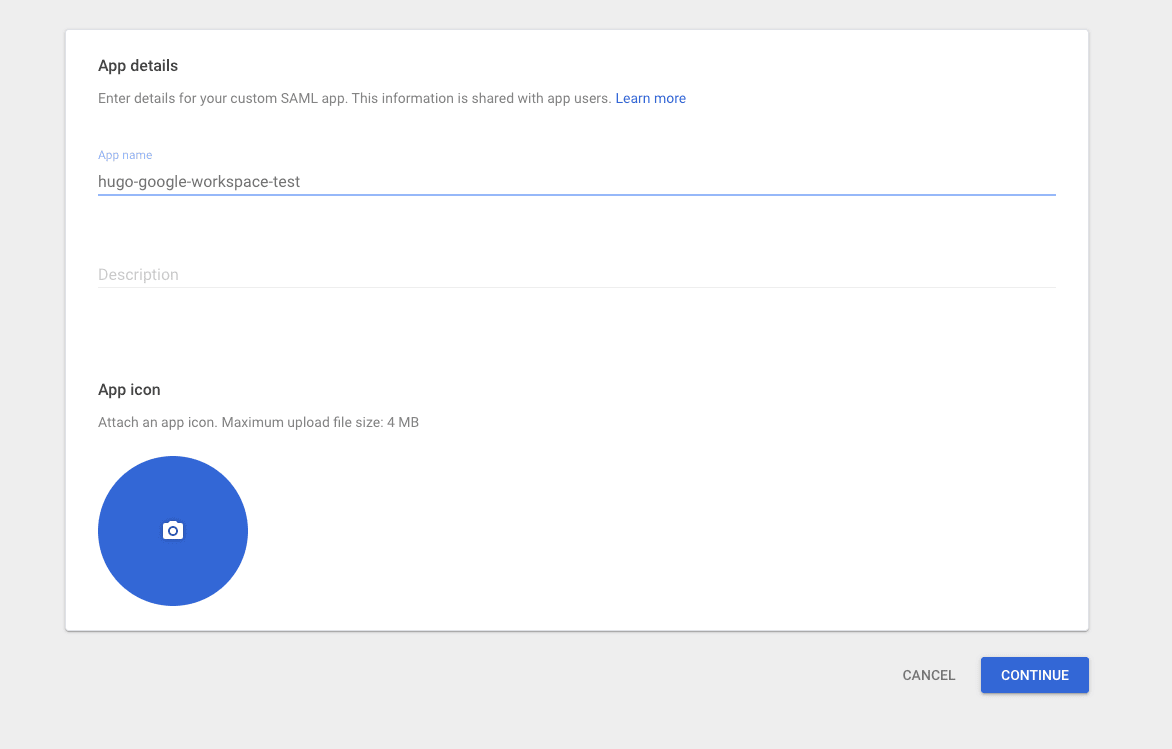
Admin Console - Create a custom SAML app from
Apps -> Web and mobile apps -> Add app -> Add custom SAML app - Upload the Metadata obtained from Google Workspace to Cognito
- Configure the
ACS URLandEntity IDdisplayed on the Cognito side into Google Workspace - Enable
Service status - Enable the SAML IdP in the
App client'sLogin pagesand verify operation

First Steps on the Google Workspace Side
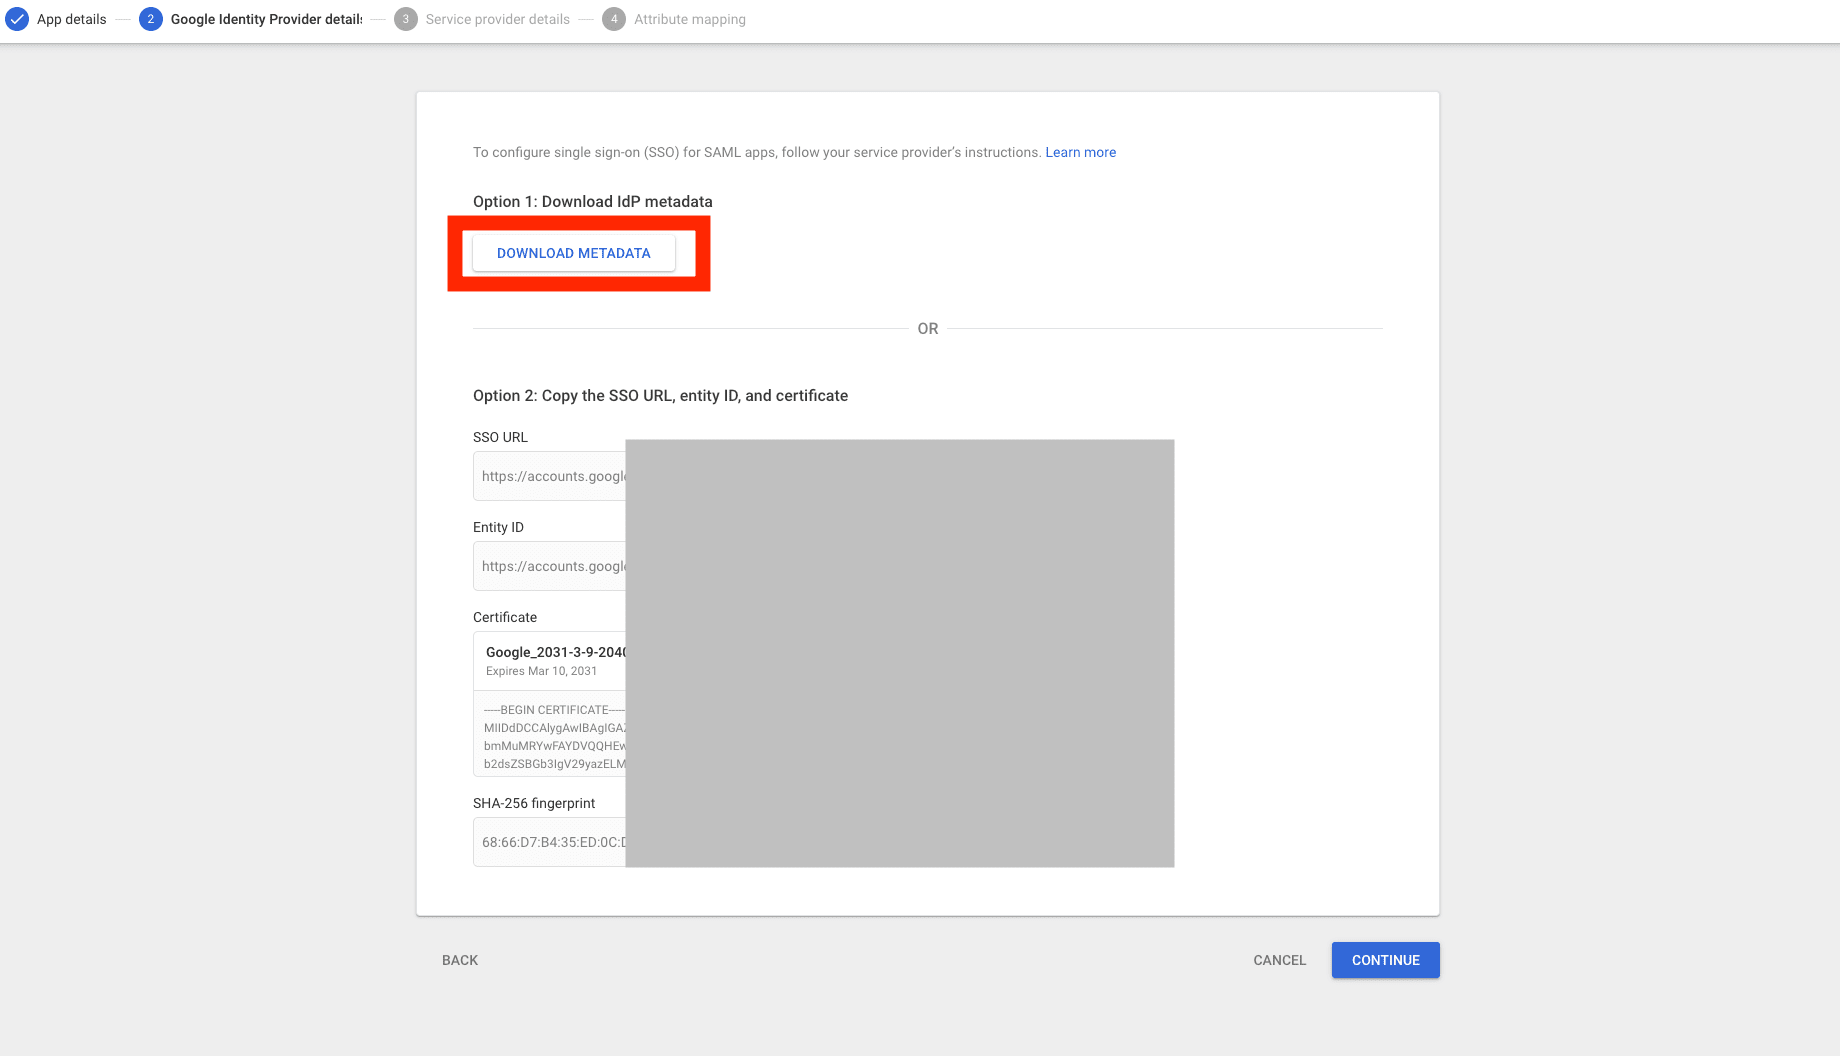
Creating a custom SAML app in Google Workspace provides authentication information.
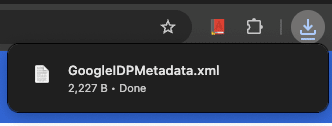
In this workflow, downloading the Metadata file from DOWNLOAD METADATA and using it in Cognito's SAML settings was convenient.
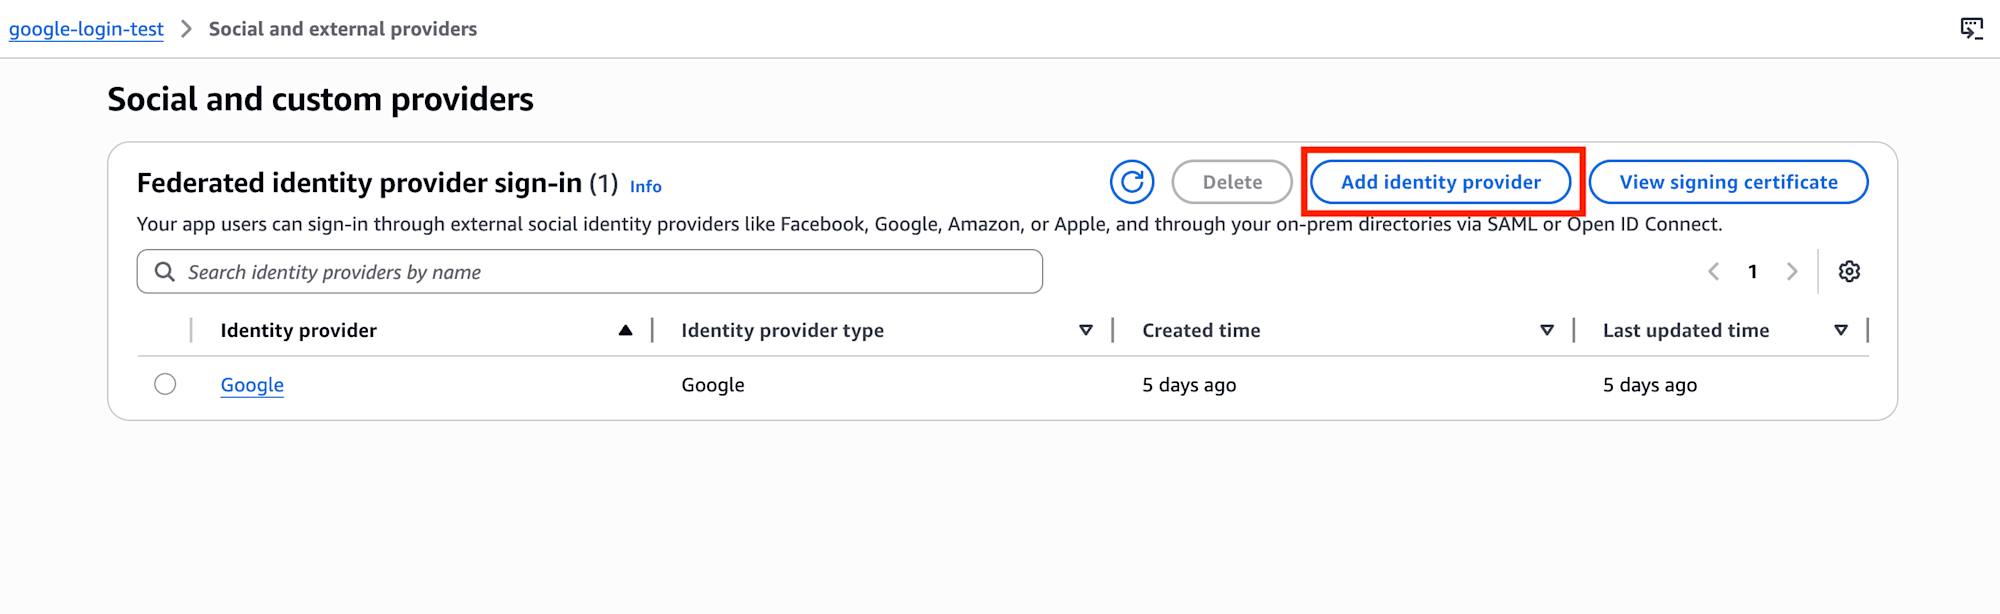
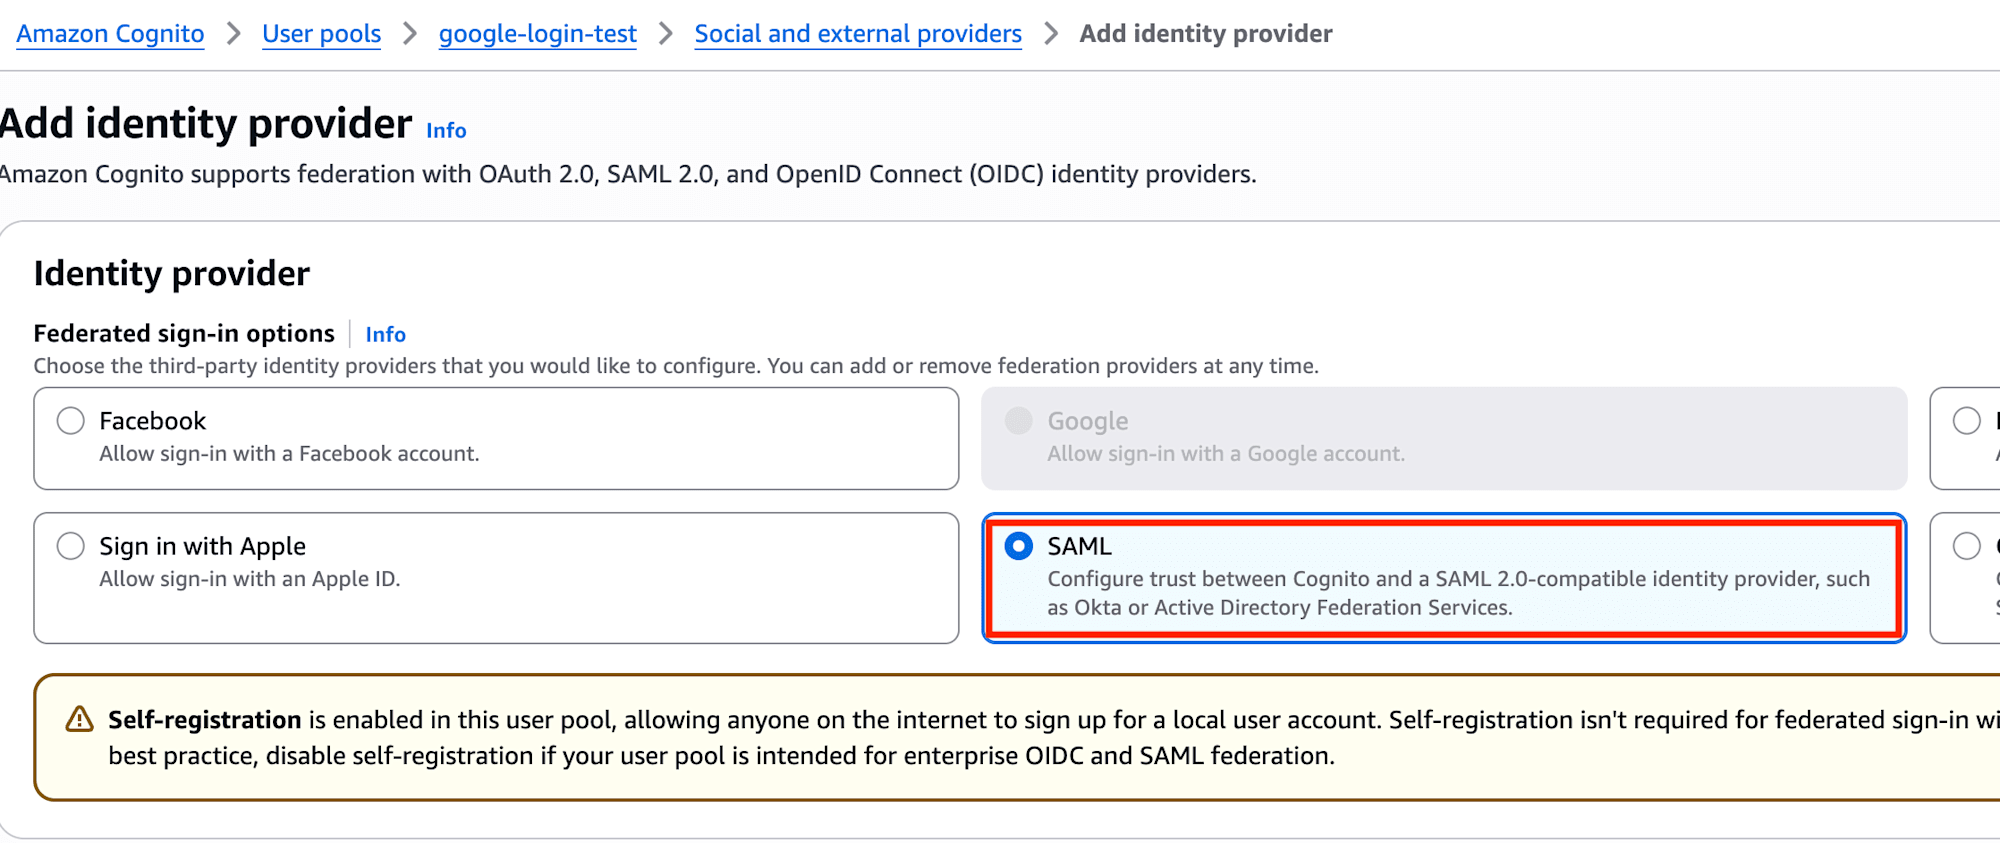
Key Points on the Cognito Side
From Cognito's Authentication -> Social and external providers, I selected SAML this time.
Here I entered the necessary information and uploaded the Metadata file downloaded from Google Workspace.
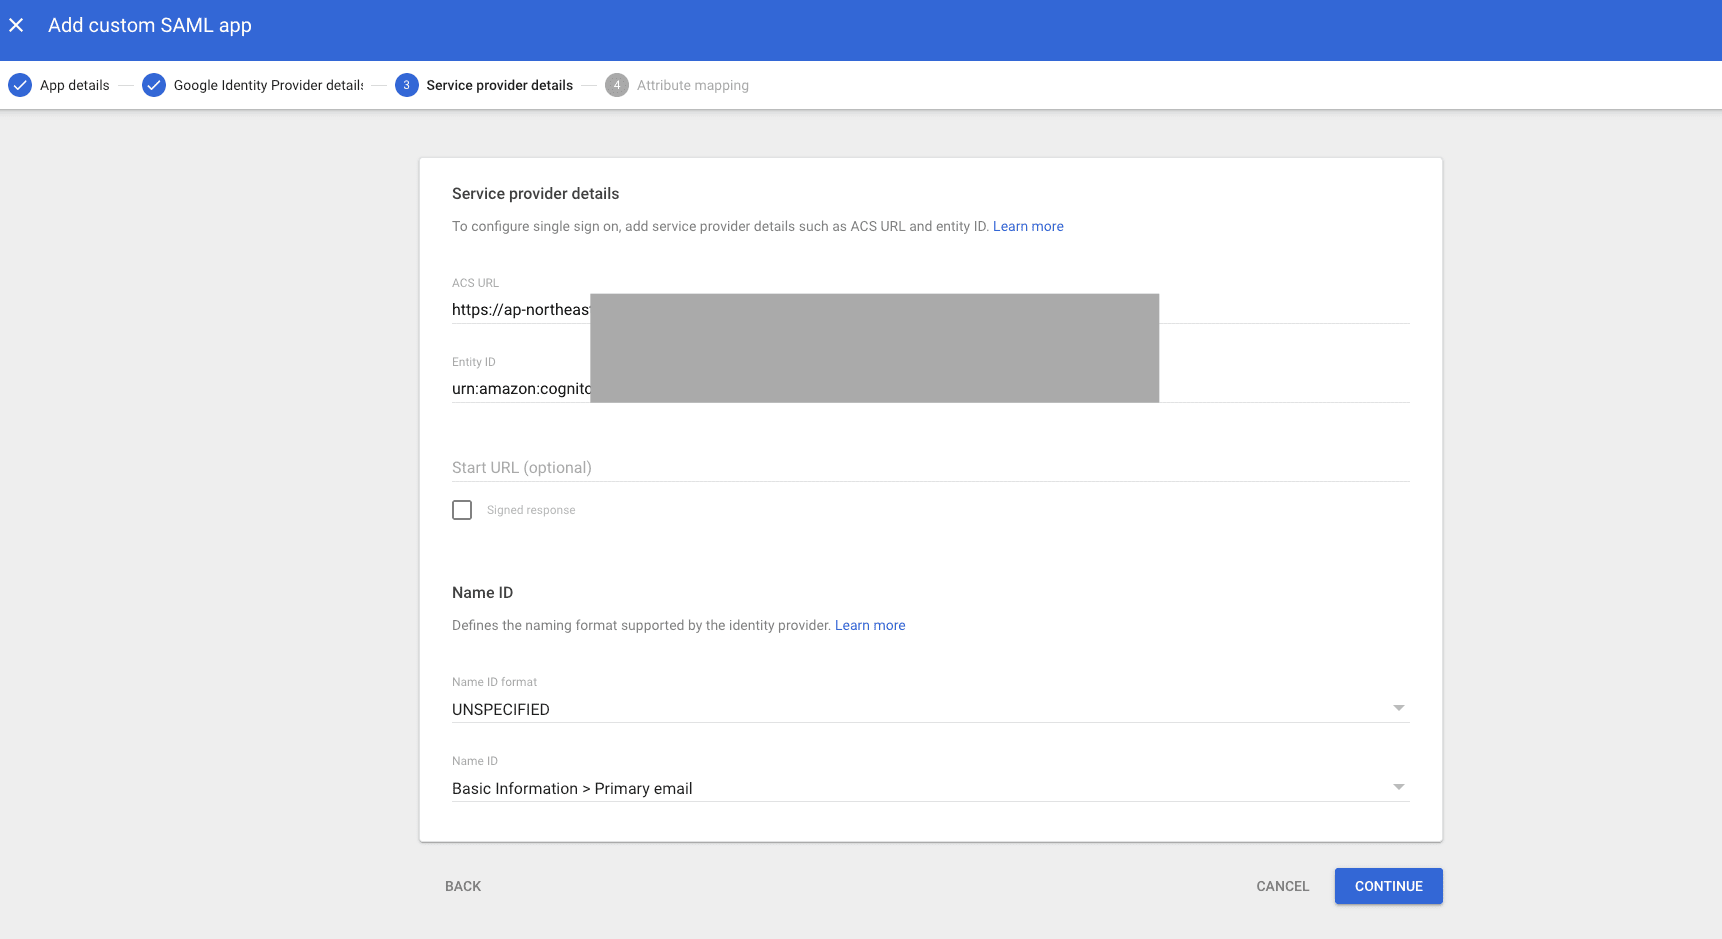
Afterward, I input Cognito's information into Google Workspace's Service provider details.
The formats of the values I used were:
ACS URL:https://{your-cognito-prefix-domain}/saml2/idpresponseEntity ID:urn:amazon:cognito:sp:<user-pool-id>
It's particularly important to note that the Entity ID uses the user-pool-id format, not the ARN.
The User Pool ID could be found at the top of the Overview page.
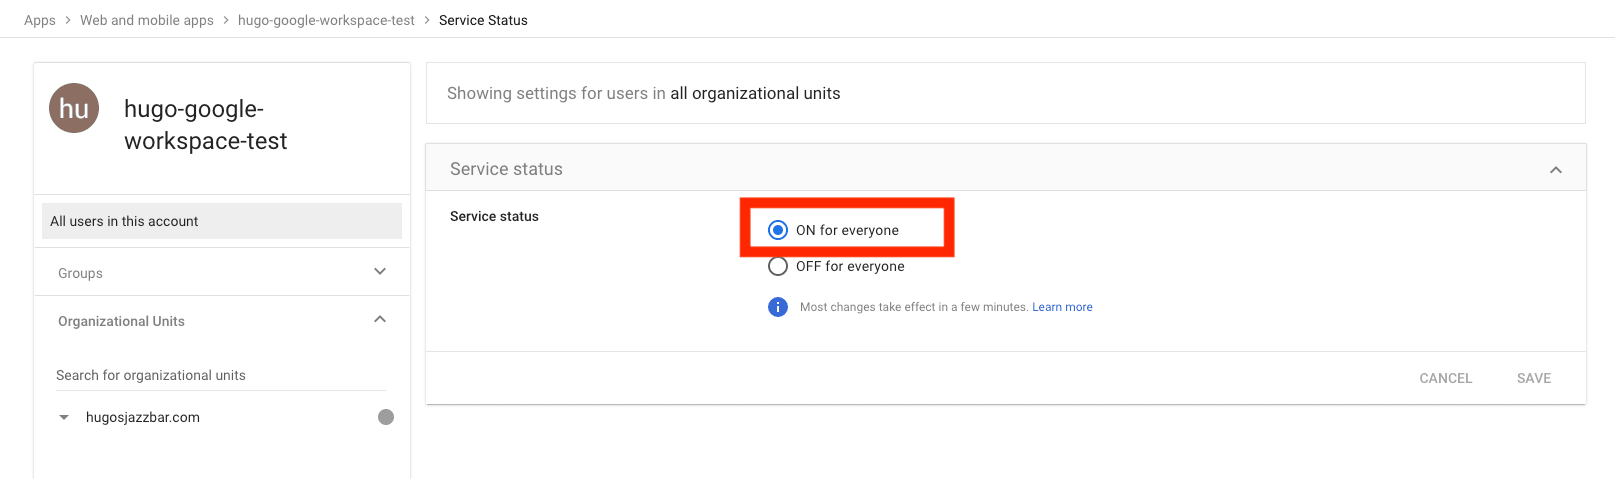
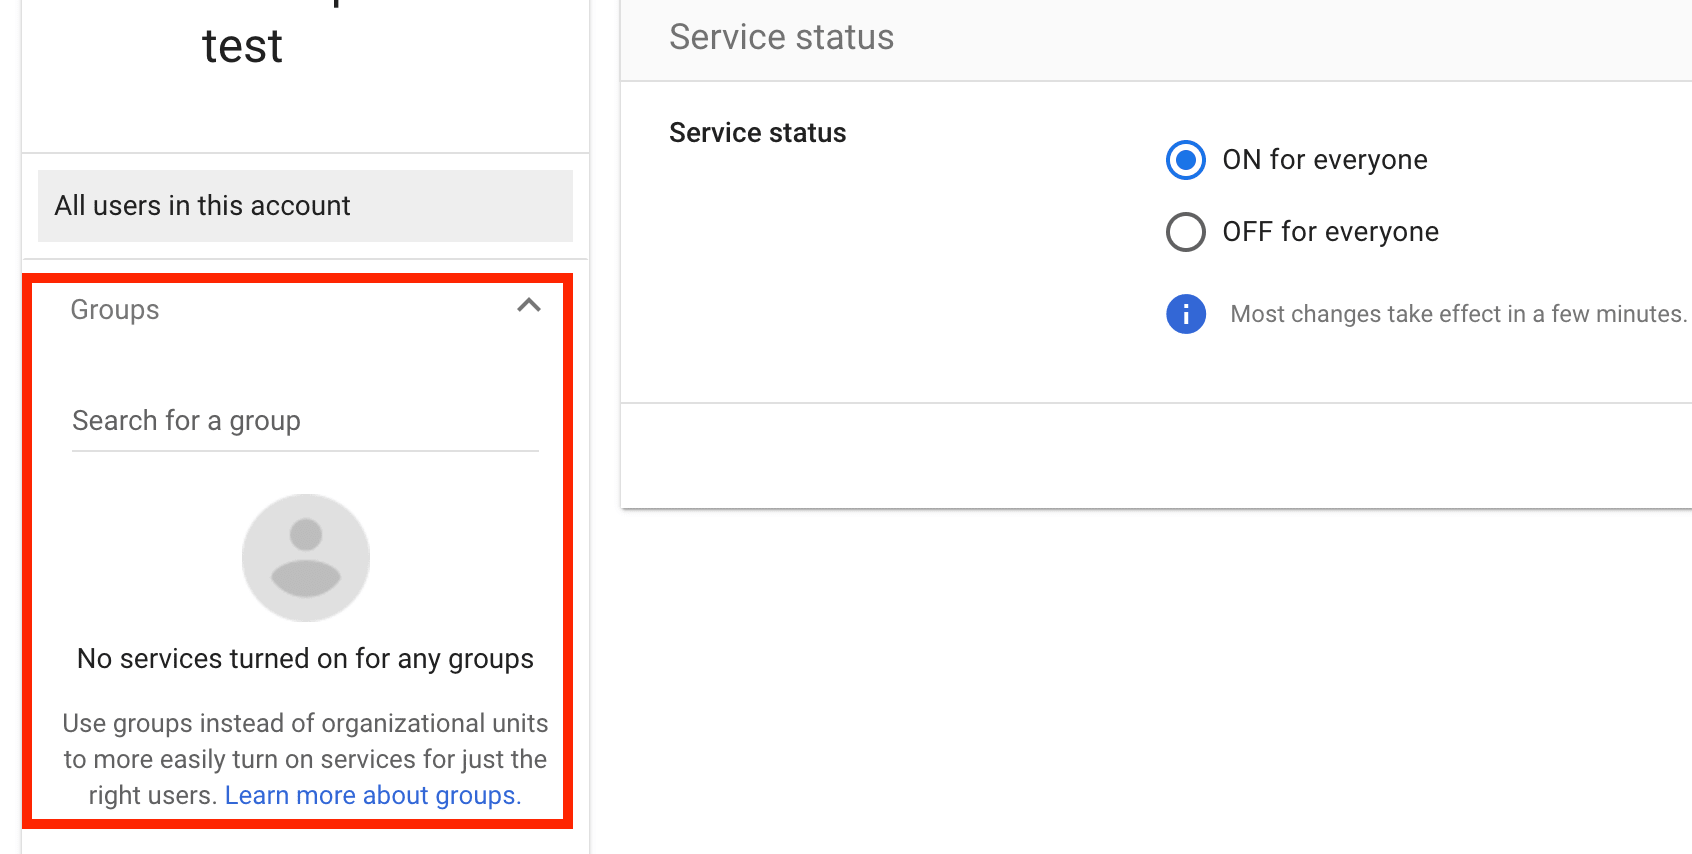
Final Steps on the Google Workspace Side
After entering the Service provider details, I set the Service status to ON for everyone, making the app available for use by the organization.
Only after completing these steps was I able to authenticate to Cognito via Google Workspace.
Points Verified on the App Client Side
Here too, the App client's Login pages were important at the end.
The verification points were:
- The SAML provider is included in
Identity providers Authorization code grantis used inOAuth grant typesopenidis included inOpenID Connect scopes
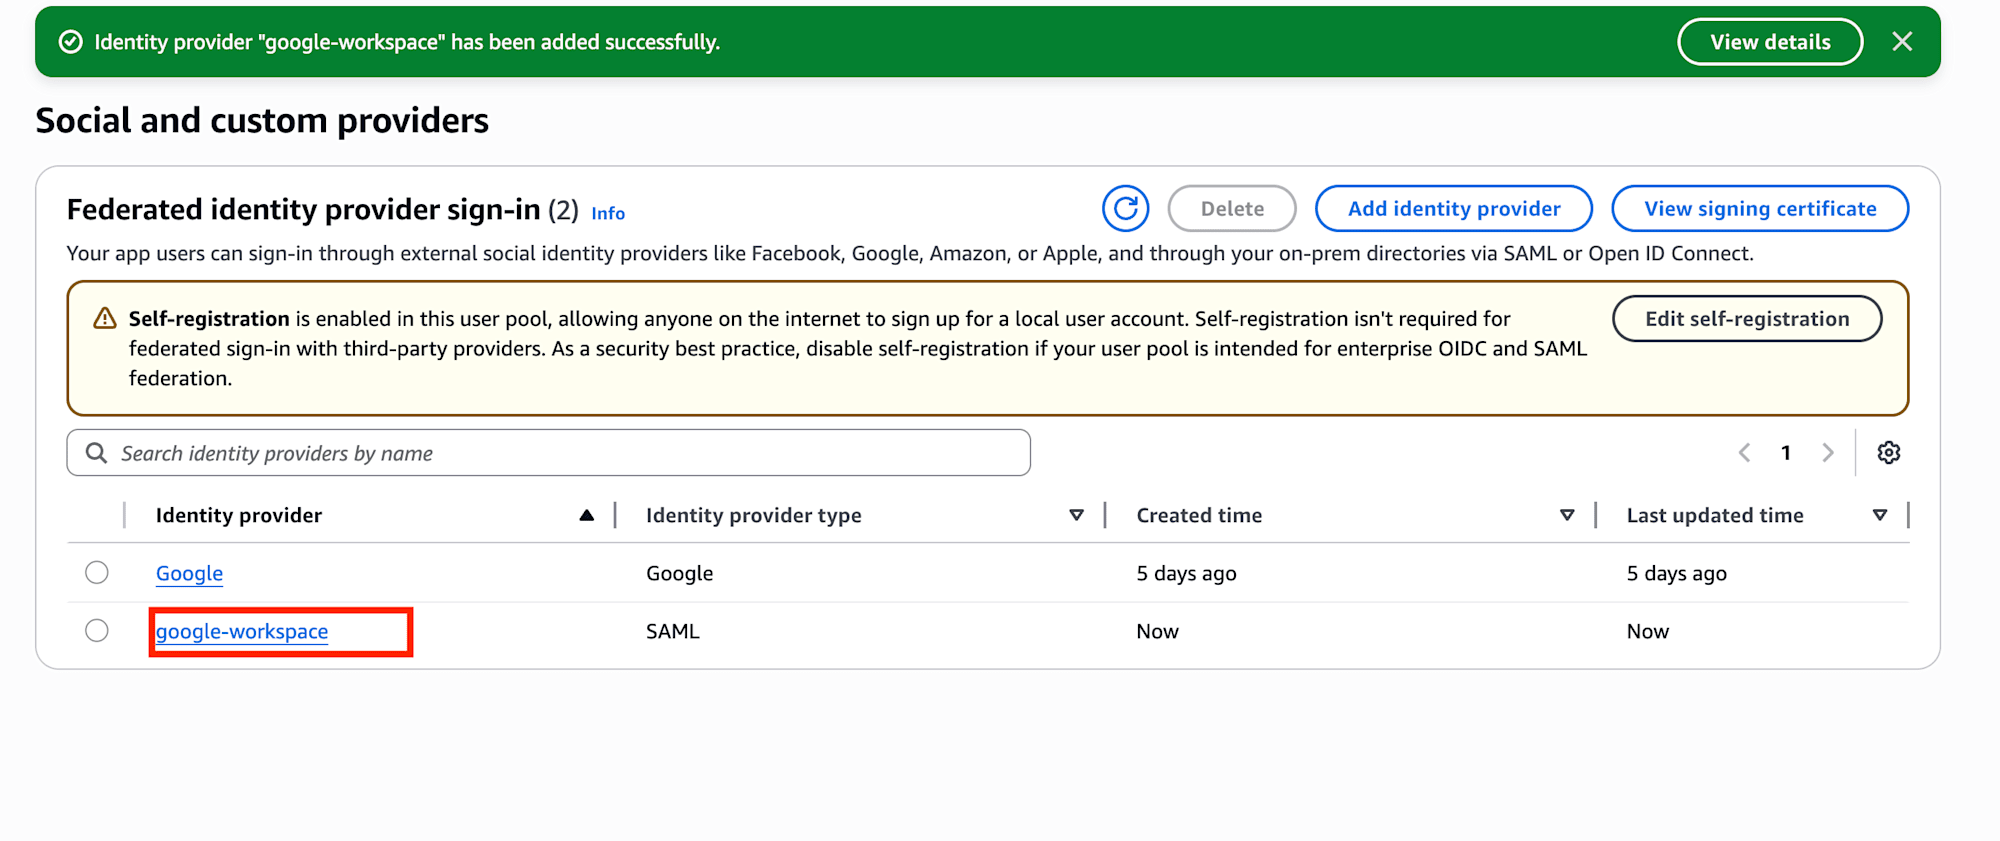
When checking from View login page, a SAML login path like continue with google-workspace was displayed, and if all settings were in place, I could log in directly.
Insights from the Comparison
After trying both methods, I felt that despite both being Google login, they have somewhat different characteristics.
1. Google Social Login is Easier to Start With
Google Social Login is relatively simple, as you just need to prepare an OAuth Client in Google Cloud and connect the Client ID / Client secret and redirect URL to Cognito.
This is the easier entry point for initial testing.
2. Google Workspace SAML SSO Requires More Mutual Configuration
On the other hand, Google Workspace SAML SSO required aligning settings while looking at both Google Workspace and Cognito sides.
The following points were particularly easy to confuse:
- Which side to pass the Metadata to
- The roles of
ACS URLandEntity ID - The final step of enabling the IdP on the
App clientside
While the setup itself isn't too difficult, it felt more like "configuring organization-oriented SSO" compared to Social Login.
3. Google Workspace SAML SSO Offers More Control
What was impressive in this verification was that Google Workspace assumes service activation and organizational management.
While this constraint is disadvantageous in terms of convenience, it allows for easier access control as an organization.
Additionally, I noticed that attribute mapping offers the potential to link more information.
4. Easy to Align Entry Points from the Application Side
By inserting Cognito in between, it was clear that both Google Social Login and Google Workspace SAML SSO could be tested through Cognito's login flow.
Even though the configured IdPs are different, being able to handle them collectively on the Cognito side made it easy to verify while comparing.
Conclusion
After trying this out, I felt that "Login with Google" is not a single type, but rather should be considered as completely different things depending on the purpose.
- If you want casual login with any Google account, use
Google Social Login - If you want SSO limited to organizational Google Workspace accounts, use
Google Workspace SAML SSO
It's convenient that Cognito allows both to be placed on the same User Pool, making it easy to choose according to requirements.
For those about to configure this, I recommend checking all the way to App client -> Login pages and carefully organizing the URLs to pass to Google and the Metadata to pass to Cognito.