
Introducing OpenCV to iOS Apps with CocoaPods (January 2024 Edition)
This article was published more than one year ago. Please be aware that the information may be outdated.
This page has been translated by machine translation. View original
OpenCV is a powerful open-source library for image processing and computer vision. By incorporating OpenCV into iOS apps, you can implement advanced image processing and analysis.
This article introduces how to integrate OpenCV into an iOS app using CocoaPods and how to convert images to grayscale.
Installing OpenCV Using CocoaPods
CocoaPods is convenient for integrating OpenCV. CocoaPods is a dependency manager for iOS and macOS that makes it easy to incorporate libraries and frameworks into your project.
Add pod 'OpenCV' to your project's Podfile and install OpenCV using the pod install command. After installation, open the .xcworkspace file. This completes the introduction of OpenCV.
Note: OpenCV Version Installed with CocoaPods May Be Outdated
As of January 3, 2024, installing OpenCV via CocoaPods will give you version 4.3.0, which was released in April 2020 and is quite old. The latest version available on the GitHub Releases page is 4.9.0. If you want to use the latest version, it would be better to manually add the framework to your project.
I've covered how to build the latest OpenCV yourself and incorporate it into an iOS app in a separate article.
Building OpenCV yourself is somewhat difficult, so if you just want to try out OpenCV quickly, installation via CocoaPods should be fine.
Test Environment
- MacBook Pro (16-inch, 2021)
- Apple M1 Pro
- Xcode 15.1
- macOS 14.1
Creating an Image Processing Class Using OpenCV
In iOS apps, images are handled as UIImage objects, but OpenCV cannot directly handle UIImage objects. To process images using OpenCV, you need to convert from UIImage to cv::Mat, perform image processing, and then convert from cv::Mat back to UIImage. The conversion process follows the steps shown in the diagram below.

The steps to convert to grayscale using OpenCV are as follows:
- Adding a sample image to Assets.xcassets
- Adding an Objective-C++ class and Bridging file
- Implementing grayscale conversion processing
- Adding headers to the Bridging file so they can be referenced from Swift code
- Executing the image processing function from SwiftUI (screen)
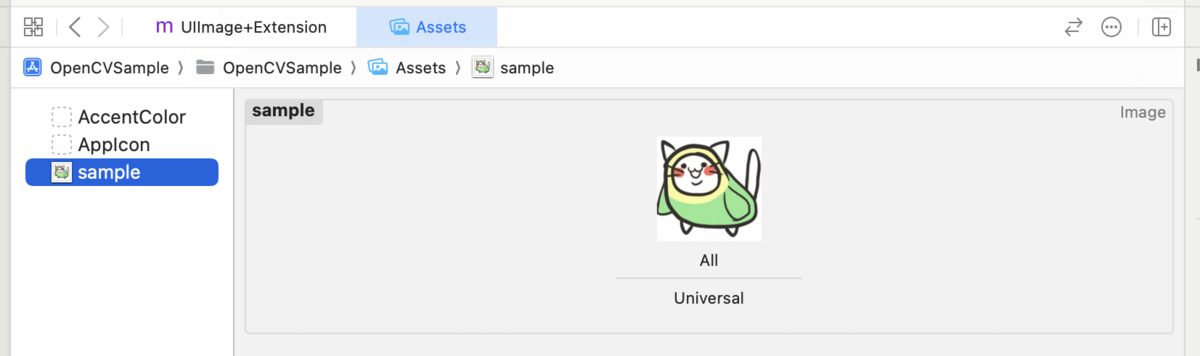
1. Adding a Sample Image to Assets.xcassets
I added a sample image to Assets.xcassets. Here, I named it sample.
2. Adding an Objective-C++ Class and Bridging File
When writing an image processing class in Objective-C or Objective-C++, a Bridging file is needed to handle that class in a Swift project. It's a file that acts as a bridge between Objective-C code and Swift code. In this article, we'll use the automatic generation dialog that appears when adding an Objective-C file to the project for the first time to add a Bridging file.
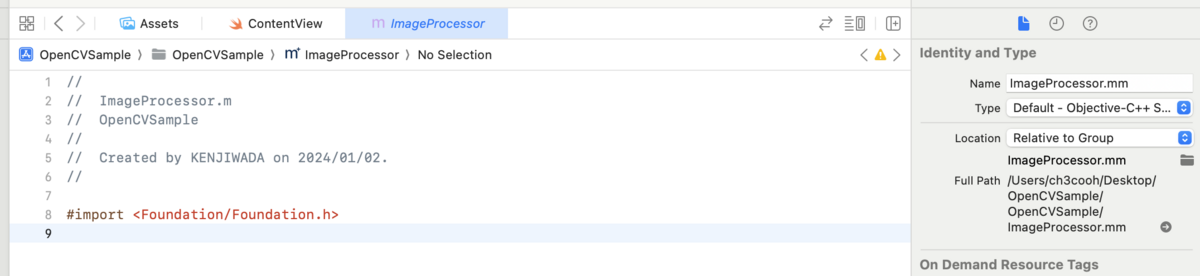
Select Objective-C File from New File..., and add a file. Here, I named it ImageProcessor.m.

When adding an Objective-C file to the project for the first time, a dialog will be displayed. Click the Create Bridging Header button to add a Bridging file to the project. The automatically generated Bridging file is named {ProjectName}-Bridging-Header.h.

I changed the extension of the previously added ImageProcessor.m to ImageProcessor.mm.
3. Implementing the Image Processing Class
Implement a function that processes a given UIImage object and returns the processed UIImage object. As mentioned earlier, perform the conversion UIImage -> cv:Mat -> (image processing) -> cv:Mat -> UIImage.
The image processing handled here is grayscale conversion, where the color of each pixel is represented in different gradations of gray. The method to convert a color image to grayscale using OpenCV is as follows.
ImageProcessor.mm
This is a class that performs image processing. The functions UIImageToCVMat: and CVMatToUIImage: perform mutual conversion between UIImage and cv::Mat, but are omitted in this article as they would be redundant. For details, please refer to the sample code.
For simple image conversion, you can implement various variations of image processing just by rewriting the "Convert to grayscale" section.
#import "opencv2/opencv.hpp"
#import "ImageProcessor.h"

@implementation ImageProcessor

+ (UIImage *) convertToGrayscale:(UIImage *) image {
    cv::Mat srcMat, grayMat;
    srcMat = [self UIImageToCVMat: image];

    // Convert to grayscale
    cv::cvtColor(srcMat, grayMat, cv::COLOR_BGR2GRAY);

    return [self CVMatToUIImage:grayMat];
}

+ (cv::Mat) UIImageToCVMat:(UIImage *) image {
    // Convert UIImage to cv::Mat
}

+ (UIImage *) CVMatToUIImage:(cv::Mat) cvMat {
    // Process to convert cv::Mat to UIImage
}

@end
ImageProcessor.h
#ifndef ImageProcessor_h
#define ImageProcessor_h

#import <Foundation/Foundation.h>
#import <UIKit/UIKit.h>

@interface ImageProcessor : NSObject

+ (UIImage *) convertToGrayscale:(UIImage *) image;

@end

#endif /* ImageProcessor_h */
4. Adding Headers to the Bridging File to Reference from Swift Code
To handle ImageProcessor#convertToGrayscale: from Swift code, import ImageProcessor.h in the Bridging file.
OpenCVSample-Bridging-Header.h
//
//  Use this file to import your target's public headers that you would like to expose to Swift.
//

#import "ImageProcessor.h"
5. Executing Image Processing on the Screen
In this sample, the screen is implemented using SwiftUI. When the "to grayscale" button is tapped, it executes ImageProcessor#convertToGrayscale and displays the processed image.
ContentView.swift
import SwiftUI

struct ContentView: View {
    @State private var image = UIImage(named: "sample")
    @State private var text: String?

    var body: some View {
        VStack {
            if let image = image {
                Image(uiImage: image)
                    .resizable()
                    .frame(width: 200, height: 200)
                    .scaledToFit()
            }
            if let text = text {
                Text(text)
            }
            Button("to grayscale") {
                action()
            }
            Button("clear") {
                clear()
            }
        }
        .padding()
    }

    private func action() {
        guard let source = UIImage(named: "sample") else {
            text = "Failed to get image"
            return
        }

        guard let image = ImageProcessor.convert(toGrayscale: source) else {
            text = "Failed to convert image"
            return
        }

        self.image = image
        text = nil
    }

    private func clear() {
        image = UIImage(named: "sample")
        text = nil
    }
}
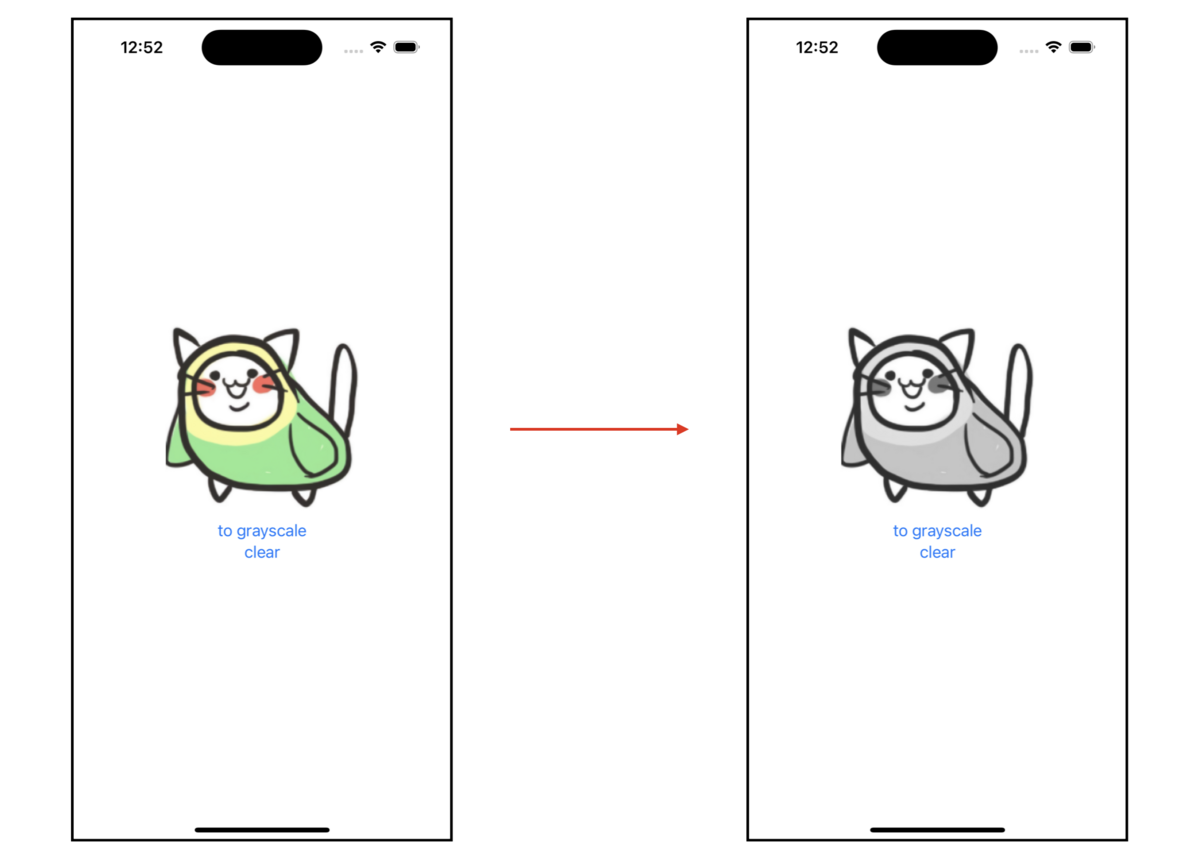
Checking Operation
When running the sample app and tapping the to grayscale button, it changes as shown in the figure below.
Conclusion
Now you can introduce OpenCV into an iOS app using CocoaPods and convert images to grayscale. Based on this code, it will be possible to develop more advanced image processing and analysis functions.
The sample code for this article is published in the following repository.