I tried snapshot testing for SwiftUI without launching the app using swift-snapshot-testing
This page has been translated by machine translation. View original
Every time I fixed source code, I was worried about "Am I breaking the layout of other screens?" While I knew that introducing UI testing could solve this, Xcode's standard XCUITest requires launching the app and operating on the simulator, creating a significant burden for setup and ongoing maintenance. Therefore, I had been postponing the introduction of UI testing.
Recently, development methods that involve showing screenshots to AI to iterate on UI improvements have gained attention, increasing interest in utilizing snapshots. In this context, I found "swift-snapshot-testing". With this library, you can convert SwiftUI Views into images and automatically compare them with previous snapshots as an extension of unit testing, without launching the app.
This article introduces the basic flow from setting up swift-snapshot-testing to generating snapshots.
What is Snapshot Testing
Snapshot testing is a testing method that saves (records) the appearance of a UI at a certain point in time as an image, and then compares the rendering results with the saved image during subsequent test executions.
While normal unit tests verify "if values match expectations," snapshot tests verify "if the appearance has changed from the previous time."
The major differences from XCUITest are:
- No need to launch the app — Can be executed in the unit test target, and renders Views directly via
UIHostingController, eliminating the need to operate the app on a simulator - No need to prepare conditions — States can be passed directly in the test code, saving the trouble of navigating screens within the app to reproduce specific screen states
- Fast — Very quick execution per test as there's no need to wait for app launch or screen transitions
Verification Environment
- MacBook Pro (16-inch, 2023), Apple M2 Pro
- macOS 16.7.3
- Xcode 26.2
- iPhone 17 Pro simulator / iOS 26.1
- swift-snapshot-testing 1.18.9
Setup
1. Adding with Swift Package Manager
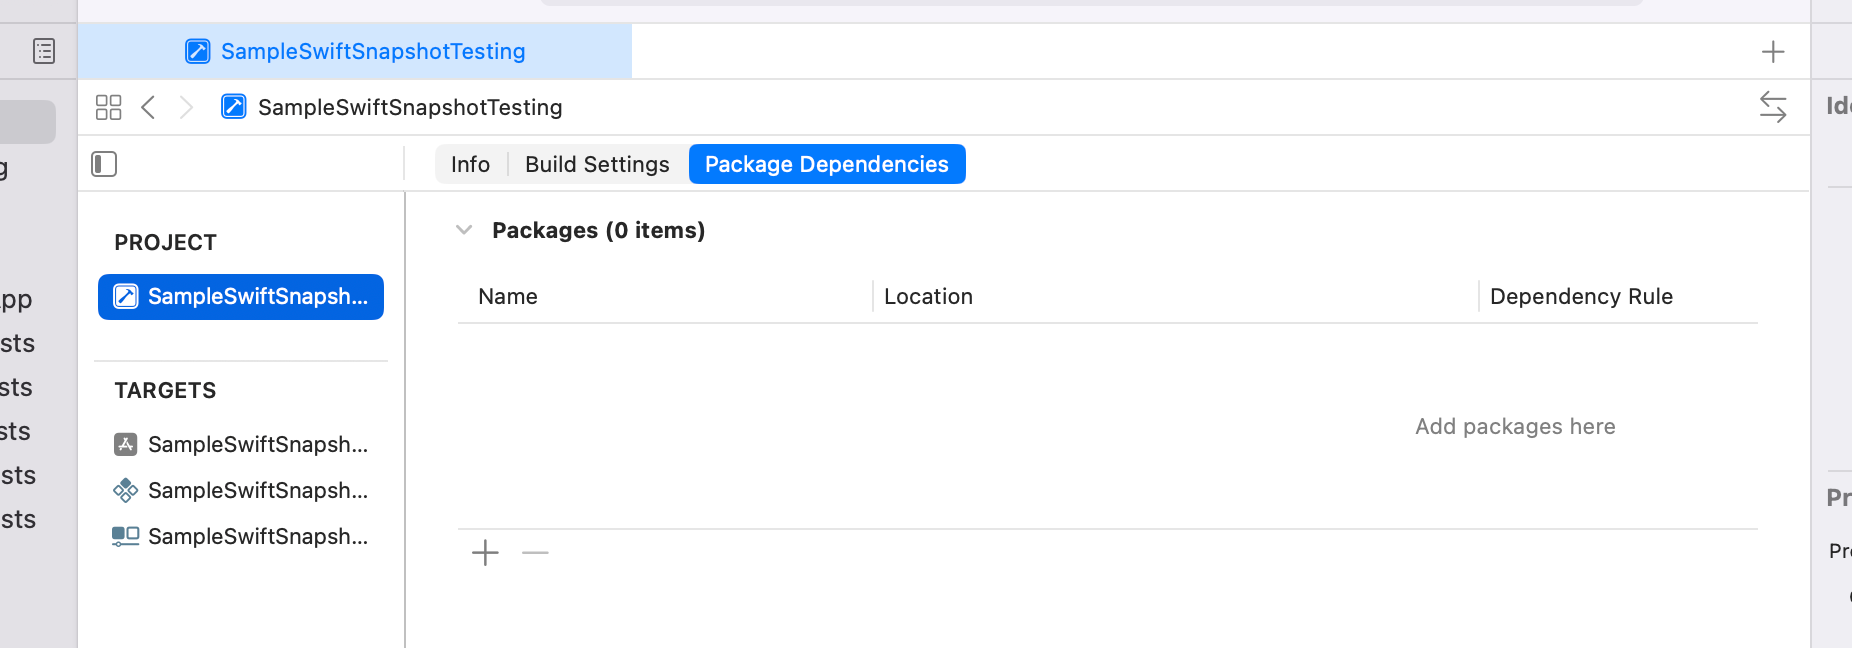
Open Package Dependencies in Xcode and click the [+] button.
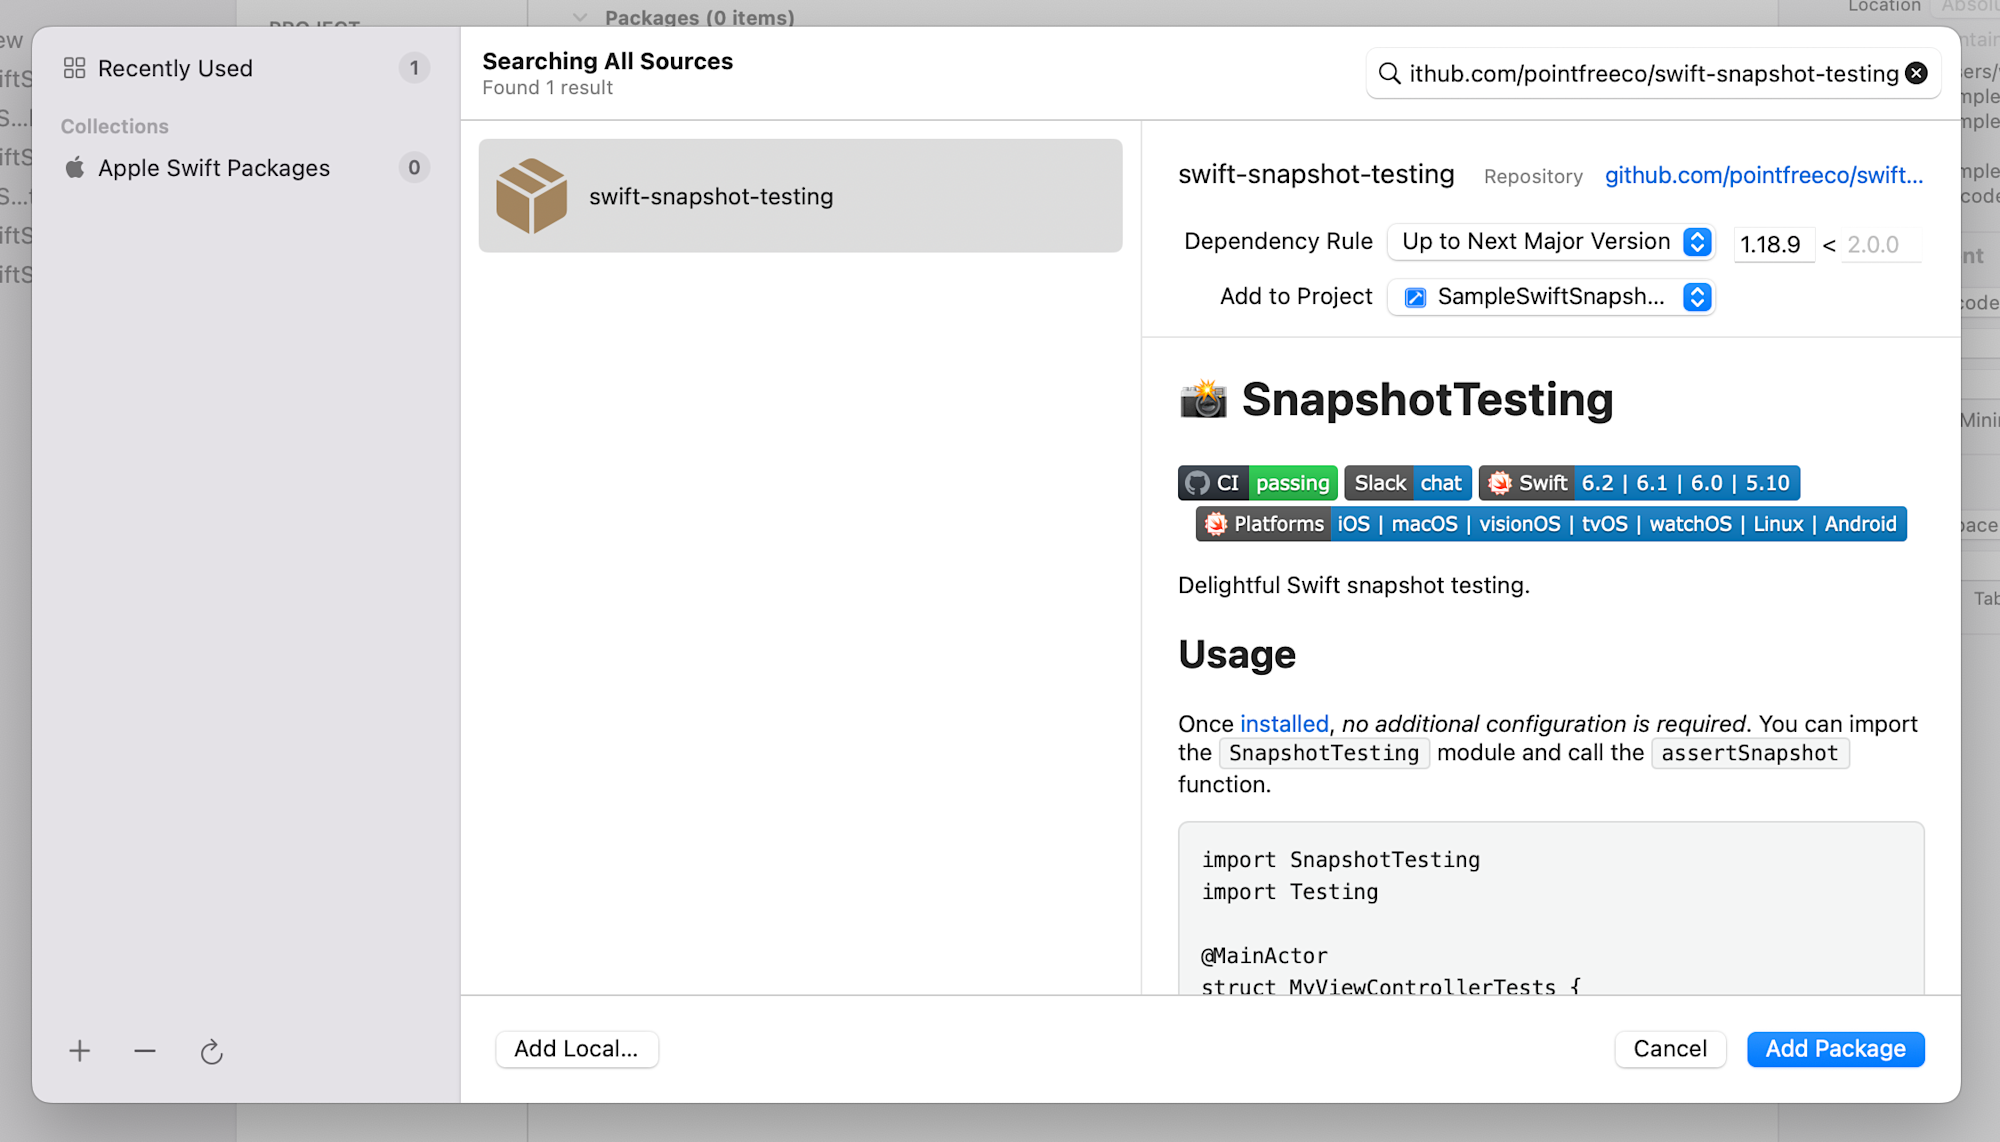
Enter the following URL in the search field. Then select swift-snapshot-testing and click the [Add Package] button.
https://github.com/pointfreeco/swift-snapshot-testing
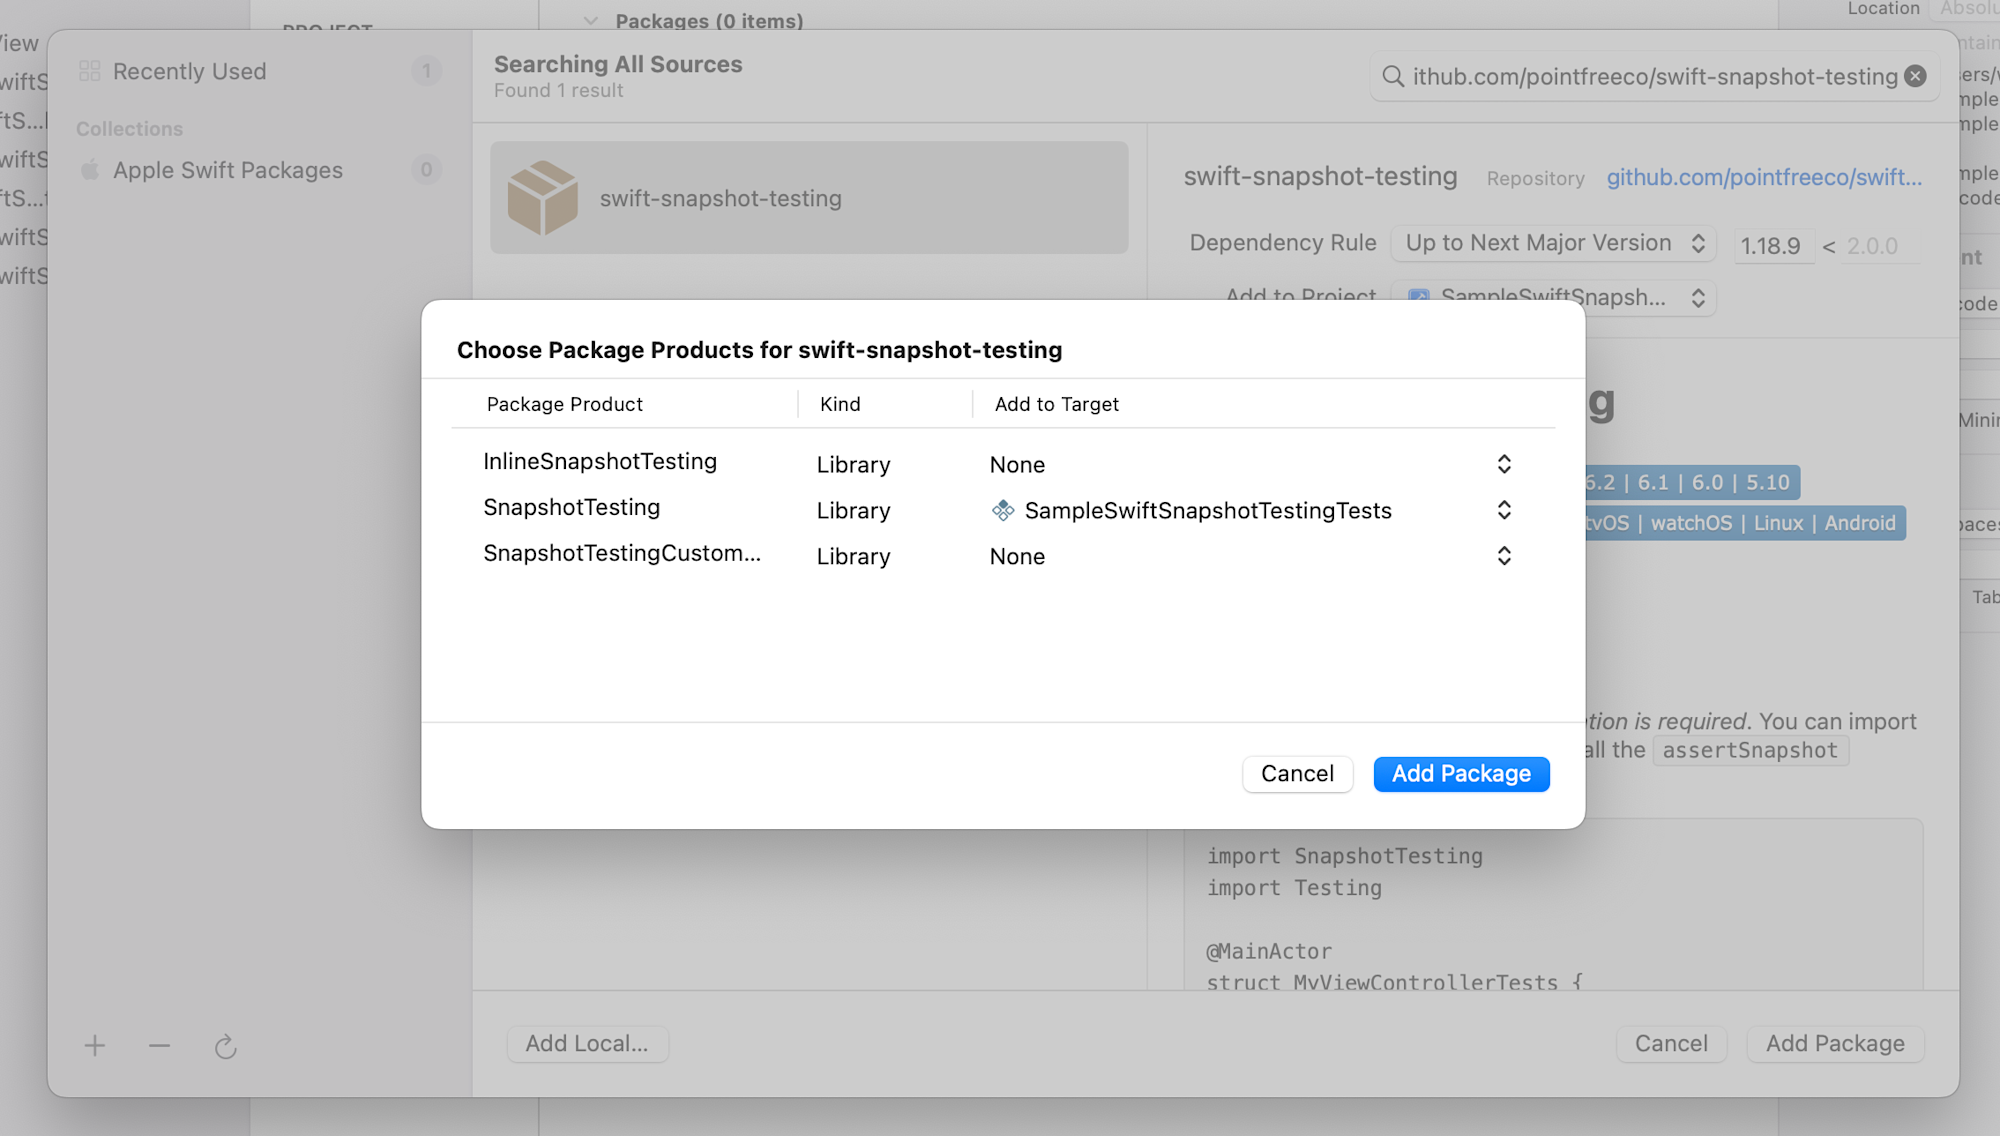
Add the package shown below and click the [Add Package] button. When adding the package, make sure to add the SnapshotTesting module to the test target. Be careful not to add it to the main app target.
If you're using Package.swift, write it like this:
dependencies: [
  .package(
    url: "https://github.com/pointfreeco/swift-snapshot-testing",
    from: "1.18.9"
  ),
],
targets: [
  .target(name: "MyApp"),
  .testTarget(
    name: "MyAppTests",
    dependencies: [
      "MyApp",
      .product(name: "SnapshotTesting", package: "swift-snapshot-testing"),
    ]
  )
]
2. Prepare a View to test
As an example, I've prepared a simple profile card View.
import SwiftUI

struct ProfileCardView: View {
    let name: String
    let role: String

    var body: some View {
        VStack(spacing: 12) {
            Image(systemName: "person.circle.fill")
                .resizable()
                .frame(width: 80, height: 80)
                .foregroundStyle(.blue)

            Text(name)
                .font(.title2)
                .fontWeight(.bold)

            Text(role)
                .font(.subheadline)
                .foregroundStyle(.secondary)
        }
        .padding(24)
        .background(
            RoundedRectangle(cornerRadius: 16)
                .fill(.background)
                .shadow(radius: 4)
        )
    }
}
Writing your first snapshot test
Basic test description
Create a new file in the test target and write as follows:
import SnapshotTesting
import Testing
@testable import MyApp

@MainActor
struct ProfileCardViewTests {

    @Test
    func プロフィールカードの表示() {
        let view = ProfileCardView(name: "和田健司", role: "iOSエンジニア")

        assertSnapshot(
            of: view,
            as: .image(layout: .device(config: .iPhone13Pro))
        )
    }
}
Let me explain a few key points:
- Import the library with
import SnapshotTesting @MainActoris required for rendering SwiftUI ViewsassertSnapshot(of:as:)is the core API. Pass the View or screen you want to snapshot in the first argument, and the strategy (like.image) in the second argument- When you pass a SwiftUI View, the library internally wraps it in a
UIHostingControllerfor rendering
Specifying .iPhone13Pro here uses the preset device sizes provided by swift-snapshot-testing. It's a specification to "generate snapshots at the iPhone 13 Pro screen size," and doesn't need to match the iOS simulator device you're running.
First run to record images (test will always fail)
When you run the test (Cmd + U), the test will always fail on the first run.
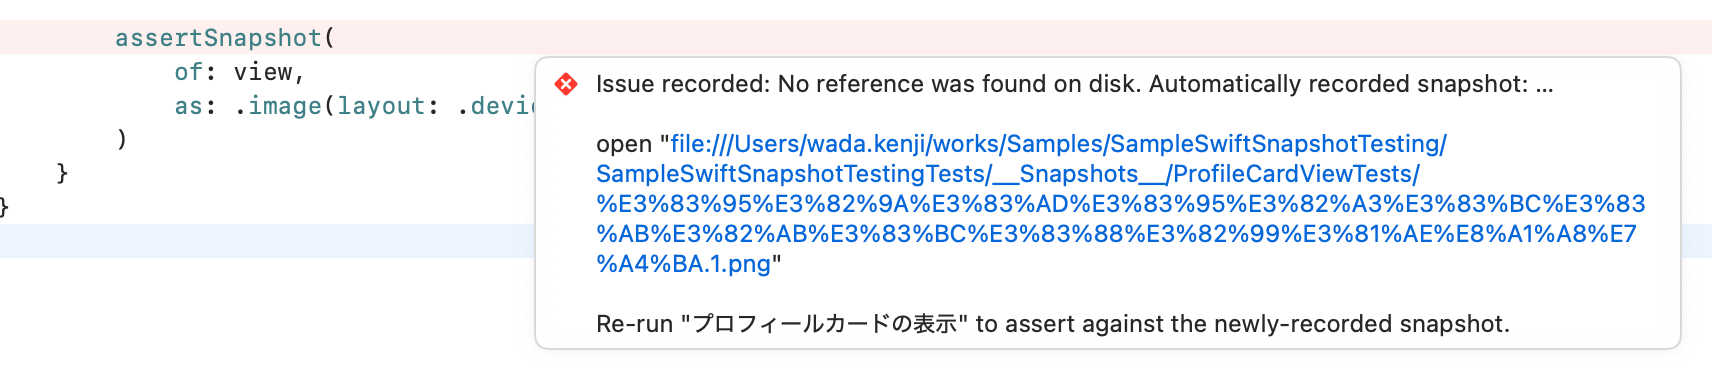
This is not a bug but intended behavior. Since there is no reference image on disk yet, the library automatically generates and saves a snapshot, then fails the test with a message like:
Issue recorded: No reference was found on disk. Automatically recorded snapshot: …
open "file:///{{PATH}}/プロフィールカードの表示.1.png"
Re-run "プロフィールカードの表示" to assert against the newly-recorded snapshot.
At this point, a __Snapshots__ directory is automatically generated in the same hierarchy as the test file, and the reference image is saved there.
MyAppTests/
├── ProfileCardViewTests.swift
└── __Snapshots__/
    └── ProfileCardViewTests/
        └── プロフィールカードの表示.1.png

Always visually confirm the generated image. Since snapshot tests verify "that nothing has changed from before," if the initial recording is in a defective state, it will be treated as correct from then on.
Also, as shown below, the appearance of the simulator and the image generated by the snapshot test are slightly different. Snapshots should be used only for testing, and final verification should be done on a simulator or actual iPhone device.
| Simulator execution | Snapshot test |
|---|---|
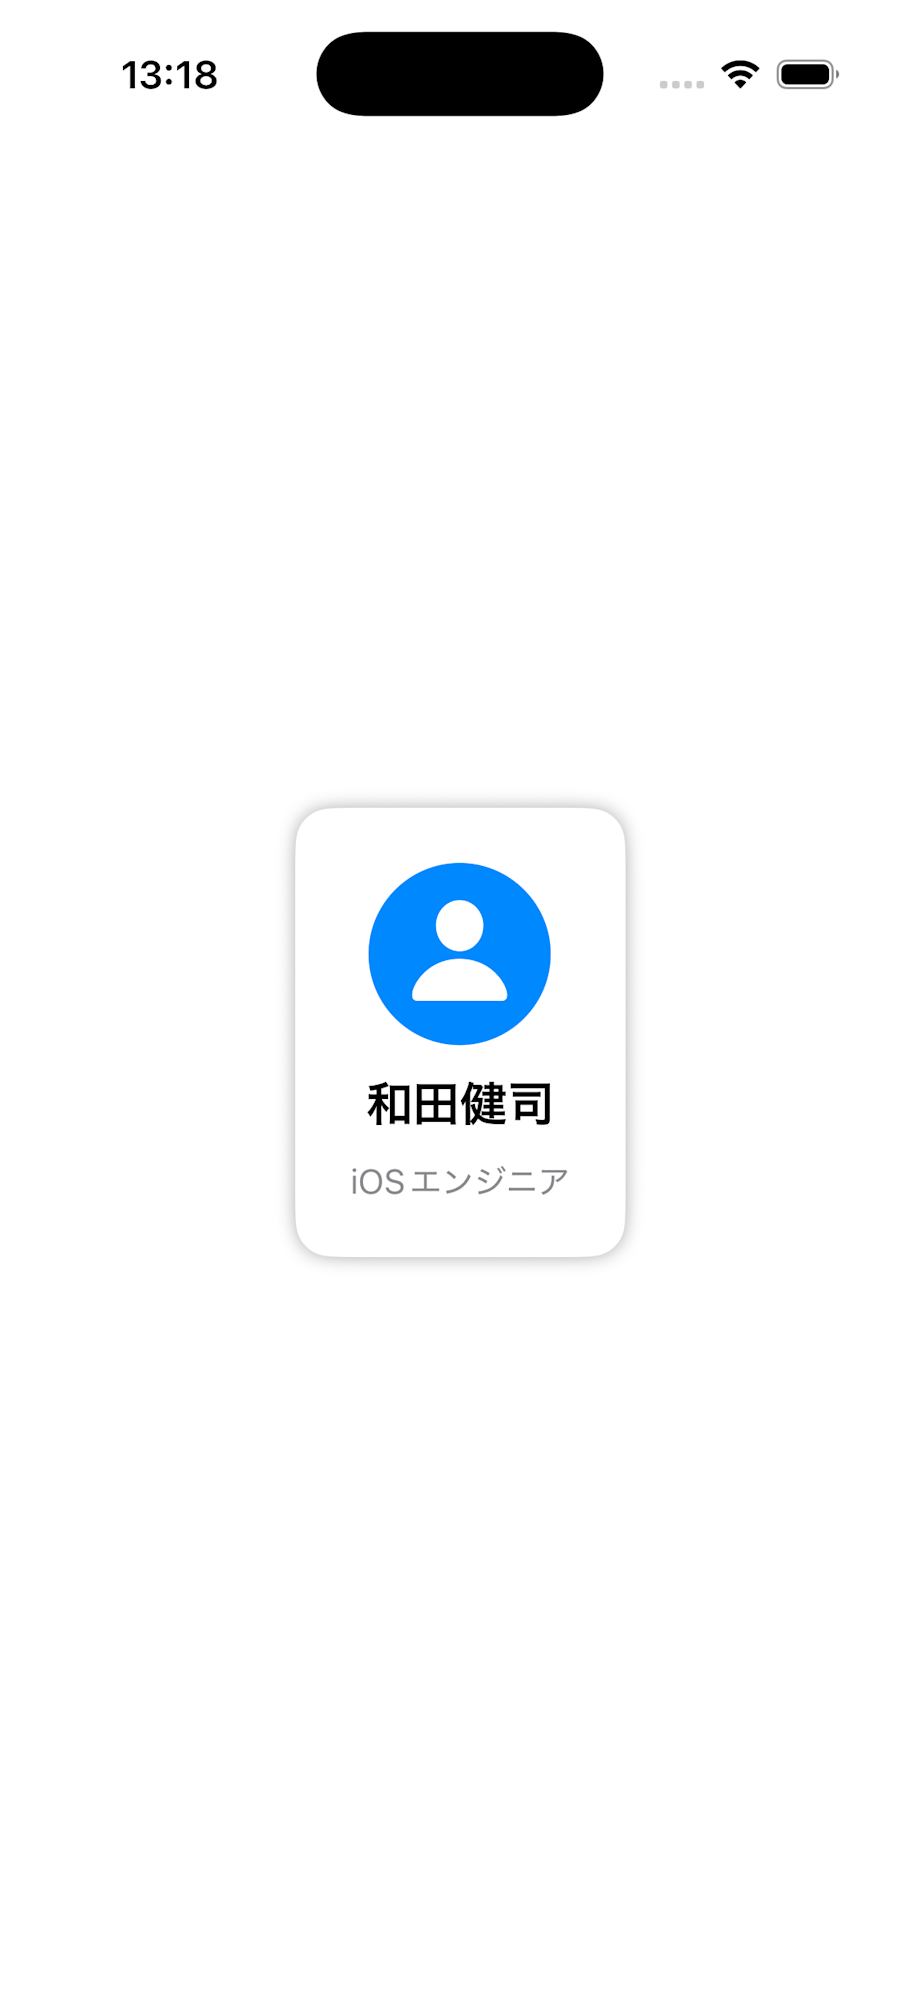 |
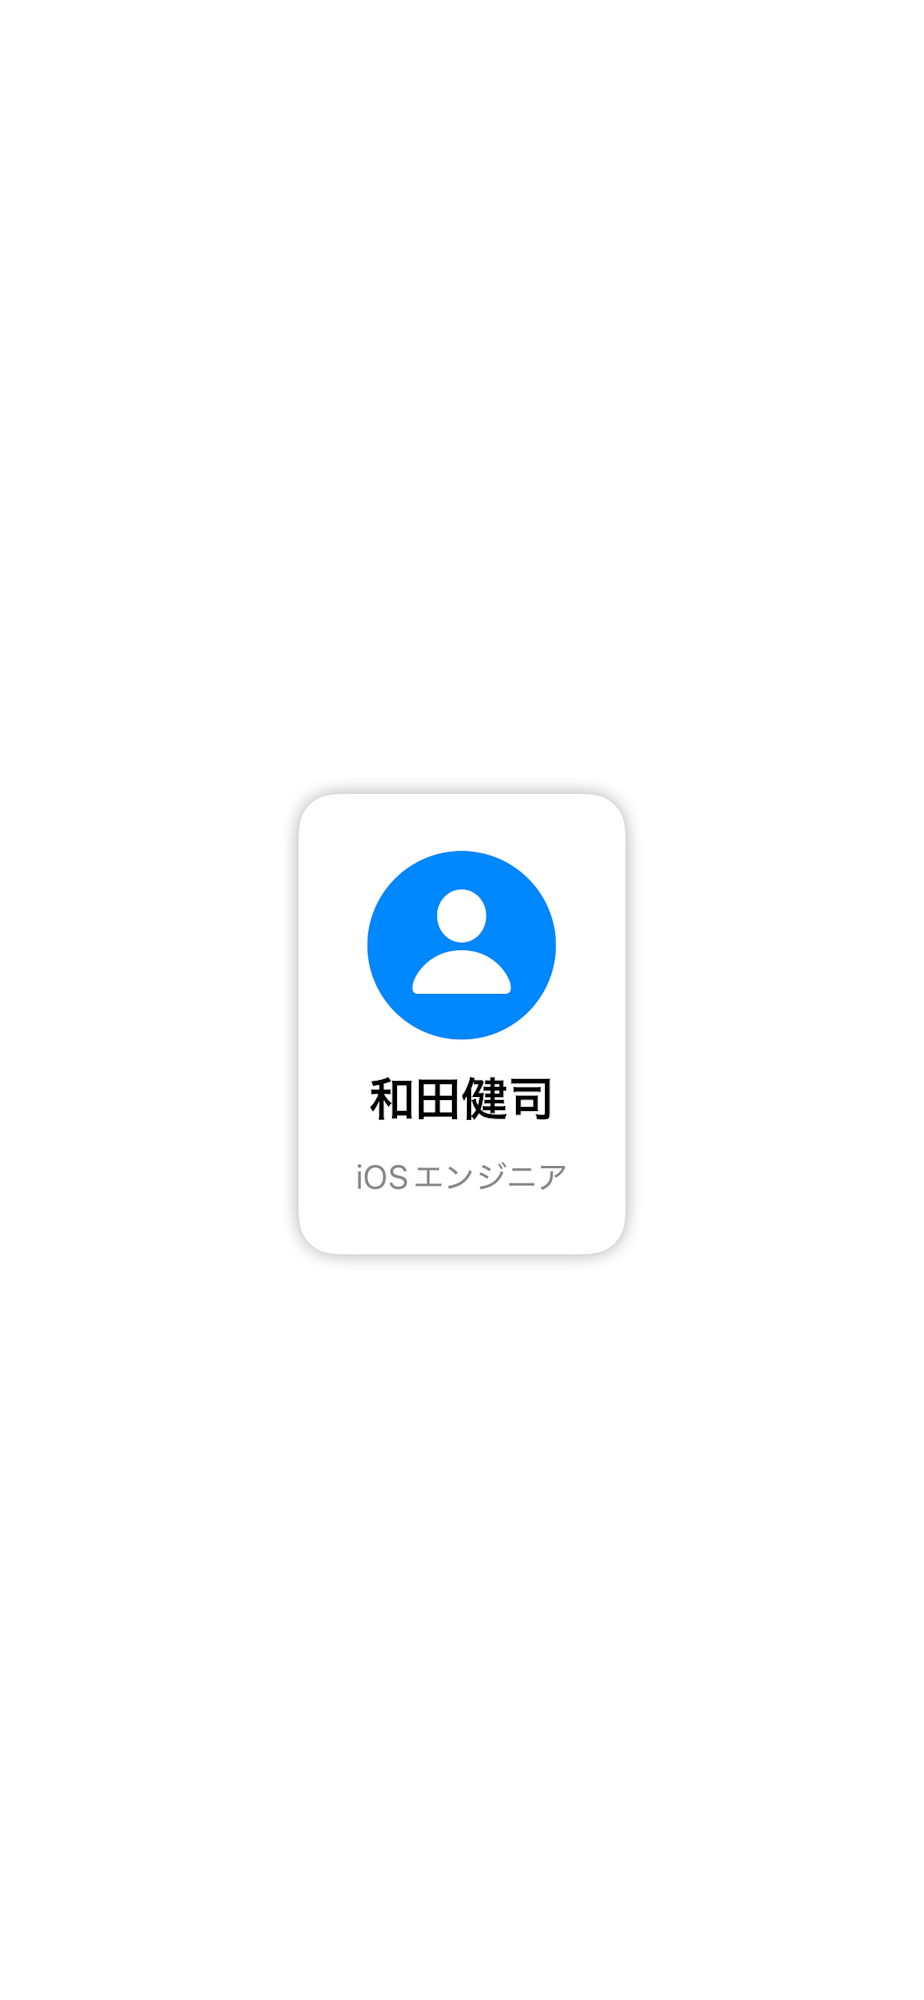 |
Second run — Comparison test
After confirming the reference image content, run the test again. This time it compares the saved reference image with the newly rendered image pixel by pixel, and the test passes if they match.
If any changes have been made to the View, the test will fail, and the file paths of the reference image, execution result image, and difference image will be displayed in the Xcode test results.
Troubleshooting
Be careful with non-deterministic data
If the View contains data that changes with each execution, such as dates, random numbers, or images from the network, the snapshot will change each time and the test will fail. Use mock data during testing and pass deterministic values.
Animations can also cause snapshot instability. It's safer to disable them in the test setup.
// For Swift Testing
init() {
    UIView.setAnimationsEnabled(false)
}
Watch out for side effects of .onAppear
SwiftUI's .onAppear also fires during snapshot rendering. If there are side effects like API calls, they need to be handled through DI or mocking so they don't execute during testing.
Modals are not captured
Modals displayed with .sheet() or .fullScreenCover() are not captured in snapshot tests. If you want to test the contents of a modal, extract the View displayed in the modal as an independent component and write a snapshot test for that View alone.
Commit the __Snapshots__ directory to Git
Commit the __Snapshots__ directory to Git. Without it, reference images won't be found on CI, causing tests to consistently fail. If repository size is a concern, consider introducing Git LFS.
Poor compatibility with Liquid Glass
Liquid Glass design was introduced from iOS 26. Looking at the captured snapshots, you can see that the Liquid Glass effect is not applied as shown below.
Currently, no clear workaround for this issue has been found. Since swift-snapshot-testing renders Views via UIHostingController, it is presumed that the Liquid Glass effect is not fully reproduced. You need to understand this constraint when operating snapshot tests, knowing that they verify UI without the Liquid Glass effect.
Summary
With swift-snapshot-testing, you can capture SwiftUI Views as images without launching the app and detect unintended UI changes. Compared to XCUITest, the easy setup makes it appealing as an extension of unit testing. As mentioned at the beginning, you can also have AI review the generated snapshots to help polish designs.
On the other hand, there are snapshot test-specific considerations such as non-deterministic data and side effects of .onAppear. Try starting with one View to experience the convenience of snapshot testing.
I hope this helps those who are struggling with introducing UI tests for SwiftUI.