Getting Hands-On with Zendesk Talk
この記事は公開されてから1年以上経過しています。情報が古い可能性がありますので、ご注意ください。
Phone support is still the most popular channel for customers to get help. Zendesk Talk is an easy to use phone support solution that is already a part of your support ticketing system. Within few minutes you and your team can start taking customer calls from the same interface you use for all your channels.
In this hands-on blog, we will walk you through the process of setting up and using Zendesk Talk, so you can leverage its capabilities to enhance your customer communication and support operations.
Let's get started with the hands-on guide!
Step 1: Setting Up Phone Numbers:

1. Log in to your Zendesk account.
2. Navigate to the Admin settings.
3. Under the Channels section, select Talk.
4. In the Zendesk Talk interface, click on "Lines"and go to the "Phone numbers" tab.
5. Click on the "Add number" button.
6. Choose whether you want to purchase a new number or port an existing one.
7. Follow the instructions provided to acquire or port the desired phone number.
Step 2: Configuring Lines:

1. In the Zendesk Talk interface, go to the Admin settings.
2. Under the Channels section, select Talk.
3. Click on "Lines".
4. Select the options you want to configure.
5. You can even select a Digital line. In Zendesk Talk, digital lines refer to the virtual phone lines that enable voice communication over the internet.
6. After filling the form, click on save.
Step 3: Customising IVR (Interactive Voice Response):

1. In the Zendesk Talk interface, go to the Admin settings.
2. Under the Channels section, select Talk.
3. Click on "IVR".
4. Create a new IVR or select an existing one.
5. Design the IVR menu structure by adding options and defining actions for each selection.
6. Customise greetings and prompts to provide a personalised experience to callers.
Step 4: Managing Agents and Queues:
1. In the Zendesk Talk interface, go to the Admin settings.
2. Under the Channels section, select Talk.
3. Click on "Edit Talk Agents" option at the top.

4. Select the agents you want to give talk permission, click on "Edit", enable the "Talk" option and click on "Submit".


Step 5: Handling Calls:
1. Agents can receive calls directly in the Zendesk Support interface or through external devices.
2. When a call comes in, agents will see a pop-up notification and can answer it with a single click.
3. During the call, agents can access customer information, add notes, and utilise various features like call recording or call transferring.
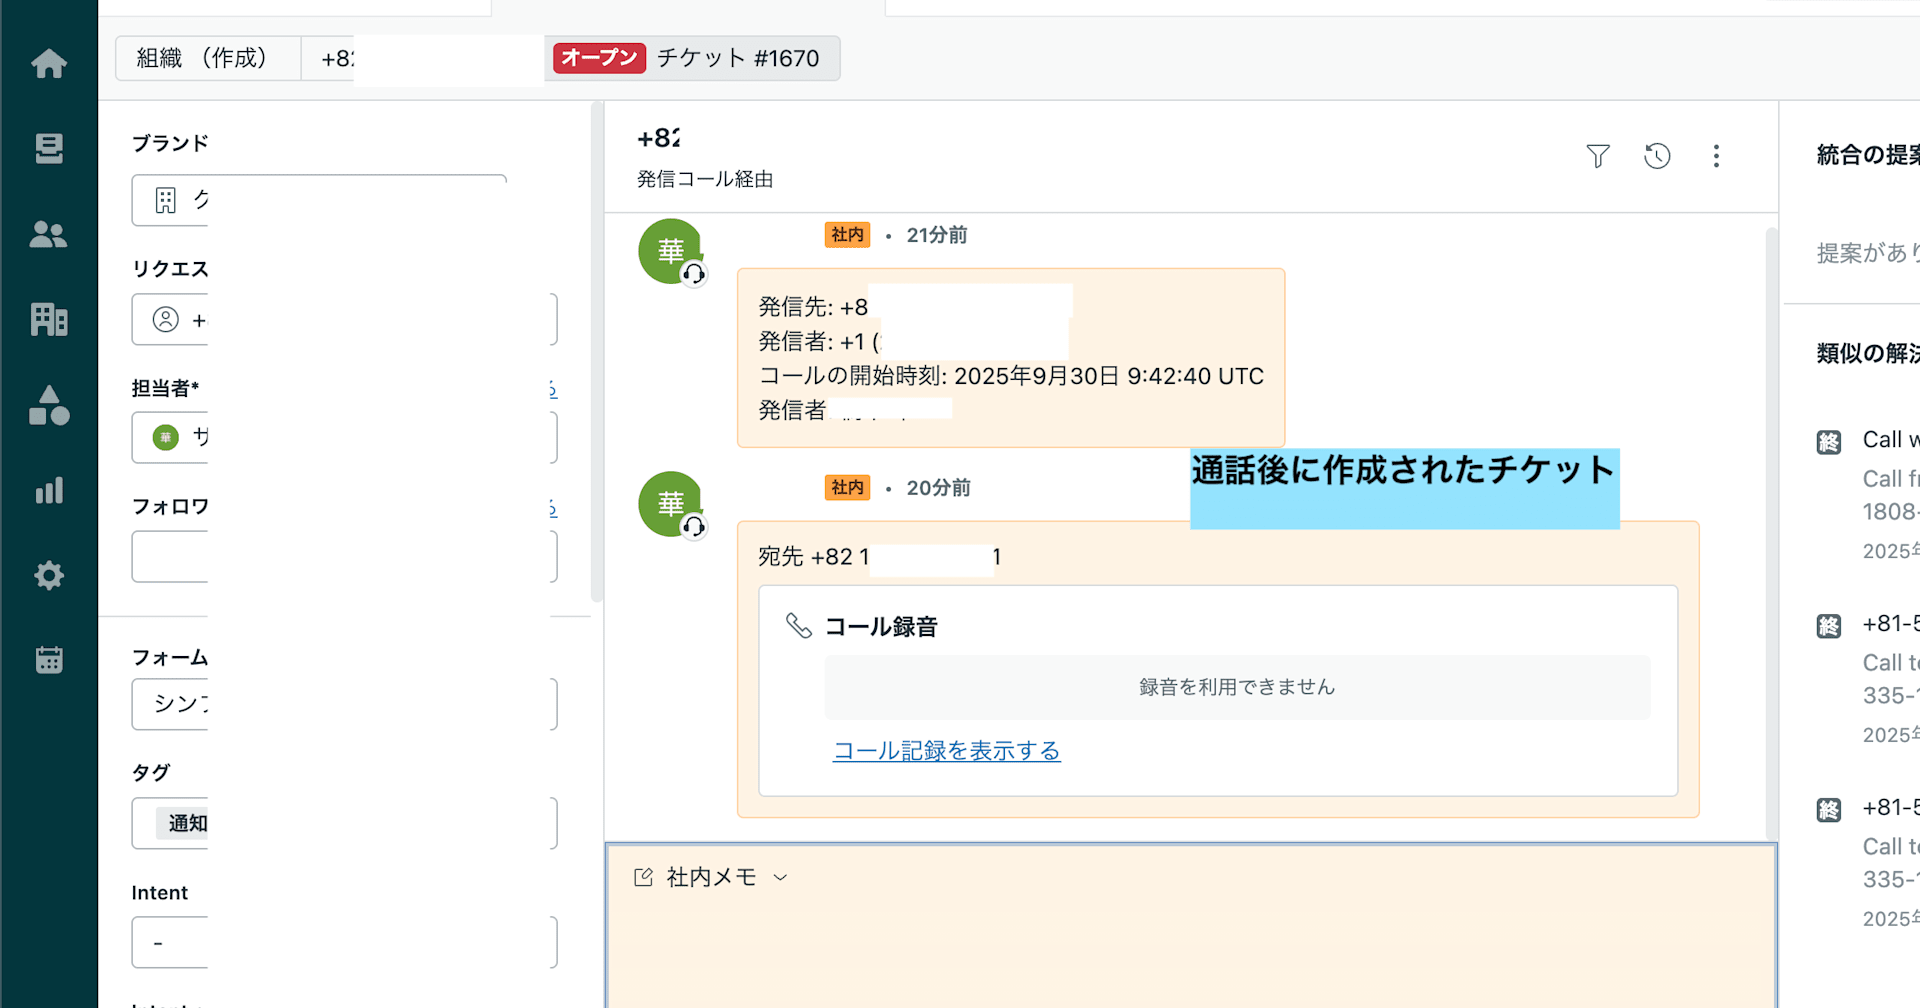
4. The calls will be recorded and stored in the form of a ticket.

Step 6: Analysing Performance:

1. Utilise the reporting and analytics features in Zendesk Talk to gain insights into call volume, agent performance, and customer satisfaction metrics.
Conclusion:
Zendesk Talk offers a comprehensive call centre solution that enhances customer support through voice channels. By following this hands-on guide, you can set up Zendesk Talk, configure phone numbers, routing rules, IVR menus, and efficiently handle customer calls.
Thank you!
Happy Learning :)