Building a Website with Authentication Using Cloudflare Workers and Cloudflare Access

This page has been translated by machine translation. View original
I want a website that only I can see!
This is Asano from the Manufacturing Business Technology Department.
I've increasingly been having Claude create content for my self-study.
I had been opening the learning content I made in HTML on my PC and making use of it, but gradually I started wondering, "Can't I view this on my smartphone too?"
There were more and more situations where I felt, "I can't sit in front of my PC, but I can lie on the sofa and look at my smartphone," and "I want to study during short waiting times when I'm out."
To build an environment that fits these feelings, this time I'll use Cloudflare Workers and Cloudflare Access to set up a "website only I can view" with authentication.
Let's Try It
Prerequisites
- Prepare a Cloudflare account.
- Also, sign up for the Free plan of Zero Trust. You need to enter payment information such as a credit card, but you can manage account information for up to 50 users for free. This time I'll set it up so that only I can view the site, but it's also sufficient for use by a small team.
- There is a website template created for this article at ashnoa/my-portal-template.
- Use it if you want to see the concrete code or build one yourself.
- The repository above also includes setup instructions.
Preparing the Project to the First Deploy
First, let's start by preparing the project. Referring to Get started - CLI · Cloudflare Workers docs, run the following command in the terminal.
What I want is a personal portal site where I can view various learning contents, so I named the project my-portal here.
npm create cloudflare@latest -- my-portal
The initial project settings are done interactively. The settings themselves can be changed later, but here I first selected the simple Hello World example and created it as a static site.
One point to note is that what the command above prepares is a Worker based on Cloudflare Workers. Traditionally, Cloudflare Pages was often used for static sites, but in recent years hosting of static assets can also be done with Workers (Static Assets), and since it makes it easier to integrate the frontend and backend into a single deployment, more and more new projects are adopting Workers. For this use case (a static site plus Worker processing for authentication), Workers is more than sufficient, so I decided to use Workers here.
╭ Create an application with Cloudflare Step 1 of 3
│
├ In which directory do you want to create your application?
│ dir ./my-portal
│
├ What would you like to start with?
│ category Hello World example
│
├ Which template would you like to use?
│ type Static site
│
├ Copying template files
│ files copied to project directory
│
├ Updating name in `package.json`
│ updated `package.json`
│
├ Installing dependencies
│ installed via `npm install`
│
├ Do you want to add an AGENTS.md file to help AI coding tools understand Cloudflare APIs?
│ yes agents
│
╰ Application created

╭ Configuring your application for Cloudflare Step 2 of 3
│
├ Installing wrangler A command line tool for building Cloudflare Workers
│ installed via `npm install wrangler --save-dev`
│
├ Retrieving current workerd compatibility date
│ compatibility date 2026-07-08
│
├ Do you want to use git for version control?
│ yes git
│
├ Initializing git repo
│ initialized git
│
├ Committing new files
│ git commit
│
╰ Application configured

╭ Deploy with Cloudflare Step 3 of 3
│
├ Do you want to deploy your application?
│ no deploy via `npm run deploy`
│
╰ Done

────────────────────────────────────────────────────────────

🎉  SUCCESS  Application created successfully!

💻 Continue Developing
Change directories: cd my-portal
Deploy: npm run deploy
...
By moving to the created directory and running npm run deploy, you can publish the website right away. You can also check its behavior in the local environment with npm run dev. Incidentally, inside these scripts, settings have been added to package.json so that wrangler, Cloudflare's CLI, runs.
For now, I prepared HTML and CSS for the top page and the 404 Not Found case, and ran npm run deploy. The first time, you are asked to log in to Cloudflare, so authenticate and proceed.
Successfully logged in.
🌀 Building list of assets...
✨ Read 4 files from the assets directory /ashnoa/my-portal/public
🌀 Starting asset upload...
🌀 Found 4 new or modified static assets to upload. Proceeding with upload...
+ /favicon.svg
+ /styles.css
+ /404.html
+ /index.html
Uploaded 1 of 4 assets
Uploaded 2 of 4 assets
Uploaded 4 of 4 assets
✨ Success! Uploaded 4 files (0.91 sec)
Total Upload: 0.31 KiB / gzip: 0.22 KiB
Uploaded my-portal (4.77 sec)
Deployed my-portal triggers (1.63 sec)
  https://my-portal.your-name.workers.dev
Current Version ID: ...
The deployment is complete. The deployment URL is shown in the displayed message, so let's access it.
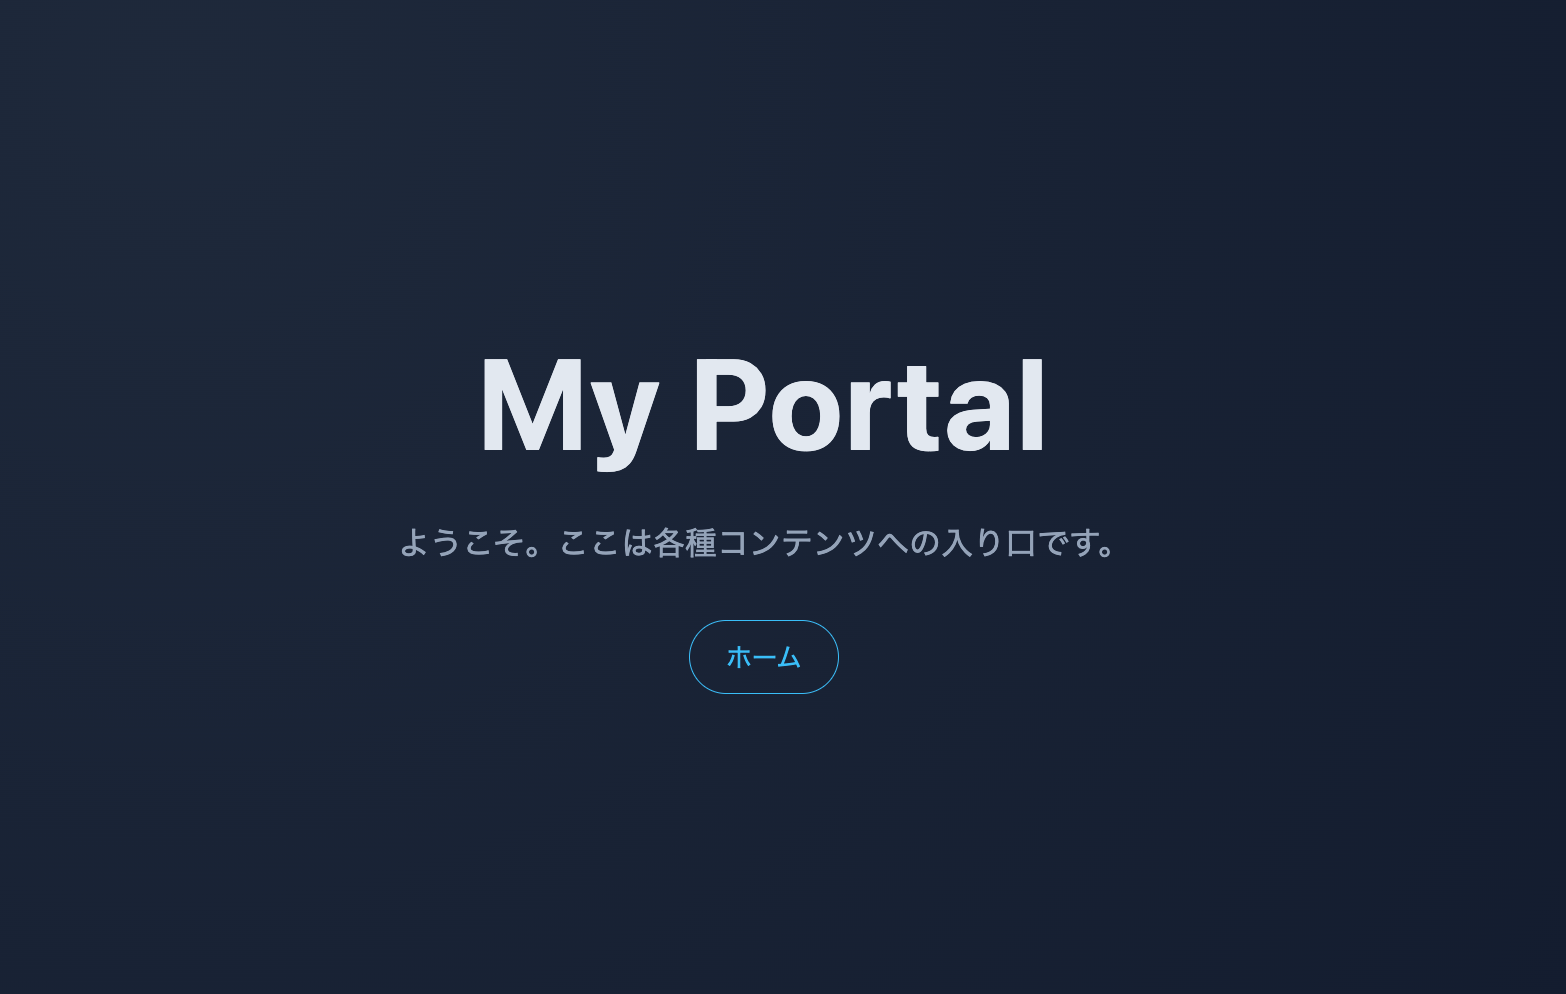
It's simple, but we've managed to publish the website for now.
Adding Authentication
The website is published, but as it is, it's visible to people all over the world. So next, we'll use Cloudflare Access to add email-based authentication.
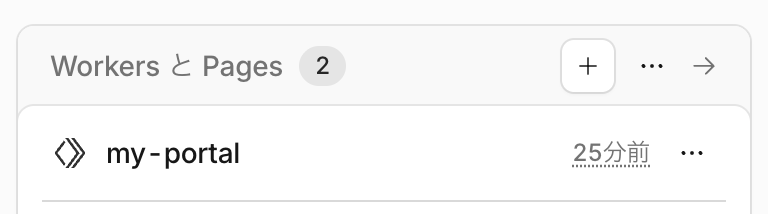
First, from the Cloudflare account home, click Workers & Pages and open the Domains tab.
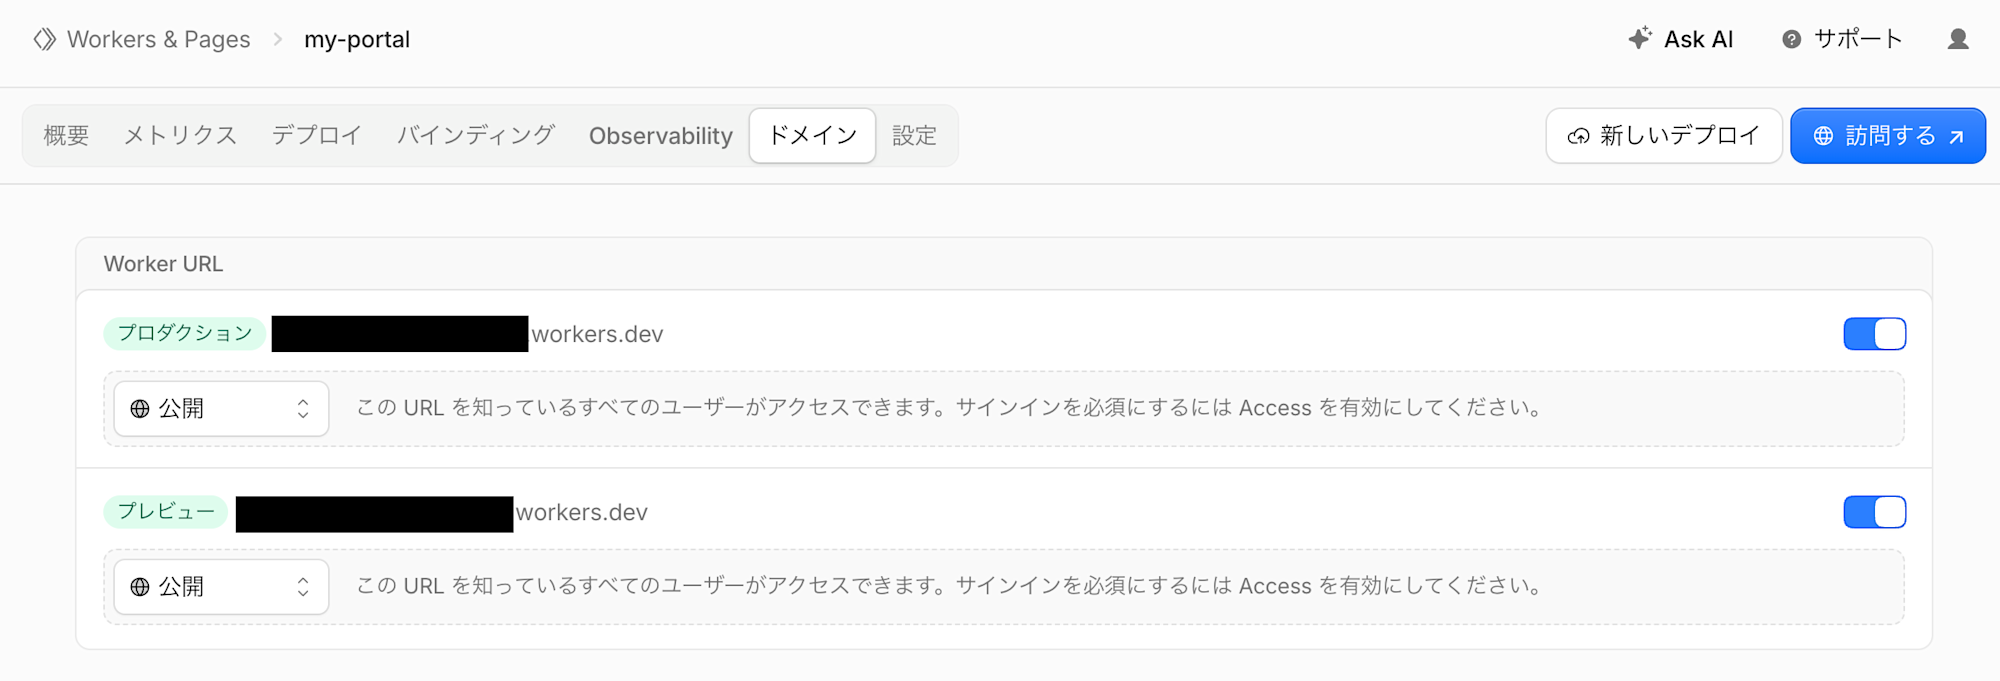
Currently, both Production and Preview are set to Public. Switch both of them to Restricted.
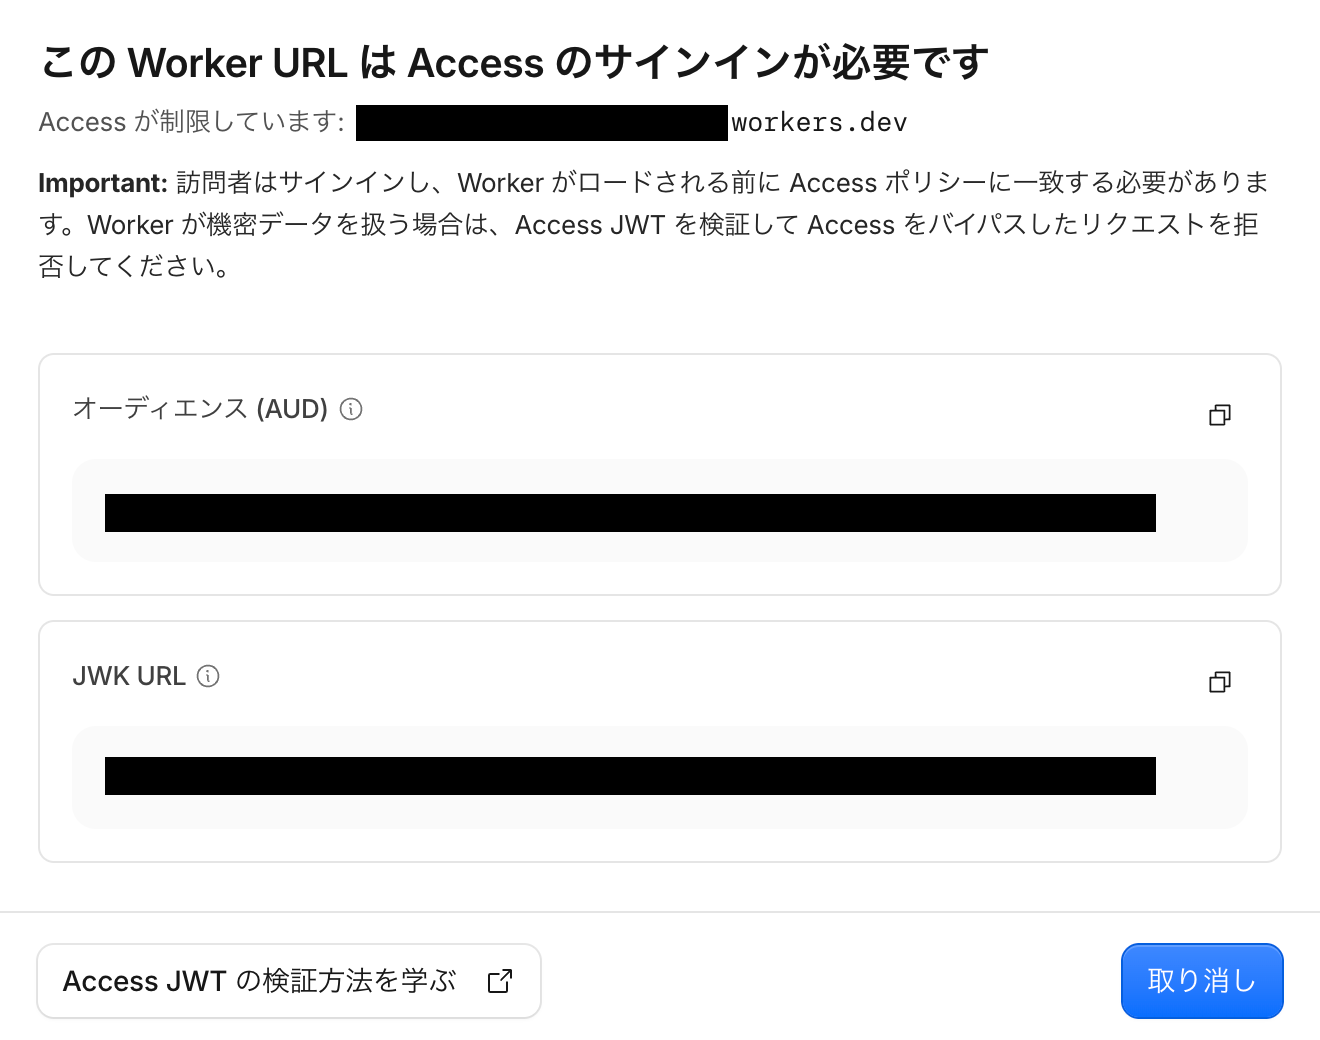
After switching, the Audience (AUD) and JWK URL are displayed. Make a note of the values for both Production and Preview. After noting them, close the dialog with Cancel (the Japanese wording makes it a bit hesitating to press, but it's fine to press it).
By the way, the preview feature provides URLs that can be used temporarily before publishing at the production URL. We won't be using it this time, but I'll restrict it as well just in case.
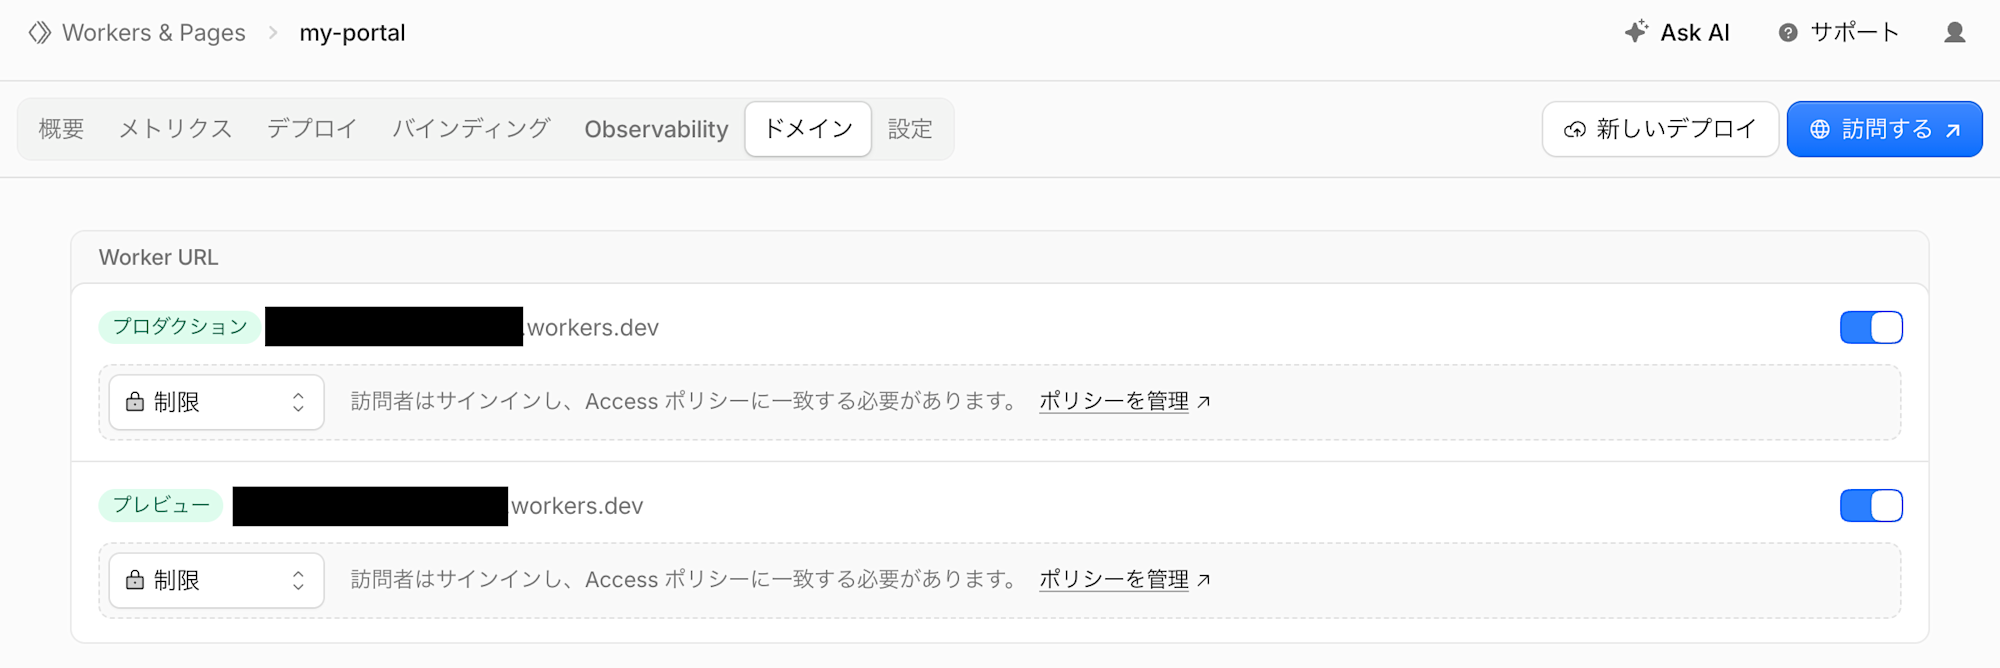
Once it has switched to Restricted, let's check the current policy settings.
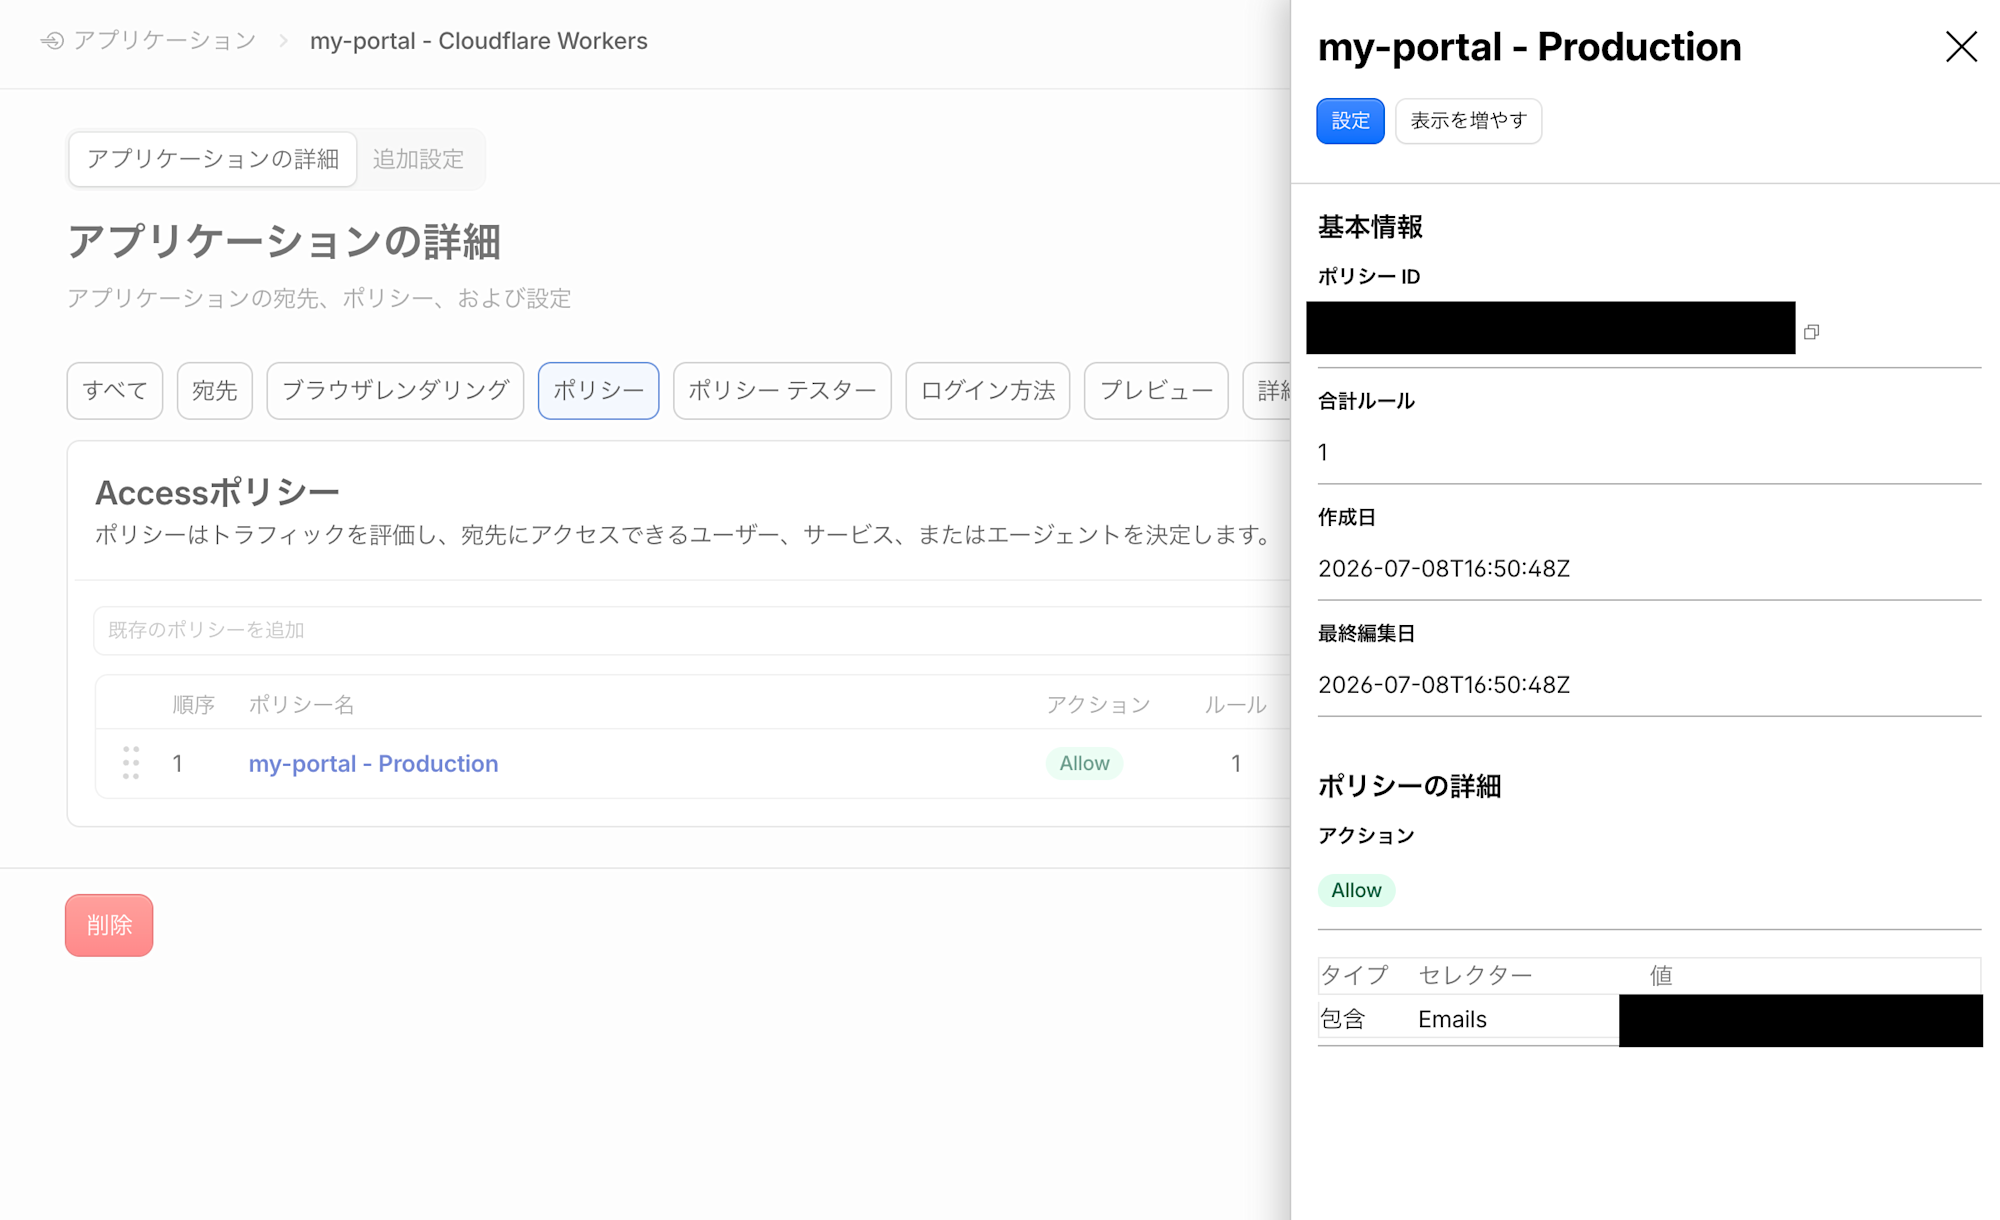
For each of Production and Preview, go from Manage policies to Manage application, and open Policies. One entry is registered, and when you check it, you can confirm that a policy based on your own email address is set.
In this state, authentication should already be enabled. Let's access the website.
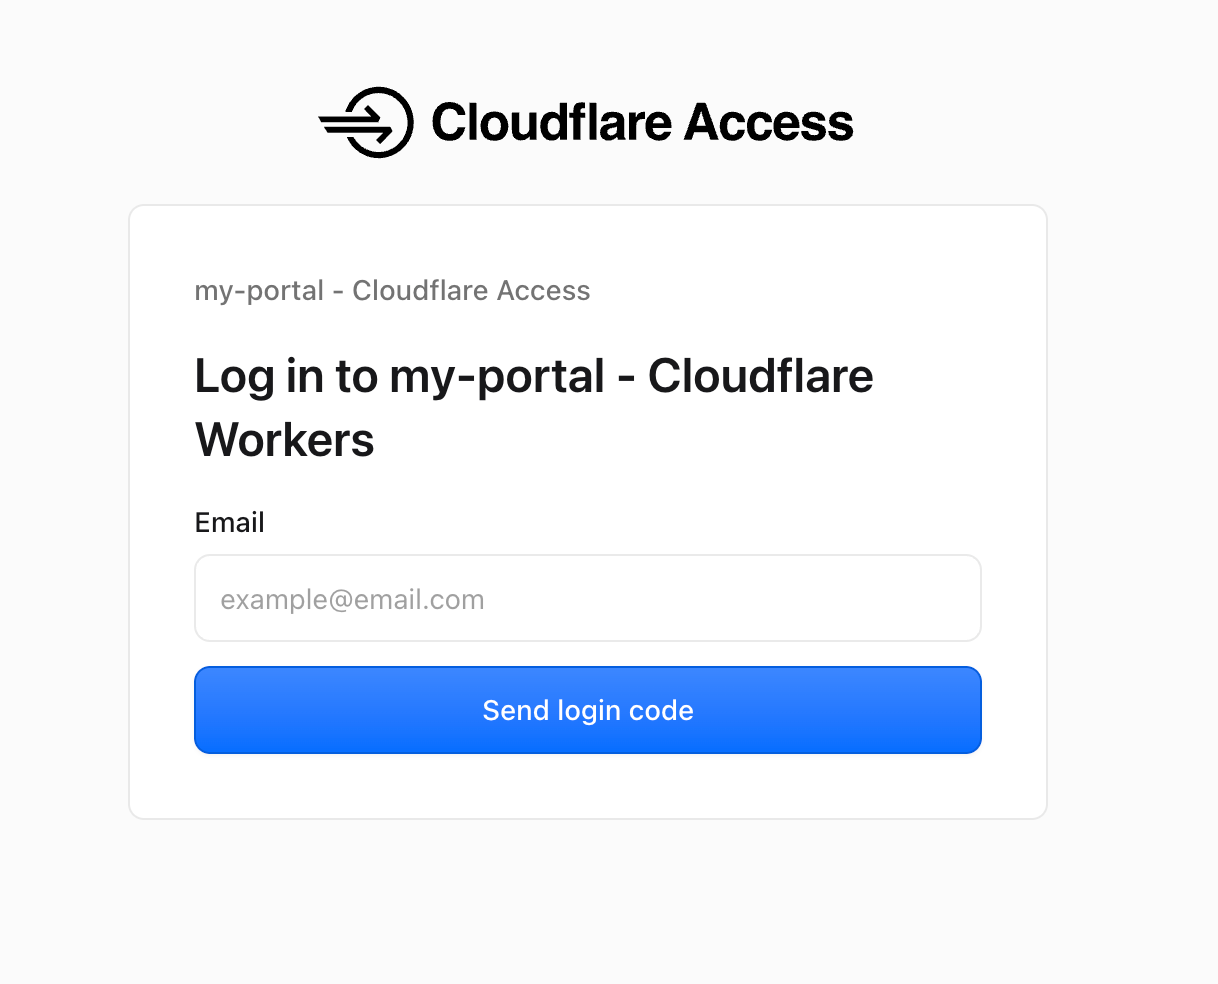
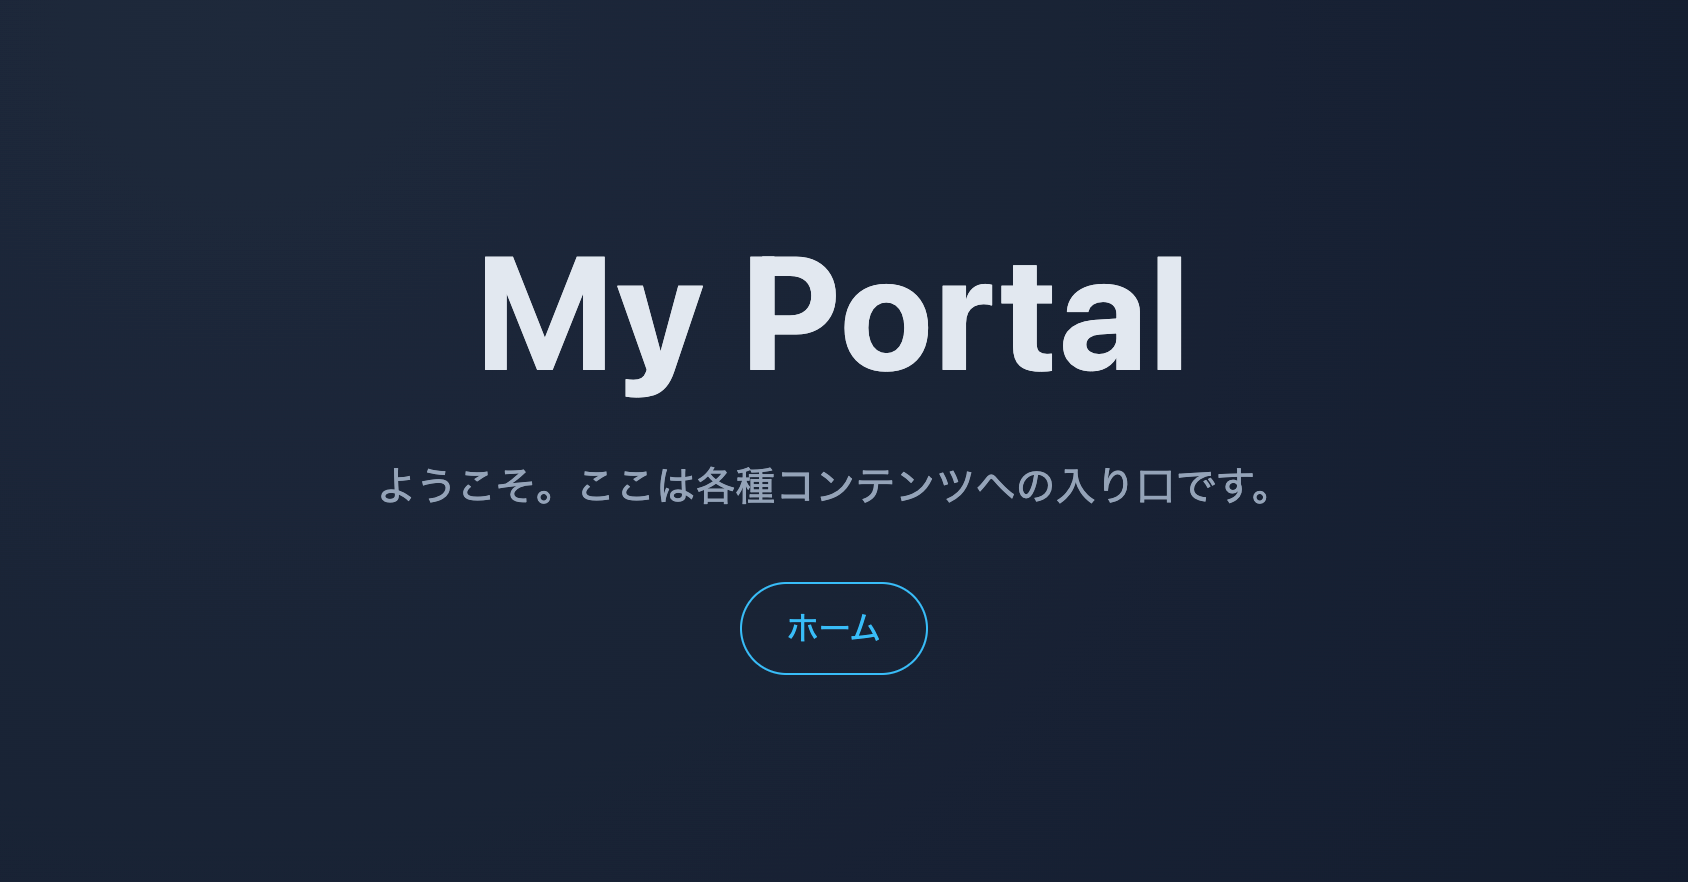
Unlike before, the authentication screen from Cloudflare Access is displayed. When you enter your own email address that was set in the Policies and proceed, you move on to the authentication code entry screen. An authentication code is sent separately by email, and when I entered it, I was able to see the website.
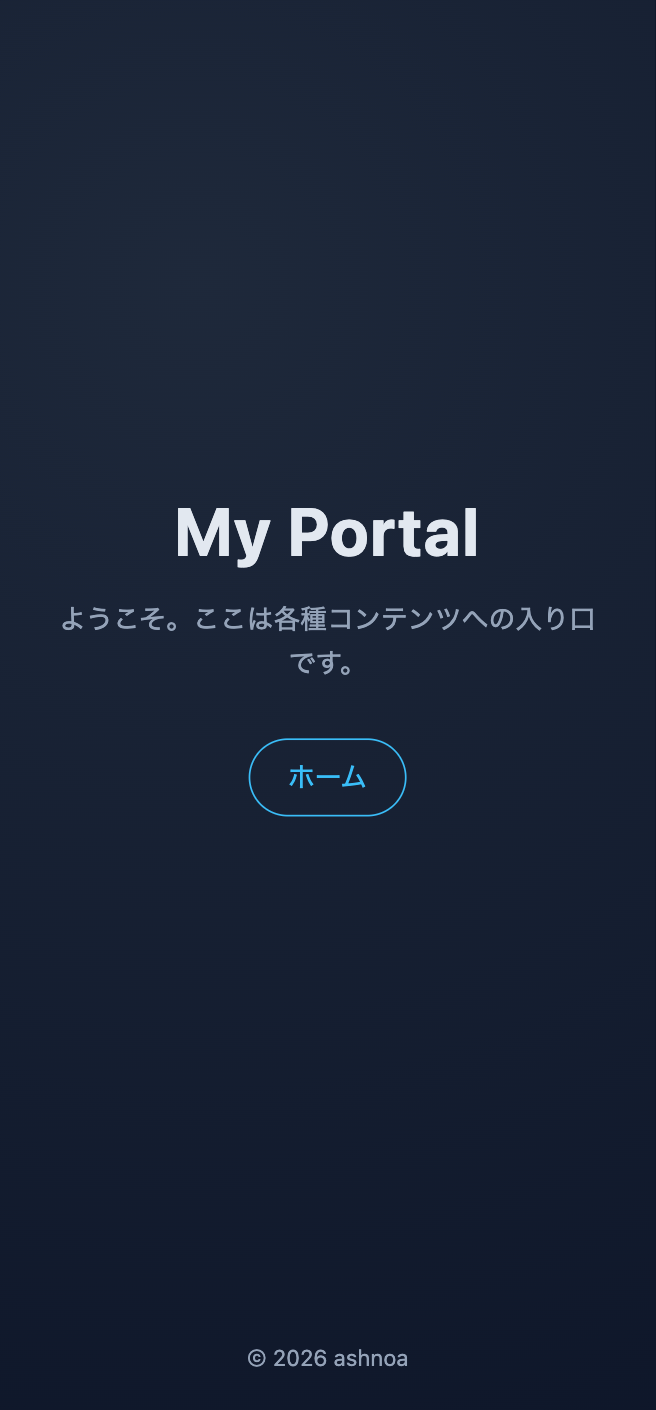
When I accessed it from my smartphone, I was likewise able to view the website after authenticating.
Adding JWT Authentication as Well (Optional)
Up to this point, the goal of an "authenticated website" has been achieved, but as described in One-click Cloudflare Access for Workers · Changelog, you can keep things even more secure by performing JWT authentication on the website application side. This serves as defense in depth: even if a request slips through the Access check and reaches the website, for example due to a misconfiguration on the Access side, verifying the contents of the JWT lets you reject illegitimate requests.
Judgments differ on the question of "how far should you harden security on a personal site?", but it doesn't cost much effort, so this time I'll add a JWT authentication mechanism as well.
The above contain sample implementations, so I'll proceed with the implementation while referring to them.
First, update wrangler.jsonc so that the static site configuration becomes one that uses a Worker and assets.
Note that for JWT authentication, the AUD and the Zero Trust team domain are required. These are not confidential information and should cause little real harm even if made public, but since they are environment-specific values, I'd prefer to manage them with environment variables rather than publish them. Environment variables can be written directly in wrangler.jsonc, but then the values might end up being published in the remote repository, so I decided to manage the necessary settings in a file called .dev.vars locally and in Secret on Cloudflare.
{
	"$schema": "node_modules/wrangler/config-schema.json",
	"name": "my-portal",
	"compatibility_date": "2026-07-08",
	"main": "src/index.ts",                // Worker利用のために追加
	"assets": {
		"directory": "./public",
		"not_found_handling": "404-page",
		"binding": "ASSETS",                // アセット利用
		"run_worker_first": true            // 全リクエストでWorkerを先行して実行
	},
	"observability": {
		"enabled": true
	},
	"upload_source_maps": true,
	"compatibility_flags": [
		"nodejs_compat"
	]
}
The code that runs in the Worker is as follows. It's close to the sample implementation, but I made it possible to check the AUD for both the Production and Preview environments. When JWT authentication fails, it responds with 403.
import { createRemoteJWKSet, jwtVerify } from "jose";

interface Env {
  ASSETS: Fetcher;
  TEAM_DOMAIN: string;
  POLICY_AUD_PROD: string;
  POLICY_AUD_PREVIEW: string;
}

let jwks: ReturnType<typeof createRemoteJWKSet> | undefined;

export default {
  async fetch(request, env): Promise<Response> {
    const token = request.headers.get("cf-access-jwt-assertion");
    if (!token) {
      return new Response("Missing required Cloudflare Access JWT", { status: 403 });
    }

    try {
      jwks ??= createRemoteJWKSet(new URL(`${env.TEAM_DOMAIN}/cdn-cgi/access/certs`));
      await jwtVerify(token, jwks, {
        issuer: env.TEAM_DOMAIN,
        audience: [env.POLICY_AUD_PROD, env.POLICY_AUD_PREVIEW],
      });
    } catch (error) {
      return new Response(`Invalid Cloudflare Access JWT: ${(error as Error).message}`, {
        status: 403,
      });
    }

    return env.ASSETS.fetch(request);
  },
} satisfies ExportedHandler<Env>;
The implementation is fine as above, so next let's set the environment variables.
First, check the following values that need to be set.
- Team domain
- You can check it from the Zero Trust settings screen.
AUD- These are the values you noted down in "Adding Authentication". You need the values for both the
ProductionandPreviewenvironments.
- These are the values you noted down in "Adding Authentication". You need the values for both the
Write the above in .dev.vars for the local environment. ashnoa/my-portal-template includes .dev.vars.example as a template for preparation, so please refer to it.
For the production environment, set them with the following commands. Each is executed interactively, so do them one at a time in order.
# チームドメインの設定
npx wrangler secret put TEAM_DOMAIN
# プロダクション向けの設定
npx wrangler secret put POLICY_AUD_PROD
# プレビュー向けの設定
npx wrangler secret put POLICY_AUD_PREVIEW
After doing the above, deploy with npm run deploy to apply the changes, and the JWT authentication mechanism is complete.
Summary
Using Cloudflare Workers and Cloudflare Access, I created a "website only I can view" with authentication.
Preparing authentication features usually takes a lot of time, but with the combination of Cloudflare Workers and Cloudflare Access, I was able to create the desired environment very efficiently and securely. Also, although I built this assuming use by myself alone, the Zero Trust Free plan can manage account information for up to 50 users, so I think it can easily be extended to use by small groups and teams.
Just recently Cloudflare Drop was also released, and Cloudflare looks set to make publishing content even easier. Please give it a try, everyone.