
I tried triggering a job in Dagster when a file is uploaded to S3
This page has been translated by machine translation. View original
Hello, I'm Kitagawa from the Data Business Division.
Dagster offers Sensors as one of the ways to trigger Assets or Jobs. A Sensor is a mechanism that uses events such as file uploads or changes in external API states as triggers. For example, this can implement a common ETL flow where a specific pipeline executes when a file is transferred to S3.
In this blog, I'll explain this functionality in several steps.
This article assumes the OSS version of Dagster. Also, since Dagster recommends uv as the Python package manager, we'll proceed with uv in this article. We'll use Python version 3.13.
The source code I created is available in the following GitHub repository.
Preparation
If uv is not installed, install it.
curl -LsSf https://astral.sh/uv/install.sh | sh
uv --version
uv 0.9.21 (0dc9556ad 2025-12-30)
Next, create a Dagster project. You can create it with uvx create-dagster project PROJECT_NAME. For PROJECT_NAME, specify any project name you like. Here, we'll use dagster-sensor-s3-put-event.
uvx create-dagster@latest project dagster-sensor-s3-put-event
cd dagster-sensor-s3-put-event
uv python pin 3.13
source .venv/bin/activate
dg --version
dg, version 1.12.8
Once you've executed these commands, a project like the following should be created. This completes the Dagster project setup.
├── src
│   └── dagster-sensor-s3-put-event
│       ├── __init__.py
│       ├── definitions.py
│       ├── defs
│       │   └── __init__.py
│       └── components
│           └── __init__.py
├── tests
│   └── __init__.py
└── pyproject.toml
Local Verification
Let's set up Dagster locally and test the Sensor. If you're using AWS resources, add dagster-aws.
uv add dagster-aws
How Sensors Work
Sensors regularly monitor changes in external states and trigger Assets or Jobs when conditions are met. So basically, you'll write logic in Sensors to determine the conditions for executing Assets or Jobs.
For example, in this case, the condition is "when a CSV file is uploaded to a specific S3 bucket/prefix." The definition of this condition may vary depending on the actual ETL pipeline, but here we'll use the LastModified value that can be retrieved using the S3 ListObjectsV2 API as a criterion.
Asset Definition
First, let's define the Asset that the Sensor will execute. Create the base file using the dg CLI.
dg scaffold defs dagster.asset assets.py
You should now have src/dagster_sensor_s3_put_event/defs/assets.py. Edit this file as follows. Here we're defining a simple Asset that just outputs the S3 path detected by the Sensor.
import dagster as dg


class MyAssetConfig(dg.Config):
    s3_key: str


# Define the asset
@dg.asset
def my_asset(context: dg.AssetExecutionContext, config: MyAssetConfig):
    s3_path = config.s3_key
    context.log.info(f"Hello, {s3_path}!")
Resources Definition
Also, let's define Resources to handle S3 as a common resource in Dagster. Similarly, run the following command with the dg CLI and modify the created file.
dg scaffold defs dagster.resources resources.py
import dagster as dg
from dagster_aws.s3 import S3Resource

s3_resource = S3Resource()


@dg.definitions
def resources() -> dg.Definitions:
    return dg.Definitions(resources={"s3_resource": s3_resource})
Sensor Definition
Now let's define the Sensor. Sensors are defined with the @dg.sensor decorator. Run the following command to create a file for the Sensor.
dg scaffold defs dagster.sensor sensors.py
Just like before, edit the created file as follows.
Specify any values for bucket and prefix.
from datetime import datetime

import dagster as dg
from dagster_aws.s3 import S3Resource
from dagster_aws.s3.sensor import get_objects

from dagster_sensor_s3_put_event.defs.assets import MyAssetConfig, my_asset


@dg.sensor(
    target=my_asset,
    default_status=dg.DefaultSensorStatus.RUNNING,
    minimum_interval_seconds=60,
)
def my_sensor(
    context: dg.SensorEvaluationContext, s3_resource: S3Resource
) -> dg.SensorResult | dg.SkipReason:
    context.log.debug(context.cursor)

    s3_client = s3_resource.get_client()

    bucket = "dagster-sensor-demo-bucket"
    prefix = "incoming/"

    last_modified = datetime.fromisoformat(context.cursor) if context.cursor else None

    new_objects = get_objects(
        bucket=bucket,
        prefix=prefix,
        since_last_modified=last_modified,
        client=s3_client,
    )

    new_csv_objects = [obj for obj in new_objects if obj["Key"].endswith(".csv")]

    if not new_csv_objects:
        return dg.SkipReason("No new objects.")

    last_modified = max(obj["LastModified"] for obj in new_csv_objects)

    return dg.SensorResult(
        run_requests=[
            dg.RunRequest(
                run_key=obj["Key"],
                run_config=dg.RunConfig({"my_asset": MyAssetConfig(s3_key=obj["Key"])}),
            )
            for obj in new_csv_objects
        ],
        cursor=last_modified.isoformat(),
    )
Let me explain each part briefly.
First, to integrate Dagster with AWS, we use the dagster-aws library. For handling S3, dagster-aws.s3 is available.
@dg.sensor(
    target=my_asset,
    default_status=dg.DefaultSensorStatus.RUNNING,
    minimum_interval_seconds=60,
)
The target argument of @dg.sensor specifies my_asset. This determines which Job or Asset the Sensor will trigger. With minimum_interval_seconds, you can specify the minimum interval at which the Sensor evaluates. Note that this is a minimum interval, and it's not guaranteed to execute exactly at this timing.
It's important to note that this interval represents a minimum interval between runs of the sensor and not the exact frequency the sensor runs. If a sensor takes longer to complete than the specified interval, the next evaluation will be delayed accordingly.
last_modified = datetime.fromisoformat(context.cursor) if context.cursor else None
... omitted
last_modified = max(obj["LastModified"] for obj in new_csv_objects)
To prevent duplicate processing, we store the latest LastModified from the previous run in context.cursor. By retrieving the cursor during evaluation and updating it after processing, we ensure only new files are targeted for triggering.
new_objects = get_objects(
    bucket=bucket,
    prefix=prefix,
    since_last_modified=last_modified,
    client=s3_client,
)

new_csv_objects = [obj for obj in new_objects if obj["Key"].endswith(".csv")]

if not new_csv_objects:
    return dg.SkipReason("No new objects.")
This is the logic to check if new files have been uploaded to S3 since the last processing. This is the core of the Sensor. The get_objects() function returns a list of file information if there are any files updated after last_modified. If the returned list is empty, the Sensor returns dg.SkipReason and skips Asset execution for this Sensor evaluation.
The get_objects() function is defined in the dagster_aws.s3.sensor module. For simplicity, we're using this function here, but in real-world scenarios, you'll need to create processes tailored to your specific requirements.
return dg.SensorResult(
    run_requests=[
        dg.RunRequest(
            run_key=obj["Key"],
            run_config=dg.RunConfig({"my_asset": MyAssetConfig(s3_key=obj["Key"])}),
        )
        for obj in new_csv_objects
    ],
    cursor=last_modified.isoformat(),
)
As a result of the Sensor evaluation, we return a list of dg.RunRequest(). This triggers the Asset or Job specified in target.
run_key becomes a unique key for execution. RunRequest with the same key will not be executed duplicately. For example, if data/sample.csv is uploaded, this path becomes the run_key. Even if the same file is overwritten later, it won't be processed twice because it has already been executed with the same run_key.
In run_config, we pass the S3 key of the file to process when executing my_asset. The Asset references this value with config.s3_key.
cursor updates the timestamp that will be referenced in the next Sensor evaluation.
Testing
At this point, you should have a structure like this:
.
├── .gitignore
├── .python-version
├── pyproject.toml
├── README.md
├── src
│   └── dagster_sensor_s3_put_event
│       ├── __init__.py
│       ├── definitions.py
│       └── defs
│           ├── __init__.py
│           ├── assets.py
│           ├── resources.py
│           └── sensors.py
├── tests
│   └── __init__.py
└── uv.lock
definitions.py serves as the entry point and loads definitions from the defs/ directory.
Let's verify that all the definitions have been implemented correctly.
dg check defs
All component YAML validated successfully.
All definitions loaded successfully.
If everything is fine, you should see output like the above.
Now let's start Dagster locally. Run the following command:
dg dev
All component YAML validated successfully.
2026-01-06 11:28:55 +0900 - dagster - INFO - Using temporary directory /work_dir/dagster-sensor-s3-put-event/.tmp_dagster_home_dby3enl5 for storage. This will be removed when dagster dev exits.
2026-01-06 11:28:55 +0900 - dagster - INFO - To persist information across sessions, set the environment variable DAGSTER_HOME to a directory to use.
2026-01-06 11:28:56 +0900 - dagster - INFO - Launching Dagster services...
2026-01-06 11:28:57 +0900 - dagster.daemon - INFO - Instance is configured with the following daemons: ['AssetDaemon', 'BackfillDaemon', 'FreshnessDaemon', 'QueuedRunCoordinatorDaemon', 'SchedulerDaemon', 'SensorDaemon']
2026-01-06 11:28:58 +0900 - dagster.daemon.SensorDaemon - INFO - Checking for new runs for sensor: my_sensor
2026-01-06 11:28:58 +0900 - dagster-webserver - INFO - Serving dagster-webserver on http://127.0.0.1:3000 in process 9436
2026-01-06 11:28:58 +0900 - dagster.daemon.SensorDaemon - INFO - Sensor my_sensor skipped: No new objects.
When running the command, AWS authentication credentials must be configured. If Dagster cannot retrieve credentials, a NoCredentialsError() will occur. Please configure according to your environment. As an aside, I use aws-vault to manage credentials, so I typically run commands like aws-vault exec <profile> -- dg dev.
Once Dagster starts, a server will be running at http://127.0.0.1:3000. Accessing this via a browser will display a screen like this:
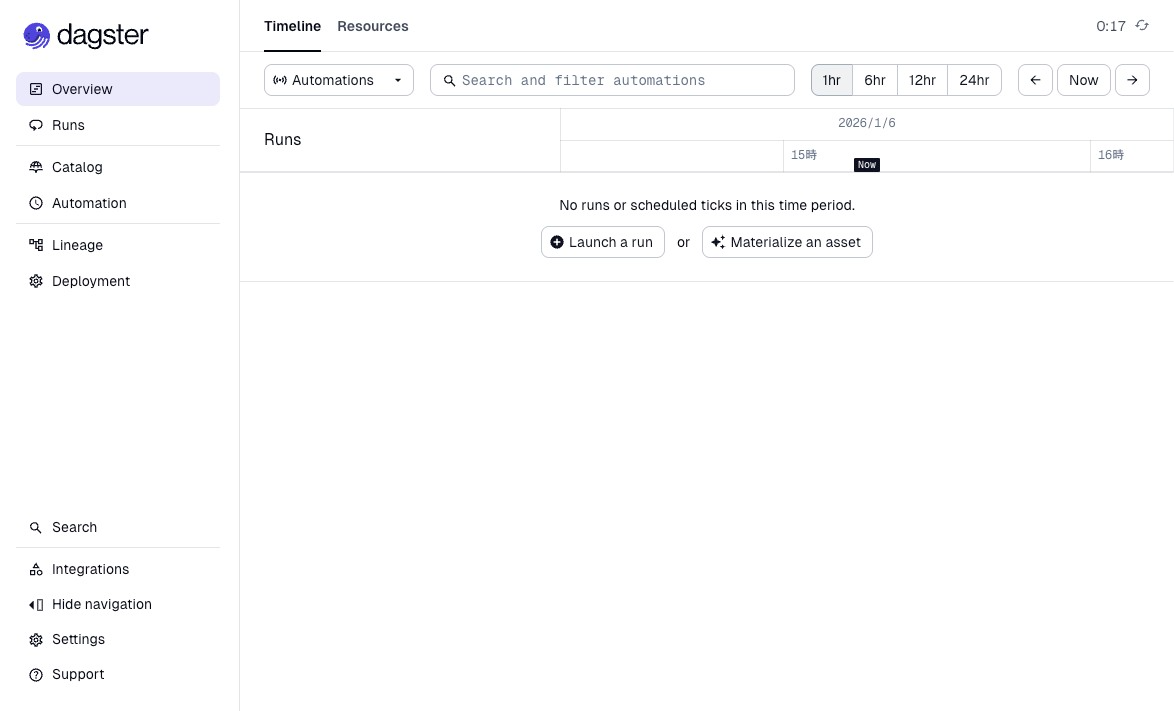
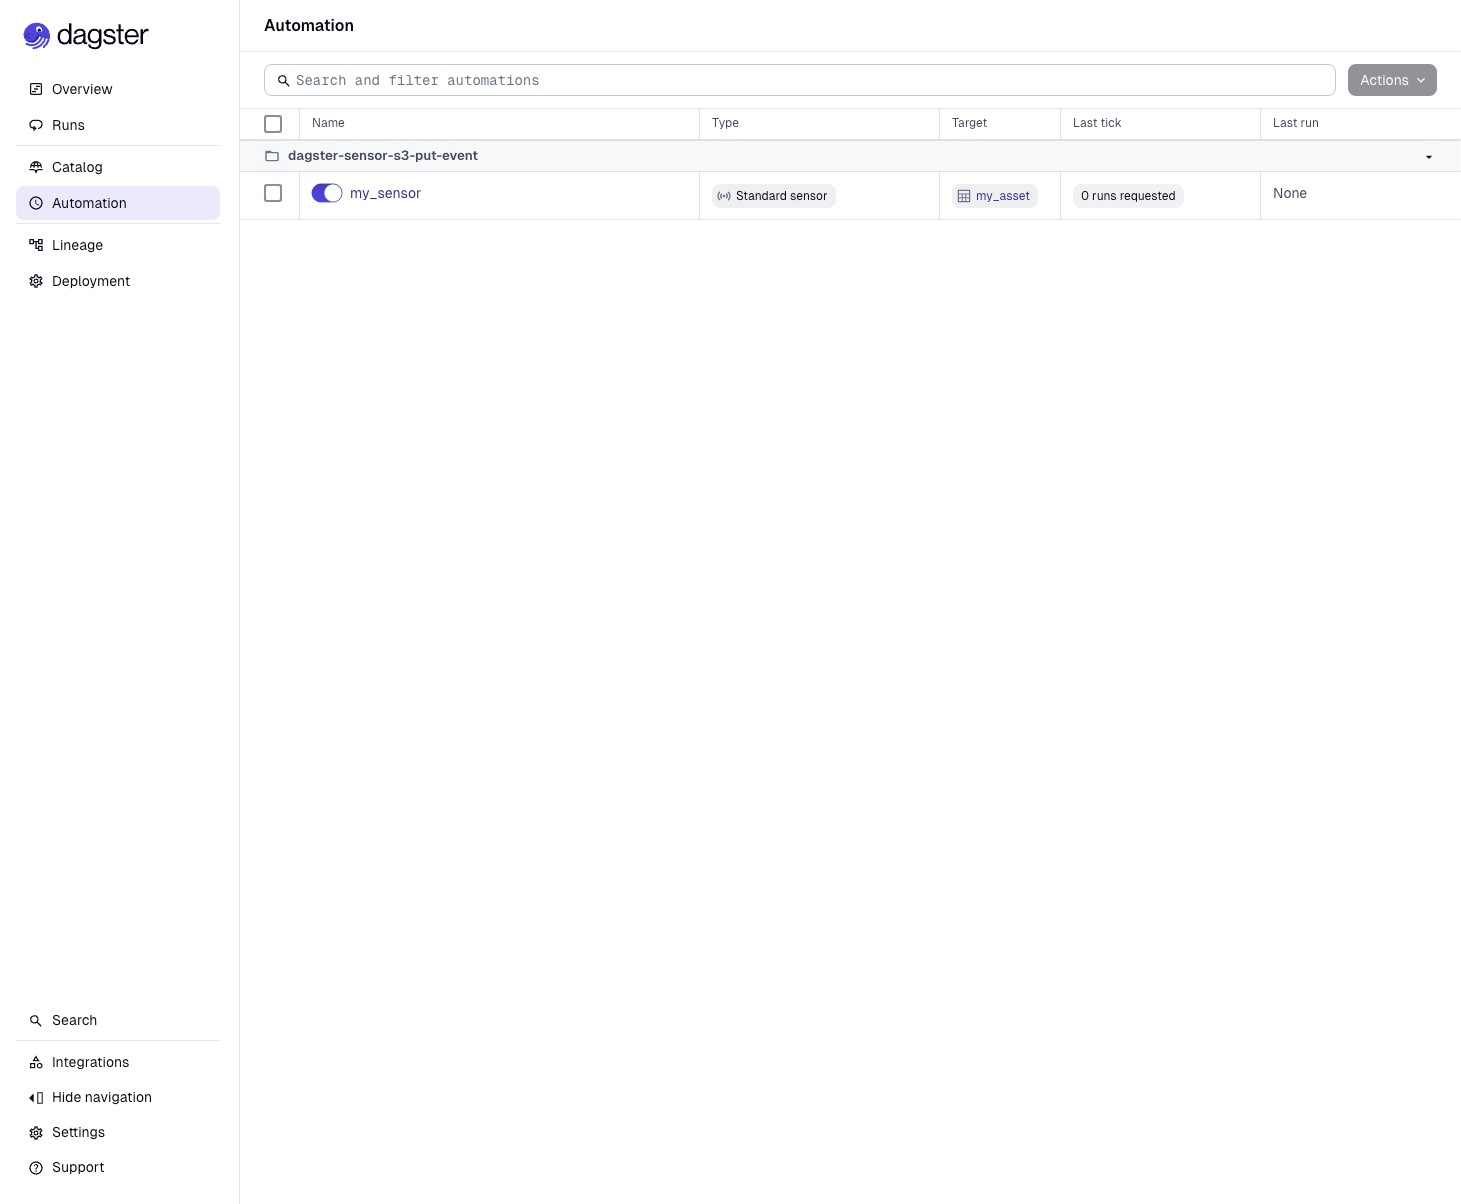
Click on Automation in the left pane to see my_sensor enabled.
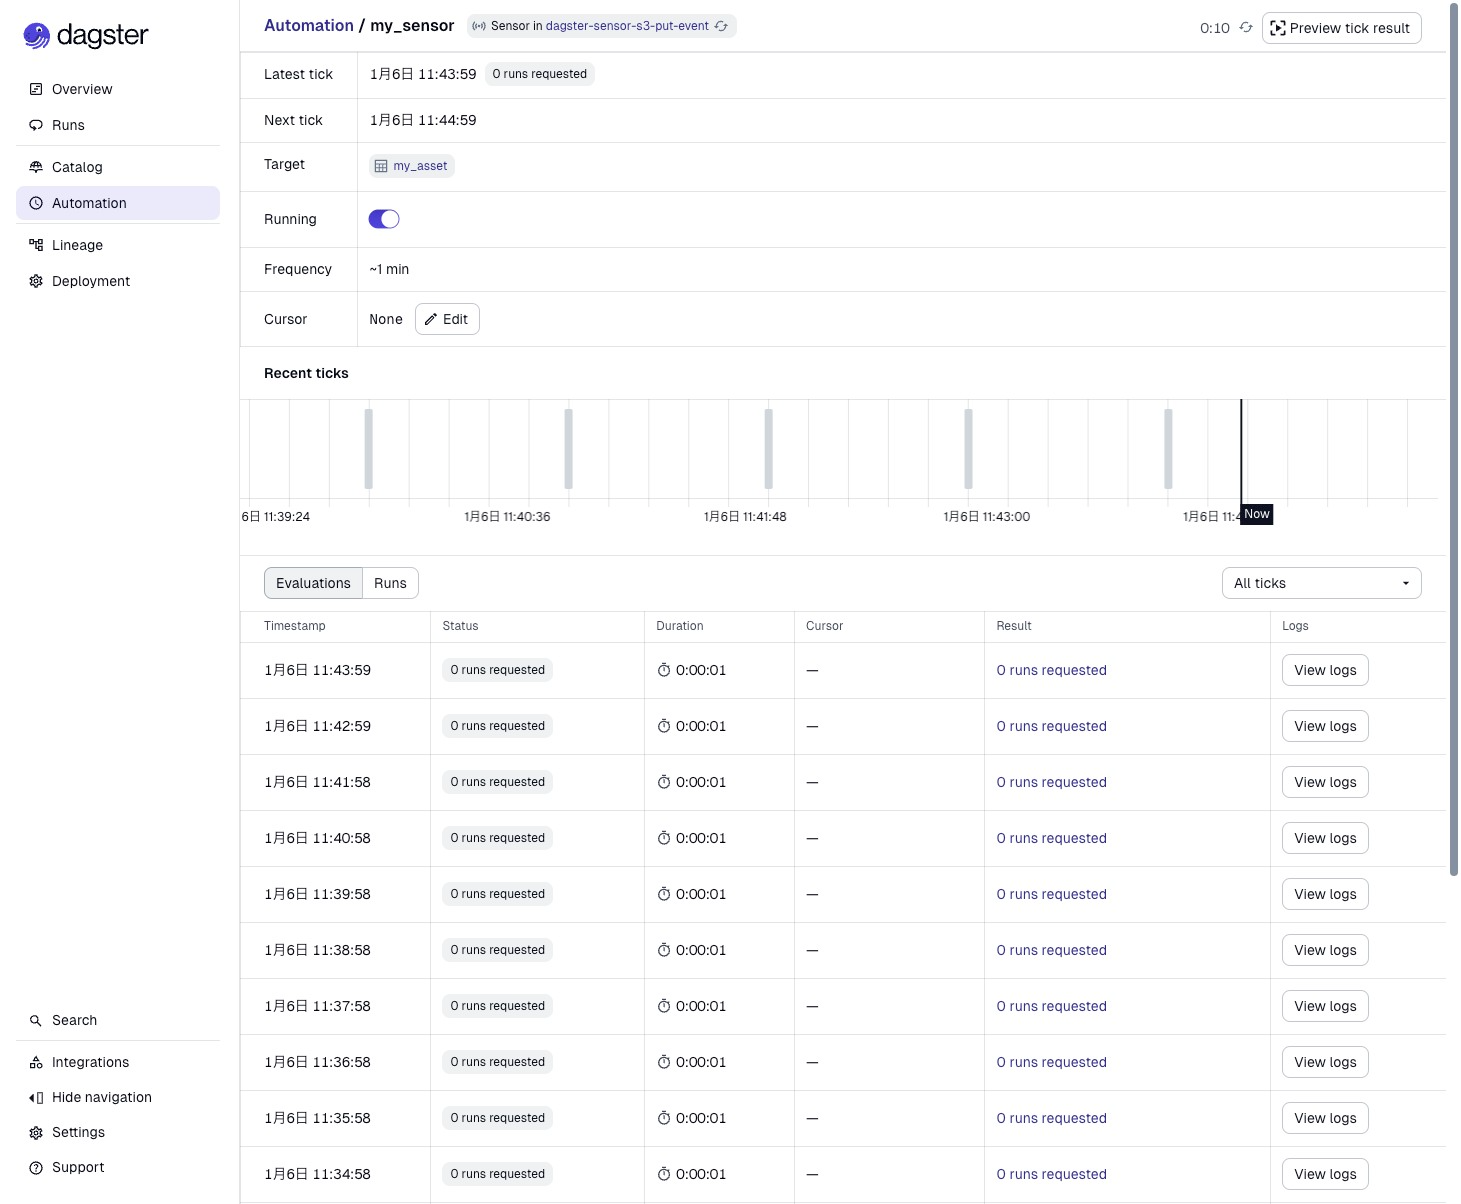
Clicking on my_sensor lets you check the Sensor's status in more detail. You can see that the Sensor is evaluated approximately every minute. Since there's nothing in the S3 bucket right now, Asset execution keeps getting skipped.
Let's upload a sample CSV file to S3 for testing. The content can be empty.
touch test.csv
aws s3 cp test.csv s3://dagster-sensor-demo-bucket/incoming/
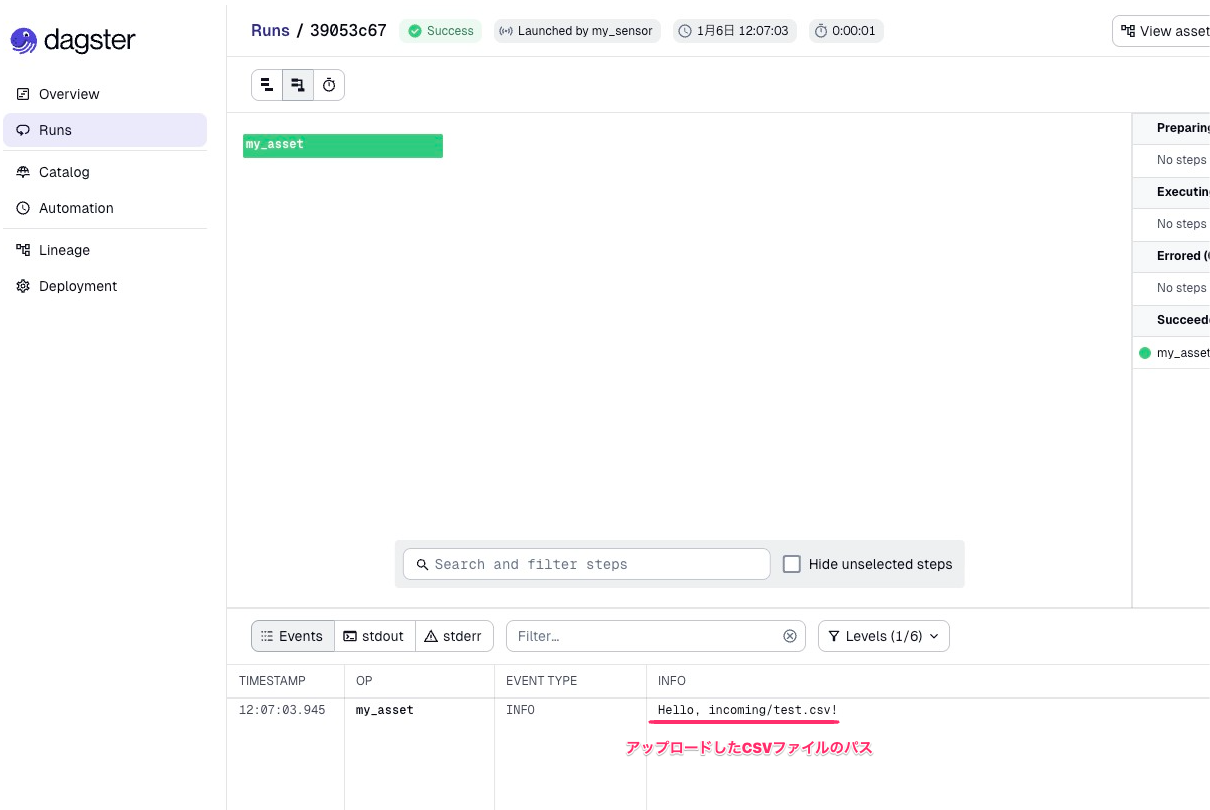
As a result of the Sensor evaluation, it determined that a new CSV file was uploaded, and the Asset was executed.
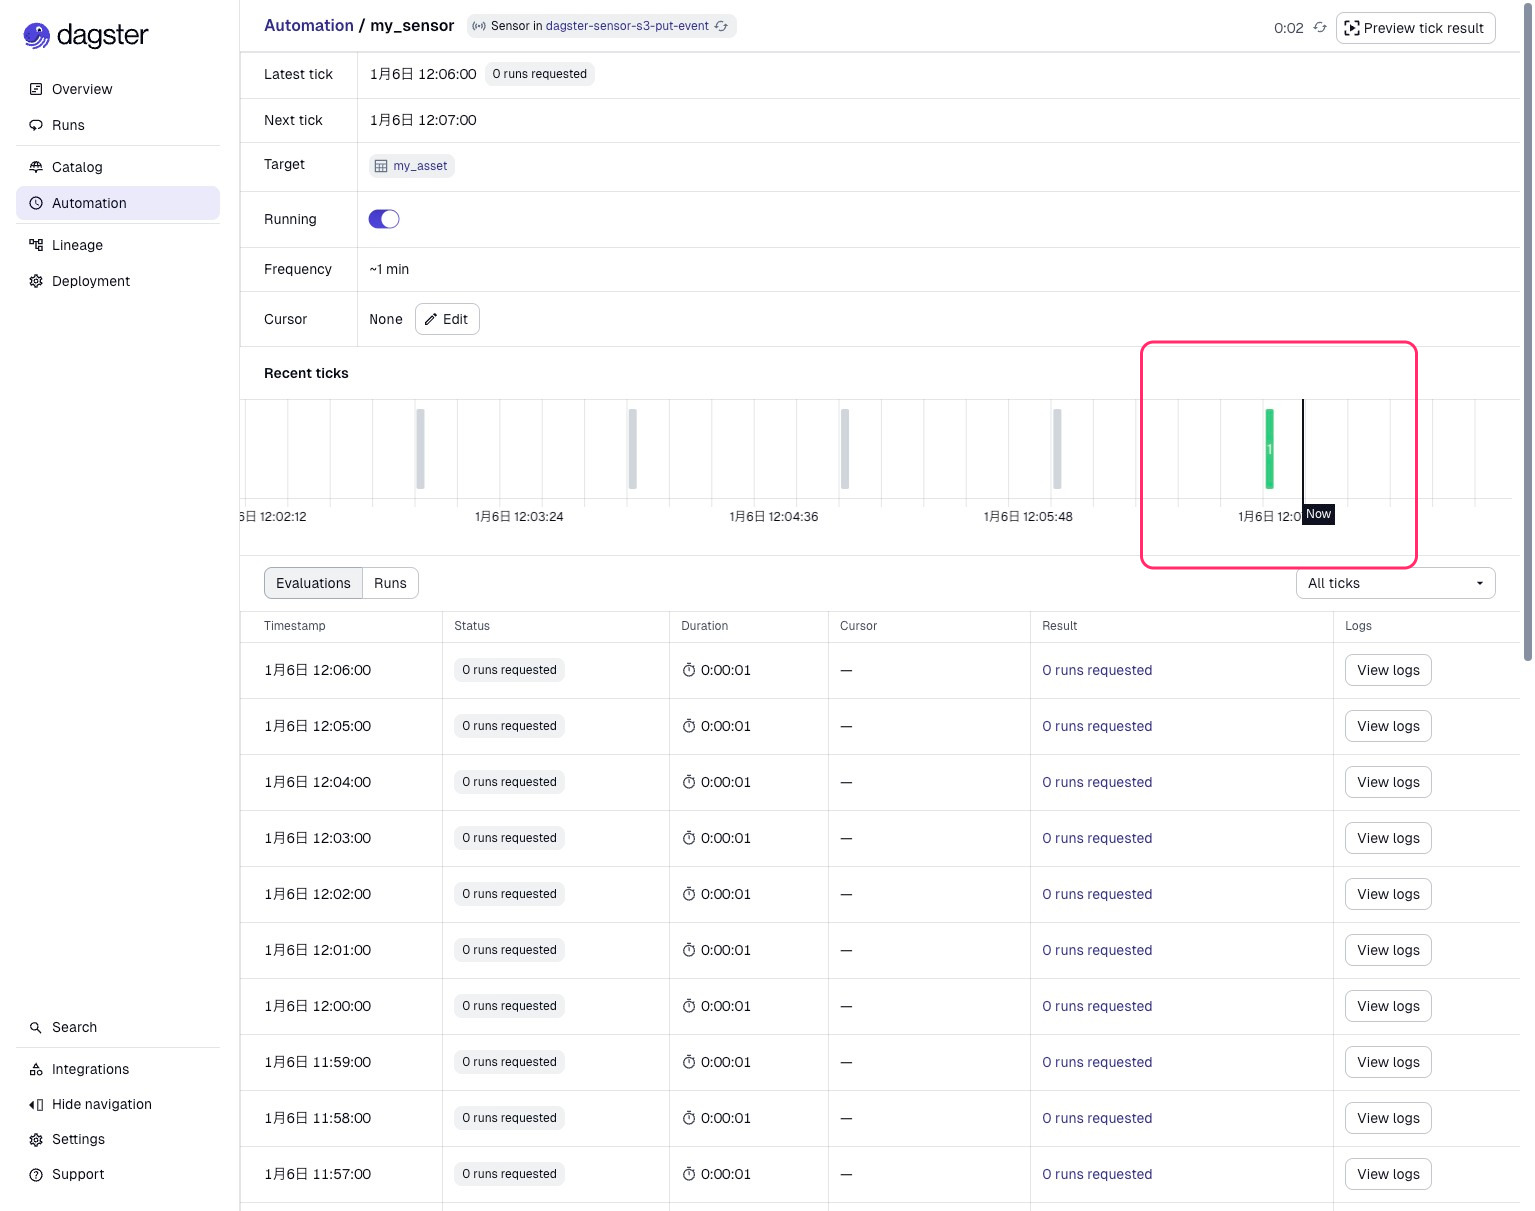
You can view the details of this execution from the Runs at the bottom of the image. The log shows the S3 path received from the Sensor. We can see that it detected and executed based on the CSV file we just uploaded.
Let's also check the effect of run_key. As explained above, even if we upload a file with the same name again, execution should be skipped.
aws s3 cp test.csv s3://dagster-sensor-demo-bucket/incoming/
The operation screen looks the same as when there was no file upload, but the Dagster Daemon log shows the following output. As expected, execution is skipped because it's the same S3 path. This prevents duplicate Job execution even if the same file is updated multiple times.
2026-01-06 12:25:02 +0900 - dagster.daemon.SensorDaemon - INFO - Checking for new runs for sensor: my_sensor
2026-01-06 12:25:03 +0900 - dagster.daemon.SensorDaemon - INFO - Skipping 1 run for sensor my_sensor already completed with run keys: ["incoming/test.csv"]
Summary
In this blog, I introduced how to detect file uploads to S3 using Dagster's Sensor and execute Assets.
Let's review the key points for implementing Sensors:
-
Sensors are periodic polling
They monitor external state changes and trigger Assets or Jobs when conditions are met. -
State management with cursors
Usecontext.cursorto keep track of the previous processing position and process only new changes. -
Prevent duplication with
run_key
RunRequestwith the same key will not be re-executed, preventing duplicate executions.
In this article, we tested the operation in a local environment.
The get_objects() function used in this verification is a simple implementation, but in environments with many files, it retrieves the list of objects in the bucket for each Sensor evaluation, making it inefficient and increasing the number of S3 List API calls. For production environments, consider event-driven architectures such as EventBridge or SQS to achieve a more efficient configuration. In future posts, I'd like to test more production-ready configurations.
See you in the next blog!