
Deep Dive into Claude Code (First Episode)

This article is translated from a Japanese article titled Claude Codeを徹底解説してみた(前編) by Nakamura who is Japanese.
After translating from Japanese to Thai, I have reorganized the content to make it easier to understand. Since information may sometimes be updated, it was necessary to update it with current information.
Hello everyone,
Hello, my name is Nakamura (nokomoro3) from the Data Business Headquarters – Machine Learning team.
In this article, I'll be diving deep into Claude Code.
About this article
I was already using Cursor, so I was somewhat ambivalent about whether Claude Code was really necessary. But after trying it, I found that the agent's behavior was quite in line with my expectations. Actually, in Cursor I mainly used code completion and Cmd + K. For agent-type functionality like this, I've recently started using Claude Code instead.
Since user experience is quite subjective and difficult to communicate through text, I've written this article to help everyone get to know Claude Code better and encourage as many people as possible to try it out.
Below is the content I've written, which covers quite a variety of topics:
- Explaining basic Claude Code setup
- Explaining usage from basics to advanced applications (such as Permissions, GitHub Integration, etc.)
- Comprehensive explanation of the Command List
For the Bedrock version, there's already an article explaining it, so I didn't experiment with it this time. Please refer to the article link below instead:
- Not explaining the Bedrock version
Since this article is quite lengthy, it has been divided into 2 parts. You can view the second part at this link:
https://dev.classmethod.jp/articles/get-started-claude-code-2nd-th/## About Subscription (Package Plans)
Before we begin, let's understand a little about the subscription options.
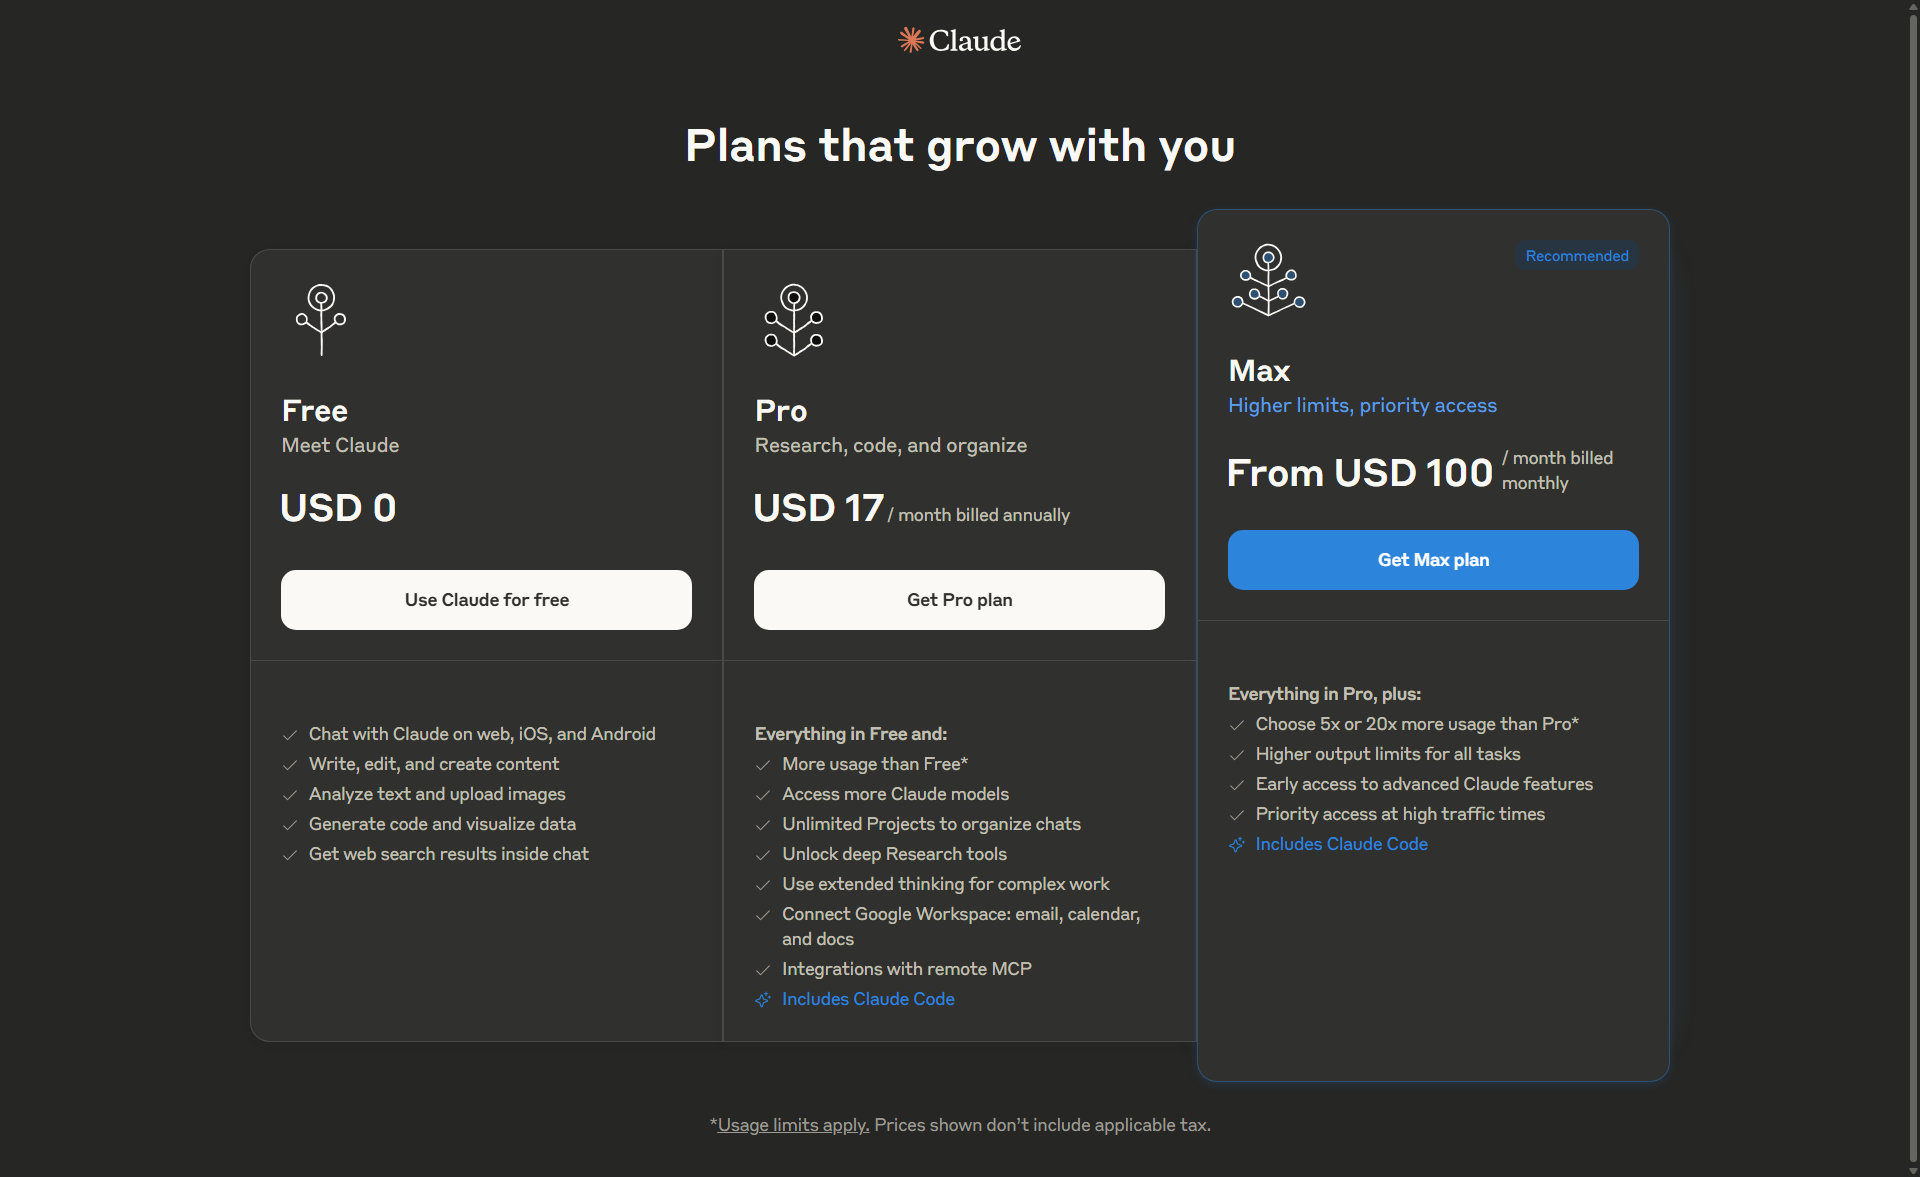
For using Claude Code, there are 2 types of subscriptions: Pro and Max
You can see the details of each package's differences in the information below:
| Item | Pro Plan | Max Plan (5x Pro) | Max Plan (20x Pro) |
|---|---|---|---|
| Price | $20/month | $100/month | $200/month |
| Usage Limit (Claude) (per 5 hours) |
Approximately 45 messages | Approximately 225 messages | Approximately 900 messages |
| Usage Limit (Claude Code) (per 5 hours) |
Approximately 10-40 messages | (Not specified) | Approximately 200-800 messages |
| Model Access | Sonnet 4 (Opus 4 available only in Claude Code) | Sonnet or Opus 4 (Claude Code available, switch using /model command) |
Sonnet or Opus 4 (Claude Code available, switch using /model command) |
| Suitable for | Small tasks on small repositories (typically less than 1,000 lines of code) | Moderate daily usage or Power Users | Large-scale code projects at enterprise level or Power Users |
Originally, Claude Code was available only on Max($100USD/month), but since June 5th, it can also be used on Pro($20USD/month), which has led to an apparent expansion in the user base.
When it started Preview in February, it initially felt like just a CLI tool, but in May, when it entered GA (General Availability), integration with IDEs like VSCode was added, which has become a foundation for its increasing popularity.
These subscriptions don't just include Claude Code, but also Claude (which is the ability to chat with Claude via Web Browser).
For this time, we will set up under the condition of using the Pro subscription as our main option.Although Subscription is a monthly fixed payment, you can also use it as Pay-as-you-go through Anthropic API by setting up an API key, and if you want to use Claude on GitHub Actions, an API key is also required. So please be careful about this.
Supported Environments
Can be used on both MacOS or Linux
Operating Systems: macOS 10.15+, Ubuntu 20.04+/Debian 10+, or Windows
Recommended to run on Linux as it's more convenient. You can check the article link below
Installing Claude Code
Create a folder for usage as appropriate (such as for working in VSCode, etc., but actually installing Claude Code doesn't necessarily require a working folder)
			mkdir -p ~/claude-code-trial
cd ~/claude-code-trial
Check the versions of node and npm
			node --version
# v22.18.0

npm --version
# 10.9.3
Install Claude Code as follows
			npm install -g @anthropic-ai/claude-code

claude --version
# 1.0.85 (Claude Code)
Please note that the Interactive REPL invoked with the claude command is Claude Code## First-time Setup
You can use the claude command to start the REPL (interactive working environment)
claude
When opening for the first time, there will be some questions that appear. Answer them as instructed.
First step is choosing a Theme. This time we'll select Dark mode
			╭──────────────────────────╮
│ ✻ Welcome to Claude Code │
╰──────────────────────────╯

 Let's get started.

 Choose the text style that looks best with your terminal:
 To change this later, run /theme

 ❯ 1. Dark mode✔
   2. Light mode
   3. Dark mode (colorblind-friendly)
   4. Light mode (colorblind-friendly)
   5. Dark mode (ANSI colors only)
   6. Light mode (ANSI colors only)
In this section, you choose a Plan between a monthly subscription or pay-as-you-go.
This time we'll use a Pro Subscription, so select 1. Claude account with subscription
			 Claude Code can now be used with your Claude subscription or billed based on API usage through your Console account.

 Select login method:

 ❯ 1. Claude account with subscription
    Starting at $20/mo for Pro, $100/mo for Max - Best value, predictable pricing

   2. Anthropic Console account
    API usage billing
A link for the Browser will be displayed. If it doesn't open automatically, go to that link manually.
			 Browser didn't open? Use the url below to sign in:

https://claude.ai/oauth/authorize?code=...(remainder omitted)
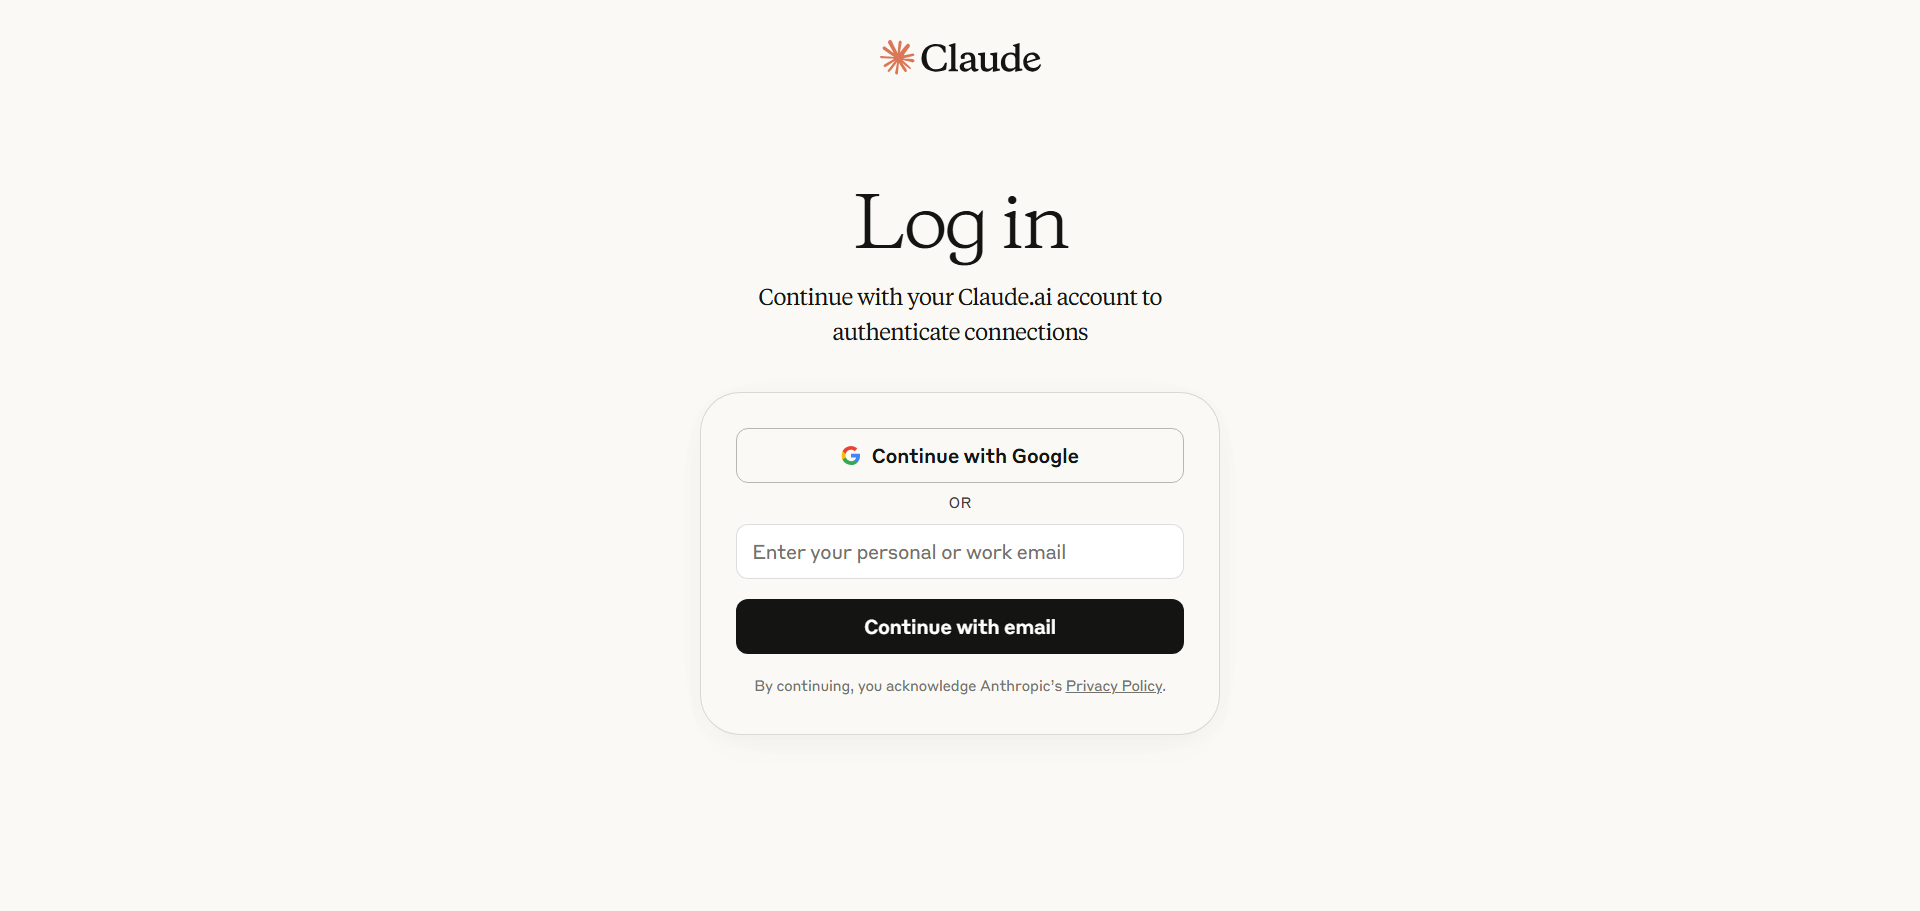
If you've never signed in to Claude before, sign in according to the following screen, then verify according to the system process.
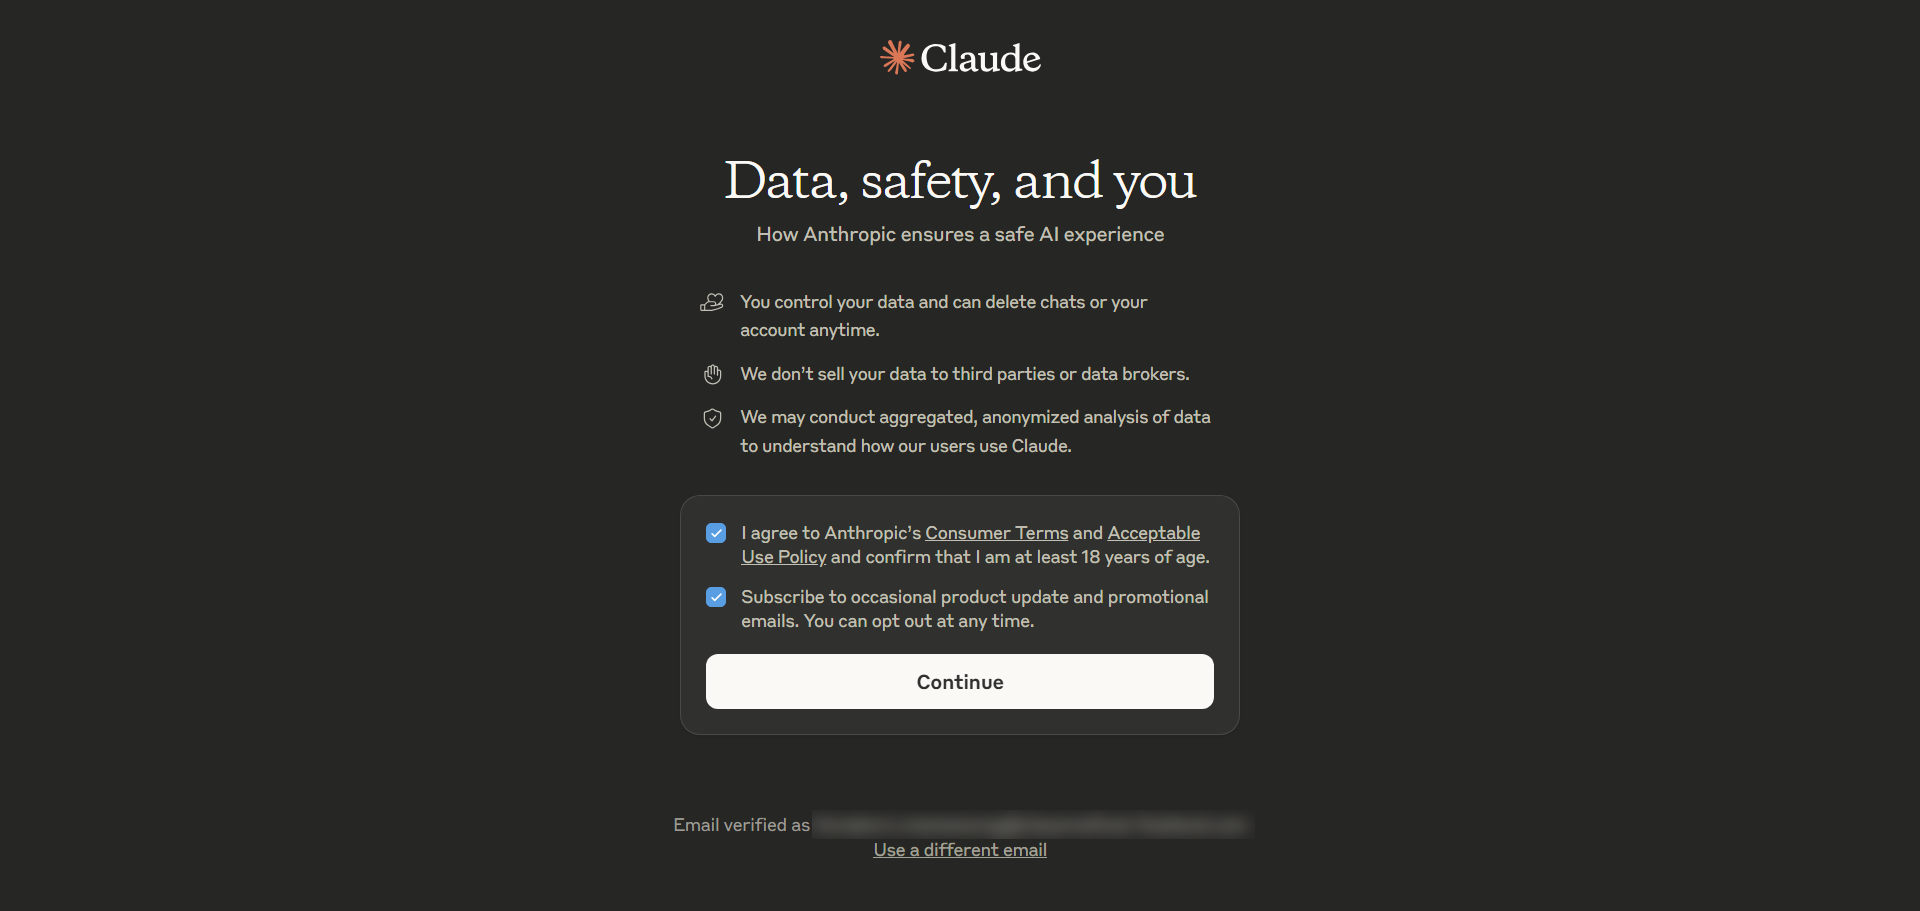
Then there will be 2 checkboxes. The "Subscribe" part is optional, but this time we'll check both.
・✅️ I agree to... (required)
・✅️ Subscribe to... (optional)
Then click Continue
This time we'll select For personal use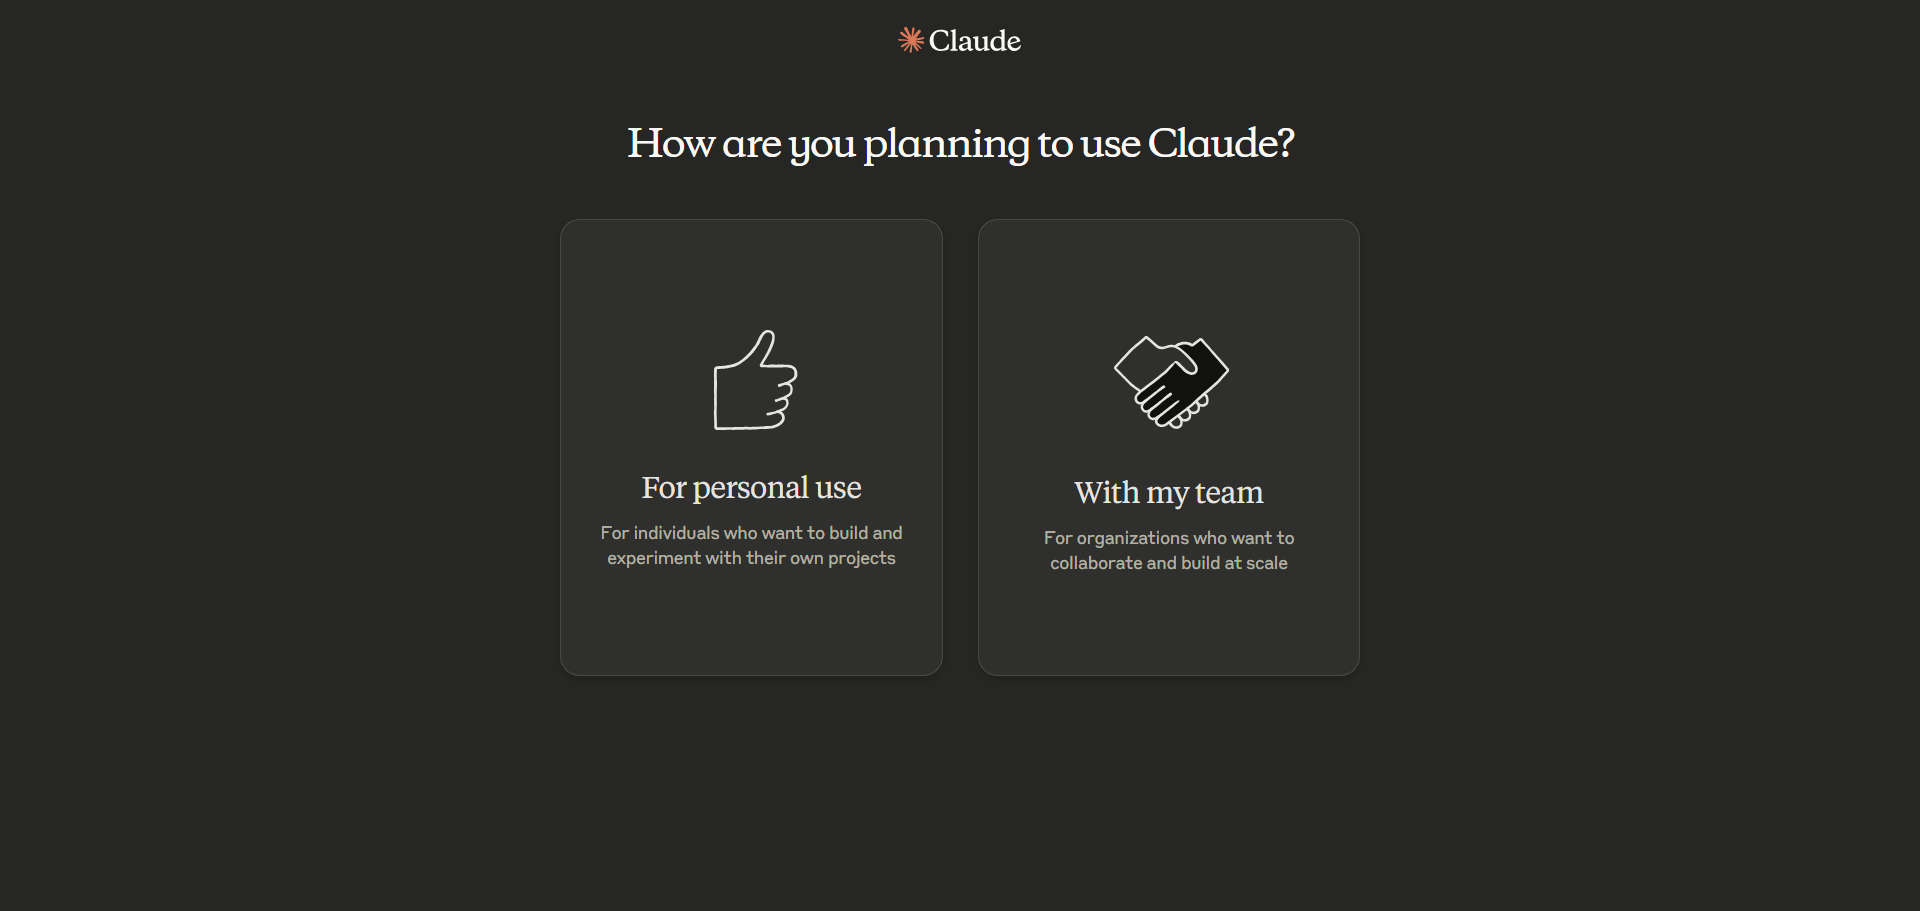
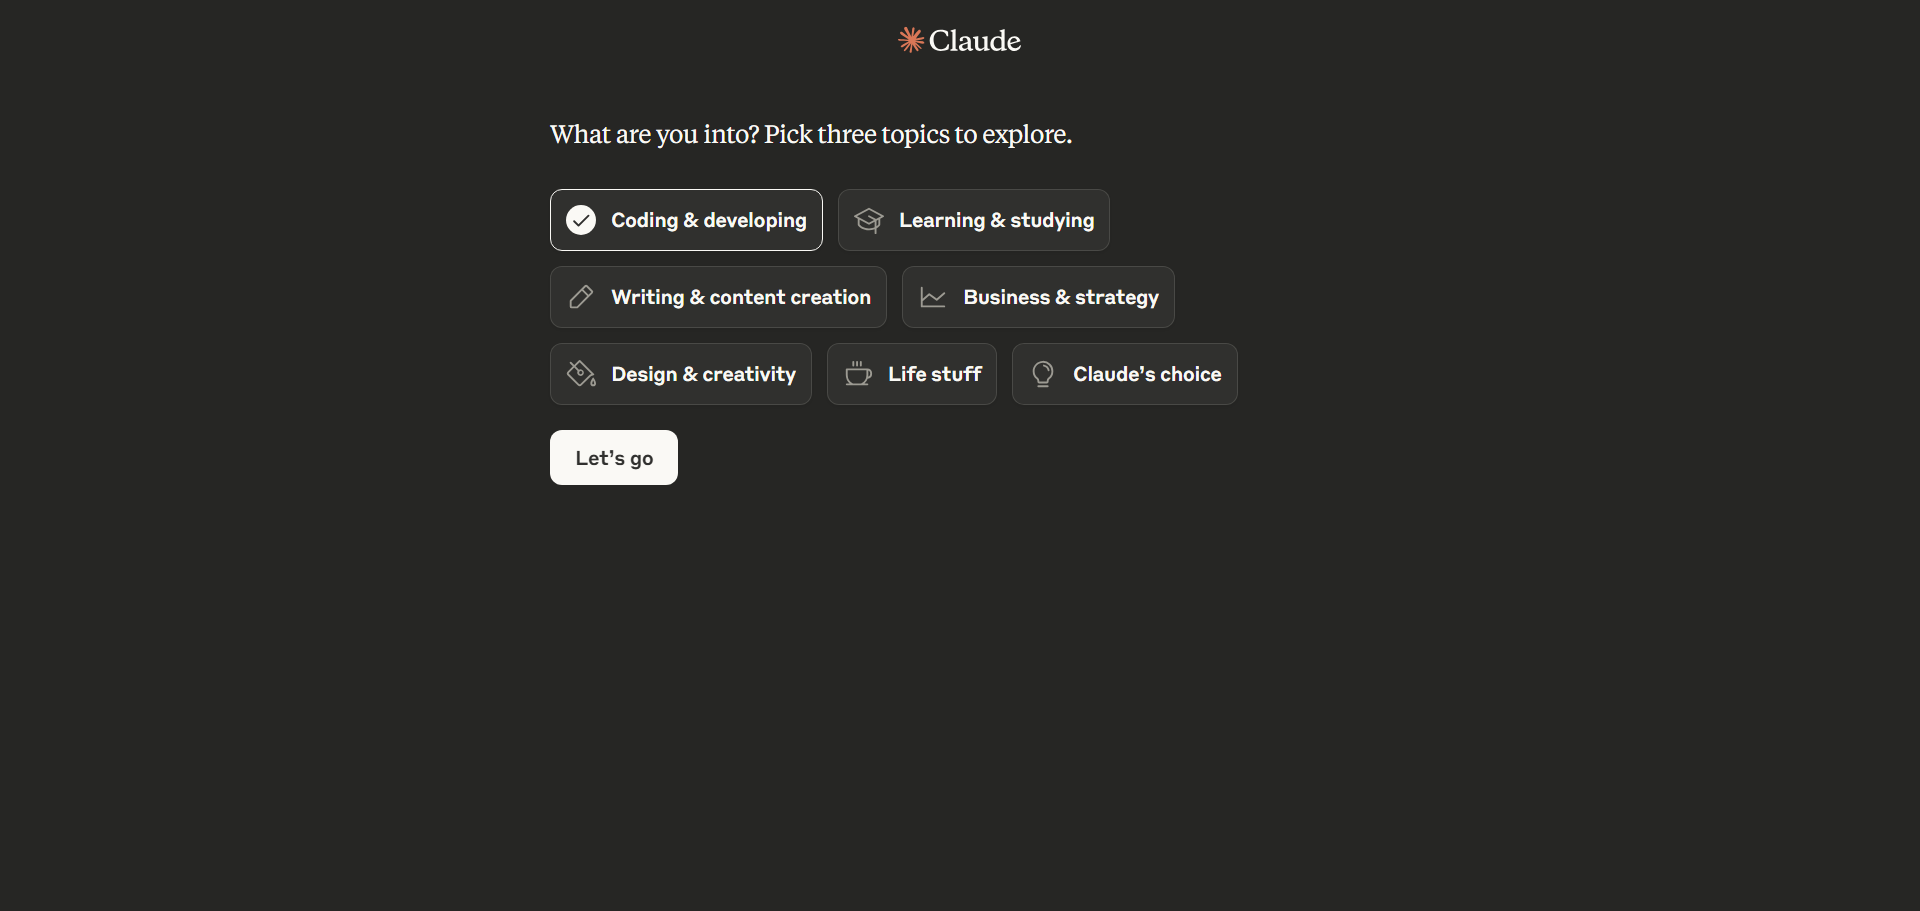
Select the purposes you want to use, then click Let's go (you can select up to 3 topics)
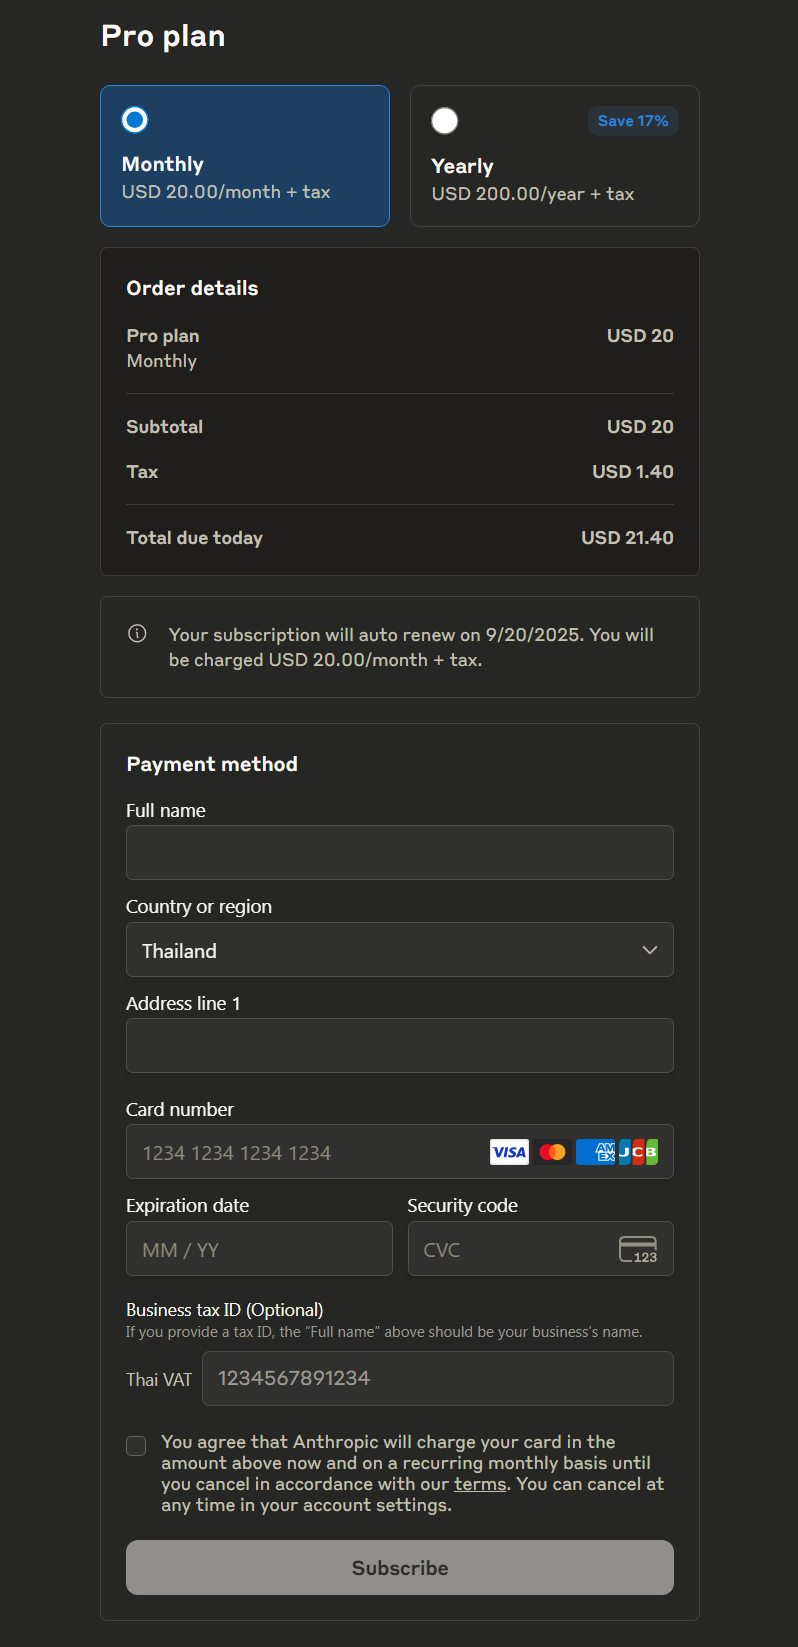
The system will display a message to choose a Plan, and this time we'll select Pro
Proceed through the payment steps
After that, you should see an Authentication Code displayed as shown below (if you're in the middle of the payment process, you might be redirected to another page. In that case, click back to return to the original link)
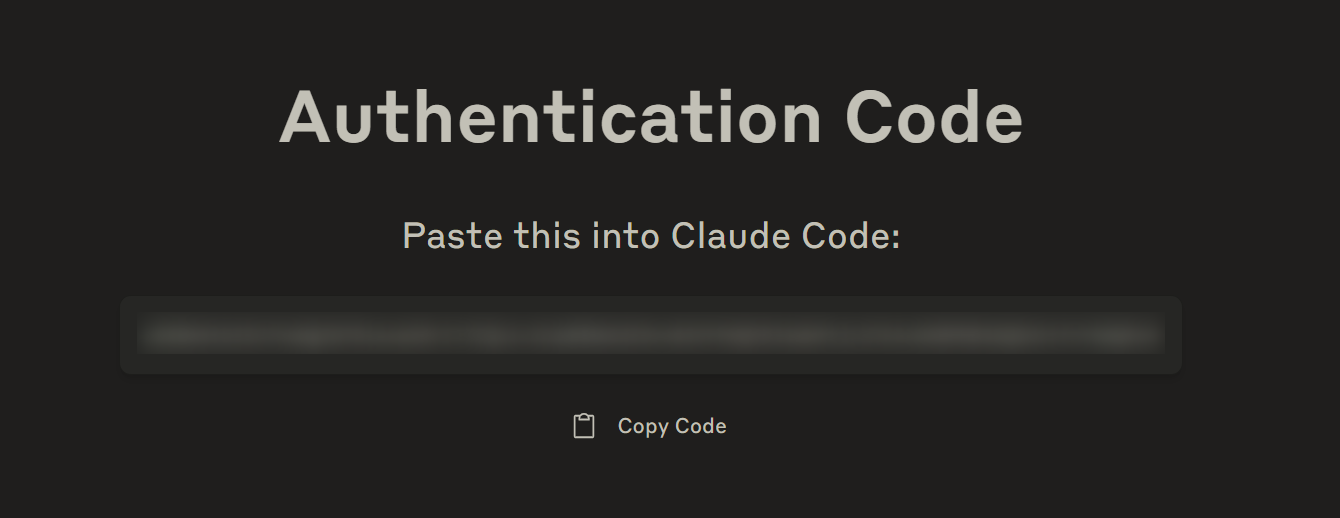
Go back to the Console and paste the Authentication Code
Paste code here if prompted > {paste Authentication Code here}
Verify that you have successfully logged in and press Enter to continue
			Logged in as {Email address}

 Login successful. Press Enter to continue…
Read the message below and continue
			 Security notes:

 1. Claude can make mistakes
    You should always review Claude's responses, especially when
    running code.

 2. Due to prompt injection risks, only use it with code you trust
    For more details see:
    https://docs.anthropic.com/s/claude-code-security

 Press Enter to continue…
For Terminal setup, accept the Recommended settings
			 Use Claude Code's terminal setup?

 For the optimal coding experience, enable the recommended settings
 for your terminal: Shift+Enter for newlines

 ❯ 1. Yes, use recommended settings
   2. No, maybe later with /terminal-setup
The system will ask whether you want to allow access to the current folderThis time, we have already prepared the working folder in the system, so click OK to continue.
			Do you trust the files in this folder?

/home/nakamura/claude-code-trial

Claude Code may read files in this folder. Reading untrusted files may lead Claude Code to behave in an unexpected ways.

With your permission Claude Code may execute files in this folder. Executing untrusted code is unsafe.

https://docs.anthropic.com/s/claude-code-security

❯ 1. Yes, proceed
  2. No, exit
Read the message below, then continue
			 Tips for getting started:

 1. Ask Claude to create a new app or clone a repository
 2. Use Claude to help with file analysis, editing, bash commands and git
 3. Be as specific as you would with another engineer for the best results
 4. ✔ Run /terminal-setup to set up terminal integration

 ※ Tip: Start with small features or bug fixes, tell Claude to propose a plan, and verify its suggested edits
This time there is a message indicating that the VSCode IDE has been installed automatically
			🎉 Claude Code extension installed in VS Code!
Version: 1.0.24

Quick start:
• Press Cmd+Esc to launch Claude Code
• View and apply file diffs directly in your editor
• Use Ctrl+Alt+K to insert @File references

For more information, see https://docs.anthropic.com/s/claude-code-ide-integrations
If Claude Code starts as shown below, it means it's successful!
			╭───────────────────────────────────────────────────╮
│ ✻ Welcome to Claude Code!                         │
│                                                   │
│   /help for help, /status for your current setup  │
│                                                   │
│   cwd: /home/nakamura/claude-code-trial           │
╰───────────────────────────────────────────────────╯

 ※ Tip: Did you know you can drag and drop image files into your terminal?

╭───────────────────────────────────────────────────────────────────────────────────────╮
│ >                                                                                     │
╰───────────────────────────────────────────────────────────────────────────────────────╯
  ? for shortcuts
```After this you can send commands or requests to Claude and run Slash commands on this page

## How to use (Basic version)### Basic Request
When running commands through REPL, Claude Code will perform code generation and other tasks
Create code that retrieves a list of S3 buckets using boto3 in a file named main.py
You'll get results like this
Create code that retrieves a list of S3 buckets using boto3 in a file named main.py
● Write(main.py)
╭───────────────────────────────────────────────────────────────────────────────────────╮
│ Create file │
│ ╭───────────────────────────────────────────────────────────────────────────────────╮ │
│ │ main.py │ │
│ │ │ │
│ │ import boto3 │ │
│ │ │ │
│ │ def list_s3_buckets(): │ │
│ │ s3 = boto3.client('s3') │ │
│ │ │ │
│ │ try: │ │
│ │ response = s3.list_buckets() │ │
│ │ buckets = response['Buckets'] │ │
│ │ │ │
│ │ print("S3 Buckets:") │ │
│ │ for bucket in buckets: │ │
│ │ print(f"- {bucket['Name']} (Created: {bucket['CreationDate']})") │ │
│ │ │ │
│ │ return buckets │ │
│ │ │ │
│ │ except Exception as e: │ │
│ │ print(f"Error retrieving S3 buckets: {e}") │ │
│ │ return [] │ │
│ │ │ │
│ │ if name == "main": │ │
│ │ list_s3_buckets() │ │
│ ╰───────────────────────────────────────────────────────────────────────────────────╯ │
│ Do you want to create main.py? │
│ ❯ 1. Yes │
│ 2. Yes, and don't ask again this session (shift+tab) │
│ 3. No, and tell Claude what to do differently (esc) │
│ │
╰───────────────────────────────────────────────────────────────────────────────────────╯
When selecting `Yes`, the system will begin implementation
● Write(main.py)
⎿ Wrote 21 lines to main.py
import boto3
def list_s3_buckets():
s3 = boto3.client('s3')
try:
response = s3.list_buckets()
buckets = response['Buckets']
print("S3 Buckets:")
… +11 lines (ctrl+r to expand)
● Created file main.py with Thai descriptions. This script retrieves the list of S3 buckets using boto3 and displays their names and creation dates.
### How to start a new session
If you accidentally close the Terminal, you can start a new session from the previous history.

But first, if you want to exit the session, run the command `/exit` or press `Ctrl+D` twice in succession.
/exit
For restarting, there are 2 main methods:
- `claude -c` or `claude --continue` : Starting from the most recent session
- `claude -r` or `claude --resume` : Starting by selecting a session

This time we'll introduce method 2.

When you run `claude -r`, you'll be taken to a session selection screen as shown below:
claude -r
Modified Created # Messages Summary
❯ 1. 3m ago 3m ago 1 Caveat: The messages below were generated by ...
2. 3m ago 8m ago 3 Cursor IDE Connection Established
If you select a session and press Enter, you can continue from that point.### Switching Modes
We can switch from the previous mode to one of the modes below by pressing "Shift+Tab"

The default will be as follows
╭──────────────────────────────────────────────────────────────────────────────────────────────╮
│ > │
╰──────────────────────────────────────────────────────────────────────────────────────────────╯
? for shortcuts
In this mode, only read-only permissions are allowed by default. This is considered a safe state.

When pressing "Shift+Tab", it will change to "auto-accept edits on"
╭──────────────────────────────────────────────────────────────────────────────────────────────╮
│ > │
╰──────────────────────────────────────────────────────────────────────────────────────────────╯
⏵⏵ accept edits on (shift+tab to cycle)
"auto-accept edits on" means that in addition to the default value, it also allows automatic file creation or modification.

However, even in this state, the system will still ask for user acceptance when running commands or searching the web.

When pressing `Shift+Tab` again, it will change to "plan mode on"
╭──────────────────────────────────────────────────────────────────────────────────────────────╮
│ > │
╰──────────────────────────────────────────────────────────────────────────────────────────────╯
⏸ plan mode on (shift+tab to cycle)
"plan mode on" is a mode that plans ahead before actually creating or modifying files.

Plan Mode was launched recently, which is a mode that helps plan before running the actual task, and it works quite as expected.

@[tweet](https://x.com/_catwu/status/1932857816131547453)

If you want to run commands automatically, please check the Permission settings explained in the next section.## Creating CLAUDE.md (similar to Rules)
In Claude Code, what corresponds to Rules in Cursor or Cline is specifically called memory
- [Manage Claude's memory - Anthropic](https://docs.anthropic.com/en/docs/claude-code/memory)

In memory, various things can be stored, such as Coding style guidelines or frequently used Commands to help Claude Code remember shared behaviors across Sessions.

Memory is divided into 3 types as follows:
| Memory Type | Location | Purpose | Usage Examples |
| --- | --- | --- | --- |
| Project Memory | `./CLAUDE.md` | Project guidance documents shared within the team | Project architecture, Coding standards, Common workflow |
| User Memory | `~/.claude/CLAUDE.md` | Personal settings that work with all projects | Code style settings, Personal tool shortcuts |
| Project Memory (Local) | `./CLAUDE.local.md` | Personal settings specific to a particular project | (Not supported, see below) e.g., Sandbox URL, Preferred test data |

One advantage of Claude Code is that the system analyzes the Codebase and automatically creates this memory by running the `/init` command

When running the `/init` command, the system analyzes the Codebase and creates a `CLAUDE.md` file
/init
● I'll analyze the codebase and create a CLAUDE.md file to help future instances of Claude
Code work effectively in this repository.
● Write(CLAUDE.md)
╭──────────────────────────────────────────────────────────────────────────────────────────────╮
│ Create file │
│ ╭──────────────────────────────────────────────────────────────────────────────────────────╮ │
│ │ CLAUDE.md │ │
│ │ │ │
│ │ # CLAUDE.md │ │
│ │ │ │
│ │ This file provides guidance to Claude Code (claude.ai/code) when working with code in │ │
│ │ this repository. │ │
│ │ │ │
│ │ ## Commands │ │
│ │ │ │
│ │ ### Running the Application │ │
│ │ bash │ │ │ │ python main.py │ │ │ │ │ │
│ │ │ │
│ │ ## Architecture │ │
│ │ │ │
│ │ This is a simple Python project with a single main.py file that demonstrates S3 bucket │ │
│ │ listing functionality using boto3. │ │
│ │ │ │
│ │ ## Dependencies │ │
│ │ │ │
│ │ - boto3: AWS SDK for Python │ │
│ │ - Requires AWS credentials to be configured │ │
│ ╰──────────────────────────────────────────────────────────────────────────────────────────╯ │
│ Do you want to create CLAUDE.md? │
│ ❯ 1. Yes │
│ 2. Yes, and don't ask again this session (shift+tab) │
│ 3. No, and tell Claude what to do differently (esc) │
│ │
╰──────────────────────────────────────────────────────────────────────────────────────────────╯
/init "Create in Thai"
● Analyze current Codebase and create CLAUDE.md file
╭──────────────────────────────────────────────────────────────────────────────────────────────╮
│ Create file │
│ ╭──────────────────────────────────────────────────────────────────────────────────────────╮ │
│ │ CLAUDE.md │ │
│ │ │ │
│ │ # CLAUDE.md │ │
│ │ │ │
│ │ This file provides guidance to Claude Code (claude.ai/code) when working with code in │ │
│ │ this repository. │ │
│ │ │ │
│ │ ## การรันโค้ด │ │
│ │ │ │
│ │ ### การรัน Application │ │
│ │ bash │ │ │ │ python main.py │ │ │ │ │ │
│ │ │ │
│ │ ## สถาปัตยกรรม │ │
│ │ │ │
│ │ นี่คือสคริปต์ Python ที่ใช้แสดงรายการ AWS S3 buckets โดยใช้ไลบรารี boto3 โปรเจคมีไฟล์เดียวคือ
│ │ main.py │ │
│ │ │ │
│ │ - boto3: AWS SDK (ไลบรารีสำหรับเชื่อมต่อ AWS ด้วย Python) │ │
│ │ - จำเป็นต้องตั้งค่า AWS credentials │ │
│ ╰──────────────────────────────────────────────────────────────────────────────────────────╯ │
│ Do you want to create CLAUDE.md? │
│ ❯ 1. Yes │
│ 2. Yes, allow all edits during this session (shift+tab) │
│ 3. No, and tell Claude what to do differently (esc) │
│ │
╰──────────────────────────────────────────────────────────────────────────────────────────────╯
```When selecting Yes, the CLAUDE.md file will be created
			● Write(CLAUDE.md)
  ⎿  Wrote 19 lines to CLAUDE.md
     # CLAUDE.md
     This file provides guidance to Claude Code (claude.ai/code) when working with code in
     this repository.
     ## Commands
     ### Running the Application
     ```bash
     python main.py
     ```
     … +9 lines (ctrl+r to expand)

● CLAUDE.md has been created in Thai successfully
```### About Shortcuts
When you press the `?` button, Shortcuts will appear
! for bash mode double tap esc to clear input ctrl + _ to undo
/ for commands shift + tab to auto-accept edits ctrl + z to suspend
@ for file paths ctrl + r for verbose output
to memorize backslash () + return (⏎) for
newline
This might be a bit difficult to understand at first, but there are 8 shortcuts displayed in 2 columns.

So far, we have used symbols like `/`, but I will explain the meaning of each one below.

| Operation | Description |
| --- | --- |
| ! for bash mode | Can run commands such as `ls` or `cd` in Claude's REPL |
| / for commands | Can run Slash commands |
| @ for file paths | Can specify File context |
| # to memorize | Can save to memory |
| double tap Esc to undo | Can go back to the previous run by pressing the Esc key twice |
| shift + tab | Can switch modes as explained above |
| ctrl + r for verbose output | Can check the details of the previous run results |
| \⏎ for newline | Can create a new line while typing by typing Backslash and then pressing Enter |

You can press the `esc` key twice to Undo, and you can use `!` to run commands like `ls` or `cd` as well.

Additionally, you can create a new line with `\` + Enter, but if you're using the Terminal in VSCode, you can also create a new line with "Alt + Enter". I just learned this! (Thanks to [Sawara (@xhiroga)](https://x.com/xhiroga))

The example below shows using `#` to add information to memory.
Always add type annotations to Python functions
Then the system will ask where to save it in memory, and you can choose where you want to save it.
╭──────────────────────────────────────────────────────────────────────────────────────────────╮
│ │
│ Where should this memory be saved? │
│ │
│ ❯ 1. Project memory Saved in ./CLAUDE.md │
│ 2. User memory Saved in ~/.claude/CLAUDE.md │
│ │
│ Example project memory: "Run lint with the following command after major edits: npm run │
│ lint" │
│ │
╰──────────────────────────────────────────────────────────────────────────────────────────────╯
```เนื่องจากครั้งนี้ได้เลือก Project memory จึงสามารถยืนยันได้ว่า CLAUDE.md มีการเพิ่มบันทึกดังต่อไปนี้แล้ว
## Development Guidelines
- Add Type annotation in all Python functions
```### Working with IDE
Claude Code supports working with IDEs
(During the GA in May, IDE support was announced, which is one of the factors making Claude Code increasingly popular)
Supported IDEs are listed below, including VSCode along with its forks and JetBrains IDEs
(Therefore, Cursor is also in the supported group)
- https://docs.anthropic.com/en/docs/claude-code/ide-integrations
Functions supported when working with VSCode are as follows:
| Function | Details |
| --- | --- |
| (1) Automatic Extension Installation | When starting Claude Code from Terminal in VSCode, it will detect and install Extensions automatically |
| (2) Keyboard Shortcuts | Supports shortcuts like Alt+Cmd+K (Mac) or Ctrl+Alt+K (Windows/Linux) and can insert selected code into Claude's Prompt |
| (3) Context Selection | Text selected in VSCode will be automatically added to Claude's Context |
| (4) Tab Awareness | Claude can recognize files open in the Editor as Context |
| (5) Sharing Linter Results and Error Information | Errors (like lint, syntax) from VSCode will be automatically shared with Claude during work |
| (6) Diff Display | Code changes will display directly in VSCode's Diff Viewer without going through Terminal |
Functions (3)-(6) require linking between IDE and Claude Code
Precautions for linking (Linking/Association) are as follows:
- Claude Code must be started within the same folder where the IDE is working
- IDE Window and Claude Code Terminal must be linked 1-to-1 (if linked to another one, the previously linked will be disconnected)
Next, we'll try linking, and right now it's considered not linked as shown in the example below

When running the `/ide` command here, the system will display a screen to choose which IDE to link with, as shown below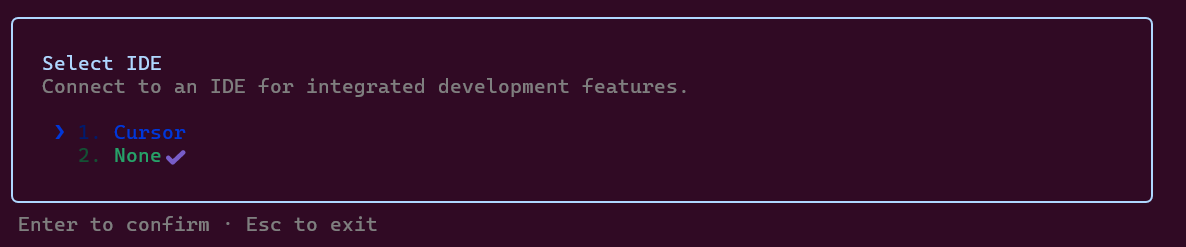
After selecting the IDE at the top, a green icon or text will appear in the bottom right corner, indicating that the connection has been successfully established.

In this state, if you select a line from the IDE side, the line that is remembered as Context will be displayed in the bottom right corner.

## Conclusion
How was it?
I hope this article will be useful for those who are thinking of starting to use Claude Code.
And as mentioned at the beginning, this article has a sequel (final part). Don't forget to check it out:
https://dev.classmethod.jp/articles/get-started-claude-code-2nd-th/
## Original article
https://dev.classmethod.jp/articles/get-started-claude-code-1/
Translated by: POP ([Tinnakorn Maneewong](https://dev.classmethod.jp/author/tinnakorn-maneewong/)) from [Classmethod (Thailand)](https://www.classmethod.co.th/)!
![[AWS Technical Support Note] ช่วยแนะนำวิธีเปลี่ยน Primary IP Address ของ EC2 instance ที่มีอยู่แล้วโดยไม่ต้องลบ instance ได้ไหม](https://devio2024-media.developers.io/image/upload/v1755596933/user-gen-eyecatch/zuw2fi0omyyaxmy4epsg.png)

![[AWS Technical Support Note]สรุปข้อจำกัดของโดเมน APEX และ CNAME record สำหรับ AWS Beginner](https://devio2024-media.developers.io/image/upload/v1754389928/user-gen-eyecatch/wtql9jswjda21b88hrj4.png)