
Use GitHub App User Access Token with ghtkn to communicate with GitHub without storing secrets locally

This page has been translated by machine translation. View original
When calling the GitHub API from a client terminal, you want to communicate securely without storing secrets locally as a supply chain attack countermeasure, right?
The CLI tool that's perfect for this is ghtkn.
ghtkn has the following three features.
1. No tokens stored locally
ghtkn only saves the GitHub App's Client ID, which is not a secret, locally. No tokens or private keys are needed. There's no problem committing it to Git.
apps:
  - name: my-org/dev
    client_id: Ivxxxxxxxxxxxxxxxx
2. Short-lived tokens are managed by the OS secret manager
ghtkn issues short-lived tokens via GitHub App's Device Flow and stores them in the OS secret manager (macOS Keychain / Windows Credential Manager, etc.).
Moreover, tokens expire in 8 hours, significantly reducing the risk of leakage.
3. Authorization is the AND of GitHub App and user
The permissions of the User Access Token used by ghtkn are the AND of the user and the GitHub App. Even if the user has broad permissions, they can be restricted on the GitHub App side.
This mechanism is a specification of GitHub App's User Access Token, and the documentation explicitly states the following three points:
- Can only access resources that the user can access
- Can only access resources that the App has permissions for
- Can only access resources of accounts where the App is installed
Differences between ghtkn and PAT
Comparing with PAT, which is commonly used for GitHub API operations, makes it easier to understand ghtkn's positioning.
| Aspect | classic PAT | fine-grained PAT | ghtkn (GitHub App User Access Token) |
|---|---|---|---|
| Secret information stored locally | Token itself | Token itself | None (Client ID only) |
| Token issuance and renewal | User manually issues/reissues | User manually issues/reissues | ghtkn automatically retrieves/refreshes |
| Storage location | Up to the user | Up to the user | OS secret manager |
| Expiration | Arbitrary (can be unlimited) | Arbitrary | Expires in 8 hours |
| Organization-side control | Allow/block all only | Approval-based, expiration management | Managed by App permissions and installation |
| Permission scoping | Depends on user permissions | Specified in detail per token | Restricted by AND of App × user |
Let's try it
We'll walk through the process of using ghtkn from macOS to obtain a GitHub App User Access Token and use it with the gh CLI.
Environment
- OS : macOS 26.4.1
- ghtkn : 0.2.5
- gh : 2.93.0
Preparing the GitHub App
First, create a GitHub App. Create a new one from the organization's Settings > Developer settings > GitHub Apps, and configure the following:
- GitHub App name: A unique name
- Expire user authorization tokens: Enable
- Enable Device Flow: Enable
- Webhook: Disable
- Permissions: None (leave as default)
- Repository access: None (leave as default)
- Where can this GitHub App be installed?: Only on this account (= private)
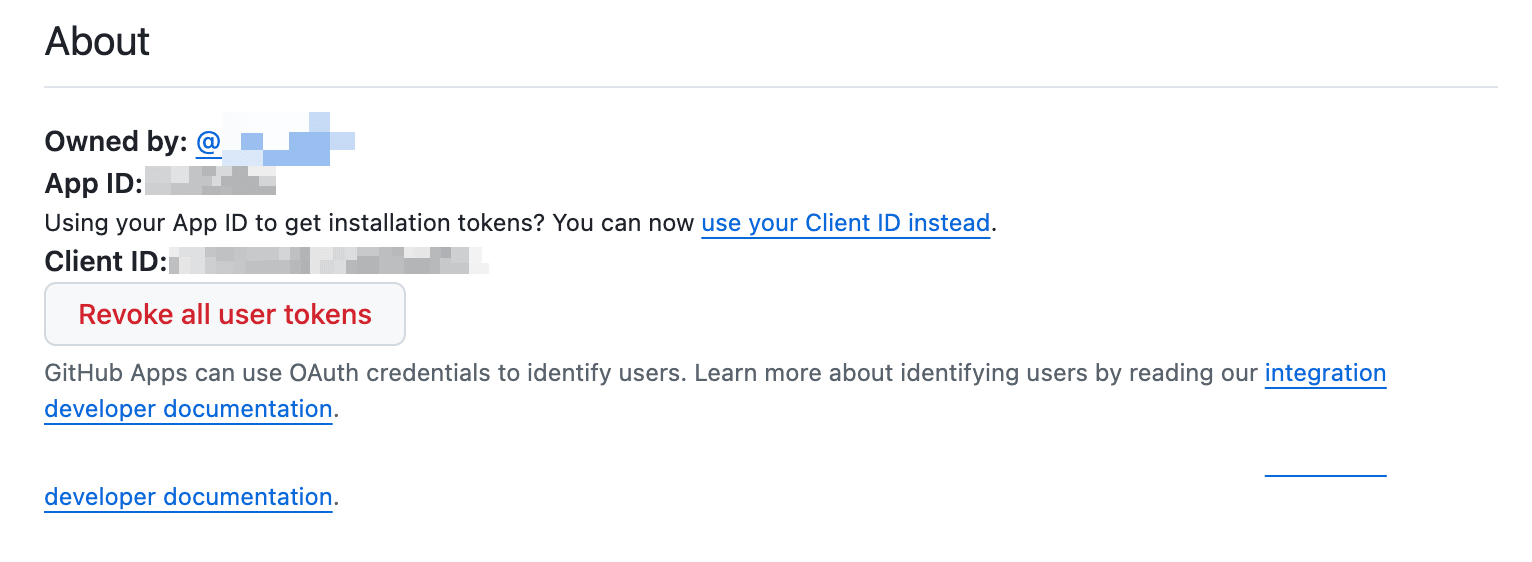
Installing ghtkn
$ brew install suzuki-shunsuke/ghtkn/ghtkn

$ ghtkn init
Write the GitHub App's Client ID in $HOME/.config/ghtkn/ghtkn.yaml.
apps:
  - name: my-org/dev
    client_id: Ivxxxxxxxxxxxxxxxx
From token acquisition to use with gh CLI
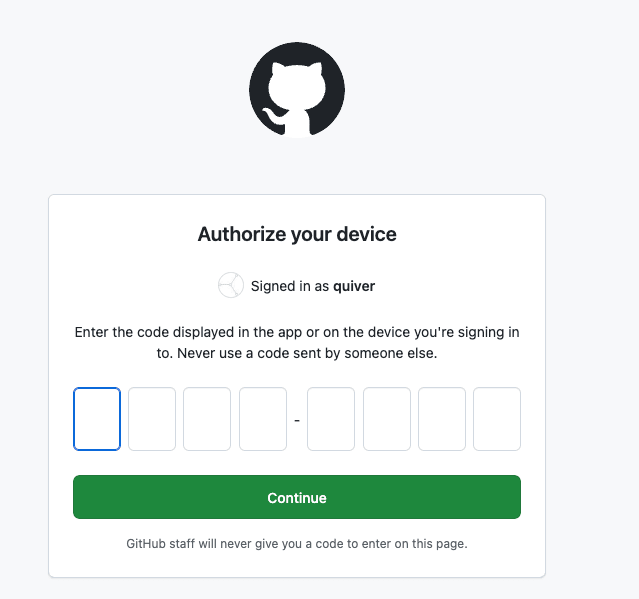
Let's obtain a token via ghtkn. The first time, a browser will open and the Device Flow authorization will run.
$ ghtkn get

The application uses the device flow to generate your GitHub User Access Token.
Copy your one-time code: XXX-XXXX
This code is valid until 2026-06-23T18:01:51+09:00
Press Enter to open https://github.com/login/device in your browser (it opens automatically after 10 seconds)...
Jun 23 17:47:02.918 INF opened the browser program=ghtkn version=0.2.5 app_name=my-org/dev url=https://github.com/login/device
ghu_xxx
Enter the one-time code from the browser.
Let's integrate with gh.
$ ghtkn get
ghu_XXX
$ REPO=my-org/demo-ghtkn
$ env GH_TOKEN=$(ghtkn get) gh issue create -R "$REPO" --title "Hello, ghtkn" --body "This is created by ghtkn"

Creating issue in my-org/demo-ghtkn

GraphQL: Could not resolve to a Repository with the name 'my-org/demo-ghtkn'. (repository)
This is because we didn't set up permissions and repositories during the initial installation.
Let's set Issues Read and write as a permission, configure the target repository, and run it again.
$ env GH_TOKEN=$(ghtkn get) gh issue create -R "$REPO" --title "Hello, ghtkn" --body "This is created by ghtkn"

Creating issue in my-org/demo-ghtkn

https://github.com/my-org/demo-ghtkn/issues/4
This time it succeeded.
In this way, you can start with minimal permissions, and if something is insufficient, use errors like Could not resolve to a Repository as clues to add permissions (Issues: Read and write) and install for the target repository.
Wrapping gh for ghtkn
Writing env GH_TOKEN=$(ghtkn get) gh ... every time is tedious. If you prepare a wrapper script, just running the gh command directly will transparently use the ghtkn token.
#!/usr/bin/env bash
set -eu
if [ -z "${GH_TOKEN:-}" ] && [ -z "${GITHUB_TOKEN:-}" ]; then
  GH_TOKEN="$(ghtkn get)"
  export GH_TOKEN
fi
exec /opt/homebrew/bin/gh "$@"
Place this script in a directory on your PATH (e.g., ~/bin/gh) and grant it execute permissions (chmod +x ~/bin/gh).
With this mechanism, every time the gh command is called via the wrapper script, ghtkn retrieves the token from cache and injects it into GH_TOKEN.
It can also be used for calls from Claude Code.
Checking the stored token (macOS)
The token is stored in the login Keychain as a generic password, with the Client ID as the key. The contents and metadata can be checked with the security command.
$ security dump-keychain login.keychain-db | grep -iB2 -A15 ghtkn
class: "genp"
attributes:
    0x00000007 <blob>="github.com/suzuki-shunsuke/ghtkn"
    0x00000008 <blob>=<NULL>
    "acct"<blob>="Ivxxx"
    "cdat"<timedate>=0x32303236303631343035333032355A00  "20260614053025Z\000"
    ...
Device Activation support
When you introduce ghtkn, you will encounter a screen prompting Device Activation like the following.
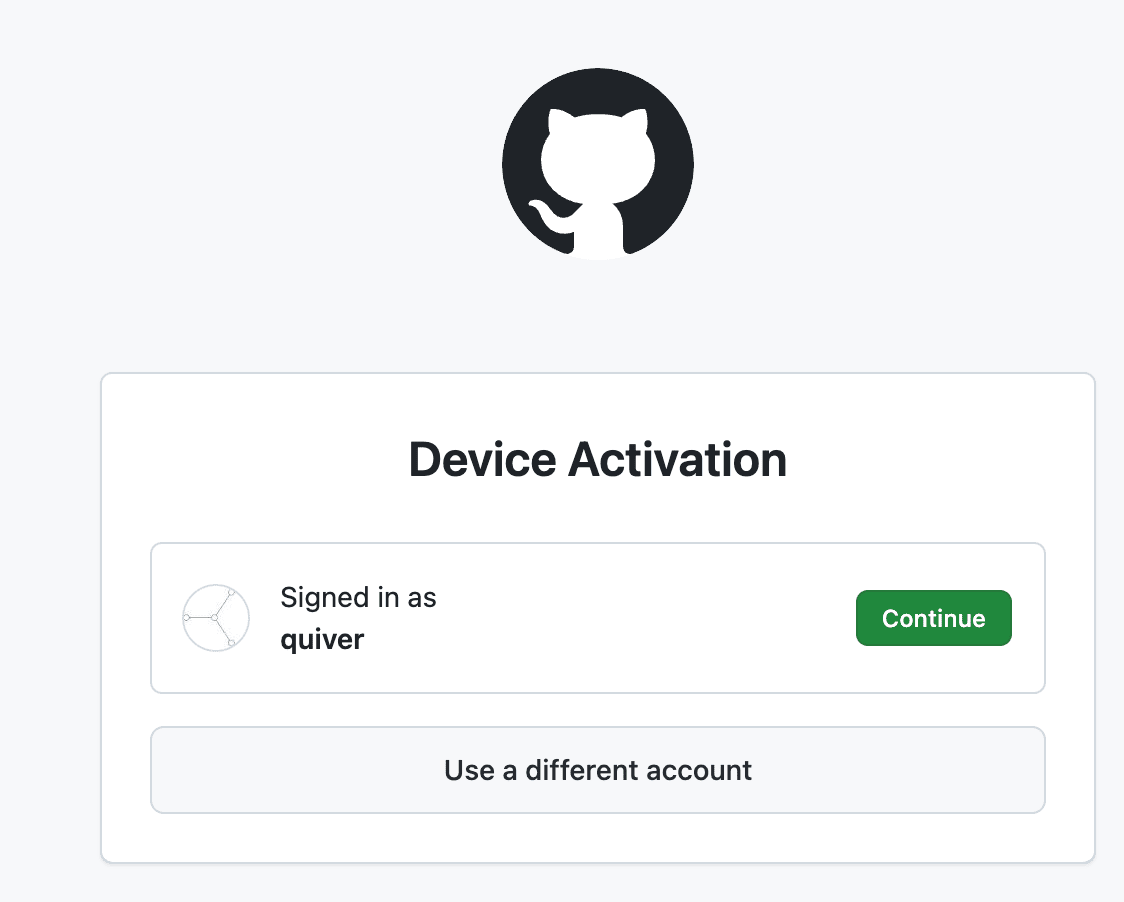
This is because $ ghtkn auth is implicitly executed in the background, and re-running $ ghtkn auth will resolve it.
A specification change to explicitly execute this device flow is proposed in the following issue.
Stop Automatically Starting the Device Flow · Issue #474 · suzuki-shunsuke/ghtkn
In closing
When operating GitHub via API from a client environment, PAT comes to mind immediately, but by using GitHub App's User Access Token, you can achieve the same thing by only managing the non-secret Client ID locally. ghtkn, introduced this time, is a nice wrapper around this. In particular, it can cover many of the use cases of fine-grained PAT.
Please note that unlike classic PAT, where you can operate everything with a single token, you need to grant permissions per organization (resource owner), just as with fine-grained PAT.
Also, please note that since ghtkn authenticates users via Device Flow, it cannot be used for non-interactive purposes such as CI/CD.
Procedures for changing permissions and adding repositories in an Organization
For a GitHub App already installed in an Organization, it is not enough for the user to simply change permissions in the App management screen. New permissions have not yet been applied to already installed Organizations, and separate approval from the Organization side is required.
In other words, permission changes and repository additions are divided into two steps: "request from the user side" and "approval from the Organization administrator side."
User side: Request permission changes and repository additions
- Open the GitHub App management screen (Settings > Developer settings > GitHub Apps)
- Change the required permissions (e.g., Issues: Read and write) in Permissions & events and save
- Upon saving, a permission approval request is sent to the installed Organization
Organization administrator side: Approve permissions and add repositories
- Open the Organization's Settings
- Open Third-party access > GitHub Apps
- Open Configure for the target App where the permission approval request (Review request) is displayed
- Review the requested permissions (Issues: Read and write) and repositories, then Accept