[Google Workspace] Distribute internal Chrome extensions using your organization's private Chrome Web Store
This page has been translated by machine translation. View original
Hello. I'm Maruto.
Since it's a 3-day weekend, I wanted to do something like a science project, so I tried using the "organization's private Chrome Web Store" with Google Workspace.
Installing Extensions the Normal Way
When installing extensions in Google Chrome and other browsers, most people use the Chrome Web Store.
The Chrome Web Store is a convenient service provided by Google that allows you to install extensions into your browser with just a few clicks.
Another installation method is to package internal extensions and share them as files.
Example Challenges and the Organization's Private Chrome Web Store
Let's assume there are cases where you want to intuitively install internal extensions that aren't publicly available, similar to the Chrome Web Store.
To achieve this, when publishing extensions to the Chrome Web Store using the developer dashboard, there are two methods:
- Set the publishing settings to "Unlisted" and share the URL
- Set the publishing settings to "Private" and add the Google Groups you own as trusted testers
However, updating the list of private extension URLs and adding/removing members as people join or leave requires constantly updating Google Group membership.
Additionally, even with unlisted publishing, search engine indexing may result in the extension essentially becoming publicly available.
Particularly for large companies, the high frequency of updating lists and managing group members can become an operational burden.
Also, if security requirements prohibit unlisted extensions from being indexed by search engines, the unlisted publishing setting cannot be used.
To meet these requirements, there is a mechanism called the organization's private Chrome Web Store using Google Workspace.
By using this mechanism, you can distribute extensions that are only visible to people belonging to your organization through the Chrome Web Store user interface.
Let's Try It
In this article, I'll actually use the organization's private Chrome Web Store to distribute a private extension.
Prerequisites
- You have a Google Workspace contract, and each user has an organizational Google account
- A Google Workspace administrator user has paid the developer registration fee
- You need to register as a developer to distribute extensions in the Chrome Web Store (one-time $5 USD at the time of writing)
- If using an individual employee's organizational Google account, the developer registration will become invalid if the account is deleted when they leave, so using an admin account is recommended
1. Set Policies in the Google Workspace Admin Console
By default, policy restricts publishing private extensions to the Chrome Web Store, so we need to change the settings.
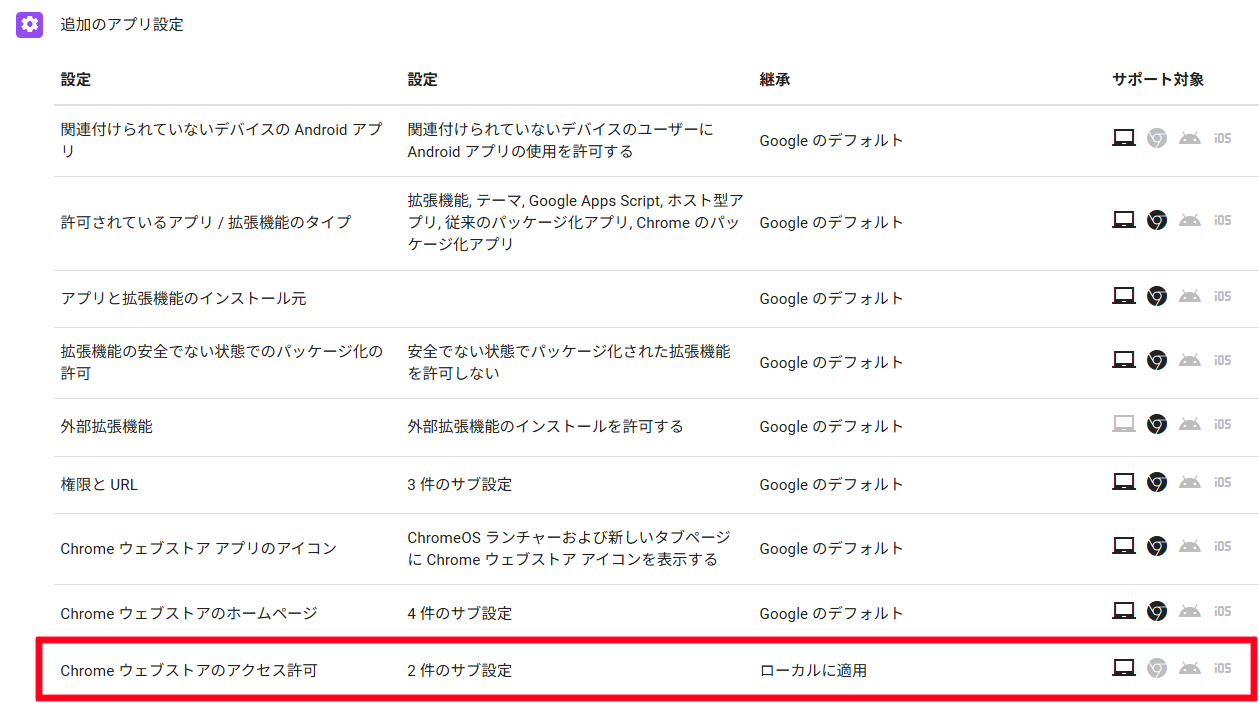
To change these settings, go to the Google Workspace Admin Console and select Devices > Chrome > Apps and Extensions, then select the User App Settings tab.

Next, select Chrome Web Store permissions within the "Additional app settings."
In the settings, select Allow publishing domain-restricted private apps to the Chrome Web Store and Prevent users from publishing privately-hosted apps when the app's launch_web_url or app_url is not owned by your organization, then save.
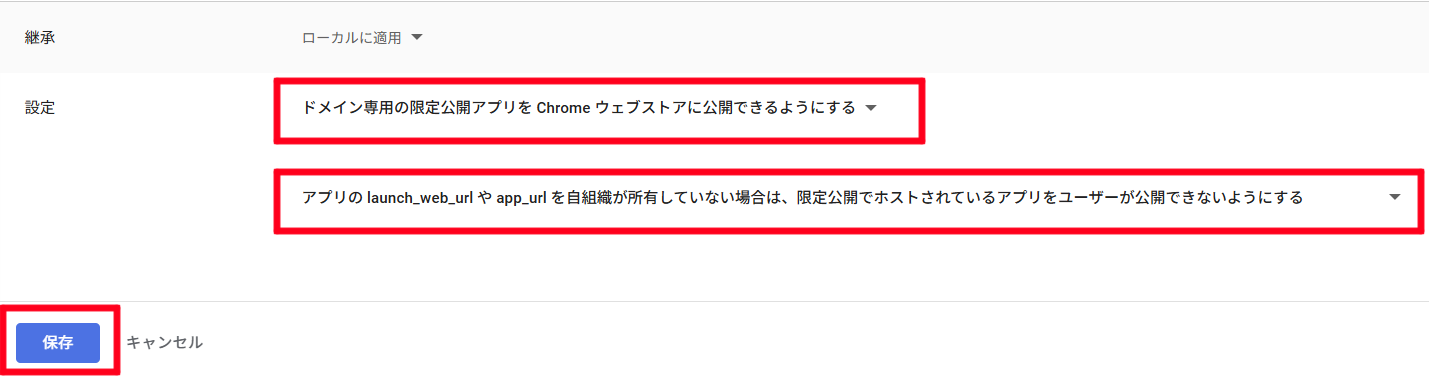
After saving, return to the previous screen.
By default, it should be fine, but verify that another additional app setting, Chrome Web Store private extensions, is set to Allow private extensions.

This completes the policy settings.
2. Register the Extension in the Chrome Web Store Developer Dashboard
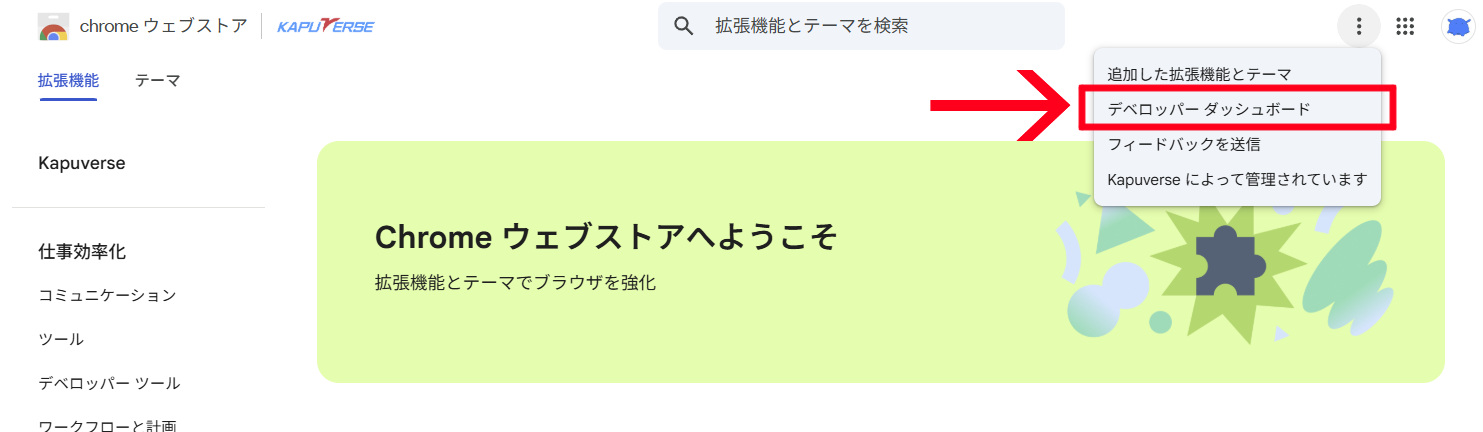
Access the Chrome Web Store Developer Dashboard.
If accessing from the Chrome Web Store, you can reach it via 3-dot menu > Developer Dashboard.
When accessing the Chrome Web Store Developer Dashboard, if you don't have a developer registration, you'll need to agree to the terms and pay the registration fee (one-time payment during developer registration).
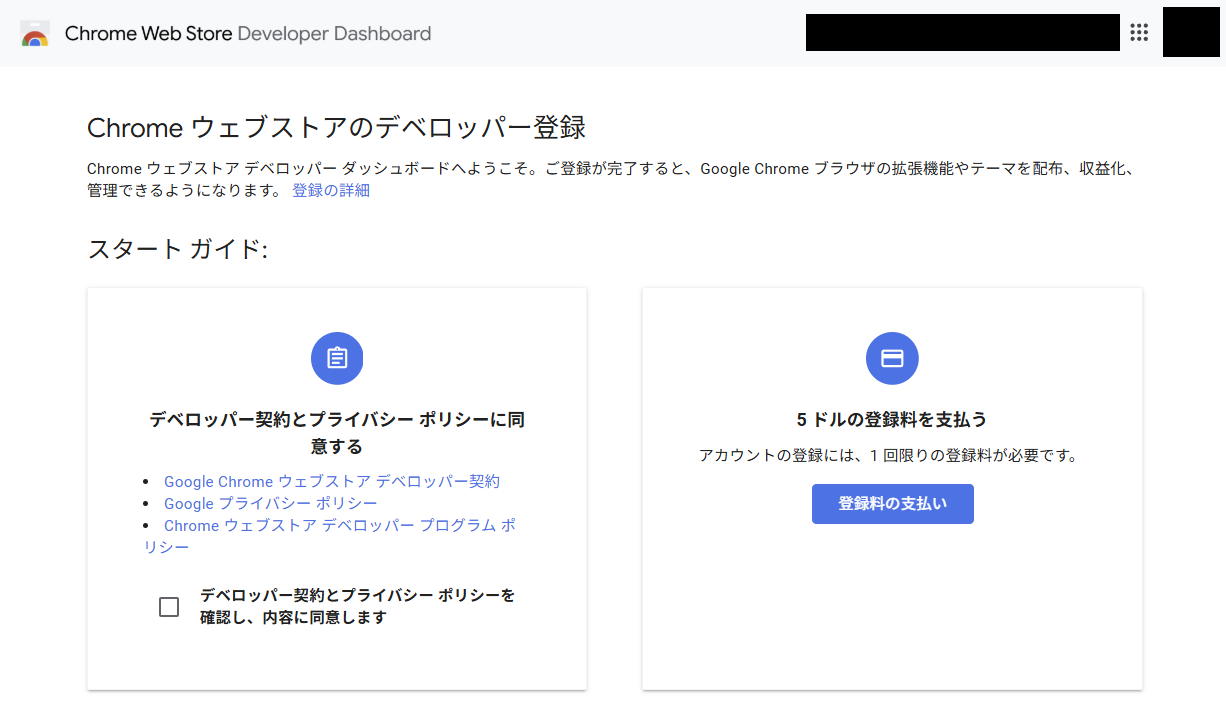
Even if you're only publishing private extensions, agreeing to the terms and making the payment is required to publish extensions in the Chrome Web Store.
Once registered as a developer, you'll see a dashboard like this:
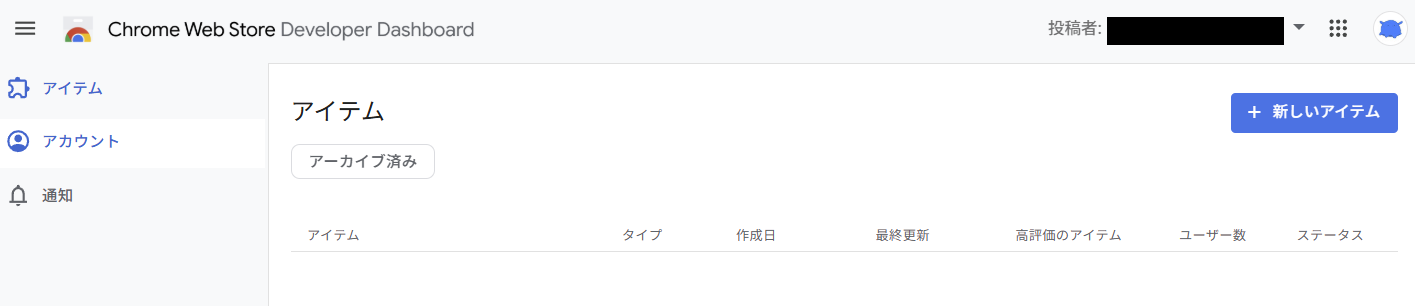
To register an extension in the Chrome Web Store, click New item in the upper right and upload a ZIP compressed file of the extension directory.
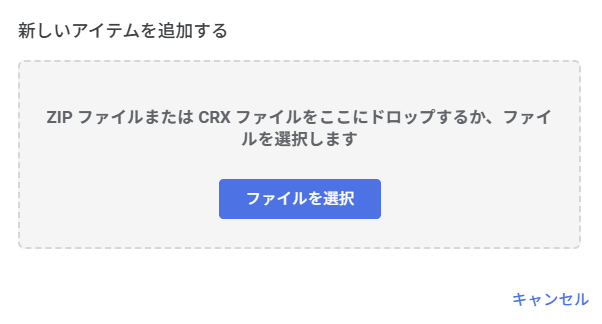
After uploading, you'll see a screen to set the listing information.
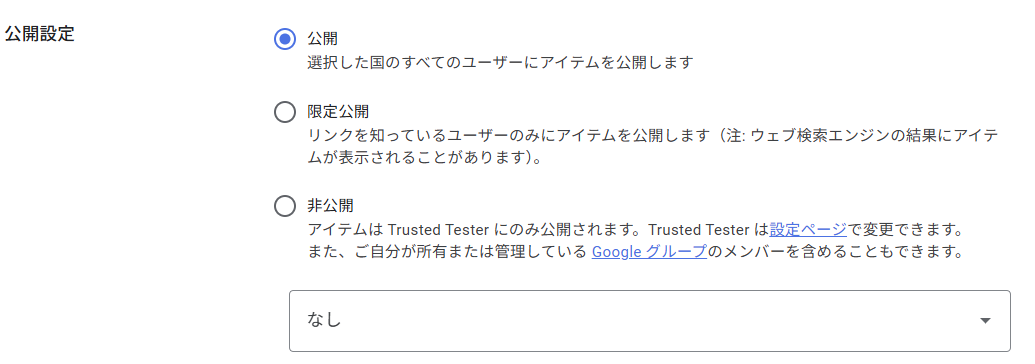
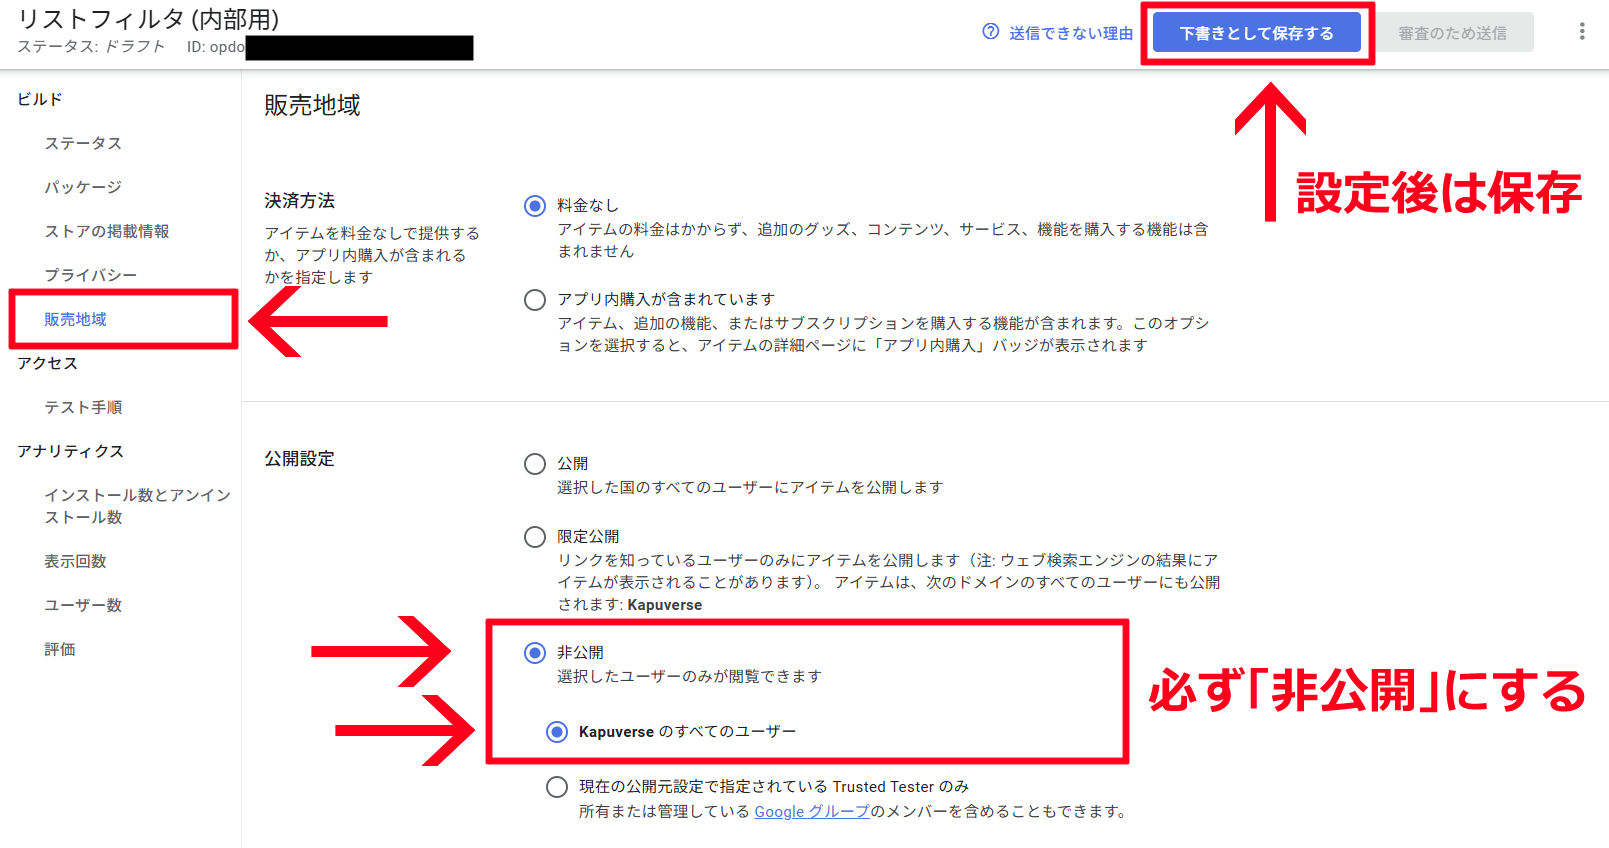
Next, set the visibility to ensure the extension is not publicly available.
To set the visibility, select Distribution from the sidebar, choose Private for "Visibility," select All users in <organization name>, and save.
Be careful with this setting, as a mistake could result in your extension becoming publicly available.
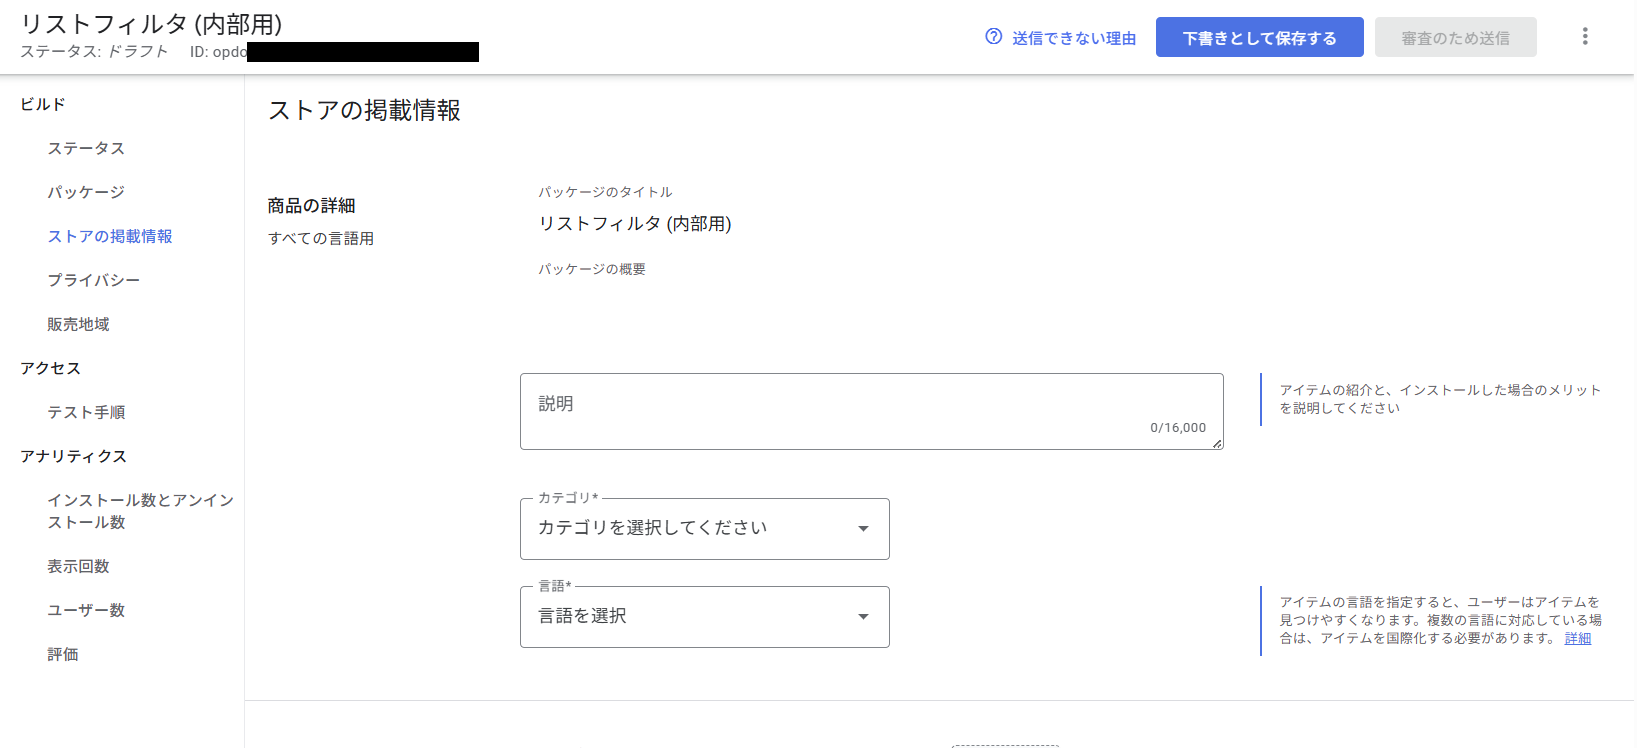
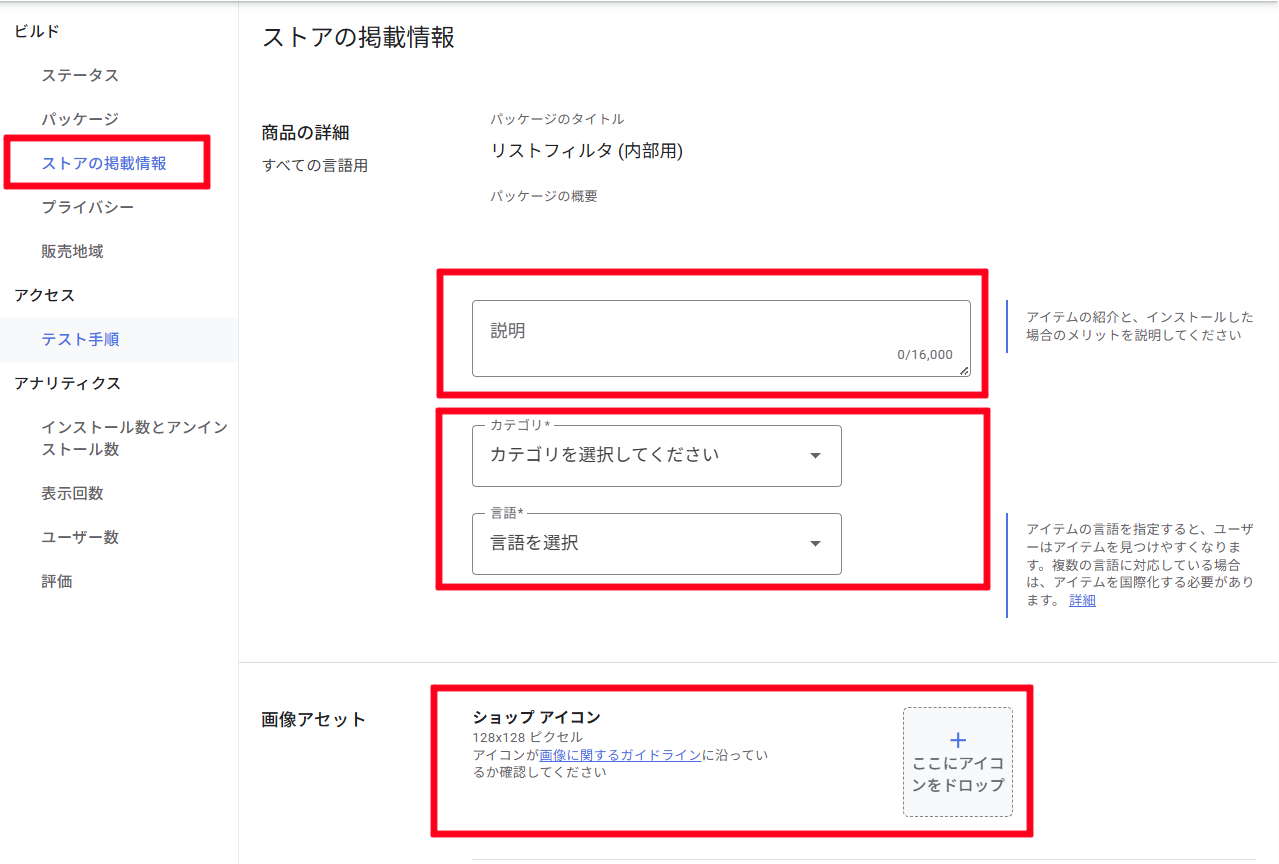
After setting the visibility to private, enter the necessary information for listing in the Chrome Web Store.
To see which items you need to fill in, click on Why can't I submit? next to the "Save draft" button.
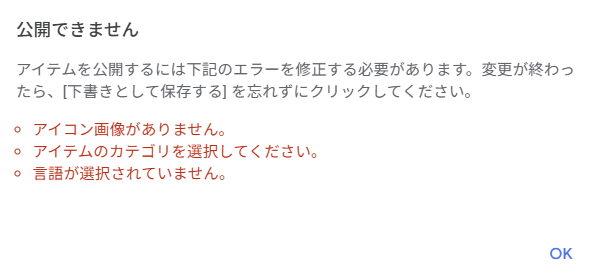
Basically, you need to set Category, Language, and Store icon in the Store listing section.
(In my personal opinion), I recommend also setting the Description, Screenshots, and Small promotional tile to make it easier to understand what the extension does and how it works.
You can check how your listing will appear by clicking Preview in the 3-dot menu.

After setting the necessary information and saving, confirm that the visibility setting is set to Private in the Distribution section, then click Submit for review.
Even for private extensions, a review by Google is required to list them in the Chrome Web Store.

When you click the button, a confirmation screen appears.
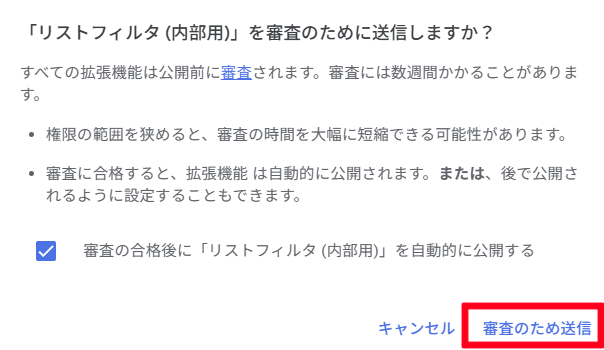
Regarding the "Automatically publish after approval" option, "publish" on this screen means listing in the Chrome Web Store.
The visibility is still governed by the visibility setting in the Distribution menu.
If the visibility is set to Private, there's no issue, so confirm and click Submit for review.
After clicking, the status changes to "Pending review." (Reviews typically take at least 12 hours in my experience.)

This completes the extension registration.
3. After the Review is Completed
After the review is complete, if you enabled the "Automatically publish after approval" option, the status will change to Published - Private (Domain).
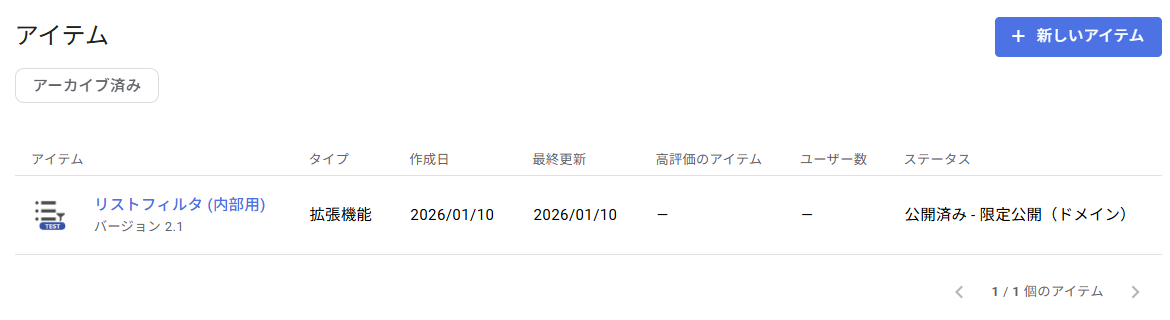
In this state, when accessing the Chrome Web Store with a Google account belonging to the organization, a "Private" menu will be added under the organization's name in the side menu. Organization extensions will be displayed here.

Then, just like installing a public extension, you can press Add to Chrome to install the extension.
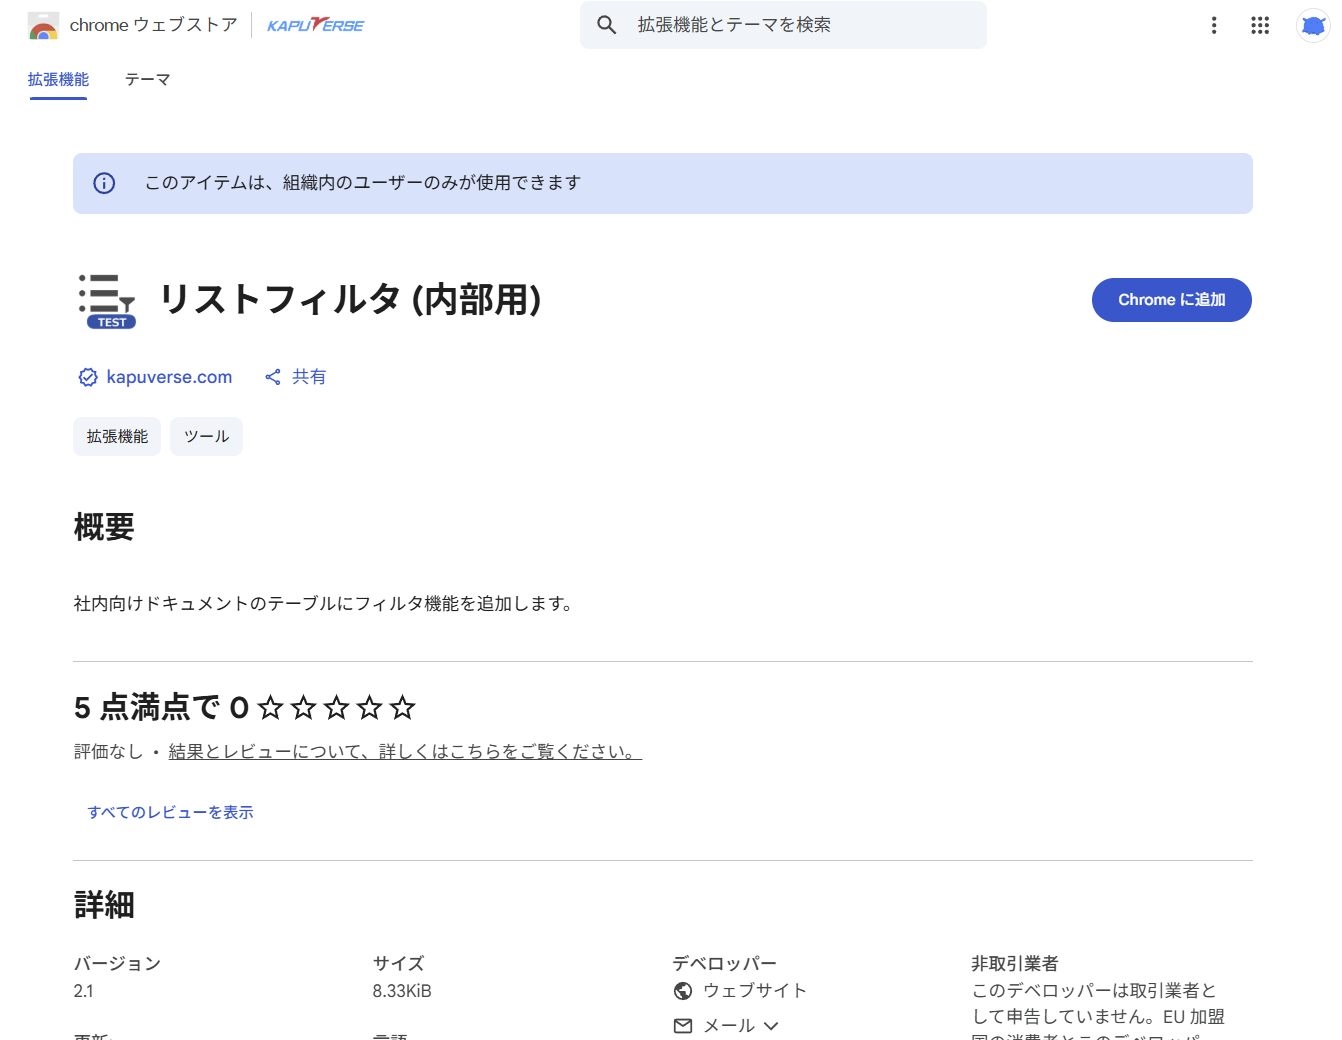
Note that when users outside the organization access the URL, they will see the following display. (Private extensions require logging in with an organizational Google account.)

Supplement: How to Publish if the "Automatically Publish After Approval" Option is Disabled
If you disabled the "Automatically publish after approval" option when submitting for review, you'll need to publish (list) after the review is complete.
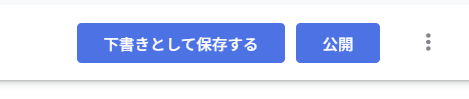
After review completion, the status will display "You can publish until <publish deadline>". Select the extension and click the Publish button in the upper right.

Conclusion
In this article, I tried using an organization's private Chrome Web Store.
Though it requires meeting certain conditions and following several steps, it allows you to safely publish internal extensions, making it useful for sharing convenient tools within your company.
When actually implementing this in production, it's good to organize internal review procedures and publishing steps from compliance and security perspectives.
By considering these points, you can safely and smoothly distribute and update extensions.
I hope this article serves as a starting point for considering how to deploy internal extensions.