
I tried creating a remote connection environment for Kiro IDE in Amazon SageMaker Unified Studio
This page has been translated by machine translation. View original
Introduction
Have you ever wanted to connect to a remote server while using Kiro IDE on a regular basis?
In VS Code, remote connection via the Remote SSH extension is the standard approach, but in Kiro IDE there is no reliable Remote SSH extension available, making remote server connections a challenge.
Given these constraints, Amazon SageMaker Unified Studio appears to support remote connections from Kiro IDE, so I decided to give it a try.
What is Amazon SageMaker Unified Studio?
Amazon SageMaker Unified Studio is an integrated development environment that provides centralized management of data, analytics, and AI/ML development.
Resources can be managed on a per-project basis, and development environments (Spaces) such as code editors and notebooks can be hosted in the cloud.
You might tense up when you hear SageMaker, thinking it's something complex related to machine learning, but in this case we're simply creating a code editor as a remote environment, so there are no complicated operations involved.
Prerequisites
As a prerequisite, you need to have AWS Toolkit installed in Kiro.
If it is not yet installed, search for "AWS Toolkit" in the extensions and install it.
Now let's get started.
Creating a Domain
As a prerequisite, since IAM Identity Center is not available in this environment, we will authenticate using IAM-based authentication.
IAM Identity Center authentication is also available as an authentication method, so if you are using IAM Identity Center, please also consider Identity Center based domains.
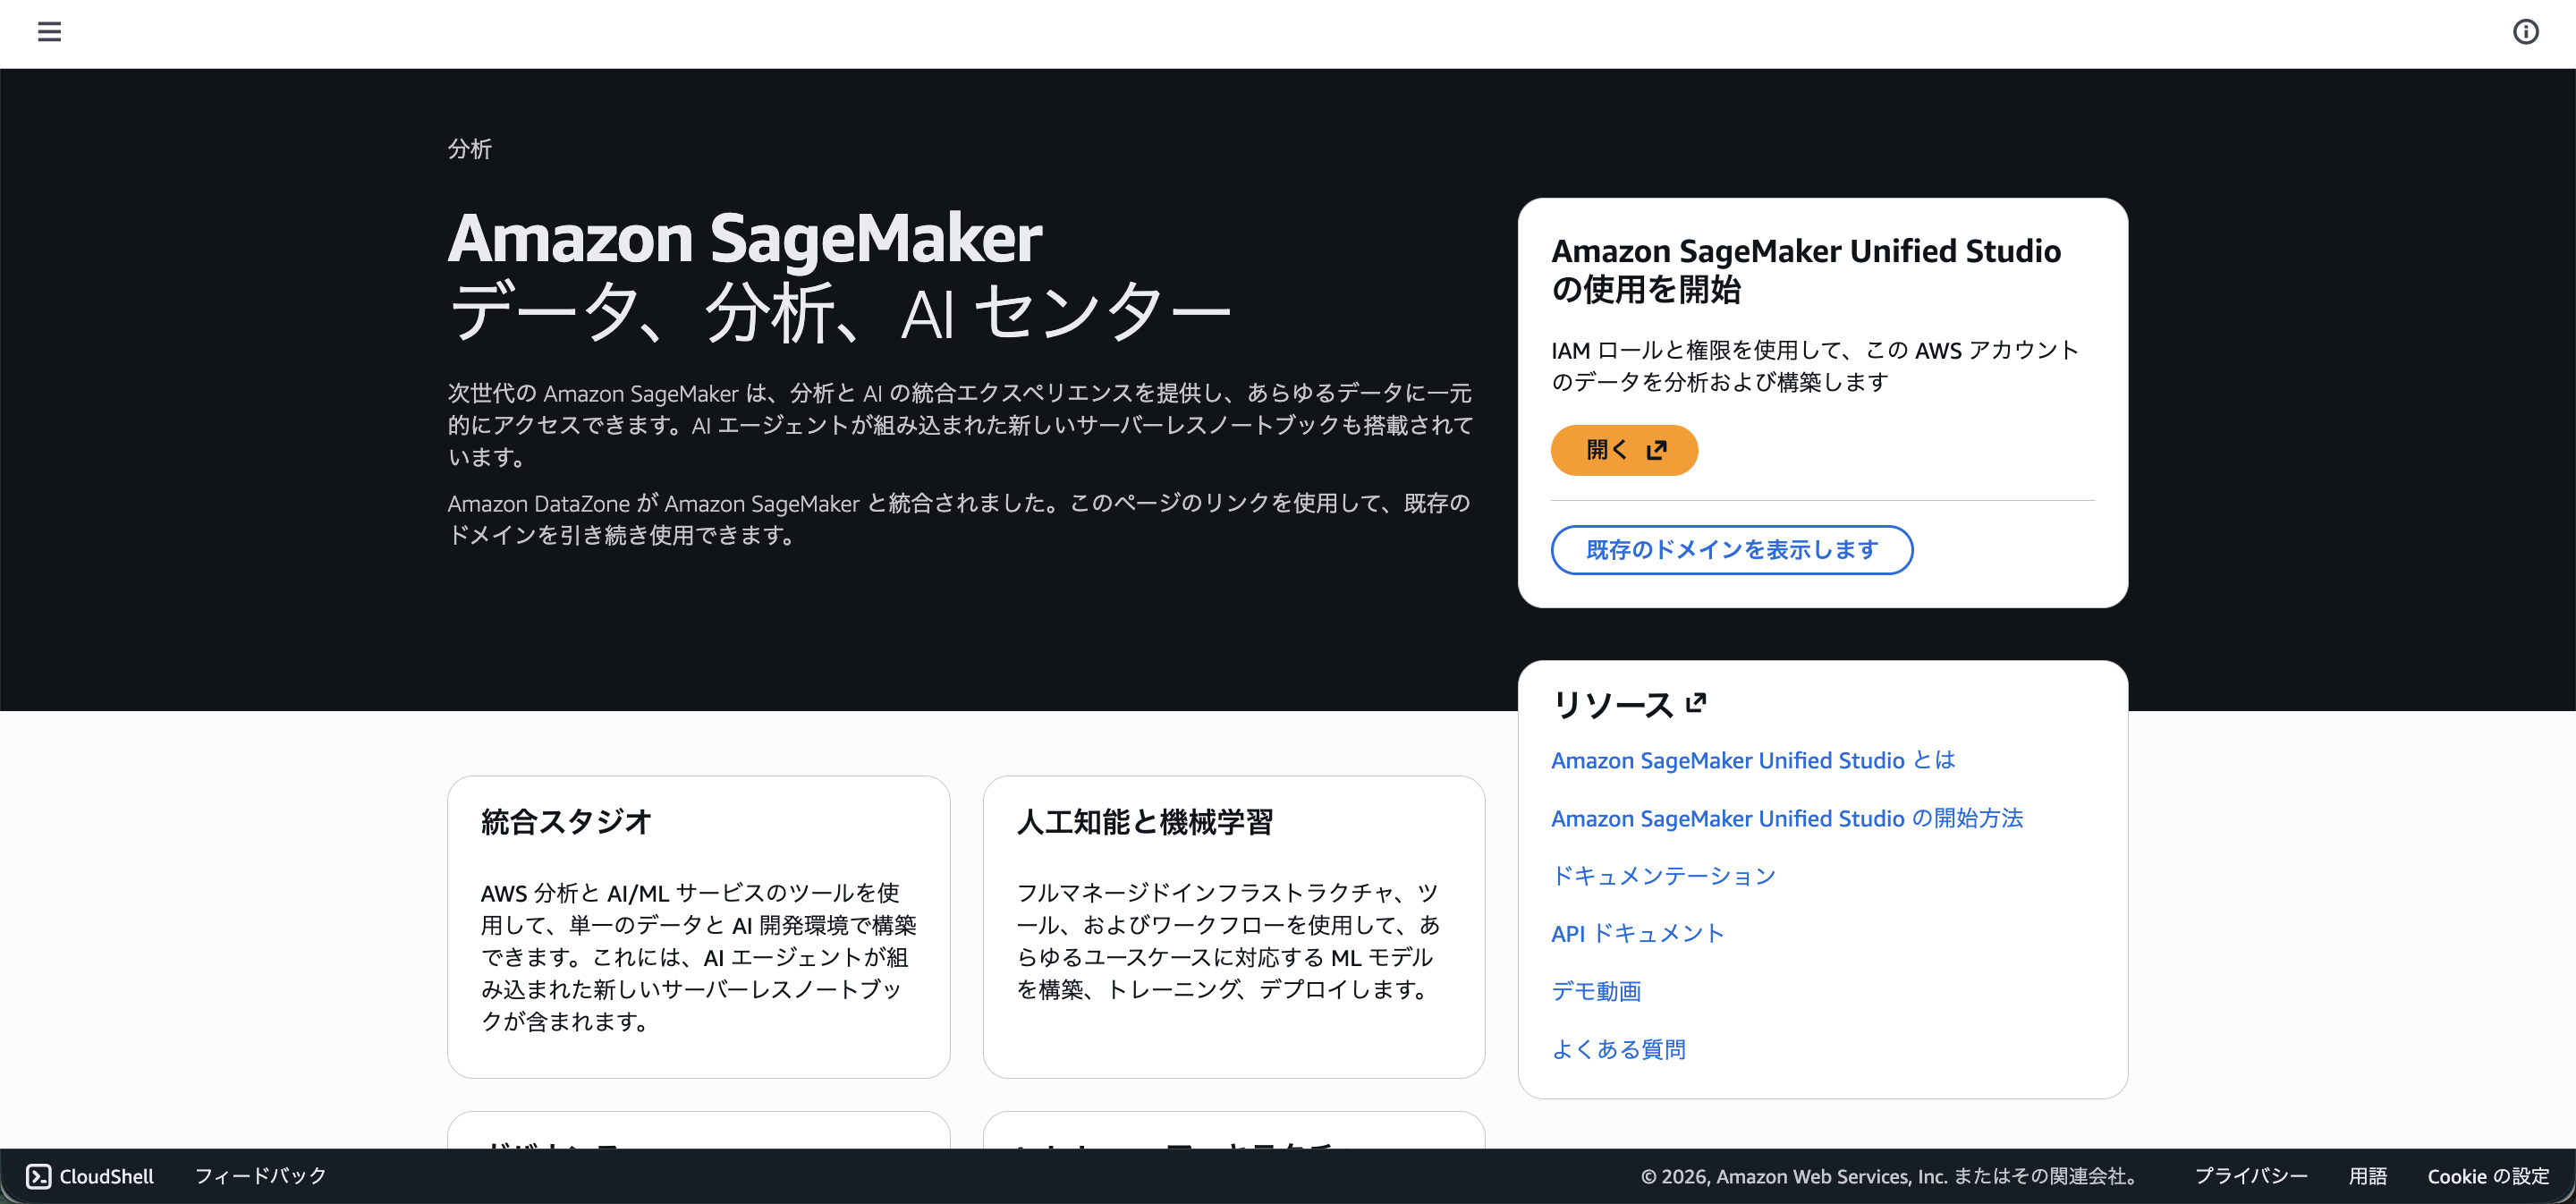
First, create a domain in SageMaker Unified Studio.
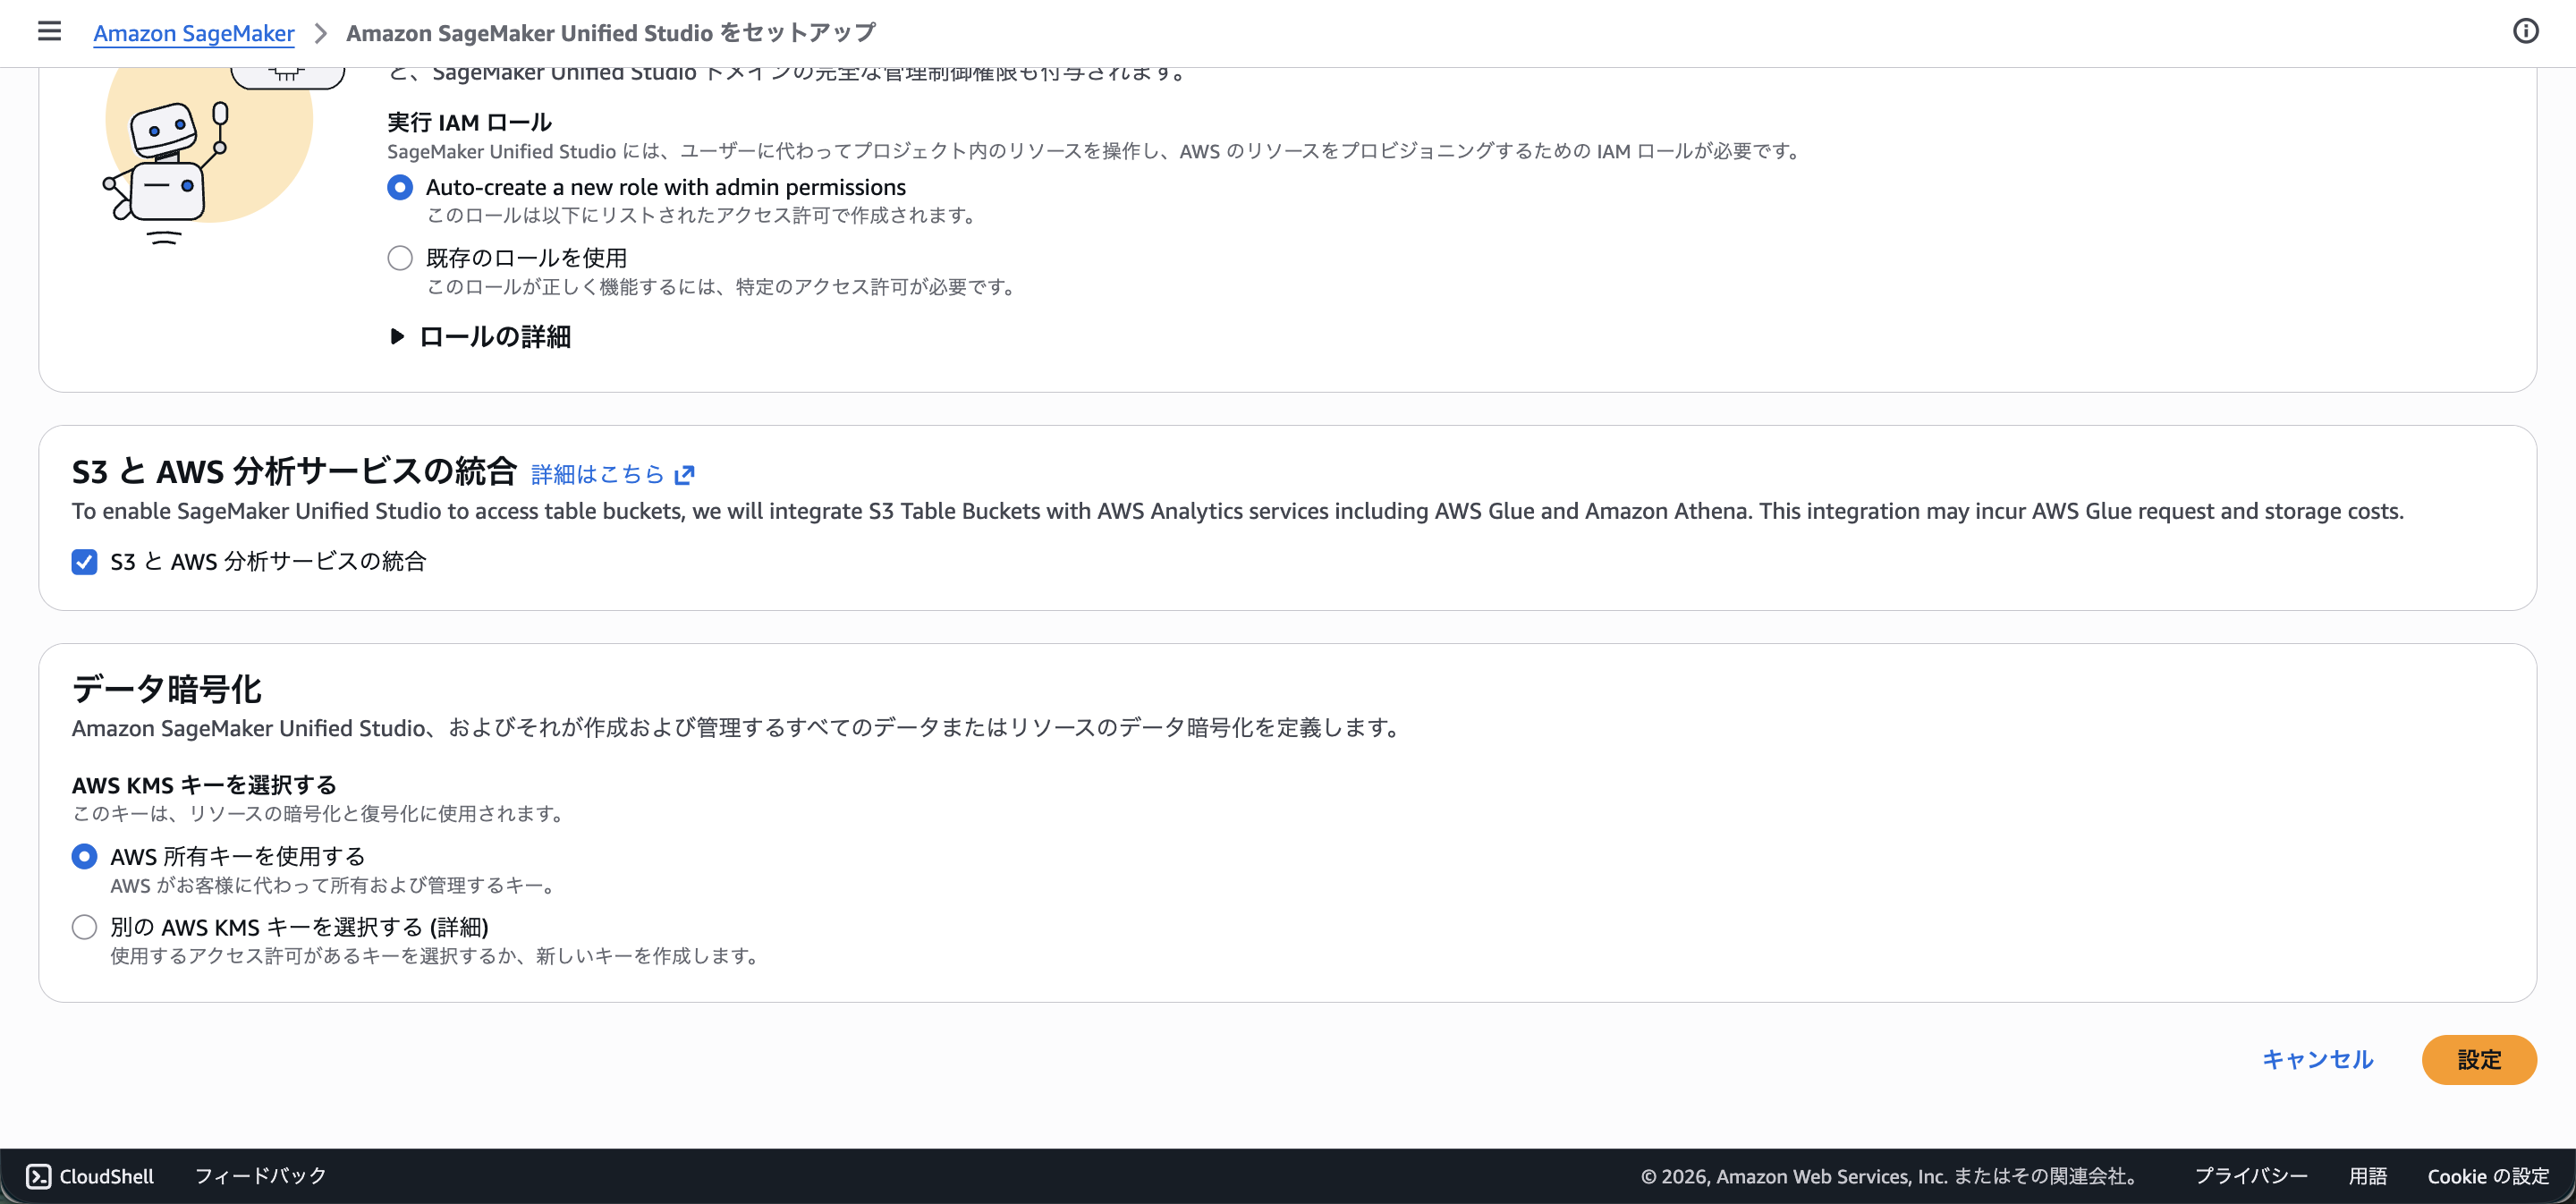
From the SageMaker console, go to Domains > Set up IAM-based domain > click "Set up"

Since there are no special requirements this time, simply click "Set up" to complete.
Creating a Space
Once the domain is created, you will be taken to the SageMaker Unified Studio screen, so click "Open".
Open Spaces from the left menu.
You can see the Kiro icon in the section for connecting from a local IDE, which is promising!
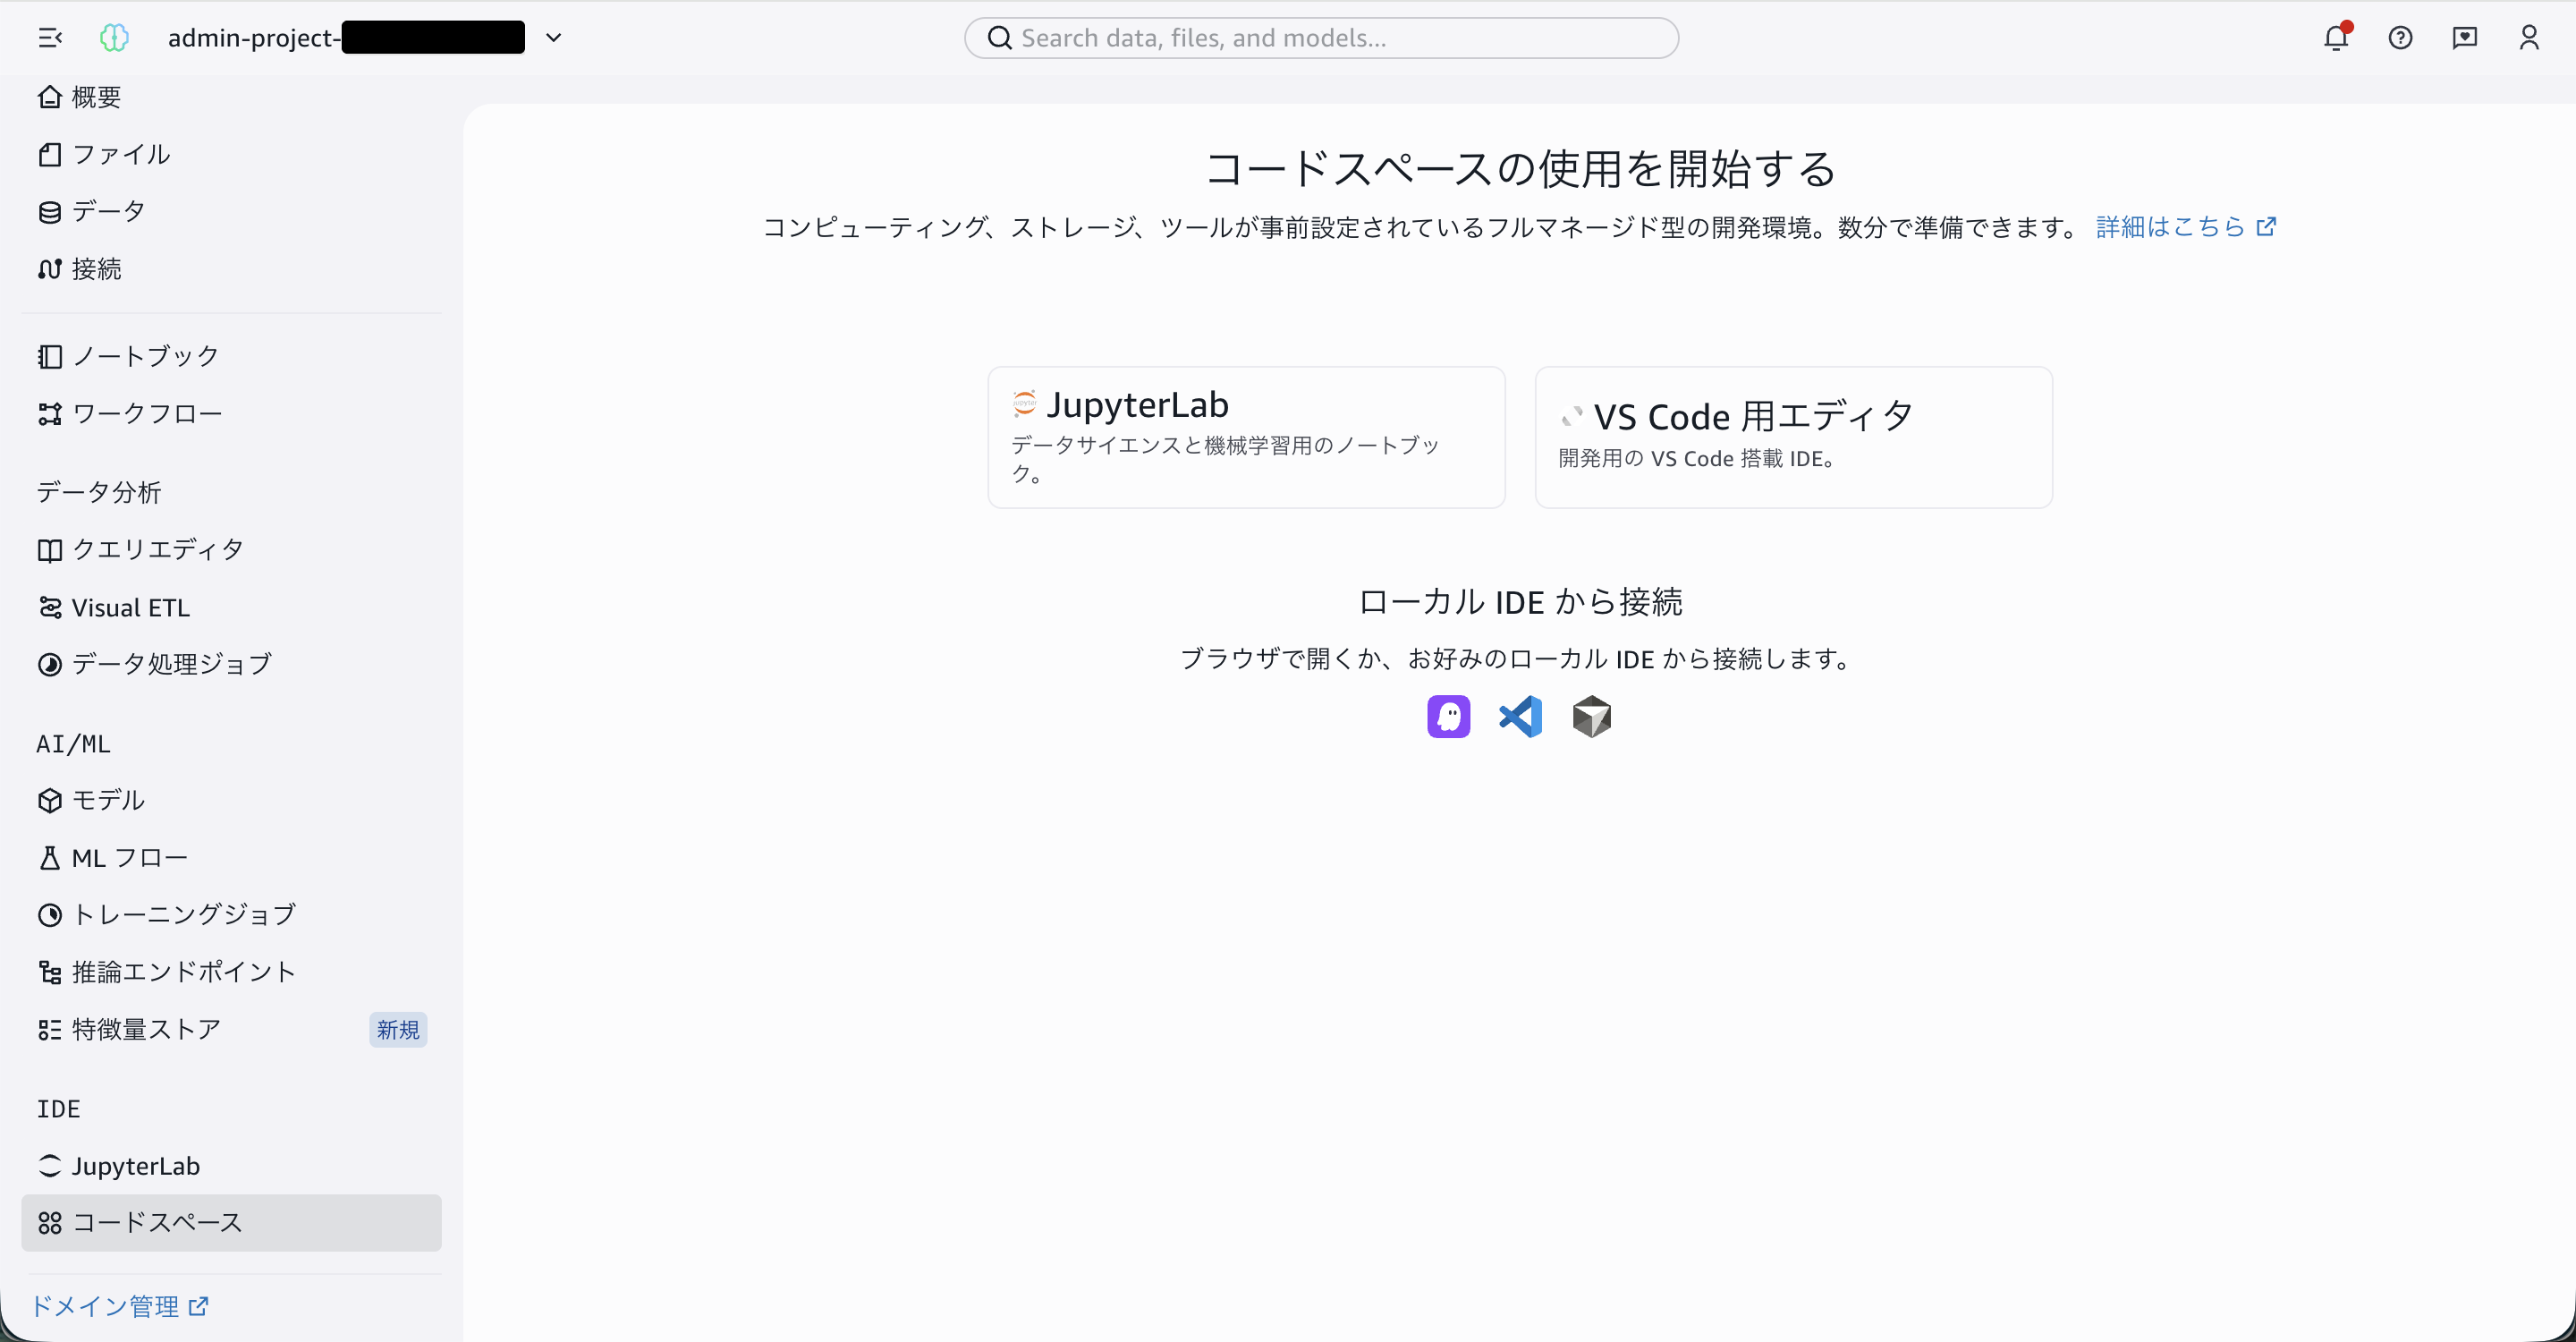
Click "Editor for VS Code" to proceed to the space creation screen.
Creating a Space
Set the space name and IDE type.
Select "Code Editor" for the IDE.
Next, select ml.t3.large for the instance.
There is a smaller instance type available, but since 8GB of memory is required to enable remote access from a local machine, we are selecting ml.t3.large as the smallest instance that meets this requirement.
Next, check the remote access option to allow access from your local Kiro.
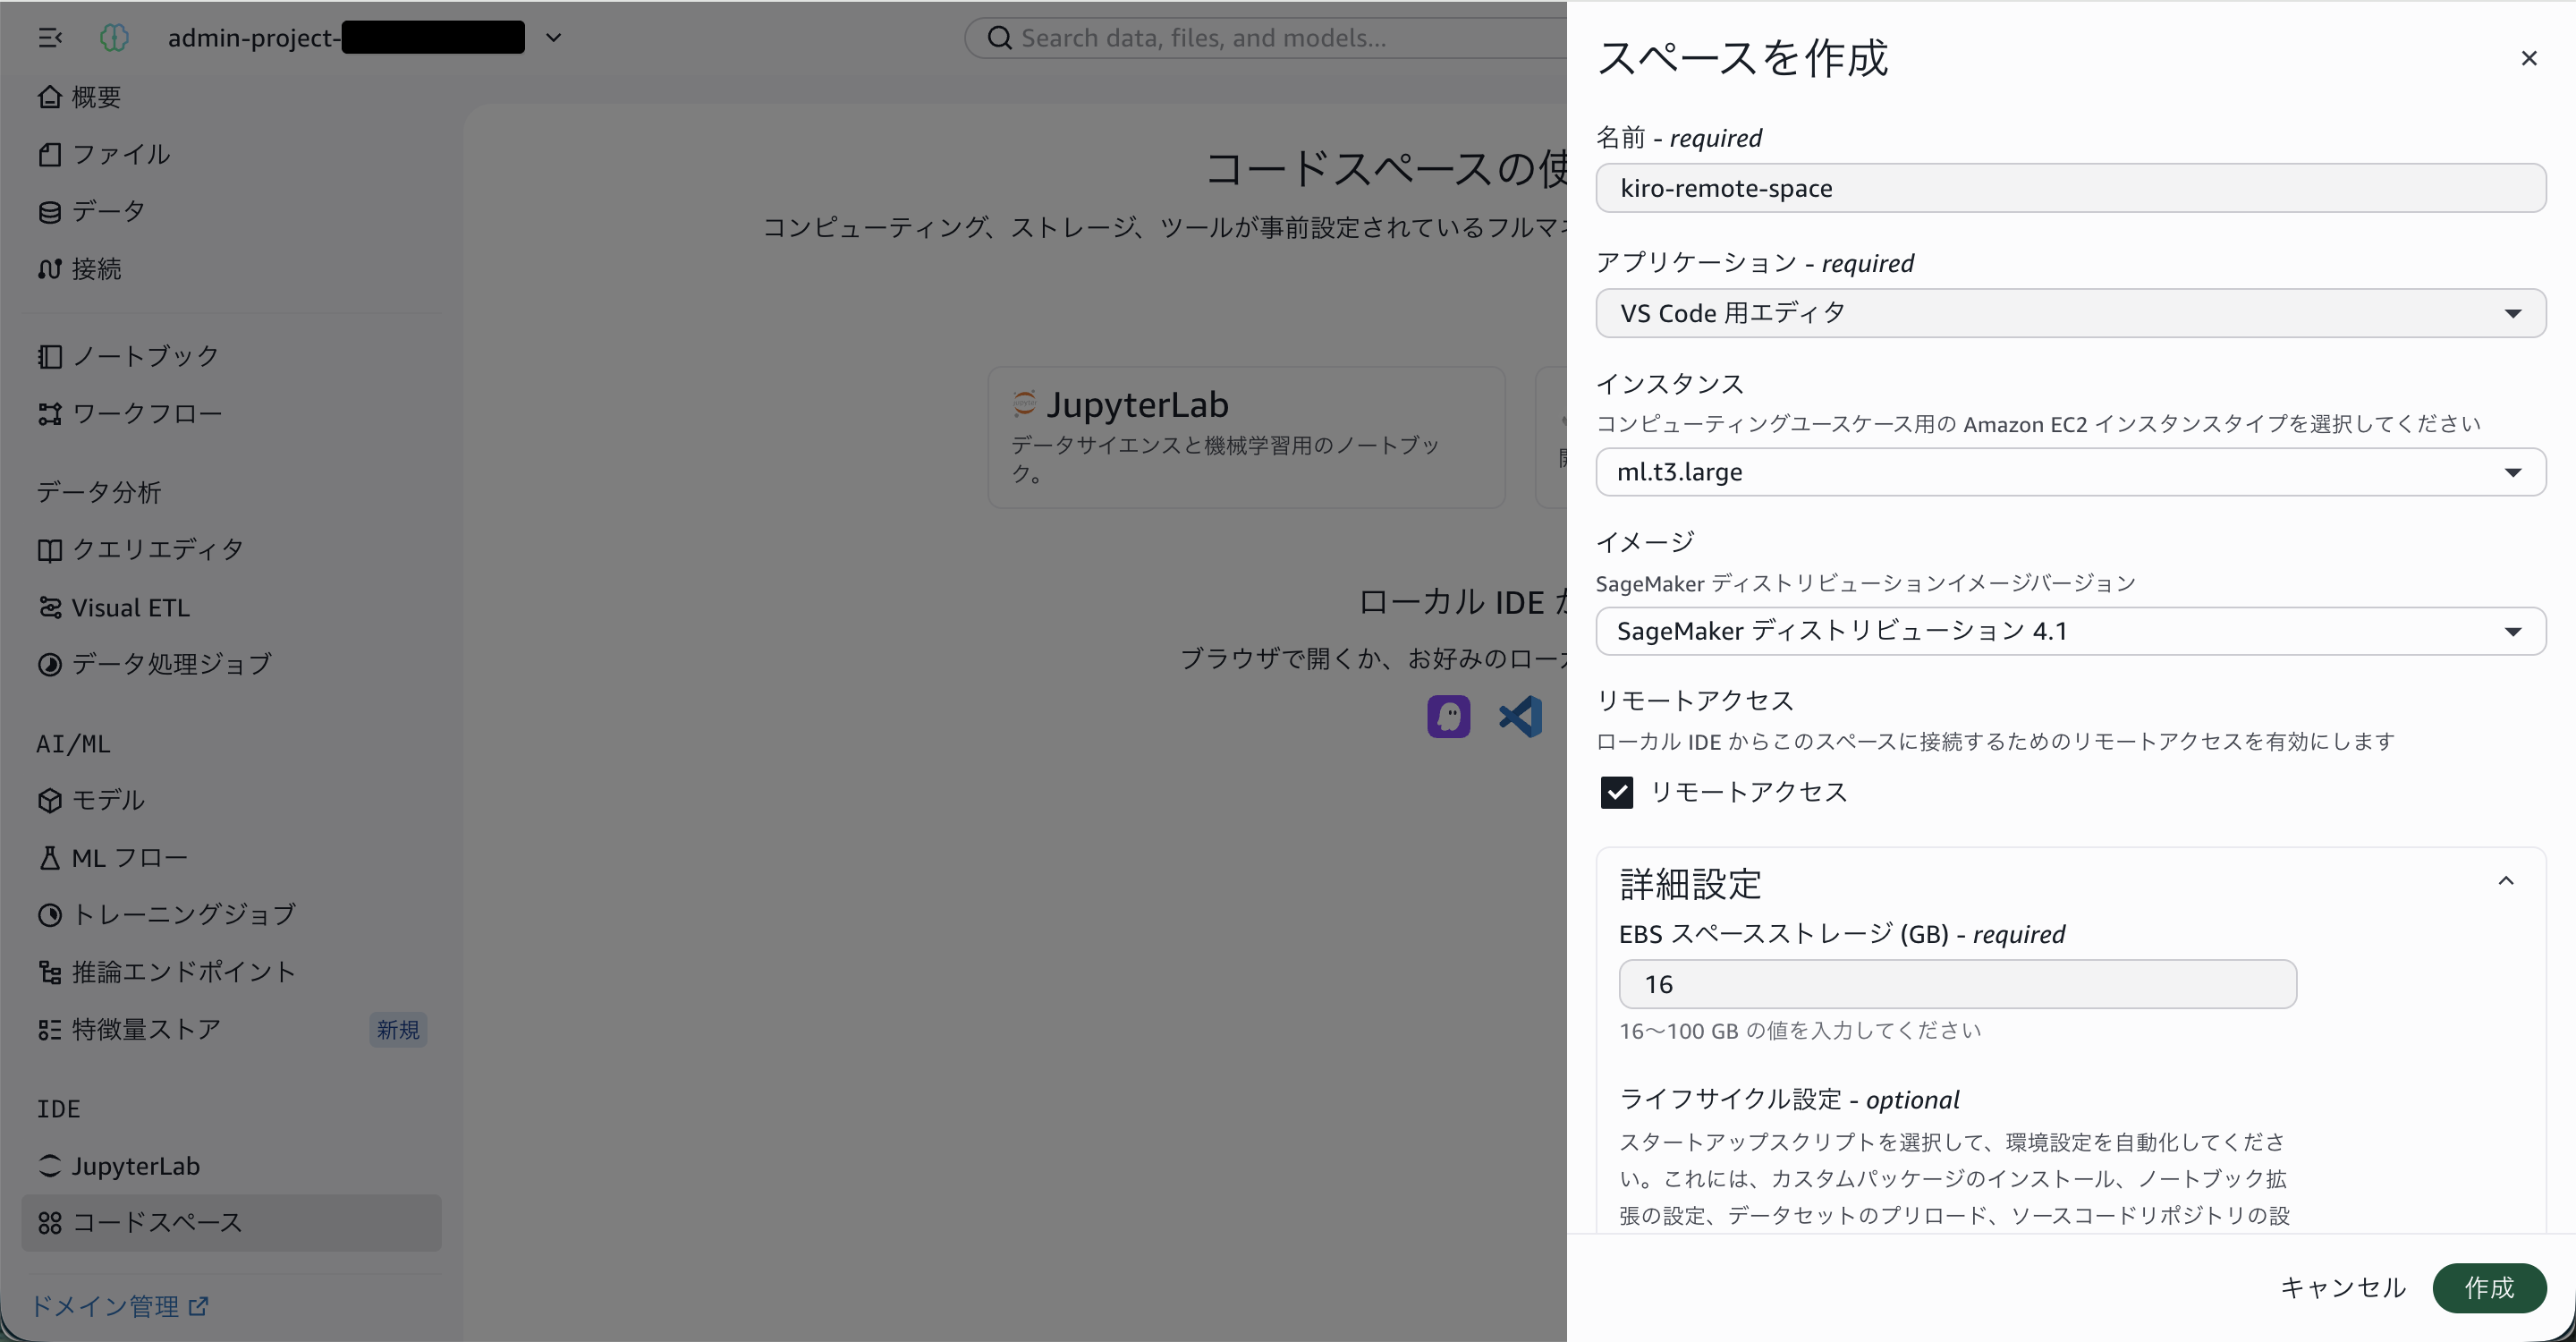
Finally, we will use the default idle timeout of 1 hour.
Please enter an appropriate time here as needed.
This is a great feature that prevents you from forgetting to stop the remote server.

Connecting Remotely from Kiro IDE
Once the space has started, connect to it from Kiro IDE.
Connection Steps
When you return to the space list, the space you created will be displayed.
Click on the Kiro icon that appears in the space's dropdown menu.

Your local Kiro IDE will launch and the SageMaker remote connection screen will open.
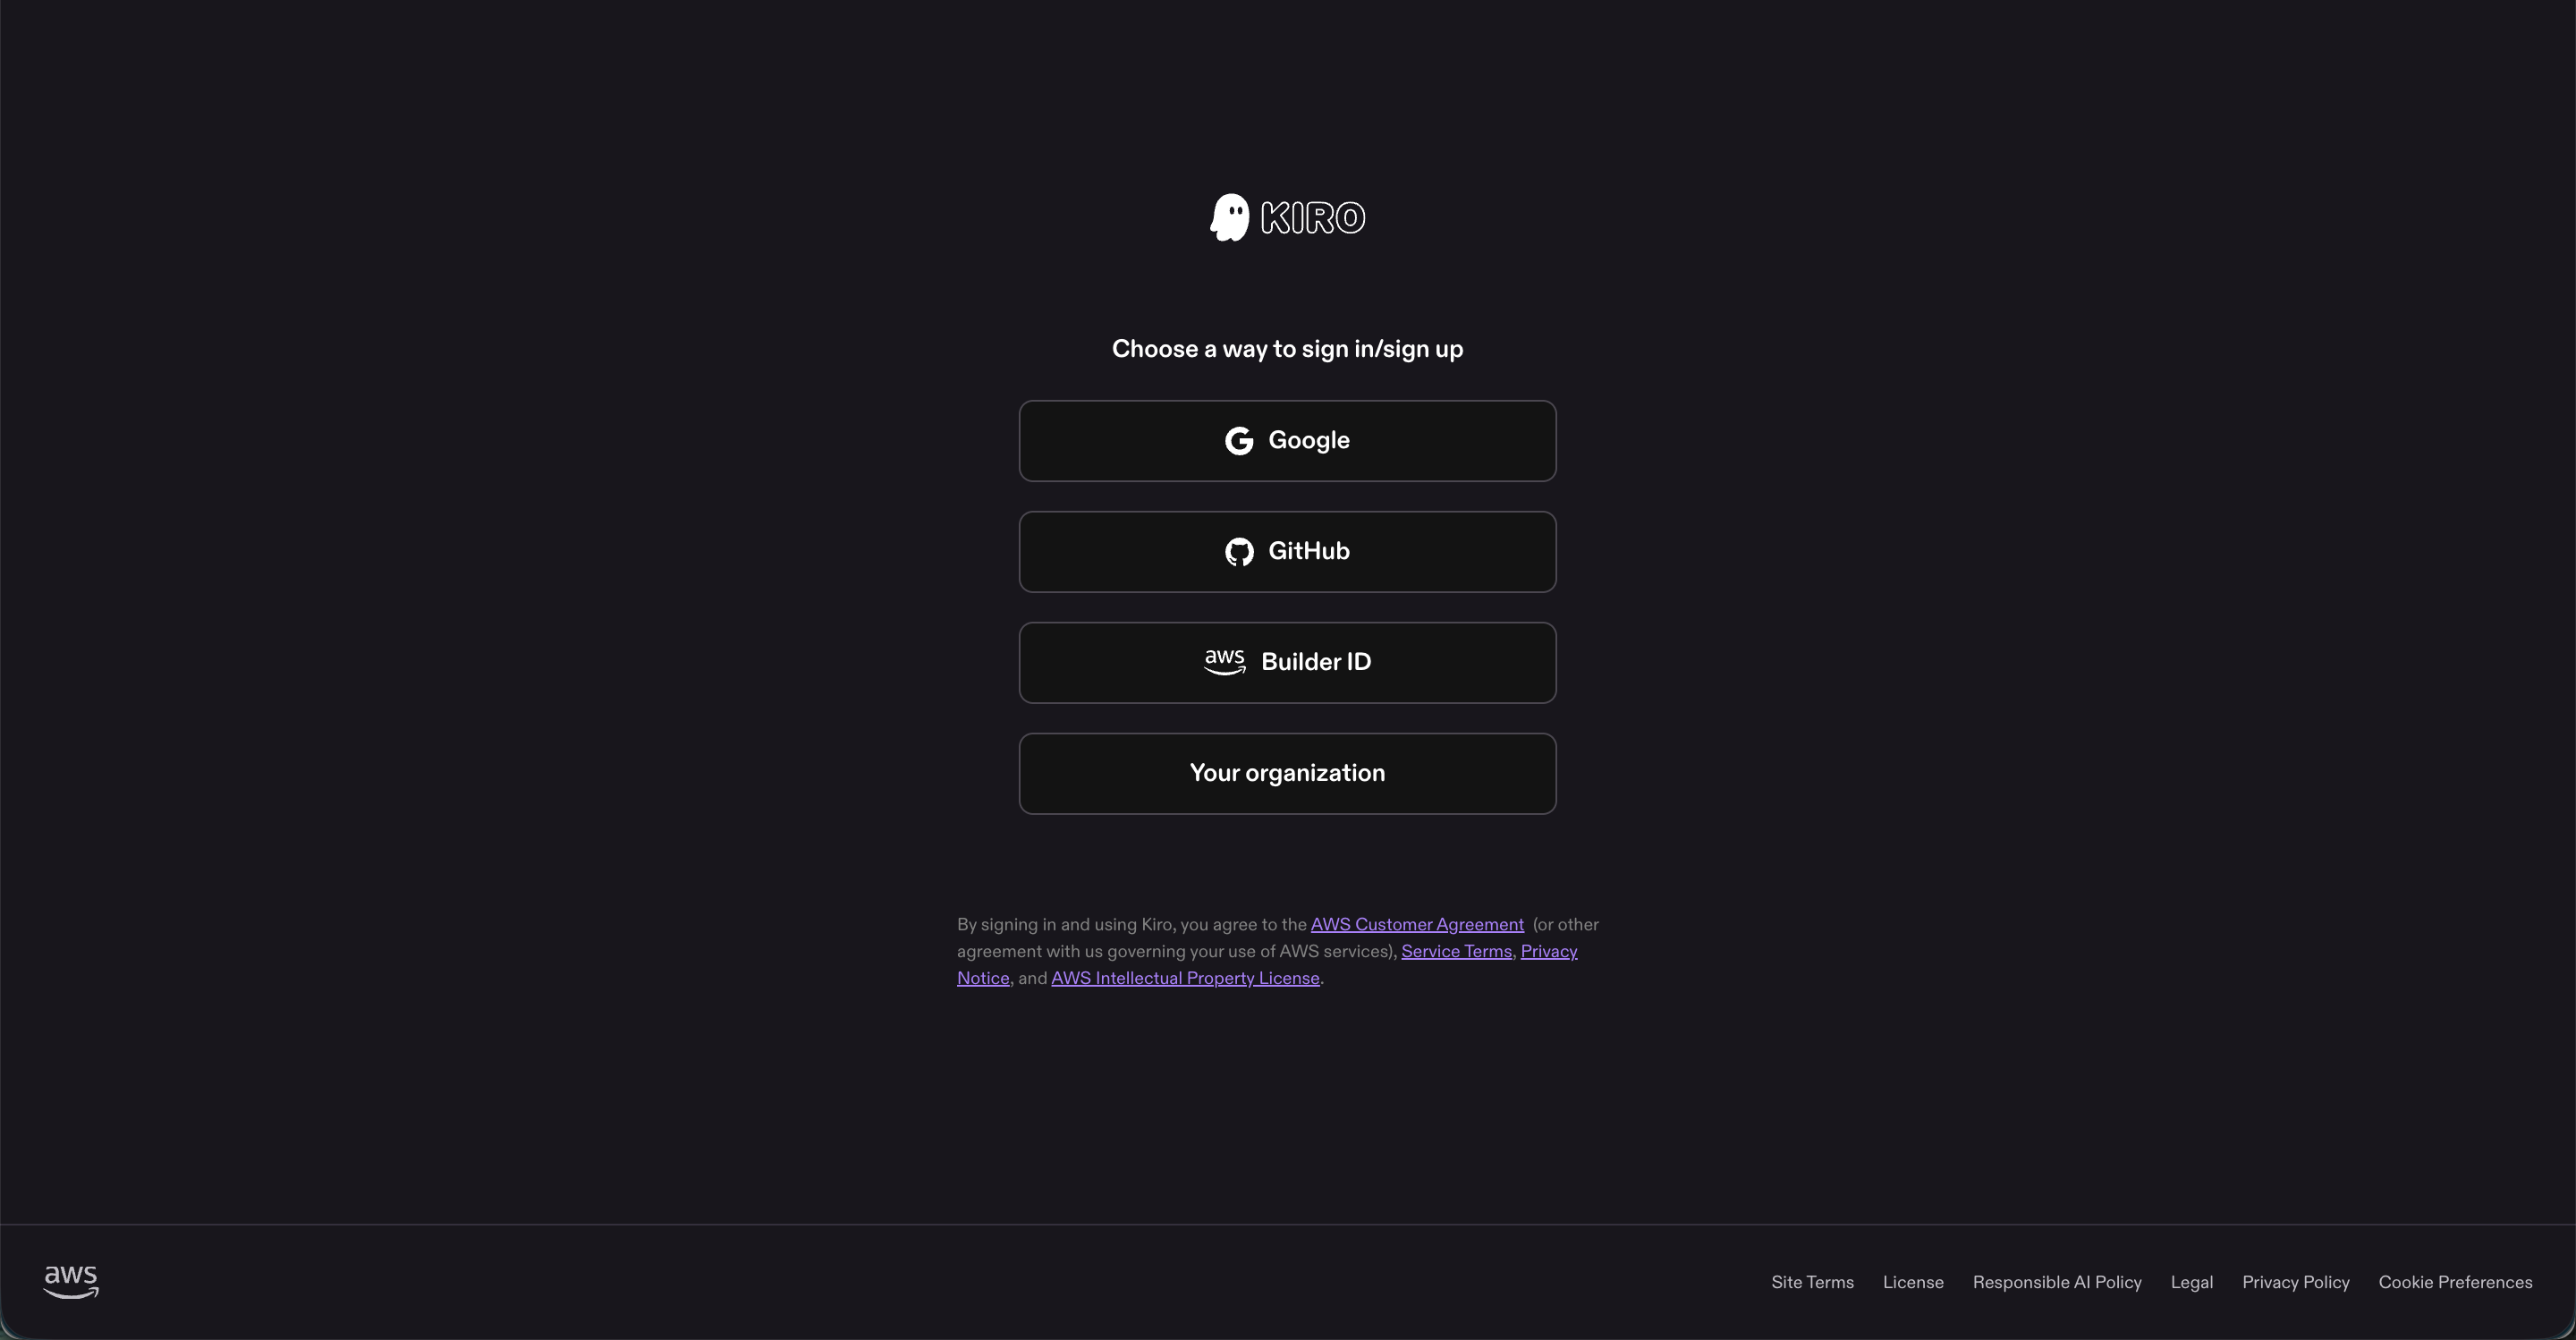
After a short wait, you will be taken to the sign-in method selection screen.
Please authenticate with Kiro according to your own environment.
Once authentication is complete, you will be automatically connected to the remote space.
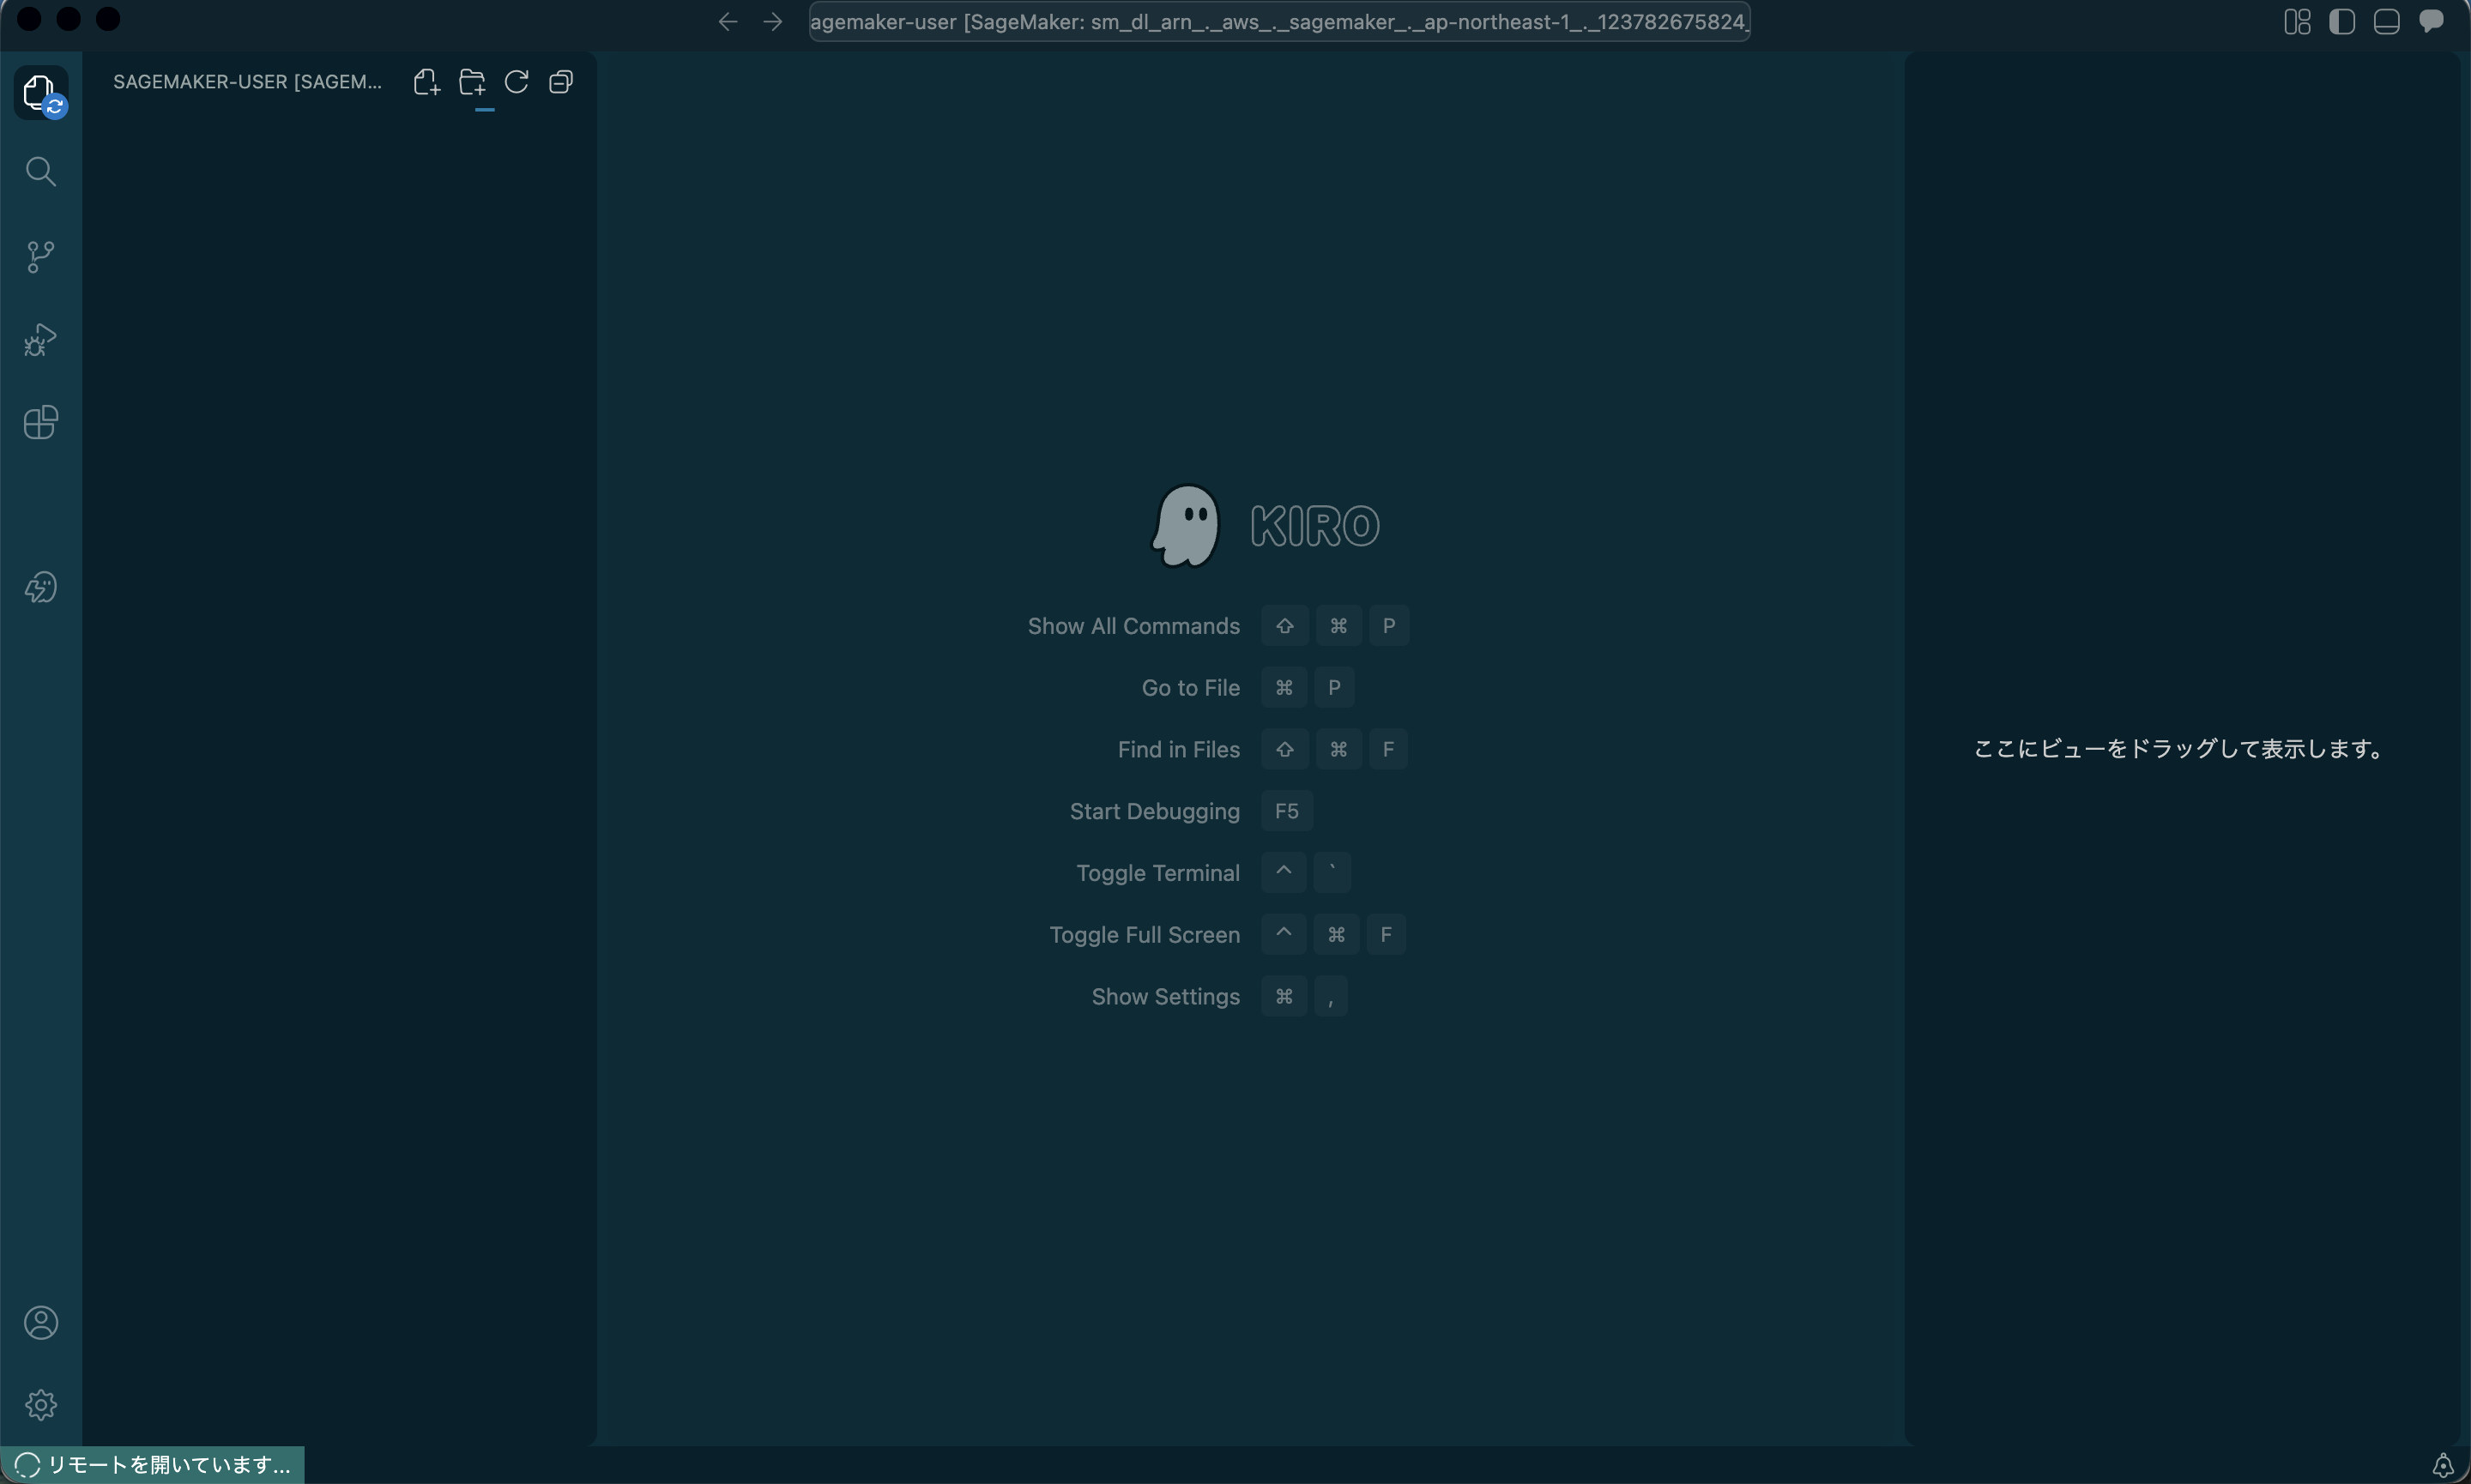
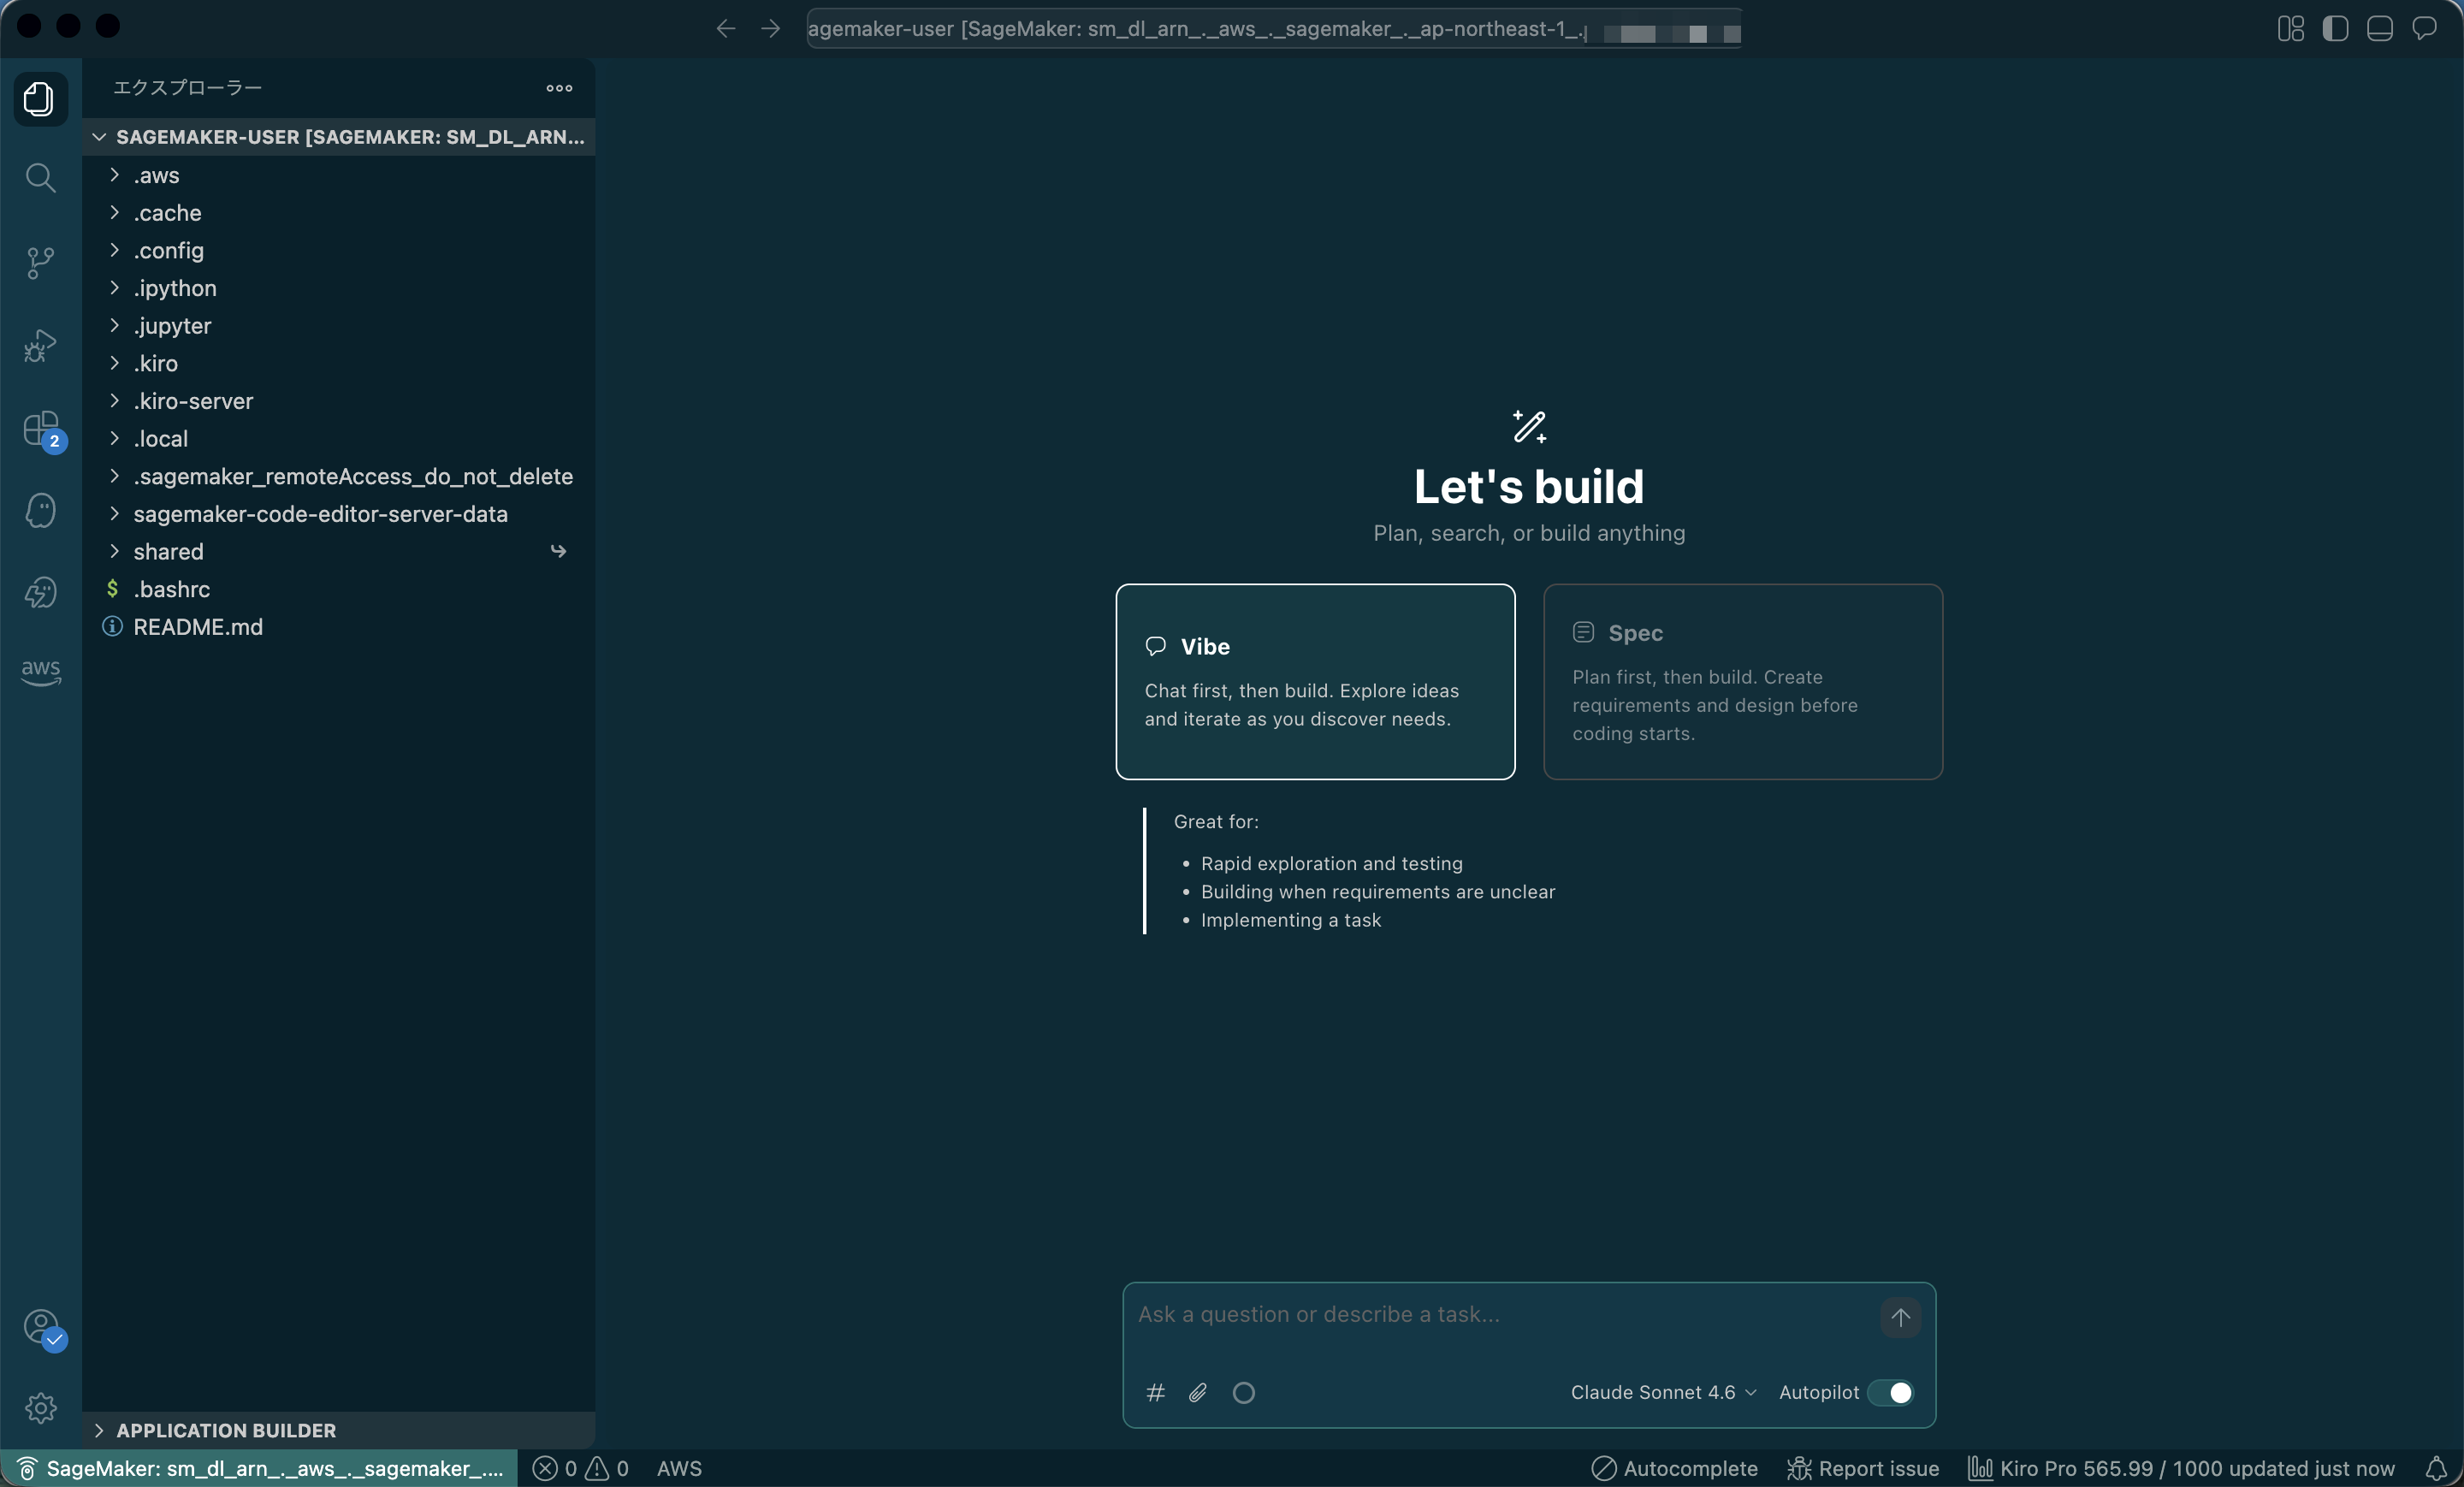
The connection is complete when a new window opens and the files on the space are displayed as a remote workspace.
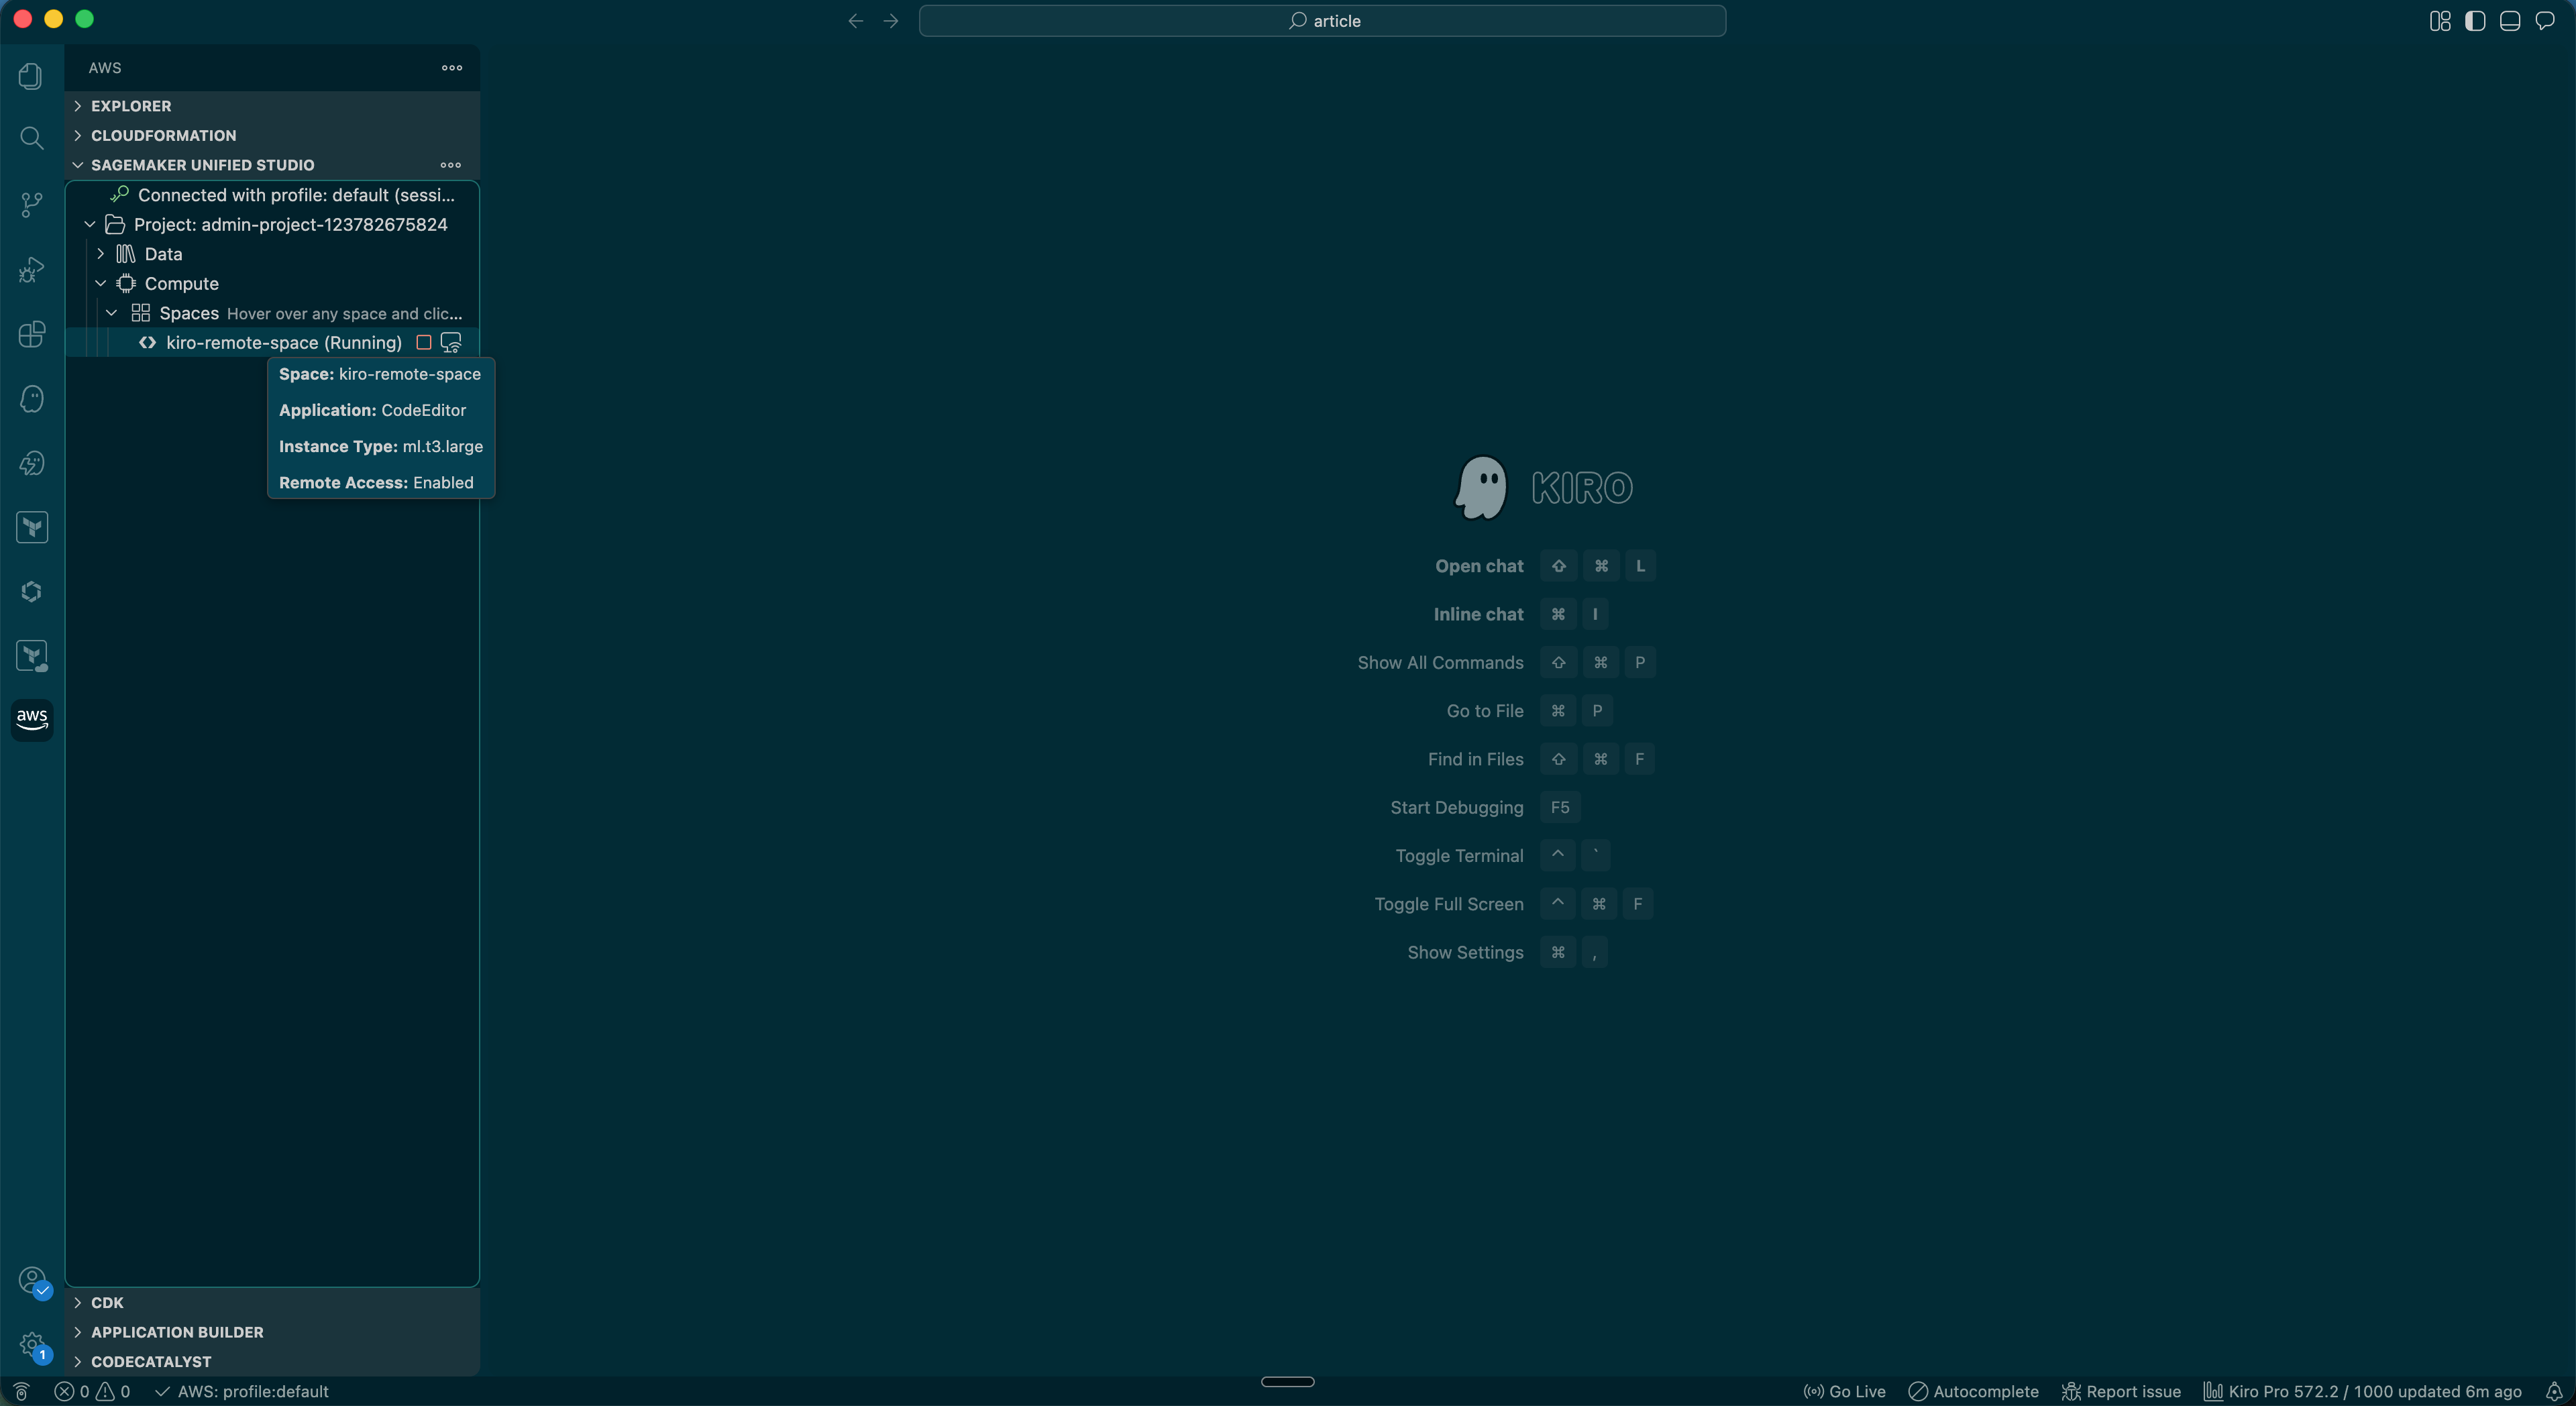
Starting and Stopping the Remote Server from Kiro
Once you have created a space, you can also start the remote server from Kiro.
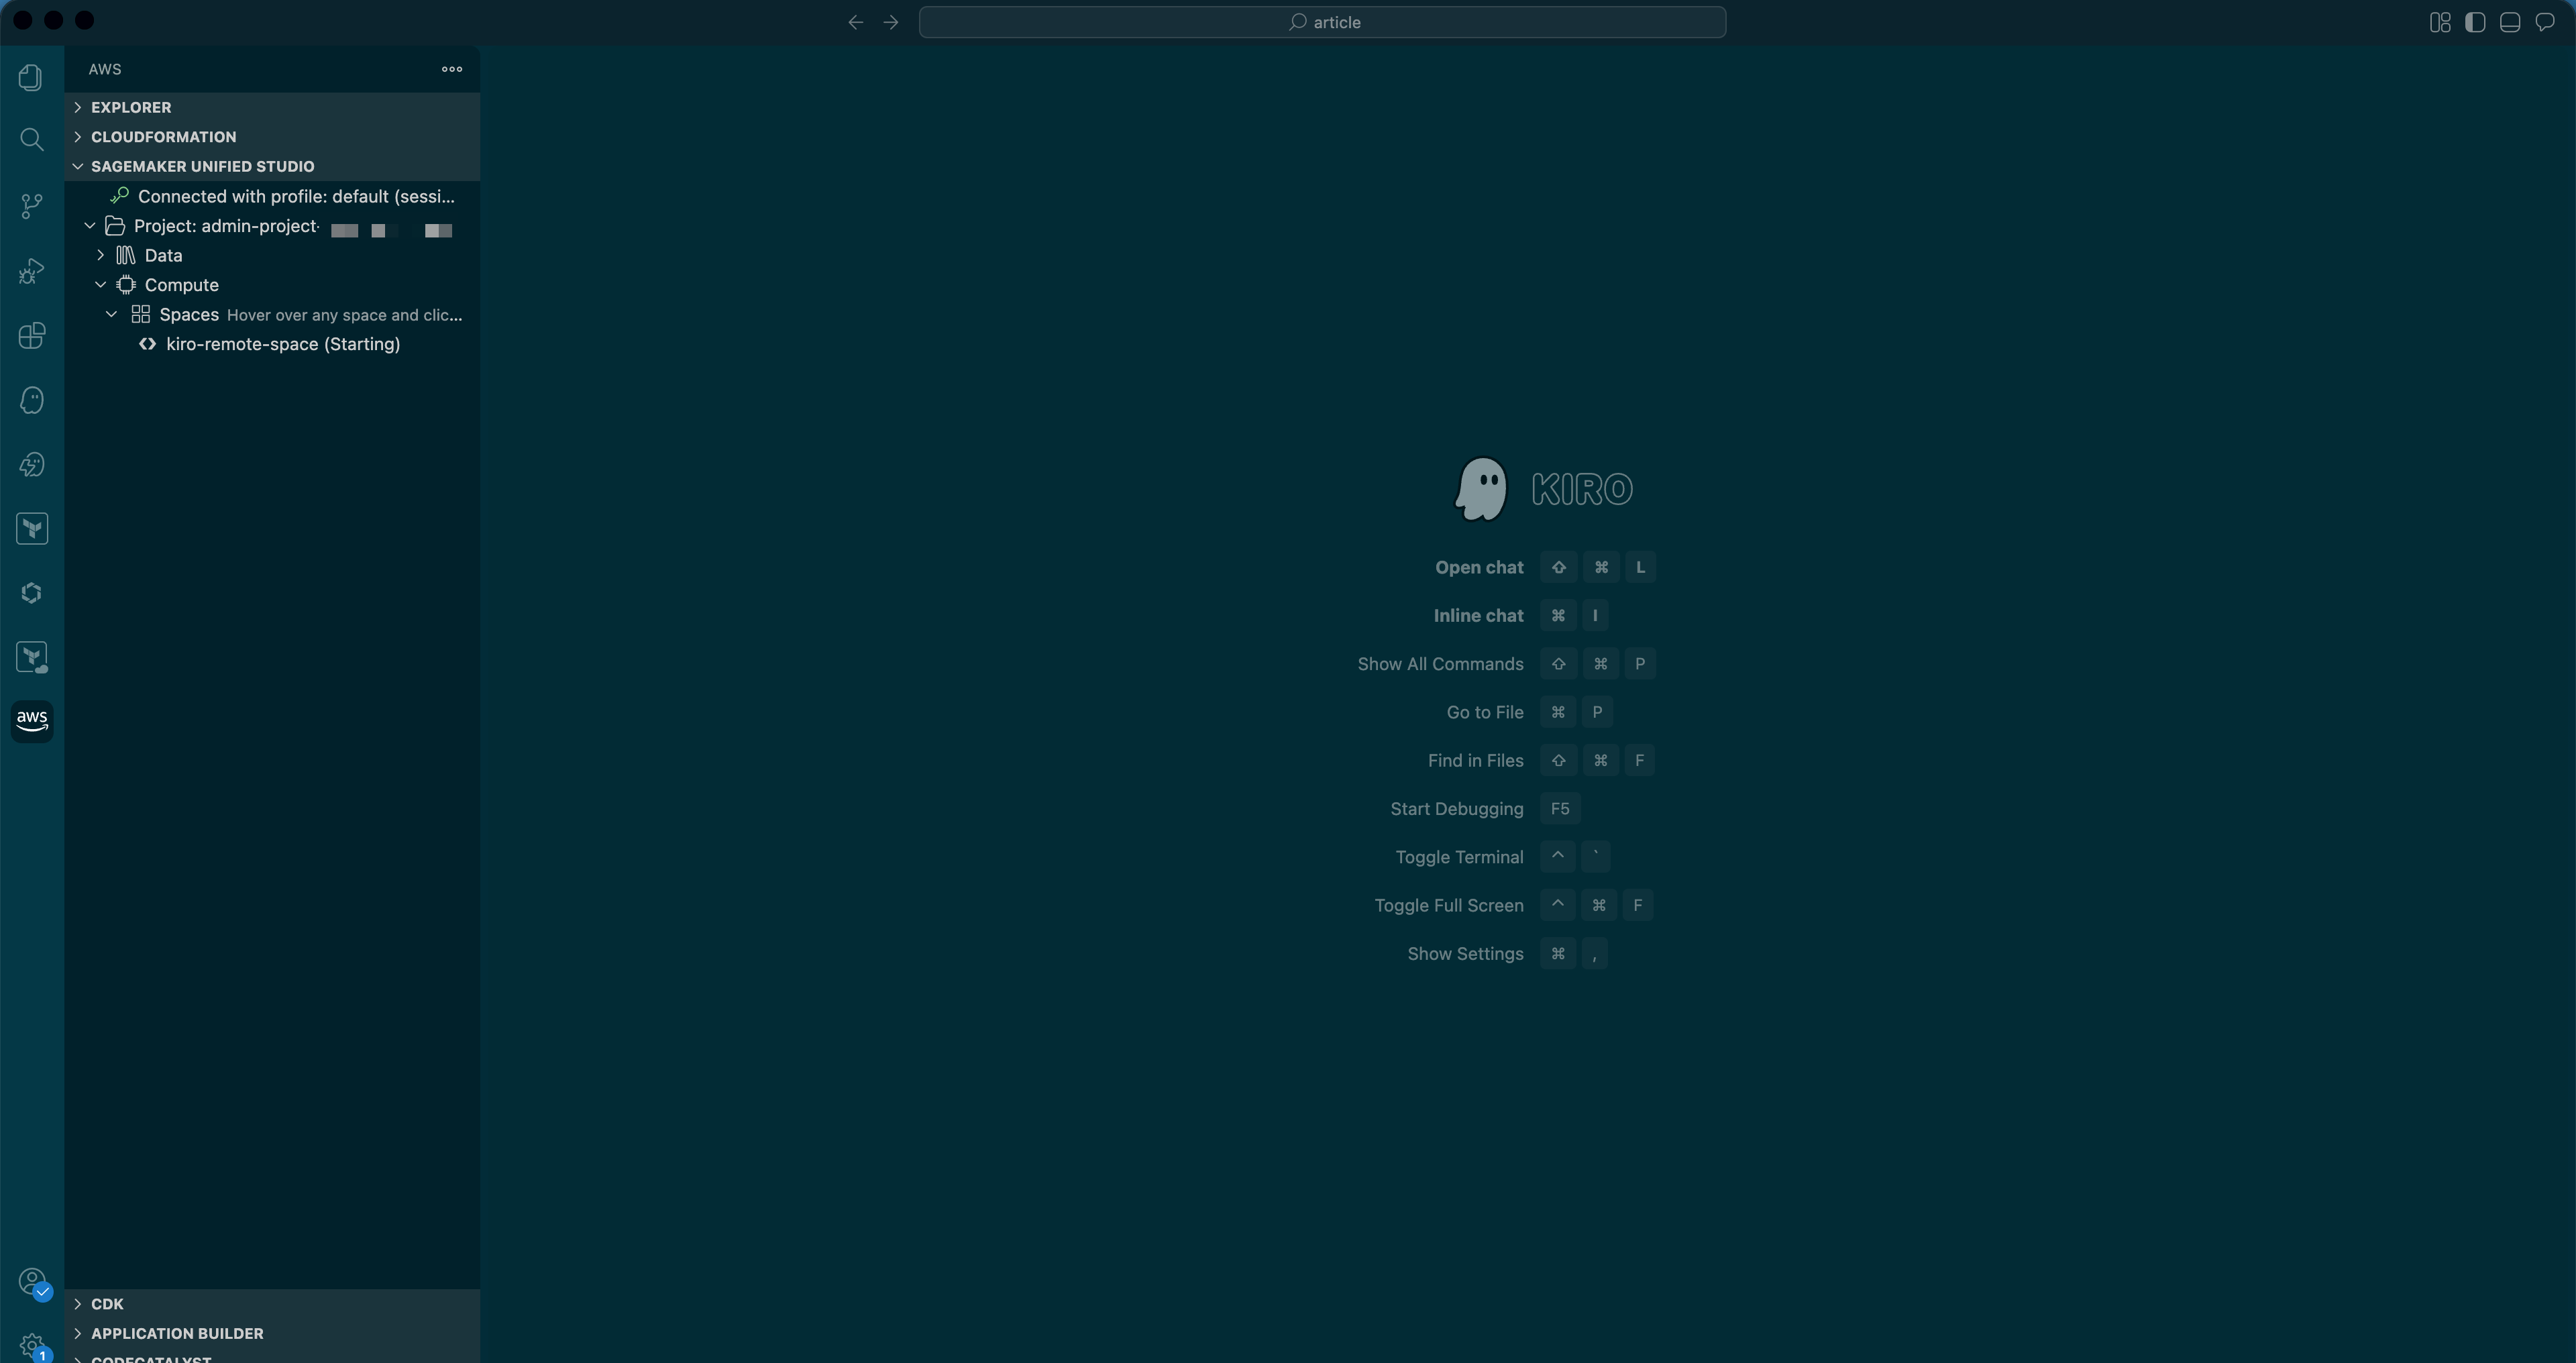
Click the AWS icon in Kiro's left menu, and the space you created will appear in the SAGEMAKER UNIFIED STUDIO menu.
However, please note that if the user who created the space and the credentials being used by Kiro are different, the space will not be displayed.
For example, this applies when the "IAM user for console login" and the "IAM user for issuing access keys" used by Kiro to execute the AWS CLI are separate.
Getting slightly off topic, but let's actually try it out.
At this point, the space is stopped.

When you double-click the space you want to start, (Starting) will appear to the right of the space name, and after a short wait, a new Kiro window for the remote connection will open just as before.
The subsequent steps are the same.
To stop the space, a stop button will appear to the right of the space, and clicking it will stop it.
Since logging into AWS every time to start the remote server is cumbersome, being able to operate it directly from Kiro is very convenient.
SageMaker Execution Role
The SageMaker domain created through the above steps has only the SageMakerStudioAdminIAMPermissiveExecutionPolicy policy attached by default.
If you want to perform operations beyond the permissions of the above policy from within the launched code space, please attach the necessary permissions to the execution role as needed.
To check the execution role attached to SageMaker, from the SageMaker console, navigate to
Domains > Action > Manage domain in that order.
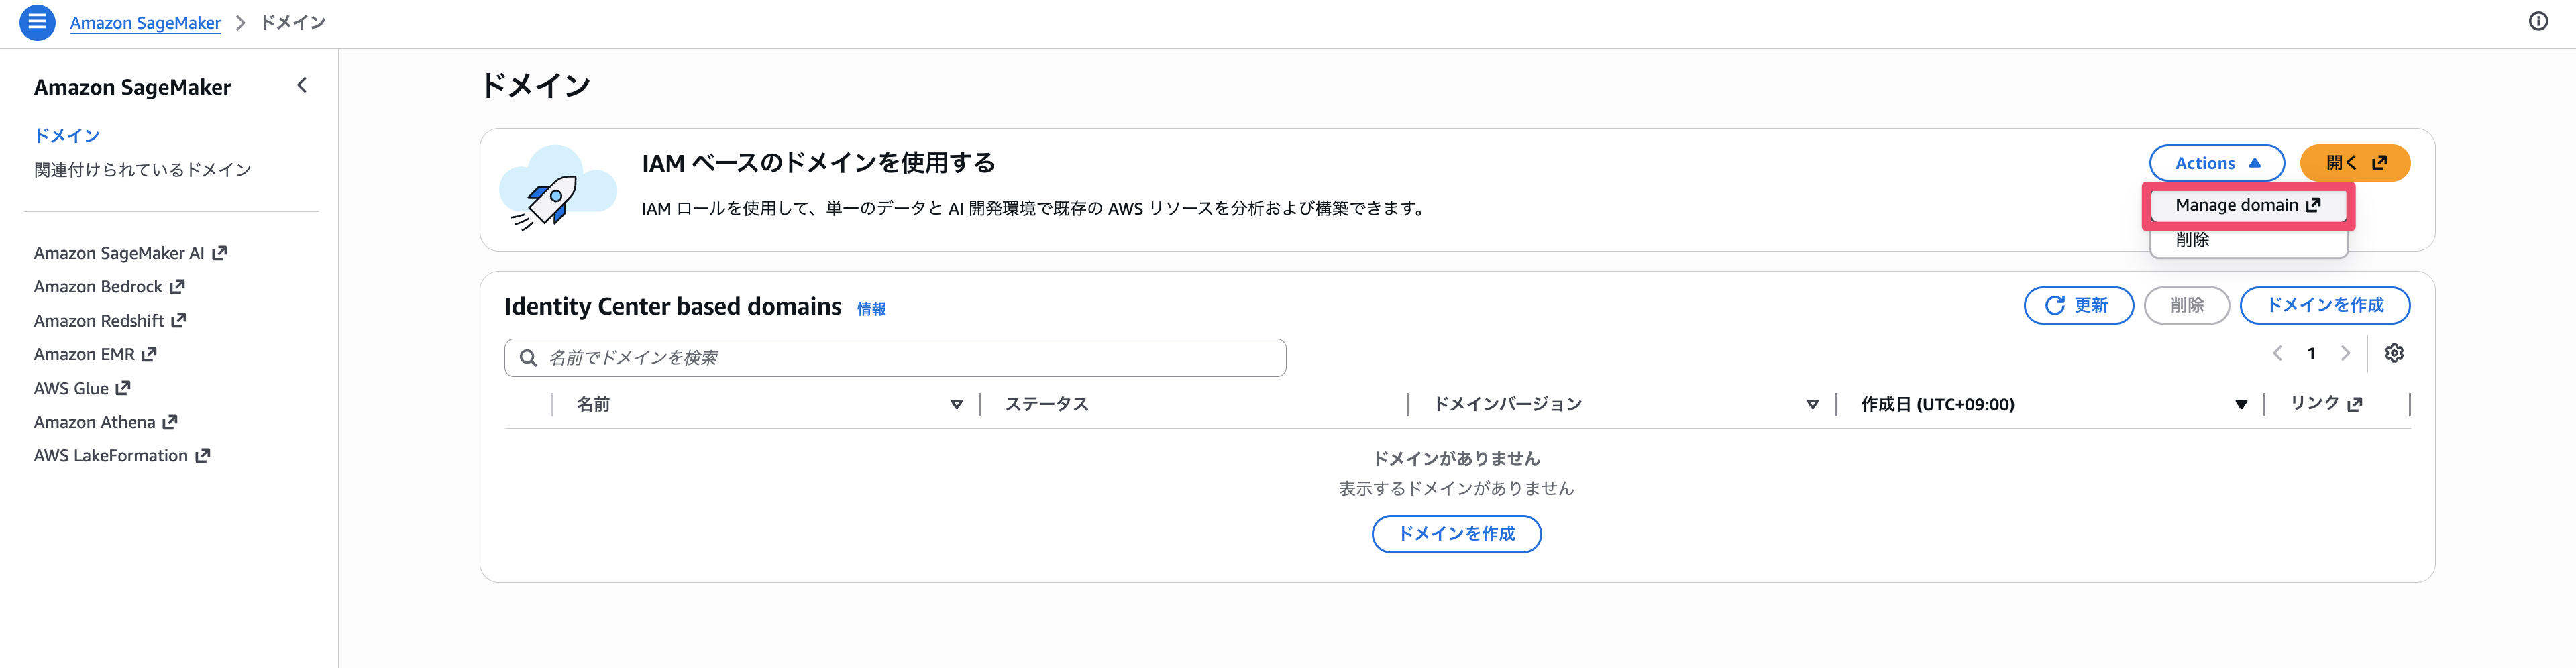
The domain management screen will open. Select Settings from the left menu list, and the administrator execution role displayed there will be the IAM role ARN.
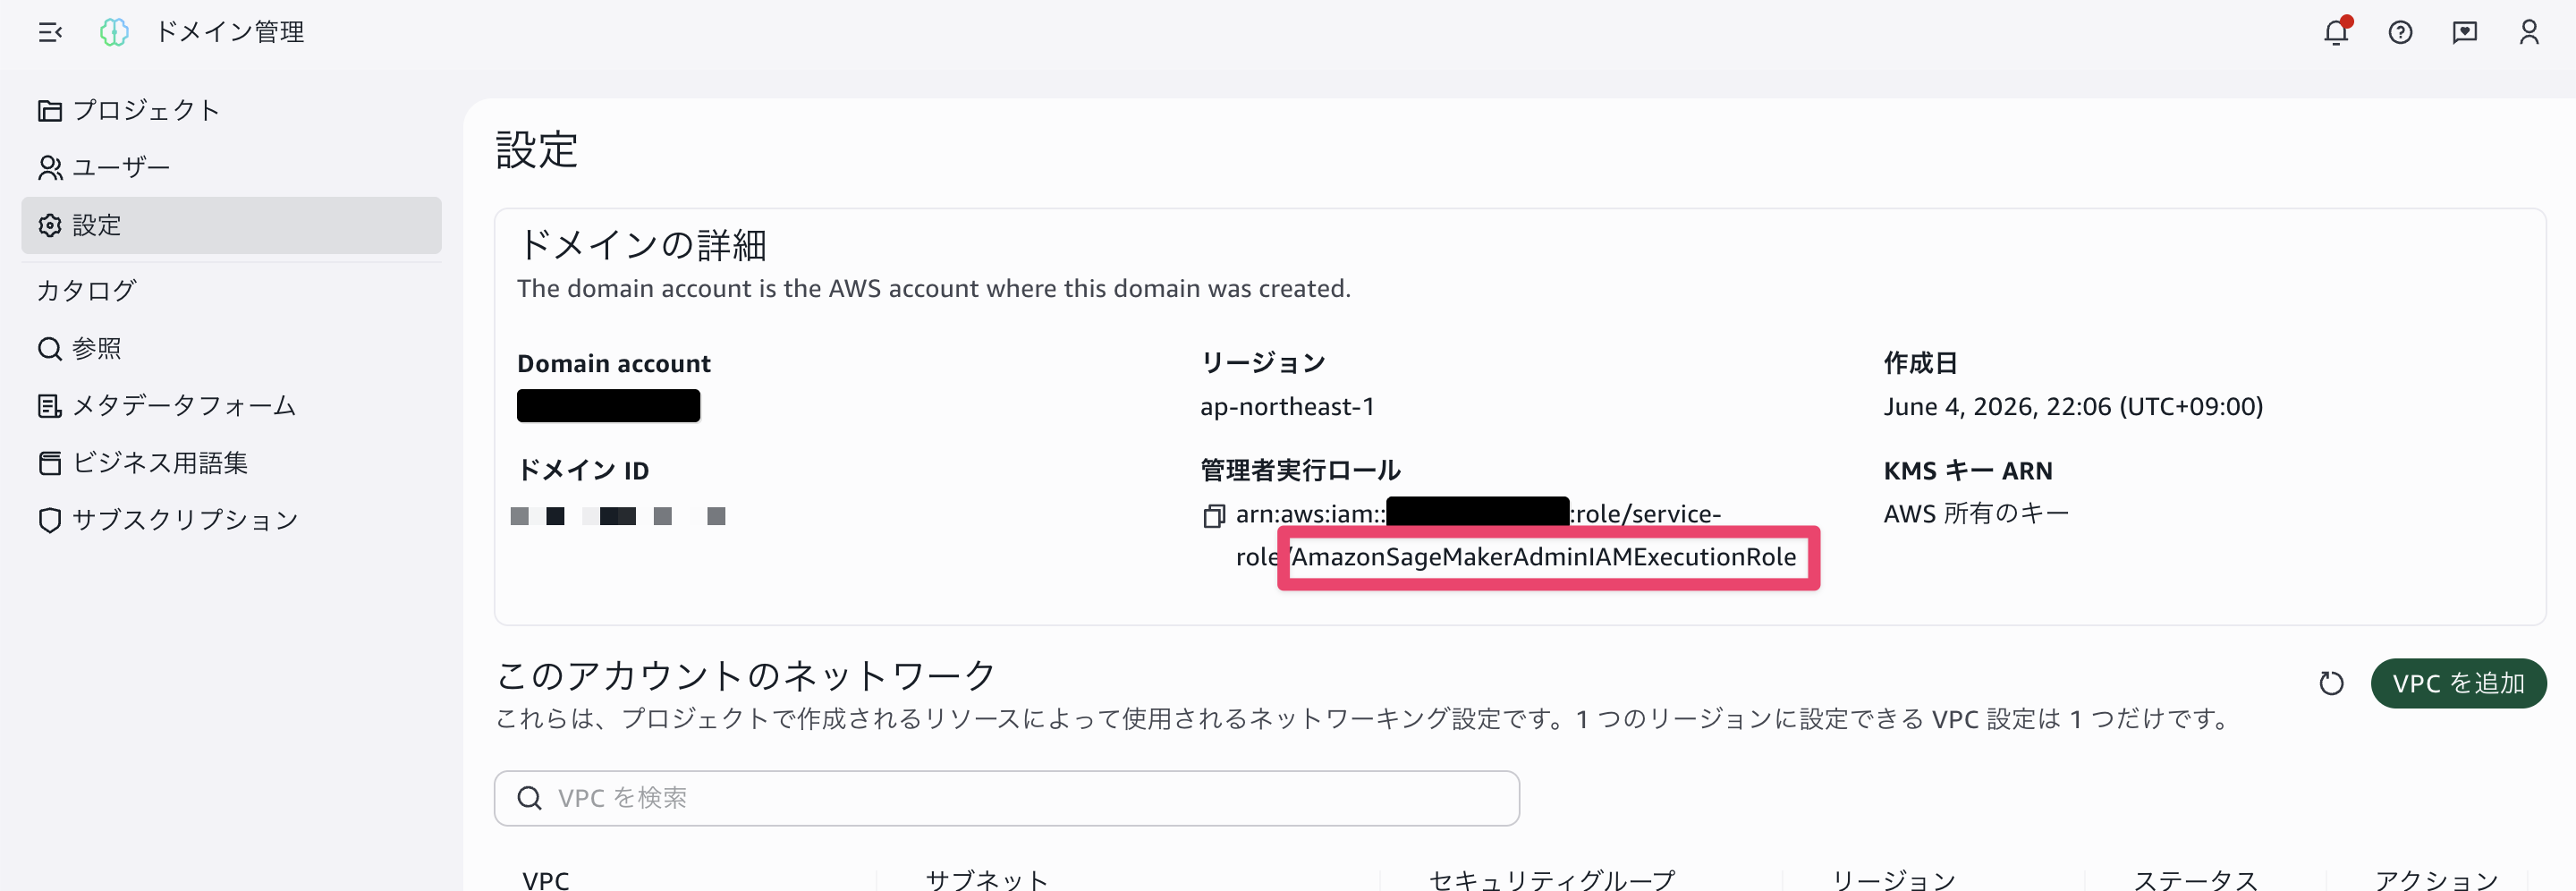
Search for this IAM role and attach the necessary policies as needed.
Conclusion
I set up an environment for connecting remotely from Kiro IDE using Amazon SageMaker Unified Studio.
It's great that you can connect from your local Kiro simply by enabling remote access when creating a space.
In addition, the idle timeout feature that automatically reduces charges when not in use is also a welcome feature for a remote server.