Let's Run NocoBase Locally with Docker Compose! Settings You'll Miss with Official Instructions Alone That Are Hard to Change Later

This page has been translated by machine translation. View original
Introduction
This is Sugiura. This is the third article in the NocoBase series.
In Part 1 I covered the concepts behind NocoBase, and in Part 2 I organized the main features of 2.x. From here, we'll actually start running it.
This time, we'll set it up locally with Docker Compose and get into the admin panel. The steps themselves are described in the official documentation. However, when creating the compose file, you're making several decisions that are difficult to change later — and this is easy to overlook if you're just following the steps. Those decisions involve the version, database, timezone, and data storage location. This article spends time on those points.
Note that the environment created here will be used as-is in Part 4. Please keep it without deleting it.
Prerequisites
- Docker and Docker Compose must be working
- Docker must be running
These are the only two prerequisites in the official documentation as well (Docker Installation).
This article was verified in the following environment.
- NocoBase v2.2.5 (OSS edition ·
-fullimage) - PostgreSQL 16
- Docker Compose v2
- Windows 11 + WSL2 (Debian) + Rancher Desktop
Creating docker-compose.yml
The official documentation provides configuration examples for PostgreSQL, MySQL, and MariaDB. We'll use the PostgreSQL example as a base and go through each point that requires a decision.
networks:
  nocobase:
    driver: bridge

services:
  app:
    image: nocobase/nocobase:2.2.5-full
    restart: always
    networks:
      - nocobase
    depends_on:
      - postgres
    environment:
      - APP_KEY=replace this with a random string
      - DB_DIALECT=postgres
      - DB_HOST=postgres
      - DB_PORT=5432
      - DB_DATABASE=nocobase
      - DB_USER=nocobase
      - DB_PASSWORD=nocobase
      - TZ=Asia/Tokyo
    volumes:
      - storage:/app/nocobase/storage
    ports:
      - '13000:80'

  postgres:
    image: postgres:16
    restart: always
    command: postgres -c wal_level=logical
    environment:
      POSTGRES_USER: nocobase
      POSTGRES_DB: nocobase
      POSTGRES_PASSWORD: nocobase
    volumes:
      - pgdata:/var/lib/postgresql/data
    networks:
      - nocobase

volumes:
  storage:
  pgdata:
The changes from the official example are in three places: the image tag, the timezone, and the volumes. The wal_level=logical on the postgres side is already in the official example and won't be discussed here. I'll explain the reasons in order.
Pin the image tag to a specific version number
The official example uses nocobase/nocobase:latest-full. I recommend specifying the version number like 2.2.5-full instead. The official documentation states the same intent for production environments.
For production environments, we recommend pinning to a specific version number to avoid unintended automatic upgrades.
As mentioned in Part 2, NocoBase releases patches every few days. If you leave it as latest, the version may be upgraded unintentionally whenever you pull the image again.
Note that versions published to npm are not necessarily available on Docker Hub as well. At the time of writing this article, the latest on npm is 2.2.8 and 2.2.8-full is also on Docker Hub, but 2.2.6 in between does not exist on Docker Hub (the next tag after 2.2.5-full is 2.2.7-full). It's safe to check the tag list to confirm that the tag for the version you want exists on Docker Hub. The compose in this article specifies 2.2.5, which has been verified to work. Feel free to replace it with a newer version if one is available.
Also, you cannot roll back a NocoBase version. As a test, I tried changing the tag of an environment created with 2.2.5 to 2.1.44 and starting it up. The container came up, I could log in, and data was readable. It seems fine at first glance, but the following errors kept appearing in the logs with every request.
Cannot find plugin '@nocobase/plugin-block-comment'
Cannot find plugin '@nocobase/plugin-ui-layout'
The registration of plugins added in 2.2 remained in the database, while the 2.1 image had no such plugins. The tricky part is that it doesn't stop running, which makes it hard to notice that something is broken.
In a local development environment you can just rebuild, but it's good practice to take a backup before upgrading.
Difference between -full and the standard image
There are tags with and without -full at the end. Here is what the official documentation says:
The full image includes the PostgreSQL 16/17 client, MySQL 8.0 client, Oracle 19.25 client required for backup management and migration management plugins, and LibreOffice required for template printing (PDF).
In other words, the difference is whether the external commands required for some plugins to work are included or not. The image size will be larger, but it's safer to choose -full from the start. Considering the hassle of discovering later that "the backup feature doesn't work" and then having to swap out the image, this approach is faster.
Choosing a database
You can choose PostgreSQL, MySQL, or MariaDB via DB_DIALECT.
If you're unsure, PostgreSQL is fine. The official configuration examples start with PostgreSQL, making it easier to find information.
However, since migrating to a different product after data has been entered is troublesome, there is one difference worth knowing before choosing. The date/time storage format differs depending on the database product.
- PostgreSQL: Has a datetime type with timezone support, storing absolute time including offset
- MySQL: Stored in
DATETIME, which does not hold offset information
For this reason, if you change the server's timezone setting later, the interpretation of already-stored data will differ. For systems where date and time carry business meaning — such as schedules or history — this is a difference that cannot be ignored.
Setting the timezone to Asia/Tokyo
The official configuration example uses TZ=Etc/UTC in the English version and TZ=Asia/Shanghai in the Japanese version. If you're using this in Japan, change it to Asia/Tokyo.
As noted in the previous section, this is a setting where changing it later may cause the interpretation of already-stored data to shift. It is safest to decide this upfront.
Replacing APP_KEY
APP_KEY is a key used for encrypting user tokens and similar data. Do not leave it as your-secret-key; replace it with a random string. The official configuration example also includes a comment noting that changing it will invalidate existing tokens.
Generating one is as simple as this:
openssl rand -base64 32
Using named volumes
In the official example, data storage is mapped to a directory directly under the project, such as ./storage (a bind mount). I changed this to named volumes (storage and pgdata).
The reason is that this mapping did not work as expected in my environment. With Rancher Desktop, ./storage did not appear under the project directory; the actual data was stored under /mnt/wsl/rancher-desktop/run/docker-mounts/. And when running docker compose down, the data was deleted. Collections I had created did not come back even after running up -d again.
With named volumes, data persisted through the same operations. I haven't checked how the official example behaves on Docker Desktop or Linux, but since named volumes persist regardless of the environment, it's safer to choose them.
This is also one of those "hard to change later" settings. Moving data after it has been entered requires a migration process.
Port
'13000:80' maps port 13000 on the host to port 80 on the container. The host-side port can be changed freely. If 13000 is already in use, or if you want to run multiple environments in parallel, change this value.
Starting Up
Start from the directory where the compose file is located.
docker compose up -d
The first time, downloading the image will take some time. Even after the download completes and the container starts, it won't be accessible immediately. This is because NocoBase loads plugins sequentially before completing startup. In my environment, it took about 30 seconds from when the container started to when it began responding. This varies depending on PC performance and OS, so treat it as a rough estimate.
You can watch the progress in the logs.
docker compose logs -f app
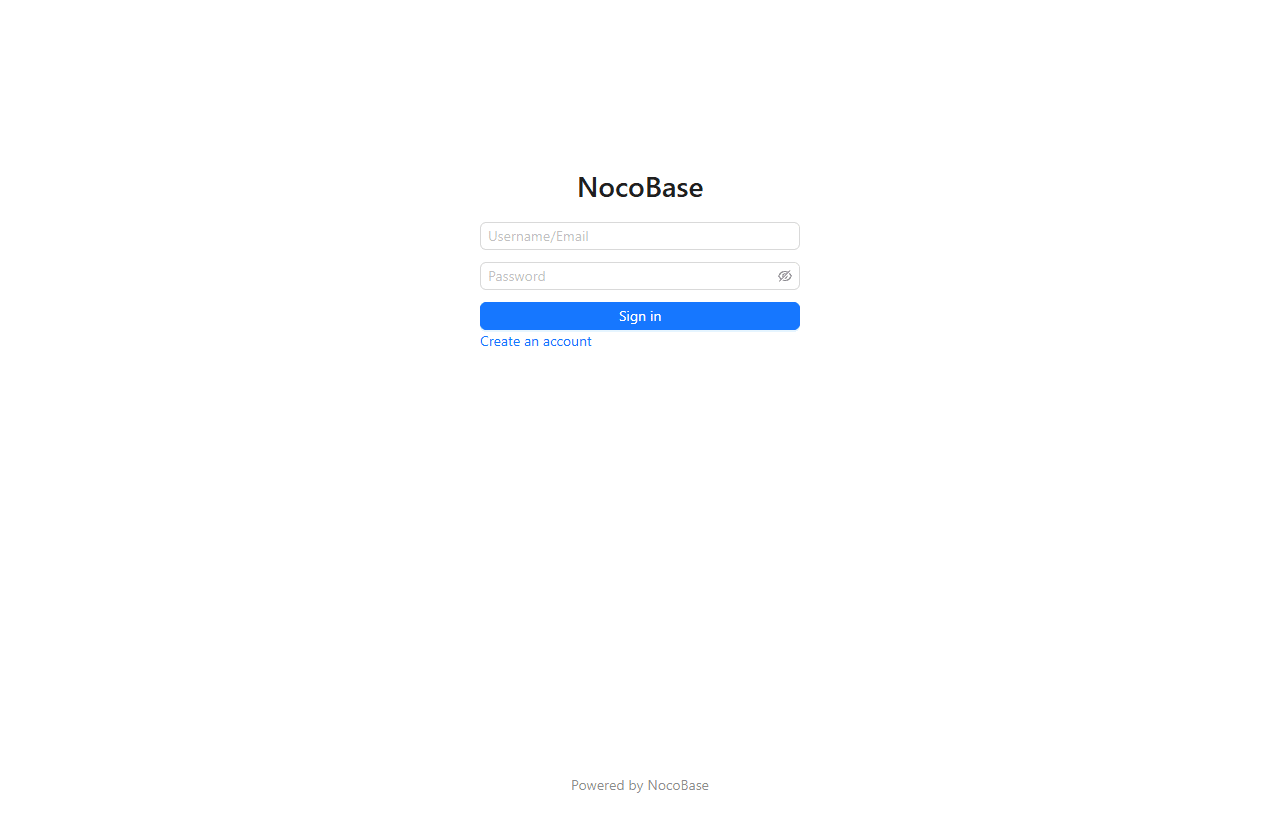
Once startup is complete, open http://localhost:13000 and a login screen will appear. There is no screen to create an admin account; a default account is provided from the start.
- Email address:
admin@nocobase.com - Password:
admin123
The official documentation includes the following note:
After your first login, please change the default password promptly to ensure system security.
Even if you're just testing locally, it's good practice to change it right away.
After logging in, you'll reach the top screen. The screen will be displayed in English. This is because English is the only language enabled by default. To switch to Japanese, open System settings from the gear icon in the upper right, add "日本語 (ja-JP)" to Enabled languages, and click Submit. The language at the top of the list becomes the default (marked as (Default)), so if you remove English and leave only Japanese, the interface will be displayed in Japanese from the next screen onward.
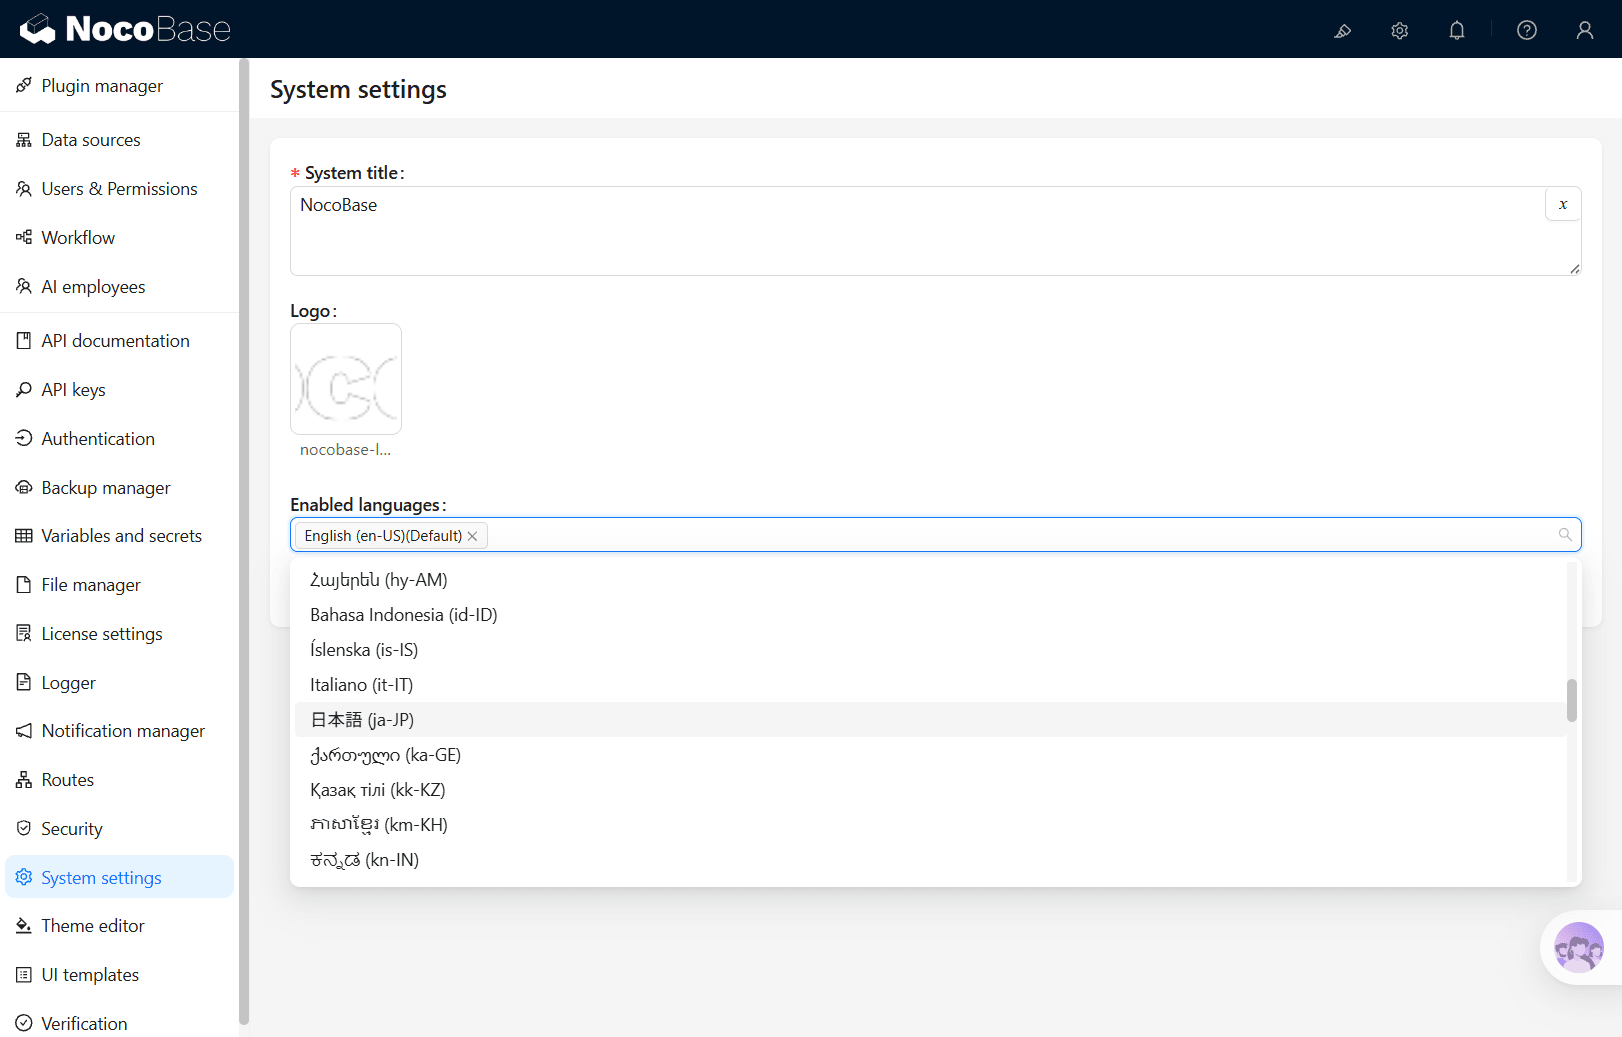
Note that even after switching to Japanese, some menus such as AI employees and License settings will remain in English. This is because Japanese translations have not been prepared on the plugin side — the same reason why some UI template operation names remain in English, as mentioned in Part 2.
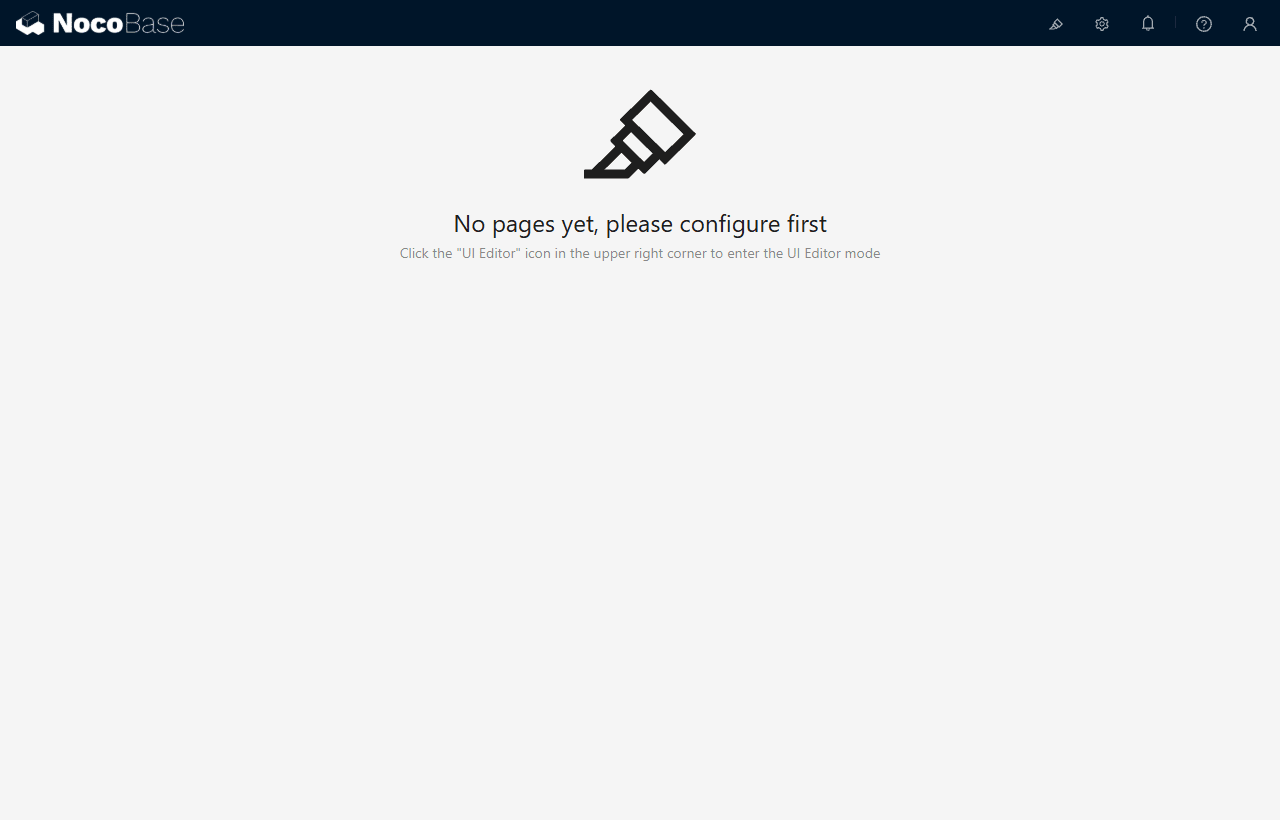
Immediately after logging in, there are no pages yet, and a prompt appears to start configuring from the UI editor in the upper right. From here, it's the world of "create tables and place them on a screen" that was covered in Part 1, and we'll actually build this in Part 4.
Basic Operations After Setup
Stopping and resuming
docker compose stop     # Stop (data remains intact)
docker compose start    # Resume
NocoBase and the database together use a fair amount of memory, so it's a good idea to stop them when not in use. I avoid running multiple environments simultaneously.
Rebuilding
docker compose down      # Remove containers and network (volumes remain)
docker compose down -v   # Remove including volumes (data is also deleted)
down removes containers, but named volumes remain. Running down and then up -d will bring the data back.
If you want to start completely fresh, use down -v to delete the volumes as well. This operation also deletes the contents of the database, so please verify the contents before executing.
Upgrading the version
Change the image tag and then pull the new image.
docker compose pull app
docker compose up -d
Migrations are automatically applied at startup. Please take a backup before upgrading. As mentioned earlier, rolling back is not straightforward.
Common Pitfalls
When a port is already in use. If docker compose up -d fails with a port-related error, change the host-side port in the compose file.
Memory. The combined memory usage of the app and database is not small. In my environment, with nothing stored right after startup, the app used approximately 670MB and PostgreSQL approximately 90MB (values from docker stats). This also varies by PC performance and OS.
Waiting for startup. Even when a container shows Up, the app may still be initializing. If your browser shows an error, check the logs and wait for startup to complete.
Plans for Upcoming Articles
The next two articles are planned in this order (note that the order and content may change):
- Part 4 (tentative): Building your first business app. Using a book management system as an example, from defining collections to placing them on a screen
- Part 5 (tentative): Setting up permissions. Creating roles and separating what users can see and what they can do
Part 4 will use the environment set up this time as-is. Please keep it with the Japanese localization and default password change already applied.
Summary
- Setting it up with Docker Compose only requires copying the official configuration example and making a few changes
- The four places to modify are: the image tag, timezone, APP_KEY, and volumes
- Among these, the version, timezone, volume storage location, and database product are settings that are difficult to change later. Deciding them before setup will save you trouble down the line
- Local environments can be rebuilt, but making a habit of backing up before upgrading means you won't have to worry about not being able to roll back
In the next article, we'll build an actual business app on top of this environment. Please keep it as-is with Japanese localization and password change already done.