
Managing Postman became painful so I tried migrating to Bruno — VSCode integration, Git management, and secret management
This page has been translated by machine translation. View original
Introduction
Postman is the go-to tool for API testing, but after using it for a long time, you start to accumulate small frustrations.
- Collections from Project A and Project B get mixed together in Postman's UI
- Sharing collections with team members requires a Postman account
- Even when managing exported JSON with Git, the diffs are hard to read
I recently tried an open-source API client called Bruno, and it neatly solved all of these problems, so I'm putting together a setup guide here.
What Makes Bruno Great
API Collections Are Self-Contained Per Project
In Bruno, collections are placed as .bru files inside the project folder. Unlike Postman, where collections from all projects are mixed together in a single app, Bruno naturally achieves a 1:1 relationship where project = collection.
Manageable and Shareable with Git
Since .bru files are plain text, Git diffs are easy to read and can be reviewed in PRs. New members can get their API testing environment up and running immediately after a git clone. There's no need to send Postman account invitations or go through the hassle of exporting and importing.
No Account Required, Works Offline
Bruno has no cloud sync. No login, no subscription required. It runs entirely locally, even in environments with unstable network connections.
Prerequisites and Environment
| Item | Version |
|---|---|
| macOS | 15.x |
| Bruno Desktop | 1.x (latest at time of writing) |
| VSCode | 1.9x |
| Bruno VSCode Extension | Latest at time of writing |
Setup Steps
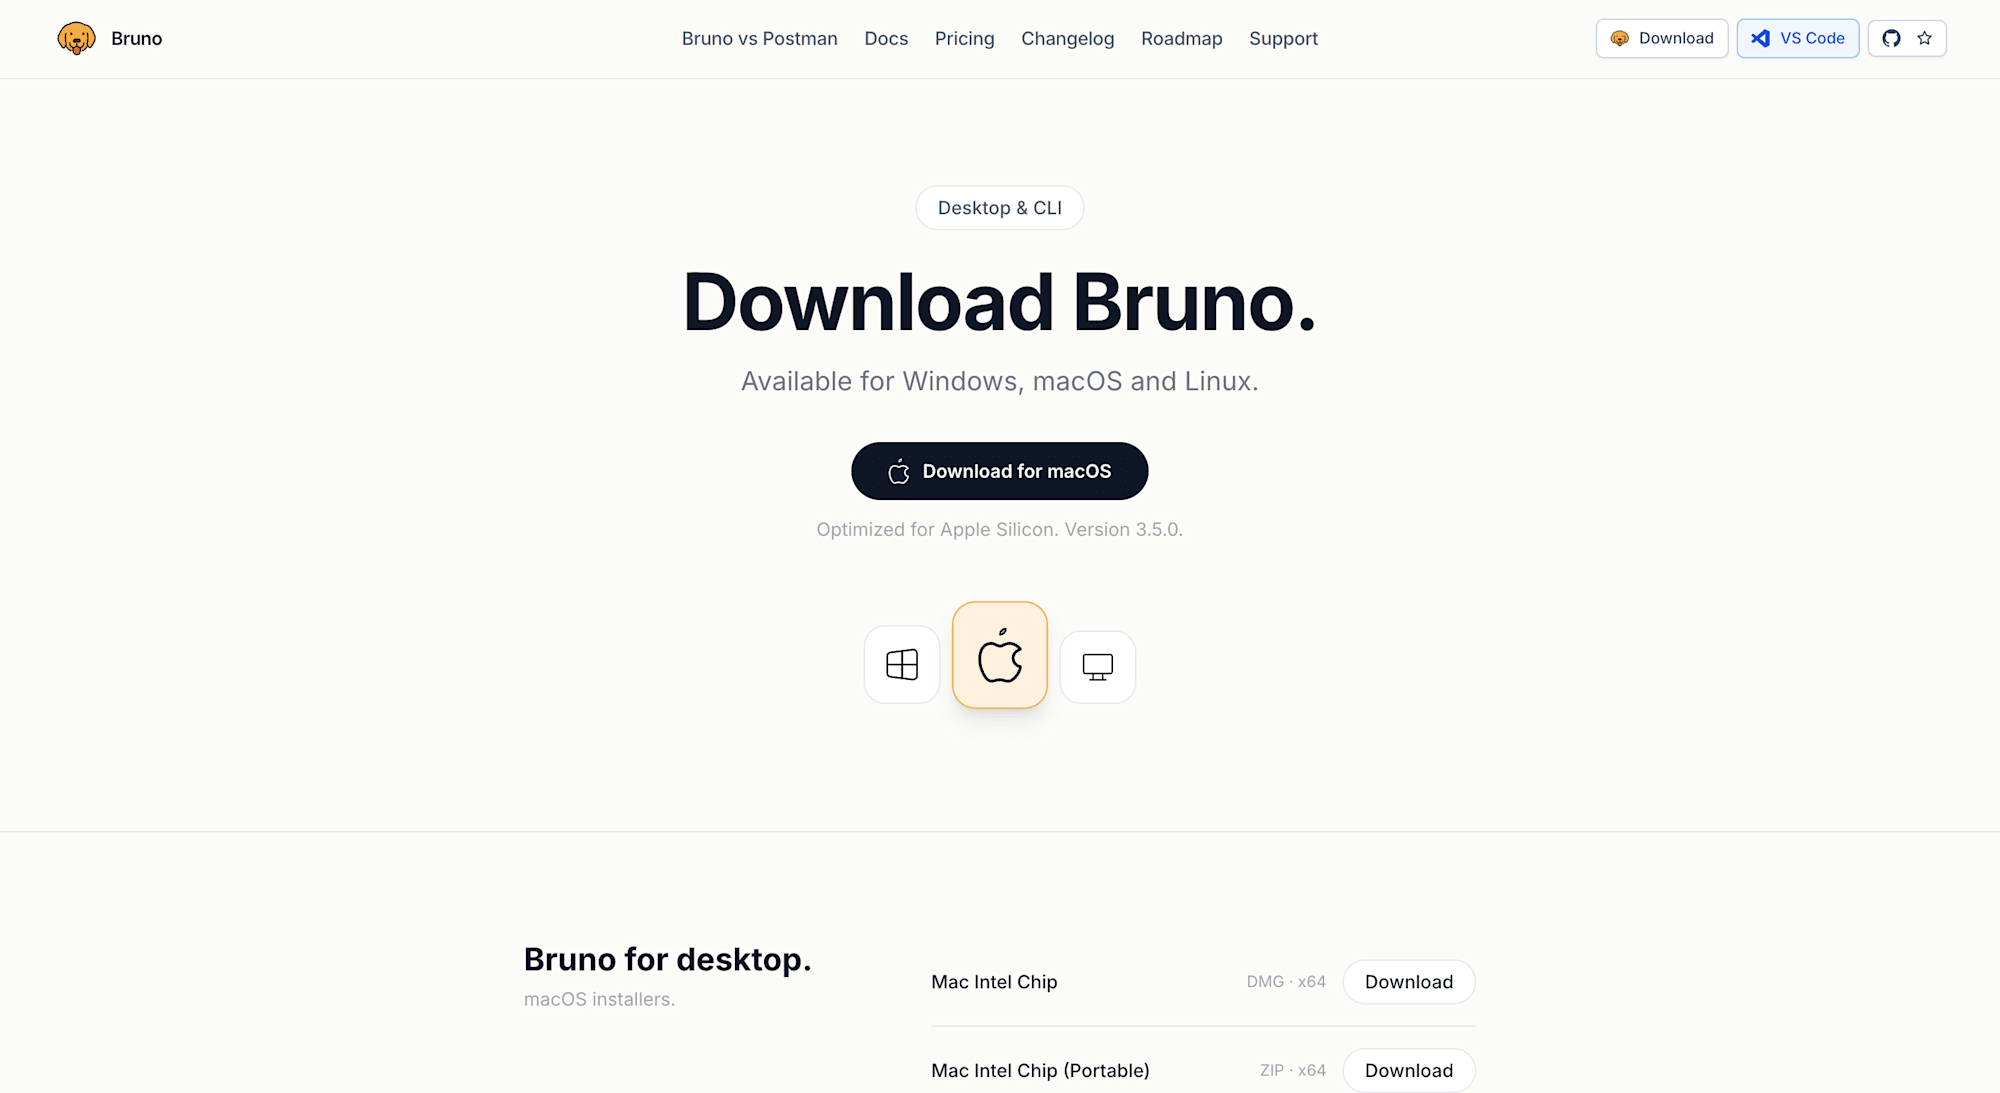
Step 1: Install the Bruno Desktop App
Download and install the desktop app from the Bruno official website.
On macOS, you can also install it with Homebrew:
brew install bruno
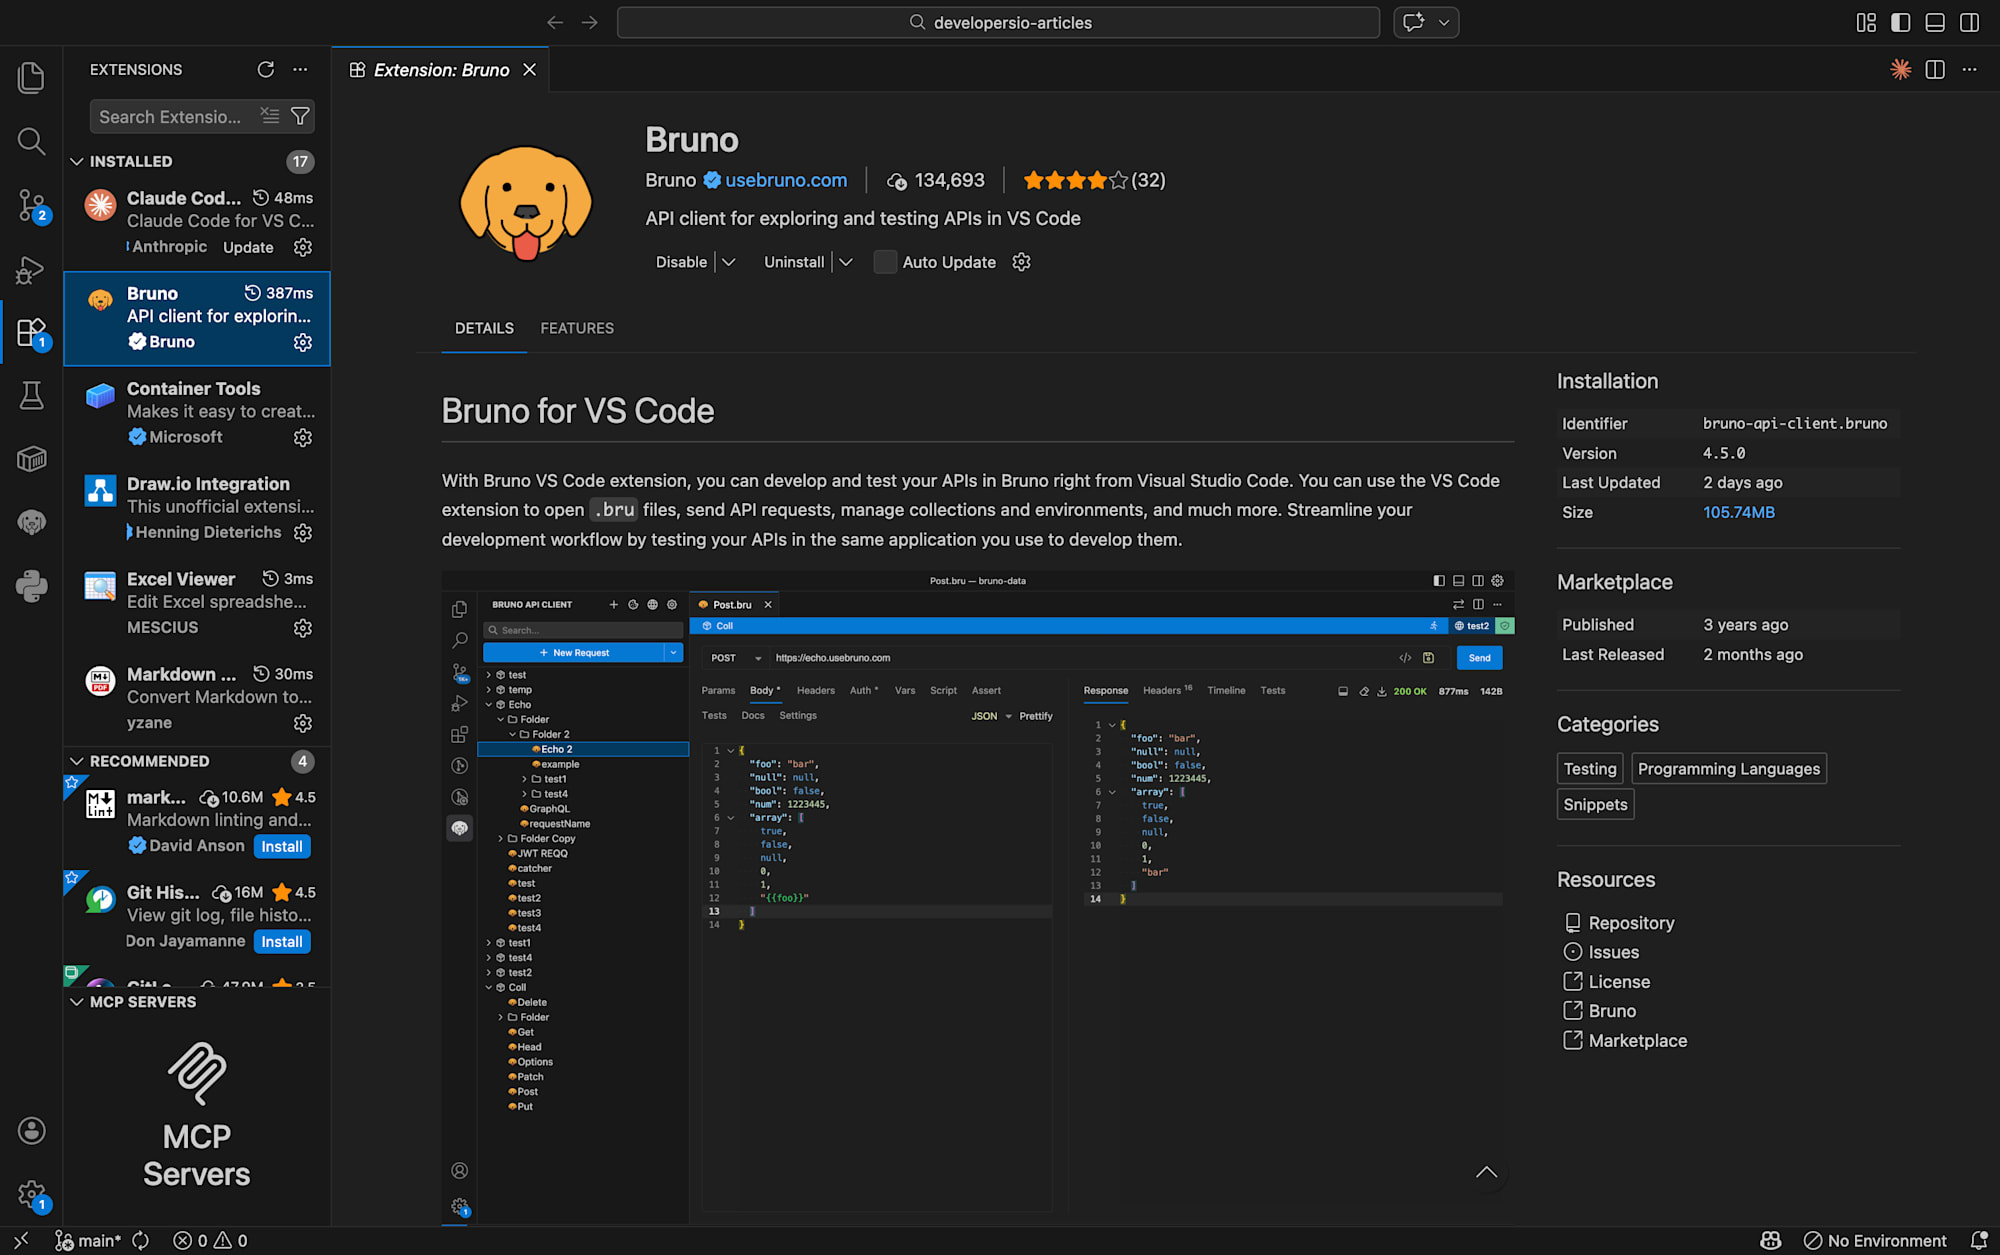
Step 2: Install the VSCode Extension
Search for Bruno in VSCode's extension marketplace and install it.
This extension enables syntax highlighting for .bru files in VSCode, and lets you right-click a collection folder and select "Open with Bruno" to launch the desktop app.
Step 3: Create a Collection
Create a .bruno/ directory in the project root and place the collection configuration file there. The final directory structure will look like this:
my-project/
├── .bruno/
│   ├── bruno.json              ← Collection settings
│   ├── collection.bru          ← Variables/secrets (.gitignore)
│   ├── collection.example.bru  ← Template (Git-managed)
│   ├── list-users.bru          ← GET request
│   └── create-user.bru         ← POST request
├── src/
│   └── ...
└── .gitignore
Now let's create each file one by one.
mkdir .bruno
bruno.json (Collection Settings)
{
  "version": "1",
  "name": "My API Collection",
  "type": "collection",
  "ignore": ["node_modules", ".git"]
}
collection.bru (Collection Variables)
vars:pre-request {
  base_url: https://api.example.com
  api_token: your-token-here
}
Since collection.bru may contain sensitive information such as API tokens, add it to .gitignore:
.bruno/collection.bru
It's helpful to prepare an empty template under a different name for team members:
# collection.example.bru
vars:pre-request {
  base_url: https://api.example.com
  api_token:
}
Step 4: Create Request Files
Inside the .bruno/ directory, create .bru files at a rate of 1 request = 1 file.
Example GET Request
meta {
name: list-users
type: http
seq: 1
}
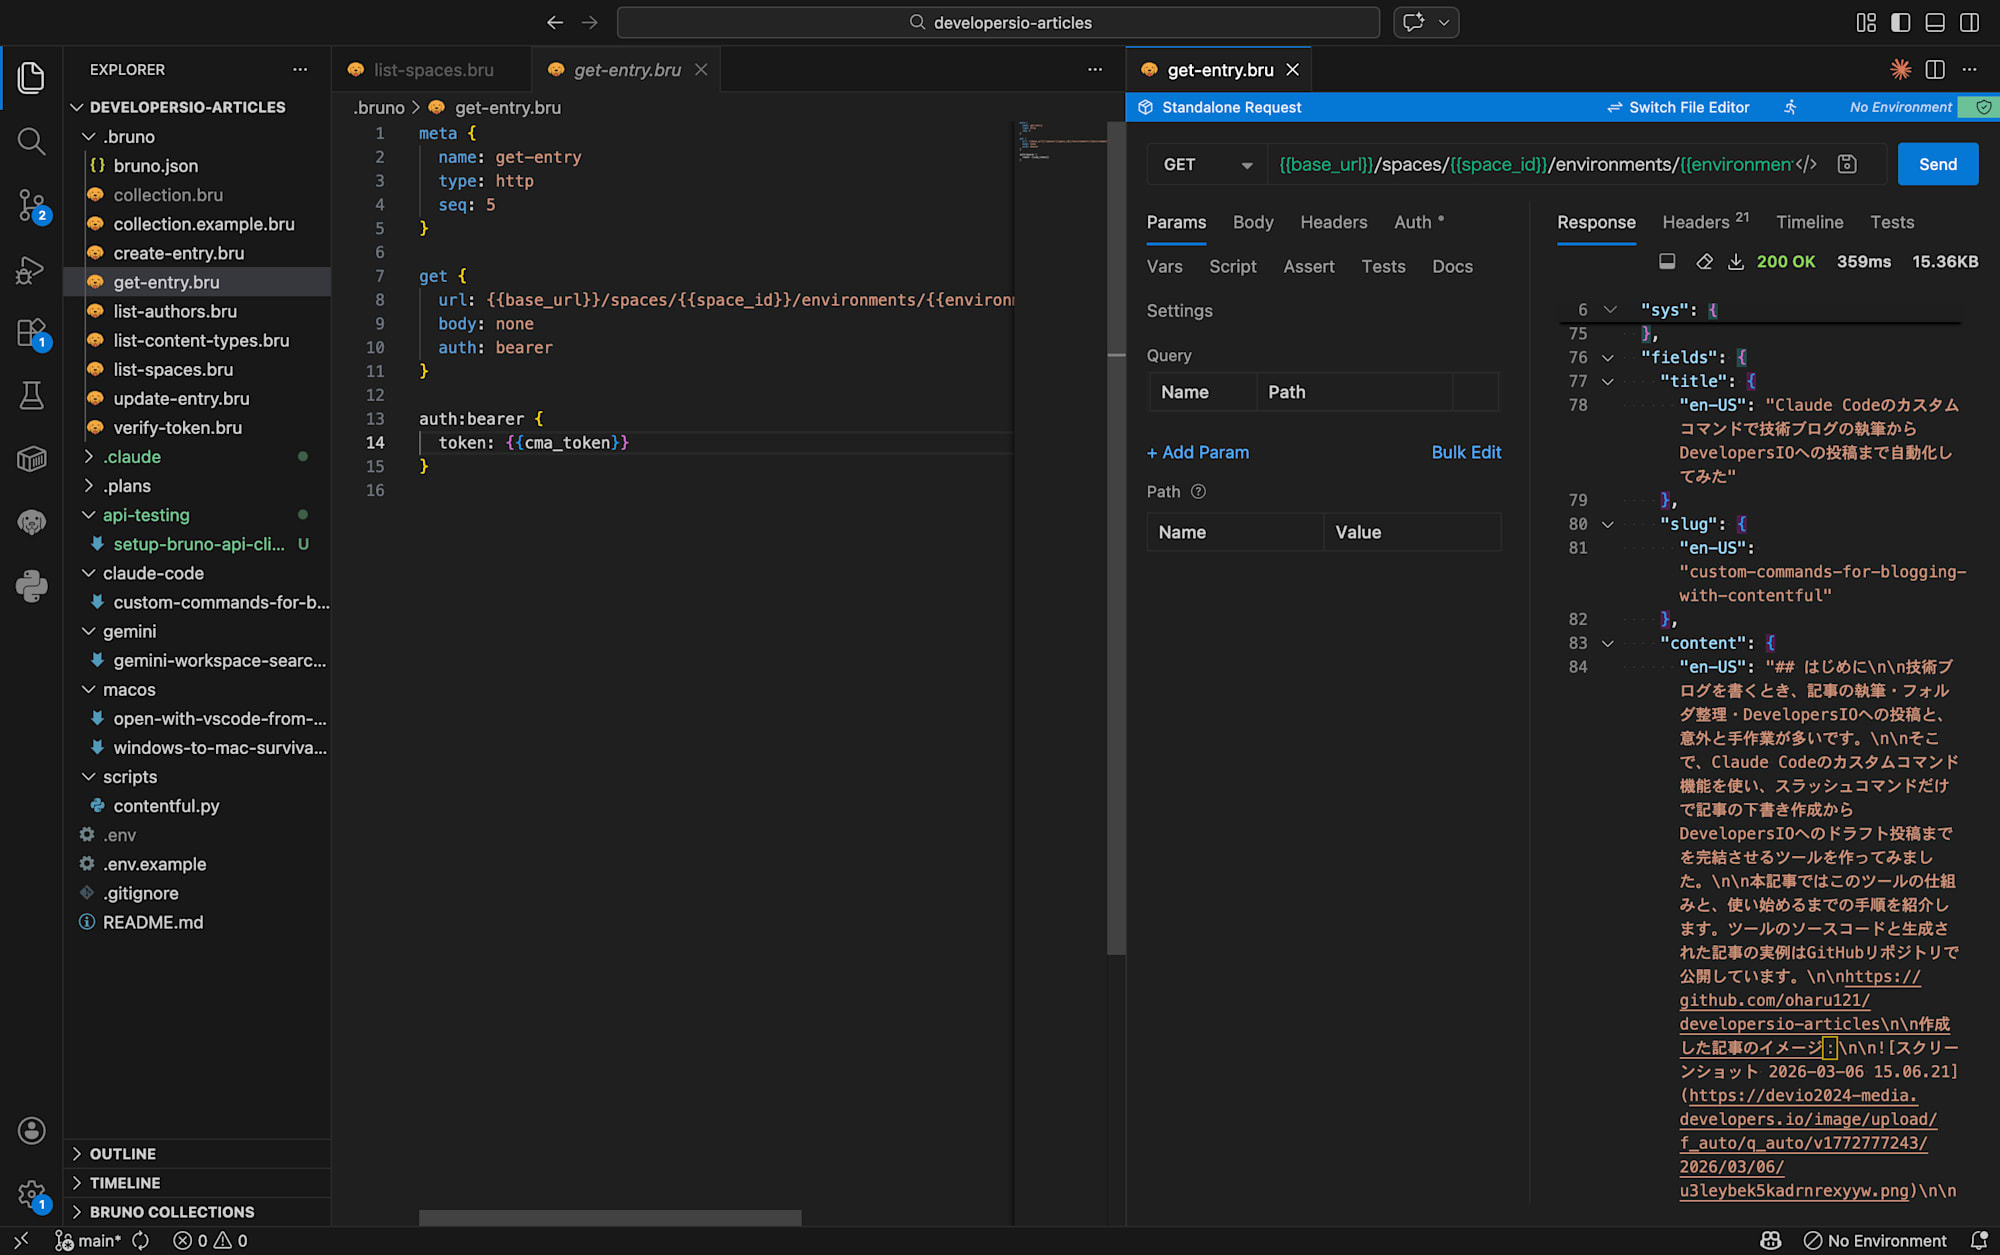
get {
url: {{base_url}}/users
body: none
auth: bearer
}
auth:bearer {
token: {{api_token}}
}
Example POST Request
meta {
  name: create-user
  type: http
  seq: 2
}

post {
  url: {{base_url}}/users
  body: json
  auth: bearer
}

auth:bearer {
  token: {{api_token}}
}

body:json {
  {
    "name": "Test User",
    "email": "test@example.com"
  }
}
Key points:
- Use
{{variable_name}}to reference variables fromcollection.bru - Configure token authentication with the
auth:bearerblock - Write the JSON body in the
body:jsonblock - Control the display order in Bruno with
seq
Step 5: Run Requests
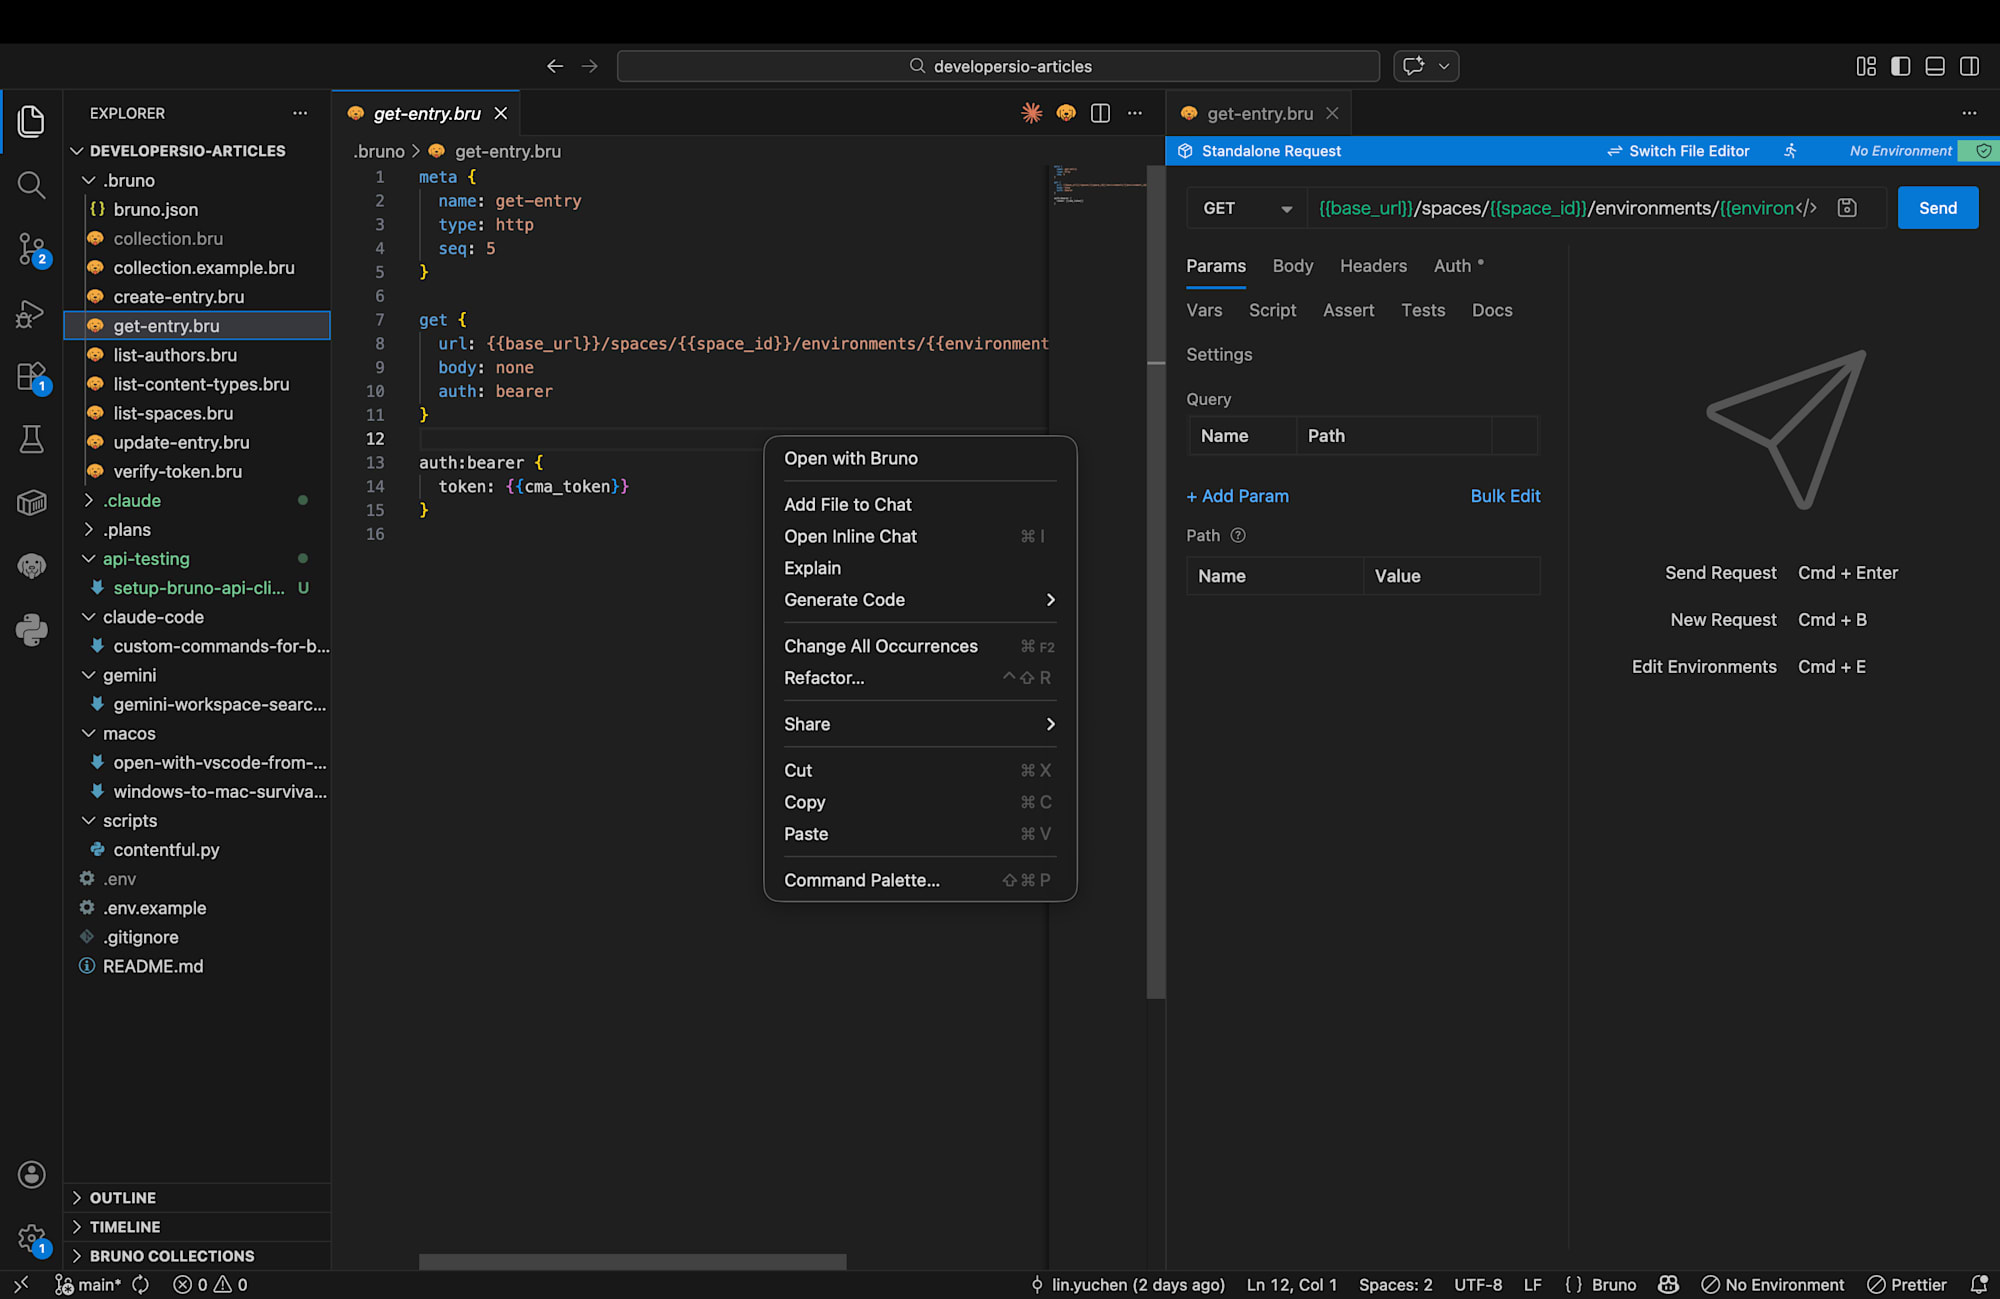
Right-click the .bruno folder in VSCode and select "Open with Bruno" to open the collection in the Bruno desktop app. Click on each request and hit "Send" to execute it.
Tips for Managing Secrets and Variables
Exclude collection.bru from Git
As mentioned earlier, add collection.bru, which contains actual token values, to .gitignore. Instead, commit collection.example.bru and document the setup steps in your README or similar:
cp .bruno/collection.example.bru .bruno/collection.bru
# Open collection.bru and fill in your own token
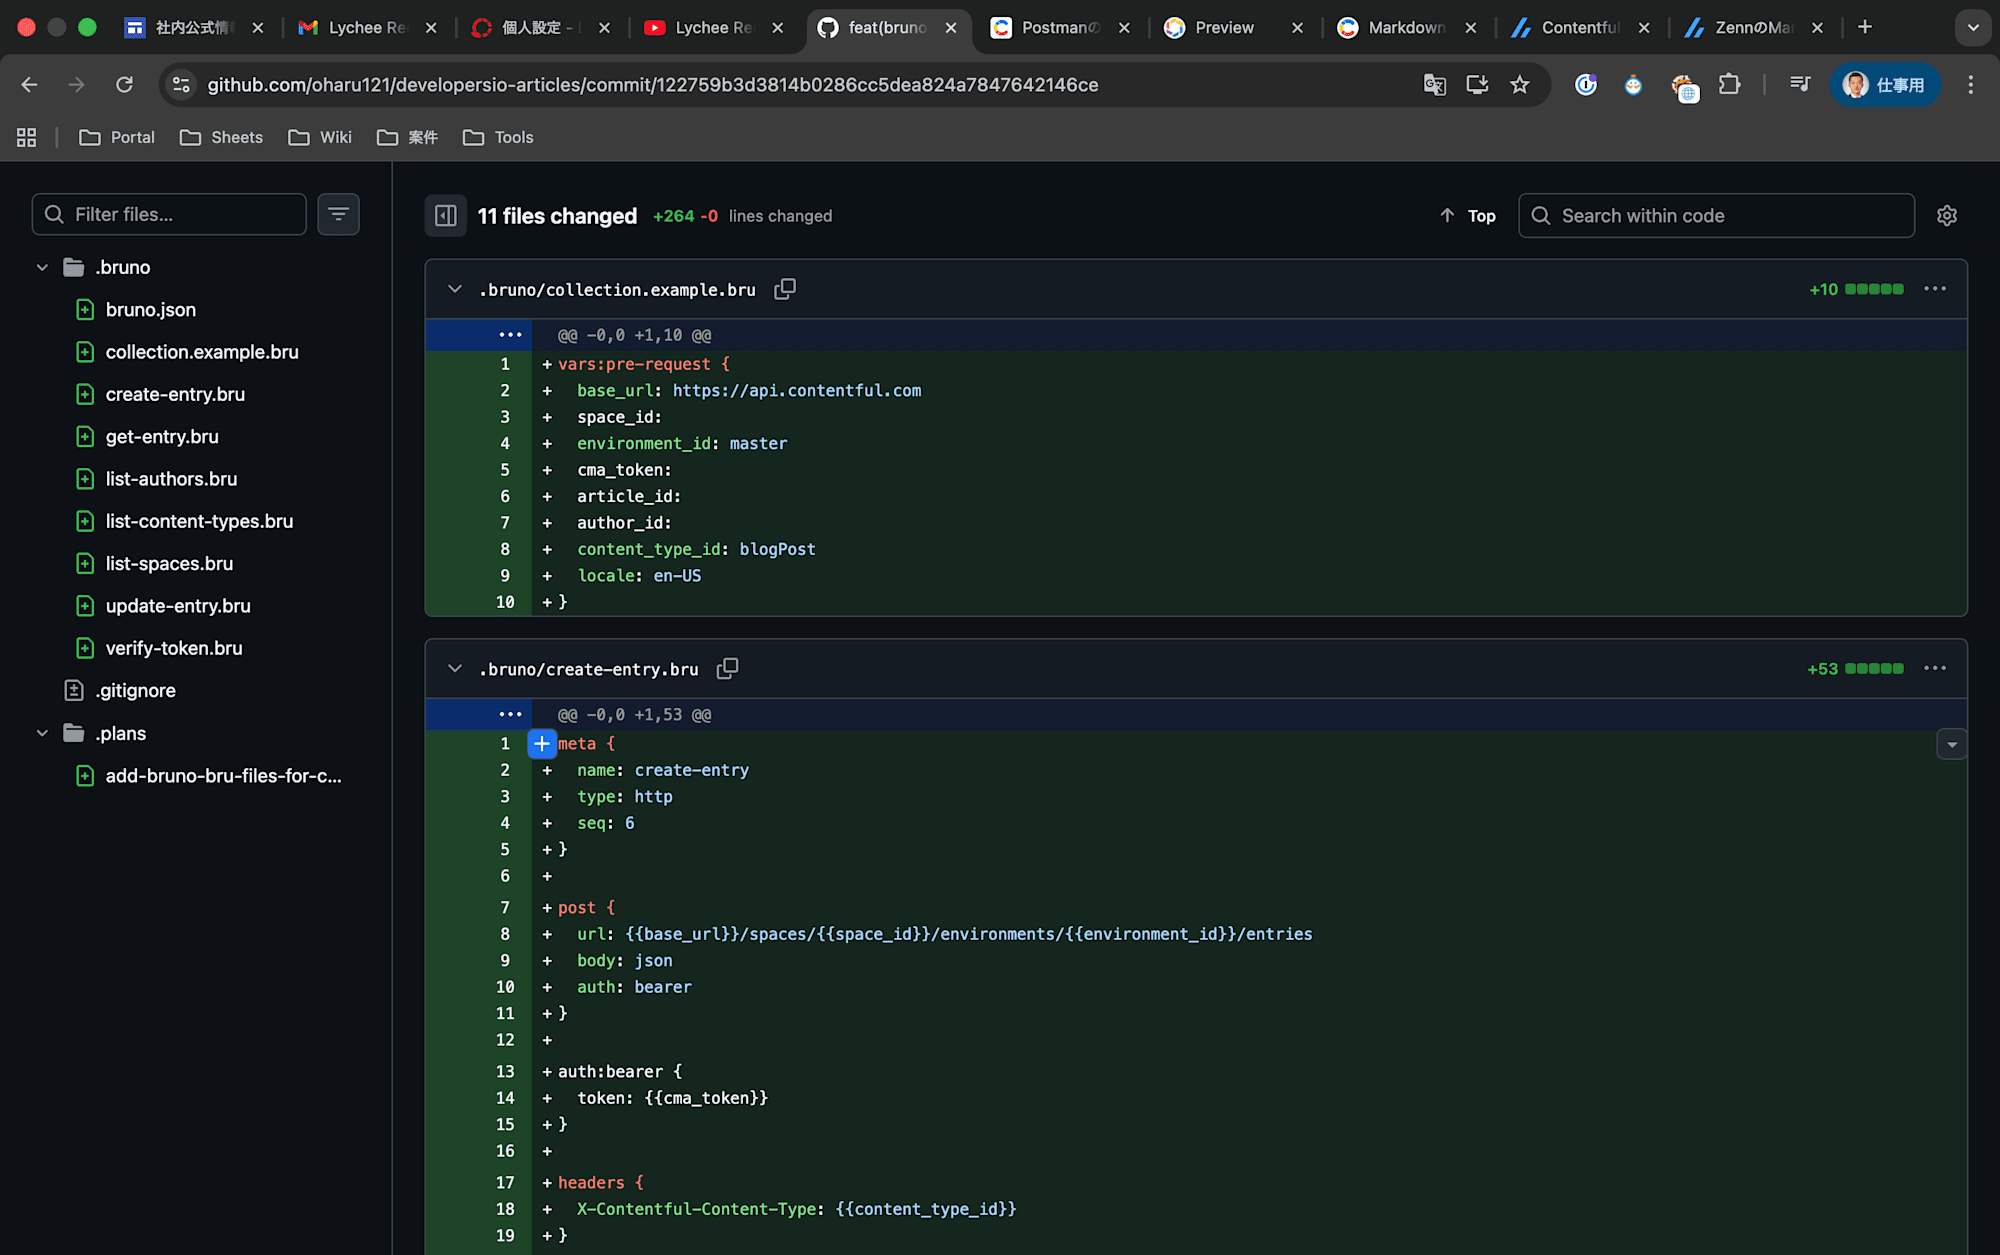
Bonus: Auto-generating .bru Files with Claude Code
Through this setup process, I also created a custom Claude Code skill called /bruno. It's a skill that reads API calls in source code and automatically generates the corresponding .bru files.
How to use it:
/bruno scripts/contentful.py
That's all it takes — it analyzes the HTTP requests in the specified Python file and generates all the appropriate .bru files. No more manually transcribing request URLs, headers, and bodies one by one.
The skill definition is available at generate-bruno-files, so you can also customize it to fit your own project.
Install with gh
gh skill install oharu121/skills generate-bruno-files
Honest Impressions
Bruno is not a complete replacement for Postman. Bruno lacks Postman's advanced test automation, mocking, and monitoring features. Postman also has a clear edge in UI polish.
However, for my use case — quickly hitting project-specific APIs to verify behavior and sharing that with the team — Bruno was clearly the better fit. Being file-based and Git-manageable is genuinely convenient. Being able to say "add the .bru file for this endpoint too" in a PR review is a small but surprisingly satisfying perk.
I have no desire to go back to the days of staring at Postman's left sidebar wondering "which project does this belong to again?"
Summary
- Bruno solves Postman's problem of collections being tied to the app
.brufiles are plain text, making them easy to manage with Git- The
collection.bru+.gitignore+collection.example.brupattern allows for safe secret management - The VSCode extension lets you launch Bruno with a right-click
- Claude Code custom skills can automate
.brufile generation