This page has been translated by machine translation. View original
Introduction
Twilio Flex is a contact center platform provided by Twilio. The agent-facing UI is built with React, so React engineers can insert their own components to customize the appearance and behavior.
This article targets React developers who are new to Flex and covers the following 4 topics on a local development server.
Rewriting the color theme
Inserting custom brand text into the header
Replacing English text in the UI with Japanese
Playing a beep sound with the Web Audio API when a call comes in
The goal is limited to a local dev server, but toward the end of the article, I'll introduce the lifecycle up to production deployment on a conceptual basis. The structure is designed to help you envision the flow from development to production deployment in an actual call center operation scenario.
For Twilio account activation and initial Flex project setup, please refer to the following article.
This article assumes that state as a starting point, and begins with the Plugin development setup.
What is Twilio Flex
Twilio Flex is a cloud-based contact center platform that consolidates channels such as phone, SMS, web chat, and email into a single agent-facing UI. A key feature is that the screen agents use for customer interactions is built with React. You can extend its appearance and behavior with JavaScript modules (Plugins) that you write yourself.
Is a custom server required?
For typical usage, no. The Flex UI itself, Plugin delivery, TaskRouter (task routing), and backend services such as Voice / SMS / Studio are all handled by SaaS hosted by Twilio. Plugins are also uploaded to the Twilio Plugins Service and delivered from there.
The local dev server that appears during development is separate from a server in production operations. What starts with twilio flex:plugins:start is essentially a webpack-dev-server, used only to locally build and serve the JavaScript bundle of your Plugin. The browser opens http://localhost:3000/, but from there the Flex UI itself is loaded from Twilio's CDN (assets.flex.twilio.com). It's more accurate to understand this not as a Flex that runs entirely on localhost, but as a state where only your Plugin is injected locally into the Flex UI hosted by Twilio.
Additional server operations on the user side only arise when you want to incorporate custom backend integrations (such as querying your company's CRM or calling custom APIs).
Architecture Overview
When a customer makes a call or sends a message, it is received by Voice / SMS / Conversations on the Twilio cloud side. Studio Flow (a no-code flow definition tool) handles the response logic, and TaskRouter distributes tasks to agents. Agents receive tasks in the Flex UI. The overall flow is that custom Plugins are loaded into the Flex UI via the Plugins Service.
Target Audience
React engineers new to Twilio Flex
Developers and operators who want to customize the appearance of the contact center screen with Plugins
Those who want to understand the flow from local development to production deployment at a conceptual level
From here, we get into hands-on work. The environment for this verification is as follows.
macOS, WebStorm
Node.js v22 (using v22 due to the constraints described below)
Node.js Version
Twilio CLI version 6 (the latest) and Flex Plugins CLI version 7 each have Node.js version constraints. In particular, @twilio/flex-plugin-scripts v7.1.2 requires ^16 || ^18 || ^20 || ^22 in the engine field, and in environments running Node v24 or higher, twilio plugins:install @twilio-labs/plugin-flex after npm i -g twilio-cli will fail with an engine "node" is incompatible error.
My environment had Node v24 as the default, but I switched to v22 via nvm for this work. If you're using v22 or higher, please use nvm or fnm to run v22 alongside your current version.
nvm install 22nvm use 22
Installing Twilio CLI and Flex Plugins CLI
npm i -g twilio-clitwilio plugins:install @twilio-labs/plugin-flex
If successful, the following commands will work.
twilio --versiontwilio flex:plugins --help
Creating an Authentication Profile
The Twilio CLI can hold authentication information as named profiles. On macOS, it is stored in the OS Keychain.
AC<your-account-sid> and <your-auth-token> can be obtained from the Account tab in the Twilio Console. Please follow the secret management policy of your organization.
Creating and Starting a Plugin Template
The Flex Plugins CLI provides a subcommand to generate a template.
The --install option also fetches npm dependencies at the same time. The main files in the generated directory are as follows.
src/index.js
Plugin entry point. Simply passes the Plugin class to loadPlugin
src/FlexPlaygroundPlugin.js
The Plugin class body. Write customizations inside the init method
src/components/CustomTaskList/CustomTaskList.jsx
A sample React component included from the start for verifying template behavior
public/appConfig.js
Settings for Flex UI startup, such as enabling the Plugin Service and log level
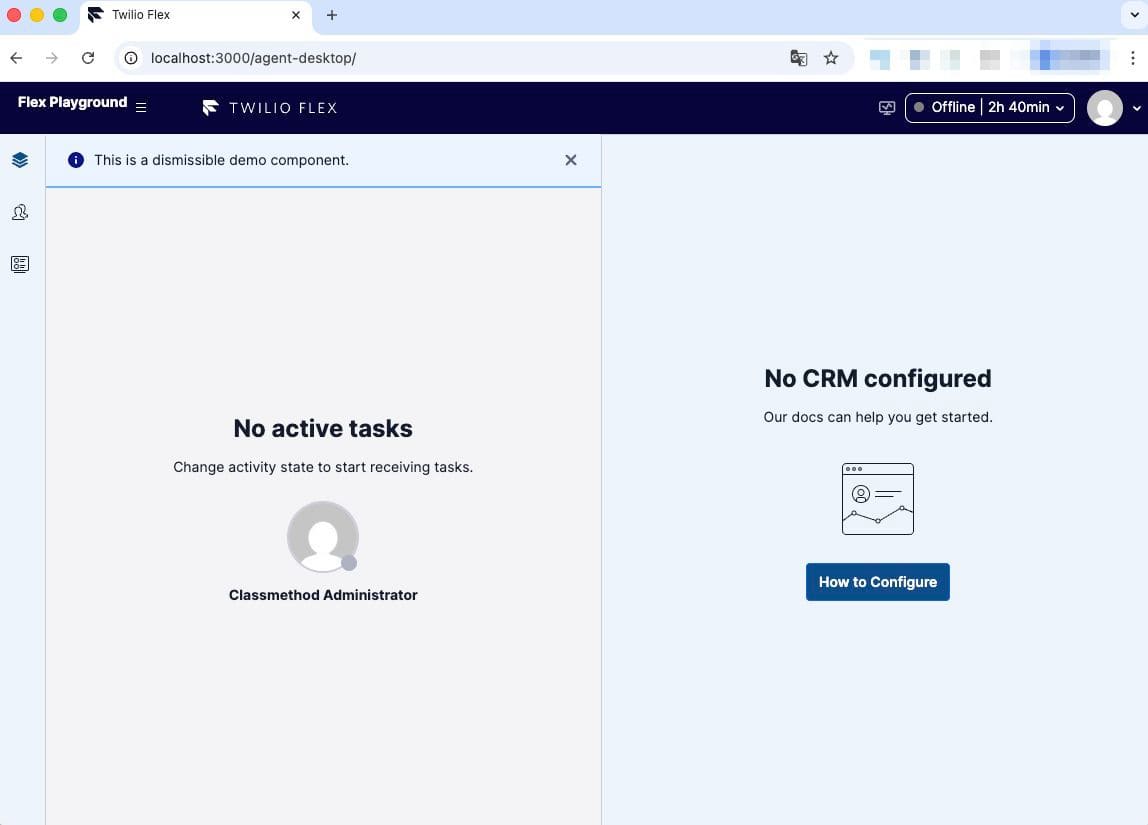
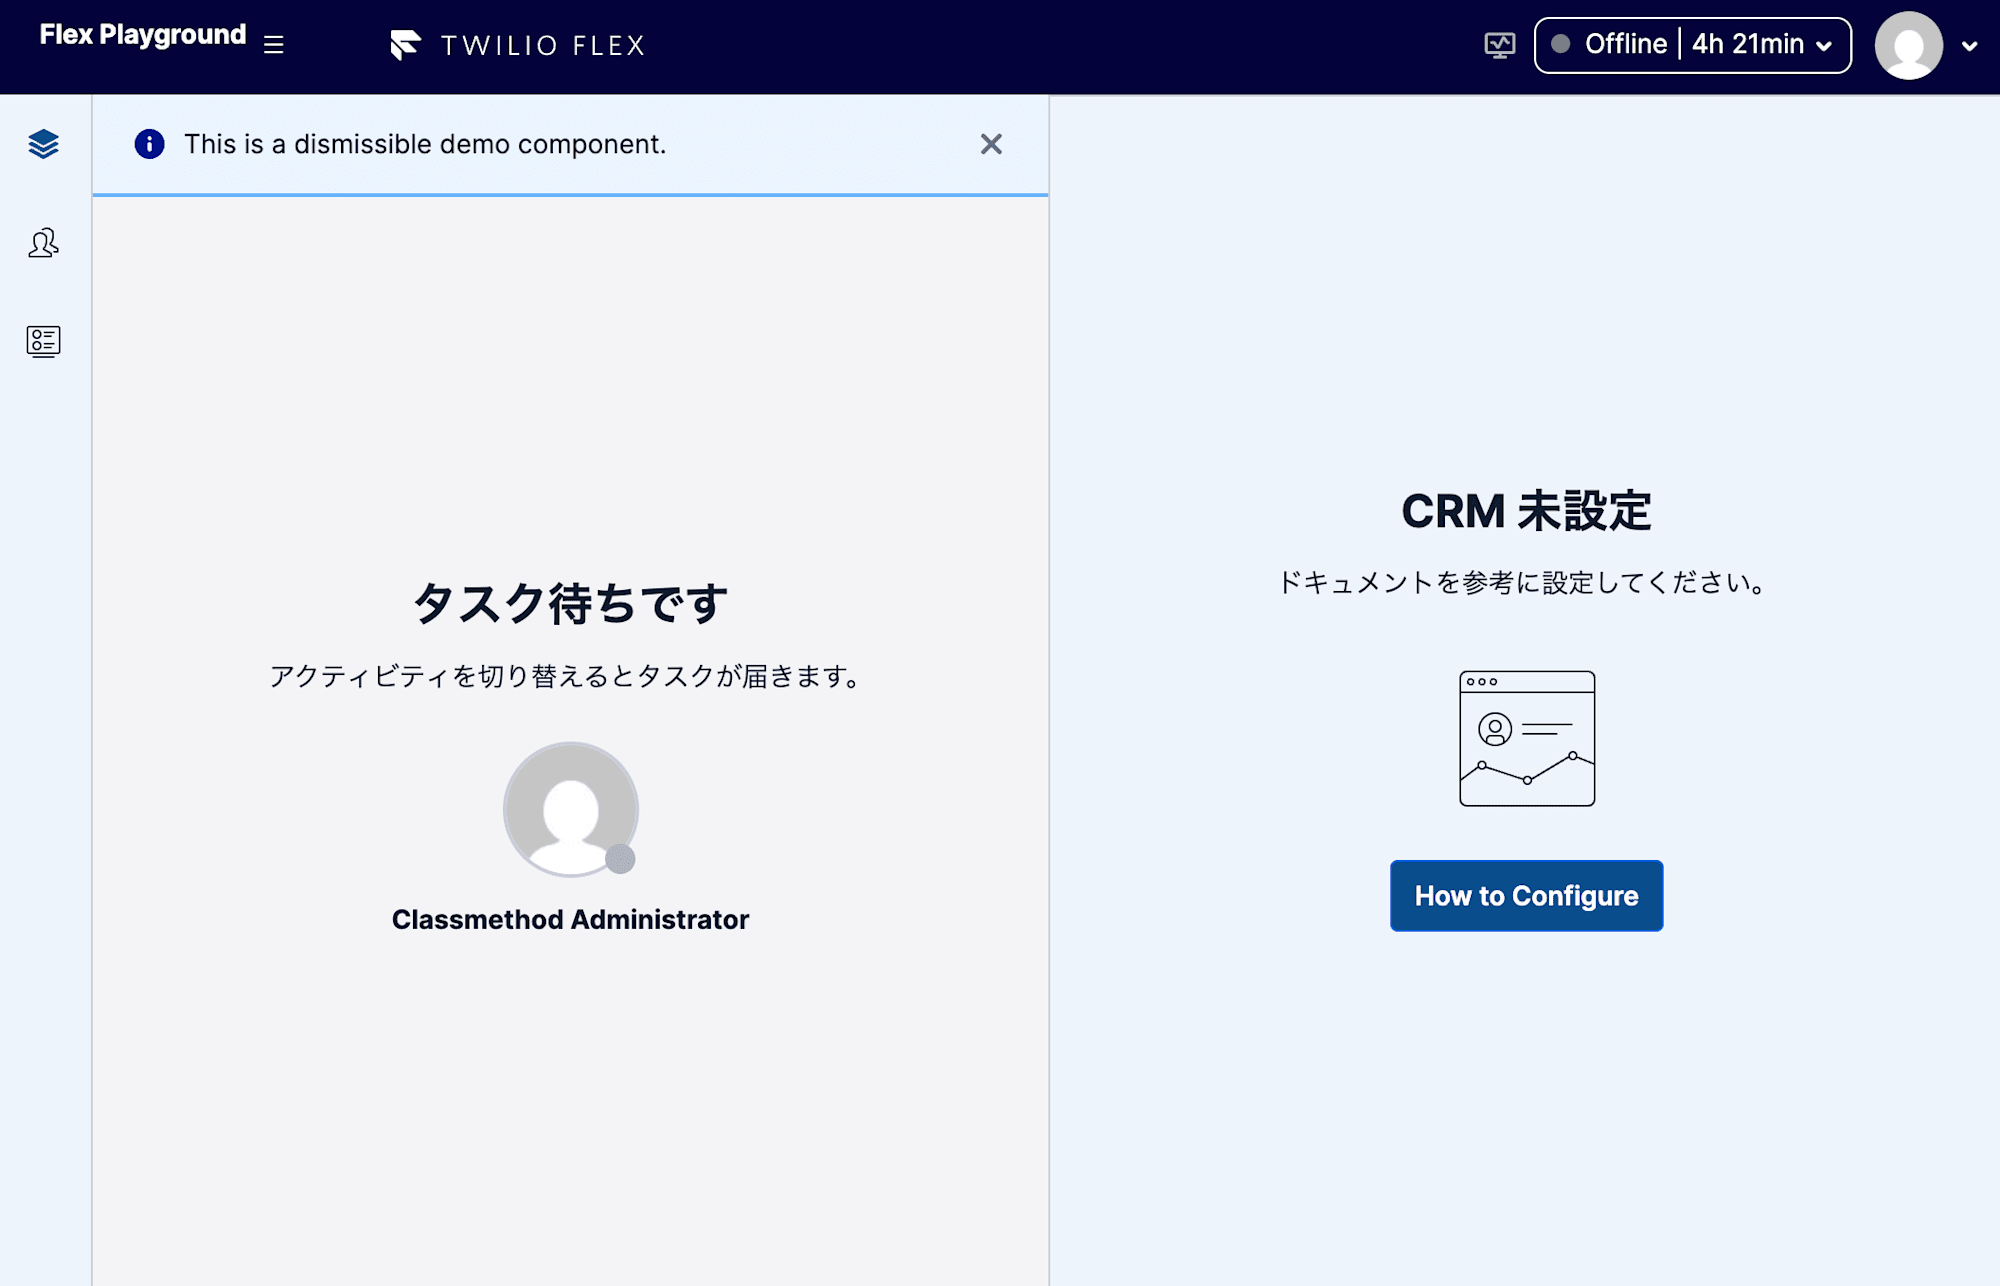
CustomTaskList is a sample React component included in the template from the start that simply displays the text This is a dismissible demo component.. Since it is not the main focus of customization in this article, we'll leave it as is.
Start the dev server.
cd plugin-flex-playgroundtwilio flex:plugins:start
When started, a browser will open and you can see the Flex login screen at http://localhost:3000/.
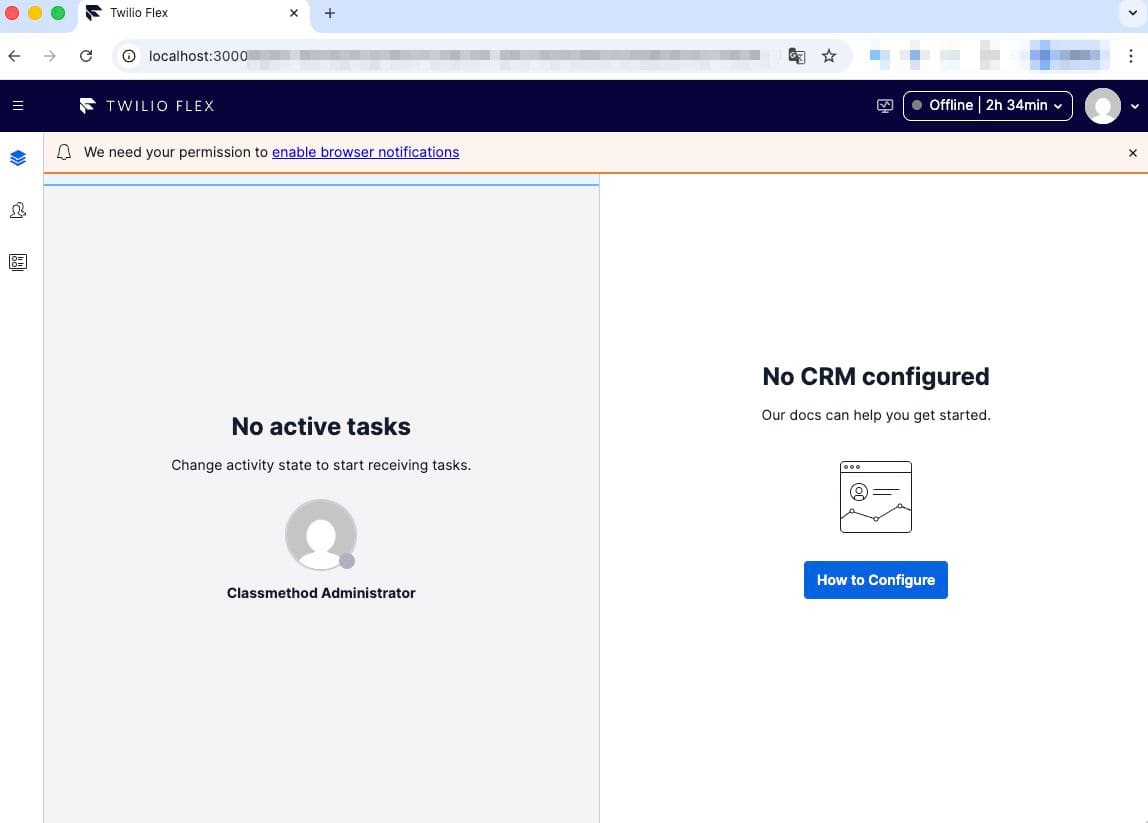
Log in via SSO from Log in with Twilio and the Flex UI will be rendered.
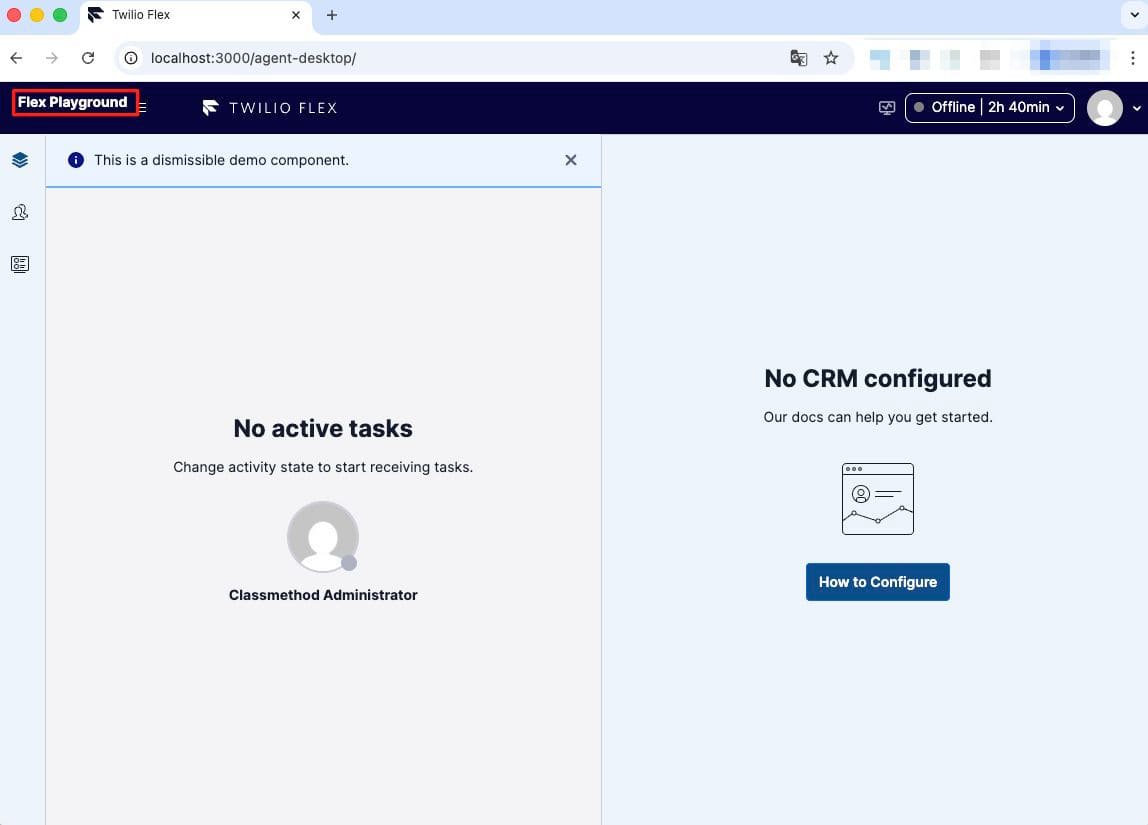
Customizing the Appearance
Here's the main content. We'll add customization code to the init method of src/FlexPlaygroundPlugin.js. I'll show the complete final code first, then quote the relevant parts while explaining each subsection.
The reason for breaking things out into calls from init is to make the responsibilities of each customization easier to see. Below, I'll quote the relevant parts and explain them by topic. Note that the Plugin's init is executed only once when the page loads. If you change the Plugin code, a browser reload is required.
The theme of Flex UI v2 is composed of Twilio Paste design tokens. Design tokens are a dictionary of values that make colors, font sizes, spacing, and other properties referenceable by name. Paste is a proprietary design system provided by Twilio, and the Flex UI is built on top of it.
The tokens passed via manager.updateConfig({ theme: ... }) are partially overwritten on top of the default values. They are divided by category such as background colors, text colors, and border colors. In the above, we changed backgroundColors and textColors. Token names are aligned with the Paste documentation.
flex.MainHeader.Content.add() uses an extension mechanism of Flex UI called Programmable Components. Programmable Components is a collective term for extensible components pre-built into the Flex UI, and each component has methods such as Content.add(), .replace(), and .remove().
sortOrder places elements closer to the front the smaller the number. The default is 0, and -100 was specified above because we wanted it to appear to the left of existing header elements. align takes start or end and switches between left-aligned and right-aligned in the header.
Localizing Text
applyStringOverrides(manager) { Object.assign(manager.strings, { NoTasks: 'Waiting for tasks', NoTasksHintNotAvailable: 'Switch your activity to receive tasks.', NoCRMConfigured: 'CRM not configured', NoCRMHint: 'Please refer to the documentation to configure it.', });}
The text in the Flex UI is managed by a dictionary object called manager.strings. By specifying a key name and overwriting its value, the display in the UI is replaced.
How many keys does this dictionary actually have? After Manager initialization, retrieving Object.keys(manager.strings).length returned 1,611 (with Flex UI v2.16.0 at the time of verification). To find the desired key name from among 1,611 keys, you can either look directly at manager.strings in the browser's developer tools, or perform a text search on the Flex UI bundle (bundle/twilio-flex.prod.js from @twilio/flex-ui). When searching, targeting the characters before and after the English text shown on screen will help you find the corresponding key name.
Text That Cannot Be Overridden
Among the text, there are some items that cannot be overridden via manager.strings. The most representative examples are Activity names (Available / Unavailable / Offline / Break). These are the names registered as Activity resources in the TaskRouter Workspace, and are separate from the Flex UI string dictionary. If you want to change these, you need to edit the TaskRouter Workspace Activities via the Twilio Console or API.
Text representing call states (CALL ENDED, Connected, etc.) also has a separate set of keys that can be overridden in manager.strings, but we won't go into depth on that in this article. If you're interested, try searching for the keys in your local Flex.
Playing a Sound on Incoming Calls
So far we've talked about appearance, but let's also try a more dynamic customization. As a bit of fun for React developers, let's play a beep sound when a call comes in.
When a call comes in, a Reservation is created for the agent from TaskRouter. You can hook into the Reservation creation event with manager.workerClient.on('reservationCreated', ...).
This is an implementation that plays a sine wave at 880Hz for 300 milliseconds using the Web Audio API. It's simple because you don't need to prepare a separate audio file.
As a caveat, browsers have autoplay restrictions. Sound may not play if the user has not yet interacted with the page at all. In this verification, the agent had already switched their Activity to Available before the call came in, so there was no problem. If you're trying this yourself, make sure to click something after logging in before receiving a call to be safe.
We're also calling navigator.vibrate(...) while we're at it. The Web Vibration API executes the pattern of 200ms vibration → 100ms pause → 200ms vibration on Android Chrome. On desktop browsers and iOS Safari, calling it does nothing. We haven't verified this on an actual Android device in this article, but it's left in as a fun touch for cases where Flex is opened on Android devices.
Call Verification
After reflecting the above implementation with a browser reload, let's actually receive a call.
Switch the activity in the lower left of the Flex UI to Available
Call the phone number secured in Twilio from a personal mobile phone
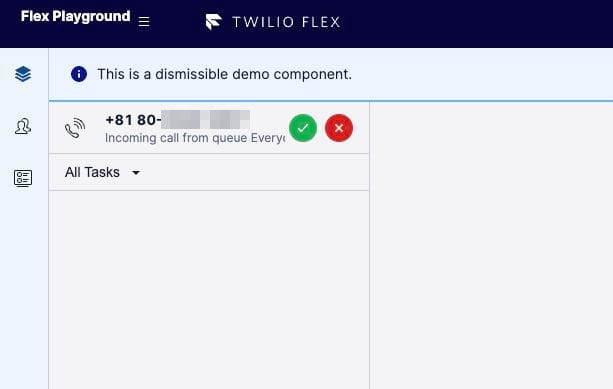
After the Studio Flow Voice IVR answers, an incoming task card appears in the Flex UI
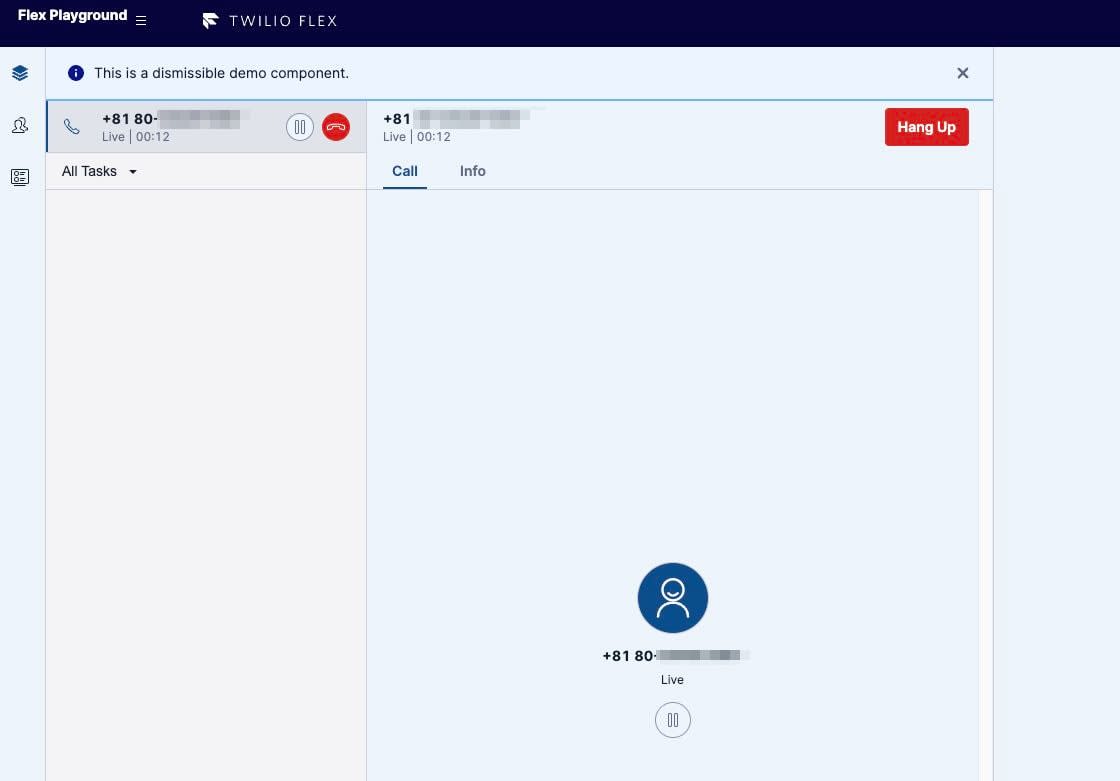
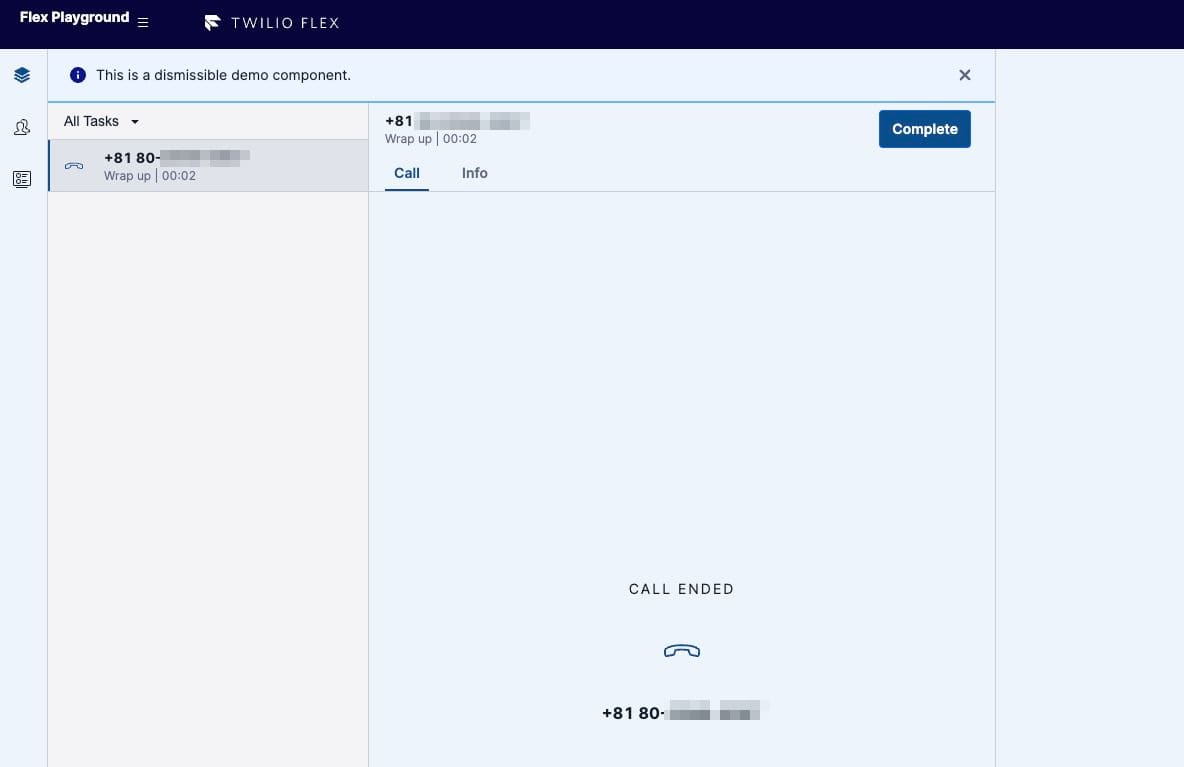
Answer with the green check button → Talk → After the call ends, complete with the Complete button that appears
Incoming task card
Screen during a call
After the call ends
We were able to confirm that the sine wave from playBeep played at the timing of the incoming call.
Lifecycle to Production Deployment (Conceptual Only)
Up until now, we've been running things on a local dev server. When actually operating a call center, there's a process to put the Plugin that worked locally onto production Flex. This article won't demonstrate the commands, but I'll introduce on a conceptual basis the flow that developers and operators will need to tackle next.
The process proceeds in three command stages.
twilio flex:plugins:build ・・・ Generates an optimized bundle for production using webpack. Since the subsequent deploy calls this internally, explicit execution can be omitted
twilio flex:plugins:deploy ・・・ Uploads the built bundle to Twilio's Plugins Service and registers it as a Plugin Version (e.g., 0.0.1). Versions are immutable once created
twilio flex:plugins:release ・・・ Creates a new Configuration pointing to a combination of Plugin Versions, and switches it as the current Release. This causes your Plugin to be loaded in the browser of agents who open flex.twilio.com in production
The conceptual hierarchy is as follows.
Plugin
The JavaScript module you write. Uniquely identified by Plugin name
Plugin Version
The artifact of a specific version. Immutable once deployed — cannot be changed
Configuration
A named bundle of Plugin Version combinations you want to enable. Also immutable once created
Release
A mutable pointer to the currently active Configuration. Rewriting this reflects changes in production
Rolling back is simply a matter of creating a new Release pointing to a past Configuration. Since Configurations never disappear, you can always return to any past combination at any time.
Environment Separation
Twilio Flex does not have built-in concepts for dev / staging / prod. Generally, one of the following approaches is used.
Separate accounts for development and production, and switch Twilio CLI profiles to deploy
Differentiate Plugin behavior using Worker attributes or feature flags, and operate so as not to increase the number of Plugin Versions too much
Adding --include-remote to the local dev server startup options allows you to inject only your local Plugin on top of Plugins that have already been released to production. This is useful for pre-production checks, as it allows you to preview in a state close to production.
Summary
In this article, we walked through the process of customizing the Twilio Flex React UI with a Plugin and verifying its behavior on a local dev server. We implemented color theme, header branding, text strings, and incoming call sounds, and also confirmed that labels derived from the TaskRouter Workspace, such as Activity names, cannot be changed through the string dictionary.
Deploying to production involves a build / deploy / release lifecycle via the Plugins Service, which this article covered only conceptually. We hope this article serves as a useful reference for those working on Twilio Flex customization.