Trying Processing Snowflake Data Using In-DB Tools in Alteryx Designer Desktop

I'm Sagara.
I've tried processing Snowflake data using Alteryx Designer Desktop's In-DB tools, so I'll summarize what I did.
Test Environment
- OS: Windows 11 64bit
- Alteryx Designer Desktop: 2025.1
Installing and Setting Up the ODBC Driver for Snowflake
First, I installed and set up the ODBC driver for Snowflake.
Installing the ODBC Driver
To connect from Alteryx Designer Desktop, I installed the ODBC driver for Snowflake. I used the official ODBC driver provided by Snowflake.
I downloaded the latest driver from the following link:
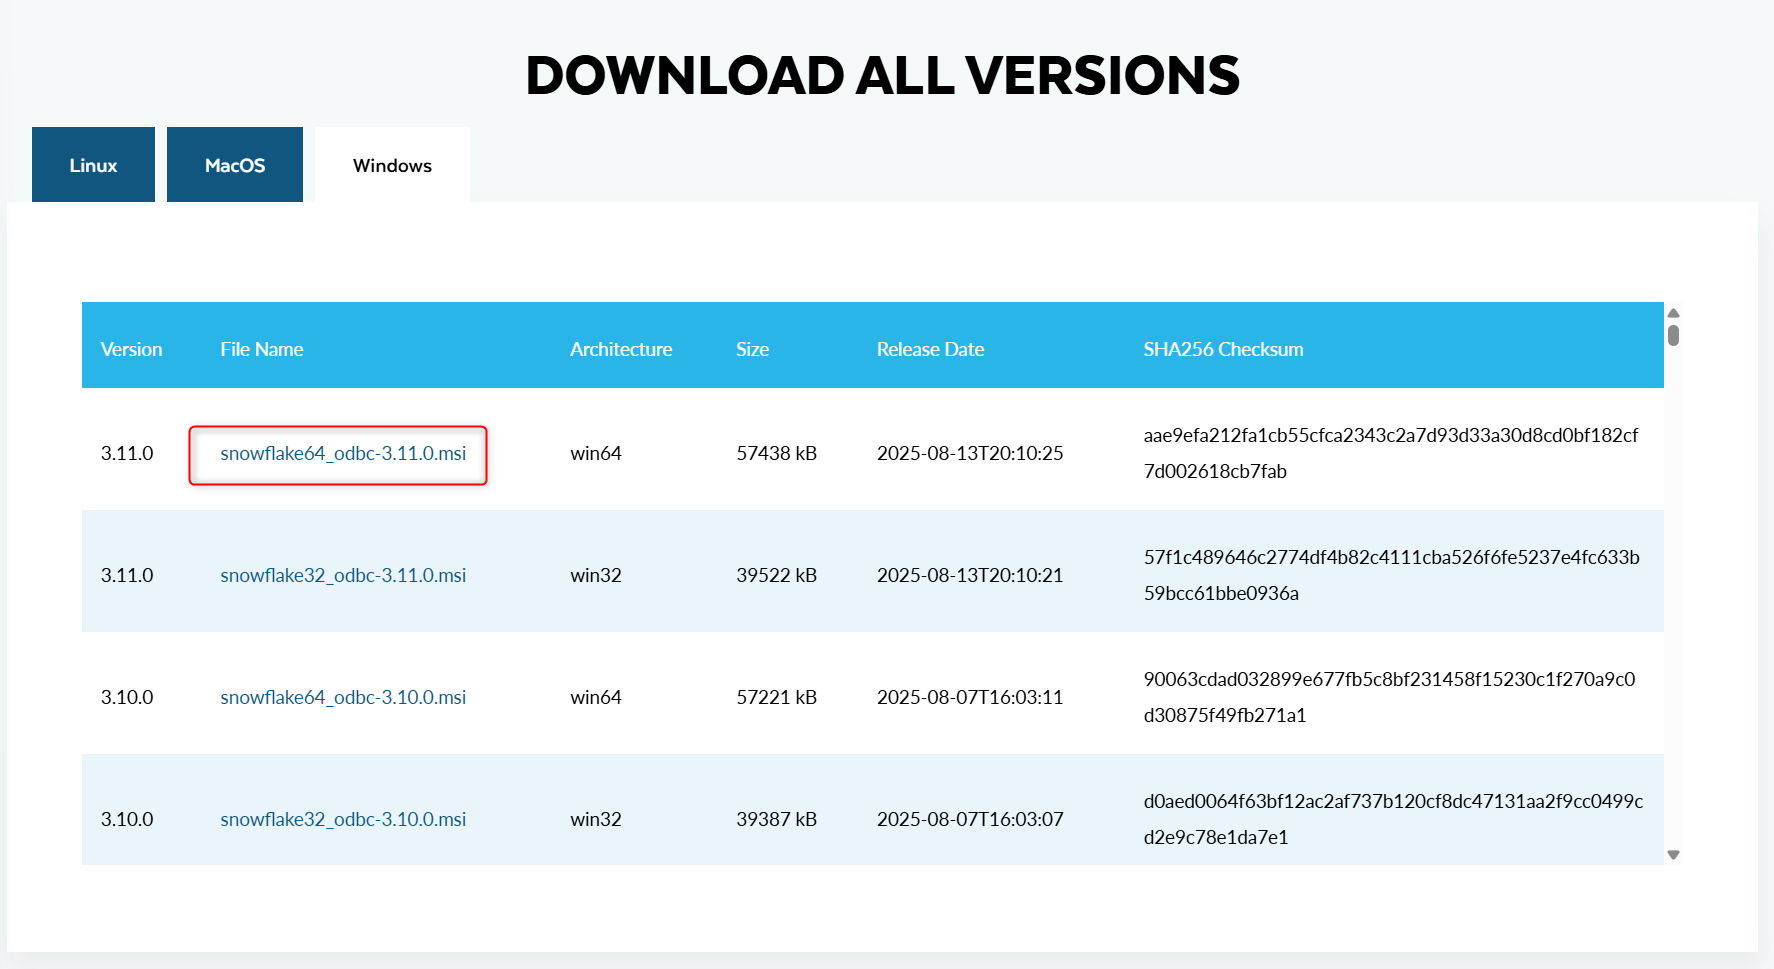
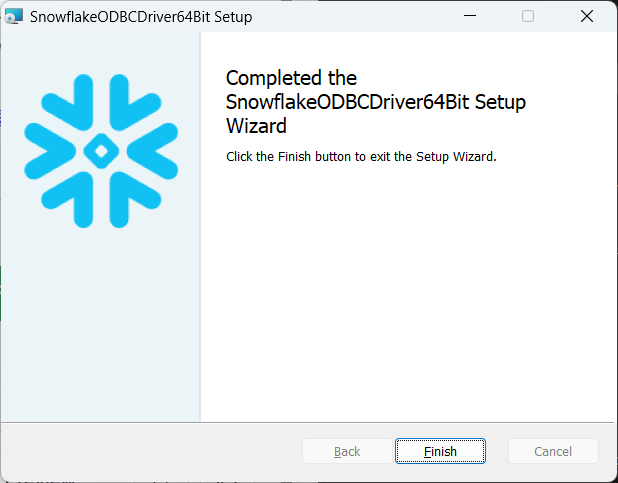
After launching and installing the downloaded msi file, if it displays as shown below, that's OK.
Setting Up the ODBC Driver
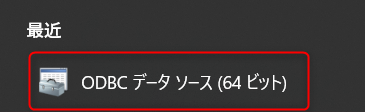
Launch the ODBC Data Source Administrator (64-bit).
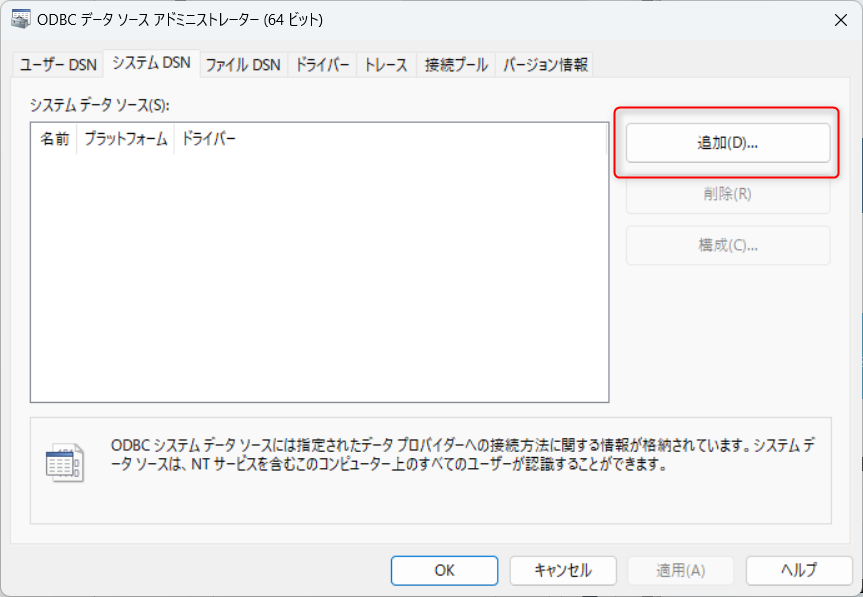
Click 'Add' in the 'System DSN'.
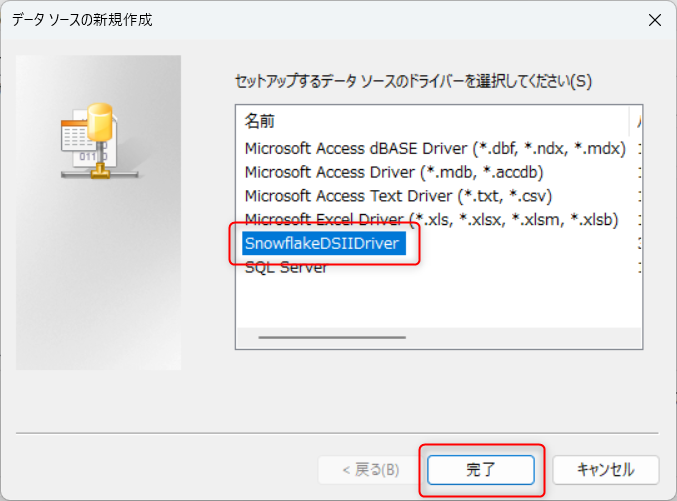
Select 'SnowflakeDSIIDriver' and click 'Finish'.
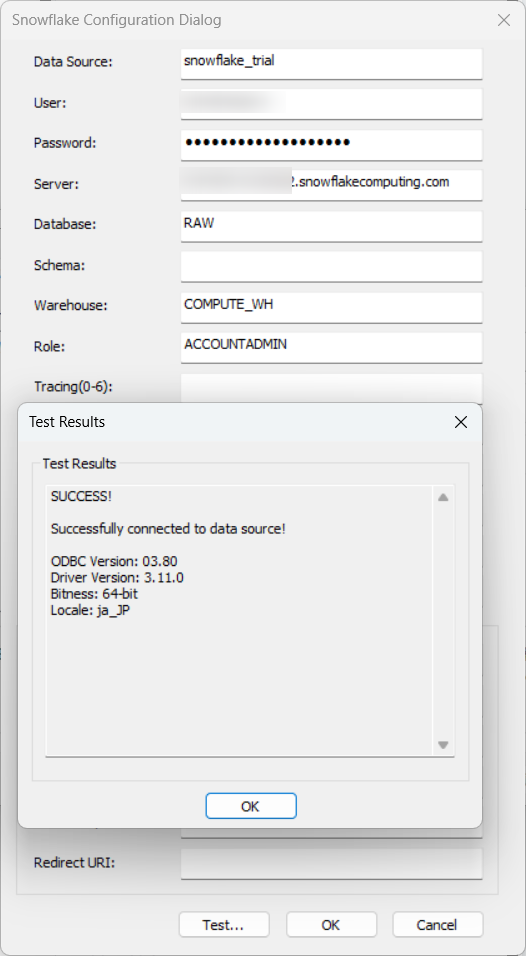
Enter the information required for connecting to Snowflake, and press 'Test'. If it displays as shown below, it means the connection is successful. Finally, press 'OK' to complete the setup.
 ## Connection Setup with Snowflake
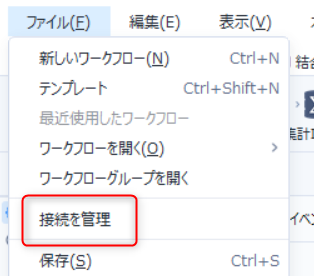
We will set up a connection with Snowflake. Click on File from the top left, then press Manage Connections.
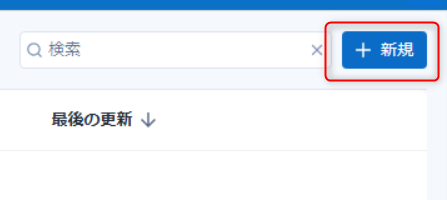
Press + New in the top right.
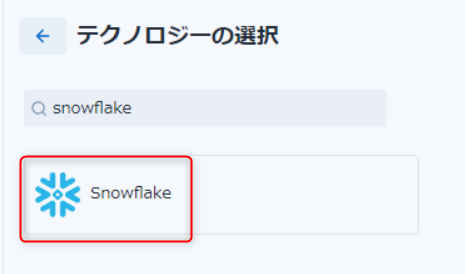
Select Snowflake.
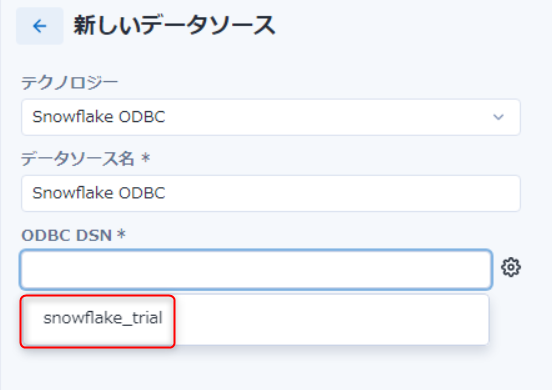
Select Snowflake ODBC for Technology, click on the ODBC DSN field, select the system DSN name you created earlier, and press Save in the top right.
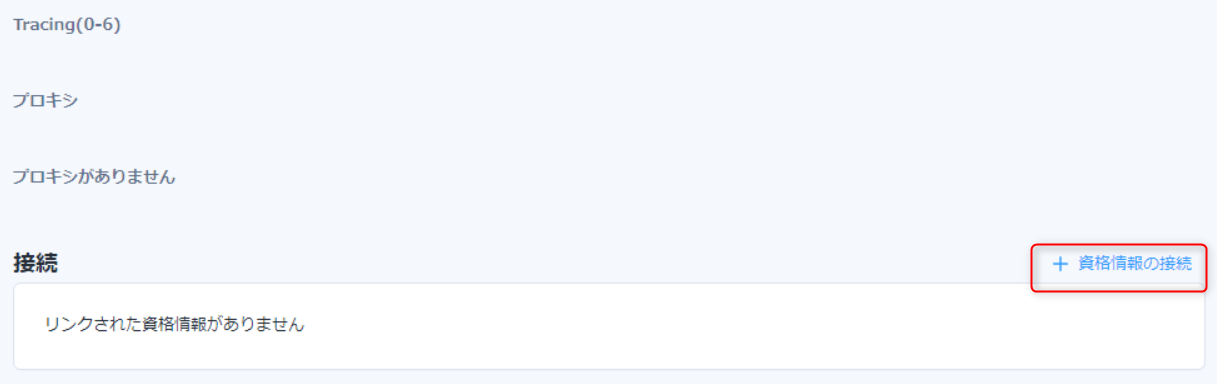
After saving, scroll down on the same screen and press + Connect Credentials.
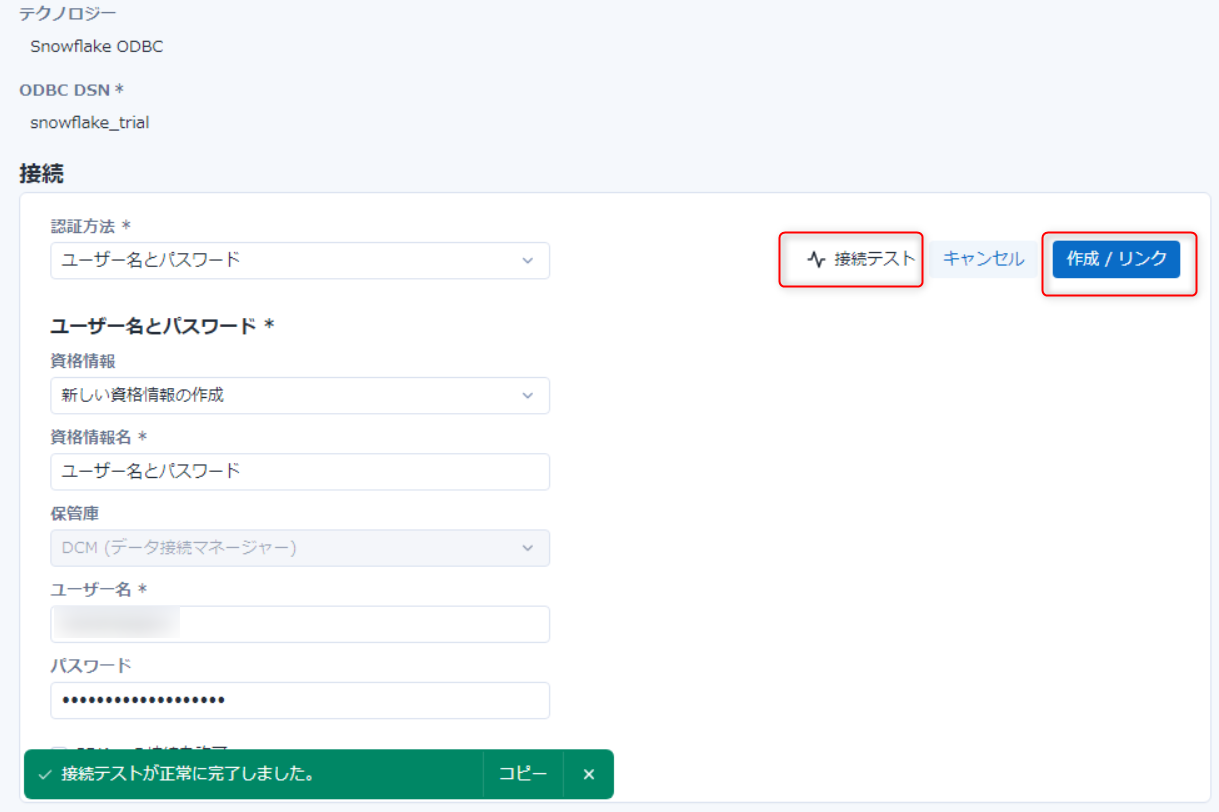
Then, enter the authentication information to use for the connection, and press Test Connection in the top right. If there are no issues, press Create/Link in the top right.
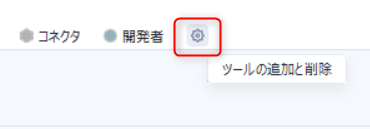
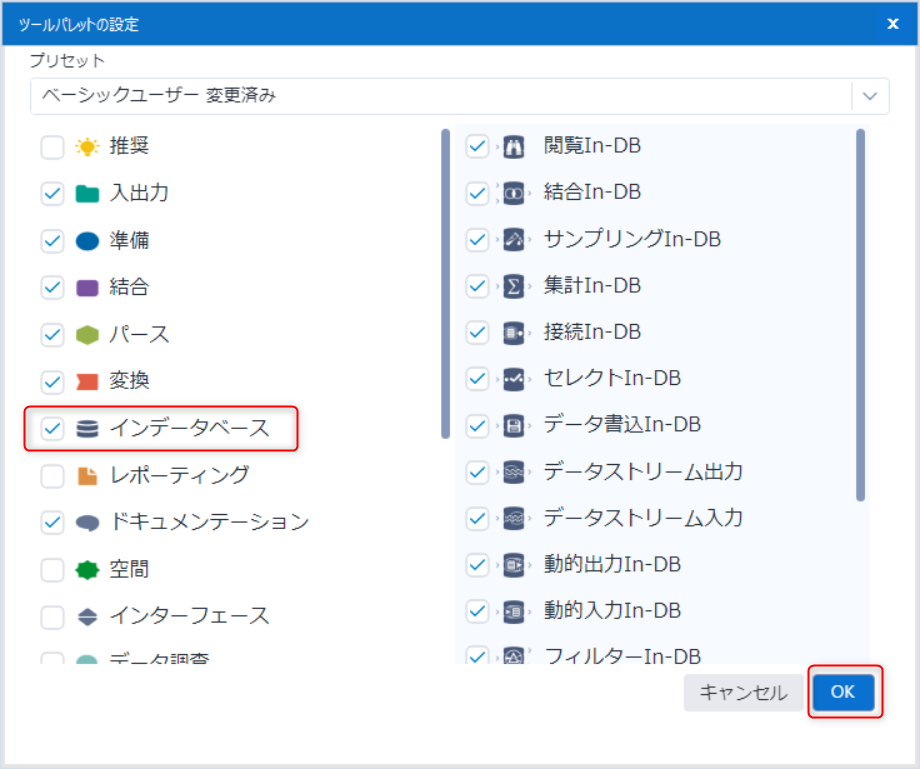
Displaying In-DB Tools
By default, In-DB tools are hidden, so check In-Database from the tool palette settings to display them.
 ## Connecting to Snowflake using "In-DB Connection"
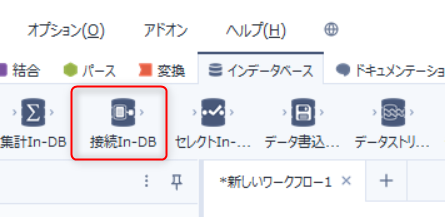
Select the "In-DB Connection" tool from the "In-Database" and drop it.
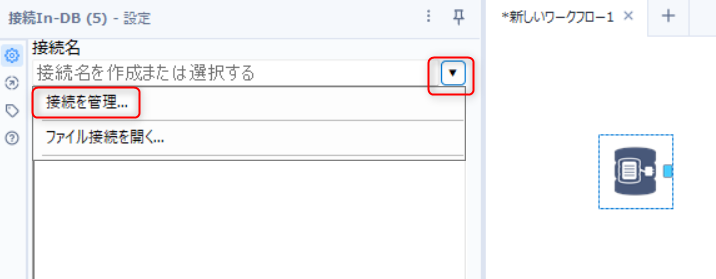
With the "In-DB Connection" tool selected, click on the "▼" next to "Connection Name" and then press "Manage Connections".
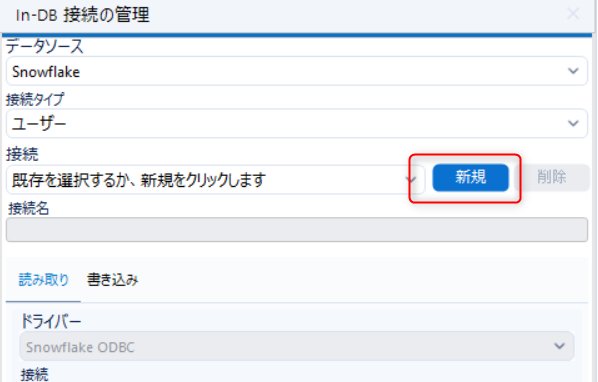
Change the "Data Source" to "Snowflake" and press "New".
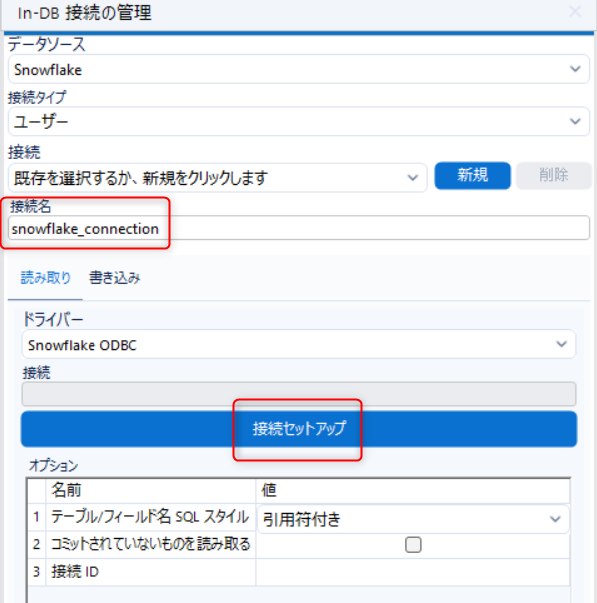
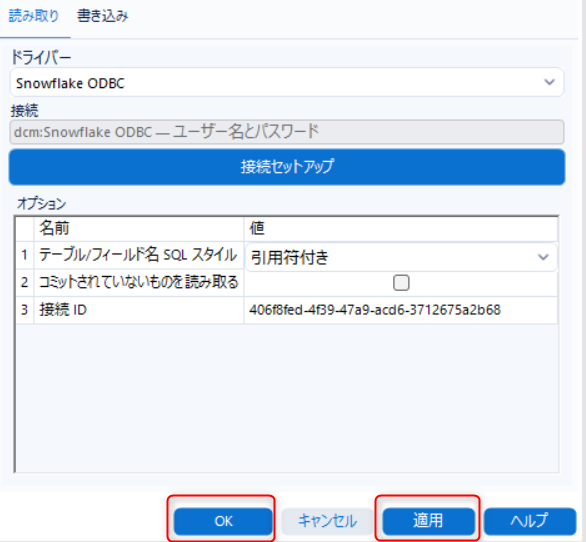
Enter any name in the "Connection Name" field and press "Connection Setup".
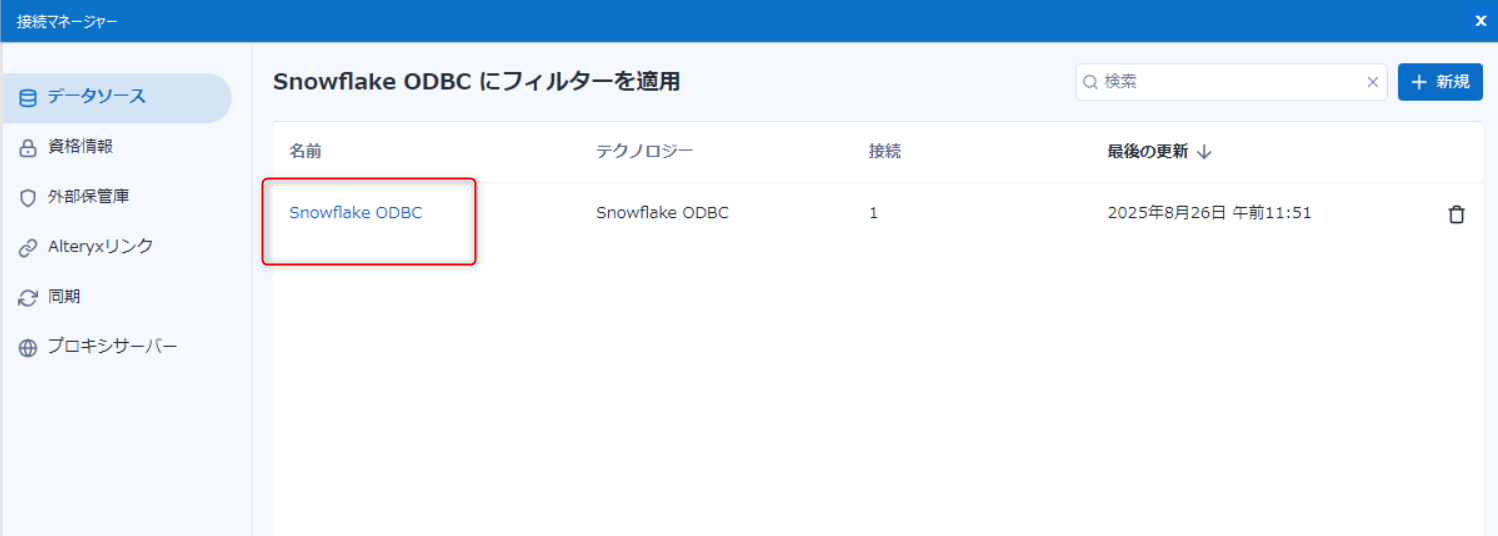
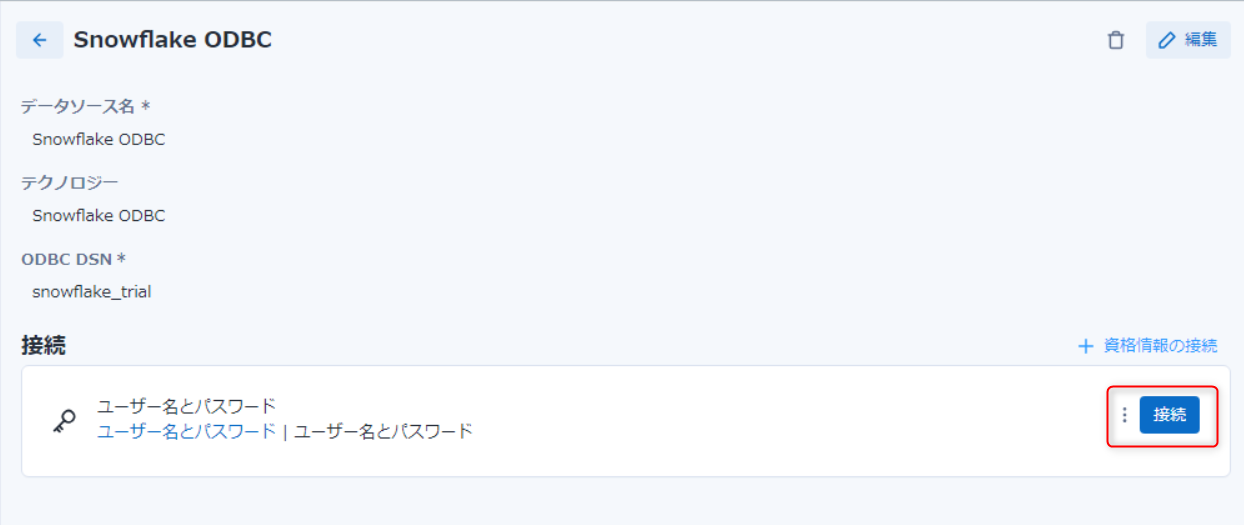
Select the previously created Snowflake connection and press "Connect" next to the created credential.
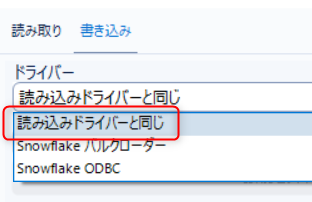
Next, move to the "Write" tab settings. Select "Same as Read Driver".
Finally, press "Apply" and then "OK".
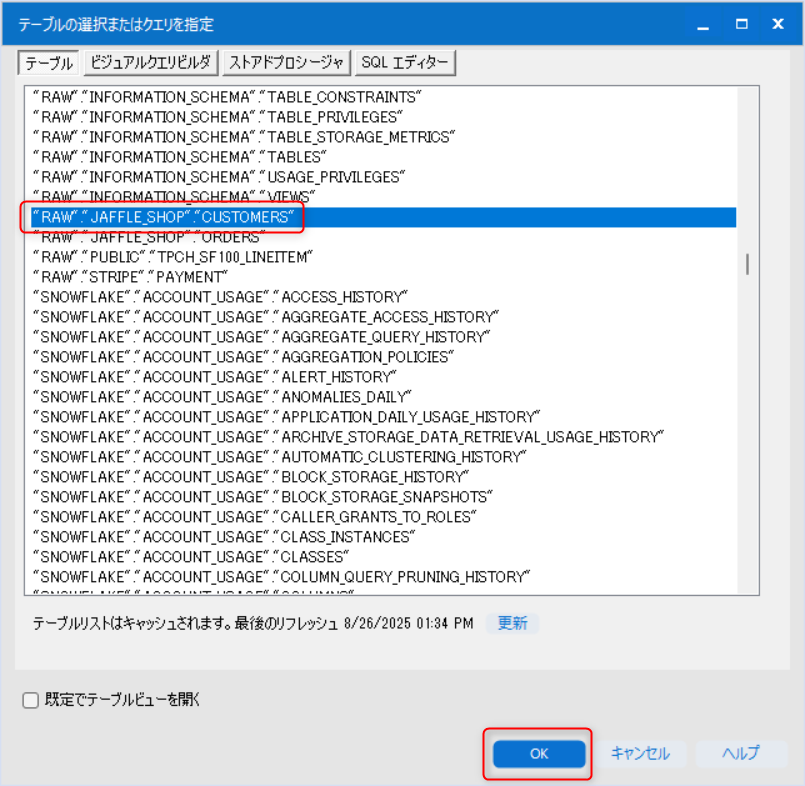
After that, a screen will appear where you can select tables or write queries as shown in the image below.
This time, select the table you want to use from the "Tables" tab and press "OK".
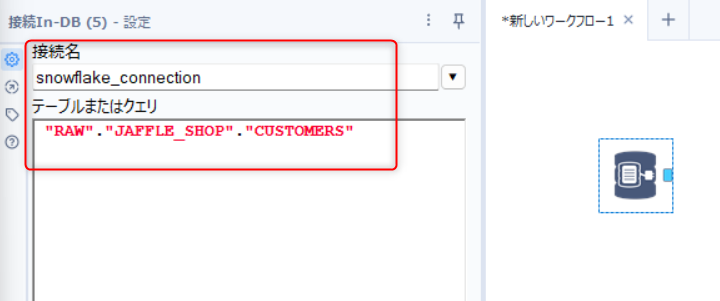
After this, when the selected table is displayed as shown below, you have completed the table selection.
 ## Creating Workflows Using Tools Like "Aggregate In-DB" and "Join In-DB"
Now, we will perform the actual processing we want to create.
I'll skip the detailed explanation, but I've added another table and created a workflow as shown in the diagram below.
Aggregate In-DB
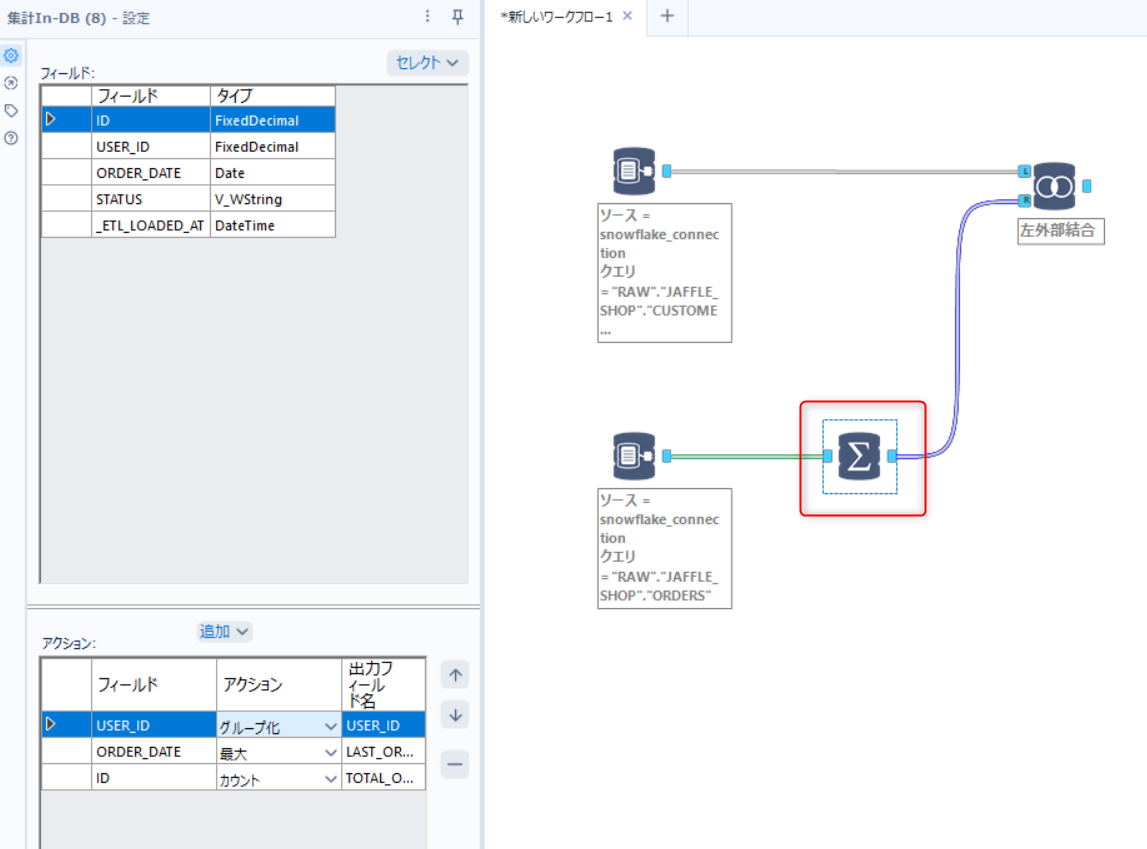
Join In-DB

Using "Browse In-DB" to Check Intermediate Data Results
Alteryx Designer Desktop's In-DB toolkit includes a tool called Browse In-DB which not only allows you to check intermediate data results in your workflow but also lets you see what queries are being executed on Snowflake.
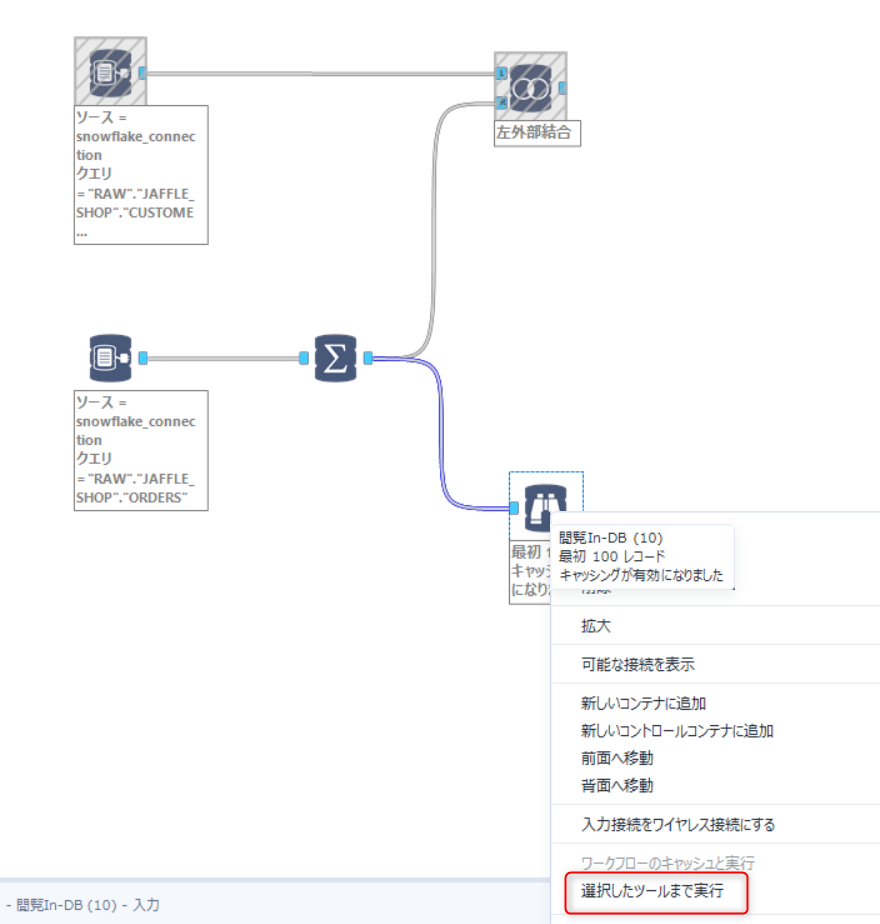
Drop the Browse In-DB tool as shown in the diagram below, connect it to the Aggregate In-DB tool, and press Run Selected Tool.
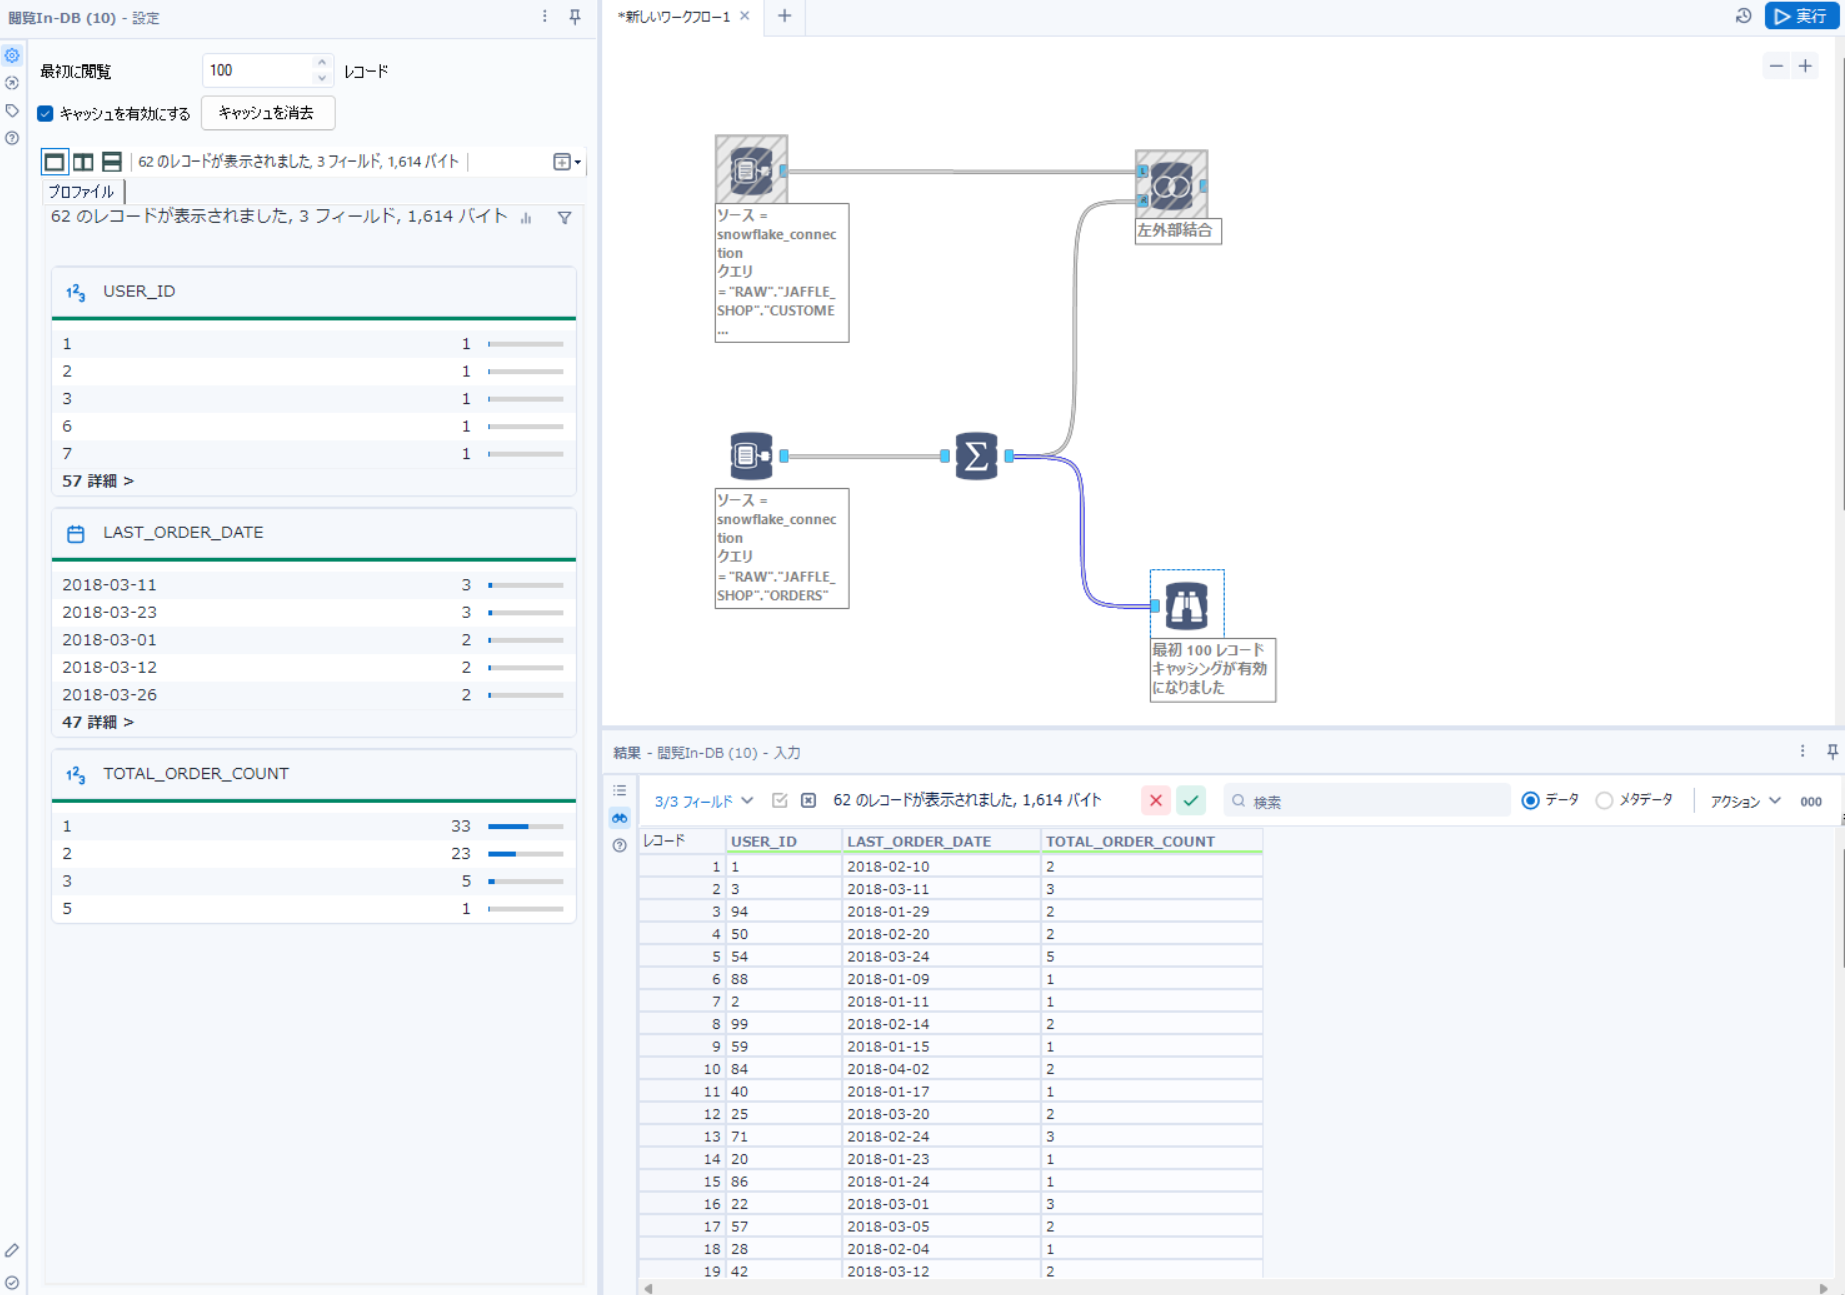
As a result, you can check not only the list of output records but also the distribution of data in each column as shown below.
When looking at the QUERY_HISTORY in Snowflake, you can see that SELECT statements separated by WITH clauses are executed for each tool.
WITH "Tool1_91c6" AS (SELECT * FROM "RAW"."JAFFLE_SHOP"."ORDERS"), "Tool2_6eda" AS (SELECT "USER_ID", MAX("ORDER_DATE") AS "LAST_ORDER_DATE", COUNT(*) AS "TOTAL_ORDER_COUNT" FROM "Tool1_91c6" GROUP BY "USER_ID") SELECT * FROM "Tool2_6eda" LIMIT 100
 ## Output Data as a Snowflake Table Using "Output Data In-DB"
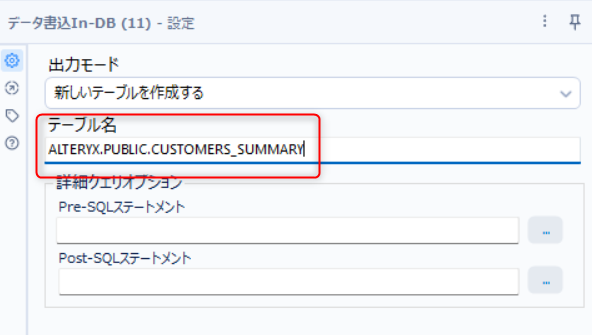
Finally, we will output the data transformed through the workflow as a table in Snowflake using the Output Data In-DB tool.
Drop the Output Data In-DB tool and enter the name of the destination table in the settings on the left. If you enter something like ALTERYX.PUBLIC.CUSTOMERS_SUMMARY, you can output to a different database or schema.
After completing these settings, press Run in the upper right to execute the entire workflow.
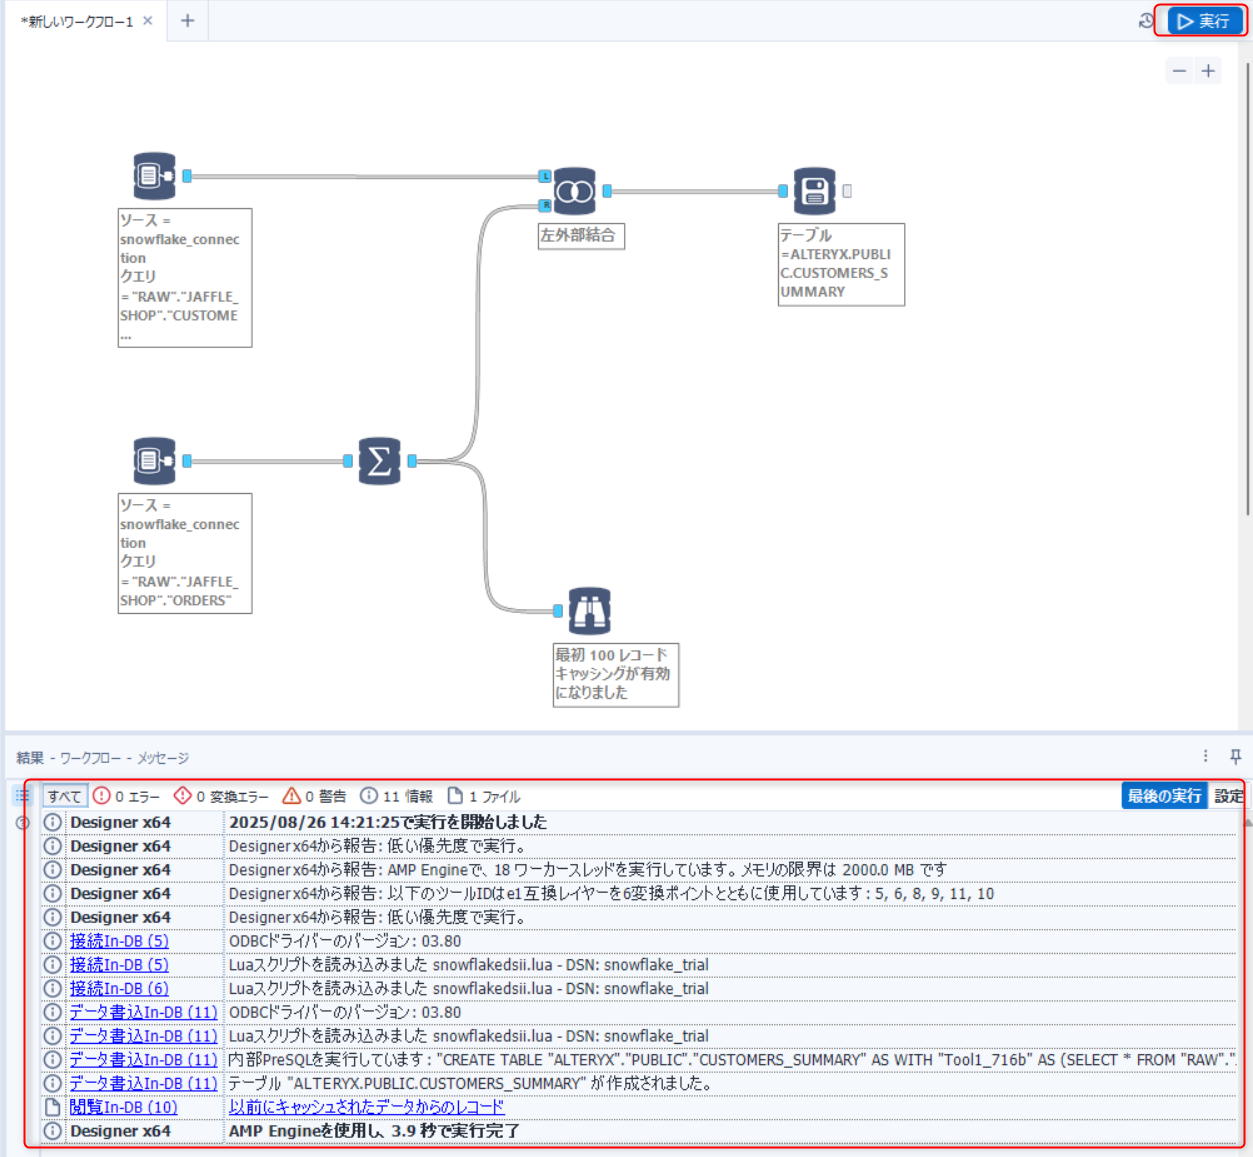
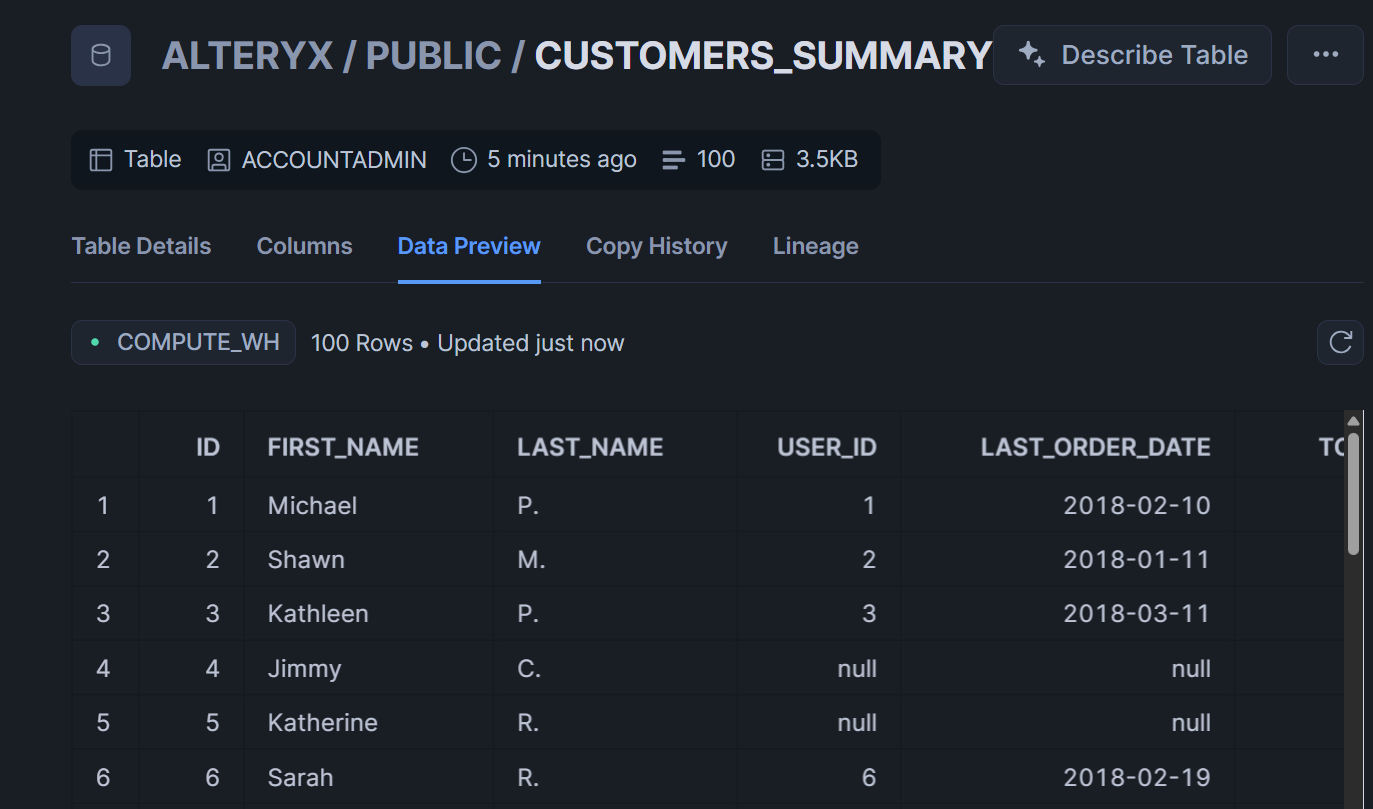
When the execution completes successfully, you can see that the table has been created in Snowflake.
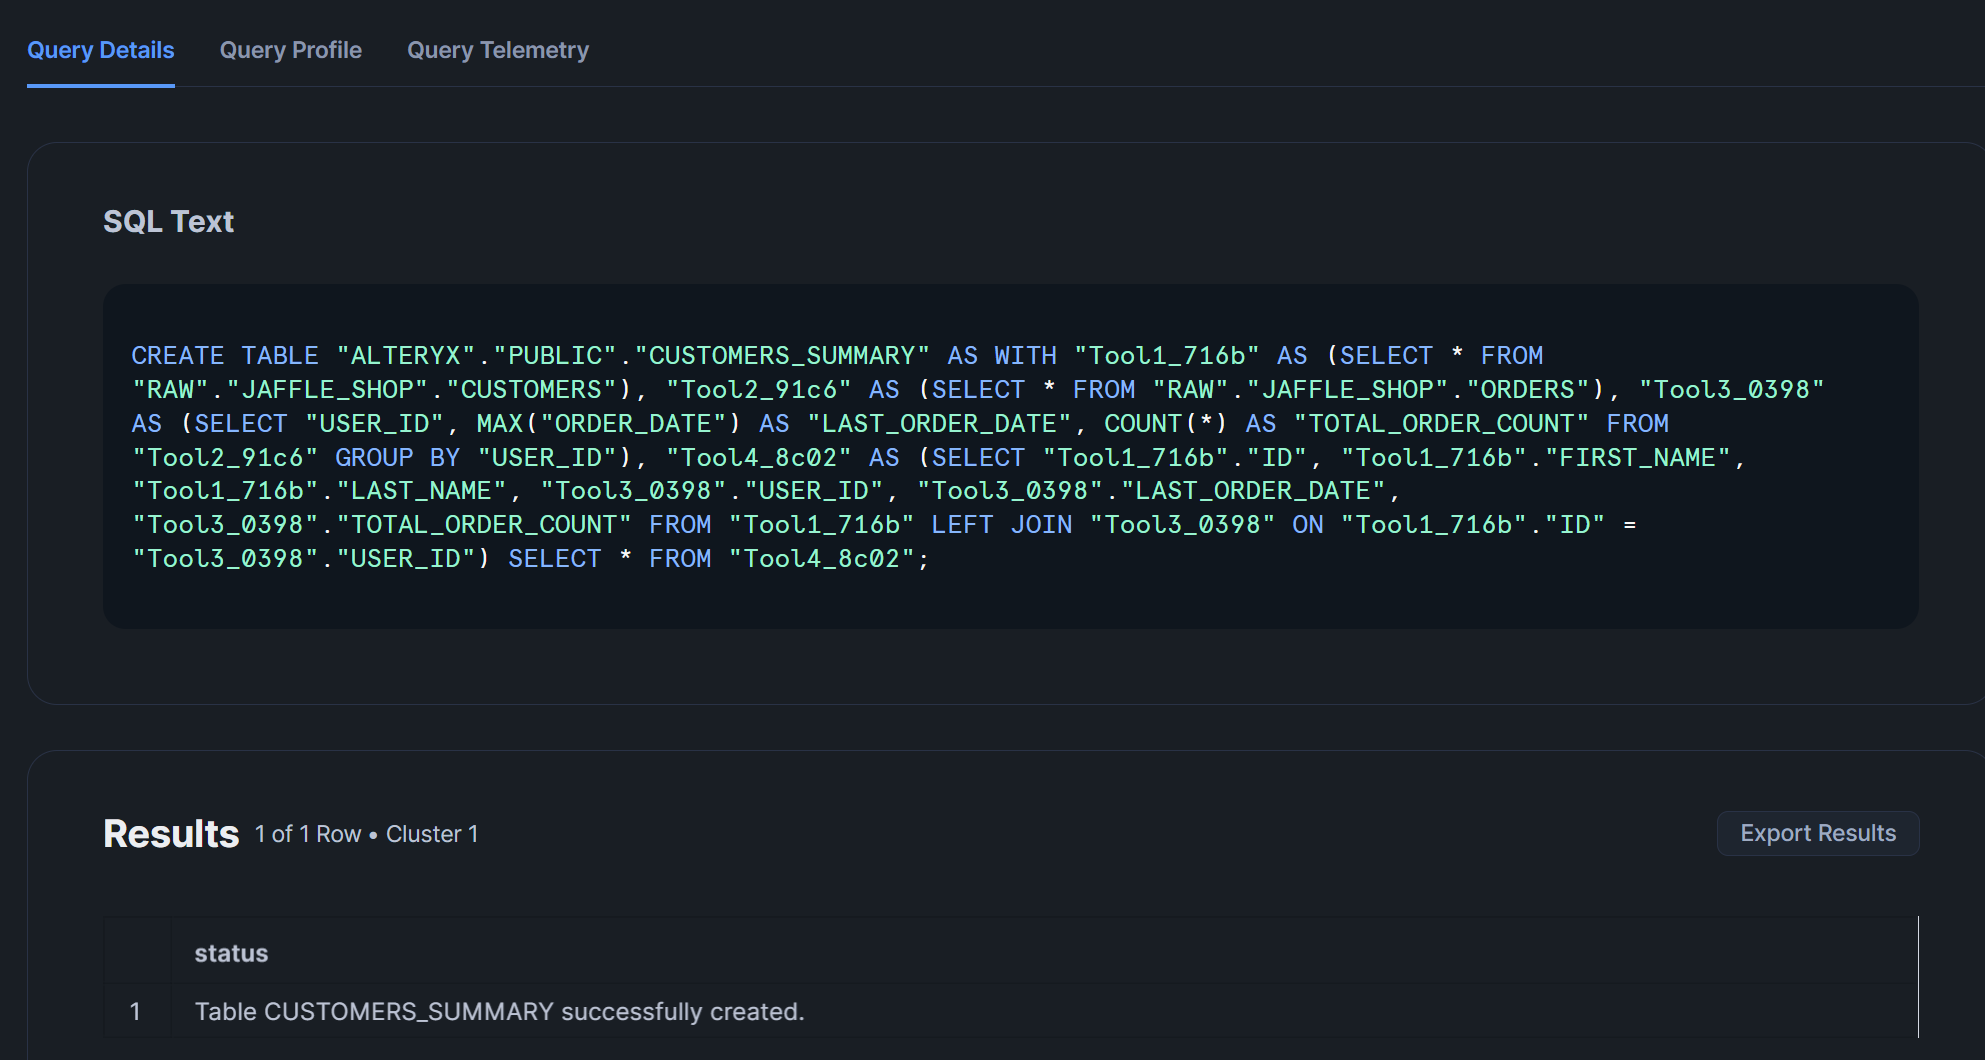
Looking at the QUERY_HISTORY in Snowflake, we can see that a CTAS statement was executed based on SELECT statements separated by WITH clauses for each tool.
In Conclusion
We processed Snowflake data using the In-DB tools of Alteryx Designer Desktop and created a table.
I felt that the way Snowflake queries are generated with WITH clauses for each tool makes the SQL highly readable!