I tried integrating Amazon WorkSpaces Secure Browser with Microsoft Entra ID using SAML federation

This page has been translated by machine translation. View original
Introduction
Amazon WorkSpaces Secure Browser allows you to authenticate users using an external identity provider that supports SAML 2.0.
In this article, we configured Microsoft Entra ID as an external IdP and confirmed that we can log in to the WorkSpaces Secure Browser portal using SAML authentication.
When accessing the portal URL, you are redirected to the Microsoft Entra ID sign-in screen, and after authentication, you can start a Secure Browser session.
Prerequisites
Communication from Secure Browser sessions to the internet uses a Regional NAT Gateway.
The following prerequisites apply in this article.
- Verification region:
ap-northeast-1 - A VPC for WorkSpaces Secure Browser has been created
- Two private subnets in different Availability Zones have been created
- A Regional NAT Gateway has been created
- The default route for the private subnets has been set to the Regional NAT Gateway
- A security group for WorkSpaces Secure Browser has been created
- A Microsoft Entra ID user for verification has been created
The VPC in this article has the following configuration.
VPC
├── Private Subnet 1 / ap-northeast-1a
│   └── For WorkSpaces Secure Browser
│
├── Private Subnet 2 / ap-northeast-1c
│   └── For WorkSpaces Secure Browser
│
└── Regional NAT Gateway
The route table associated with the private subnets has the following routes configured.
| Destination | Target |
|---|---|
| VPC CIDR | local |
0.0.0.0/0 |
Regional NAT Gateway |
Create a WorkSpaces Secure Browser Portal
Open WorkSpaces Secure Browser from the AWS Management Console and create a portal.

Screen for creating a WorkSpaces Secure Browser portal
Temporarily Configure the Network
The portal creation screen requires you to select a VPC, subnets, and security group.
In this article, we clicked through to the service provider configuration after selecting the standard IdP but closed the screen without completing it. As a result, the network settings selected during portal creation were left unconfigured in the created portal.
On this screen, temporarily select a VPC, subnets, and security group in order to proceed with portal creation.
The network actually used in Secure Browser sessions will be configured again from the [Network] tab of the portal after SAML federation with Microsoft Entra ID is complete. The specific steps are described later in "Configure the Network."
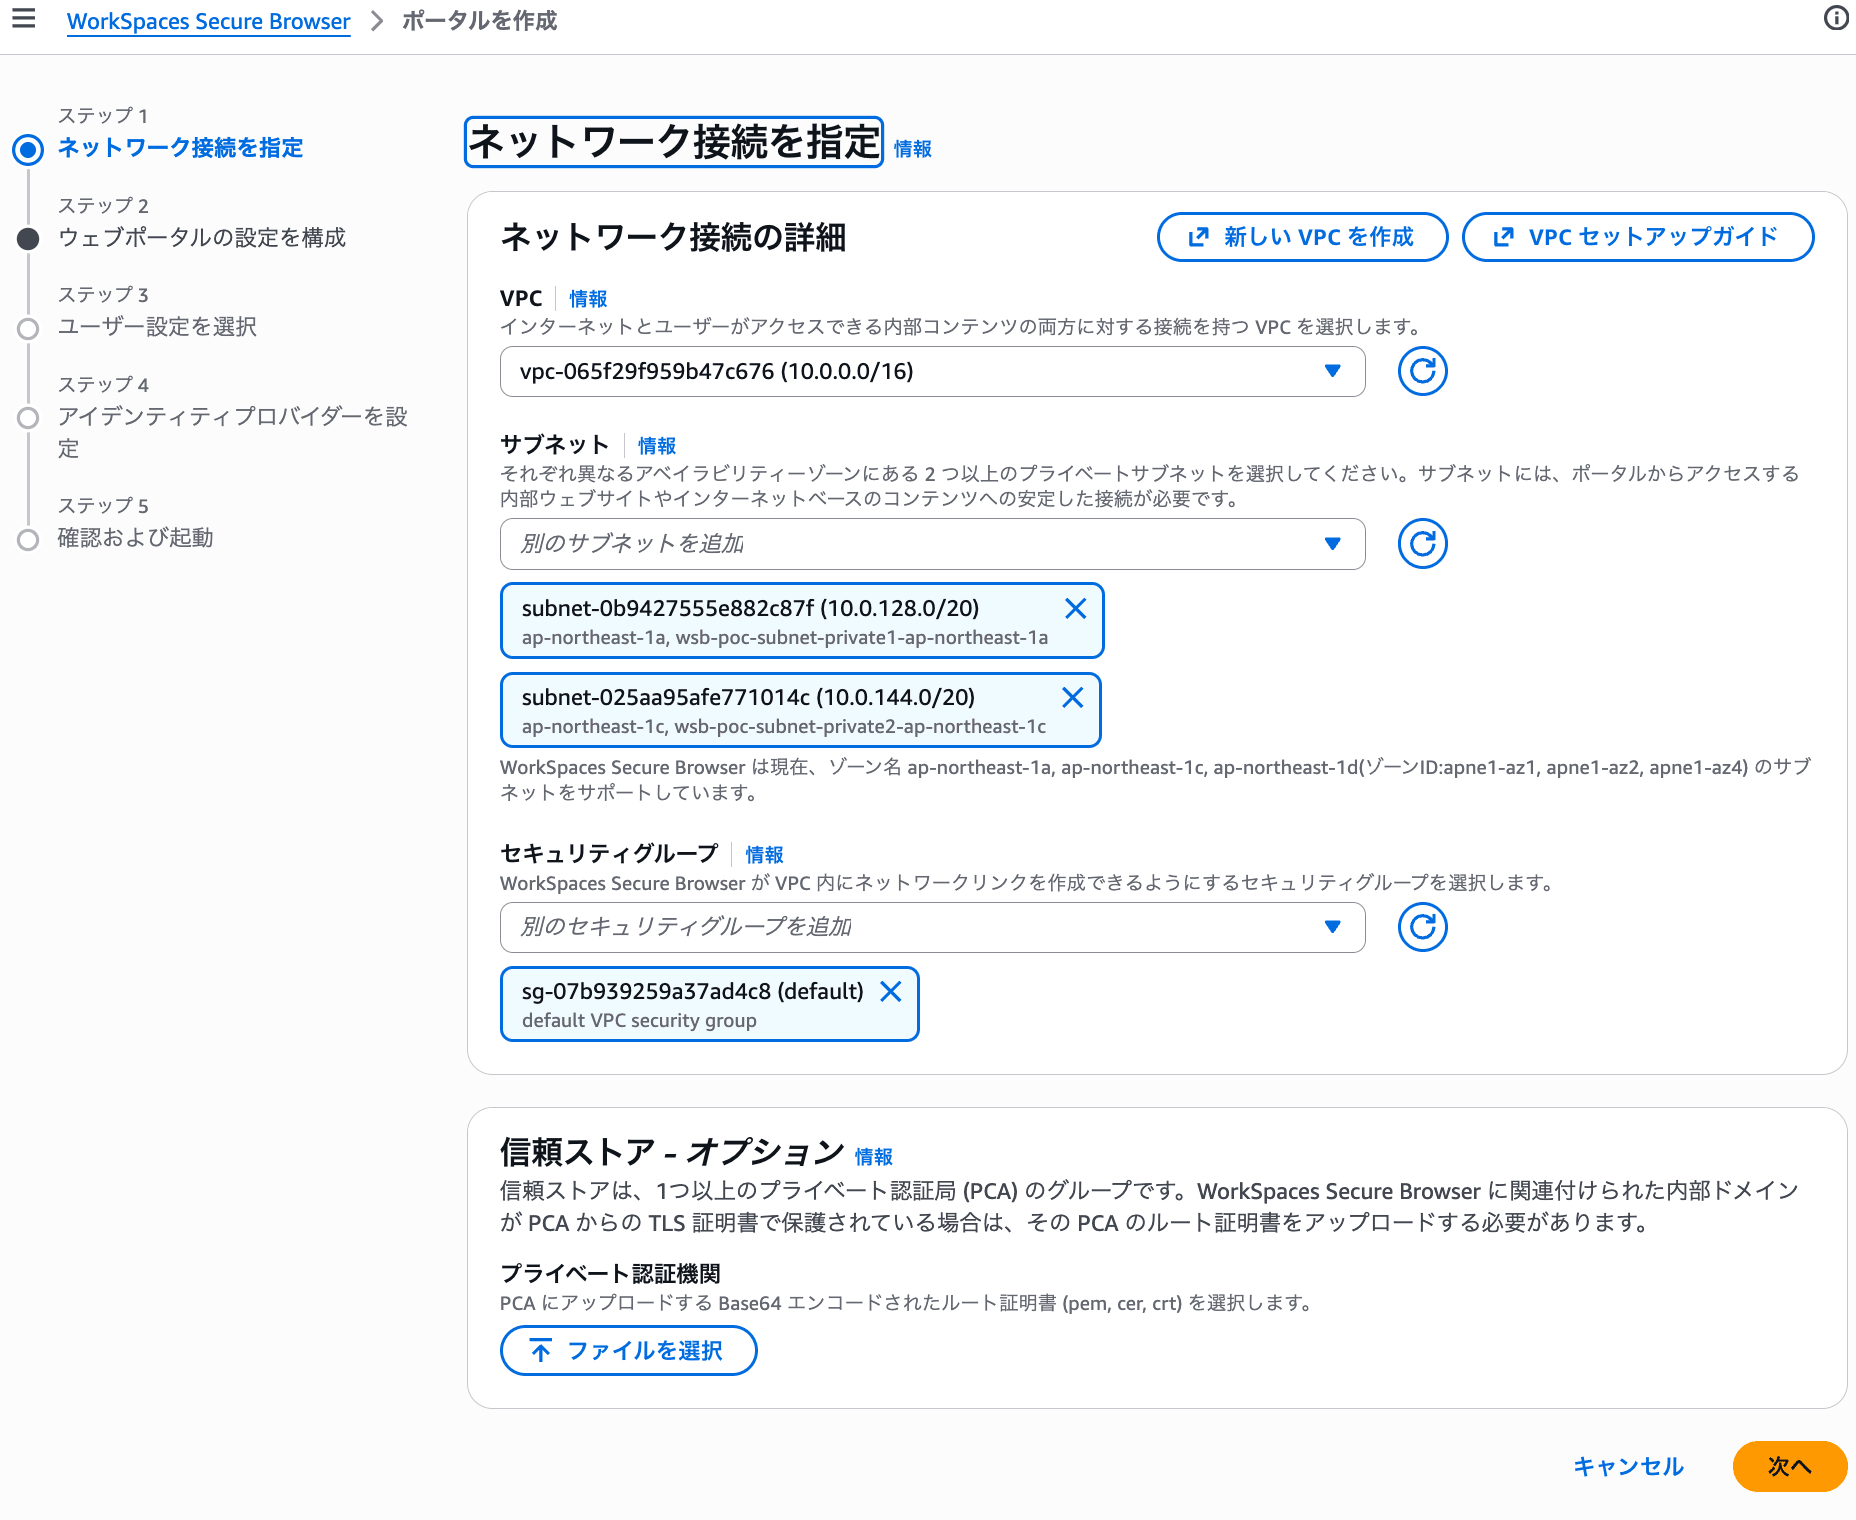
Screen for temporarily selecting a network to proceed with portal creation
Enter Portal Settings
The following settings were configured for the portal.
- Display name:
wsb-poc - Maximum portal capacity:
1 - Other settings: Default
The maximum portal capacity is the upper limit on the number of sessions that can be used simultaneously. Since the purpose here is to verify operation, we set it to 1.
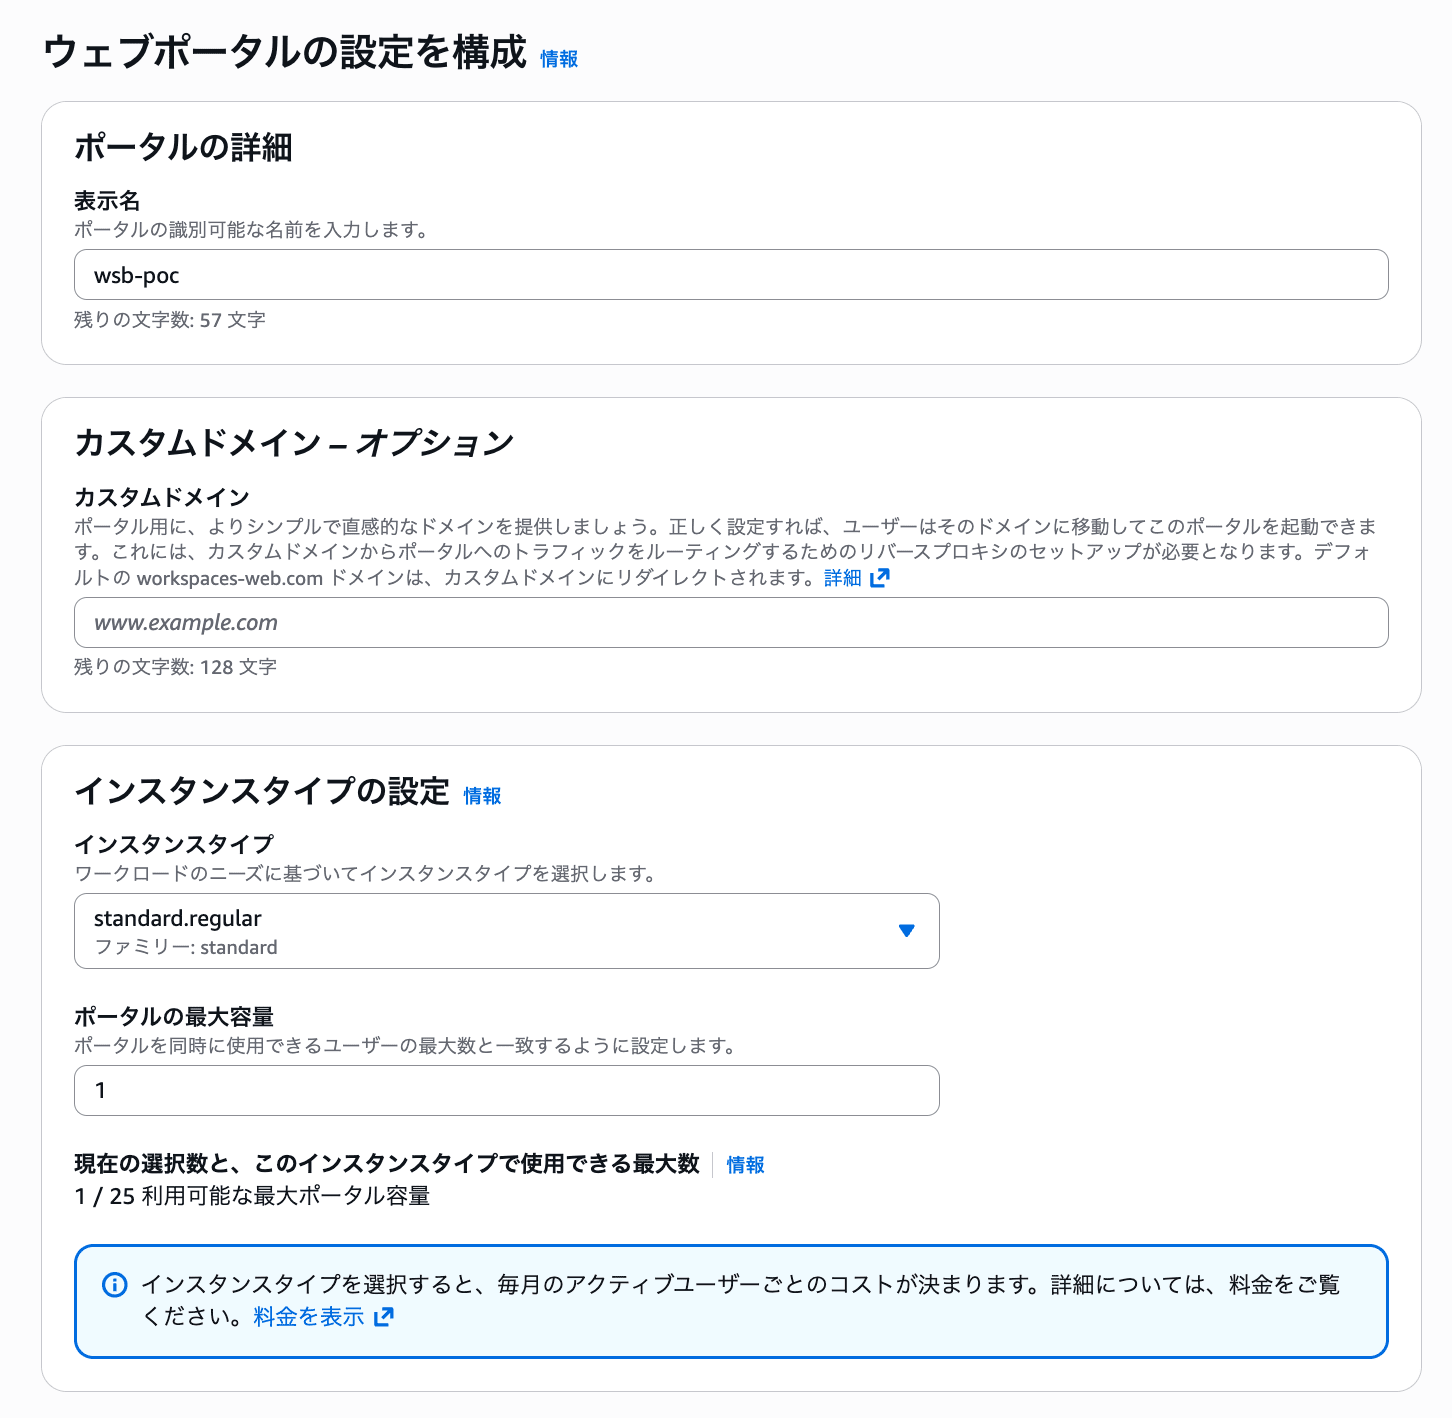
Screen for setting the portal display name and maximum capacity
Select the Standard IdP
Standard authentication is used as the authentication method.
Clicking [Continue with standard IdP] automatically creates the WorkSpaces Secure Browser portal.
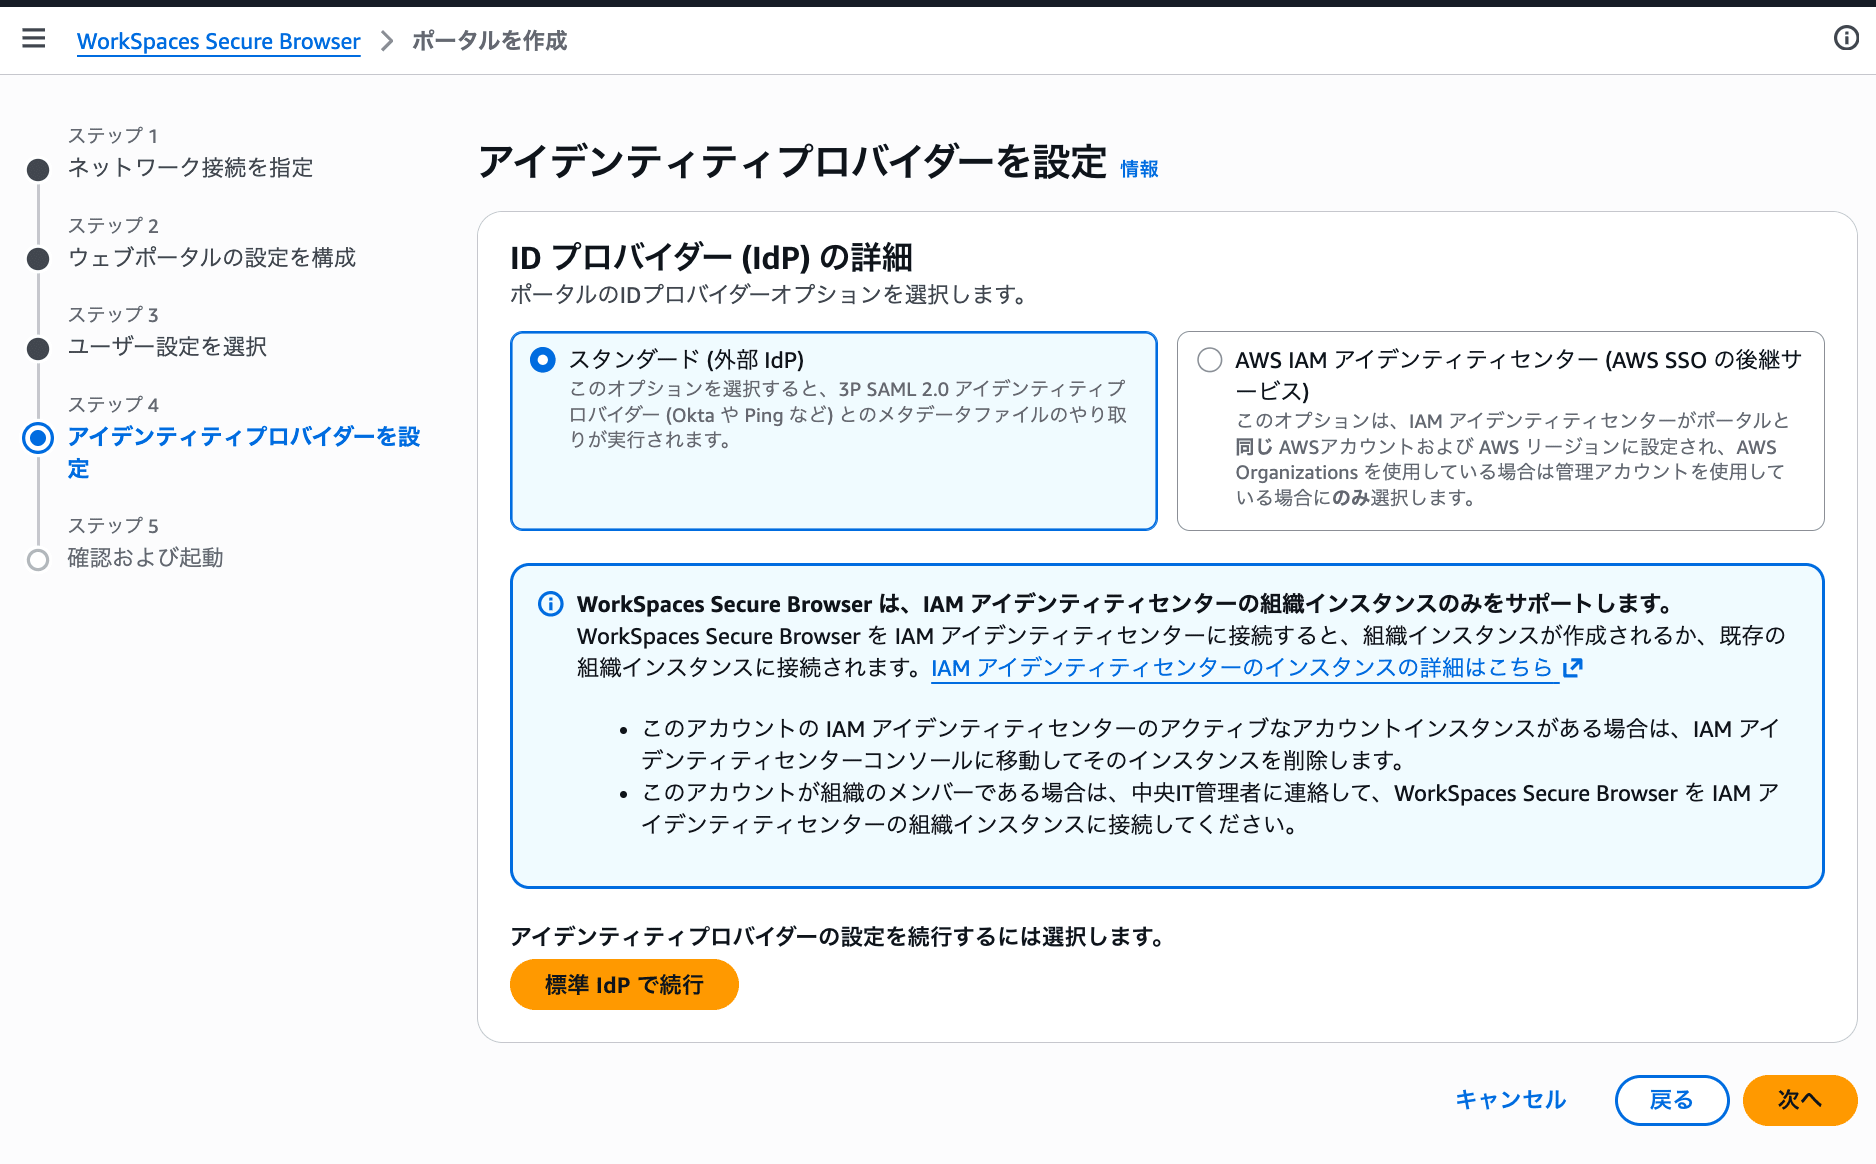
Screen for selecting the standard IdP and creating the portal
After the portal is created, you can proceed with the service provider configuration.
However, if you are unable to perform the Microsoft Entra ID operations at the same time, you can close the screen without any issues. After configuring Microsoft Entra ID, you can set it up from the [Identity Provider] tab of the portal.
In this article, we closed the screen without completing the service provider configuration.
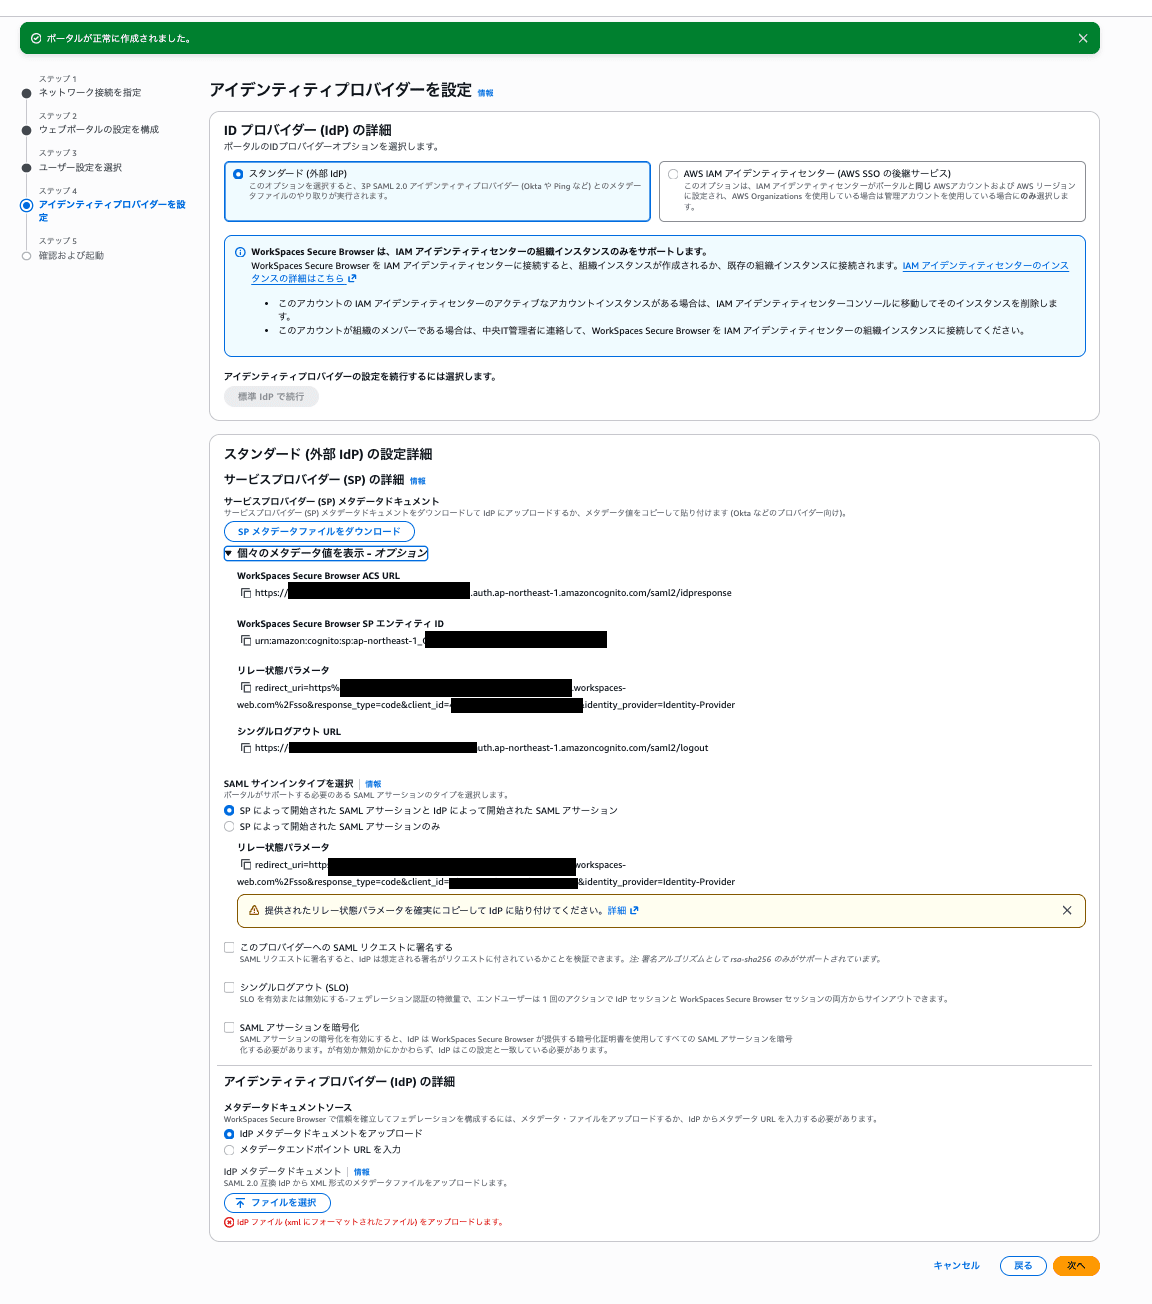
Screen for continuing the service provider configuration
Until the Microsoft Entra ID IdP metadata is registered, the portal status will be displayed as [Incomplete].
Download the SP Metadata
Open the [Identity Provider] tab of the created portal.
Click [Download SP metadata file] under [Service Provider (SP) Details] to download the XML file.
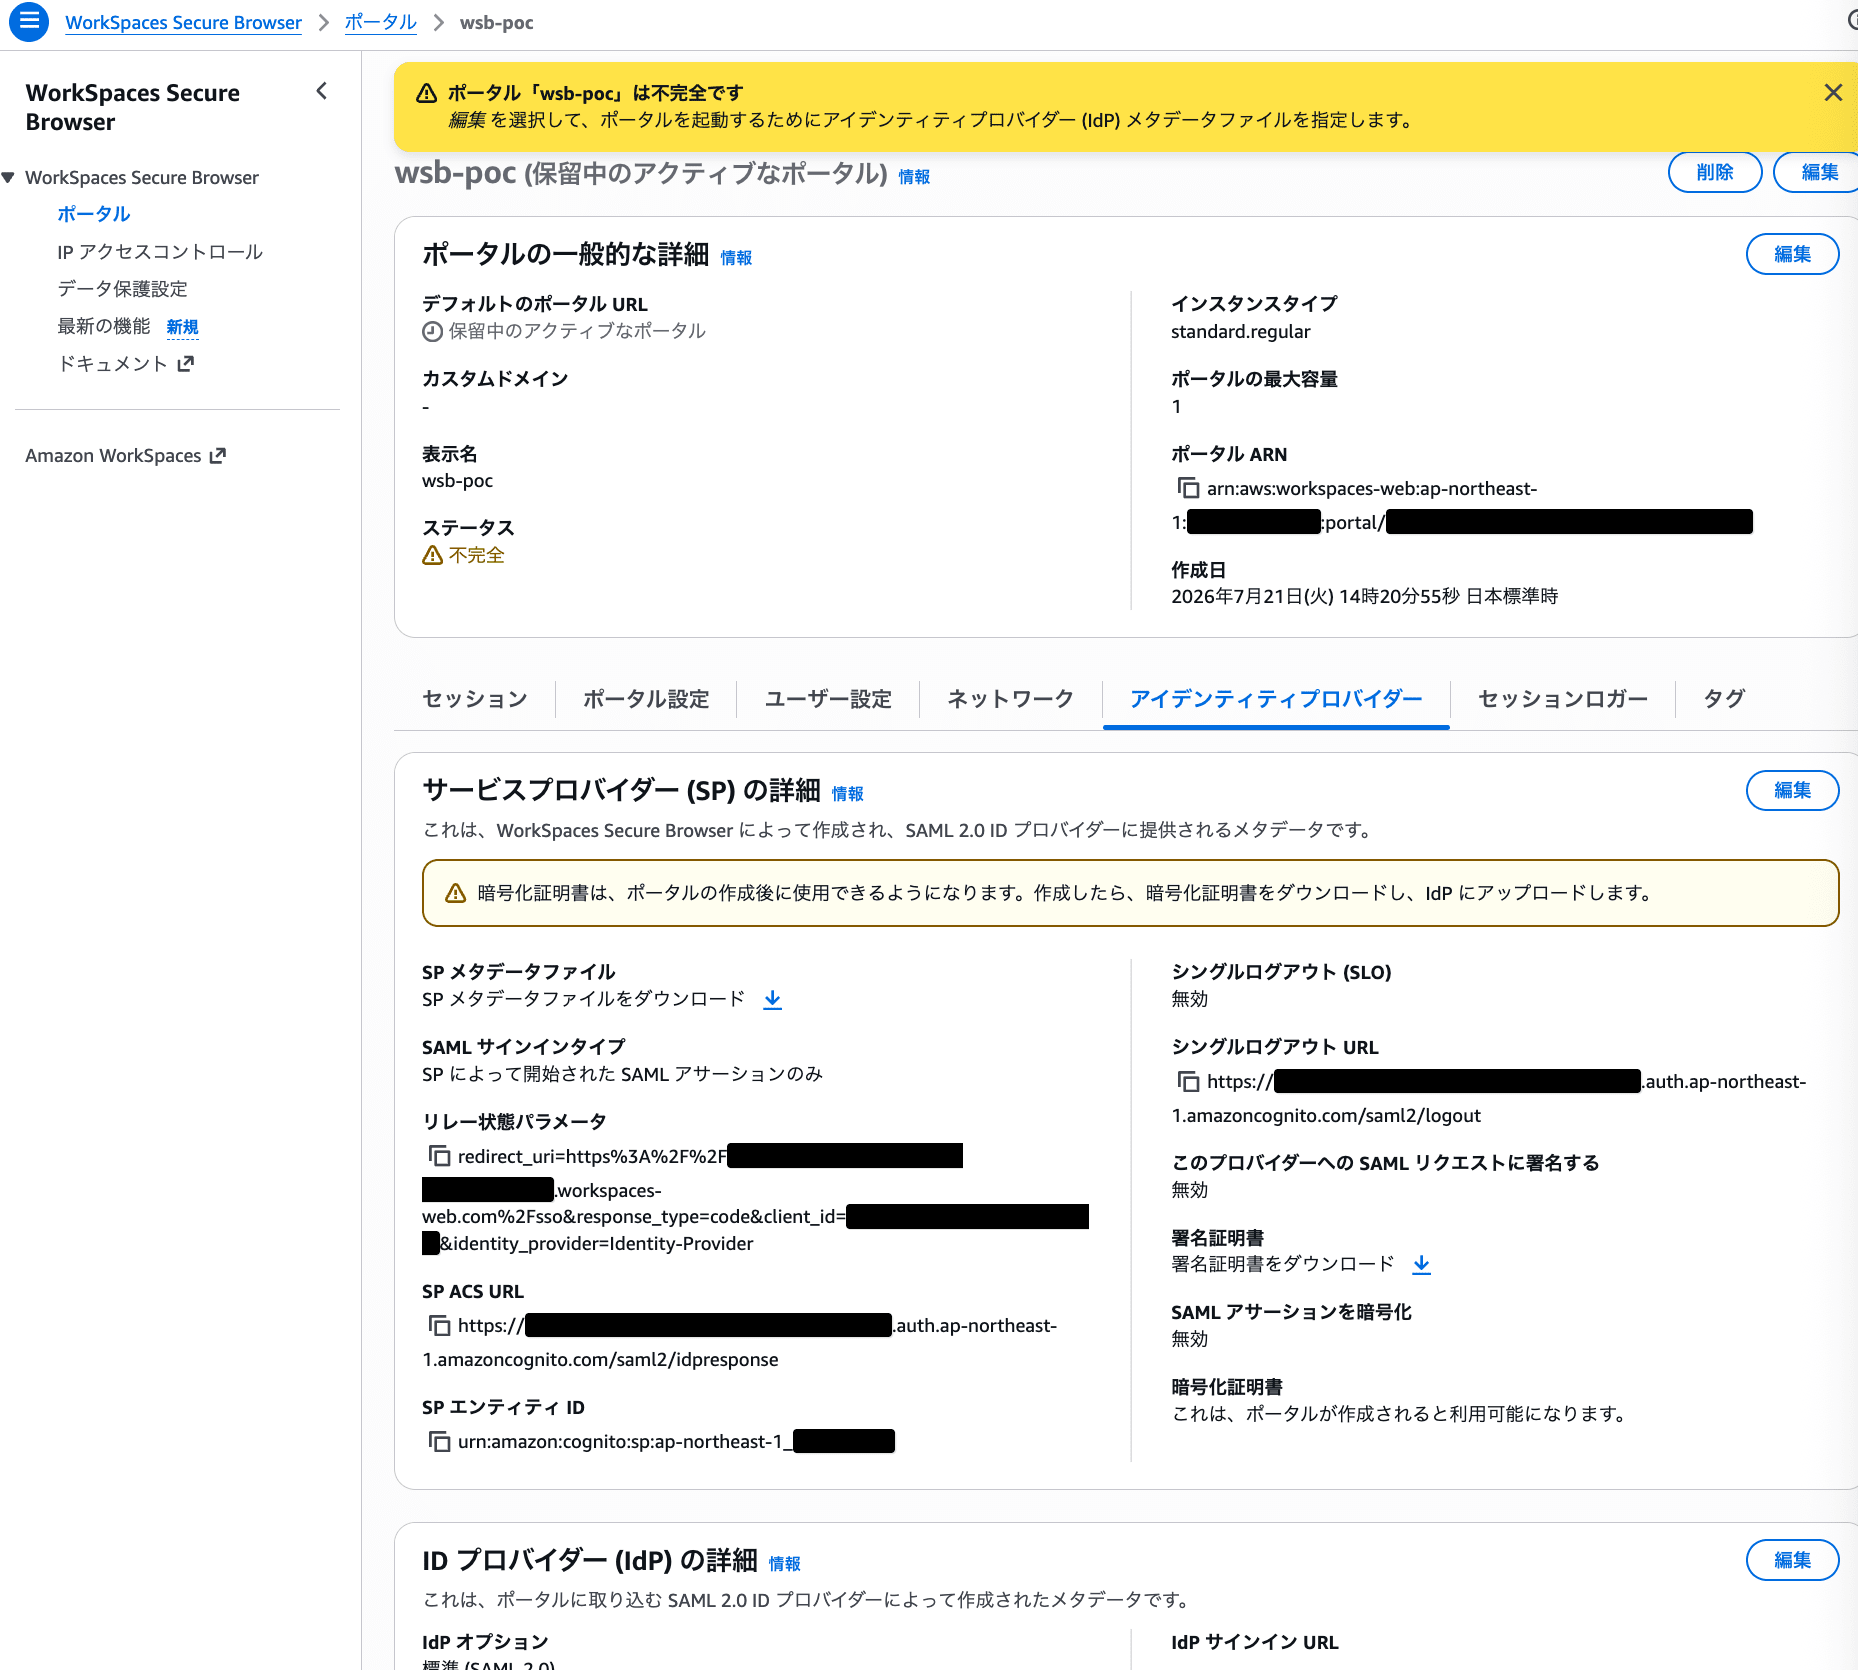
Screen for downloading the WorkSpaces Secure Browser SP metadata file
What you download here is the SP metadata file, not the signing certificate or encryption certificate.
The SP metadata contains the following information required for SAML configuration on the Microsoft Entra ID side.
- SP Entity ID
- SP ACS URL
- Single Logout URL
- Settings related to SAML signing and encryption
In this article, the following settings are used on the WorkSpaces Secure Browser side.
- Sign SAML requests: Disabled
- Encrypt SAML assertions: Disabled
- Single Logout: Disabled
Therefore, the signing certificate and encryption certificate were not registered with Microsoft Entra ID.
Configure Microsoft Entra ID
Open the Azure portal.
Create an Enterprise Application
Open [Microsoft Entra ID] in the Azure portal and click [Enterprise applications].
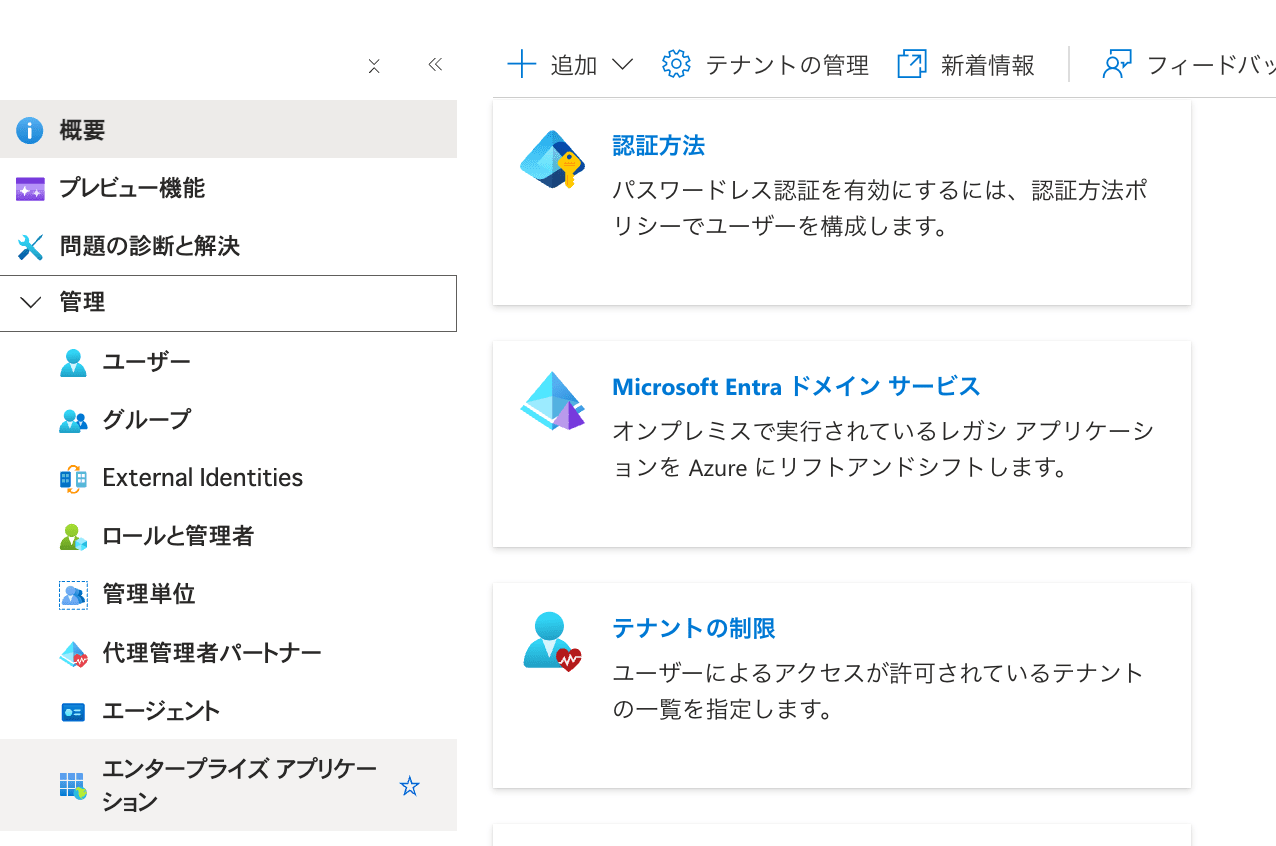
Screen for opening Enterprise applications from Microsoft Entra ID in the Azure portal
From [All applications], click [New application].
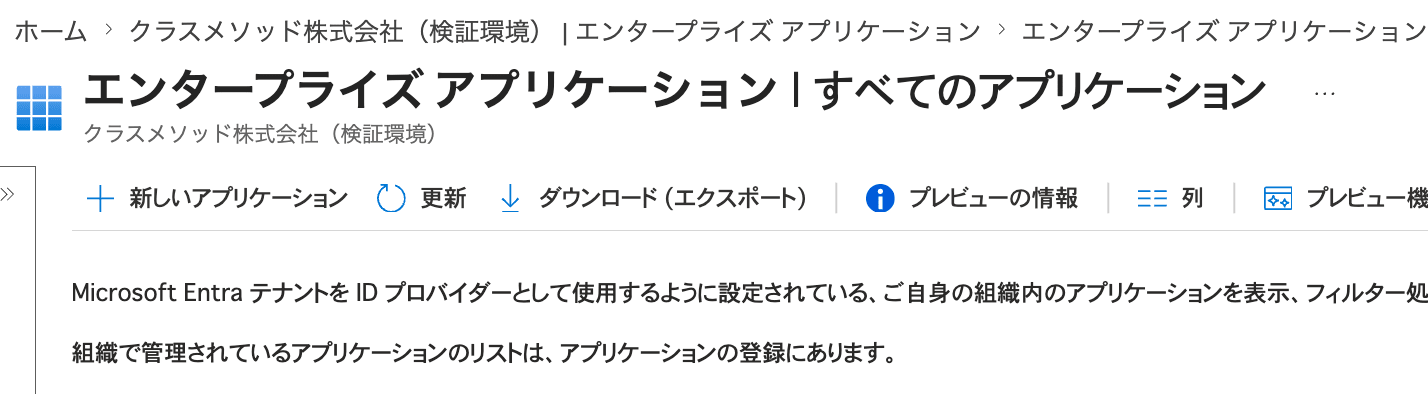
Screen for creating a new enterprise application
Click [Create your own application] and enter an application name.
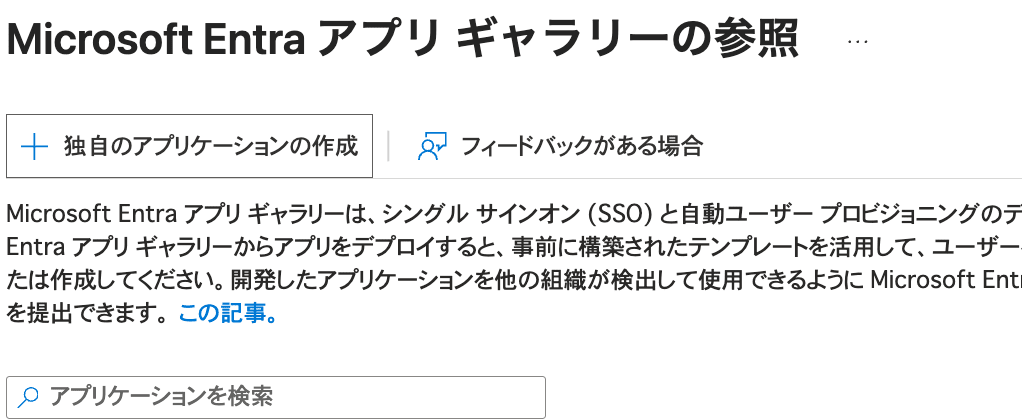
Screen for entering a custom application name
In this article, the following name was used.
WorkSpaces Secure Browser wsb-poc
For the intended use, select the following.
Integrate any other application you don't find in the gallery
(Non-gallery)
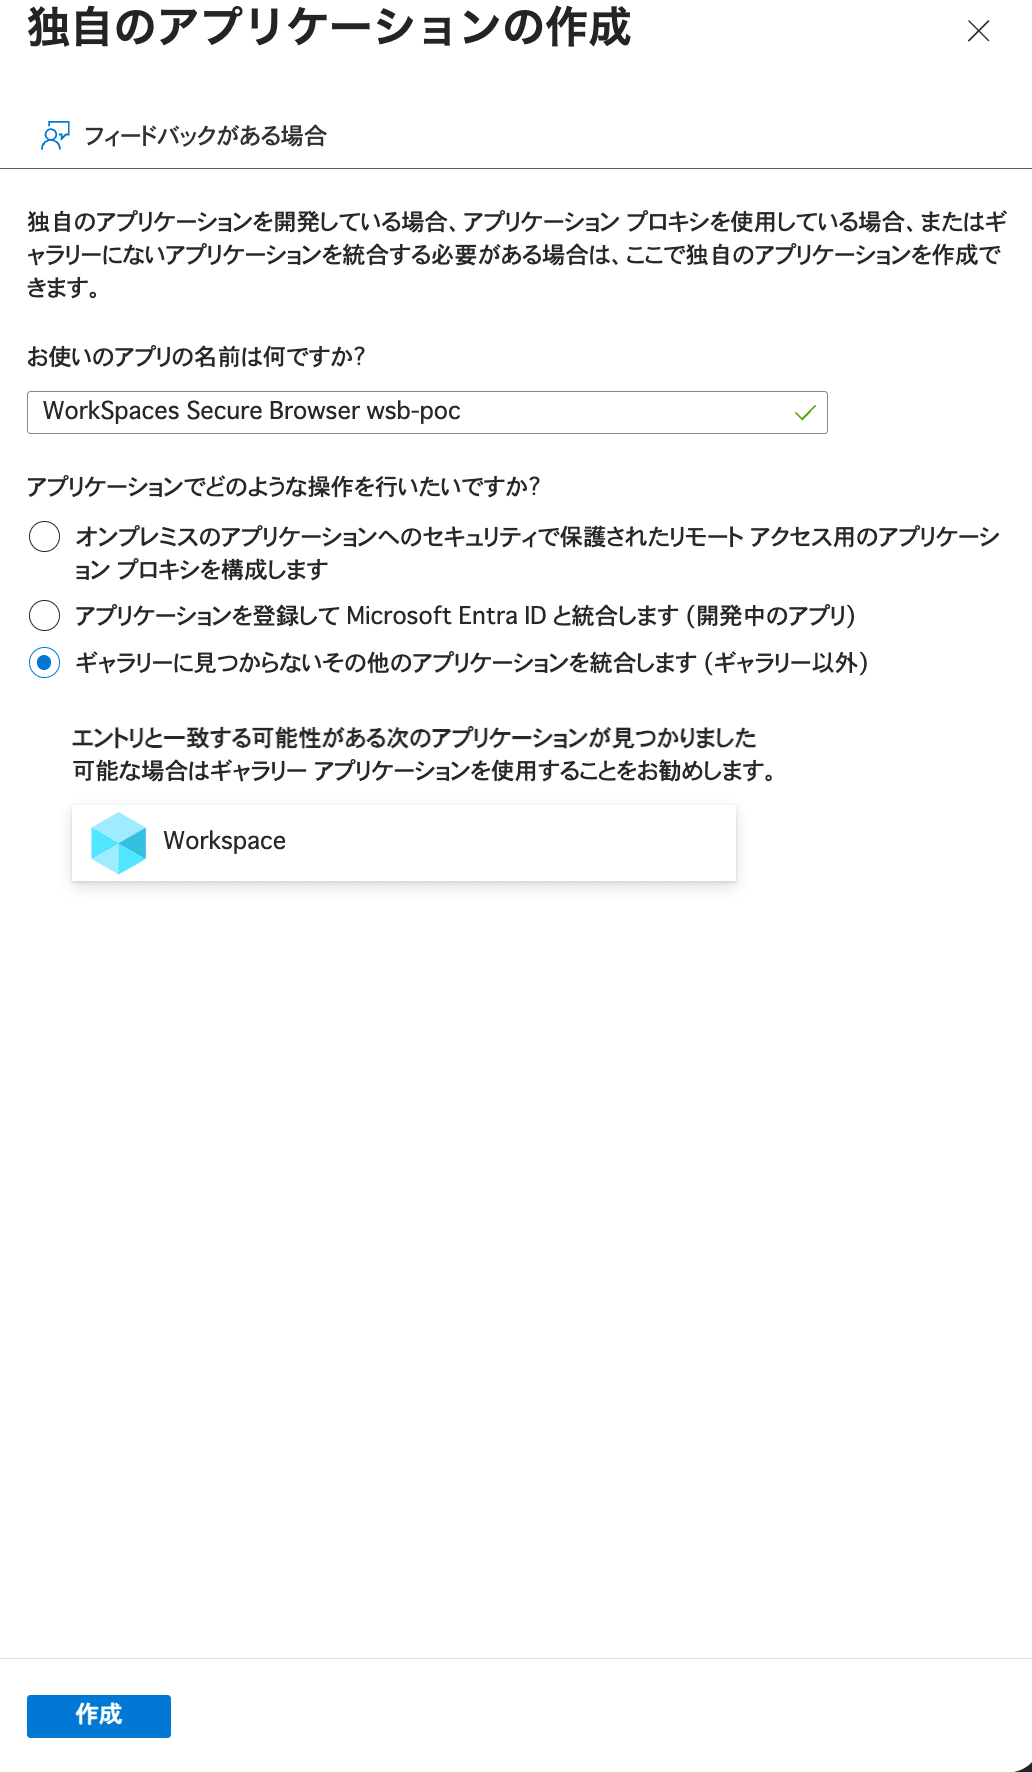
Screen for creating the application as a non-gallery application
Configure SAML Single Sign-On
Open the created enterprise application and select [SAML] from [Single sign-on].
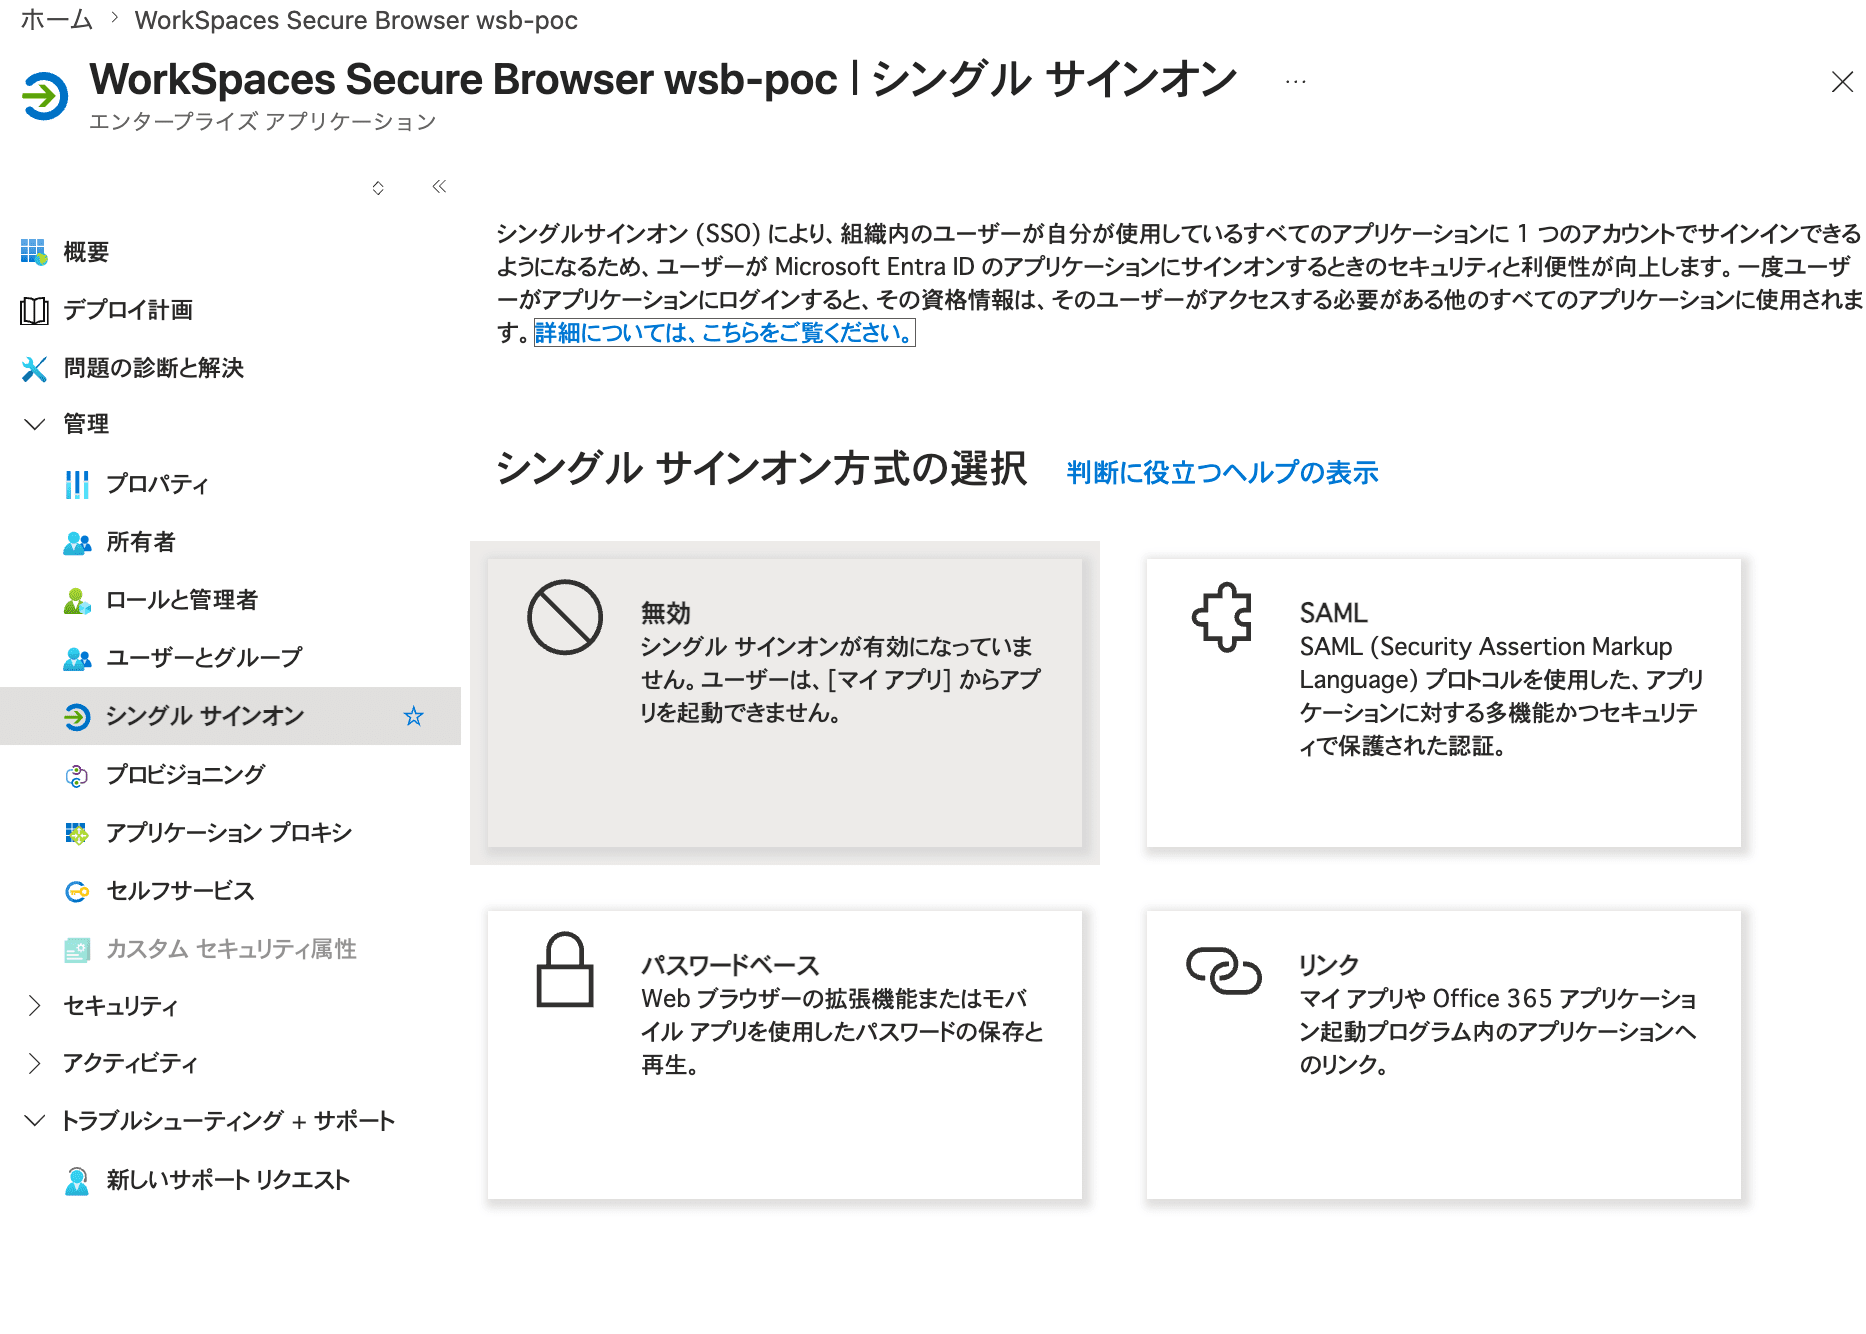
Screen for selecting SAML for single sign-on
On the SAML configuration screen, click [Upload metadata file].
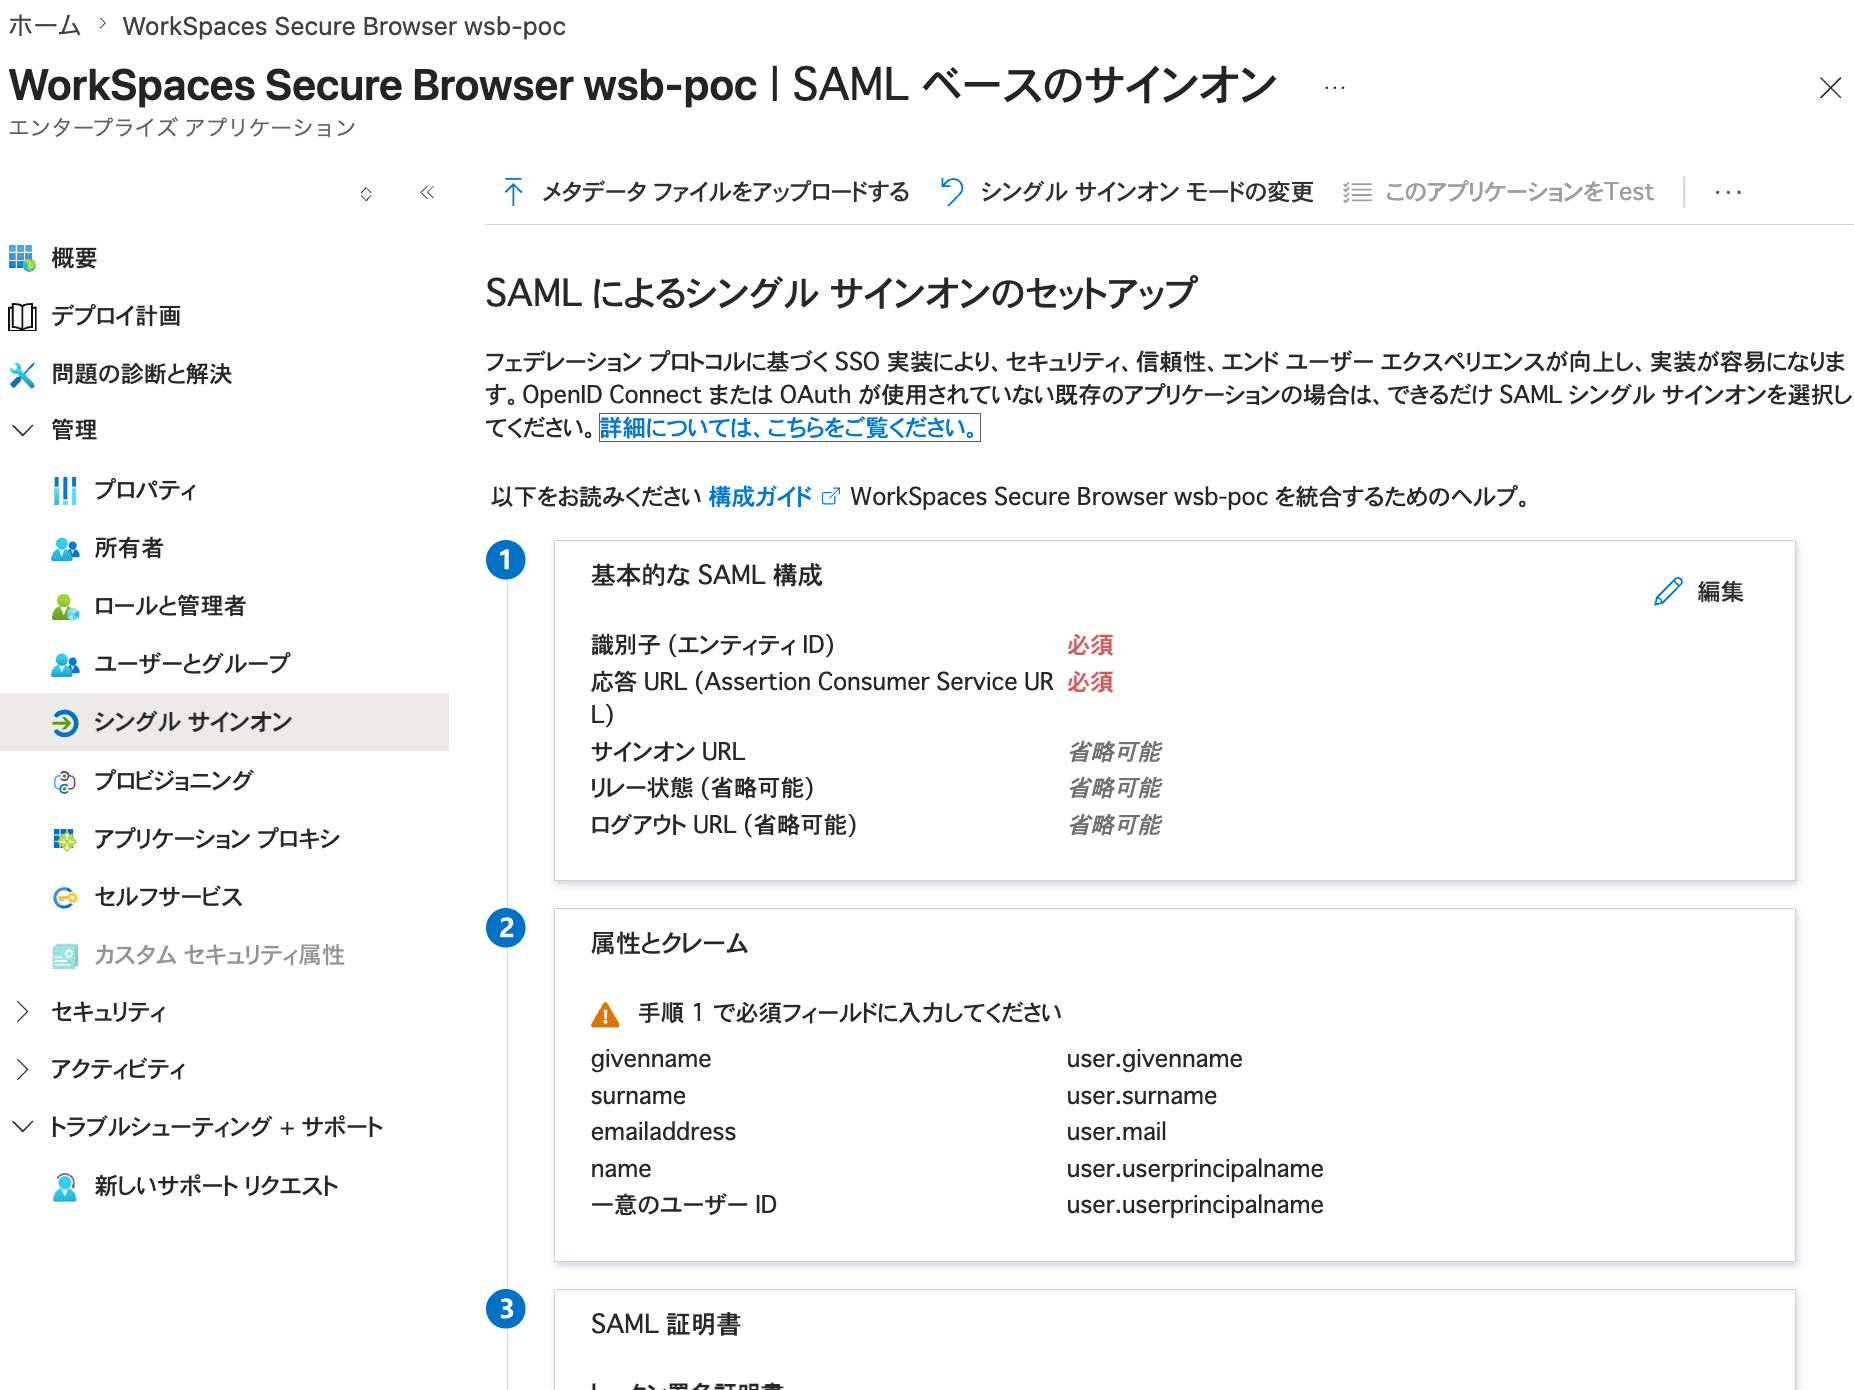
Upload the SP metadata file downloaded earlier from WorkSpaces Secure Browser.
When the SP metadata is imported, the following values are primarily configured.
| Microsoft Entra ID side | WorkSpaces Secure Browser side |
|---|---|
| Identifier (Entity ID) | SP Entity ID |
| Reply URL | SP ACS URL |
| Logout URL | Single Logout URL |
After configuration, verify that the values on the Microsoft Entra ID side match the values displayed on the WorkSpaces Secure Browser screen.
In this article, Single Logout remains disabled on the WorkSpaces Secure Browser side.
Single Logout is a mechanism for signing out from both the WorkSpaces Secure Browser and Microsoft Entra ID sessions when logging out from WorkSpaces Secure Browser.
Since the purpose here is to verify login and Secure Browser session startup, Single Logout was not configured. Therefore, the logout URL configured from the SP metadata is not used in this verification.
Download the Federation Metadata
From the SAML configuration screen of Microsoft Entra ID, download the [Federation Metadata XML].
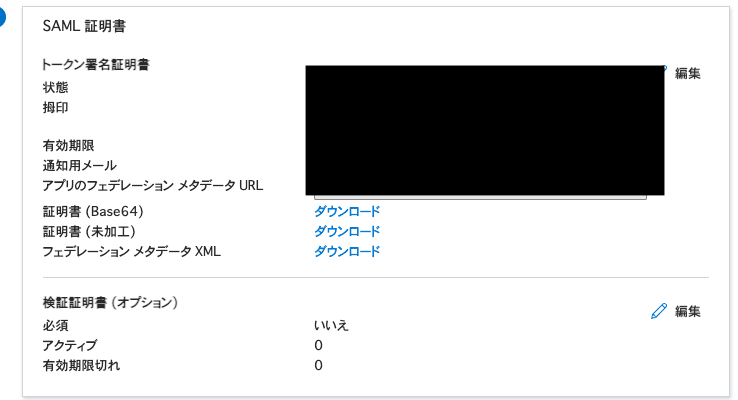
Screen for downloading the Federation Metadata XML from Microsoft Entra ID
Register the Microsoft Entra ID Metadata in AWS
Return to the WorkSpaces Secure Browser portal screen.
Click [Edit] under [Identity Provider (IdP) Details] on the [Identity Provider] tab.
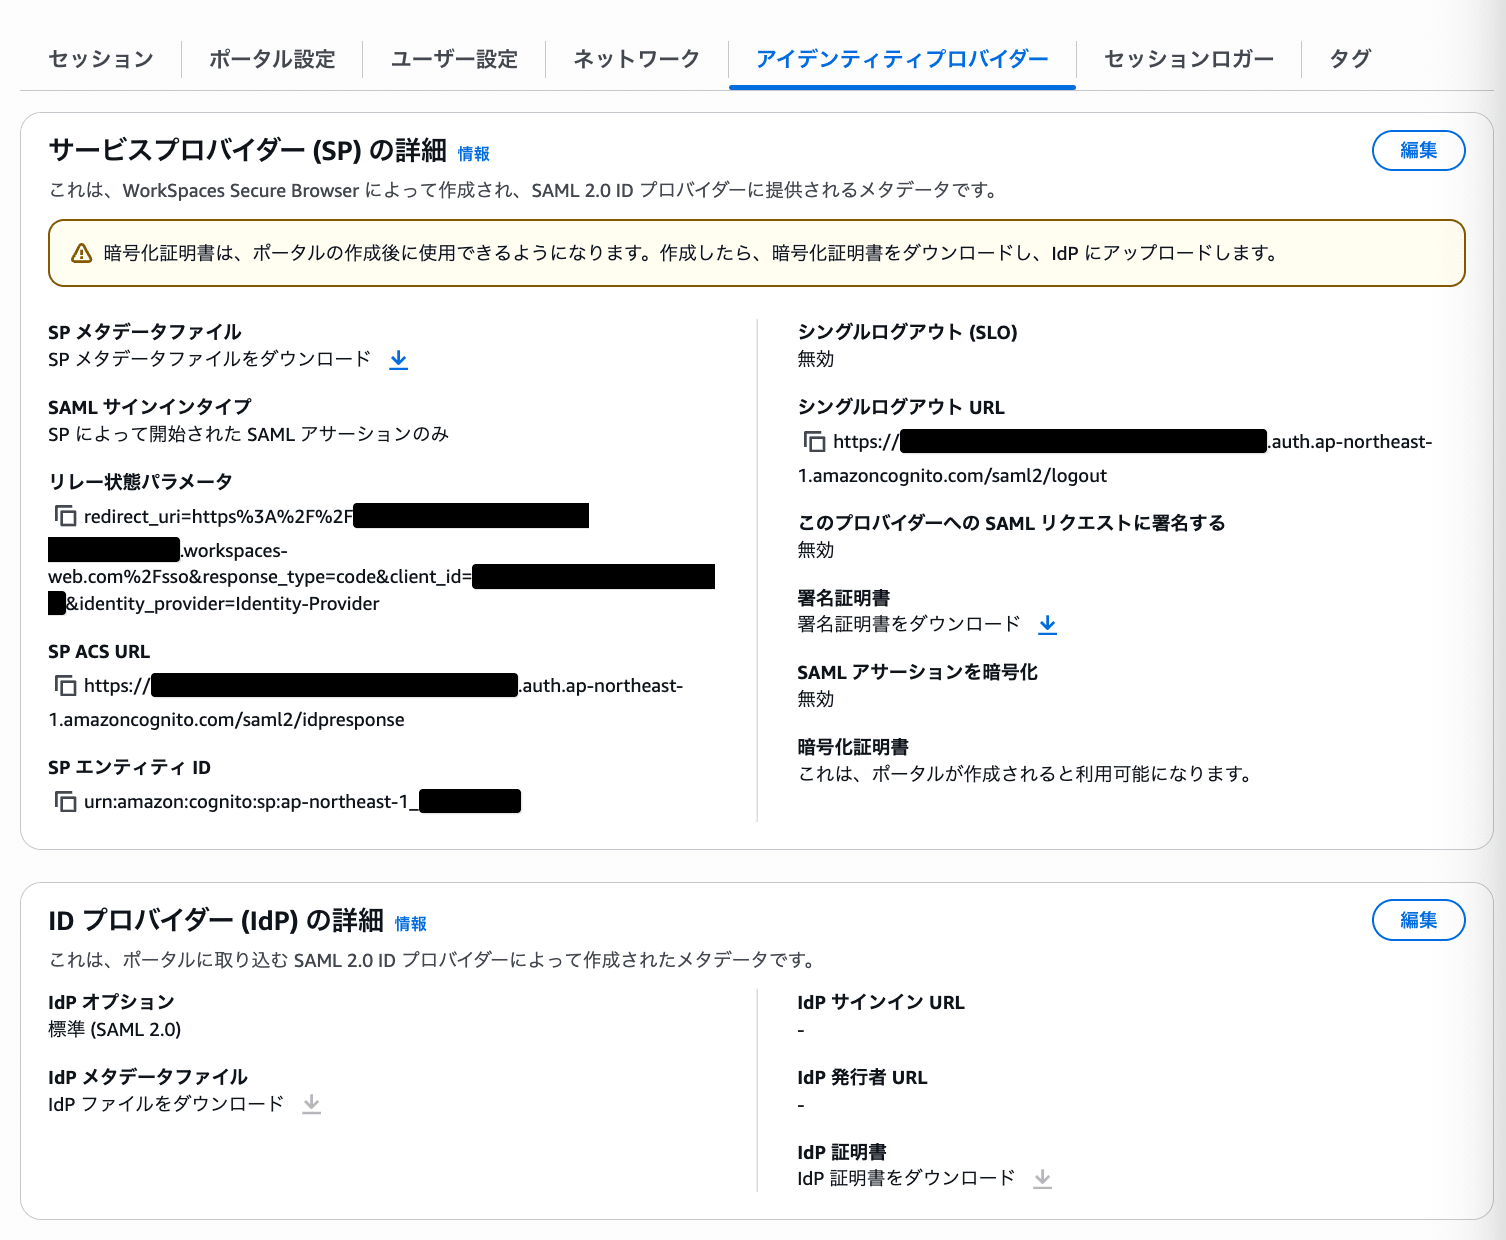
Screen for editing the IdP settings in WorkSpaces Secure Browser
Upload the Federation Metadata XML downloaded from Microsoft Entra ID as the [IdP metadata document].
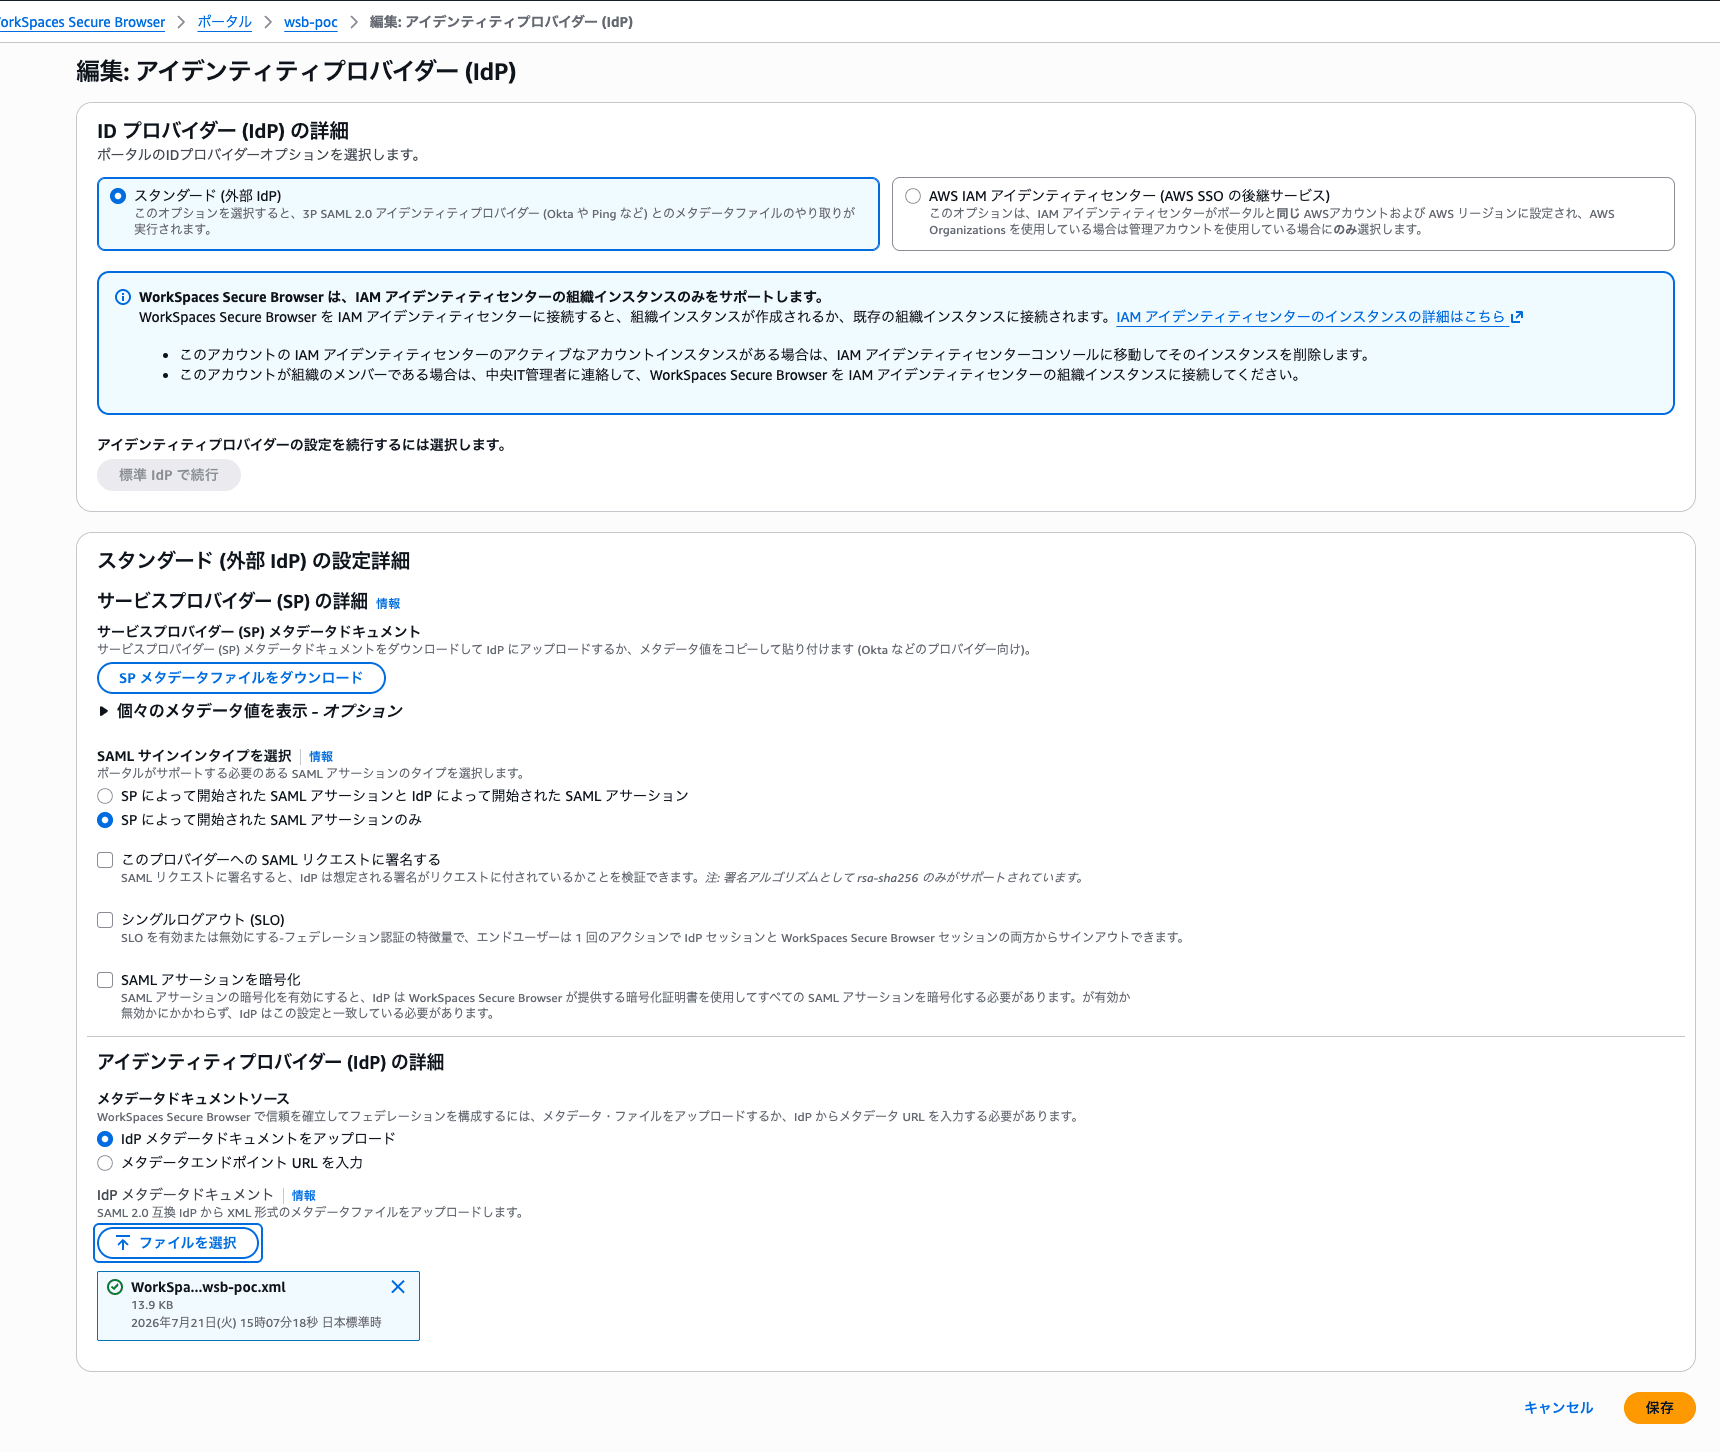
Screen for uploading the Microsoft Entra ID federation metadata
Once the metadata registration is complete, the portal status changed to [Active].
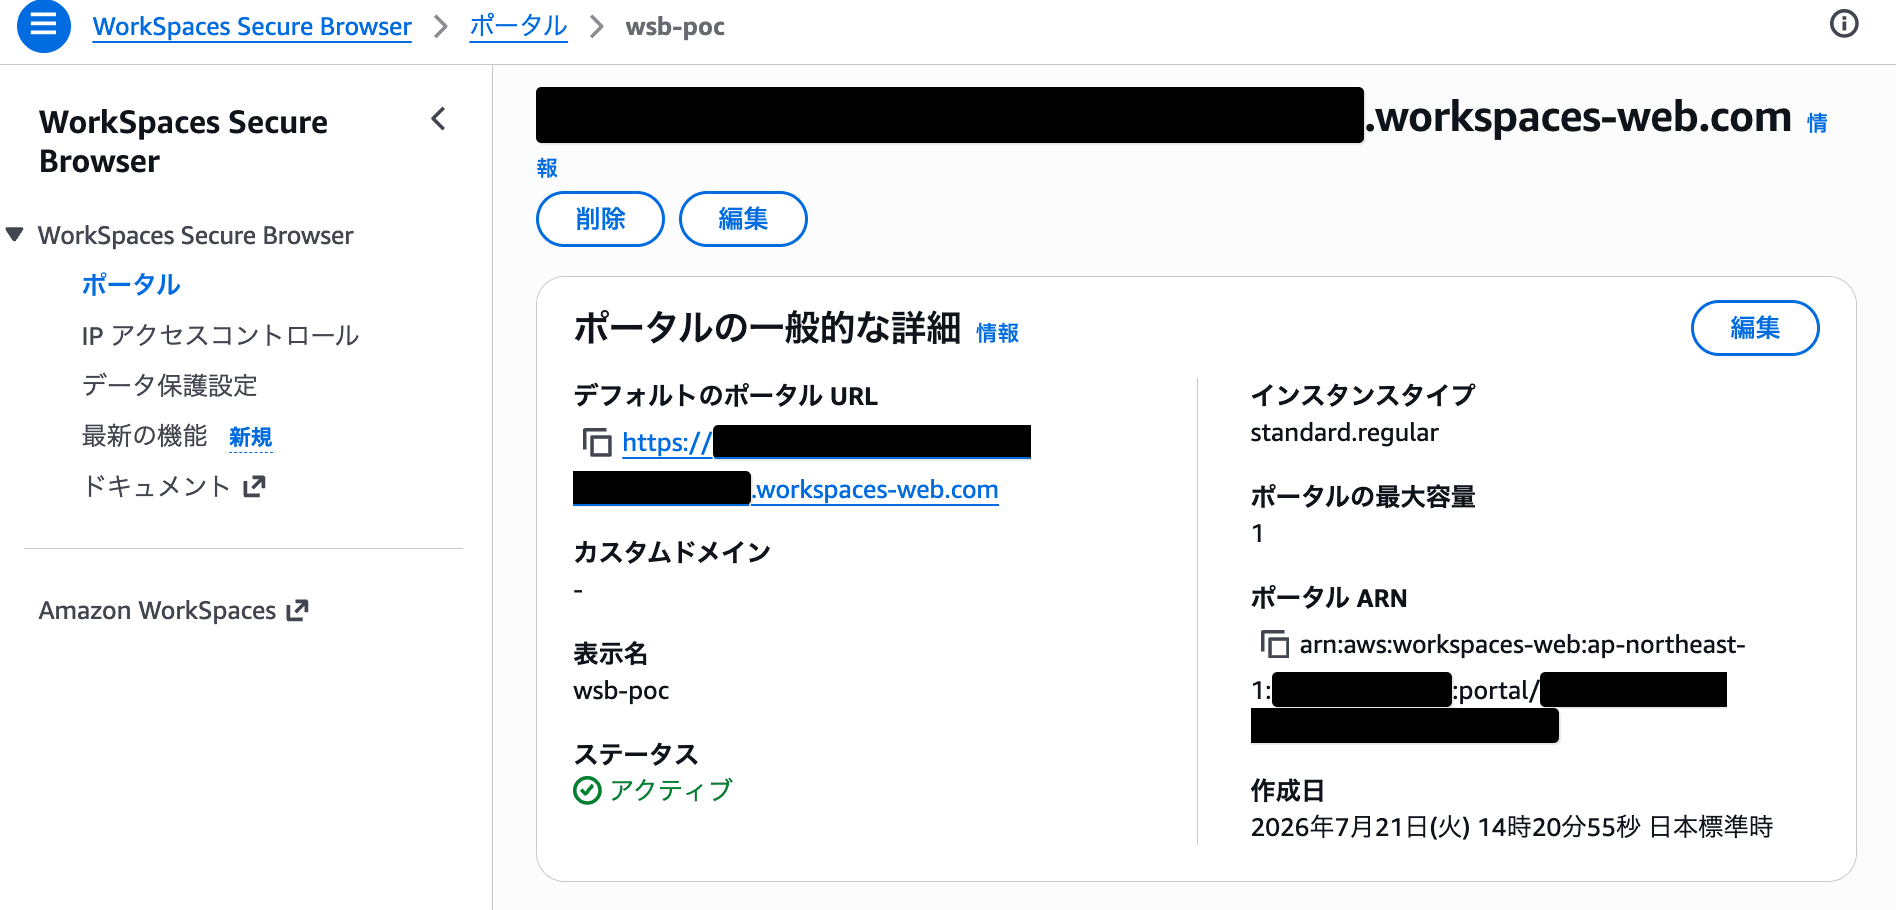
Screen showing the portal status has become active
A message guiding you to download the encryption certificate may be displayed on this screen.
The encryption certificate is used when Microsoft Entra ID encrypts the SAML assertion itself. Since [Encrypt SAML assertions] is disabled in this article, the encryption certificate was not registered.
At this point, the following two pieces of metadata have been exchanged.
WorkSpaces Secure Browser
  └── SP Metadata
          ↓
      Microsoft Entra ID

Microsoft Entra ID
  └── Federation Metadata
          ↓
      WorkSpaces Secure Browser
Configure the Network
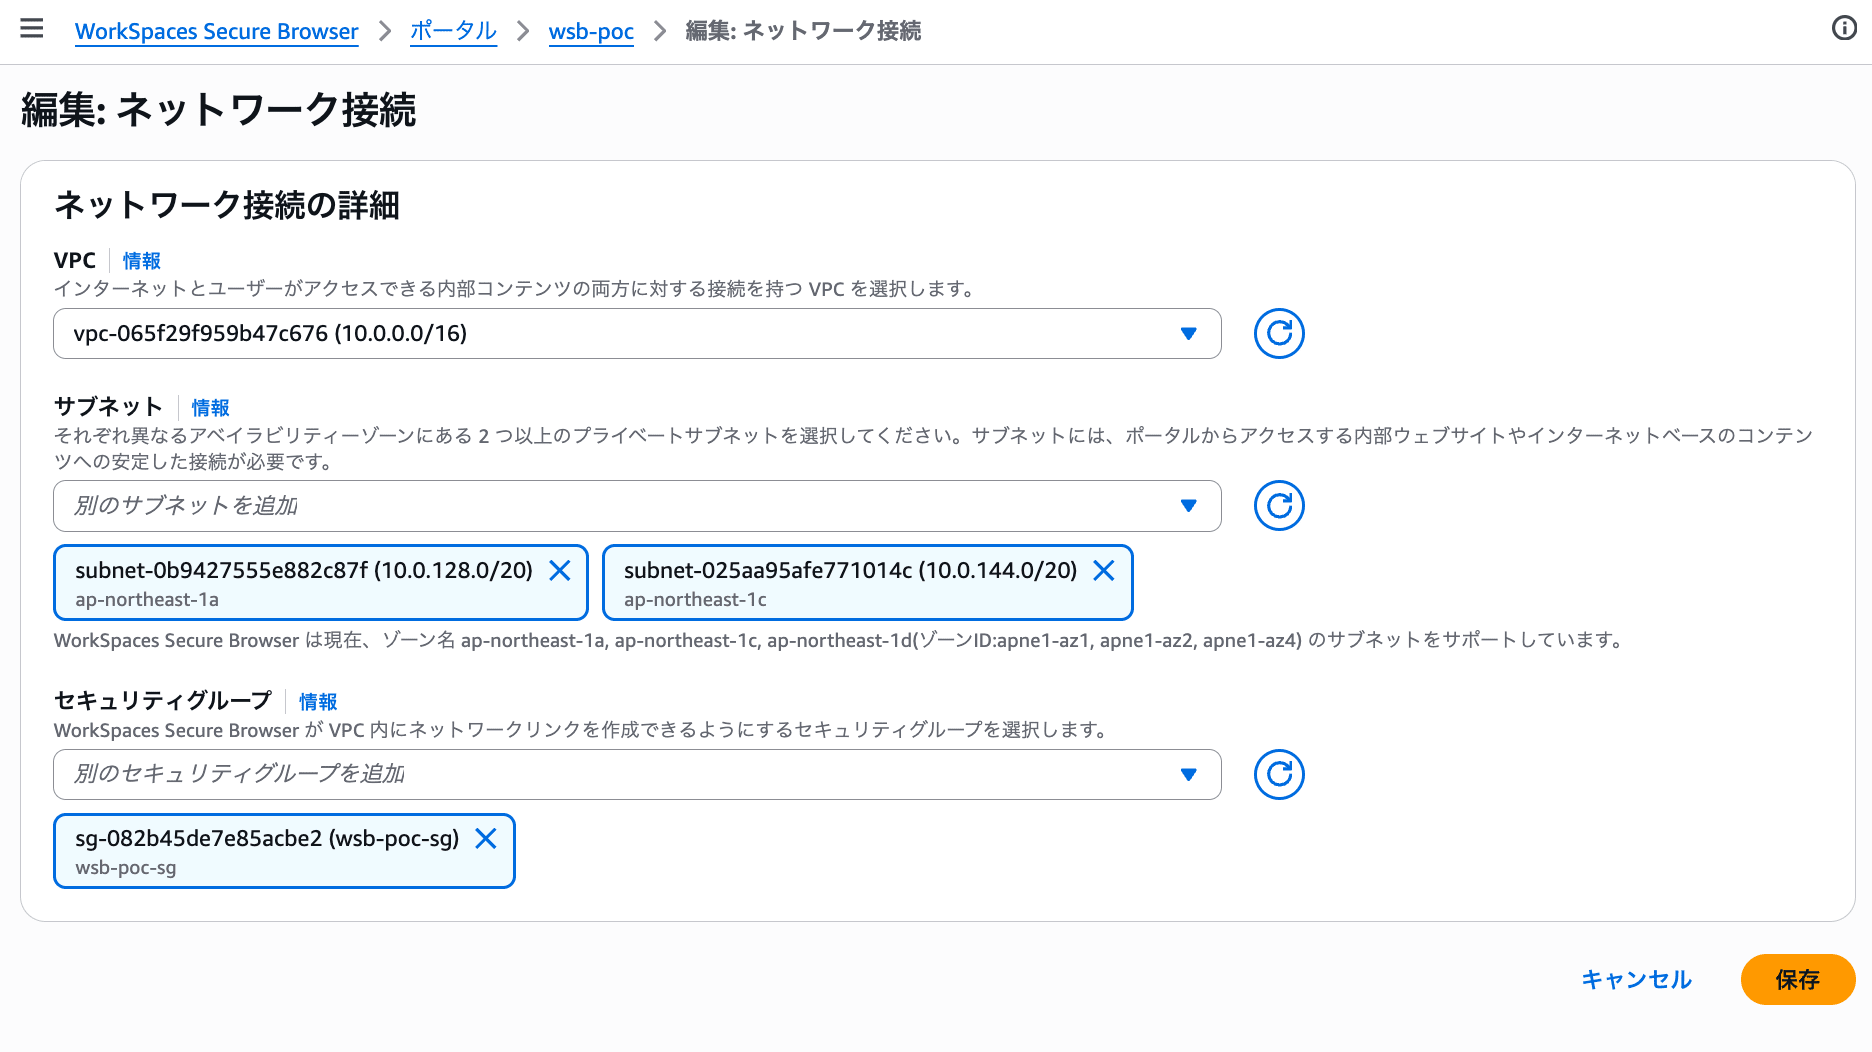
Once SAML federation with Microsoft Entra ID is complete, configure the network to be actually used in Secure Browser sessions from the [Network] tab of the created portal.
The following were specified in this article.
- The created VPC
- Two private subnets in different Availability Zones
- The security group for WorkSpaces Secure Browser
The following rules were configured for the security group.
No inbound rules were configured.
The outbound rules are as follows.
| Type | Protocol | Port | Destination |
|---|---|---|---|
| All traffic | All | All | 0.0.0.0/0 |
In this article, outbound communication is broadly permitted to confirm that internet connectivity via the Regional NAT Gateway works.
In an actual environment, restrict outbound rules according to requirements such as the connection destination and proxy in use.
Access the Portal
Once the portal is active, access the [Default portal URL] displayed on the portal details screen.
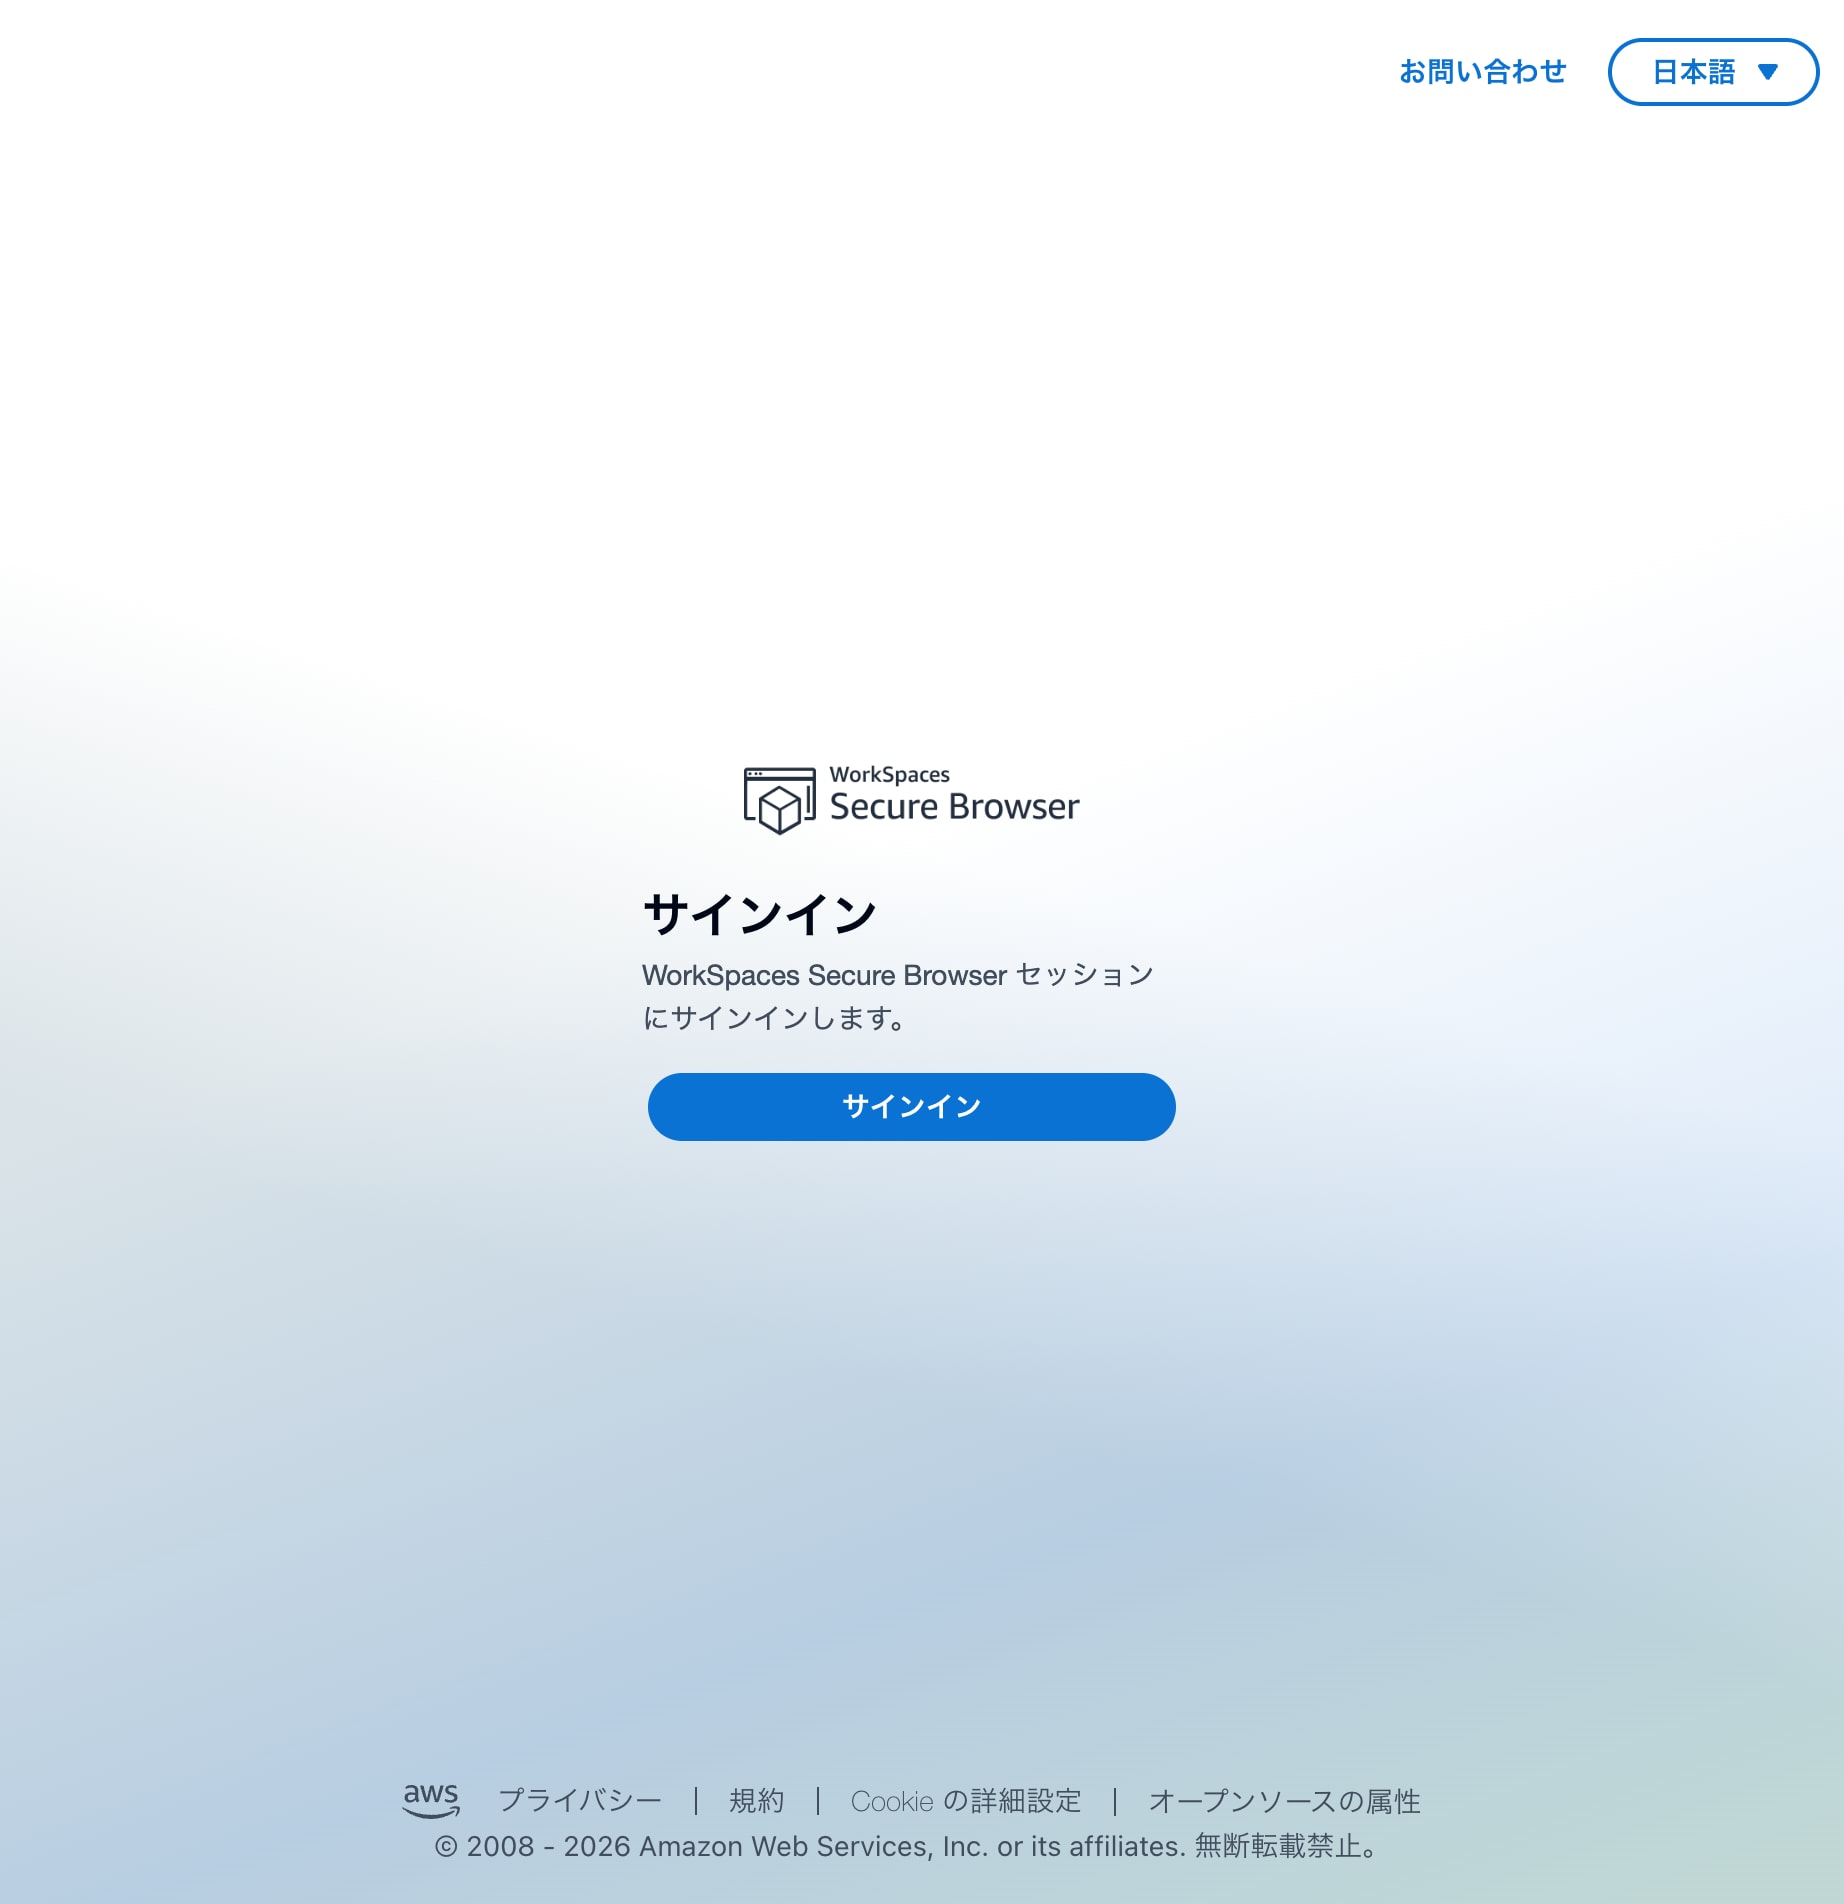
Screen showing access to the WorkSpaces Secure Browser default portal URL
You will be redirected to the Microsoft Entra ID sign-in screen, so sign in with the verification user.
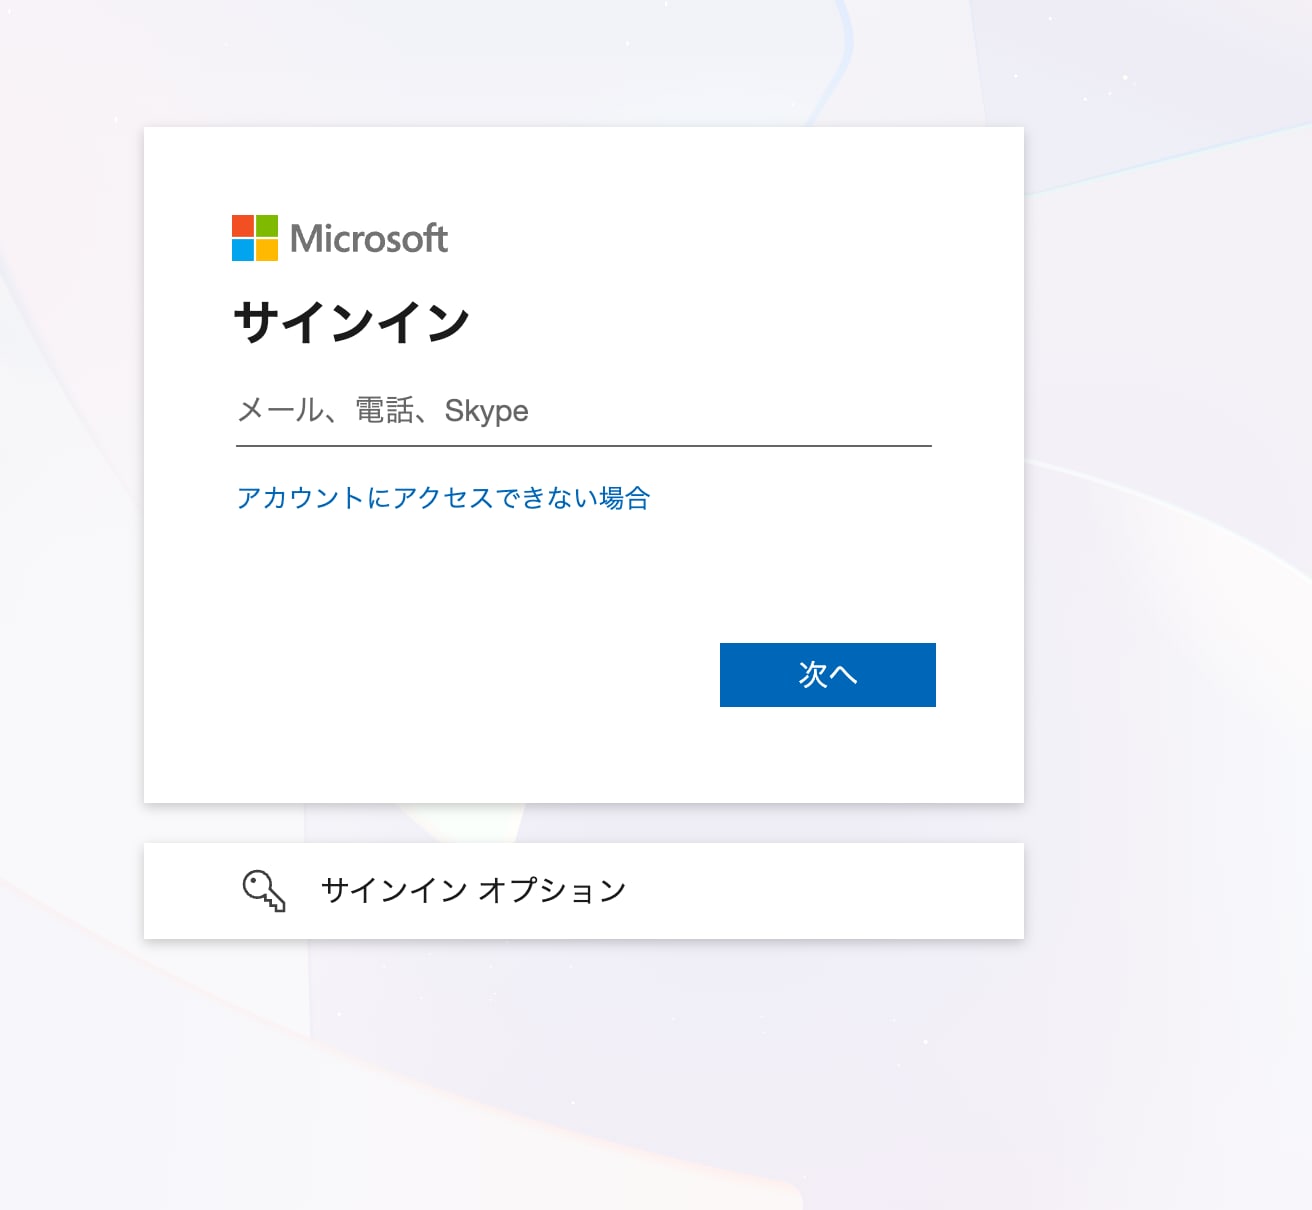
Screen for signing in using Microsoft Entra ID
After authentication, the WorkSpaces Secure Browser session started.
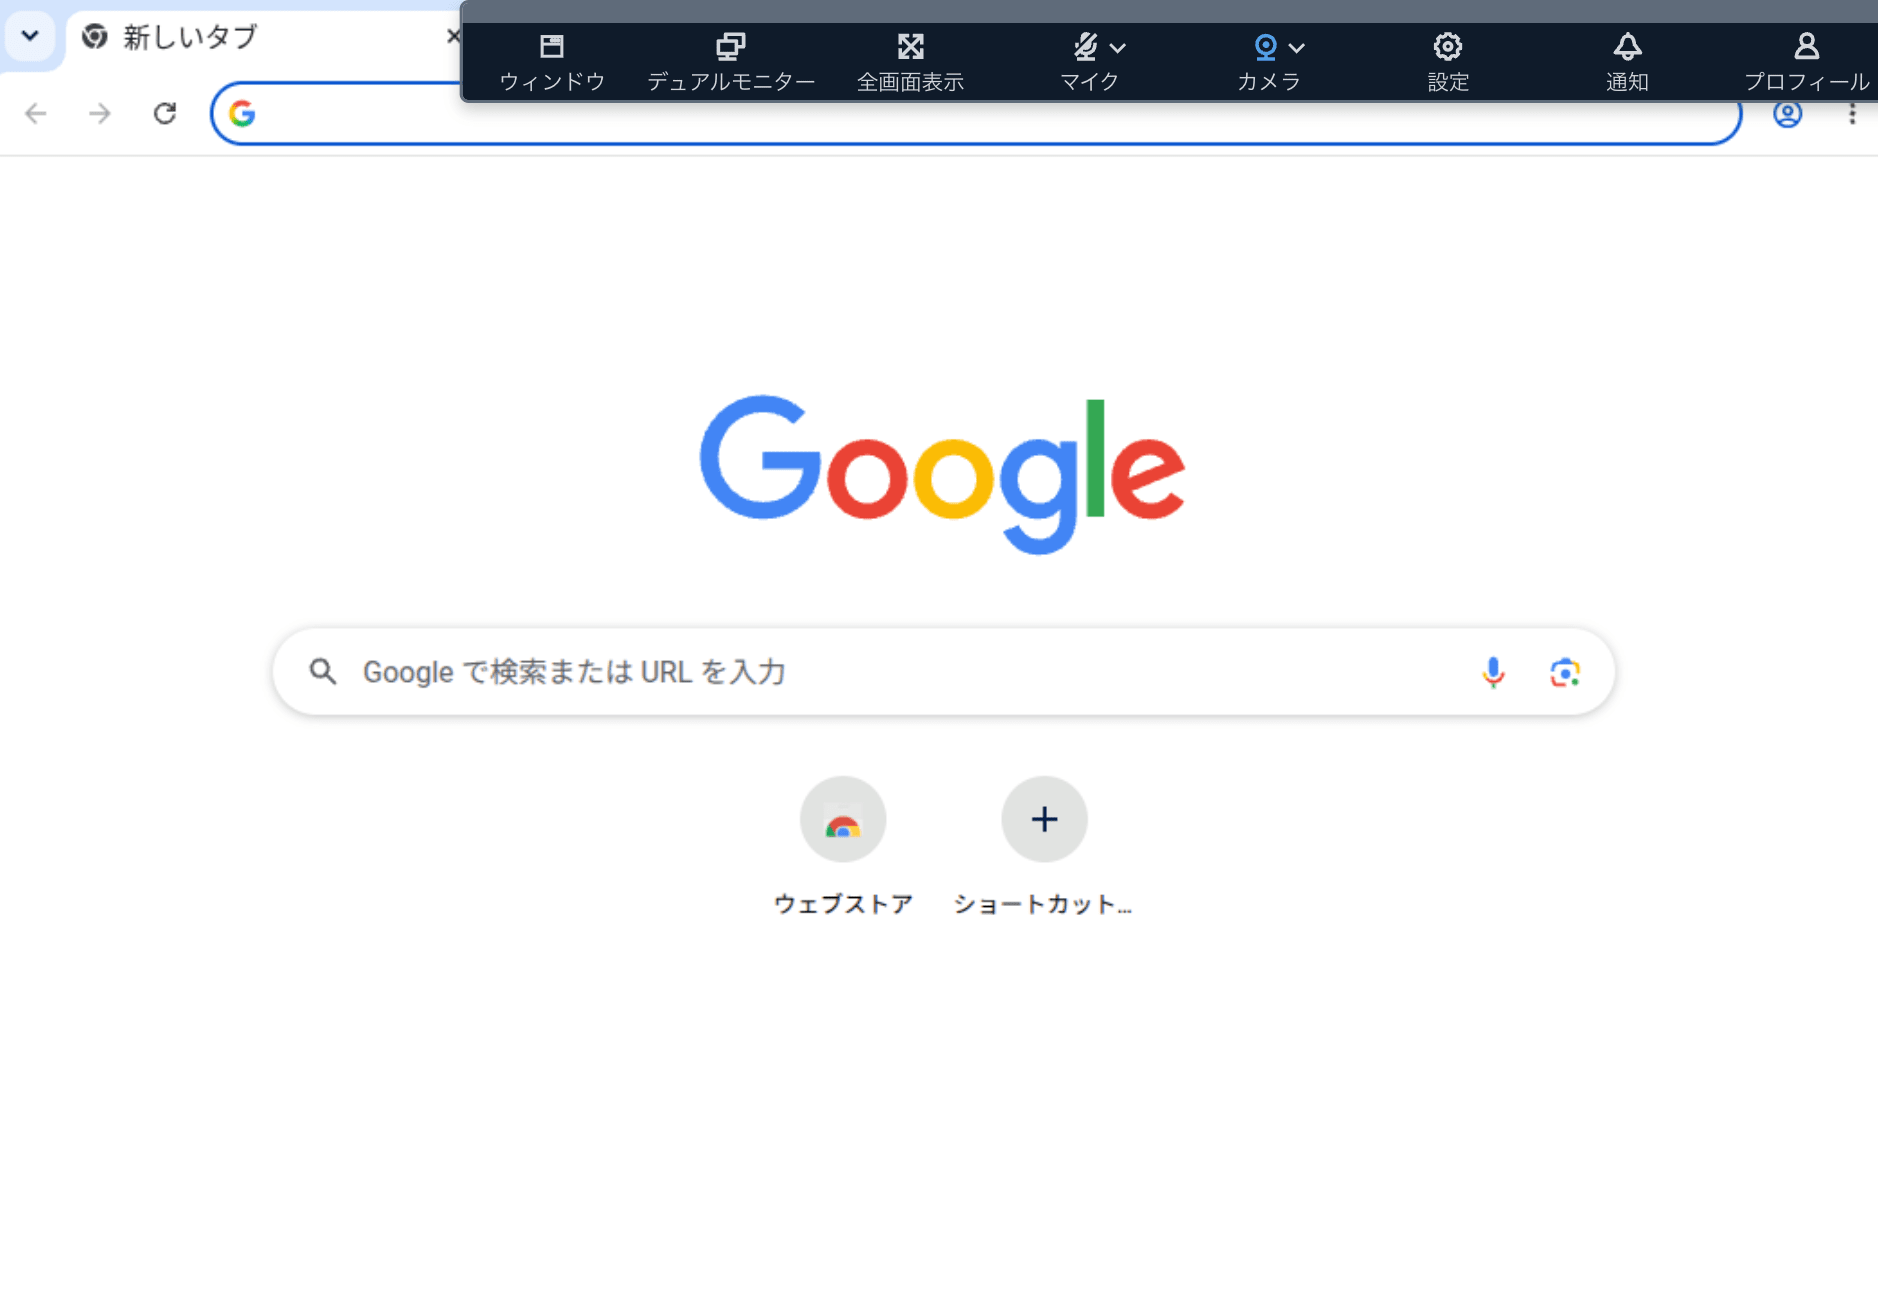
Screen showing that a WorkSpaces Secure Browser session was successfully started after Microsoft Entra ID authentication
We have now successfully logged in to the WorkSpaces Secure Browser portal federated with Microsoft Entra ID.
Summary
We federated Amazon WorkSpaces Secure Browser with Microsoft Entra ID via SAML and were able to log in to the portal using Entra ID authentication.
In the configuration, you register the WorkSpaces Secure Browser SP metadata with Entra ID, and register the Entra ID federation metadata with WorkSpaces Secure Browser.
We hope this serves as a useful reference for those considering a similar configuration.