I tried embedding DevRev's PLuG widget into a website

This page has been translated by machine translation. View original
Hello, I'm Subaru.
This time, I tried embedding DevRev's PLuG widget into a website to display an inquiry chat.
Introduction
DevRev is a cloud platform for centrally managing customer support and product development. It handles everything from support ticket management to user feedback collection and integration with development tasks, all in one tool.
Among its features, PLuG is a customer support chat widget that can be embedded in websites and web applications. By displaying a chat button in the bottom right of the screen, users can send inquiries directly from that location. It belongs to the same category as Zendesk's Web Widget and Intercom's chat bubble.
This time, we will create a PLuG widget in the DevRev console, embed it in an HTML file, and verify that it works.
Prerequisites and Verification Environment
The following environment and permissions are required to proceed with the steps in this article.
- A DevRev account must already be set up
- You must be logged in as a user with Admin or equivalent permissions
- An environment where you can create and edit HTML files (such as VSCode)
- A Vercel account must already be set up (free plan is acceptable)
Practice
Creating a PLuG Widget
First, navigate to Settings > PLuG & Portal > PLuG Chat in the DevRev console, and click "+ PLuG Widget".
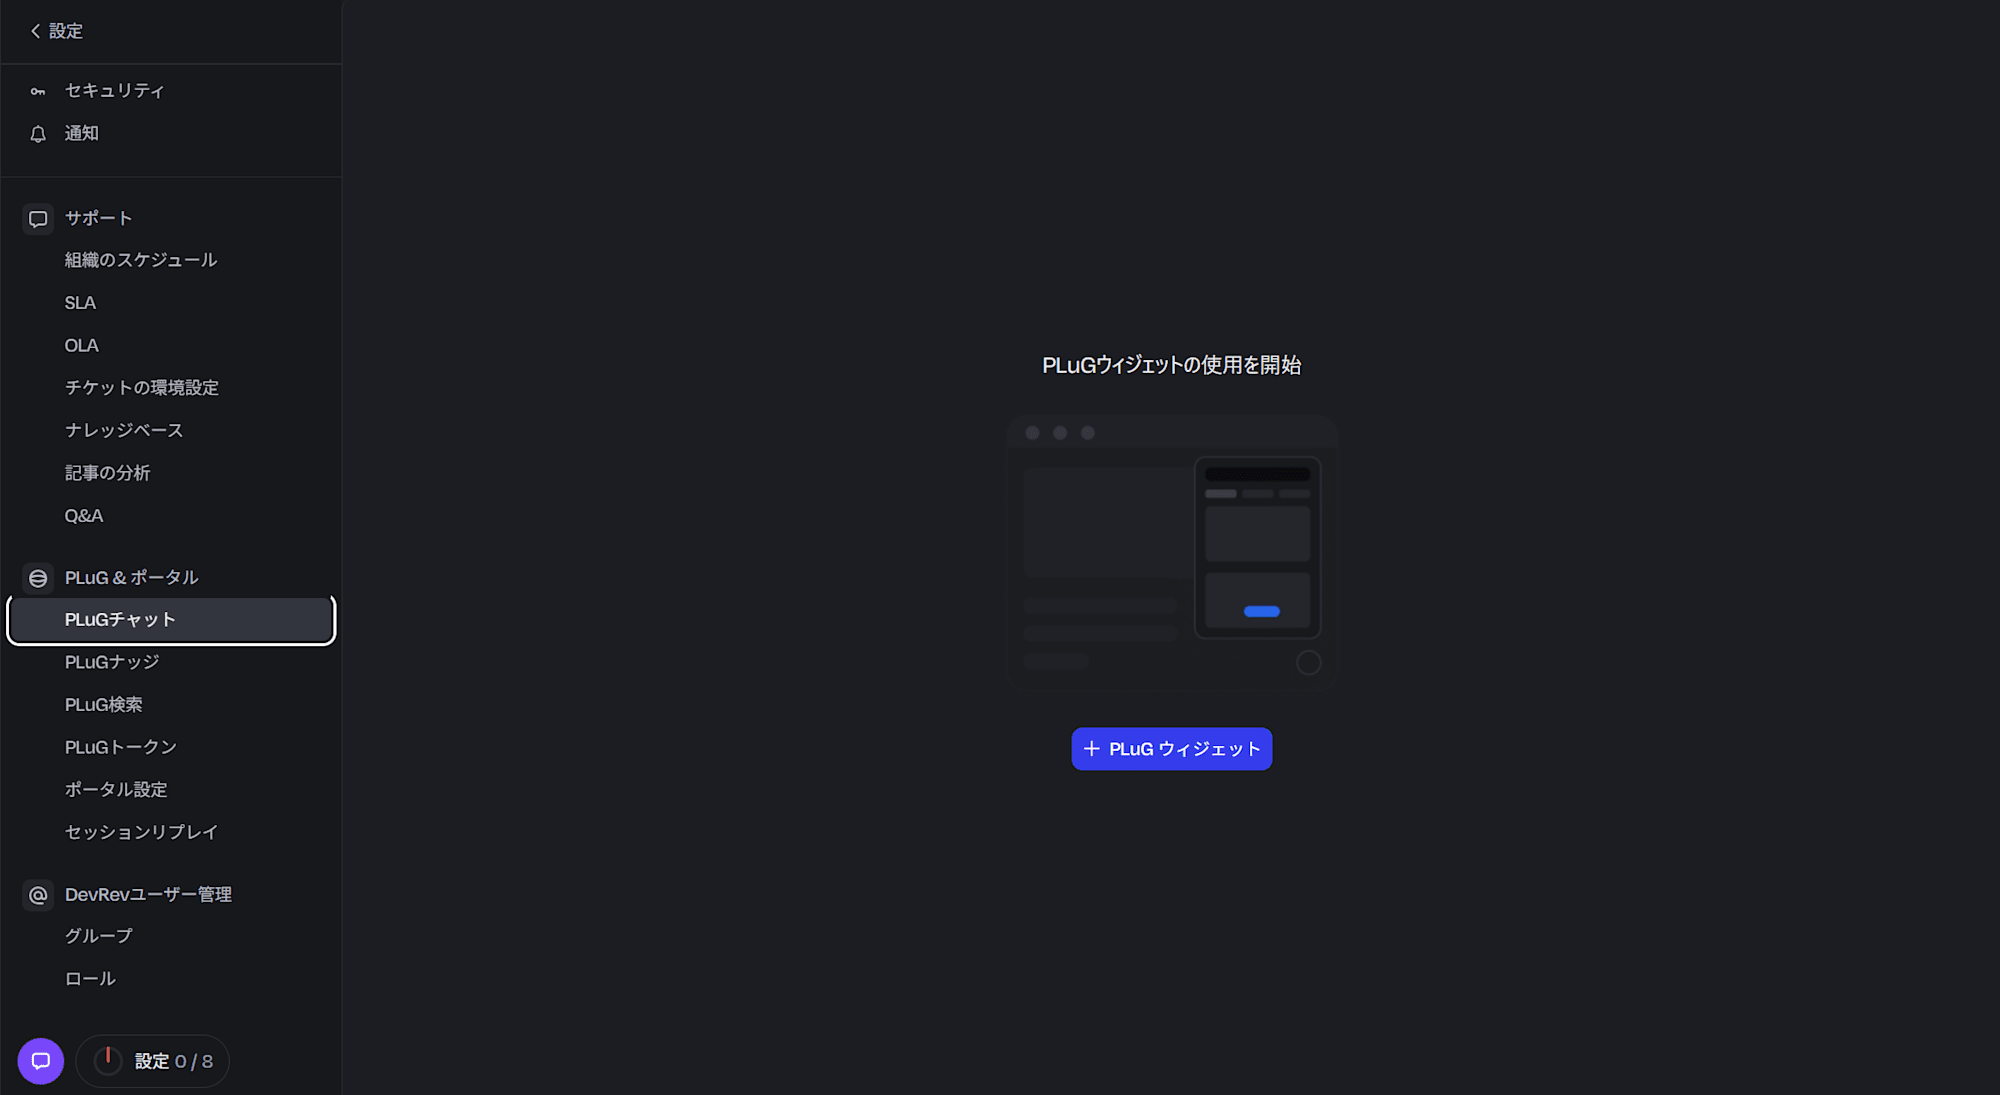
Clicking it opens the PLuG chat settings screen as shown below, where you can configure the settings.
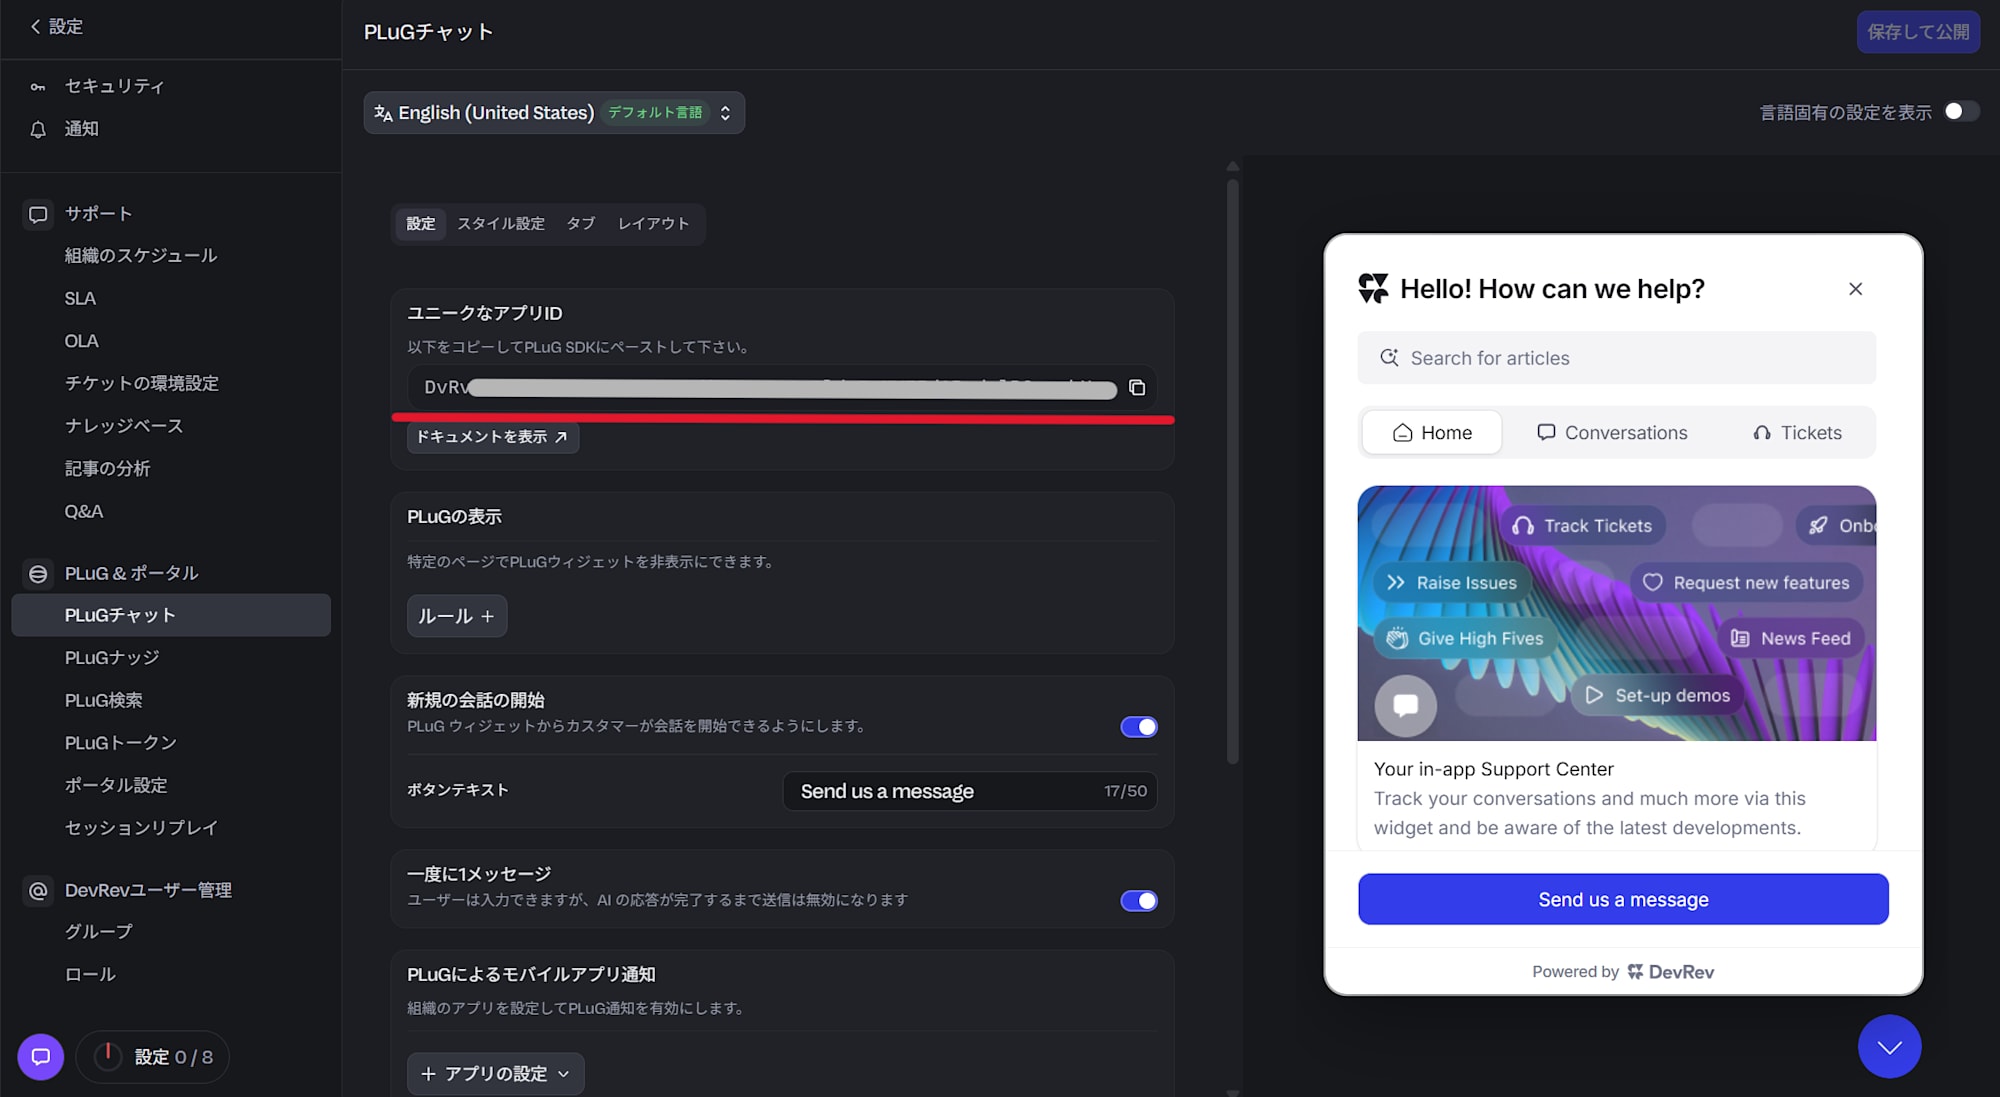
The settings screen has an item called "Unique App ID". This is the ID used when embedding the PLuG widget in a website. Click the copy button to copy it.
On the right side of the screen, a preview of the widget is displayed, allowing you to adjust the style settings and tab configurations described later while checking them in real time.
Adding the Embed Code to HTML
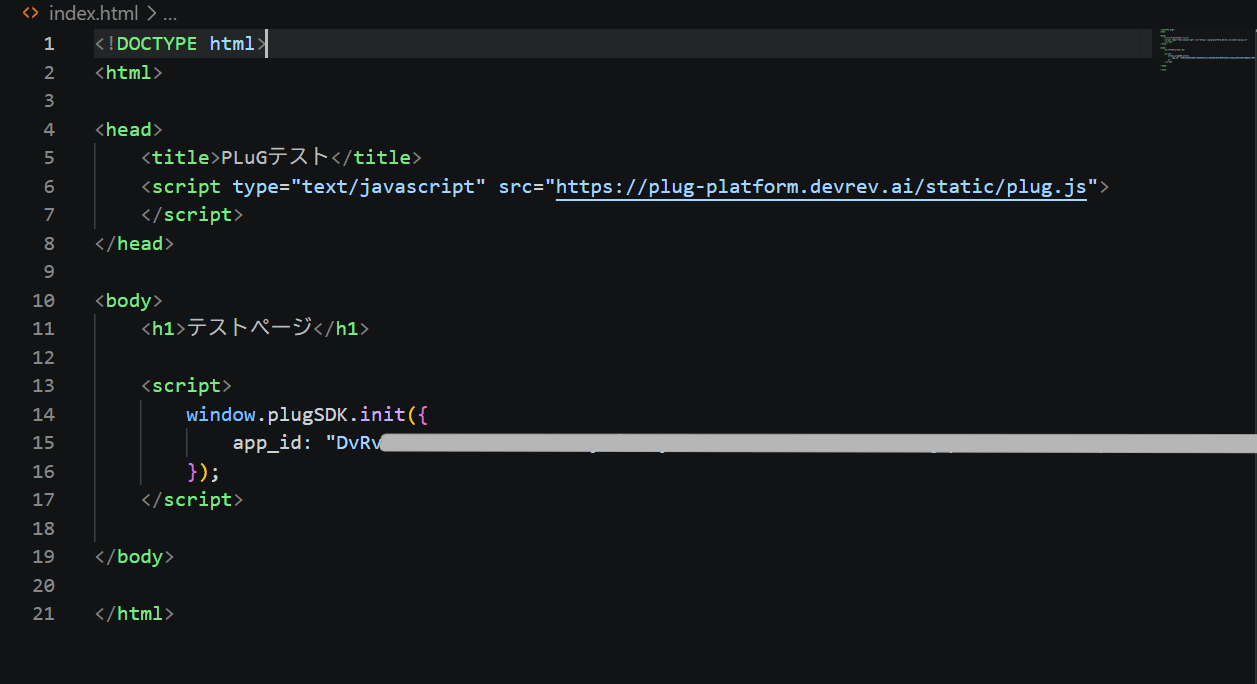
Embedding the PLuG SDK requires two script tags. Add the SDK loading tag inside <head>, and the initialization code using the app ID inside <body>.
<!DOCTYPE html>
<html>
<head>
  <title>PLuG Test</title>
  <script
    type="text/javascript"
    src="https://plug-platform.devrev.ai/static/plug.js">
  </script>
</head>
<body>
  <h1>Test Page</h1>

  <script>
    window.plugSDK.init({
      app_id: "Paste the app ID you copied earlier here",
    });
  </script>

</body>
</html>
Replace the value of app_id with the app ID you copied earlier. Leave the double quotation marks (") in place.
Deploying to Vercel and Obtaining an HTTPS URL
This time we will use Vercel to publish the HTML file. Simply create a GitHub repository, upload the HTML file, and link it with Vercel to have an HTTPS URL issued.
The steps are as follows.
- Create a new repository on GitHub and upload index.html
- Log in to vercel.com, and select the GitHub repository from "Add New Project"
- Click "Deploy"
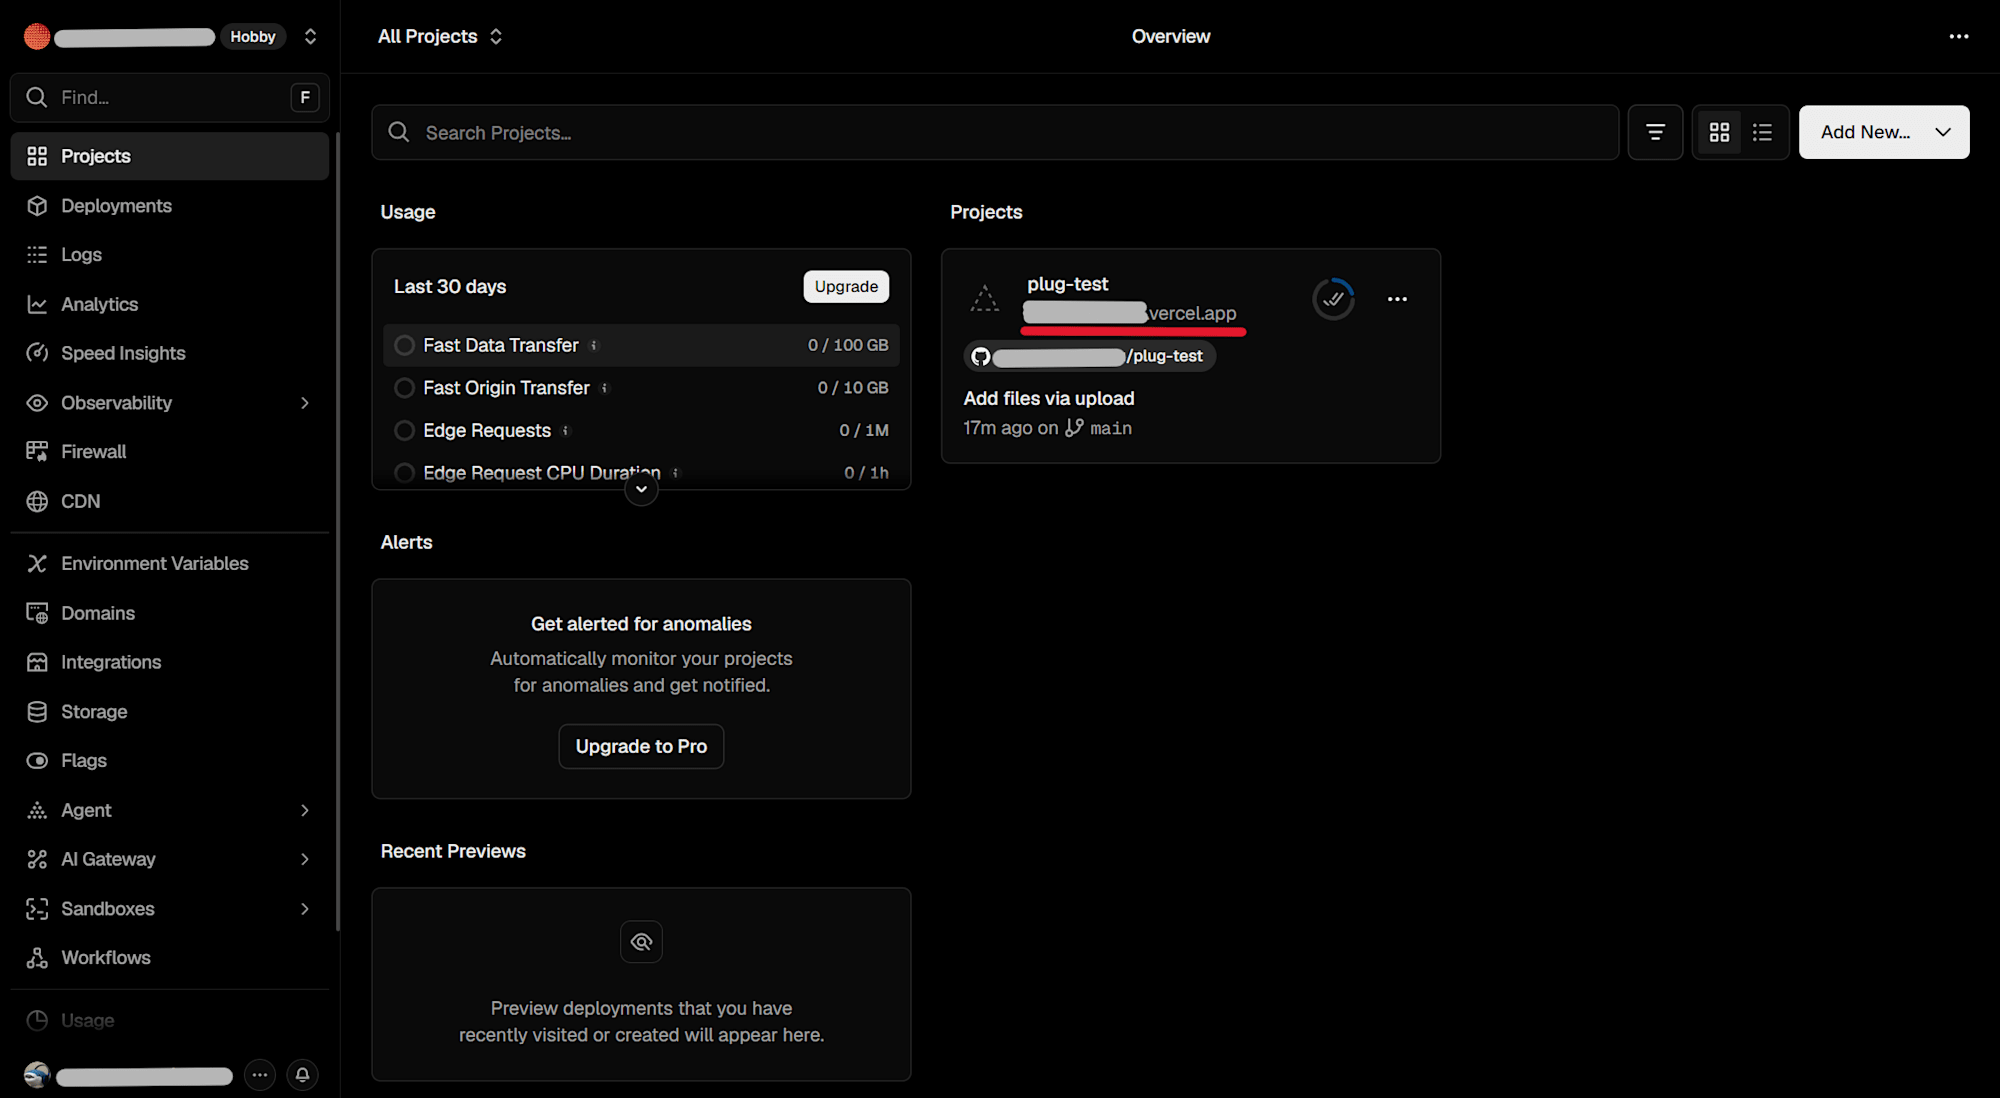
Once deployment is complete, a URL in the format https://xxxxx.vercel.app will be issued.
Verification
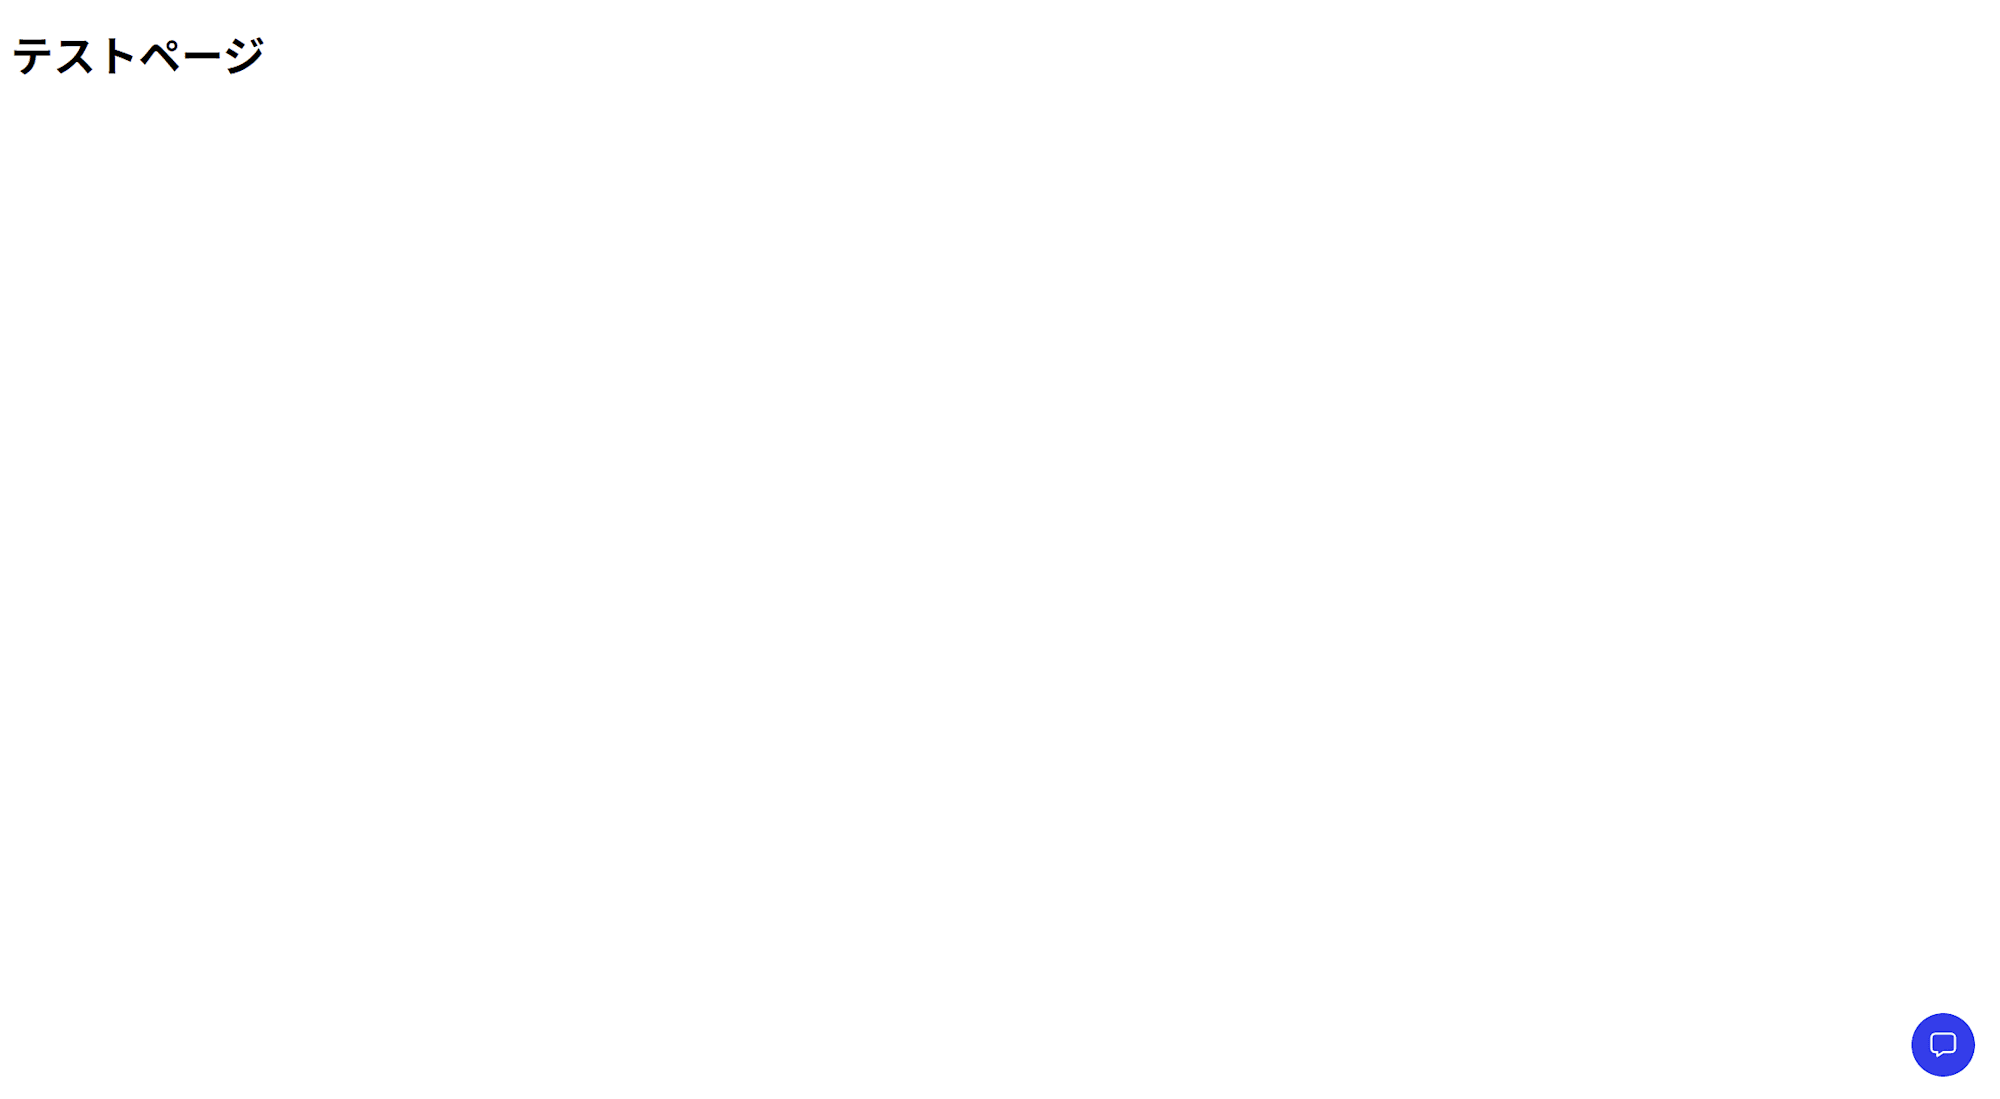
Opening the issued Vercel URL in a browser displays the PLuG chat button in the bottom right of the screen.
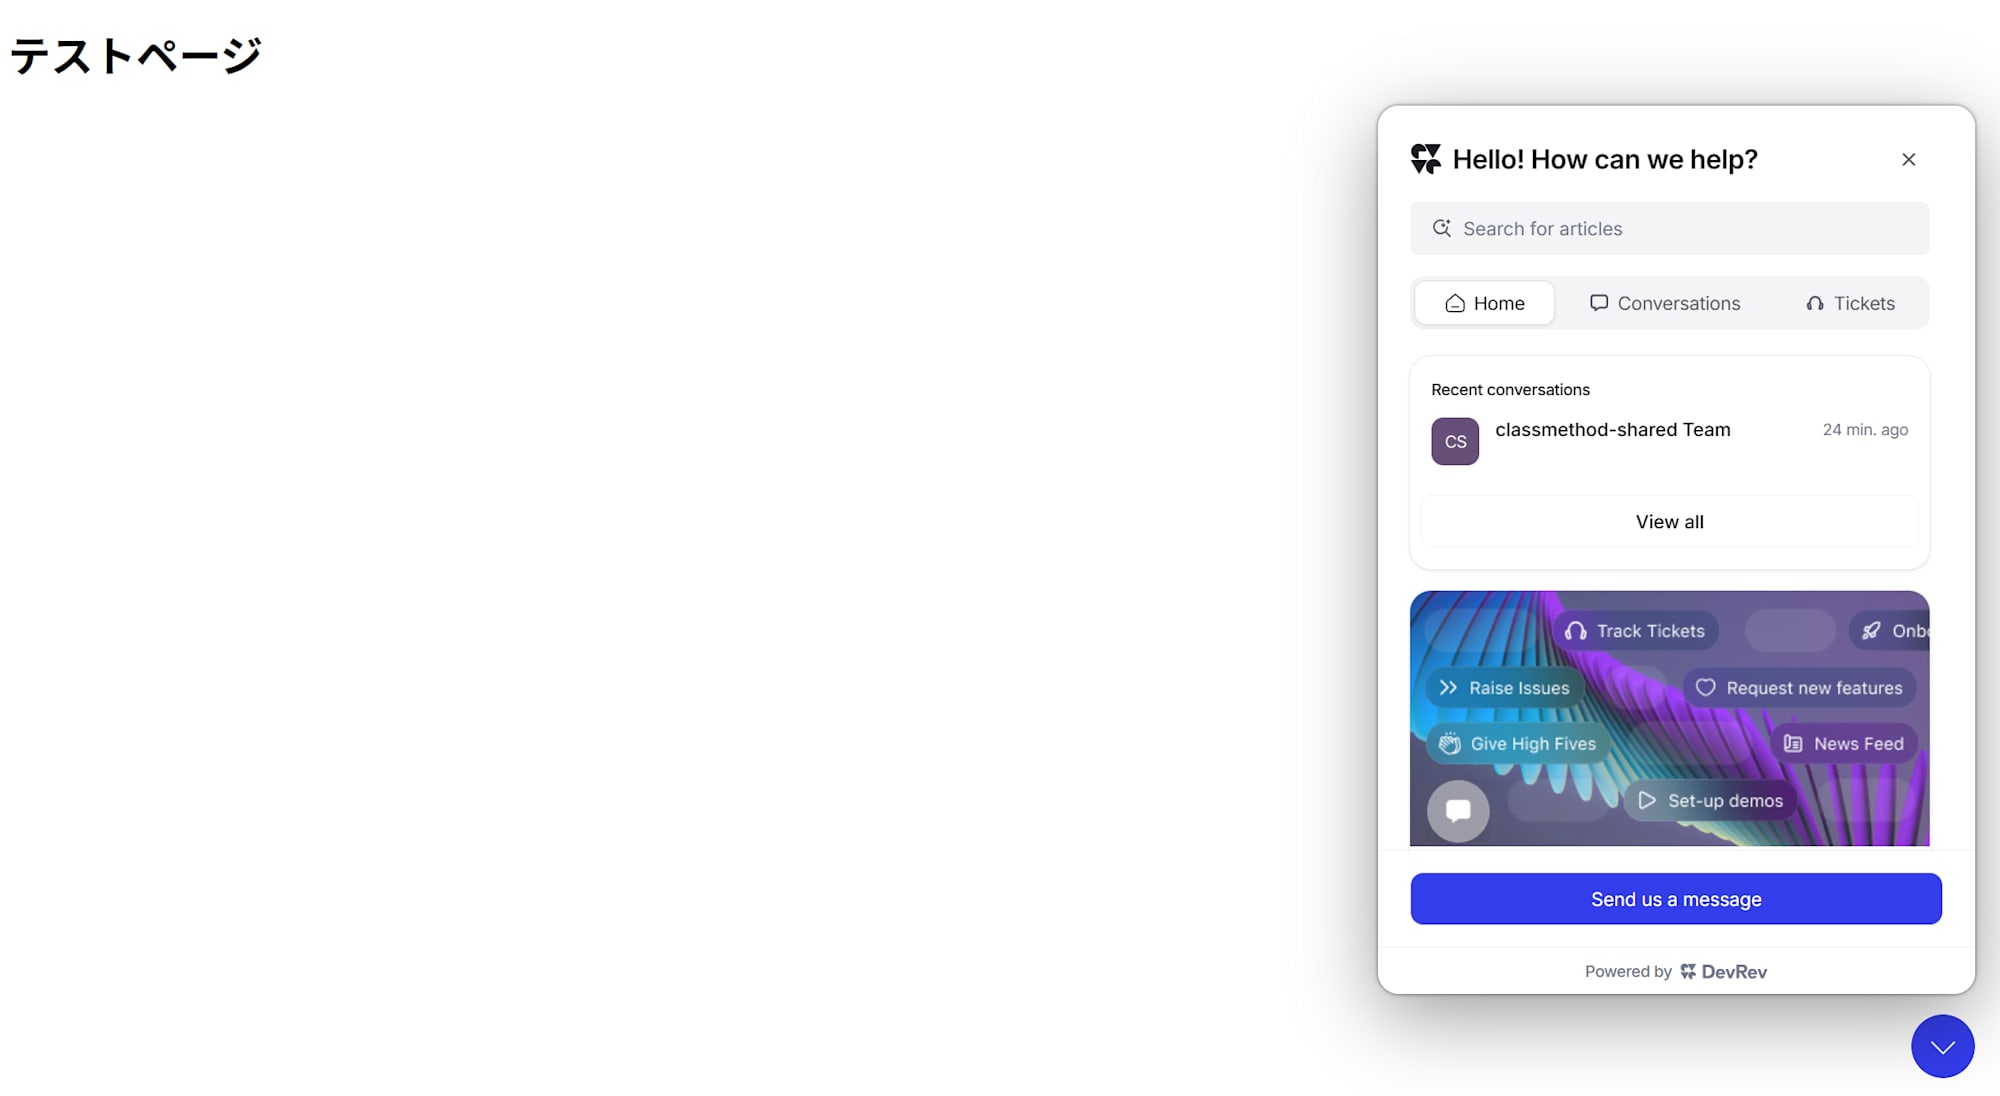
Clicking the button opens the chat window.
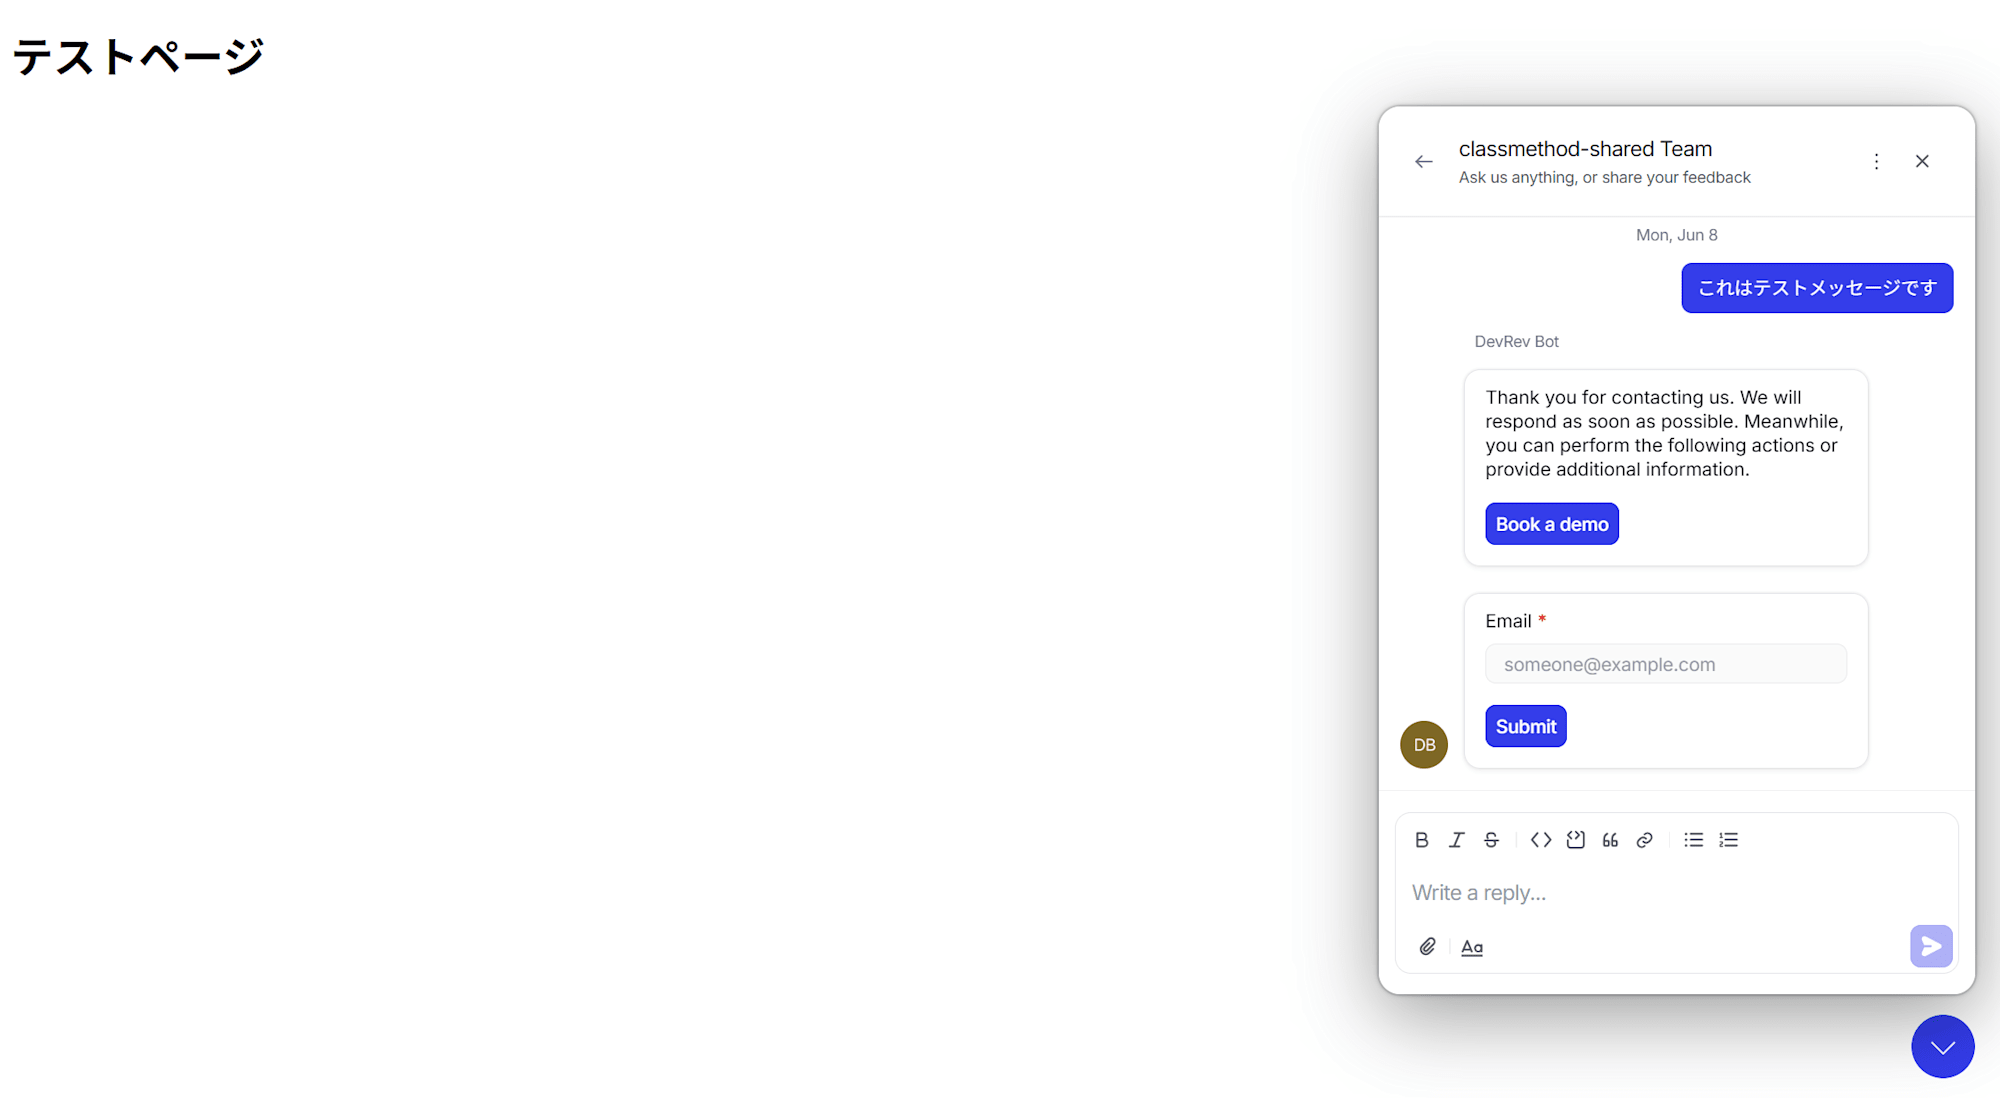
Sending a message from "Send us a message" delivers an automatic reply from the DevRev Bot.
Summary
This time, we introduced the steps for embedding DevRev's PLuG widget into a website.
You can set up the chat widget simply by confirming the app ID on the settings screen and adding two script tags to your HTML. The only thing to be careful about is that it does not work with file://, so you need to publish it using Vercel or a similar service, but the steps themselves are very simple.
We hope this blog post proves helpful in some way.