Creating WordPress on EC2 (Bitnami)

Hello! POP from Classmethod (Thailand) here.
This time I'm going to explain how to set up EC2 (Bitnami) on EC2 and how to login to WordPress,
as well as how to display your website through CloudFront and change domain names with Route 53.
When you're ready, let's get started
What is Amazon EC2?

Amazon EC2 (Elastic Compute Cloud) is a cloud service from AWS (Amazon Web Services) that allows you to create and manage virtual servers (or "Instances") flexibly. You can choose the size, performance, operating system, and various settings of the server according to your needs.## Creating a Key Pair
If you understand about Key pairs now, let's start creating a Key pair
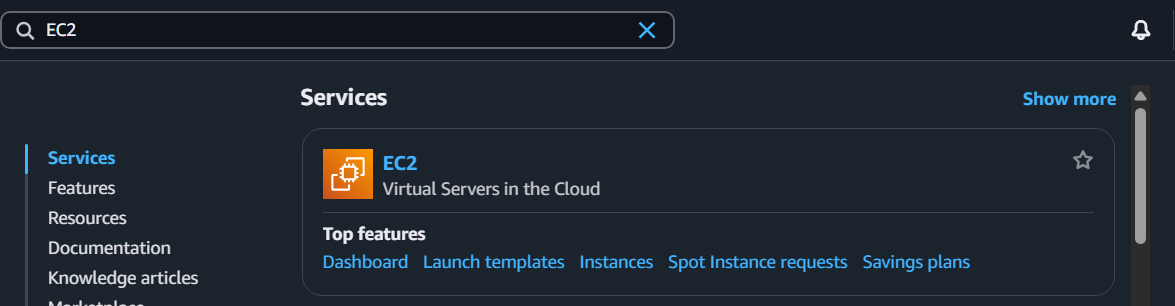
Search for and select EC2
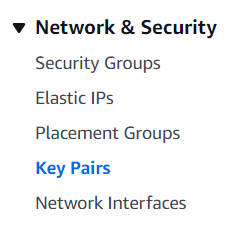
Select Key Pairs from the left menu
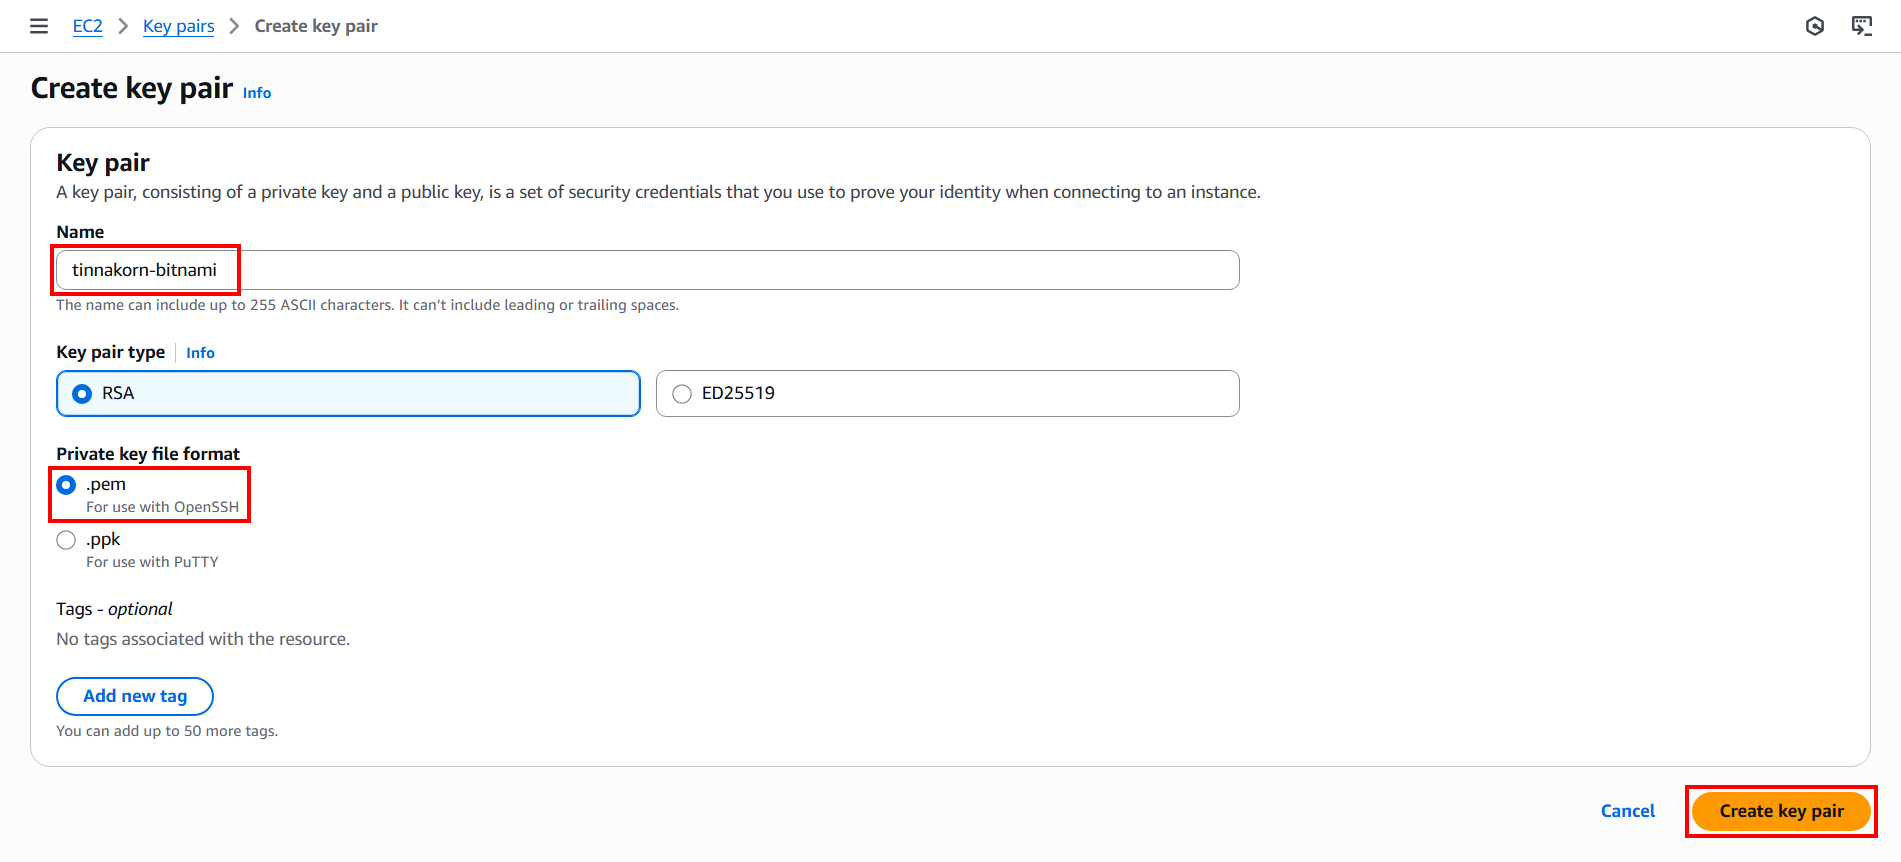
Click Create key pair

Then create a Key pair as follows:
・Name: tinnakorn-bitnami (enter as desired)
・Key pair type: RSA (default)
・Private key file format: .pem (for connecting with VSCode)
・Click Create key pair
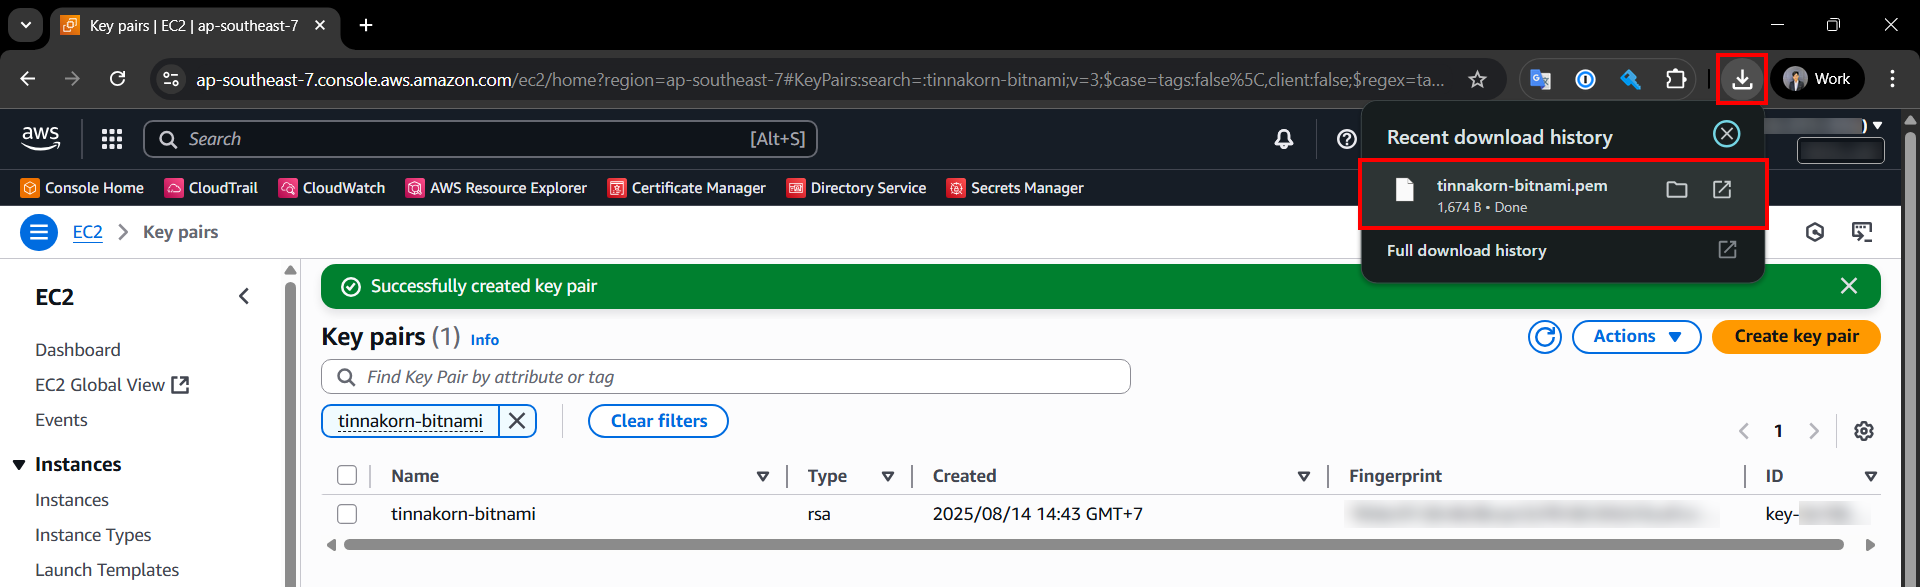
After creating the Key Pair, it will look like this:
・A notification message appears saying "Successfully created key pair"・The .pem file will be downloaded to your computer and the filename will be automatically set according to the name we specified.
 ## Activating EC2 Instance
Activating an Instance will be performed in EC2, similar to creating a Key Pair
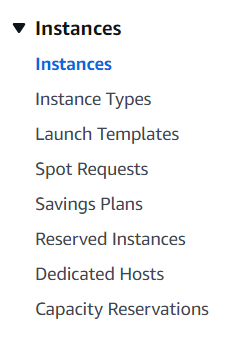
Select Instances from the left menu
Click Launch instances

In the Name and tags section
・Enter your desired name in the Name field, such as tinnakorn-bitnami

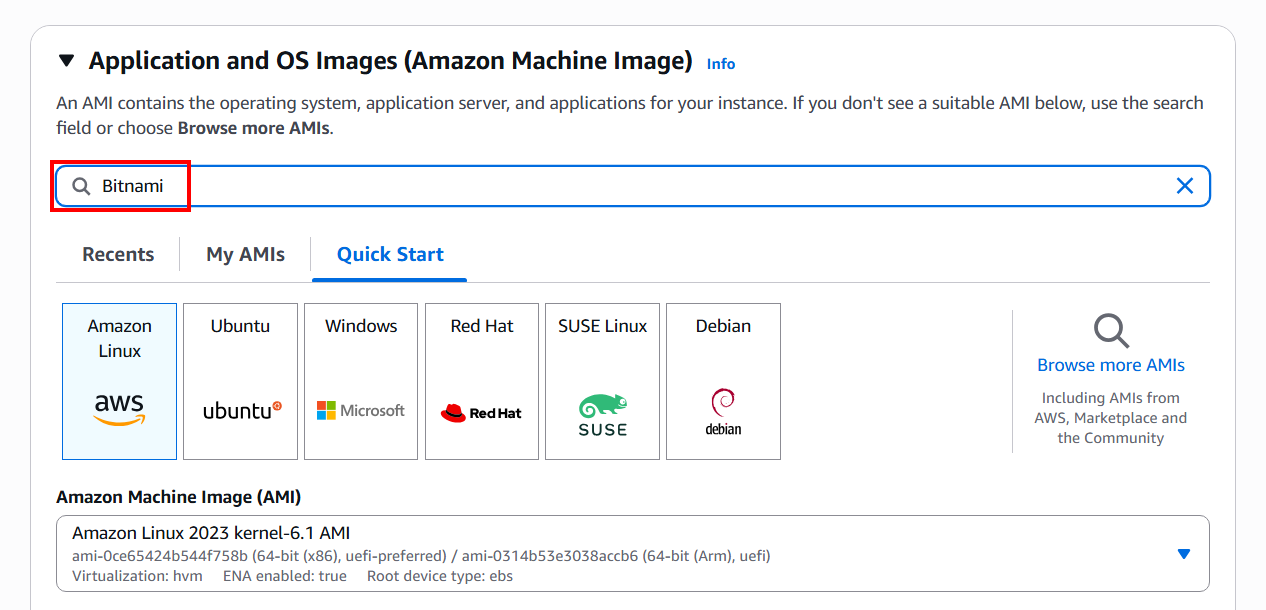
Next, in the Application and OS Images (Amazon Machine Image) section, the Instance will have many server options to choose from, such as macOS, Red Hat, SUSE Linux, Ubuntu, Microsoft Windows, Debian, etc. In this article, we will use Bitnami for the installation
・Search for Bitnami + Enter and wait a moment
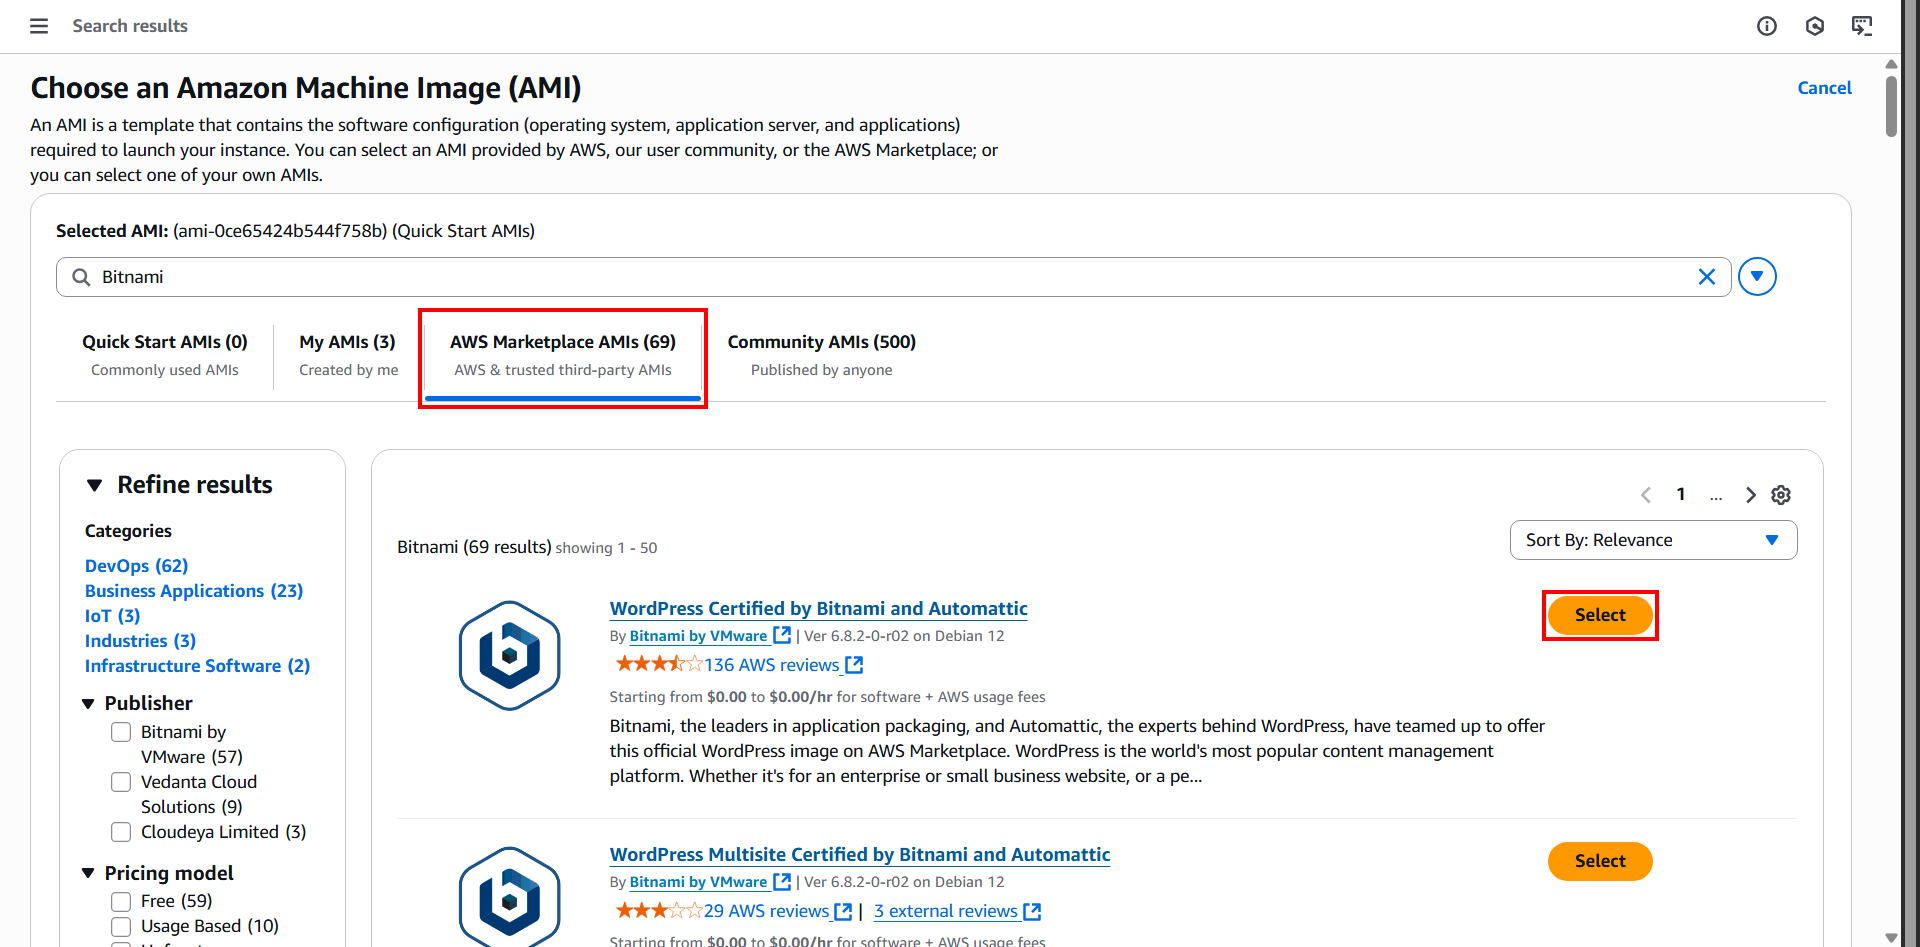
Select the AWS Marketplace AMIs tab and wait a moment. You will see Bitnami appear. Click Select on the current version (As of the article update date 2025/08/15 which is WordPress Certified by Bitnami and Automattic)
Then click Subscribe now and wait a moment
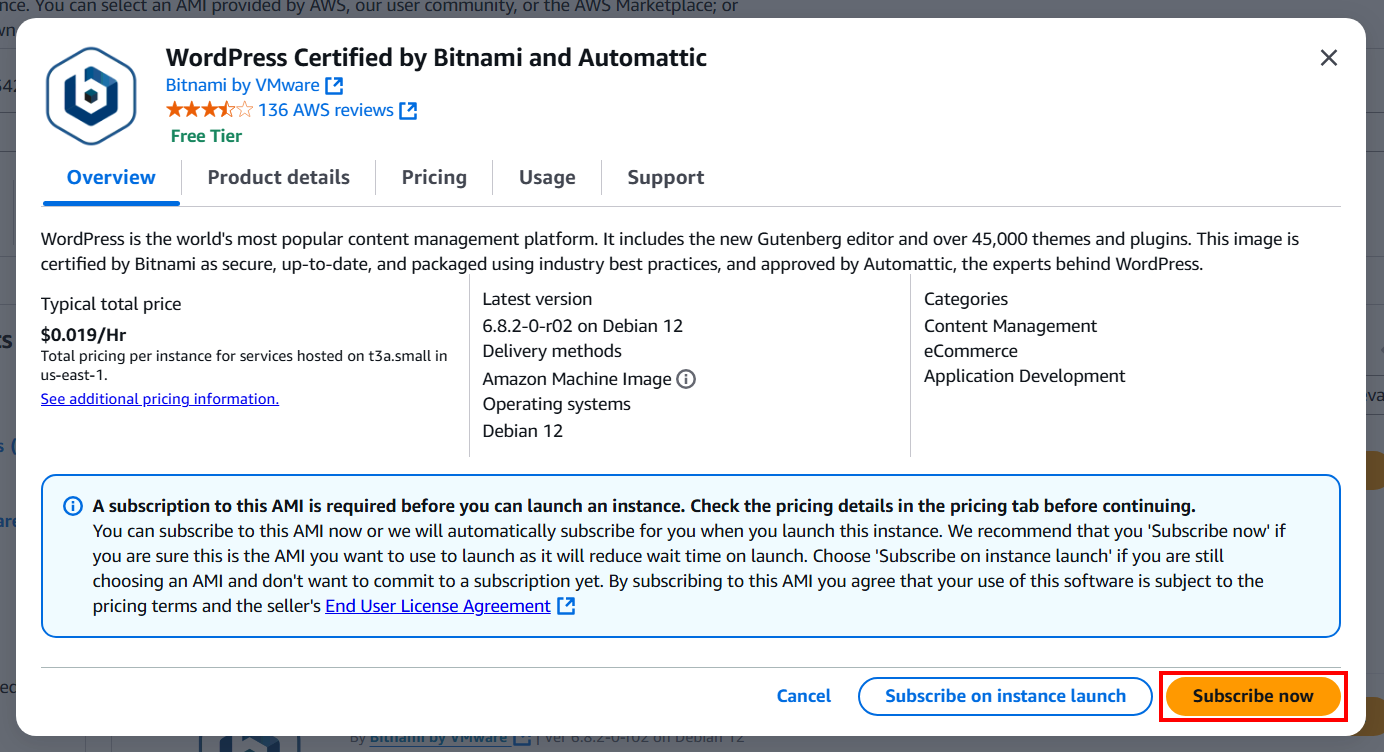
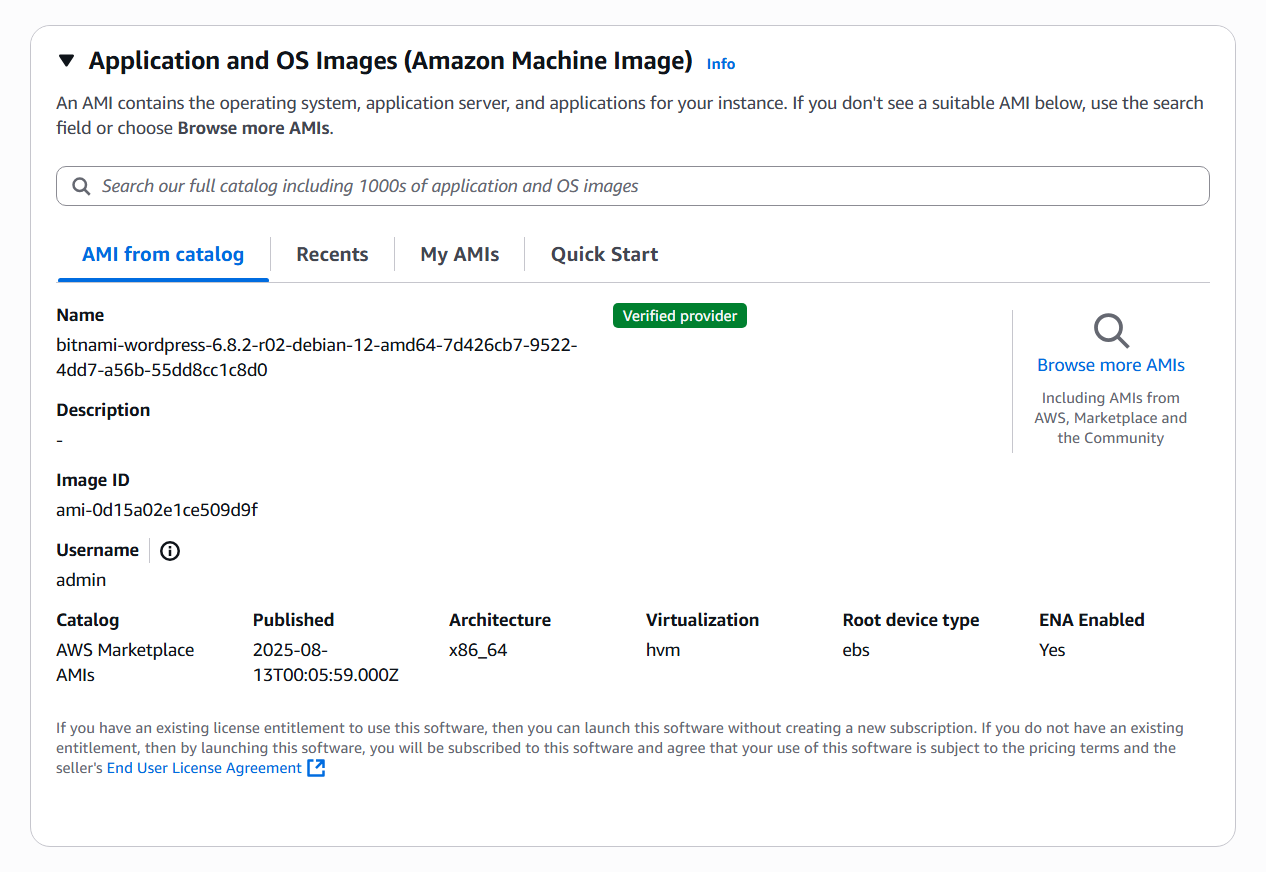
After selecting Bitnami, your screen will look like this
Next, in the Instance type section, we can select the CPU and Memory Type according to our needs. Whether your website is small or large, you can choose the appropriate CPU Memory capacity
・Search for and select t3.micro
・You will get the specs Family: t3 | 2 vCPU | 1 GiB Memory according to our selection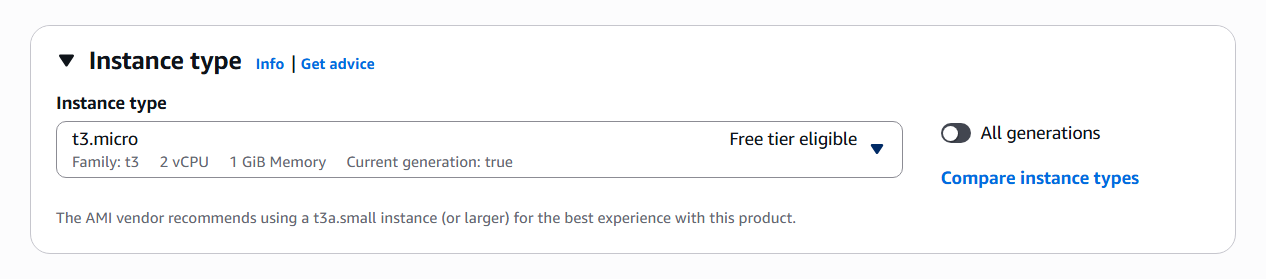
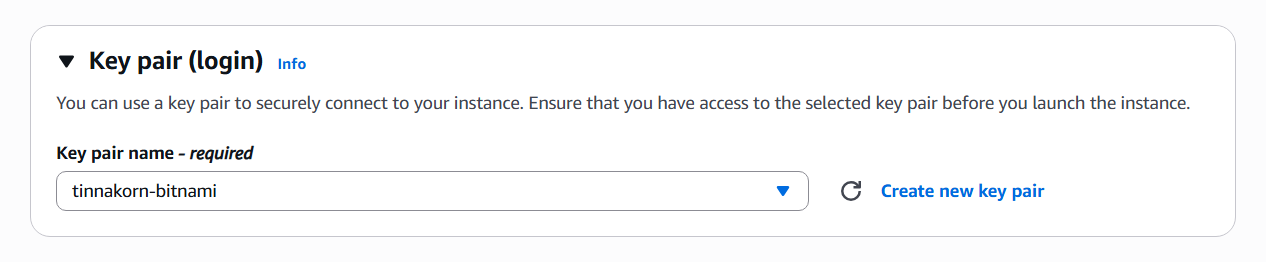
Next for the Key pair (login) section
・Select the Key pair name - required that you created earlier
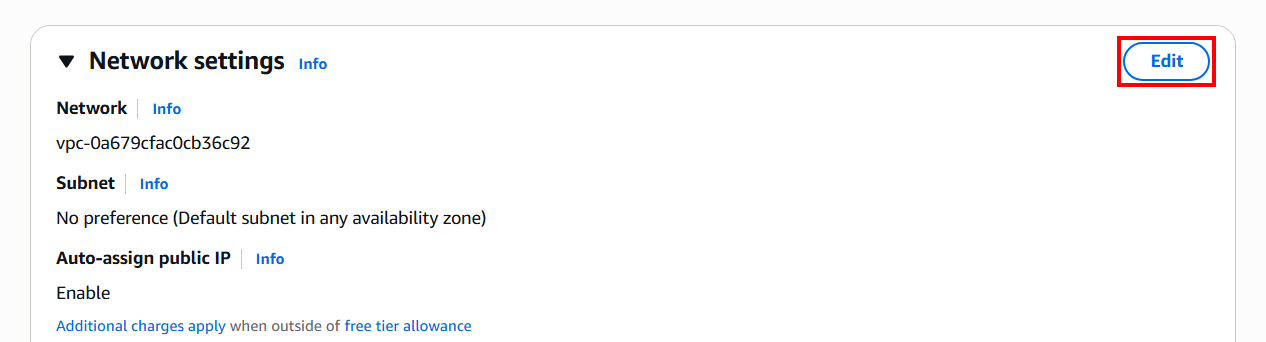
Next for the Network settings section
・Click Edit
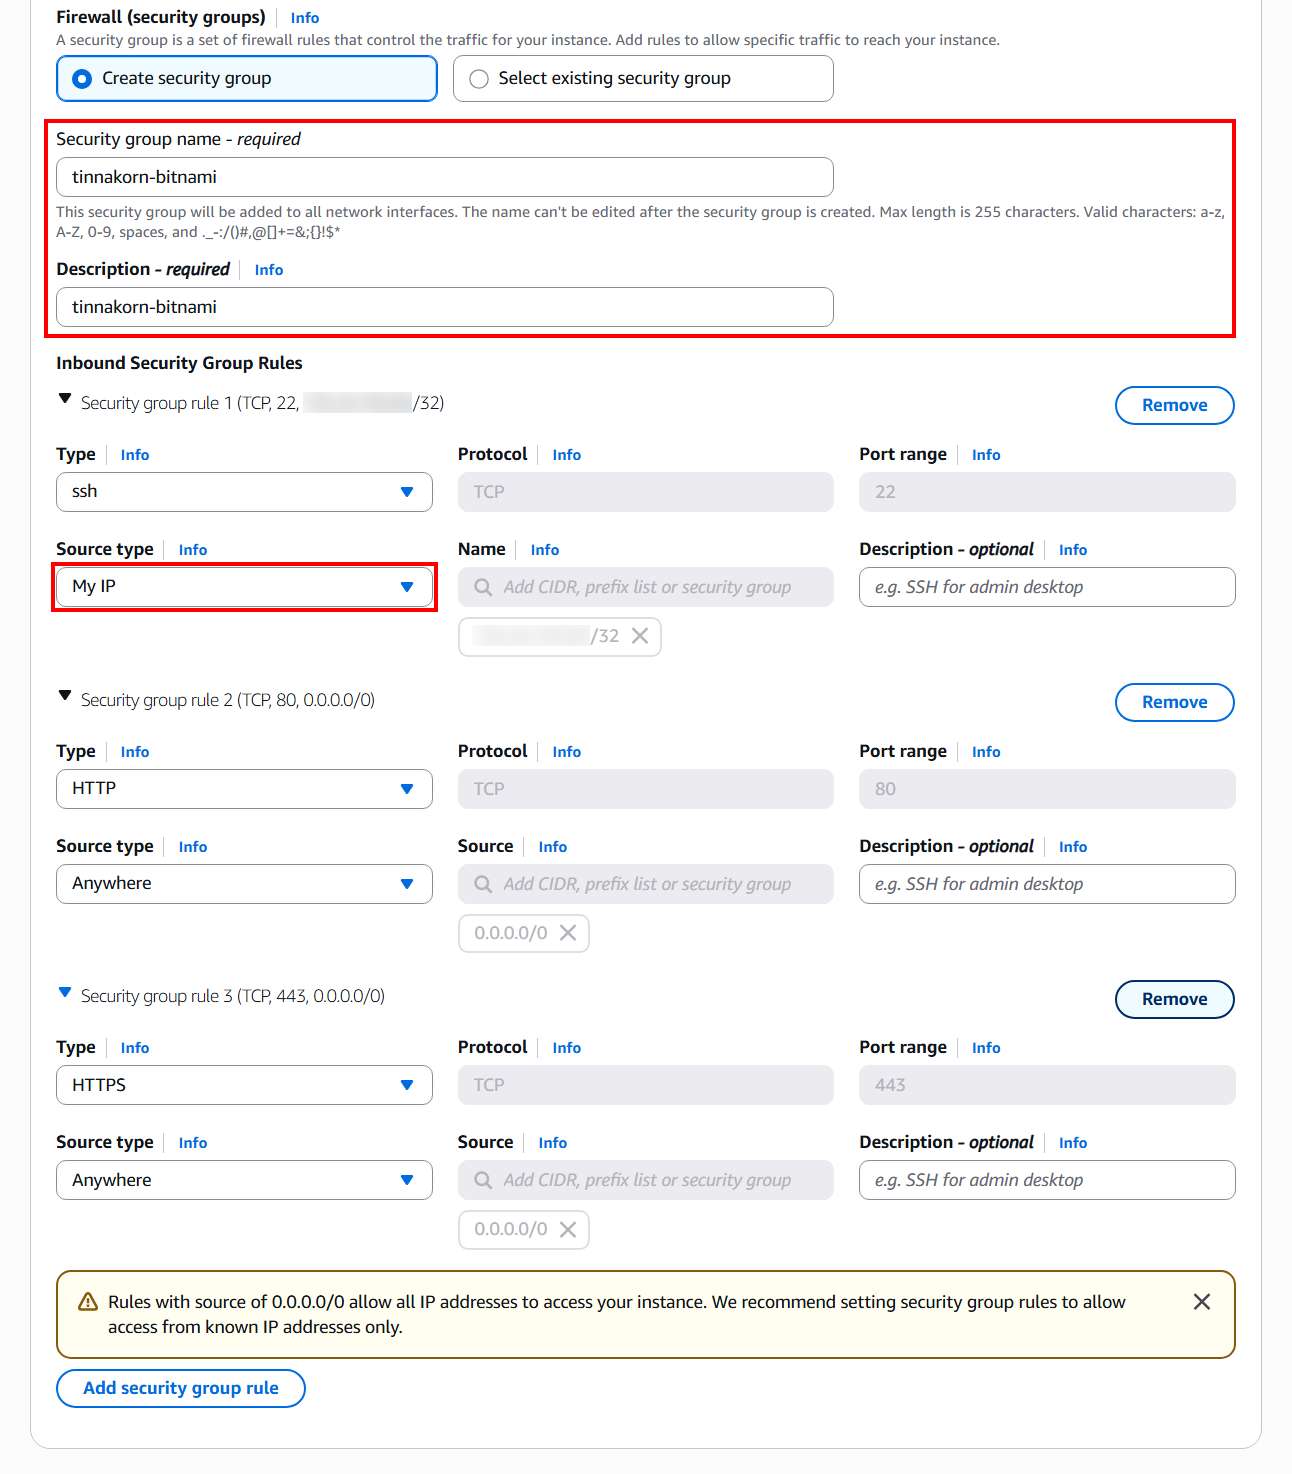
Then go to the Firewall (security groups) section
Change the "Security group name" and "Description" as desired, for example tinnakorn-bitnami
And for the Inbound security groups rules section, this is for setting My IP to restrict SSH connections from all locations. This will allow SSH connections only from My IP (your current IP address), and in case of HTTP, it will be for displaying the website
・Change the Source type for ssh to Source type: My IP
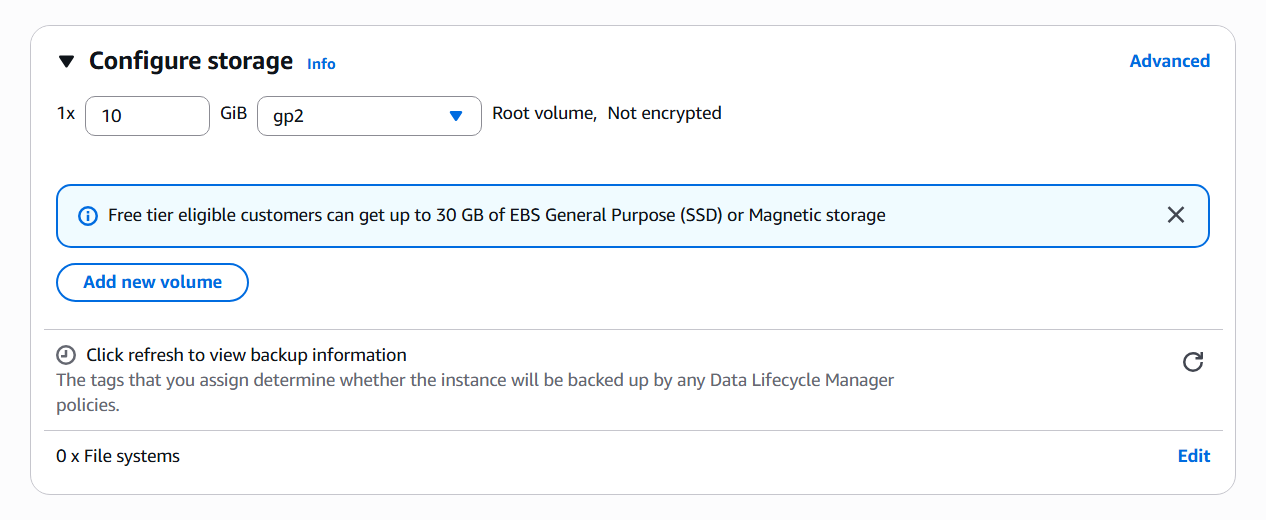
Next for the Configure storage section, we can increase Storage in the Size (GiB) field. The default is 10 GiB
In this example, we'll use the default value, so no configuration is needed
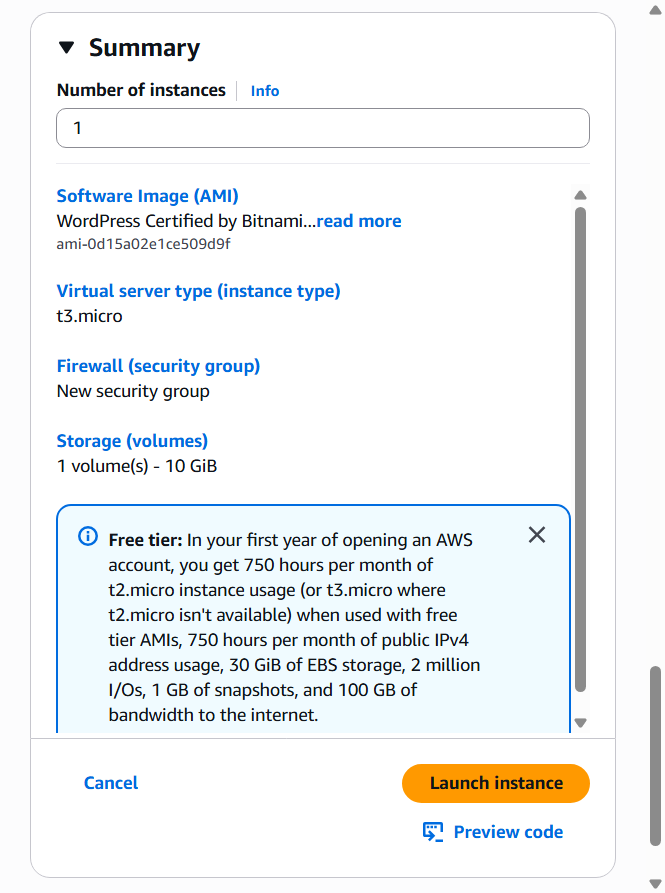
When all settings are completed, go to the Summary section on the right
Check the configuration details and click Launch instance
You will see a screen like this, where the system will start launching the Instance as we configured it
Now click on (i-xxxxxxxxxx) or scroll down to the bottom and click View all instances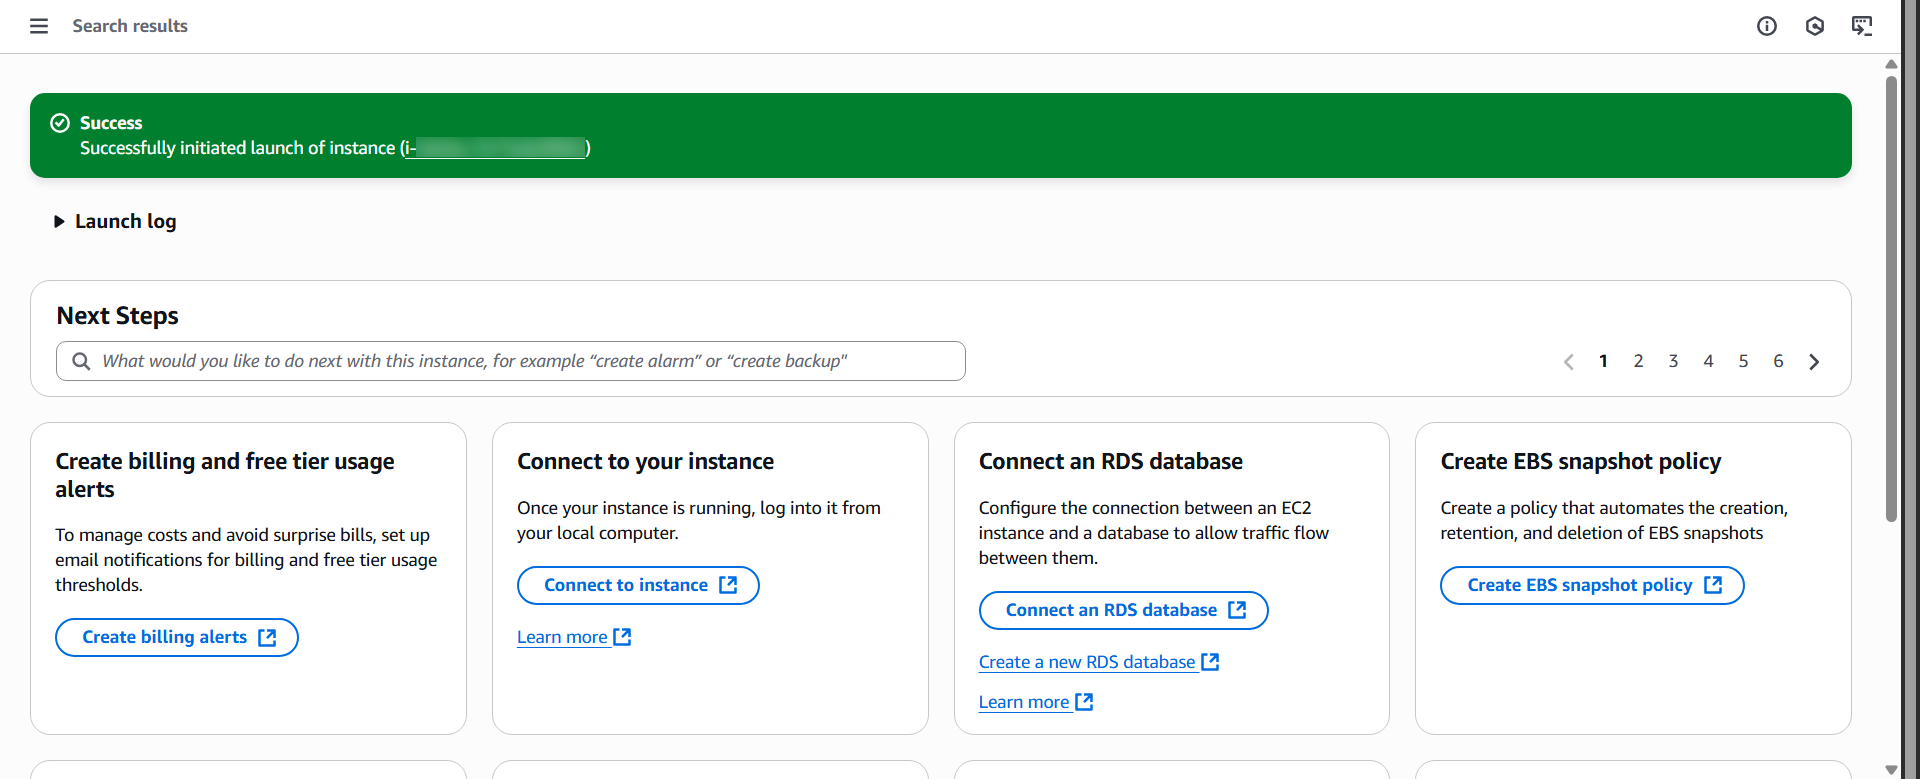
Find our Instance and notice that in Status Checks, it shows the status as Initializing, which means the Instance is starting up.

When the Instance has completed its initialization, the status will change to ✅ 3/3 checks passed

Linking Elastic IP addresses to the Instance (Bitnami)
To prevent the Public IPv4 address of the Instance from changing after stopping/starting the Instance, it's necessary to link an Elastic IP address to the Instance (Bitnami) first.
You can see an example at the link below:
https://dev.classmethod.jp/articles/how-to-link-eip-to-ec2-instance/## Connecting to EC2 Instance with VSCode
This time we will connect to an EC2 Instance with VSCode since it makes system management easier in the future.
See the example at the link below
Note that in the example above, the connection is for EC2 Instance (Amazon Linux).
Therefore, please use this Config to connect to bitnami
			Host [display-name]
    HostName [Elastic-IP-address]
    User bitnami
    Port 22
    IdentityFile [path-to-.pem-file]  # For example, IdentityFile ~/.ssh/my-key.pem
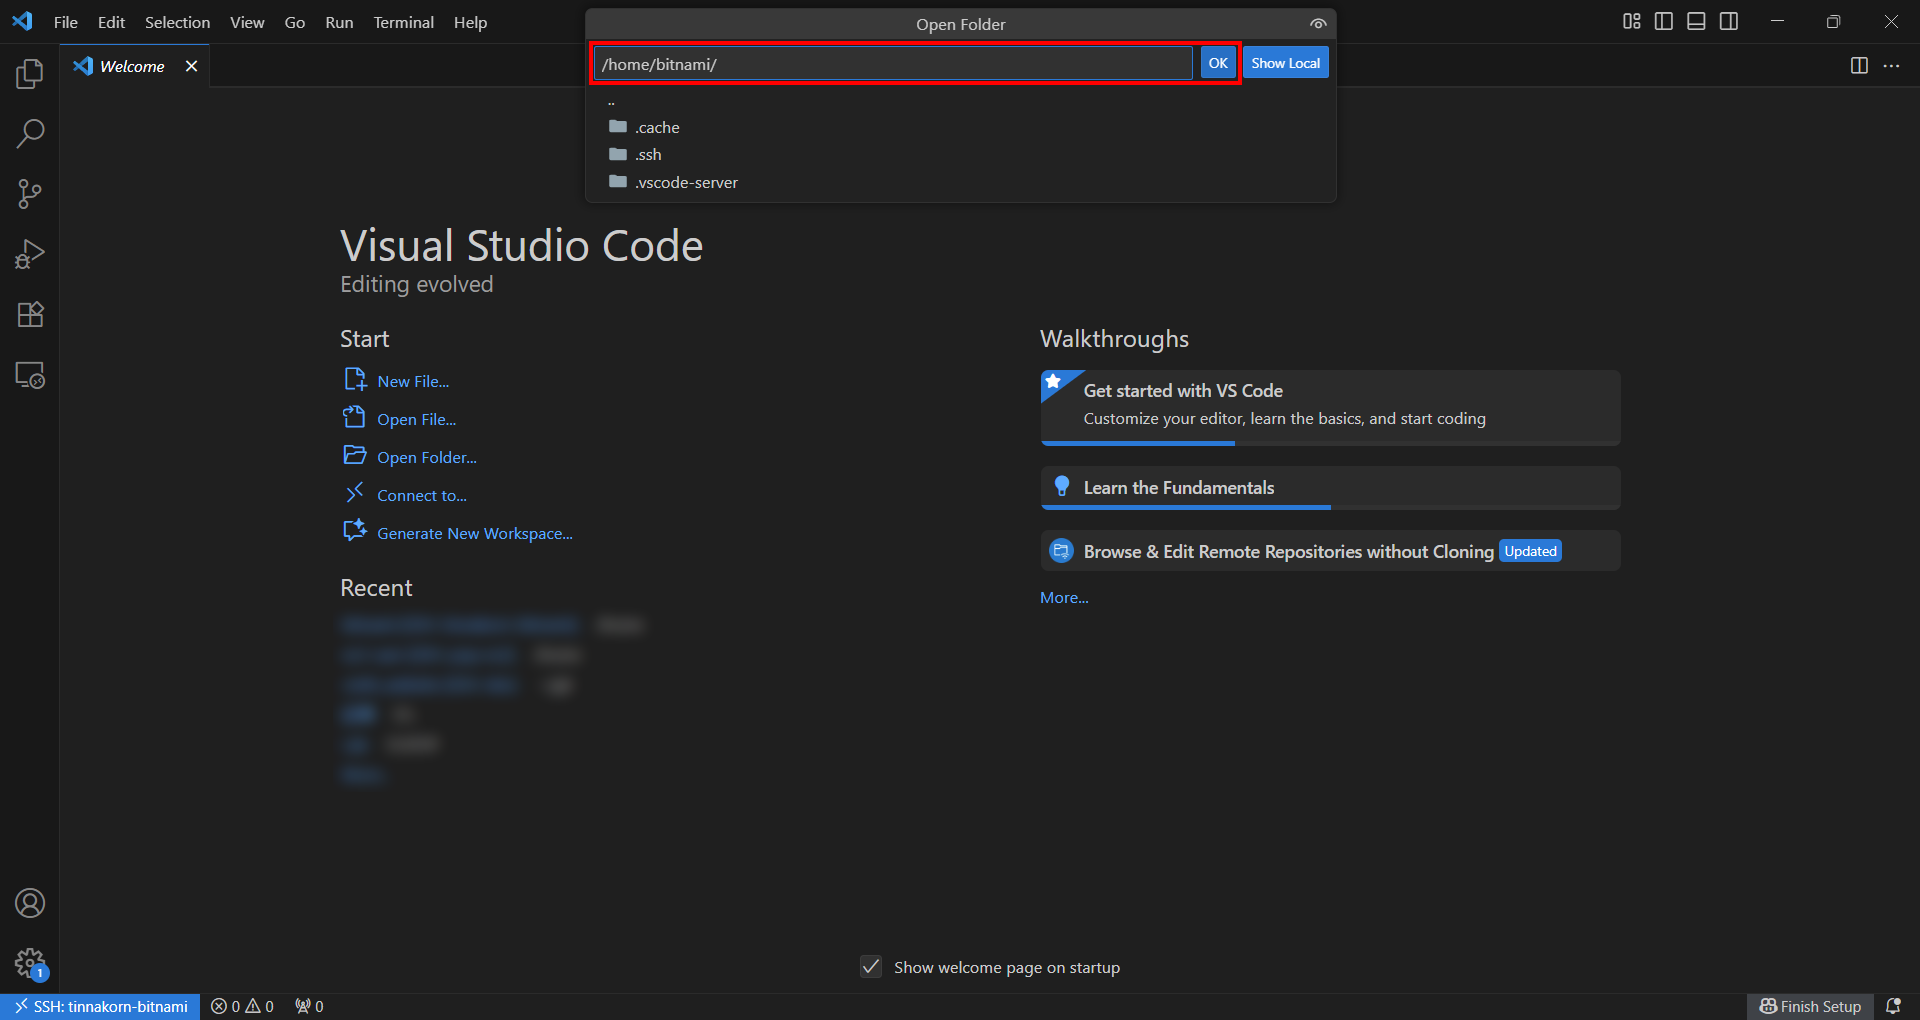
When the connection is complete, go to the folder /home/bitnami/ like this, then click OK
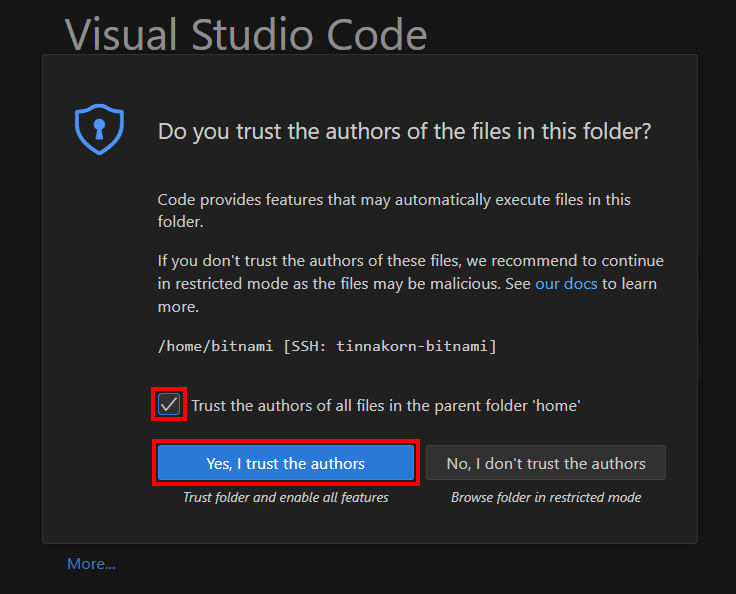
When accessing this folder for the first time, a POP-UP will appear like this. Check ✅️ Trust the authors of all files in the patent folder 'home' and click Yes, I trust the authors to enter the folder we selected
 ## WordPress Admin Login
Click on the bitnami_credentials file
Then check and copy the username and password to prepare for WordPress Admin login in the next step. In this example, it is shown on Line 4

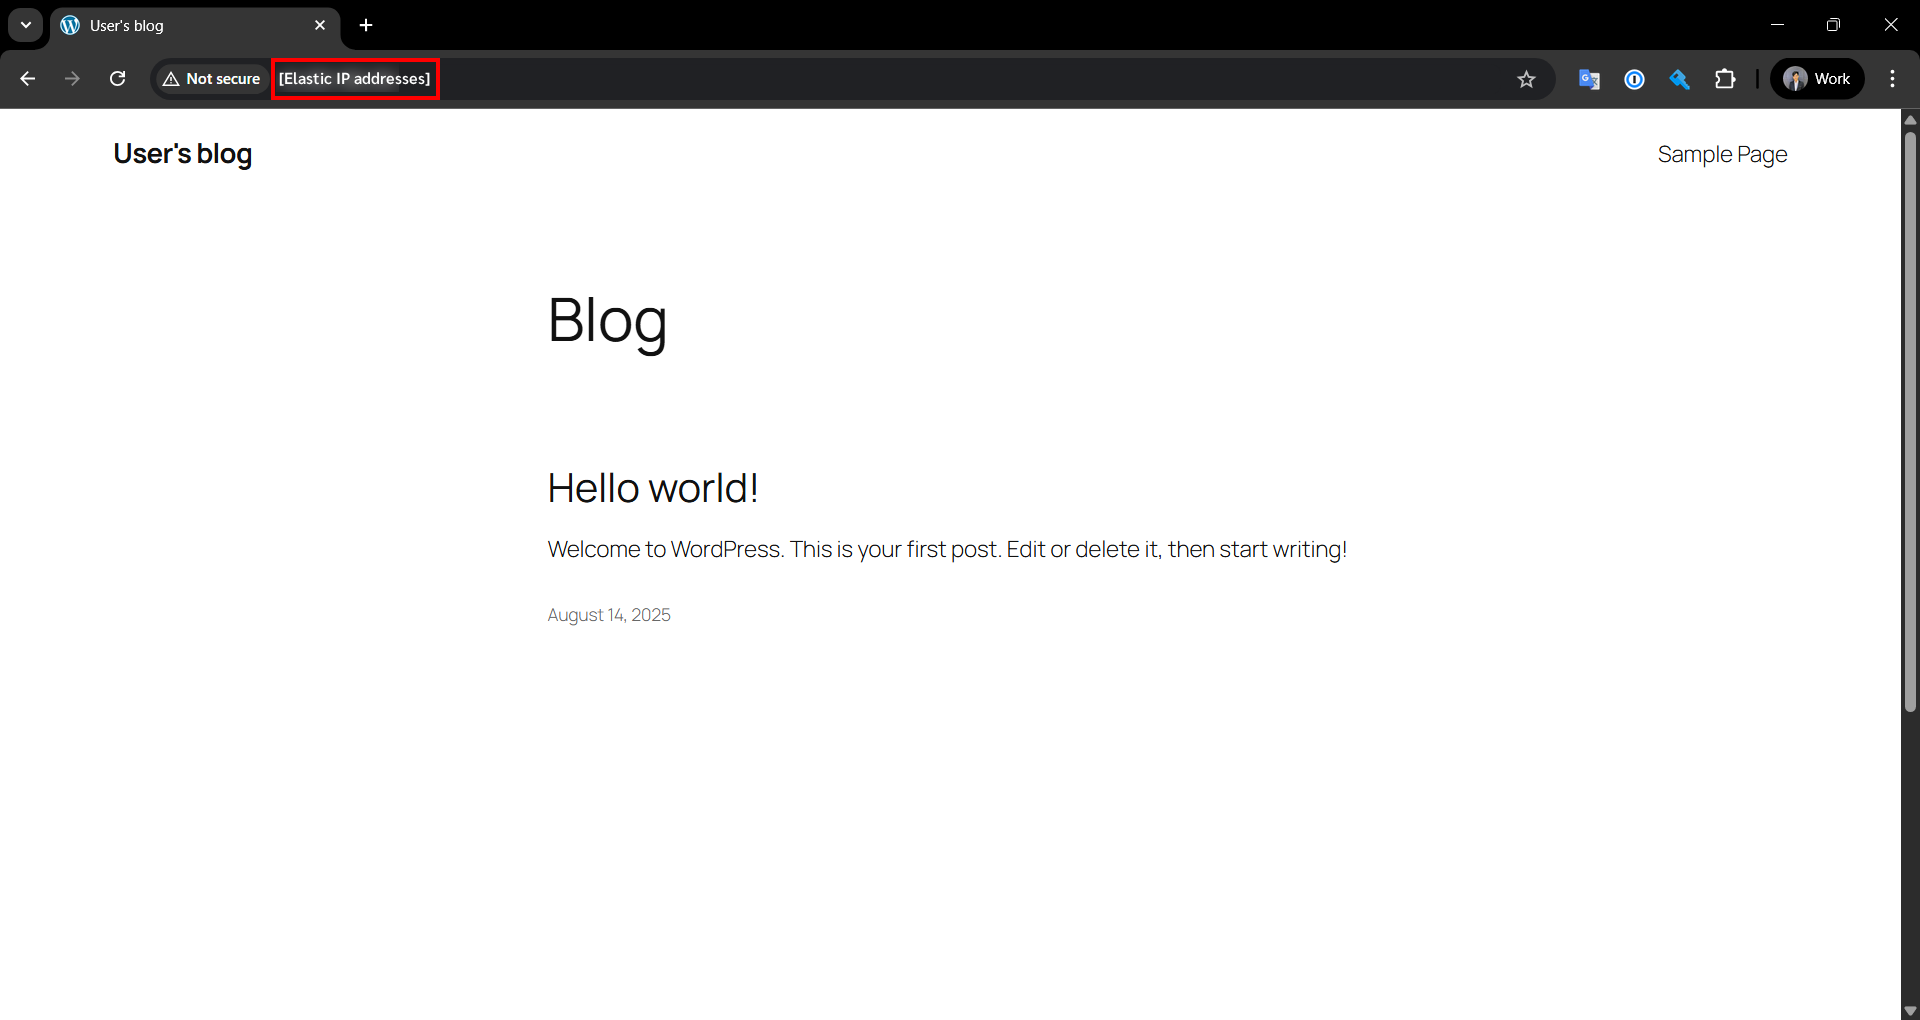
Take the Elastic IP linked to the Instance (Bitnami) and open it in the web browser we are using
You will see the default WordPress website homepage
http://[Elastic IP addresses]
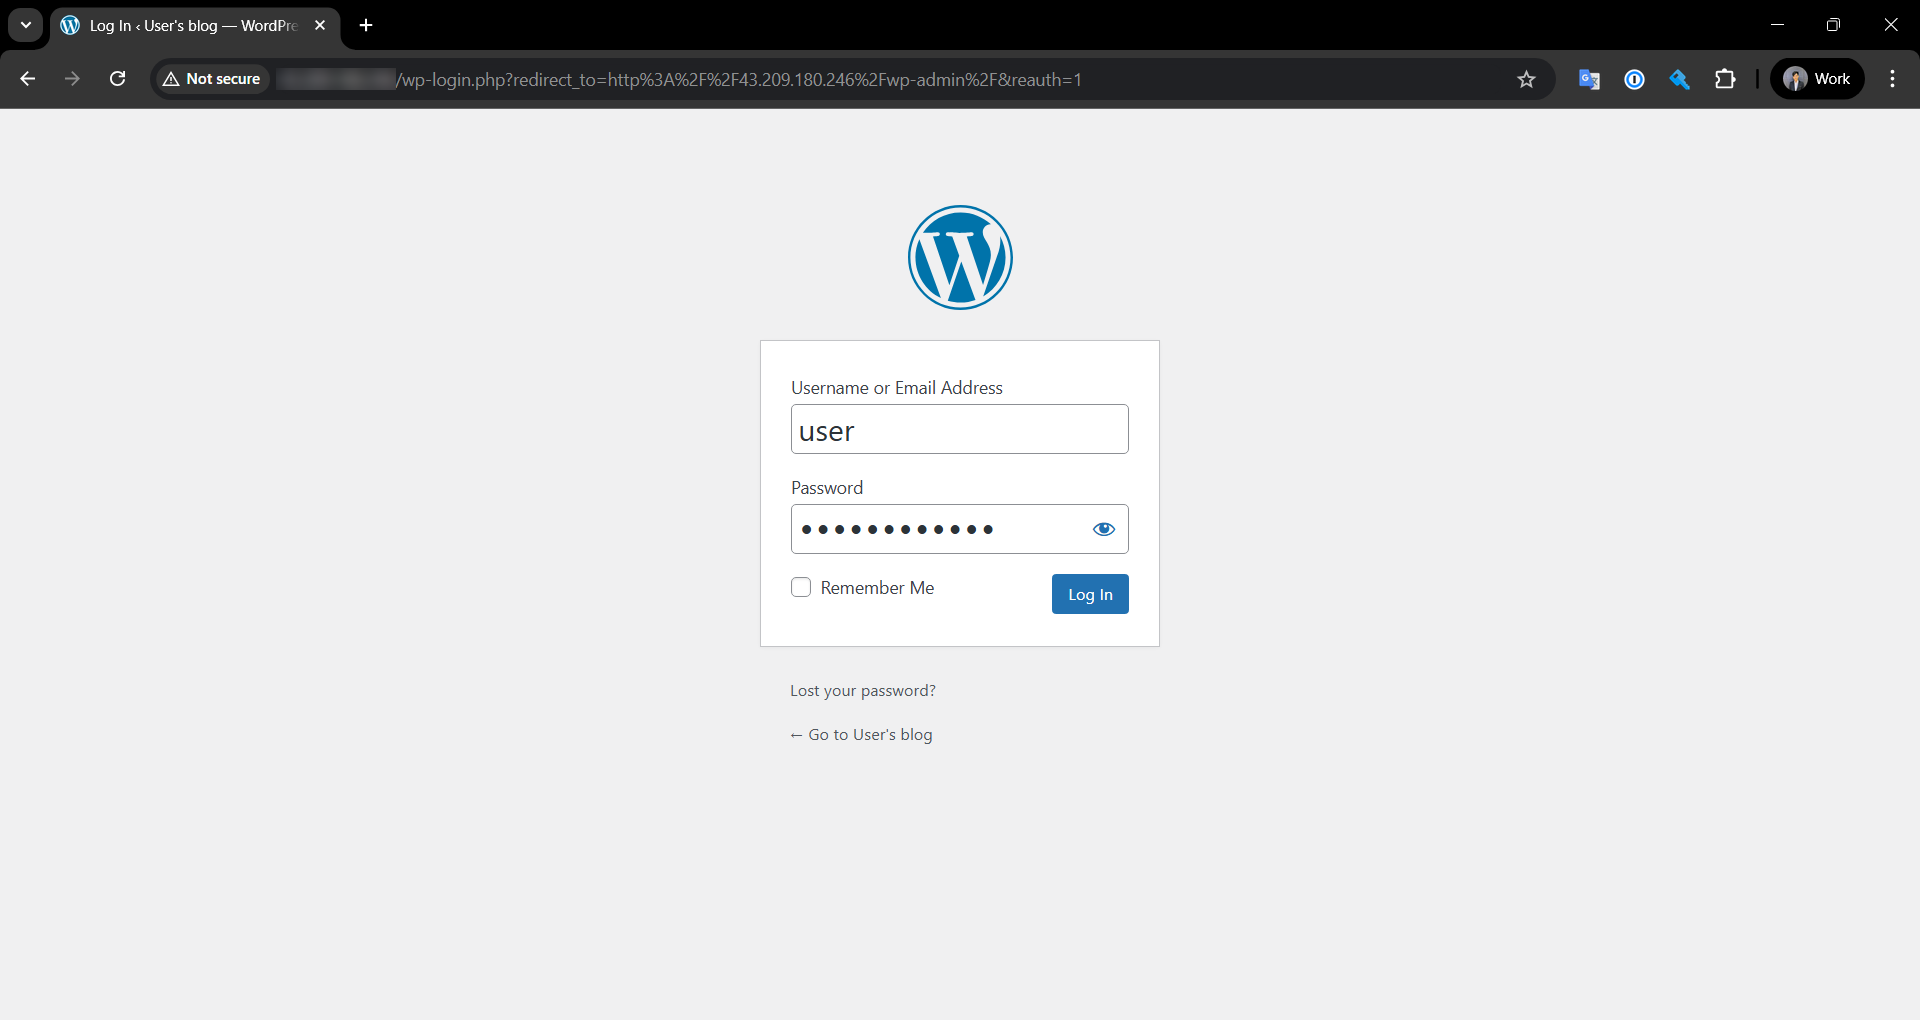
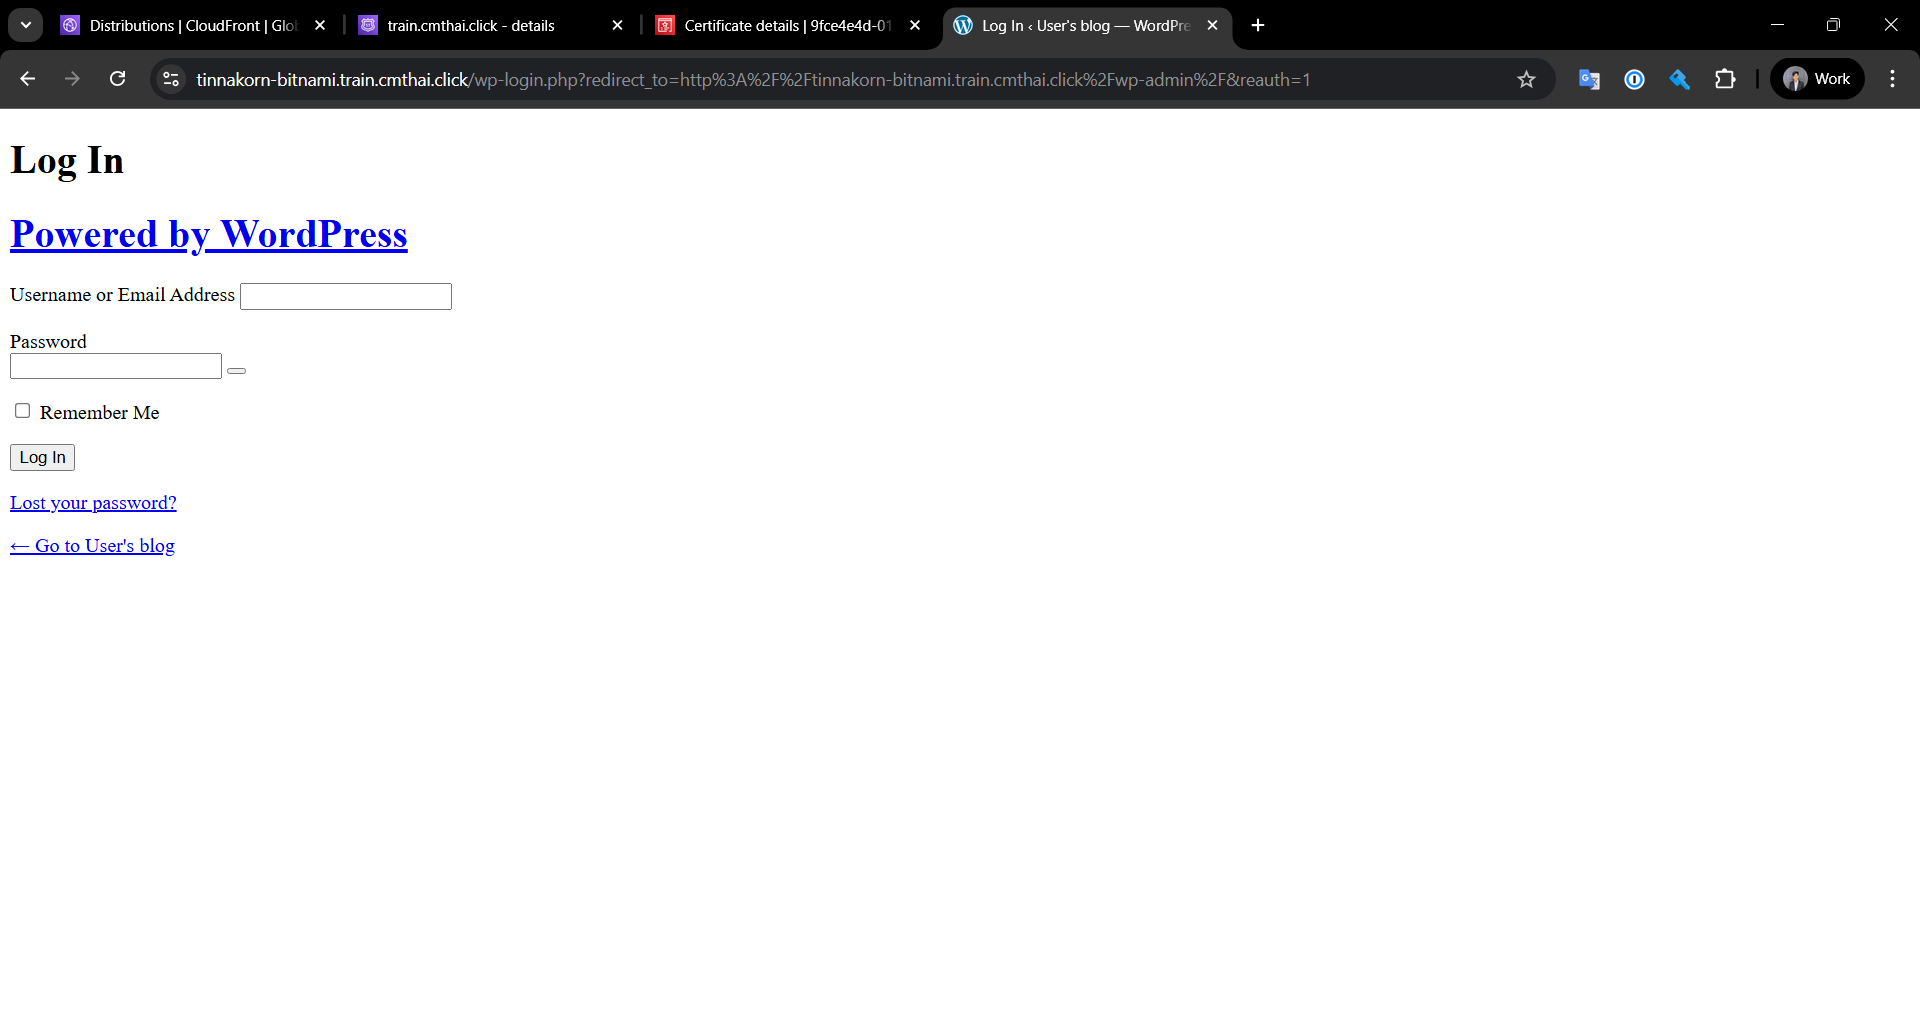
Next, type /wp-admin after the Elastic IP address (when you reach the login screen, the URL may not match what you entered, but that's fine)
Then enter the username and password that you copied from the "bitnami_credentials" file in the VSCode screen and click Log in as shown below
http://[Elastic IP addresses]/wp-admin
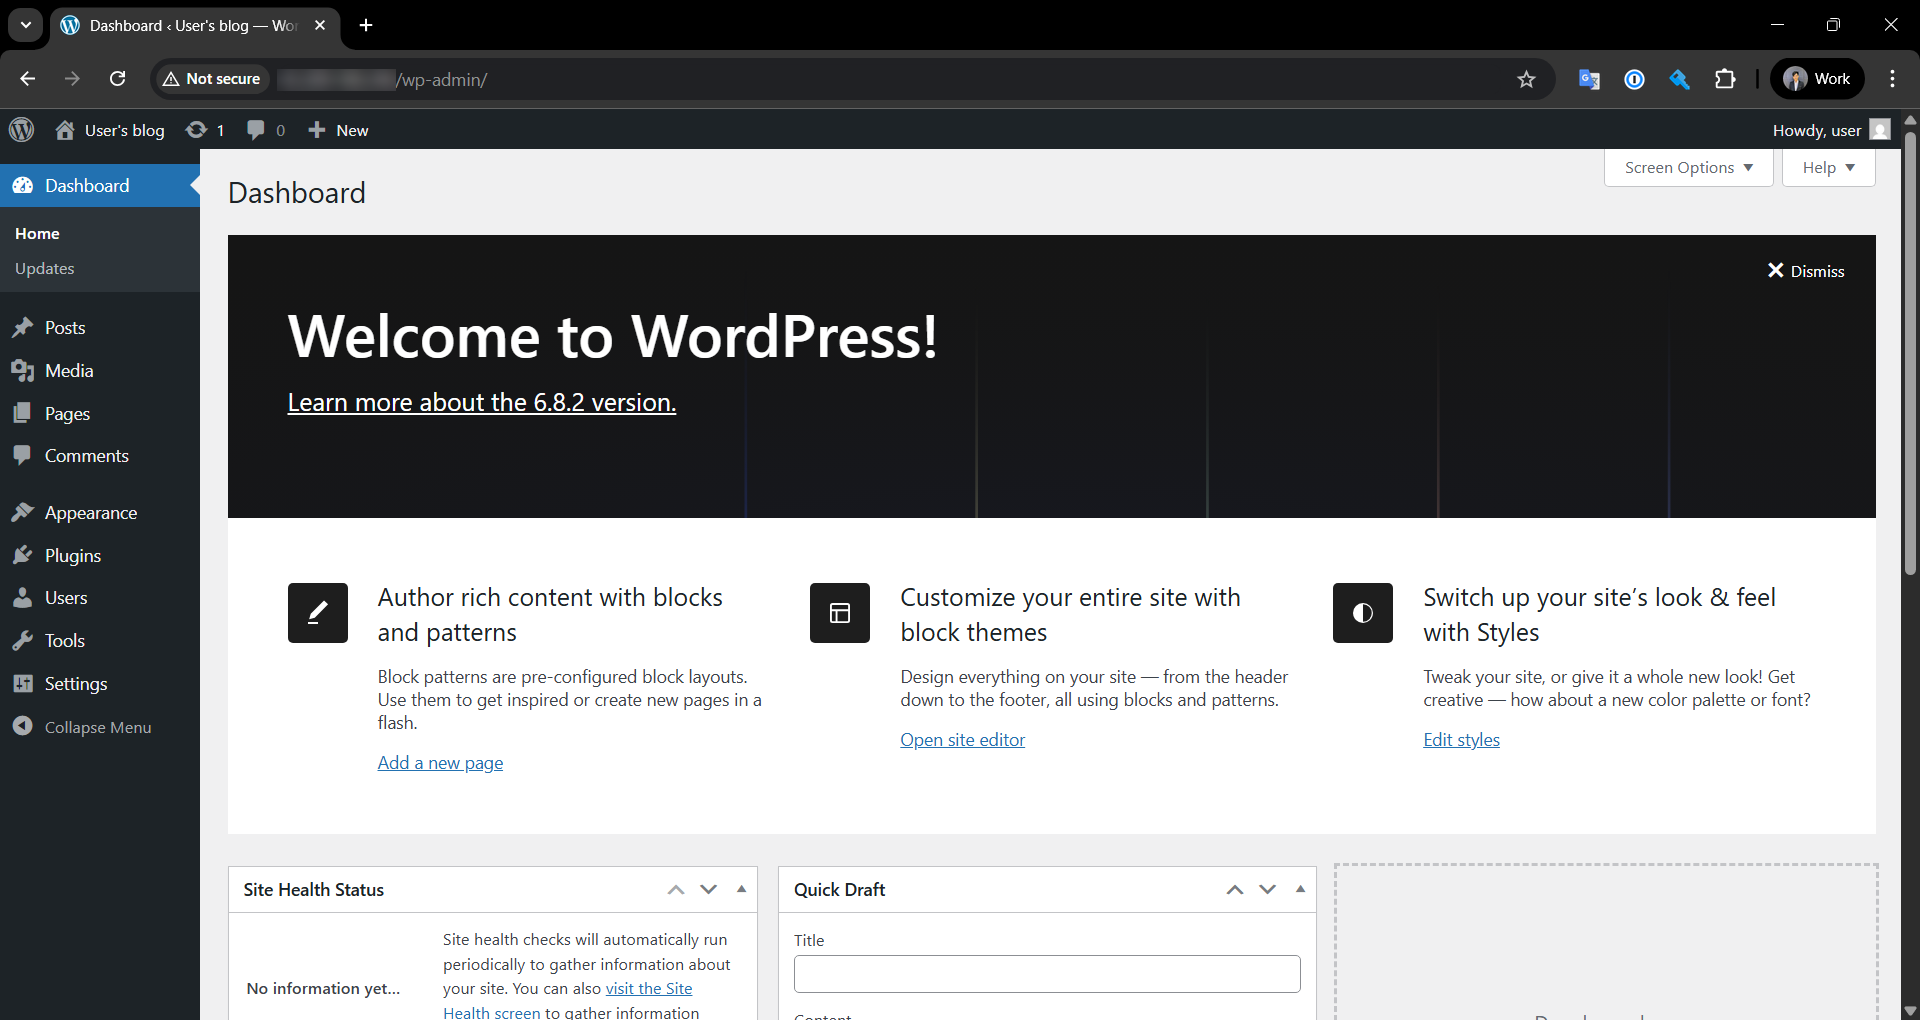
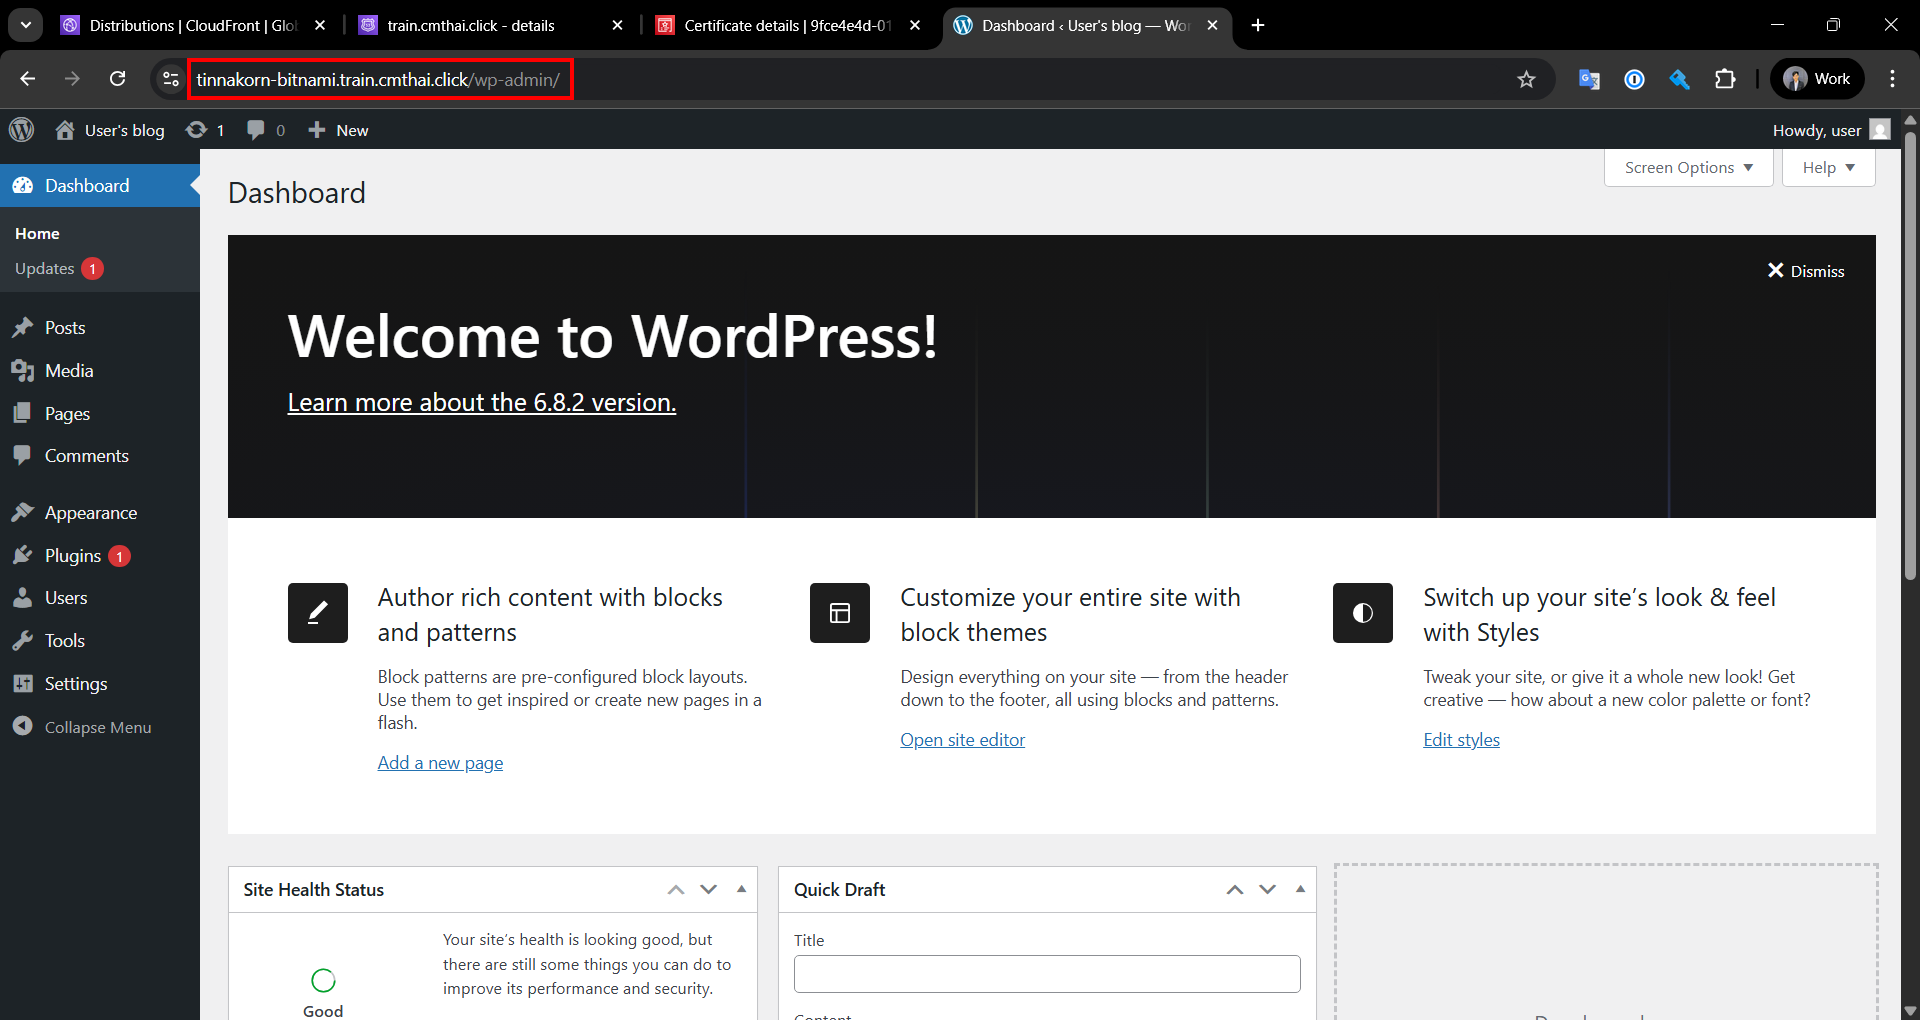
After entering the username and password, the WordPress Admin screen will be displayed like this
And notice that the URL now matches what we entered
 ## Displaying a Website Created from EC2 with CloudFront
We can easily enhance the performance and security of website access with CloudFront
See an example at the link below
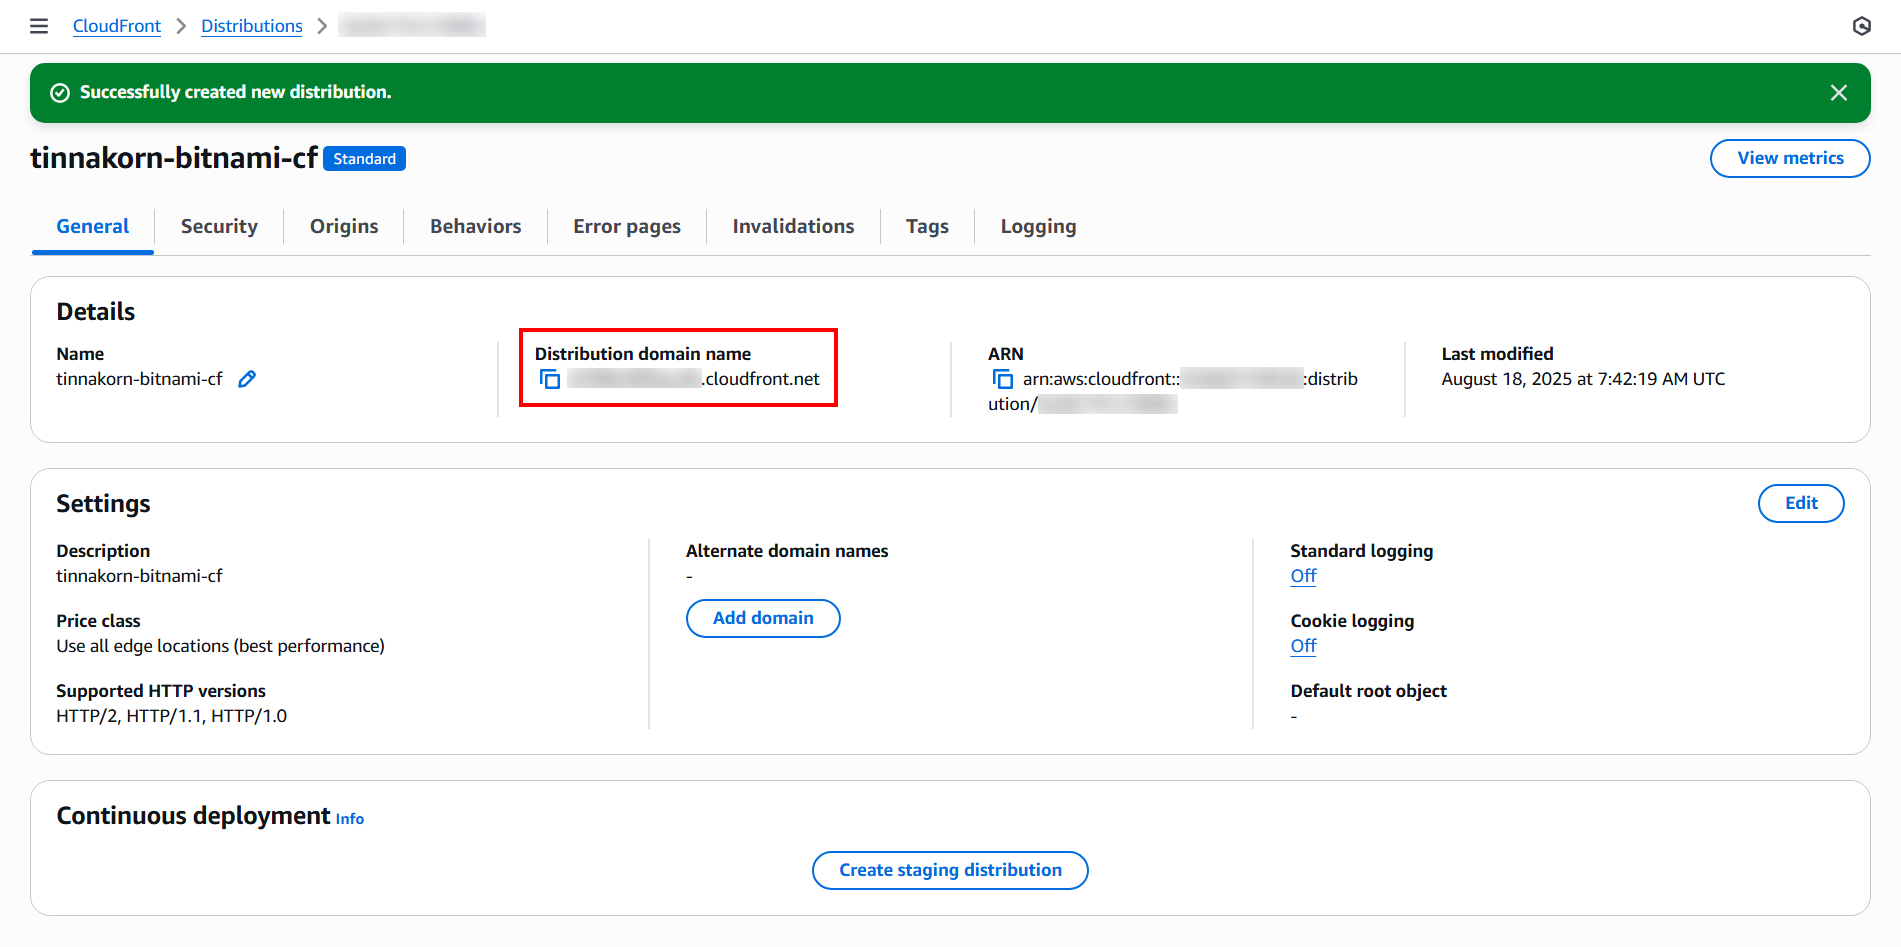
Example results after creating CloudFront
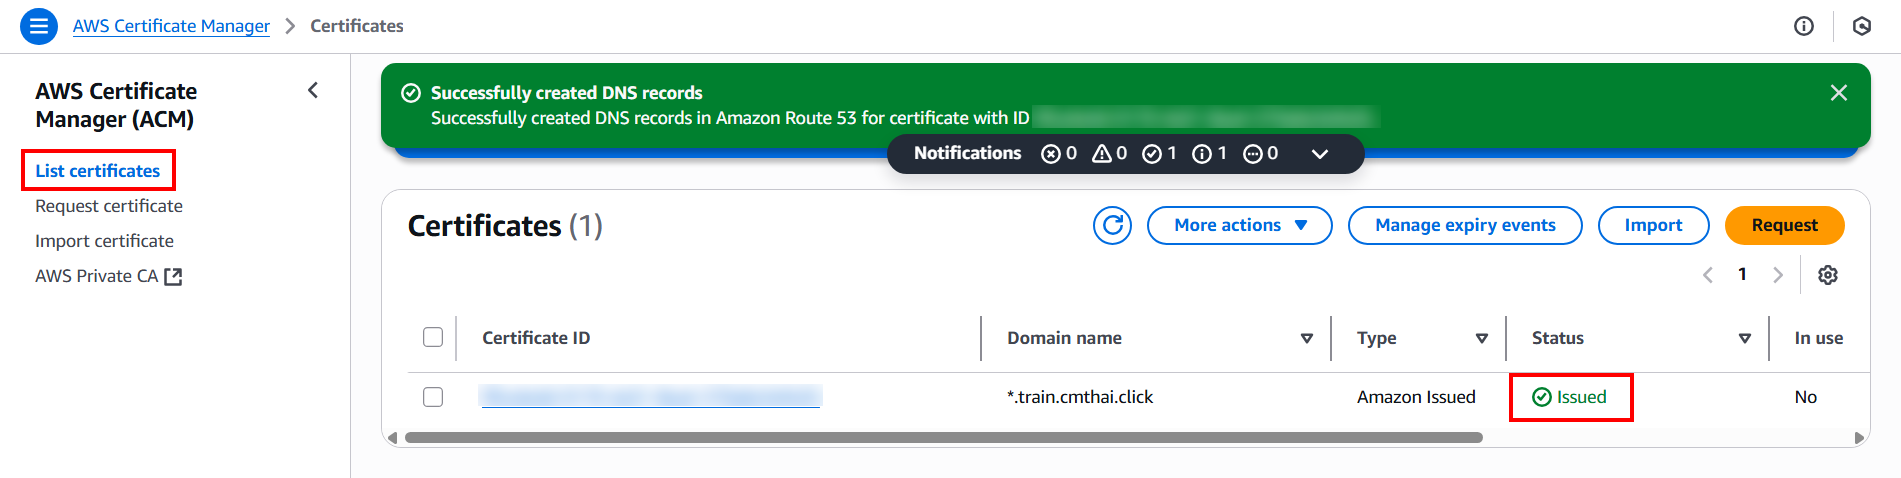
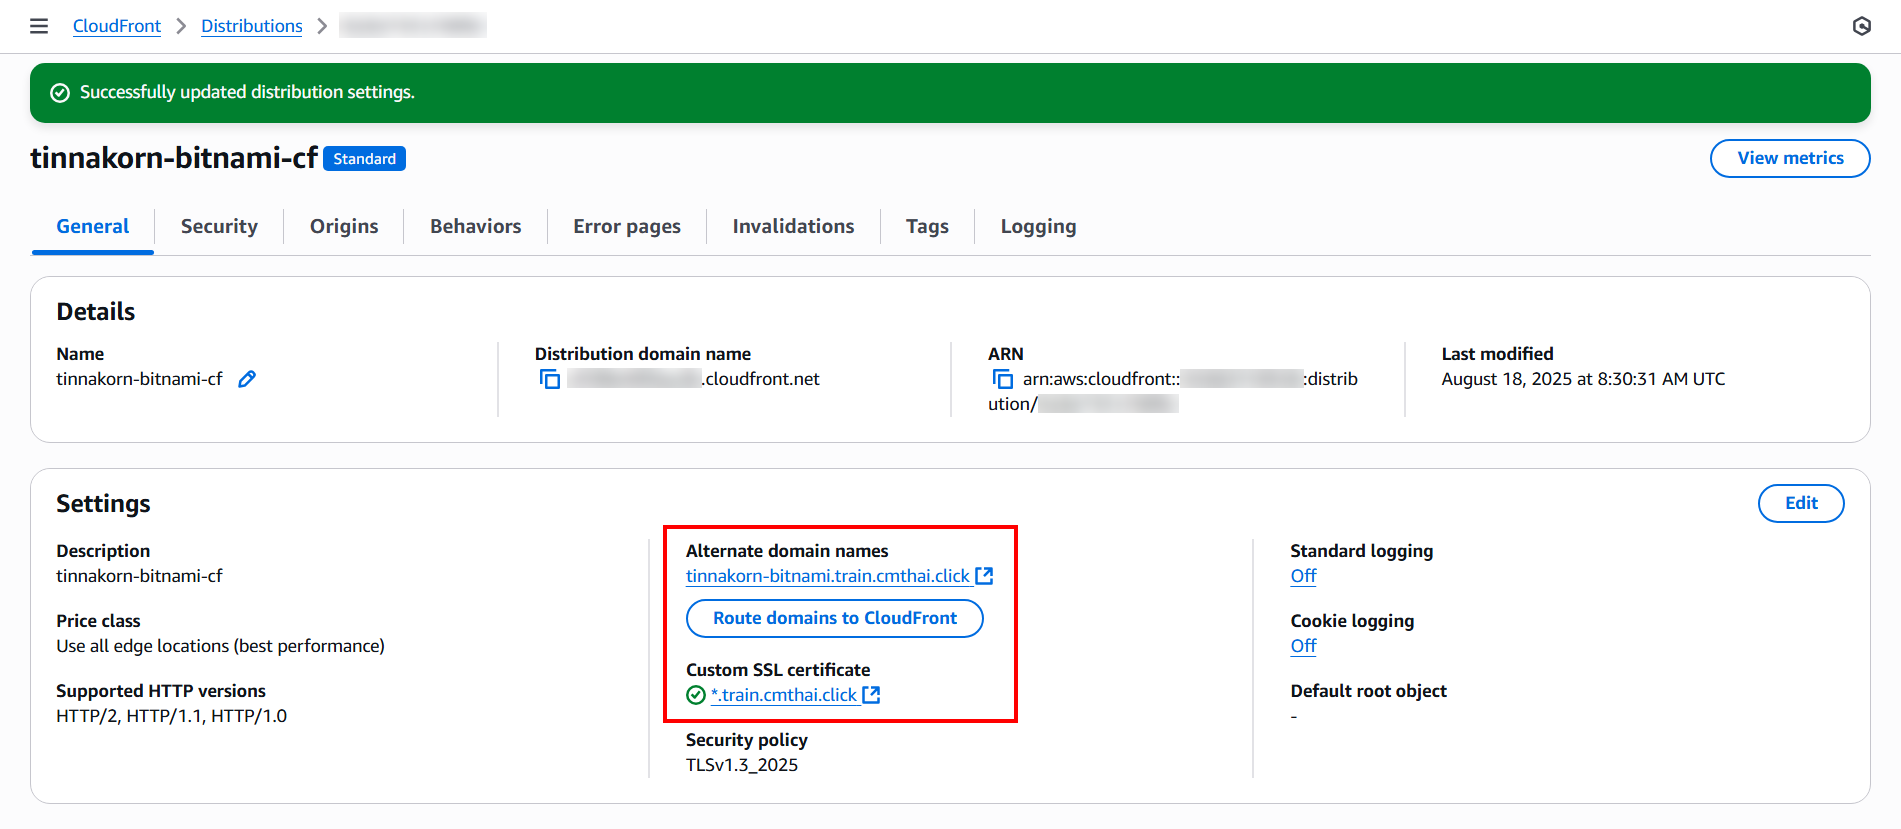
## Changing Domain Name (DNS) for a Website with Route 53 and AWS Certificate Manager
After successfully displaying a website created from EC2 with CloudFront, we can change the Domain name (DNS) to increase credibility for the website with a name of our choice.
You can see an example at the link below
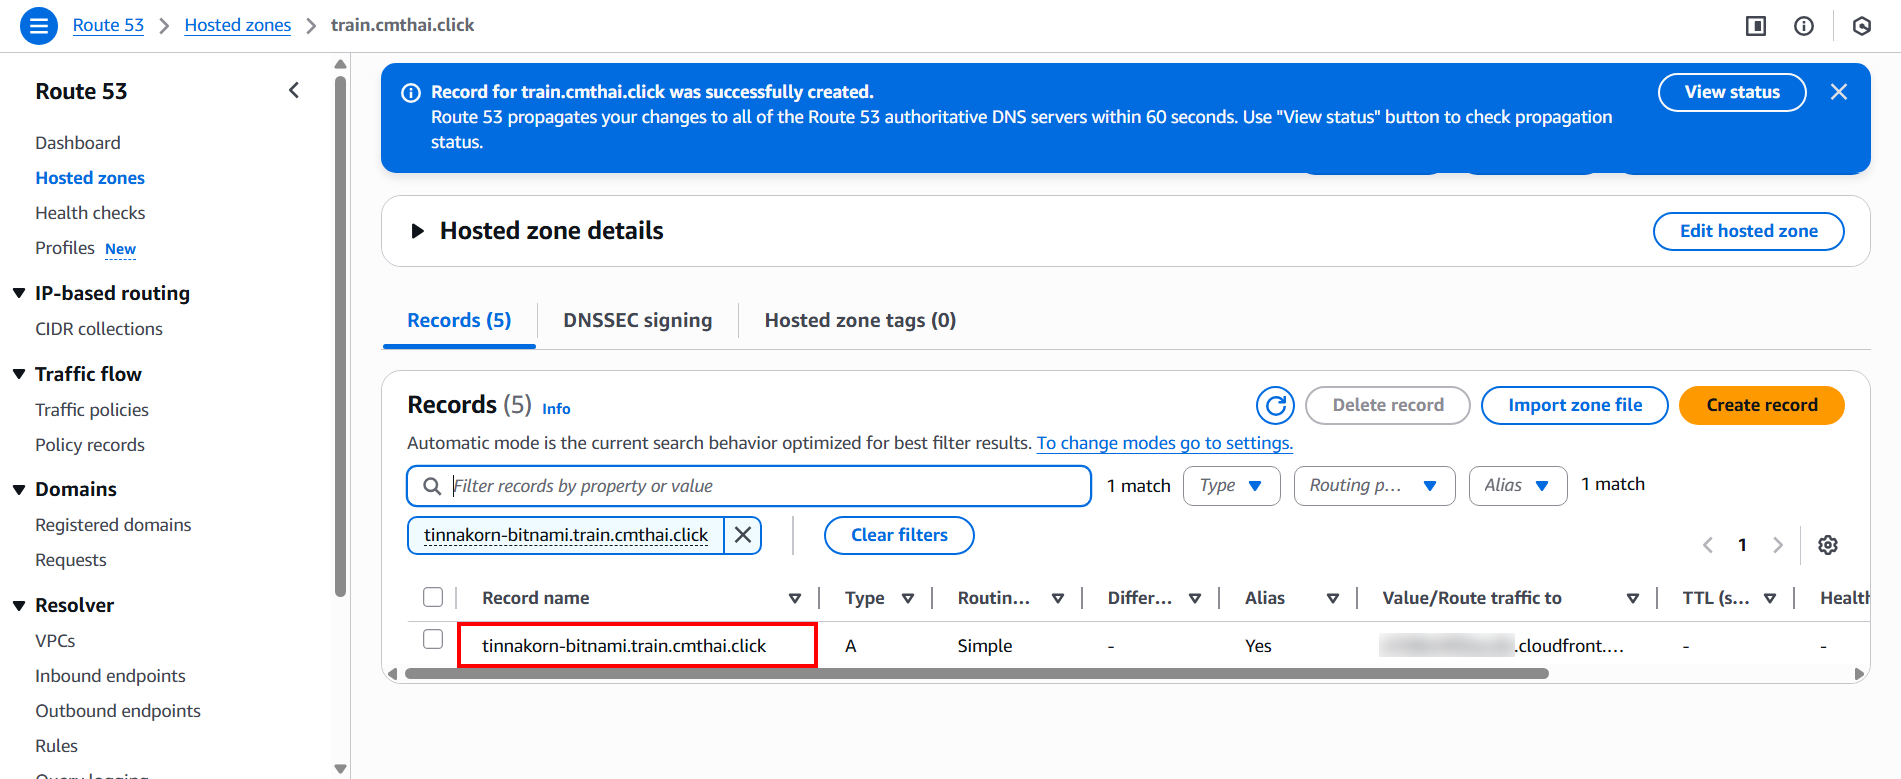
Example results after changing Domain name (DNS)
Amazon Route 53 = A highly available and scalable DNS (Domain Name System) service for translating domain names to IP addresses and managing traffic routing to applications
AWS Certificate Manager (ACM) = A service that helps provision, manage, and deploy SSL/TLS Certificates easily for website and application security without having to manage certificates yourself
Connecting SSL certificate in CloudFront = Configuring CloudFront to use SSL/TLS Certificate from ACM to encrypt connections and allow users to securely access websites via HTTPS
## Setting URL and Forcing HTTPS in WordPress
Go back to the VSCode screen connected to the EC2 Instance (Bitnami)
Then open a Terminal by clicking New Terminal or pressing the shortcut key [Ctrl+`]
Then run the command to create a symbolic link for the wordpress folder as shown below, and a wordpress folder will appear like this
ln -s /bitnami/wordpress /home/bitnami
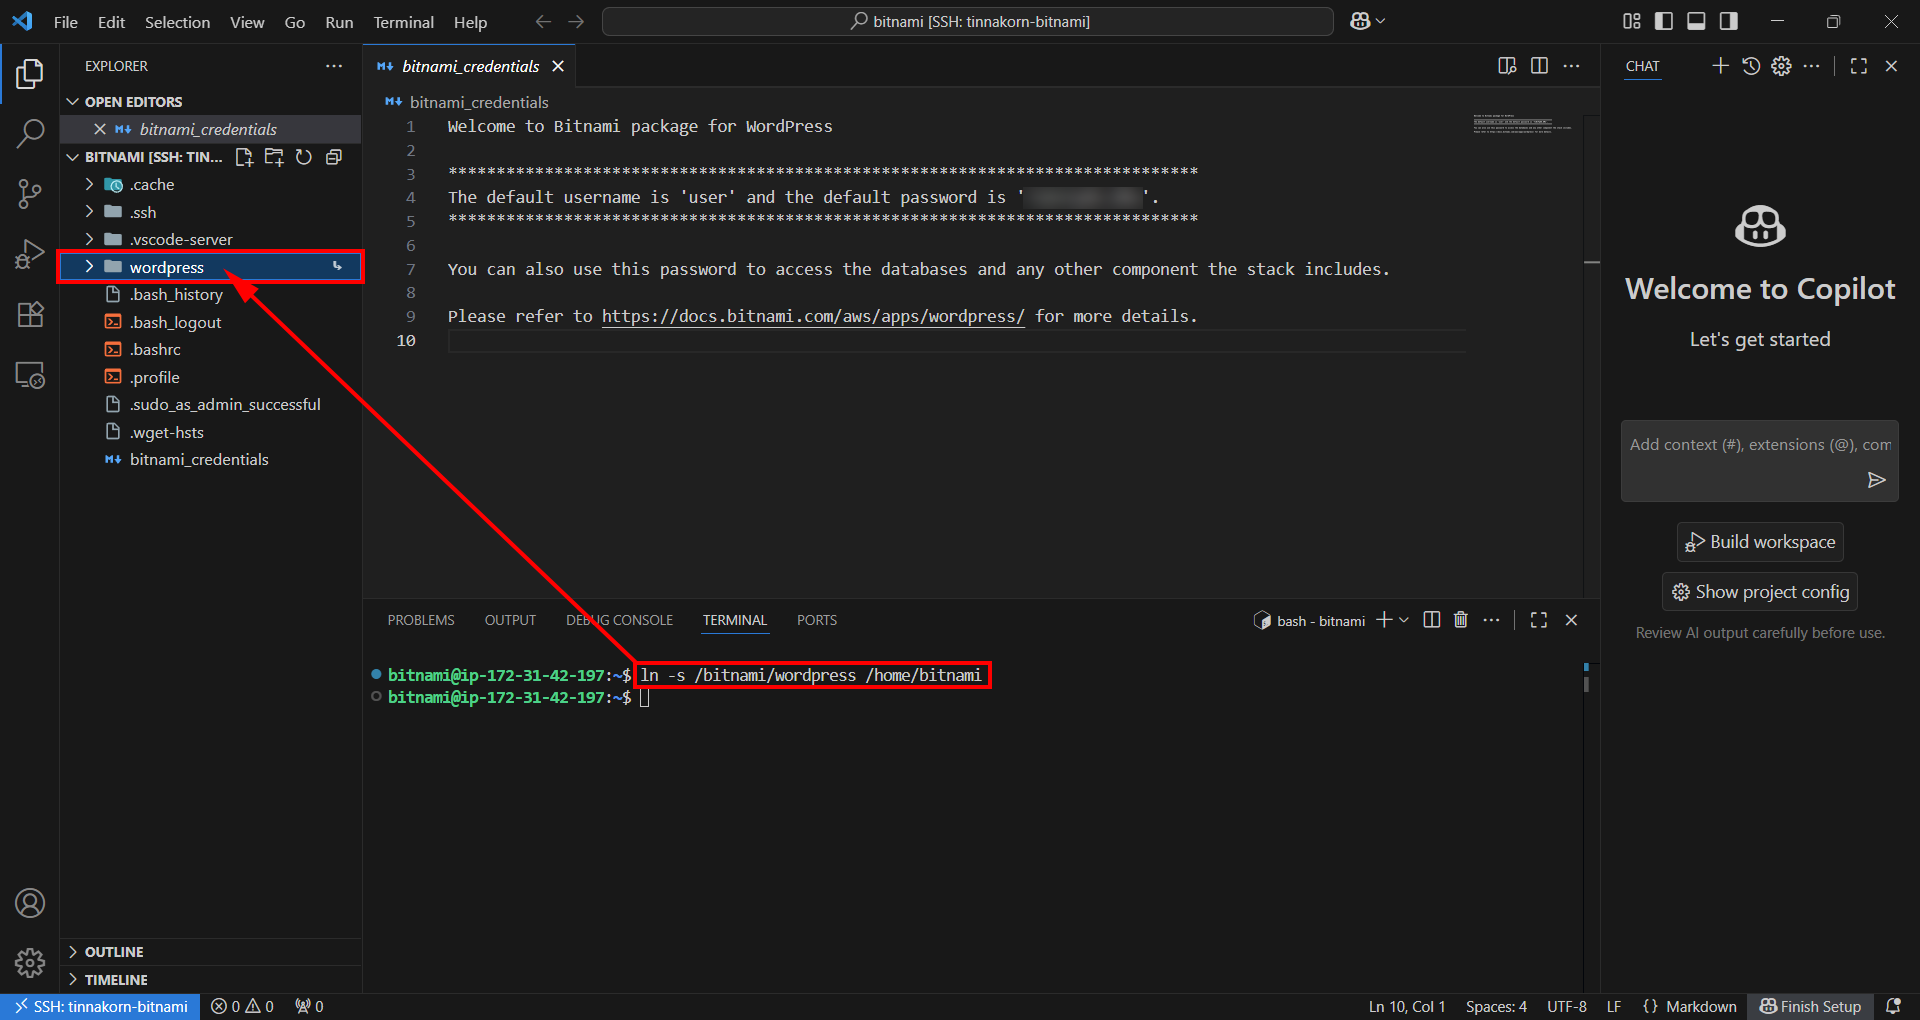
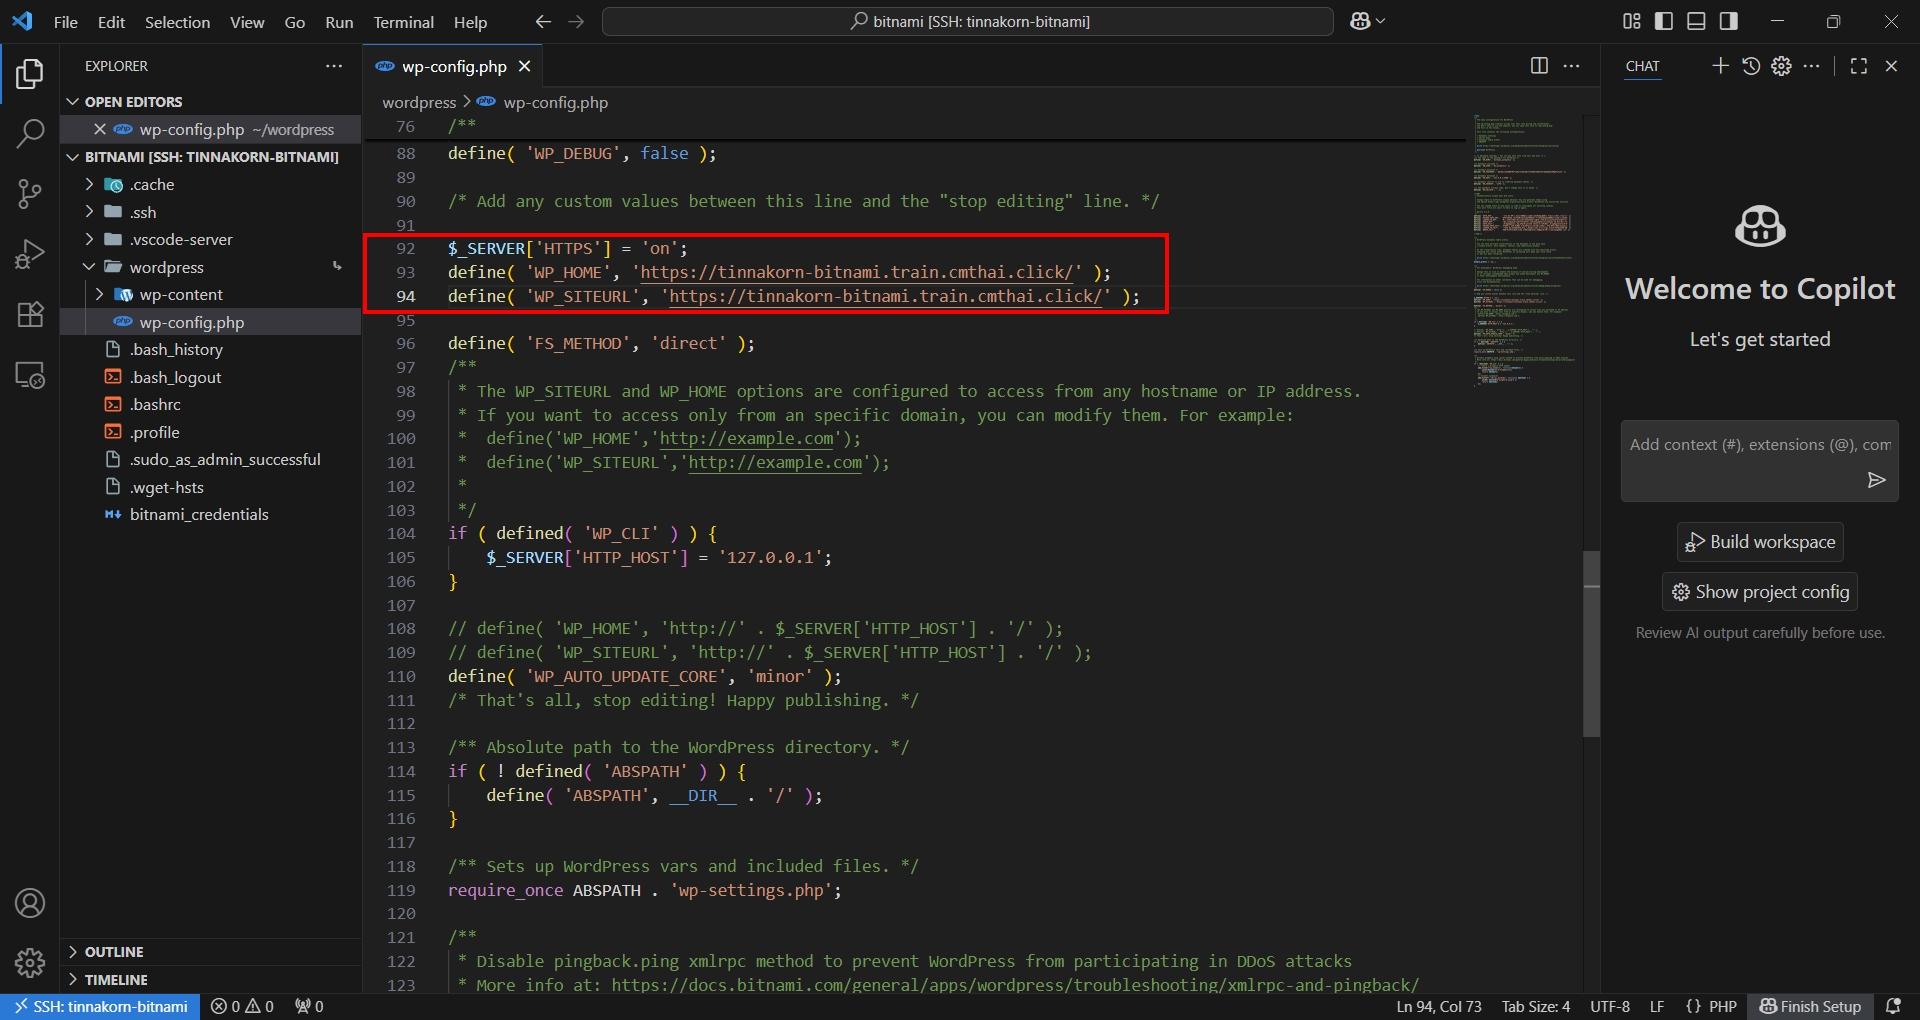
Close the Terminal tab and open the wp-config.php file in the wordpress folder
Then comment out lines 106-107 like this
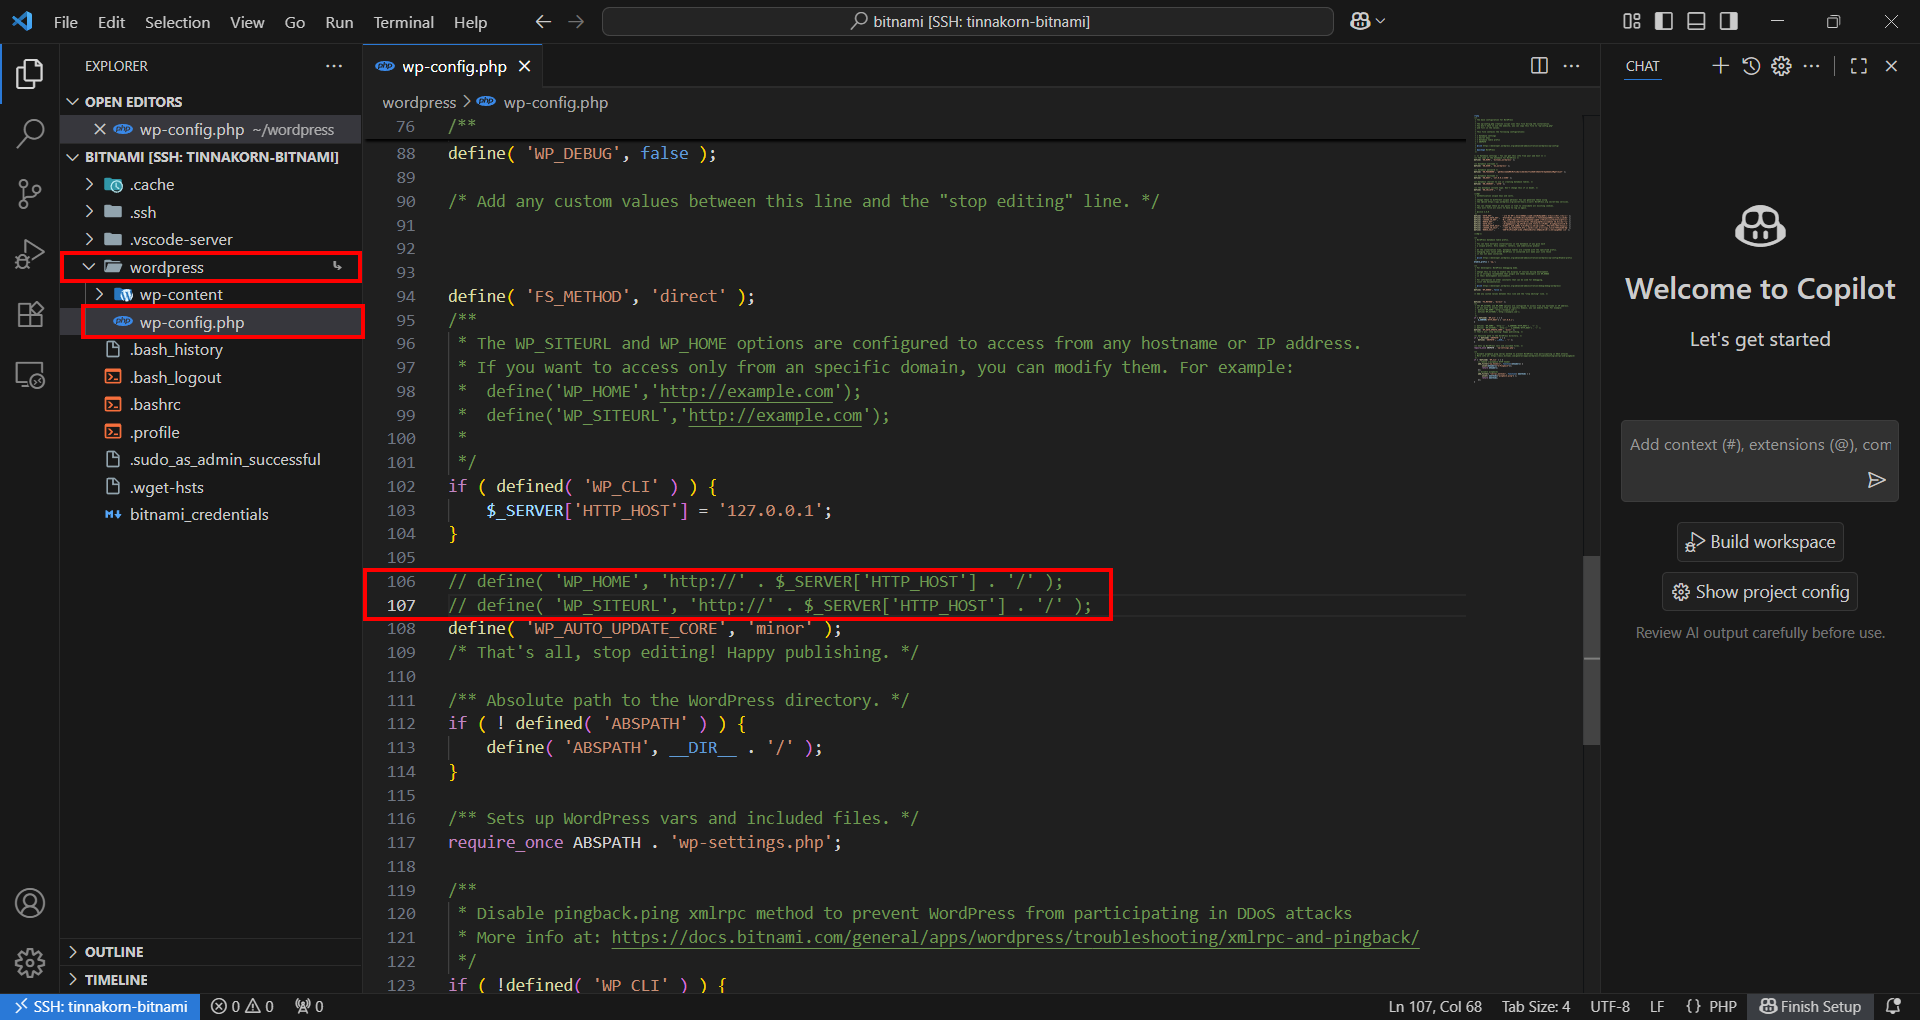
Then copy the code below and paste it into the wp-config.php file from line 92 under the comment /* Add any custom values between this line and the "stop editing" line. */
Then change [Recode Name in Route 53] to yours and save it properly (remember to remove the comments at the end)
			$_SERVER['HTTPS'] = 'on';  # Enable HTTPS to force WordPress to work over HTTPS
define( 'WP_HOME', 'https://[Recode Name in Route 53]/' );  # Setting the main website URL of WordPress
define( 'WP_SITEURL', 'https://[Recode Name in Route 53]/' );  # Setting the WordPress core location URL
Additional information about URL settings and forcing HTTPS in WordPress
If you don't configure this section and open the URL below, it will display a screen with strange UI like this
https://[Recode name in Route 53]/wp-admin
 ## Testing translated DNS
Return to your web browser screen and reload. You'll notice that the display appears the same.
https://[Record name in Route 53]
Now, try opening the URL below and log in to the WordPress Admin again. You'll see that you can access the WordPress Admin as well.
https://[Record name in Route 53]/wp-admin
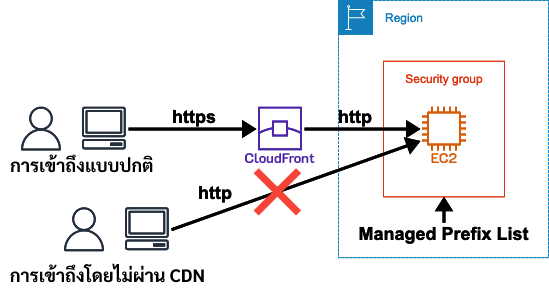
Blocking access not through Amazon CloudFront
Normally, EC2 Instances with Public DNS can be directly accessed from outside. However, we can use Managed Prefix Lists (Amazon CloudFront) in Security Groups or Network ACLs to block direct access from the internet and only allow access through CloudFront. This method helps increase the security of the system.
See the example at the link below:
Summary
We can easily create WordPress using Bitnami AMI.
Additionally, we can enhance performance by increasing speed, security, and reliability for website usage with services such as Amazon CloudFront, Amazon Route 53, and AWS Certificate Manager (ACM).
I hope this article will be useful to readers.
POP (Tinnakorn Maneewong) from Classmethod (Thailand) !## Related Articles

![[AWS Technical Support Note] ช่วยแนะนำวิธีเปลี่ยน Primary IP Address ของ EC2 instance ที่มีอยู่แล้วโดยไม่ต้องลบ instance ได้ไหม](https://devio2024-media.developers.io/image/upload/v1755596933/user-gen-eyecatch/zuw2fi0omyyaxmy4epsg.png)

![[AWS Technical Support Note]สรุปข้อจำกัดของโดเมน APEX และ CNAME record สำหรับ AWS Beginner](https://devio2024-media.developers.io/image/upload/v1754389928/user-gen-eyecatch/wtql9jswjda21b88hrj4.png)