I tried imitation learning on SO-ARM101 with LeRobot's ACT

This page has been translated by machine translation. View original
Introduction
Hello, I'm Morishige from Classmethod's Manufacturing Business Technology Department.
In my previous article, I assembled the SO-ARM101 Pro kit and operated it using LeRobot's teleoperation. The experience of moving the leader arm by hand and having the follower track it in real time was quite something.
This time, as the third installment, I use data collected via teleoperation to perform imitation learning with ACT (Action Chunking with Transformers), and have the robot arm move autonomously. Training was done on the DGX Spark's GPU, and evaluation was conducted on both a Mac and the DGX Spark. This led to an unexpected result where "where you run inference" directly affects the success rate.
Goal for This Time
We'll proceed in 4 steps.
- Camera connection and placement adjustment
- Collecting 50 episodes of data via teleoperation
- Training an ACT policy on DGX Spark
- Evaluating autonomous operation with the trained model
Prerequisites
Data collection is done on a Mac, while training and evaluation are done on the DGX Spark, with the two machines dividing roles.
| Item | Data Collection (Mac) | Evaluation & Training (DGX Spark) |
|---|---|---|
| Machine | MacBook Pro (M4) | NVIDIA DGX Spark |
| OS | macOS Tahoe 26.3 | Ubuntu 24.04 |
| Python | 3.12 | 3.12 |
| LeRobot | v0.4.4 | v0.4.4 |
| PyTorch | 2.10.0 (MPS) | 2.10.0+cu130 (CUDA) |
| GPU | Apple M4 (MPS) | NVIDIA GB10 (128GB UMA) |
What is ACT
ACT (Action Chunking with Transformers) is a policy architecture for imitation learning. It takes camera images and joint angles as input from demo data collected via teleoperation, and predicts the next sequence of actions (action chunk).
In the reinforcement learning (RL) approach I tackled in the first installment, it was necessary to design a reward function, but with imitation learning (IL), you simply demonstrate the desired behavior. Instead of agonizing over "how to define rewards," the key challenge becomes "how to collect good demo data."
In LeRobot, ACT is positioned as the top recommended policy for the SO-ARM101. It has approximately 52M parameters and supports two camera inputs.
Task Design
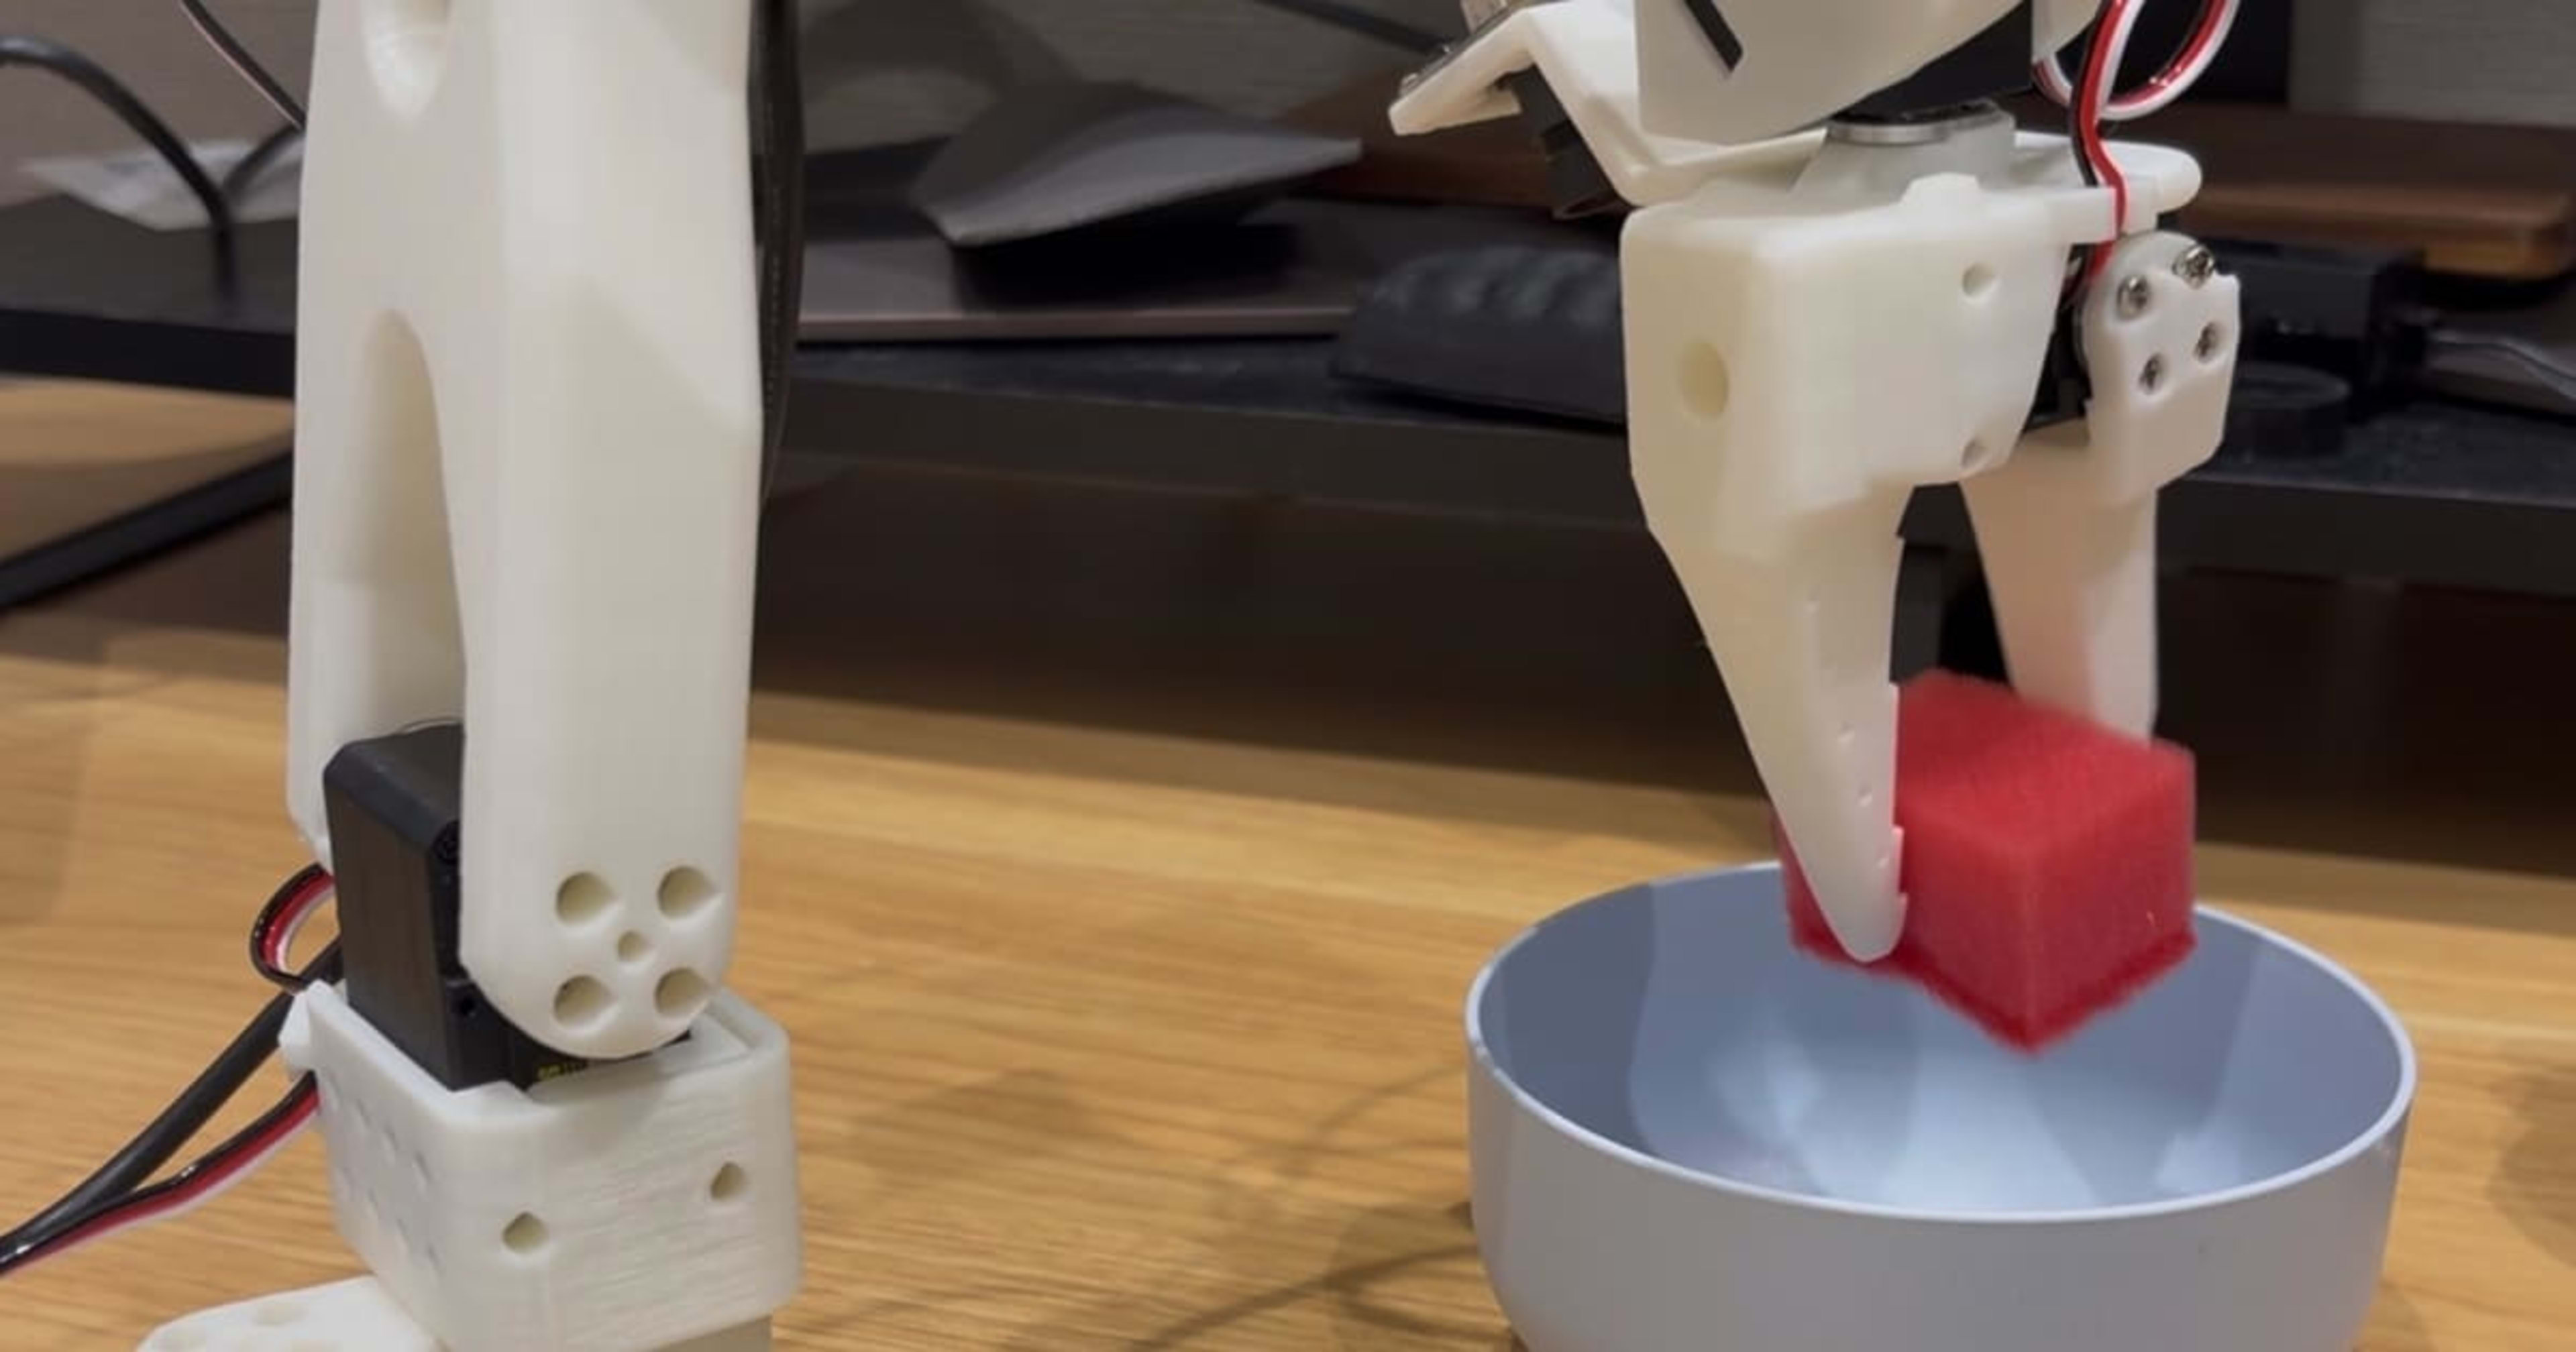
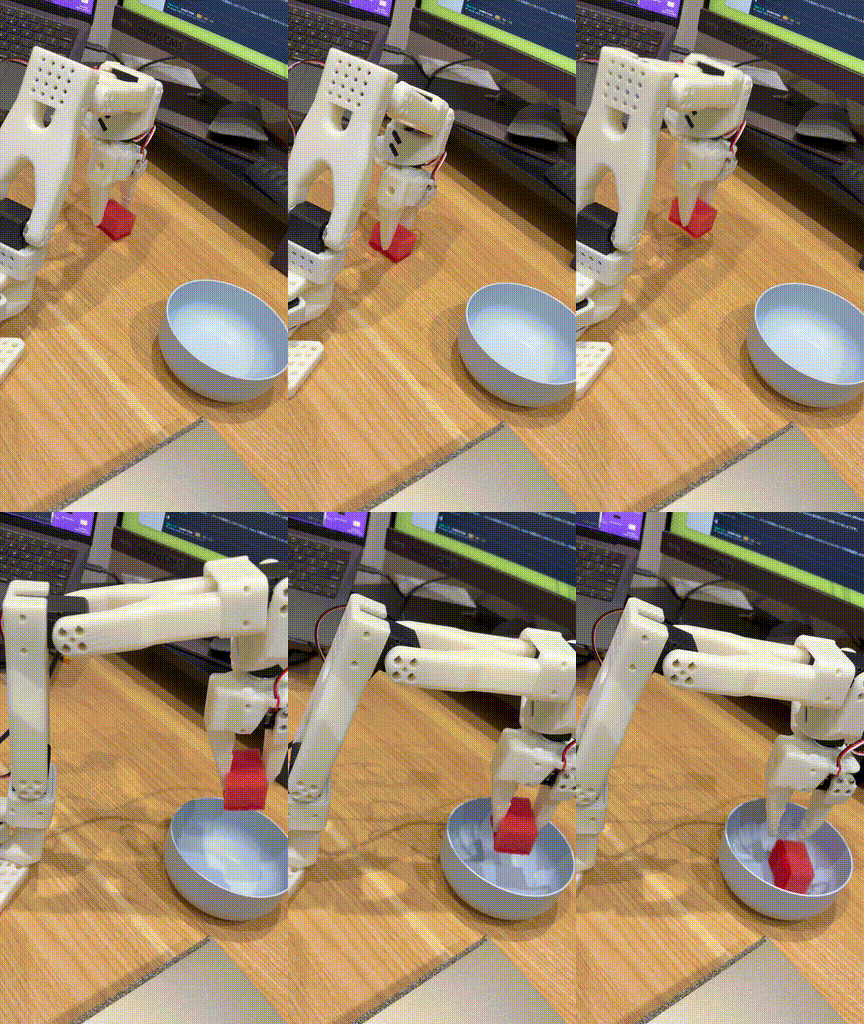
The task for this time is a simple PickPlace: "grab a colored foam cube and put it into a case."
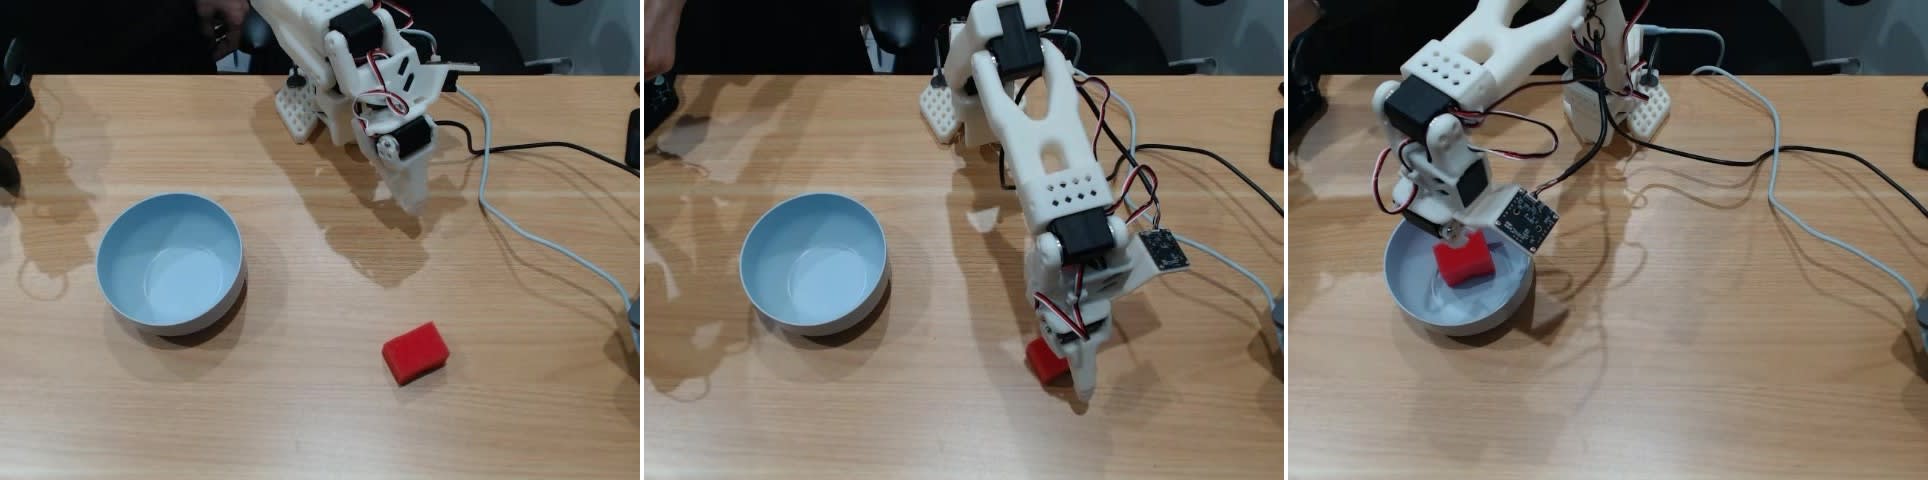
I use one red cube (2.5cm x 3cm) and repeat the same motion. There are several reasons I chose this task. The size is easy to grasp with the SO-ARM101's gripper, success and failure are clearly determinable (whether or not the cube ends up in the case), and it naturally contrasts with the PickOrange (simulation) challenge from the first RL article. The complexity being manageable enough that collecting 50 demos wouldn't be a burden was also quietly important.
Step 1: Camera Connection and Placement
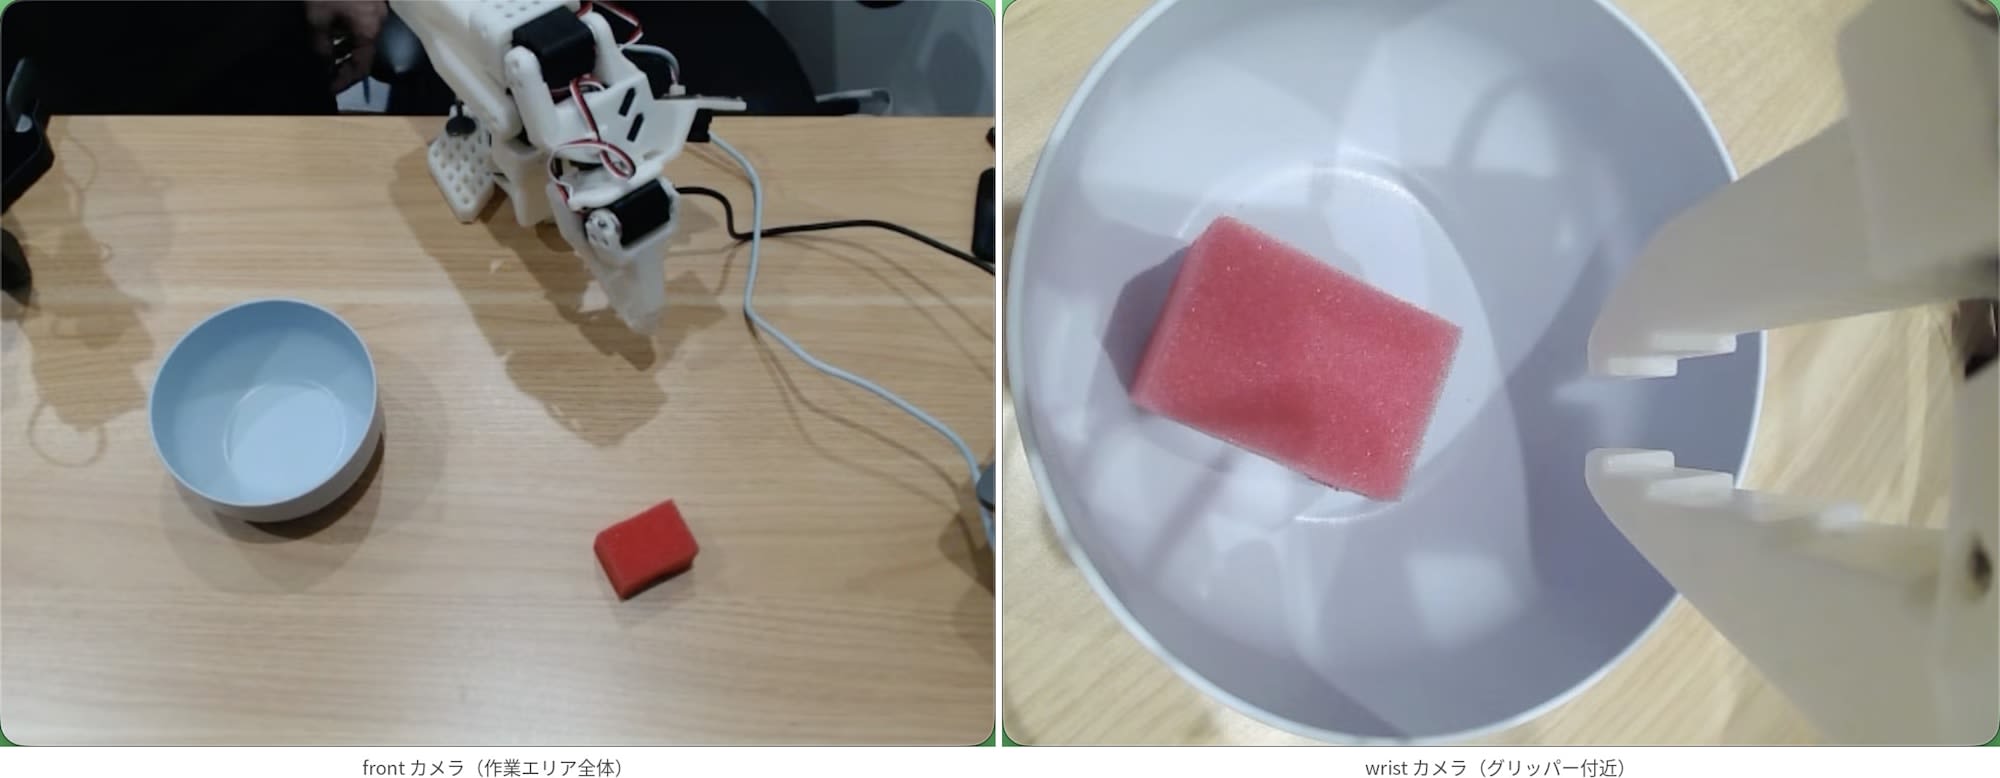
The camera setup uses two cameras: a Logitech C920 assigned to the front position capturing the entire work area, and a small InnoMaker U20CAM-1080P assigned to the wrist position capturing the area near the gripper.
First, confirm camera recognition.
uv run lerobot-find-cameras opencv
On macOS, camera indices can change depending on connection order or after rebooting, so it's best to check every time. In my environment, front was index 1 and wrist was index 0.
Adjust the field of view and placement using teleoperation with cameras.
uv run lerobot-teleoperate \
    --robot.type=so101_follower --robot.port=/dev/tty.usbmodemXXXX --robot.id=my_awesome_follower_arm \
    --robot.cameras='{"front": {"type": "opencv", "index_or_path": 1, "width": 640, "height": 480, "fps": 30}, "wrist": {"type": "opencv", "index_or_path": 0, "width": 640, "height": 480, "fps": 30}}' \
    --teleop.type=so101_leader --teleop.port=/dev/tty.usbmodemYYYY --teleop.id=my_awesome_leader_arm \
    --display_data=true
Setting --display_data=true enables real-time camera feed display in rerun. However, as described later, the rendering load causes FPS to drop, so it's best to use this only for field-of-view confirmation in this step.
The two things to verify are: that both the cube's initial position and the case are visible in the front camera, and that the area near the gripper is visible in the wrist camera.
Step 2: Collecting 50 Episodes of Data
Once the field of view is confirmed, proceed to the actual data collection.
uv run lerobot-record \
    --robot.type=so101_follower --robot.port=/dev/tty.usbmodemXXXX --robot.id=my_awesome_follower_arm \
    --robot.cameras='{"front": {"type": "opencv", "index_or_path": 1, "width": 640, "height": 480, "fps": 30}, "wrist": {"type": "opencv", "index_or_path": 0, "width": 640, "height": 480, "fps": 30}}' \
    --teleop.type=so101_leader --teleop.port=/dev/tty.usbmodemYYYY --teleop.id=my_awesome_leader_arm \
    --display_data=false \
    --dataset.repo_id=${HF_USER}/so101_pickplace \
    --dataset.num_episodes=50 \
    --dataset.single_task="Pick up the red cube and place it into the case"
Keyboard controls are: → to end an episode, ← to redo, and ESC to quit entirely.
Tips for Data Collection
50 episodes were collected over approximately 45 minutes. The data size is 840MB.
The cube's initial position is slightly varied each time. Placing it in the same spot repeatedly would result in a policy that only works at that one position. The case position, on the other hand, was kept fixed. The aim was to reduce variables and stabilize learning.
I tried to keep the speed and trajectory of movements as consistent as possible. Since teleoperation involves manually operating the leader arm, variability is inevitable. I made a point of maintaining consistency in the demonstrations by consciously following the pattern of "grasp straight from above, then carry straight to the case."
Step 3: ACT Training on DGX Spark
Setting Up the Environment on DGX Spark
Set up the LeRobot training environment on the DGX Spark side. There was one pitfall here.
If you simply run uv add lerobot, the CPU version of PyTorch gets installed, because the CPU version on PyPI takes priority. To reliably install the CUDA version, I explicitly specified the PyTorch index in pyproject.toml.
[[tool.uv.index]]
name = "pytorch-cu130"
url = "https://download.pytorch.org/whl/cu130"
explicit = true

[tool.uv.sources]
torch = { index = "pytorch-cu130" }
torchvision = { index = "pytorch-cu130" }
With this configuration, PyTorch 2.10.0+cu130 was installed and CUDA was correctly recognized.
Transferring Data
Transfer the data collected on the Mac to the DGX Spark via rsync.
rsync -av \
    ~/.cache/huggingface/lerobot/${HF_USER}/so101_pickplace \
    ciel:~/.cache/huggingface/lerobot/${HF_USER}/
Running Training
uv run lerobot-train \
    --dataset.repo_id=${HF_USER}/so101_pickplace \
    --policy.type=act \
    --output_dir=outputs/train/act_so101_pickplace \
    --policy.device=cuda \
    --policy.push_to_hub=false \
    --wandb.enable=false
Training Benchmark Data
| Item | Value |
|---|---|
| Parameter count | 52M |
| Batch size | 8 |
| Number of steps | 100,000 |
| Training speed | ~3.9 step/s |
| Time required | ~7 hours |
| Data | 50 episodes / 40,075 frames |
| Data size | 840MB |
Thanks perhaps to the DGX Spark's 128GB unified memory, there were no memory-related issues. During training, approximately 18GB of GPU memory was used. The convenience of being able to kick it off before bed and check the results in the morning is one of the great things about having a local GPU.
Step 4: Evaluation
Transfer the trained model to the Mac and evaluate it on the physical robot.
# Transfer checkpoint to Mac
rsync -av \
    ciel:~/works/robotics/lerobot-train/outputs/train/act_so101_pickplace/checkpoints/last/pretrained_model \
    ./act_model/
Since port and camera indices can change with each connection, confirm them before evaluation.
uv run lerobot-find-port
uv run lerobot-find-cameras opencv
Evaluation on Mac MPS
uv run lerobot-record \
    --robot.type=so101_follower --robot.port=/dev/tty.usbmodem5B420765431 --robot.id=my_awesome_follower_arm \
    --robot.cameras='{"front": {"type": "opencv", "index_or_path": 1, "width": 640, "height": 480, "fps": 30}, "wrist": {"type": "opencv", "index_or_path": 0, "width": 640, "height": 480, "fps": 30}}' \
    --dataset.repo_id=${HF_USER}/eval_act_so101_pickplace \
    --dataset.num_episodes=10 \
    --dataset.push_to_hub=false \
    --dataset.single_task="Pick up the red cube and place it into the case" \
    --display_data=false \
    --policy.path=./act_model/pretrained_model
Evaluation Results (Mac MPS)
10 episodes were run manually.
| Result | Count | Percentage |
|---|---|---|
| Success (pick & place completed) | 4 | 40% |
| Grasp failure (cube recognition OK) | 1 | 10% |
| Failure (cube not reached / erratic behavior) | 5 | 50% |
The 40% success rate alone might seem underwhelming, but the movements in the successful episodes were quite smooth. The reaching motion after visually identifying the red cube was learned cleanly. The issue was the jerky initial movement, and through testing it became apparent that this was likely due to a FPS mismatch.
Evaluation on DGX Spark CUDA
When evaluating the same model with the arm connected to the DGX Spark, the success rate rose to nearly 100%. The jerky initial movement seen on the Mac disappeared, and watching the arm smoothly reach the cube and pick it up made me honestly wonder, "Is this really the same model?"
DGX Spark Setup Details
I used a Logitech C920 (front, /dev/video2) and an InnoMaker U20CAM (wrist, /dev/video0) for cameras, with the arm connected directly to /dev/ttyACM0. I added the user to the video, dialout, and input groups, and also installed feetech-servo-sdk (scservo_sdk).
One caveat: pynput doesn't work in DGX Spark's Wayland environment, so neither keyboard-based episode progression (→ ← ESC) nor automatic advancement via reset_time_s was available. It was tedious work to manually execute and stop one episode at a time, but the moment I saw the results, all that effort vanished.
Relationship Between Inference FPS and Success Rate
| Device | Inference FPS | Ratio to Training FPS | Success Rate |
|---|---|---|---|
| Mac MPS | ~15 Hz | 50% | 40% (4/10) |
| Mac CPU | ~8 Hz | 27% | Not measured |
| DGX Spark CUDA | ~30 Hz | 100% | 90% (9/10) |
The only failure on the DGX Spark was a grasp miss, which was not an FPS-related issue.
Since data collection was at 30Hz, the policy outputs actions with a 30Hz sense of timing. If inference only runs at half that—15Hz—the time interval per step drifts, causing the arm's movements to become awkward. On Mac MPS, simultaneous processing of ACT inference and two camera captures (640x480 x 30fps x 2) was the bottleneck, with 15Hz being the upper limit.
Honestly, I didn't realize until I tried it just how directly "running at the same speed as training" would impact the success rate.
Summary of Pitfalls
Here is a summary of the issues encountered during testing and how they were resolved.
| Problem | Cause | Solution |
|---|---|---|
FPS drops to 9.8Hz with display_data=true |
rerun rendering load (simultaneous 2-camera display) | Set to false during data collection |
OSError when HF_USER is not set |
repo_id becomes /so101_pickplace, causing an invalid path |
Set with export HF_USER=himorishige |
--policy.path vs --policy.type |
Using type + pretrained_path does not initialize pre/post-processing | Use --policy.path to build the complete pipeline |
| Inference capped at 15Hz on Mac MPS | Combined load of ACT inference + 2-camera capture | Switch to inference on DGX Spark (CUDA) |
| CPU version of PyTorch installed by uv | CPU version on PyPI takes priority | Explicitly specify CUDA index in pyproject.toml |
| rsync causes nested directory structure | pretrained_model/ ends up in a subdirectory |
Use --policy.path=./act_model/pretrained_model |
| pynput not supported on DGX Spark Wayland | Keyboard operations unavailable | Manually execute one episode at a time |
RL vs. IL: Which Was "Easier"?
Having experienced both reinforcement learning (RL) in Isaac Sim from the first installment and imitation learning (IL) this time, I'm now in a position to compare both approaches.
The biggest challenge in RL was designing the reward function. You combine rewards like "+1 for approaching the cube" and "+10 for grasping it," but if the weight balance is off, learning stalls or the agent finds unintended shortcuts. On the other hand, once the environment is set up, data collection is automatic—the agent experiments on its own within the simulation.
With IL, it was the opposite. No need to think about a reward function, but demo data collection is manual. Collecting 50 episodes took 45 minutes. And since demo quality directly reflects on the learning results, sloppy operation leads to sloppy learned behavior. I found that "maintaining consistency in demonstrations" is actually a different kind of difficulty from reward design.
My personal impression is that for a simple task like this one, IL was more straightforward. Reward function design involves repeated trial and error, and including the setup of the simulation environment, it takes time to get started. With IL, you just show the behavior via teleoperation, so the distance to "seeing something work" is shorter. However, the story might change when tasks become more complex or variations increase. In that case, I think an approach like RL that can automate data collection would be stronger.
Conclusion
I went through the full imitation learning pipeline for the SO-ARM101, from data collection to training and evaluation. The flow was: collecting 50 episodes of demo data via teleoperation on a Mac, training ACT for 7 hours on the DGX Spark, and then evaluating on the physical robot.
The biggest insight gained through this testing was that matching inference FPS to the training frame rate directly impacts the success rate. The 40% success rate on Mac MPS (15Hz) rose to nearly 100% on DGX Spark CUDA (30Hz). For action-chunk-based policies like ACT, temporal consistency translates directly into motion quality.
Through this series, I was able to experience the basic flow of robot learning end-to-end: reinforcement learning in simulation, physical assembly and teleoperation, and imitation learning. Next time, I plan to try fine-tuning GR00T N1.6 using a Foundation Model (VLA). I'm curious to see if the demo data from this time can be used as-is.