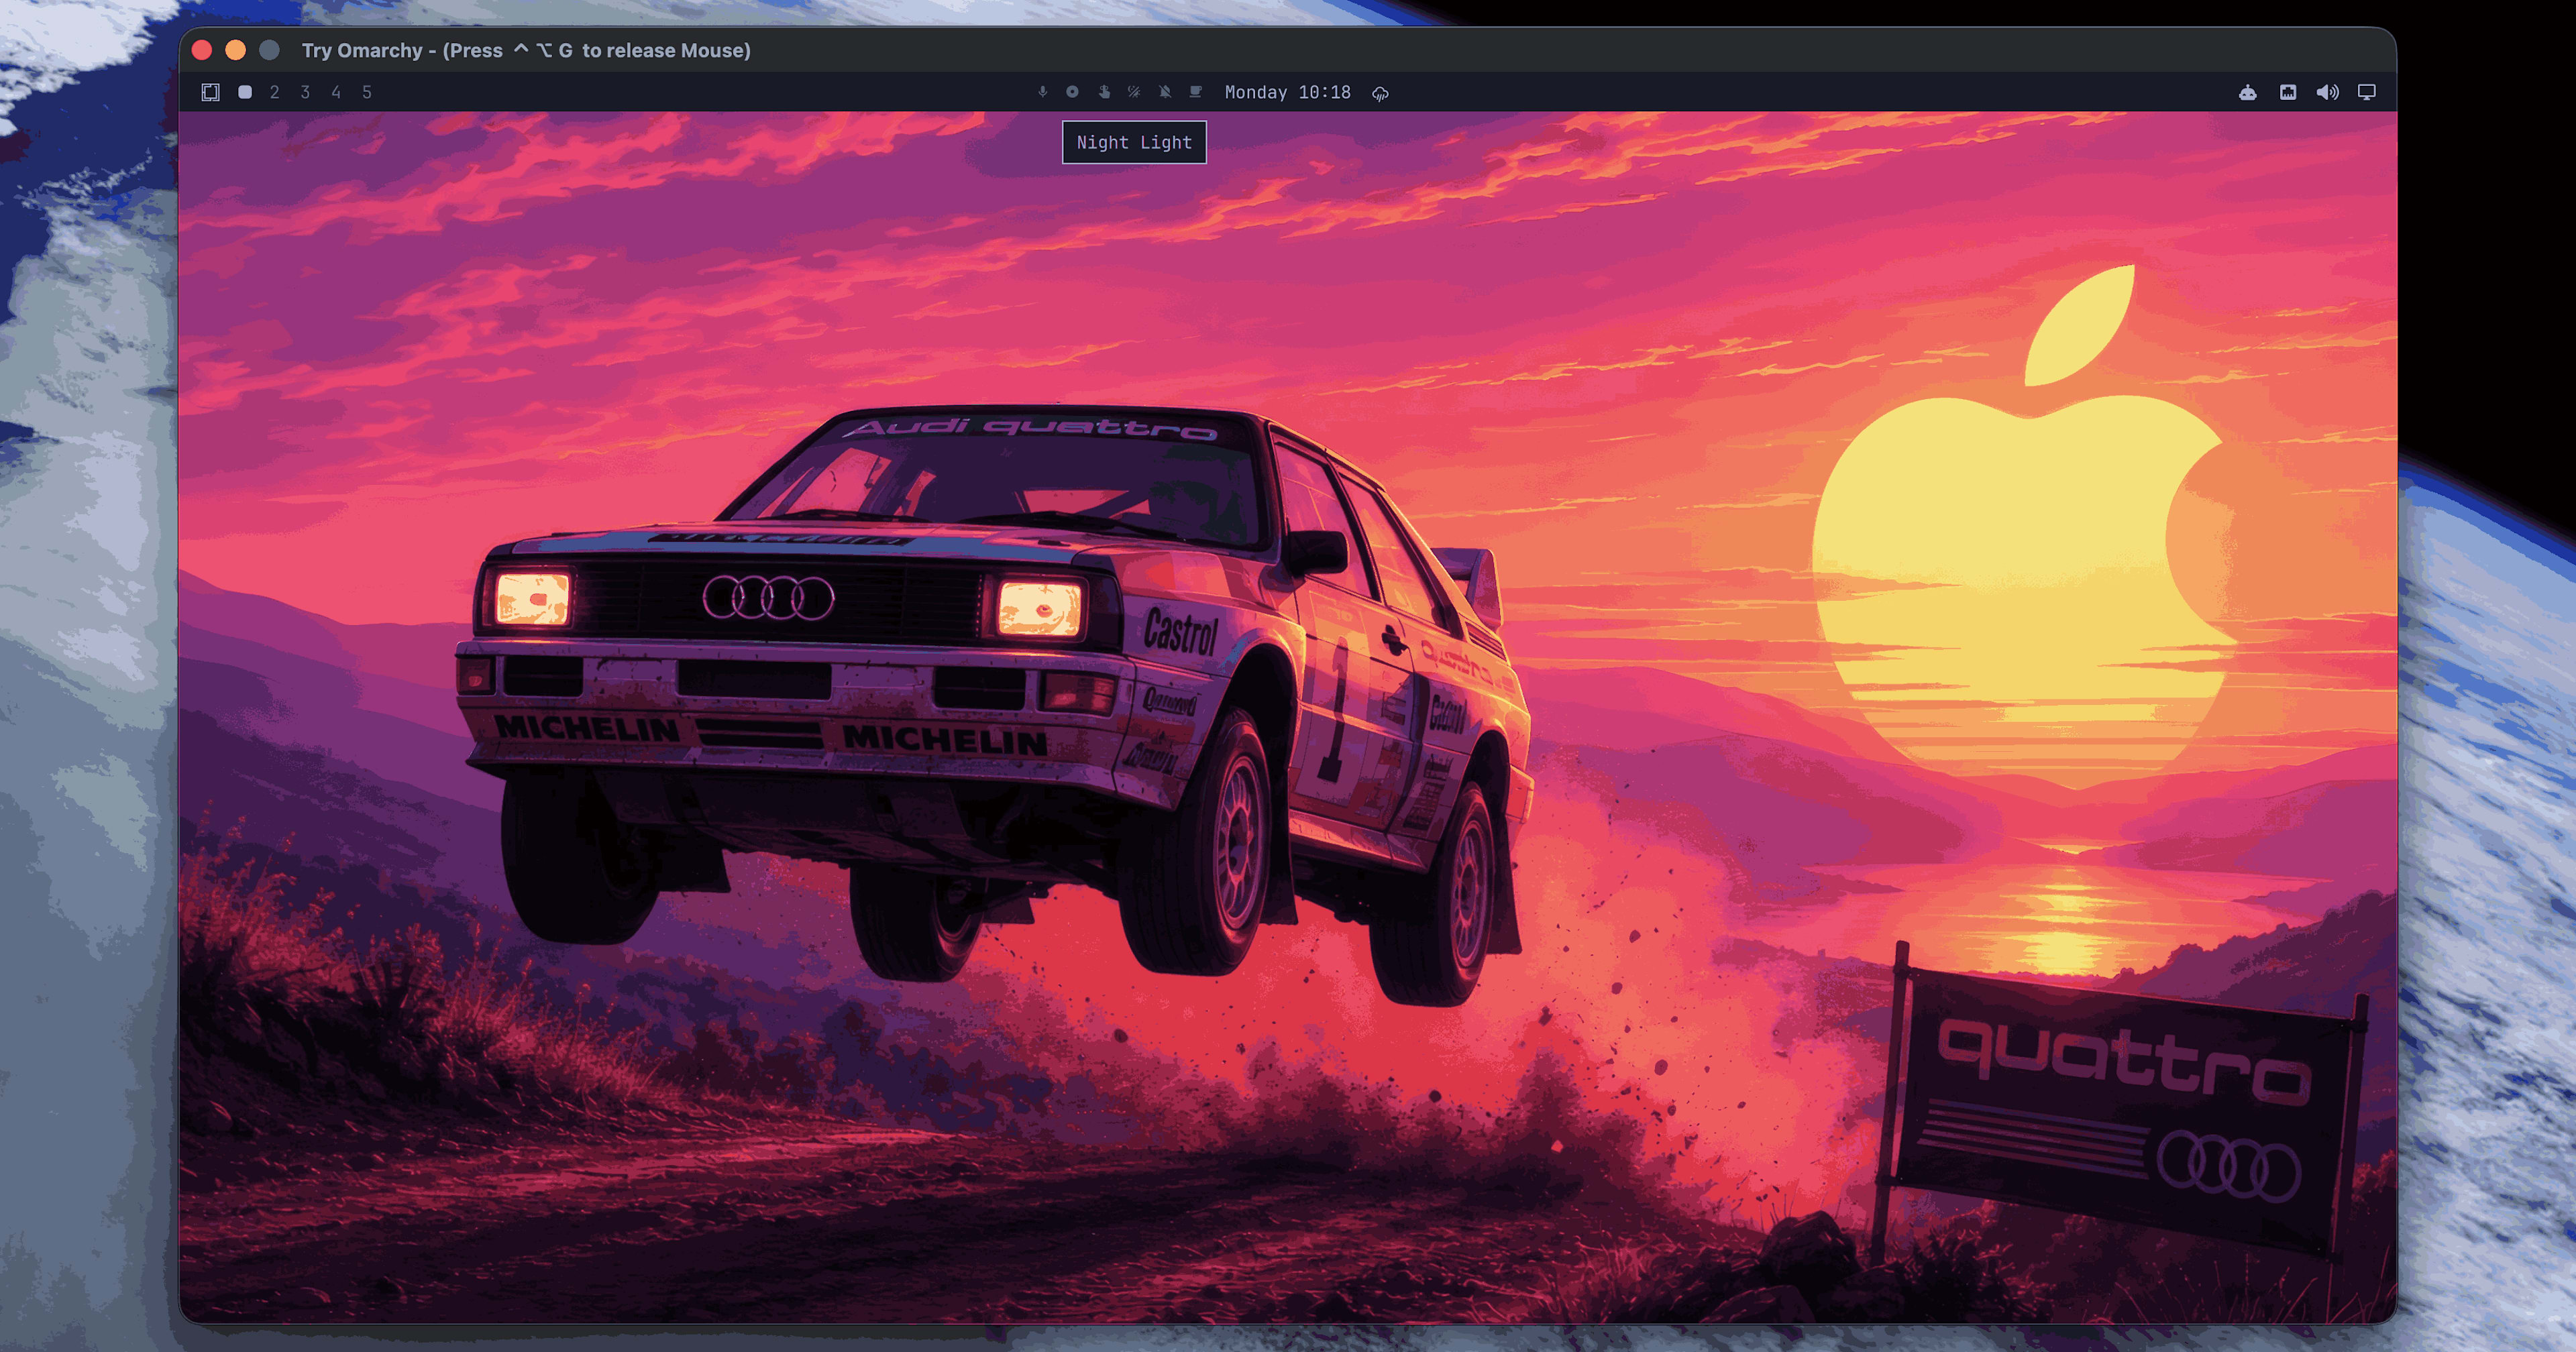
Trying Omarchy on macOS

This page has been translated by machine translation. View original
Introduction
Hello, I'm Shimada from Classmethod's Manufacturing Business Technology Department.
Around last year, I started seeing the word "Omarchy" frequently on my X timeline.
Omarchy is a Linux distribution that DHH, the creator of Ruby on Rails, has been developing since 2025.
While it targets Linux, as of September 2026, you can also try it as an application on Apple Silicon Macs without removing macOS.
In this article, I'll organize what kind of project Omarchy is, choose a method for trying it on a Mac, and share my experience actually using it.
The environment used for testing was a MacBook Pro (M5 Pro, 64GB memory), macOS 26.6.2, and Try Omarchy v0.4.1.
What is Omarchy
Omarchy is a distribution built on Arch Linux, with a desktop assembled using Hyprland (a tiling window manager).
The official site's headline is "Beautiful, fun & agentic Linux," followed by "The malleable OS for the age of agents."
The "Oma" in the name comes from omakase.
The official site explains: "we pick the tools and tune the details, so you can get straight to work. But this is your computer. You're free to change everything."
The project decides on the tool selection and fine-tuning, letting users get straight to work, while still being free to change everything.
The word omakase will sound familiar to those who have worked with Rails.
In 2012, DHH wrote "Rails is omakase," comparing Rails' philosophy to an omakase menu where the chef decides the ingredients and order[1].
Omarchy has an aspect of being a project that brings this philosophy to the desktop OS.
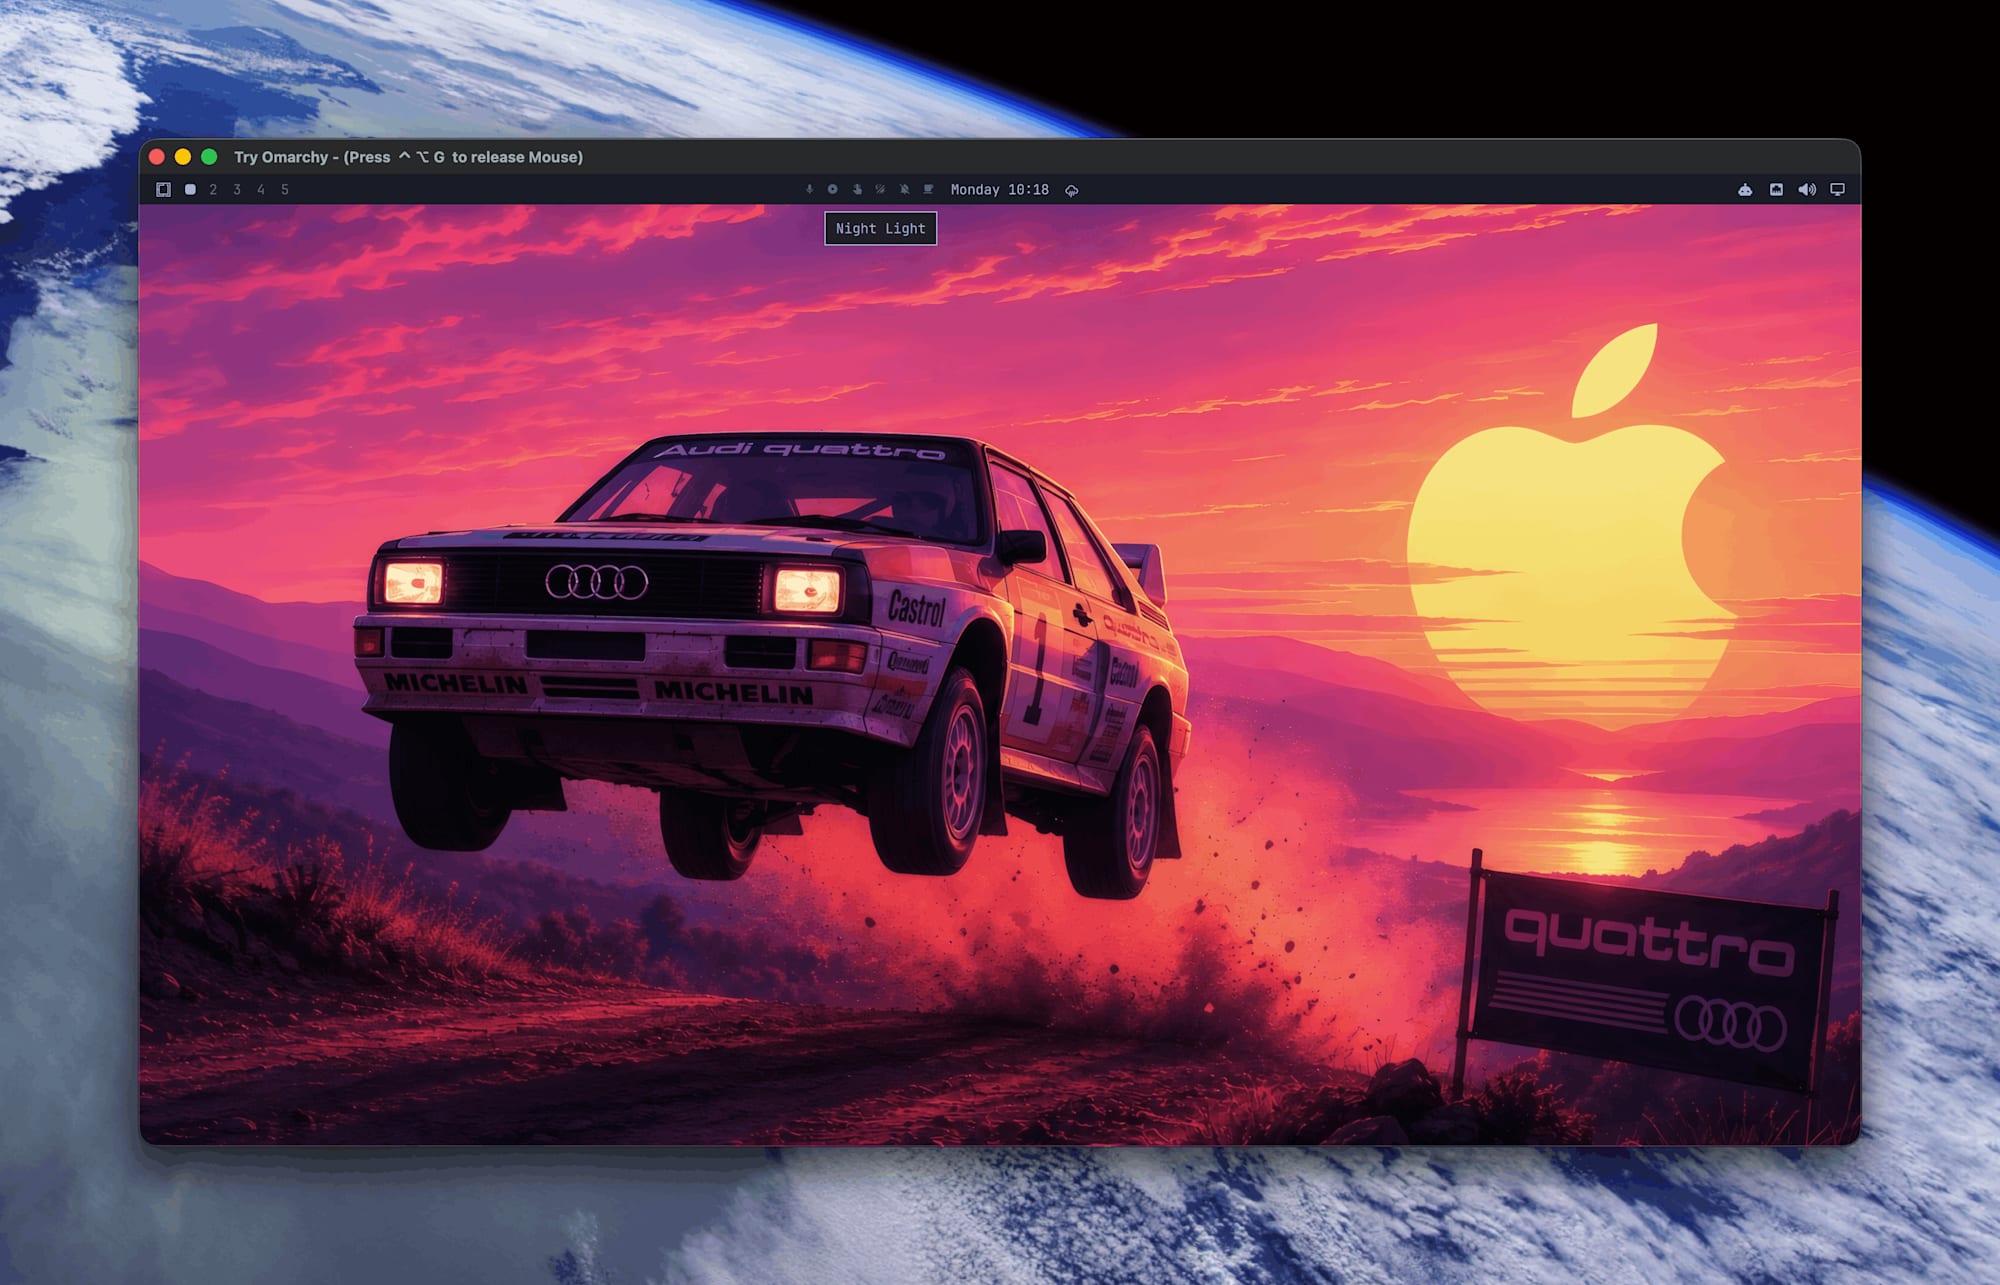
Omarchy running inside a Mac window
From Omakub to Omarchy
Before Omarchy, DHH created Omakub for Ubuntu.
It was meant to set up his own environment when moving from macOS to Linux, and he wrote that Ubuntu is an approachable choice for people coming from Mac or Windows.
In June 2025, DHH tried the Arch and Hyprland combination over a weekend and announced on his blog that he would publish that configuration as Omarchy.
Plain Arch comes with a minimal configuration, and plain Hyprland doesn't even have a login screen, menu bar, or notifications.
The starting point was to share a configuration that would otherwise take over 10 hours to build from scratch with those who can't afford that time.
It started as a script to run on plain Arch, but has since become a distribution with an ISO installer.
Omarchy 4 (Quattro), released in August 2026, saw over 100,000 ISO downloads in its first week, and official news reported it reached 200,000 downloads by September 2nd.
What comes pre-installed
When you install Omarchy, the following are ready to use out of the box.
- Terminal: Foot is the default, with options to switch to Alacritty, Ghostty, or Kitty. Shortcuts remain the same regardless of your choice.
- Editor: Neovim is the default, with VSCode, Cursor, Zed, and others installable from the menu and settable as the system default.
- Development environment: Ruby on Rails, Laravel, Node.js, and more can be installed from the menu. Language version management uses mise.
- Themes: Over 20 themes that switch the terminal, bar, notifications, and wallpaper all at once.
The "agentic" in the official site's headline means treating coding agents as part of the OS.
10 types of CLIs, including Claude Code, Codex, and OpenCode, are available and installed on first run.
When you choose a default agent at first launch, you can invoke it with Super + Shift + Ctrl + A.
When an app crashes, you can click the notification to delegate core dump investigation to the agent.
Skills to help configure Hyprland and create themes are also included.
Two ways to try it on a Mac
The official Omarchy site has two entry points for Mac users.
| Method | Target | macOS |
|---|---|---|
| Install from ISO | Intel Mac (Apple Silicon has a separate installer for M1/M2 only) | Erased, or dual boot |
| Try Omarchy | Apple Silicon Mac | Remains intact |
The first is to install directly on your Mac.
The manual's Mac support targets Intel Macs, and since the drive is erased during installation, macOS will no longer boot.
For Apple Silicon, the launch of a dedicated team Omarchy M was announced on September 11, 2026.
Currently, a native installer exists for M1/M2, while support for newer chips is under development.
The second is Try Omarchy, linked from the official site's "Try on Mac."
It packages Omarchy on an ARM64 version of Arch Linux configured inside a VM using QEMU and Apple's Hypervisor Framework, all wrapped into a single Mac app.
No partitioning or USB drive is needed — just install the app and launch it.
My Mac is an M5 Pro, so it's outside the scope of native installation.
And since I can't erase my everyday working environment anyway, this article uses Try Omarchy.
Installing Try Omarchy
Download TryOmarchy.dmg from Releases.
v0.4.1 is approximately 1.4GB.
If you use GitHub CLI, run the following.
$ gh release download v0.4.1 -R omacom/try-omarchy -p TryOmarchy.dmg
The DMG has passed Apple's notarization.
I verified it with spctl just in case.
$ spctl -a -t open --context context:primary-signature -v TryOmarchy.dmg
TryOmarchy.dmg: accepted
source=Notarized Developer ID
Open the DMG, drag Try Omarchy to Applications, and launch it.
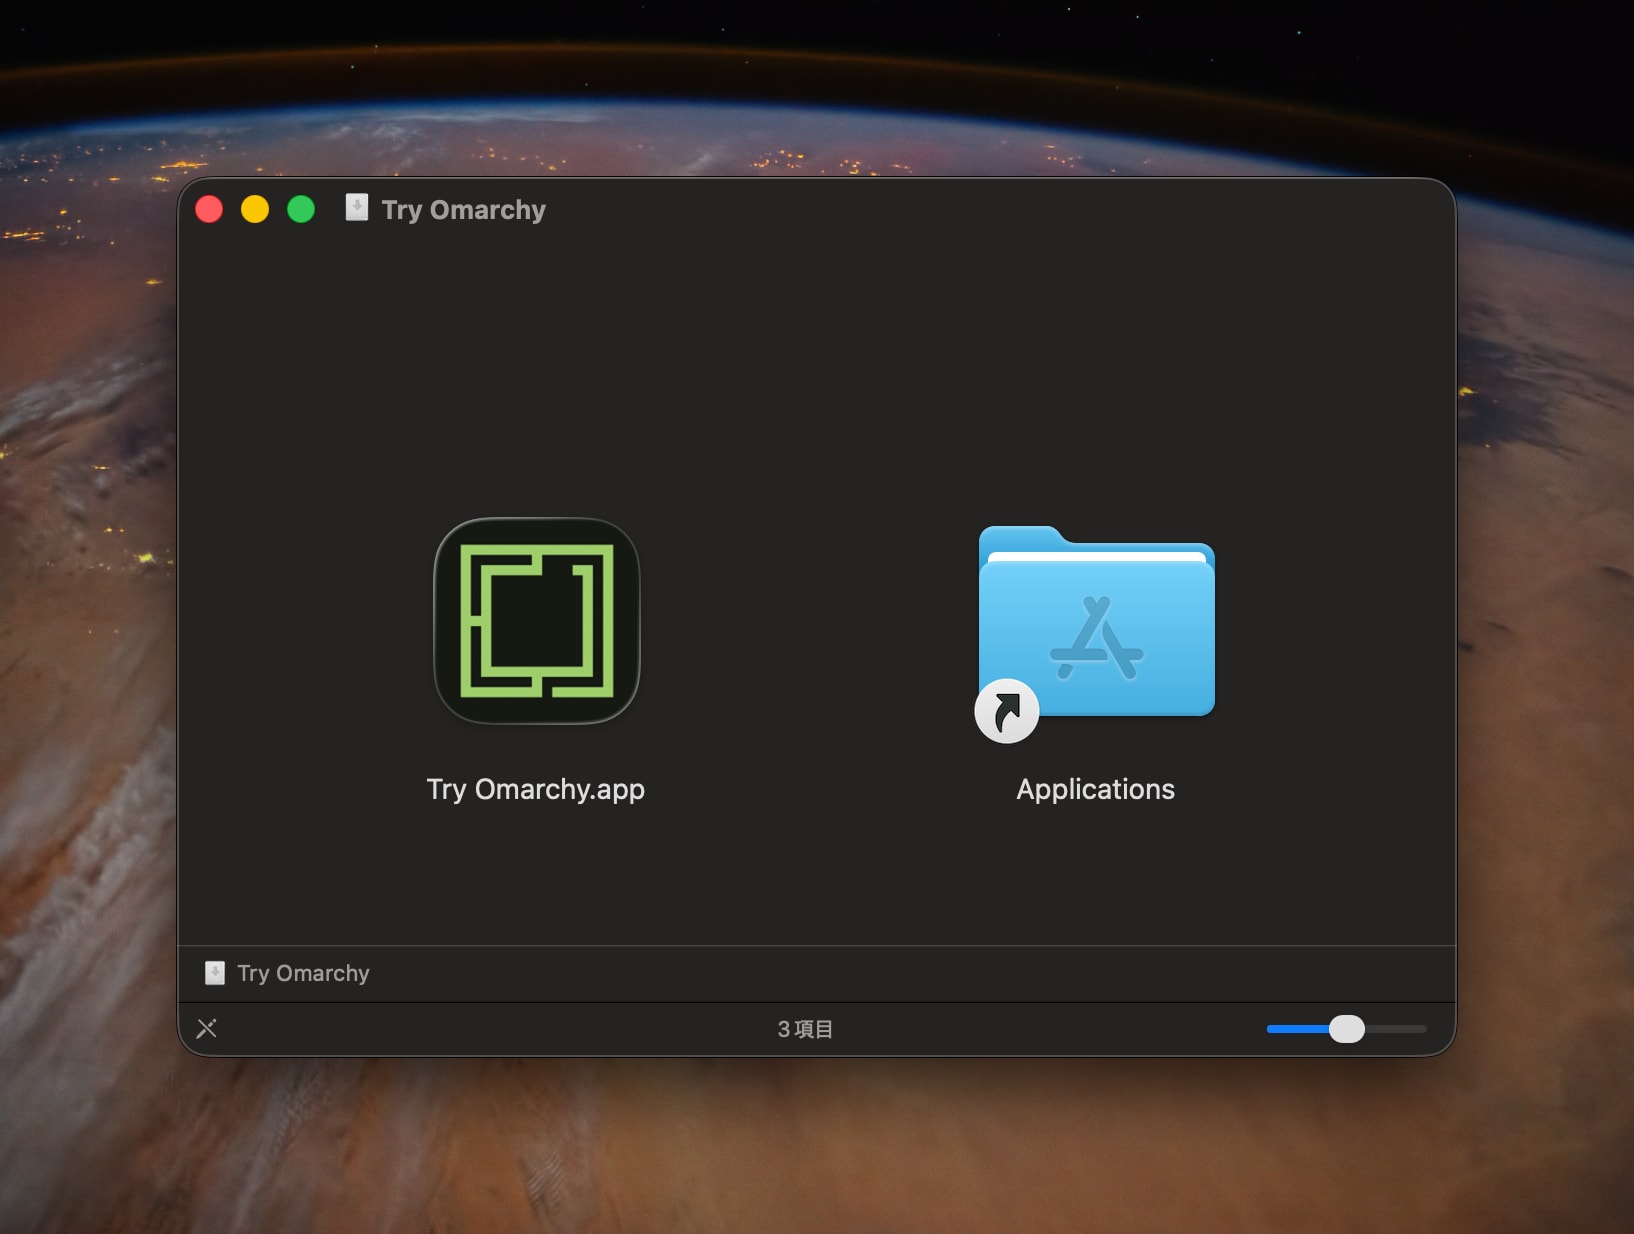
Settings before launch
A start menu appears when you launch it.
Here you configure VM resources, display mode, and shared folders before starting Omarchy.
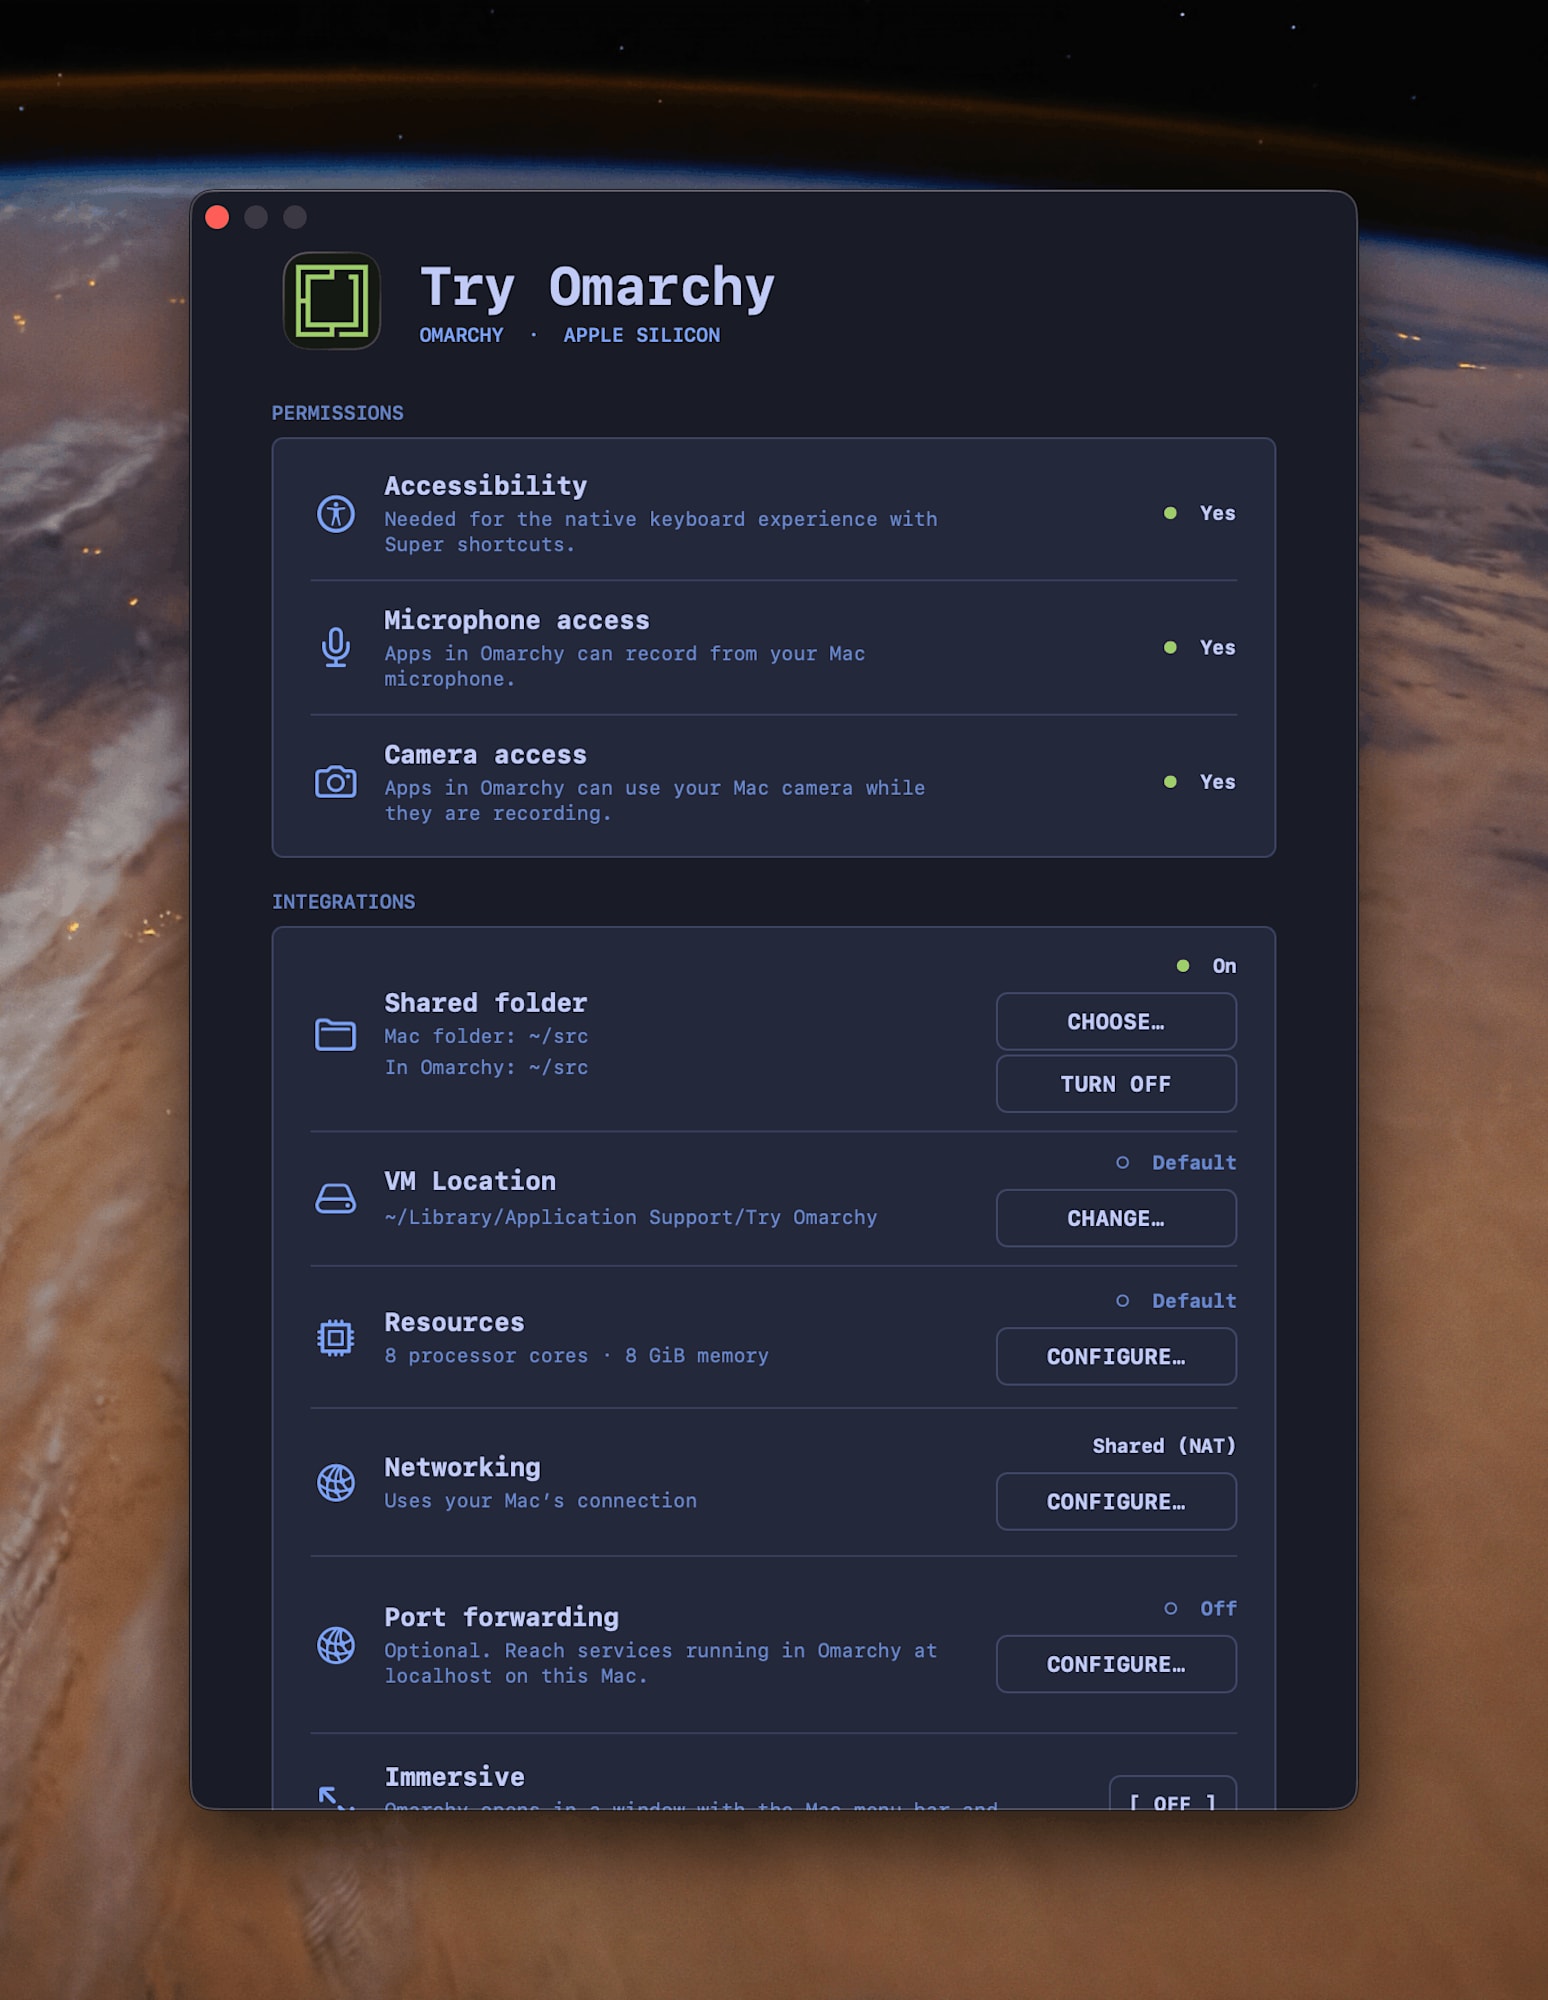
Start menu before launch
Under Resources → Configure…, you can change the CPU, memory, and disk limits.
The default is up to 8 cores and 8GiB of memory (when Mac RAM is 16GiB or more), and I used the defaults this time.
The disk only uses Mac storage proportional to what has been written.
After completing the initial setup, the distribution image and disk together came to about 12GB.
The display mode defaults to Immersive (full screen, hiding Mac's menu bar and Dock).
Since I wanted to take screenshots on the Mac side, I turned off Immersive and opened it in a window this time.
You can specify one Mac folder as a shared folder, and it will appear under the same name inside Omarchy.
First launch and account creation
On first launch, there is Linux preparation and account creation, and it took about 5 minutes before the Omarchy desktop was usable.
The VM restarts partway through.
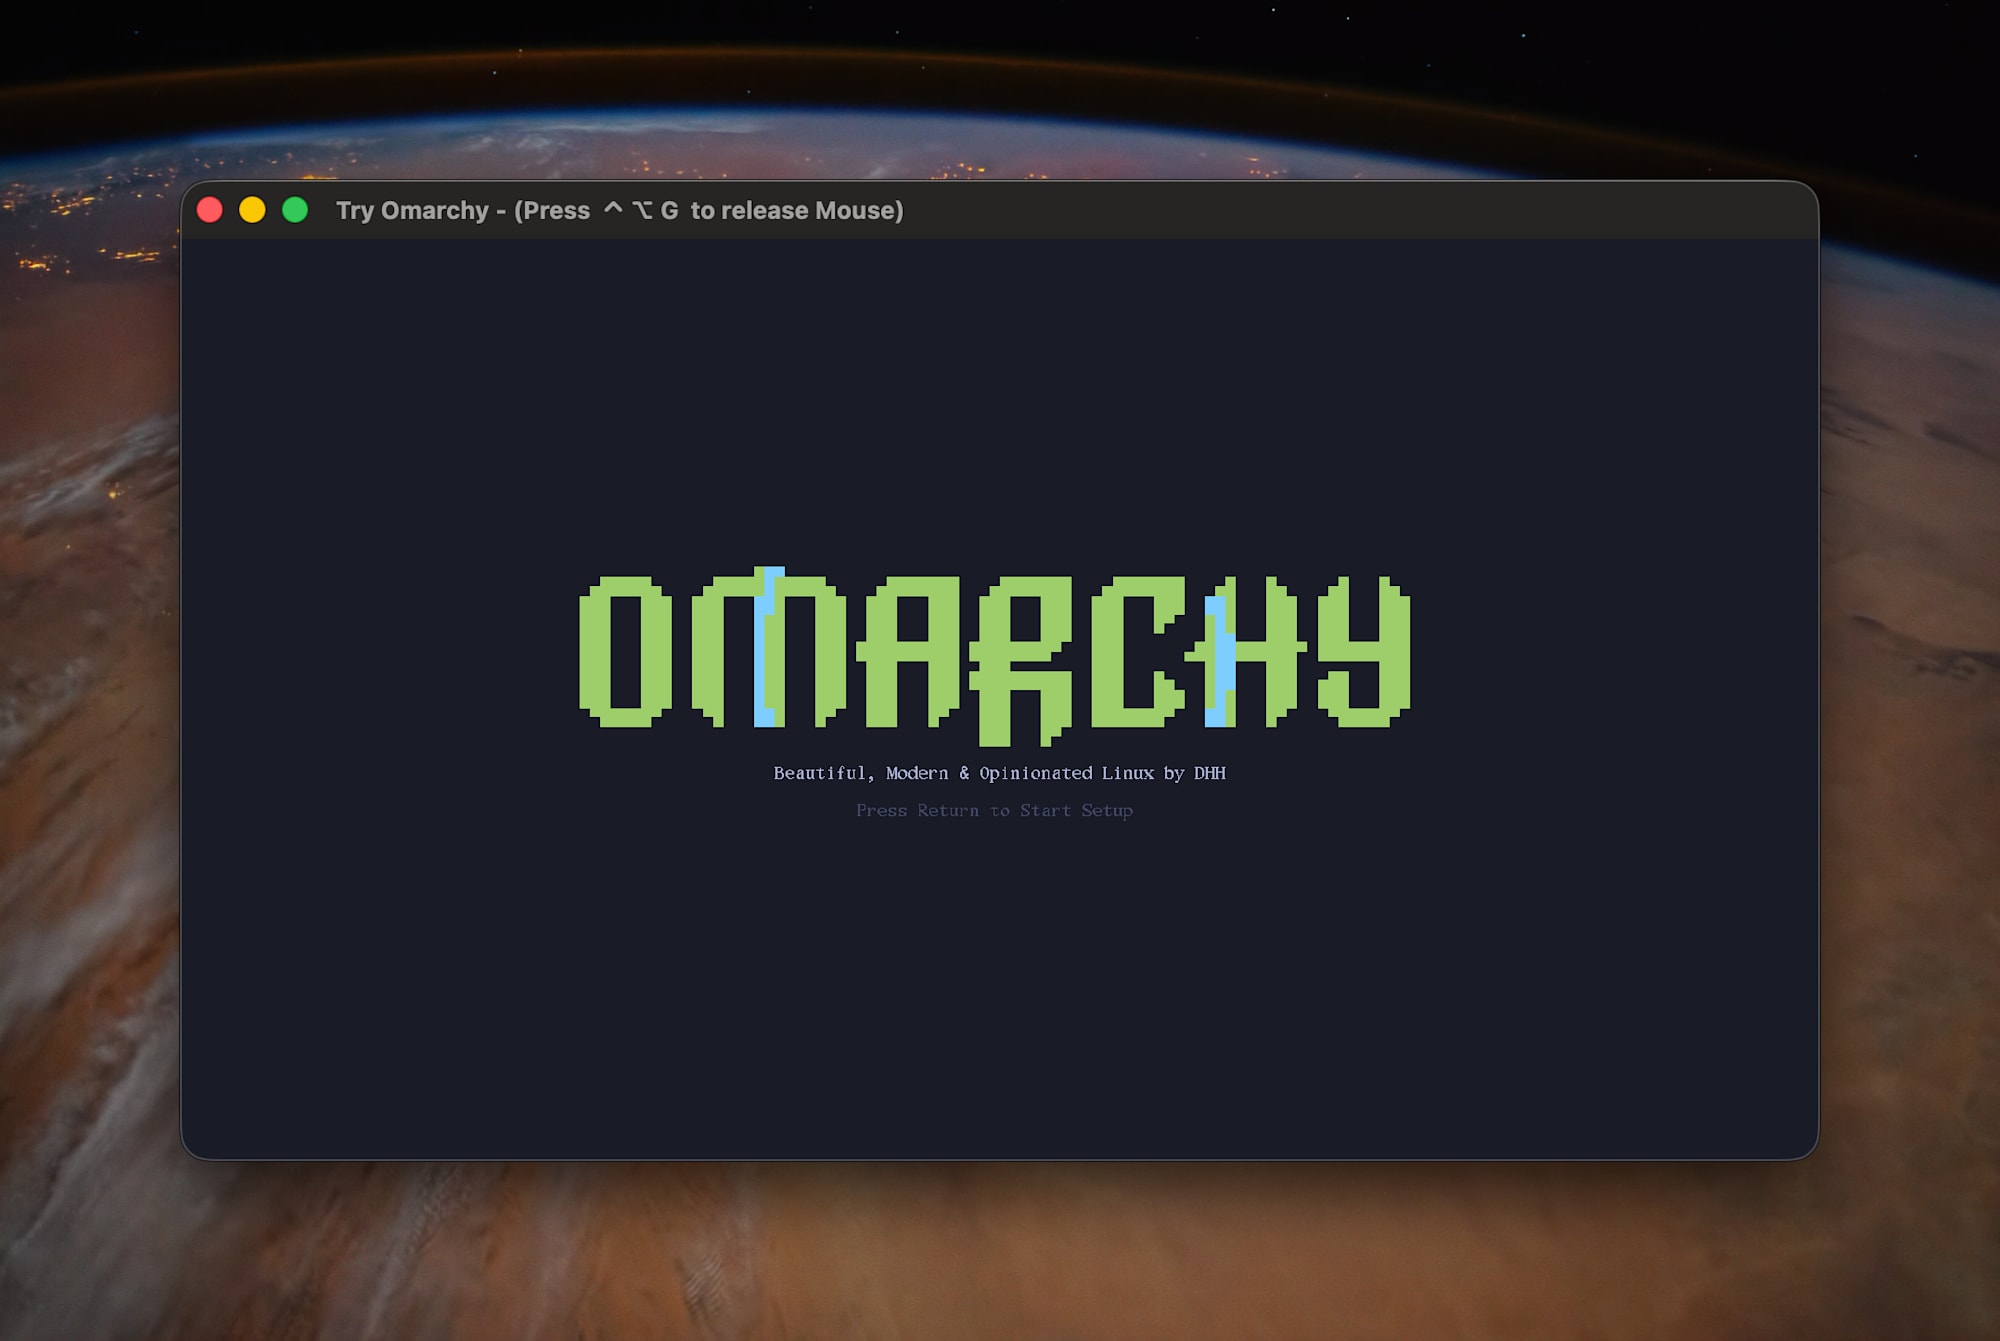
Setup screen on first launch
The Command key becomes Super
While the Omarchy window is in focus, the Command key is treated as the Super key on the Omarchy side.
Most Omarchy shortcuts are based on the Super key, so you can operate it with the same feeling of pressing Command on a Mac keyboard.
If you grant accessibility permissions, macOS system shortcuts like Command + Space will also be passed through to Omarchy.
Microphone and camera permissions are optional.
Clicking the Omarchy window captures your mouse and keyboard on the Omarchy side.
To return to Mac operation, press Control + Option + G to release the capture, as shown in the window's title bar.
Omarchy stays at 4.0.3
Running omarchy version in the Omarchy terminal returned 4.0.3-1, not 4.0.4.
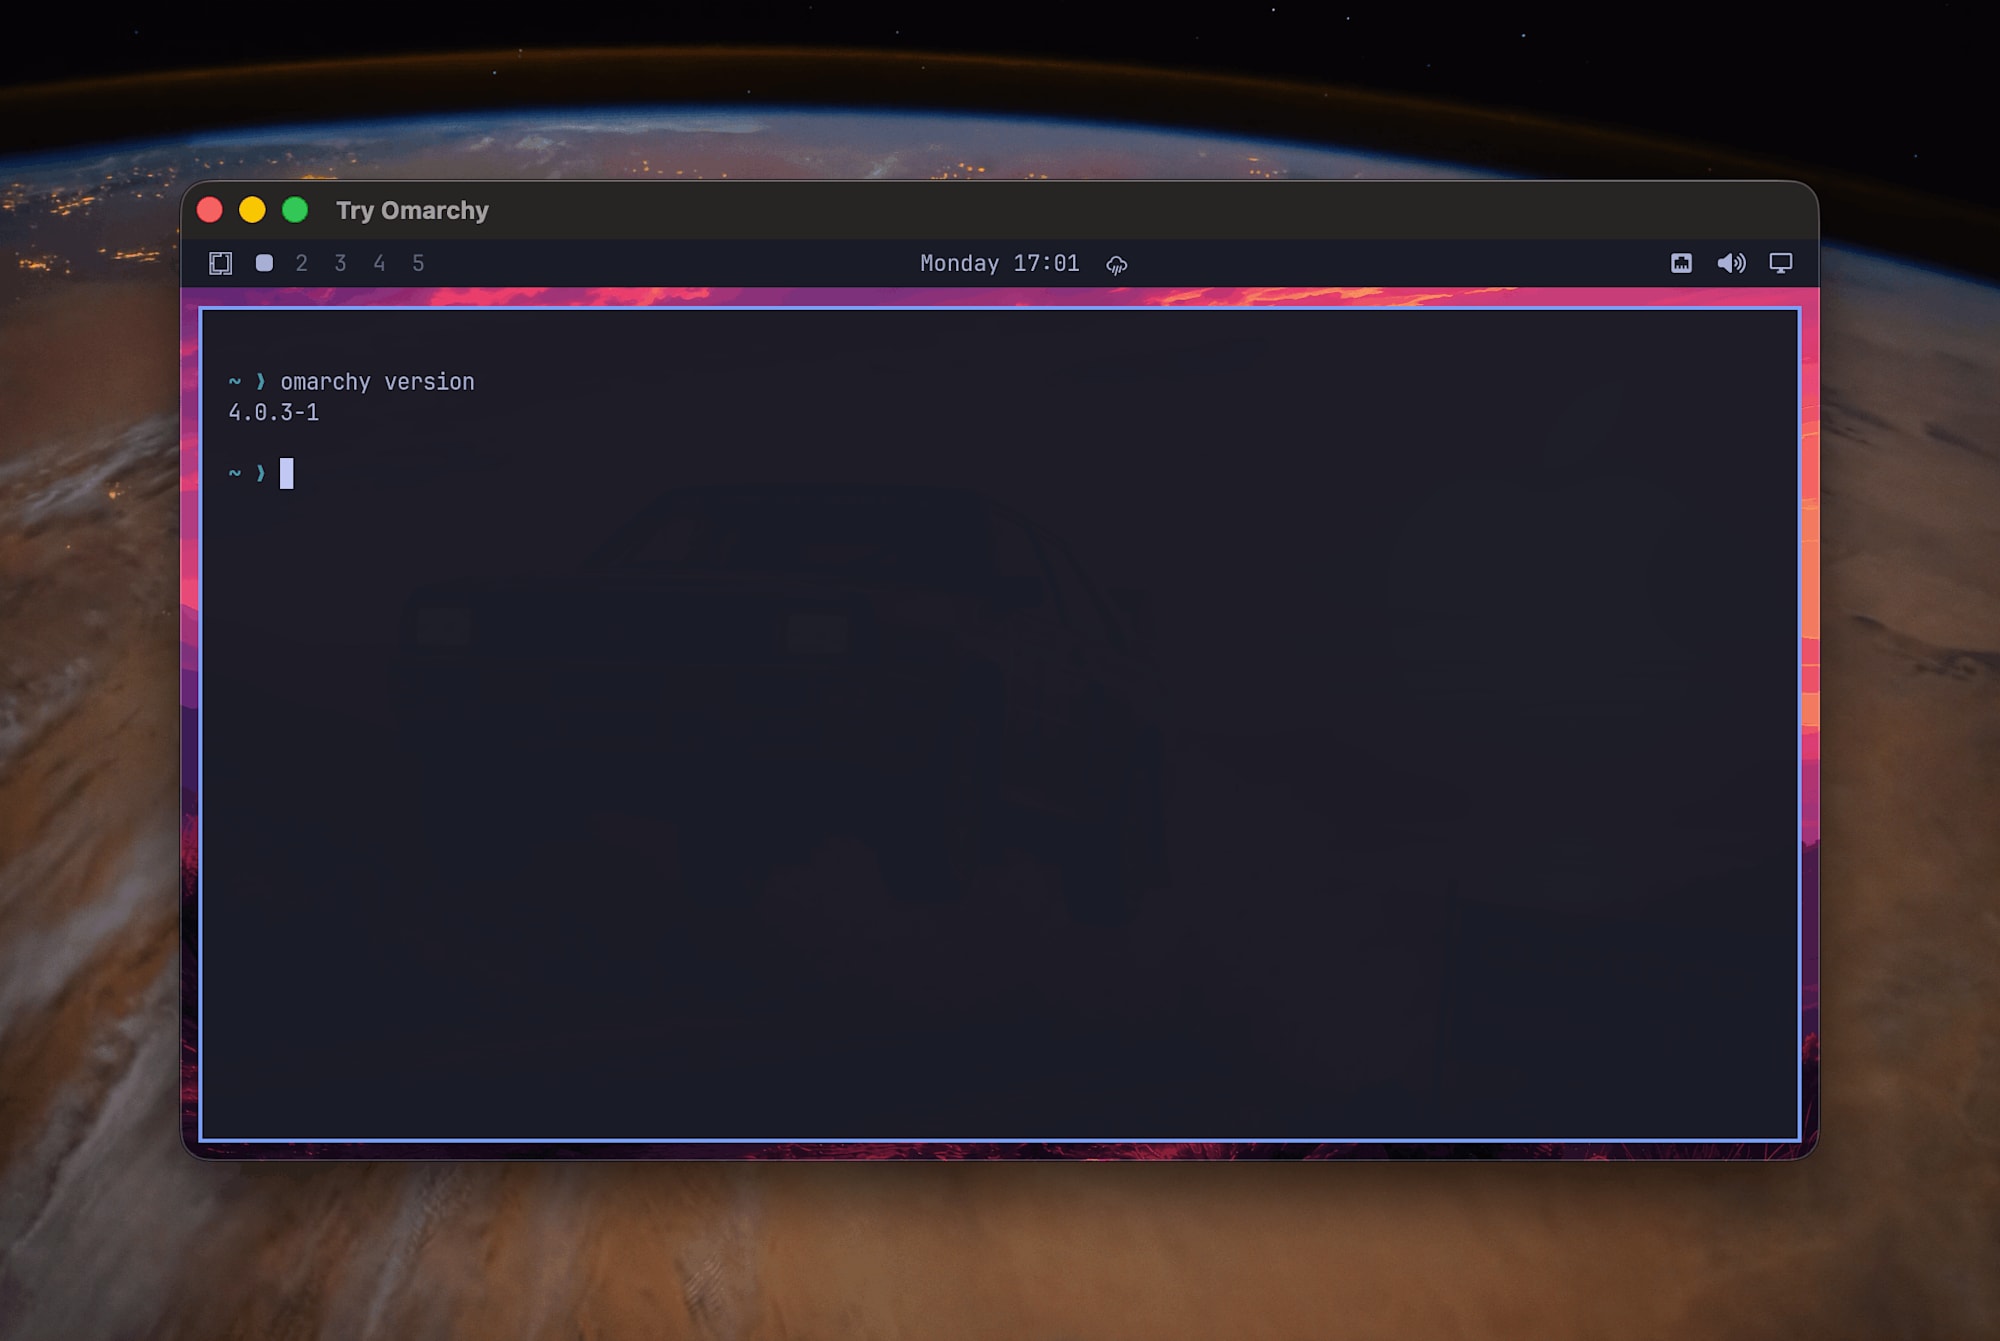
Running omarchy update and restarting did not change the version.
Try Omarchy pins the upstream Omarchy to a v4.0.3 commit in the spec file (guest/spec.json) that builds the guest image.
Arch Linux ARM packages and Hyprland are also pinned to commits and hashes in the same file.
Therefore, the version of Omarchy itself is expected to increment in sync with Try Omarchy releases[2].
Trying it out
Shortcuts to learn first
The official manual has a mapping table for people coming from Mac or Windows.
Here are four items from that table to start with.
| What you want to do | macOS | Omarchy |
|---|---|---|
| Search for and launch apps | Command + Space (Spotlight) |
Super + Space (Omarchy menu) |
| Open a terminal | - | Super + Return |
| View shortcut list | - | Super + K |
| Close a window | Command + W / Command + Q |
Super + W / Super + Q |
The Omarchy menu at Super + Space serves the combined role of Mac's Spotlight and System Settings.
In addition to launching apps (Apps), it includes theme and wallpaper settings (Style), various configurations (Setup), app installation and removal (Install, Remove), and usage guides (Learn).
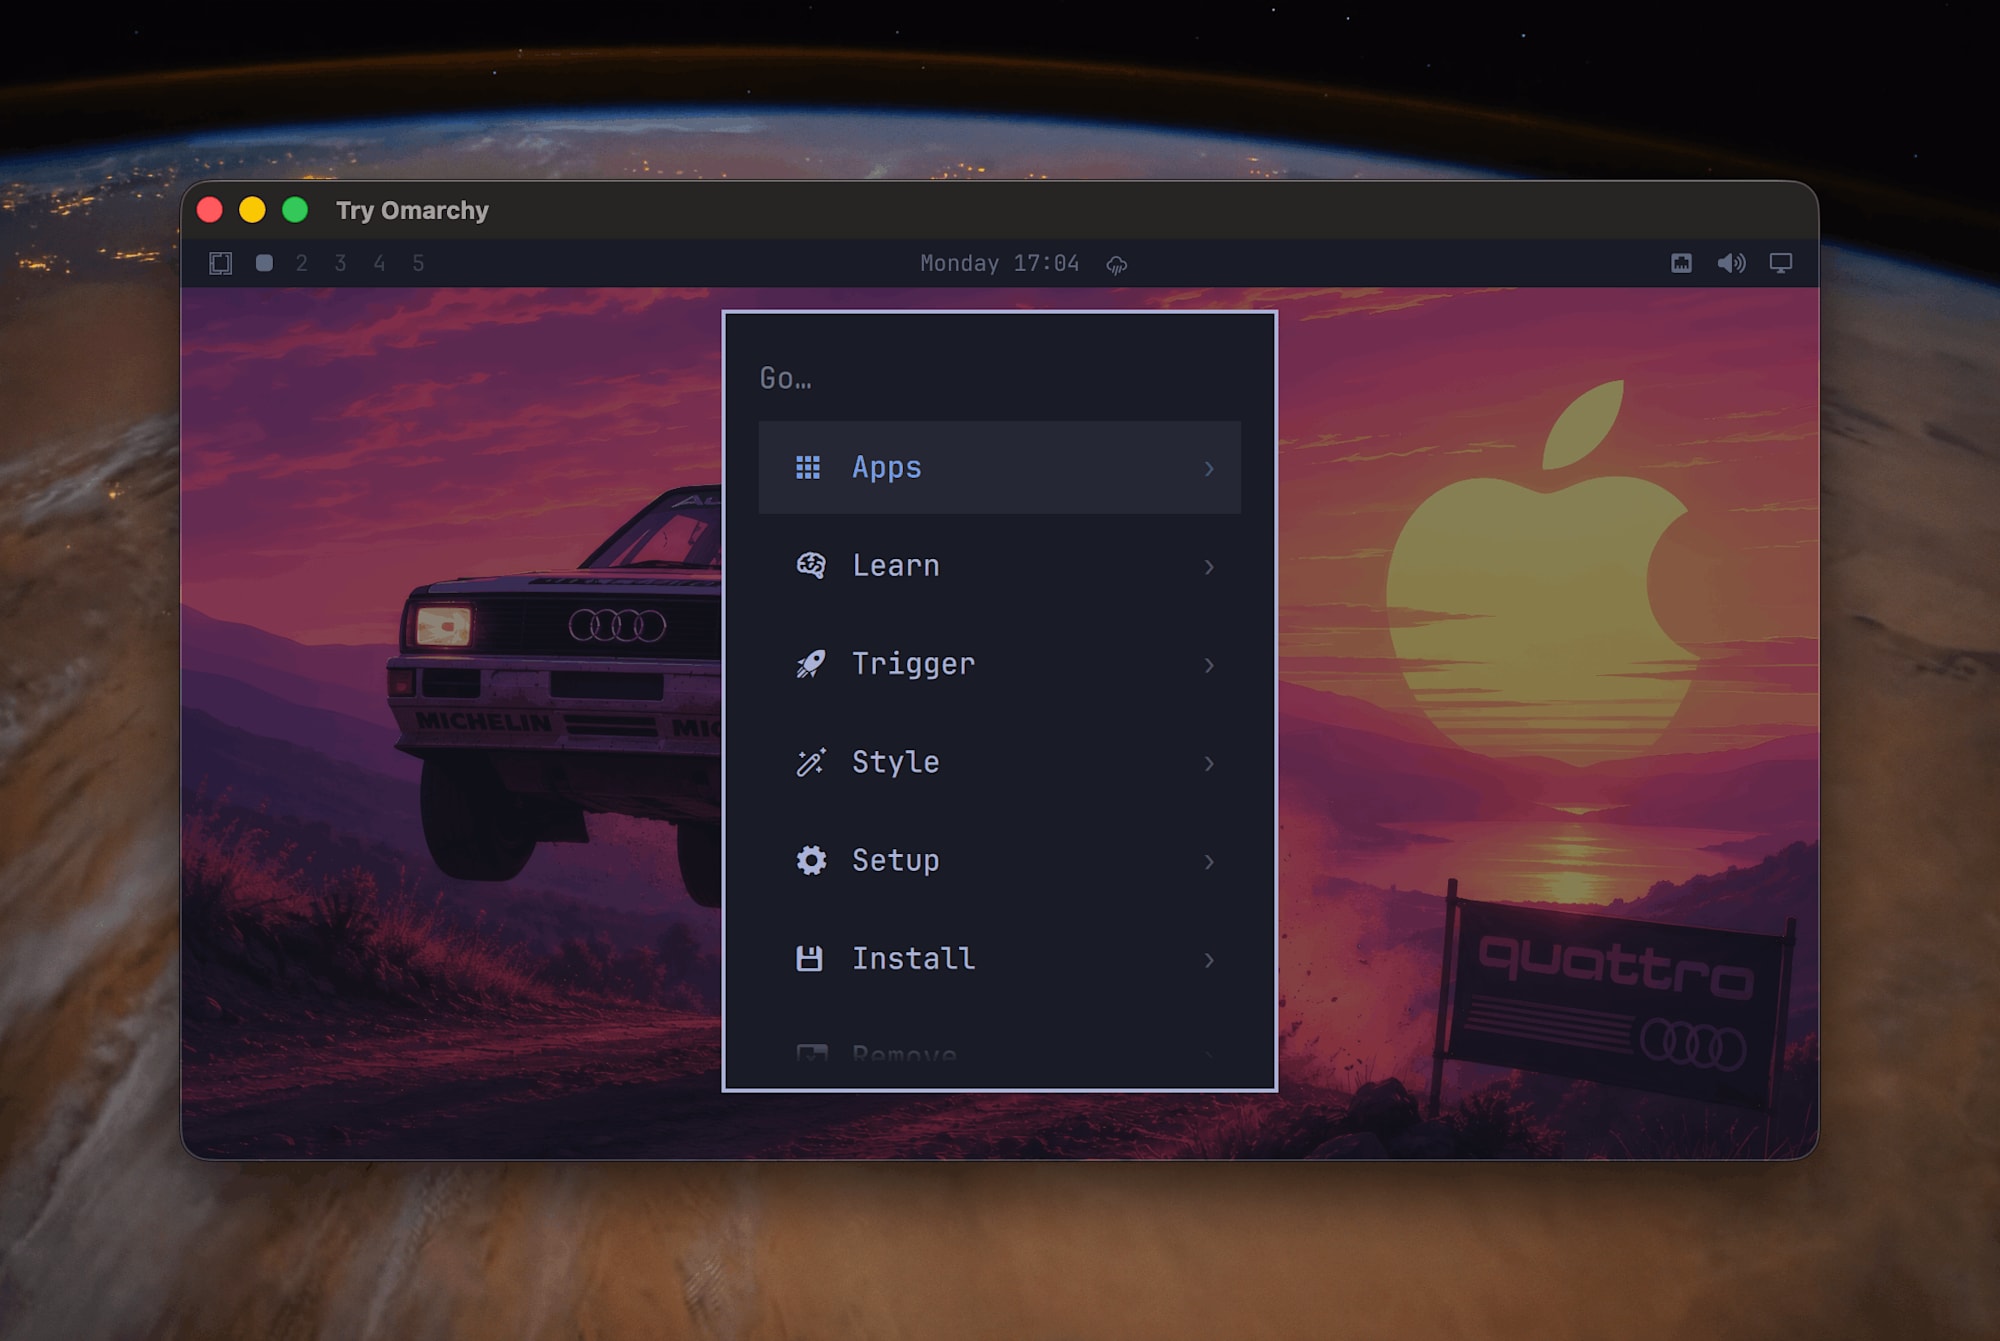
Omarchy menu opened with Super + Space
For shortcuts you can't remember, press Super + K to show the list.
At the top of the list were the terminal (Super + Return), browser (Super + Shift + Return), file manager (Super + Shift + F), and system menu (Super + Escape).
The official manual also states that the only shortcut you need to remember is Super + K.
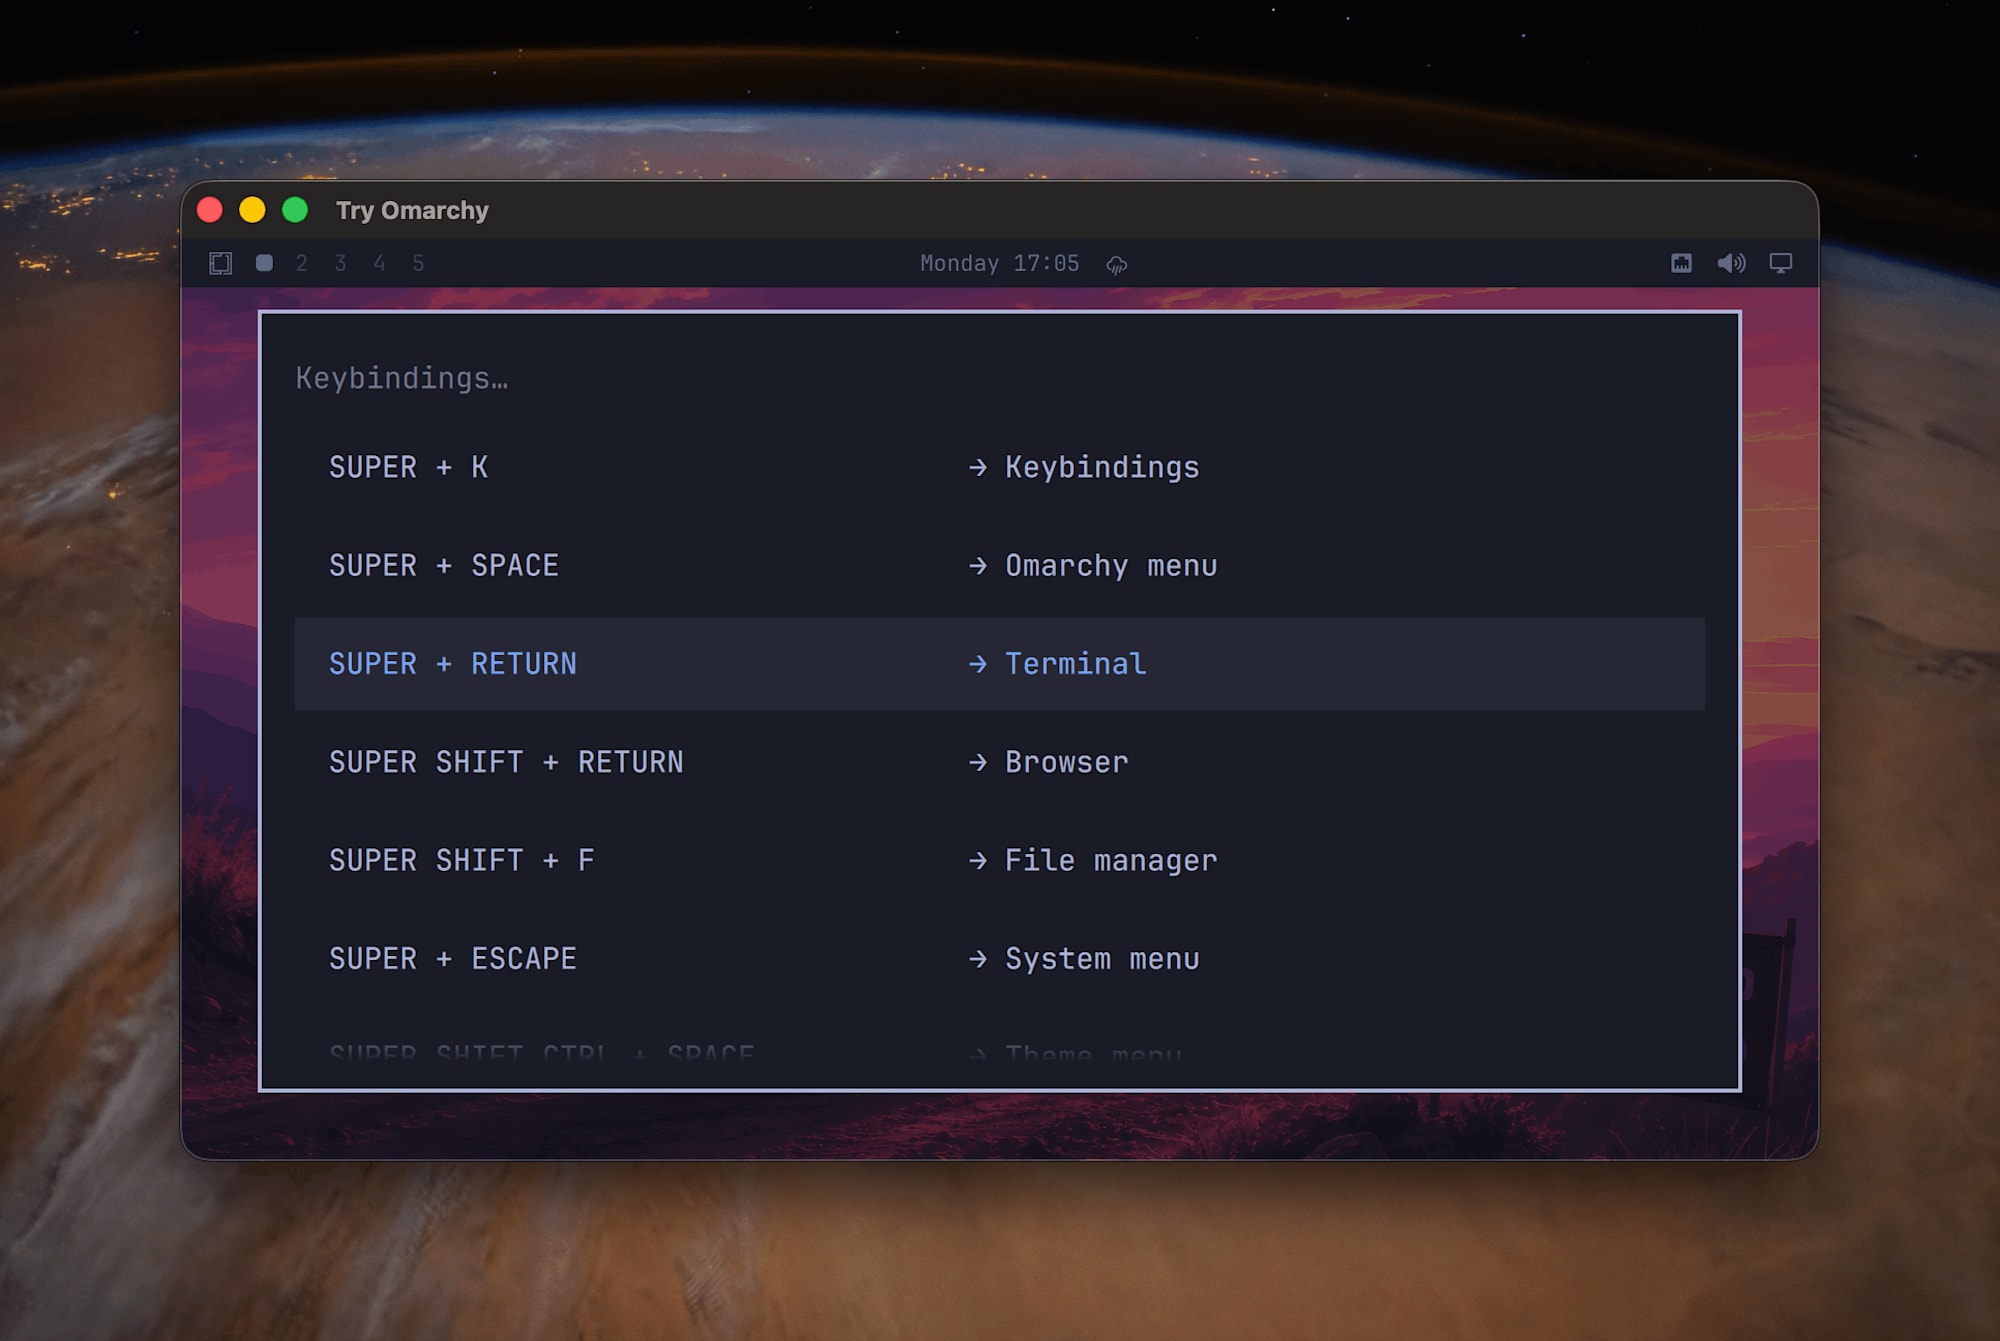
Shortcut list opened with Super + K
Tiling window management
Windows in Omarchy don't overlap.
When you open another window while a terminal is already open, the screen splits left and right with both side by side.
The image below shows the state after running omarchy version in the left terminal and launching Claude Code on the right.
Since there's no need to drag windows to arrange them, I found it works well for having a terminal and an agent side by side.
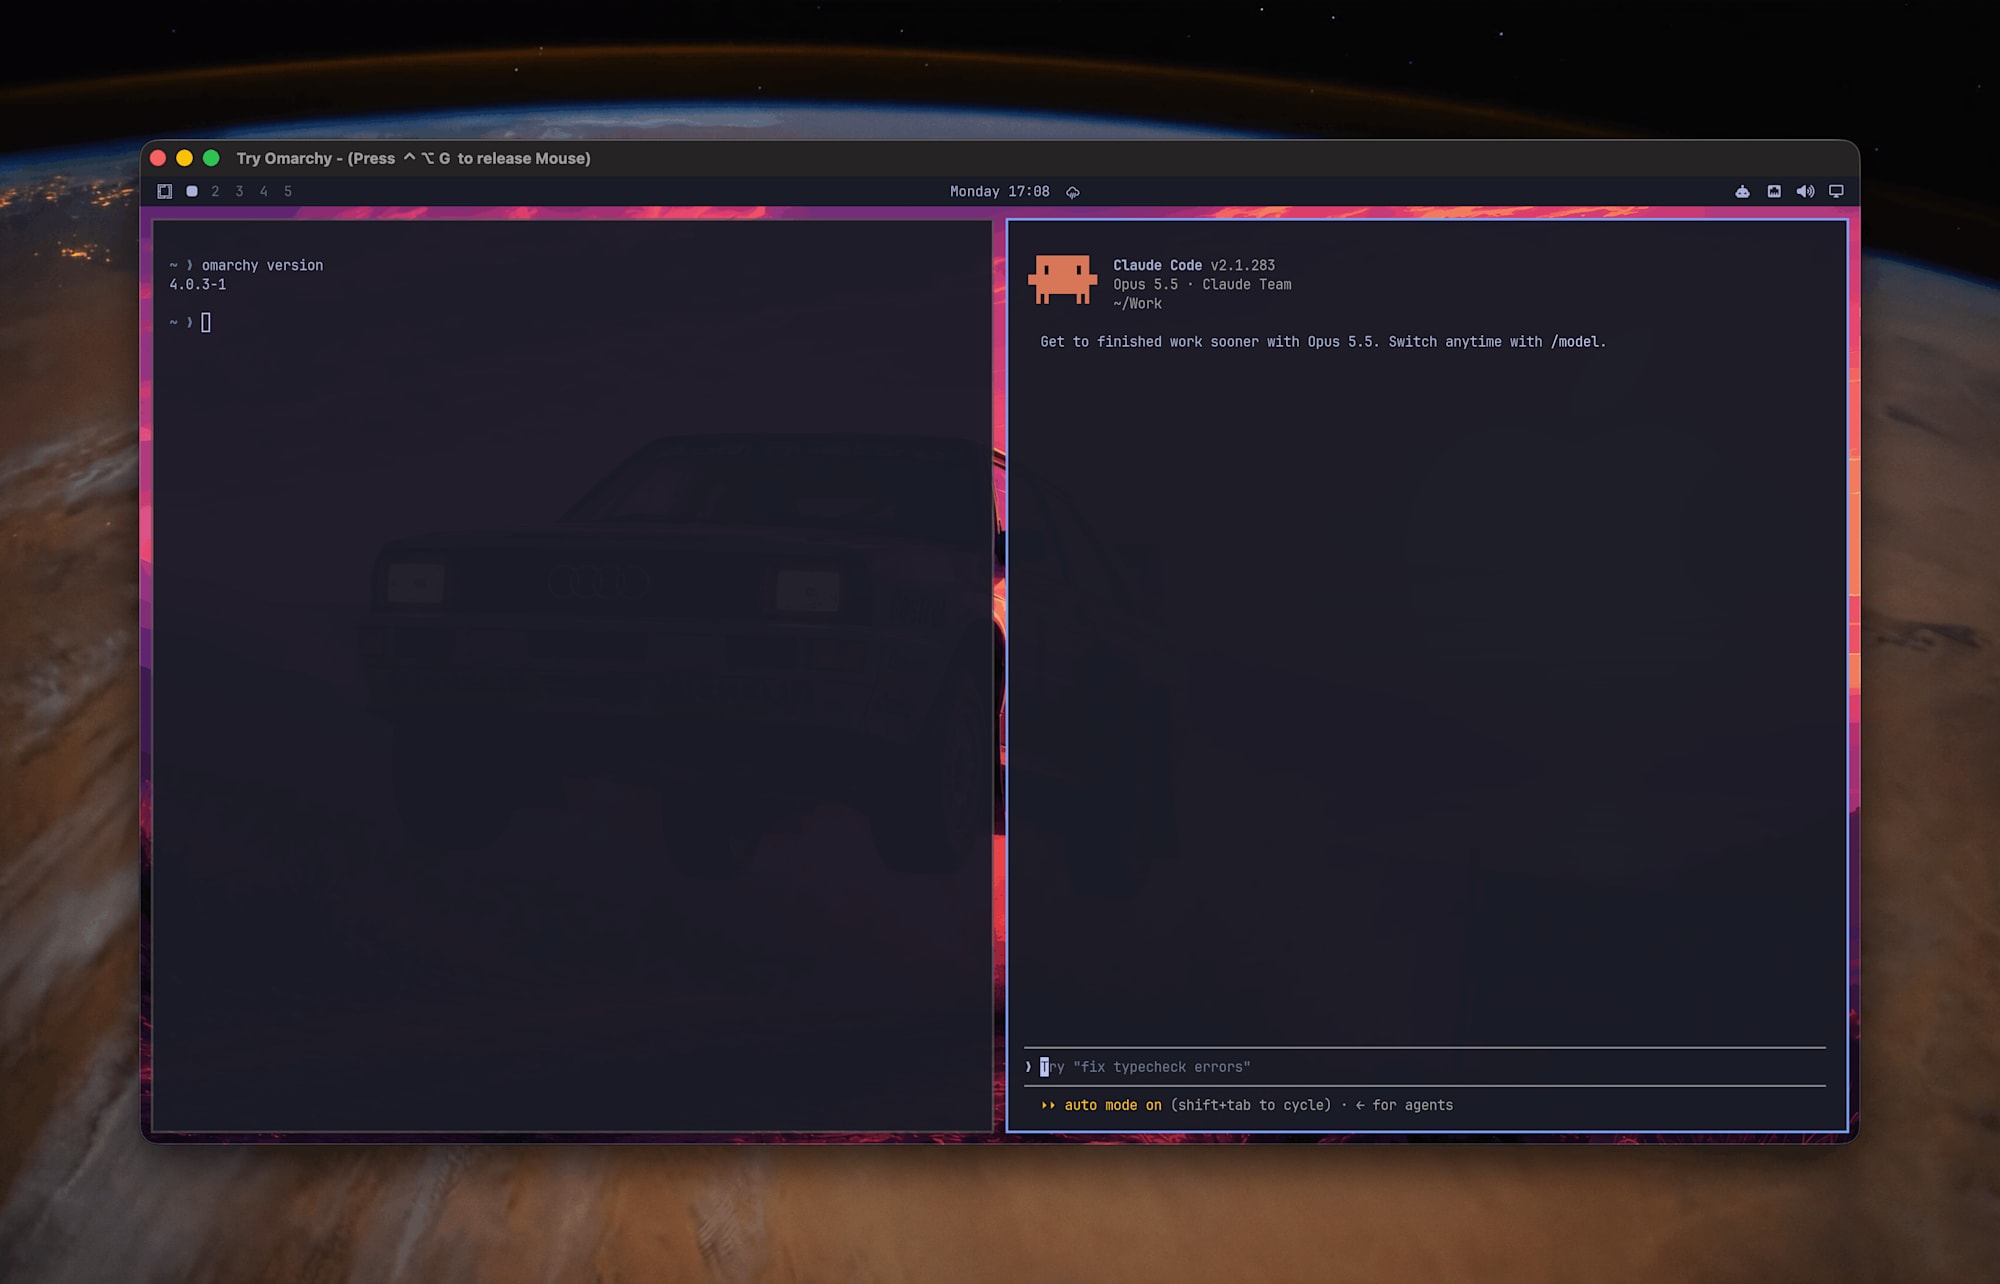
Windows share the screen without overlapping
When windows pile up and space gets tight, you can use multiple workspaces.
Switch workspaces with Super + 1 through Super + 4, and send the current window to another workspace with Super + Shift + number.
For windows you temporarily want to float, press Super + T to take them out of tiling.
Switching themes
Themes switch the terminal, bar, notifications, and wallpaper all at once.
The theme selection screen displays a full-screen preview for each option side by side, making the selection process enjoyable in itself.
This time, I chose Catppuccin to match my Mac terminal settings.
The theme selection screen opens with Super + Shift + Ctrl + Space or via Style in the Omarchy menu.
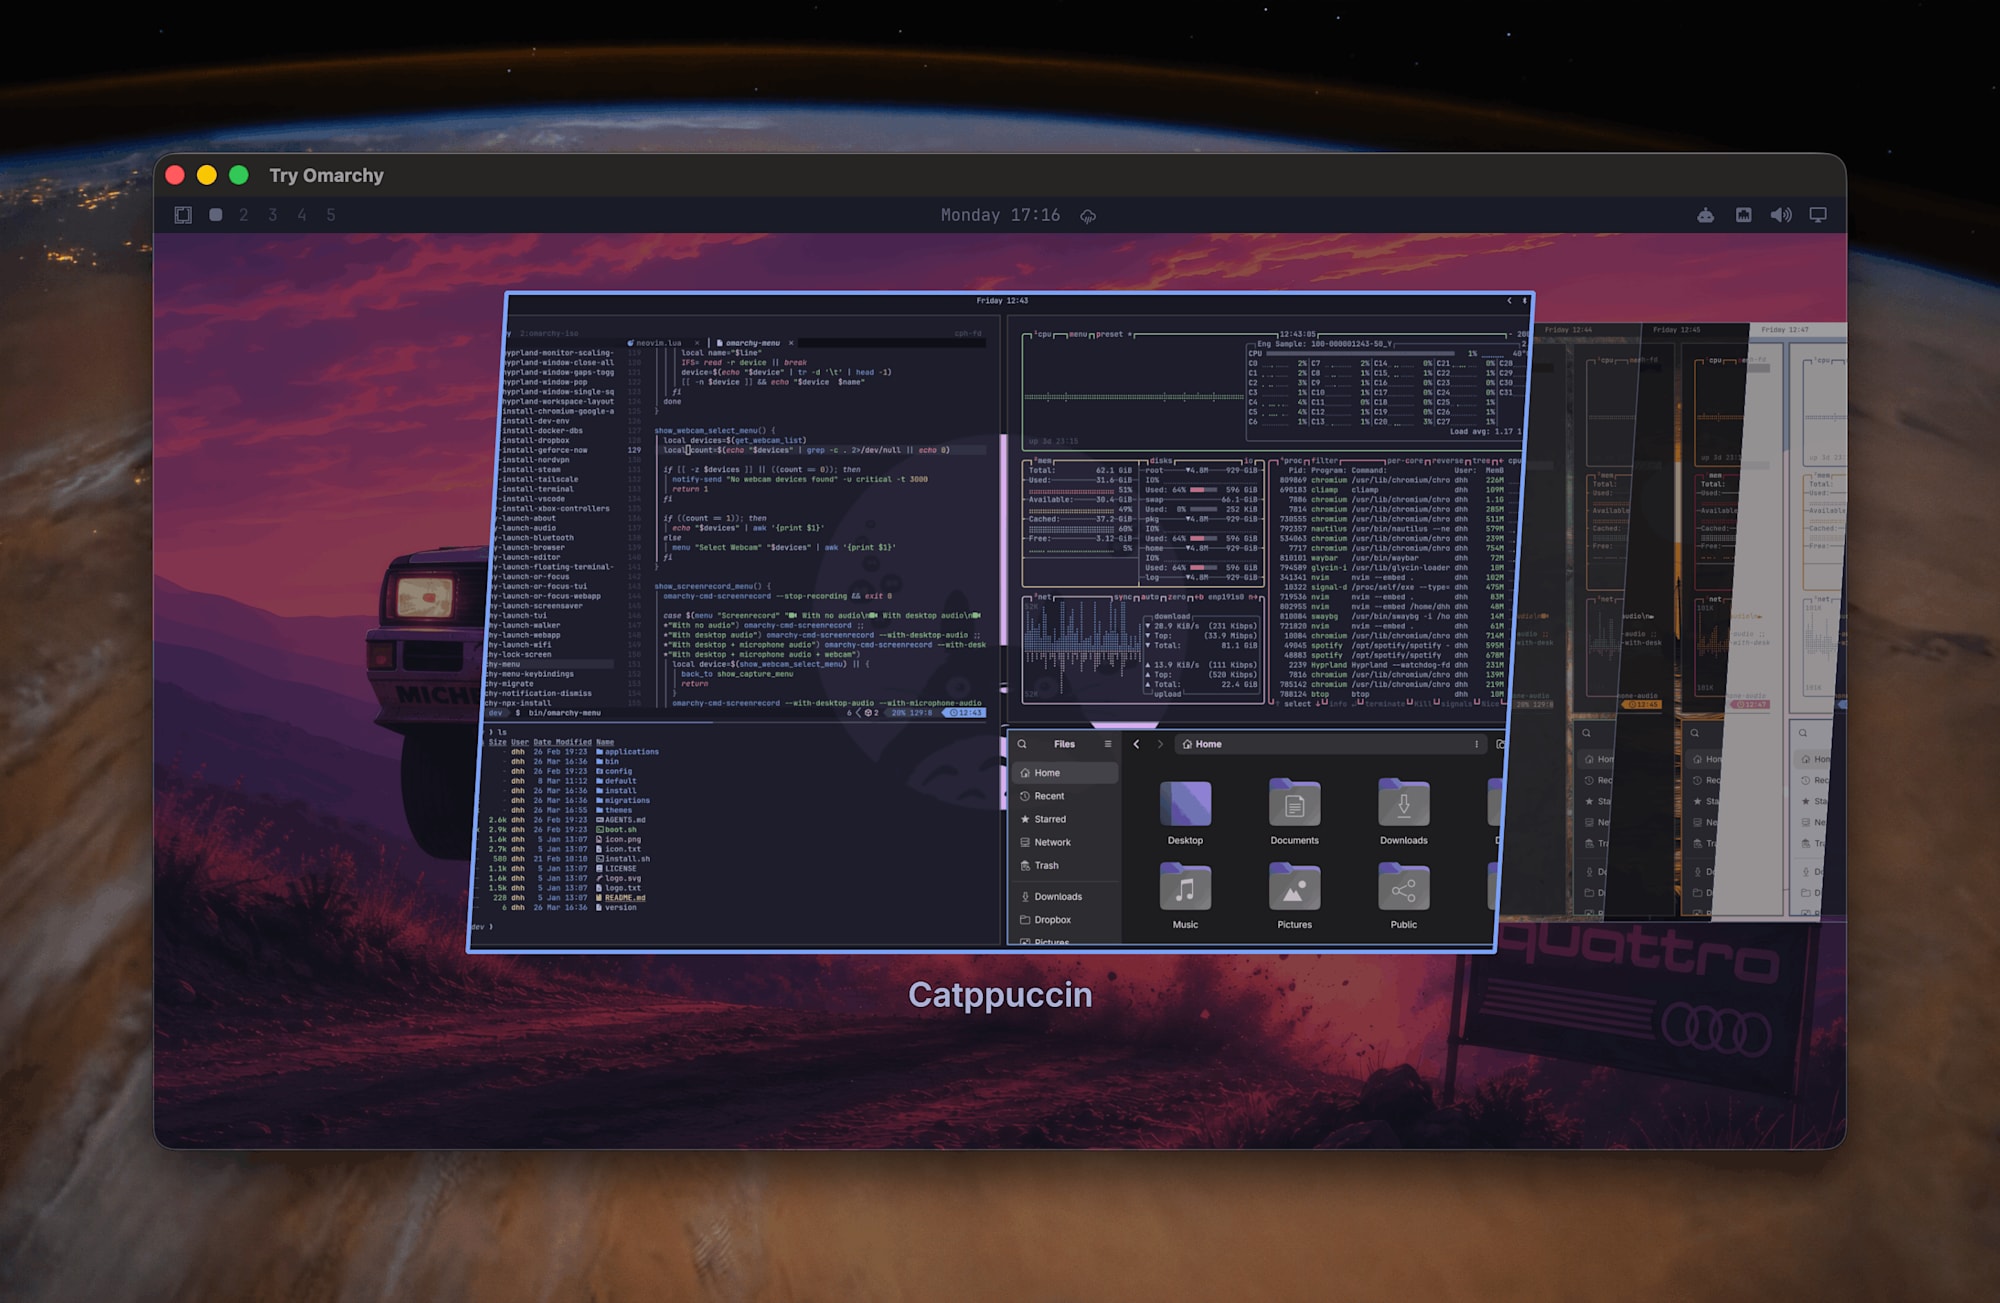
Theme selection screen
Setting Claude Code as the default agent
After first launch, a one-time notification appears to select the default agent.
The options include Claude, Codex, Copilot, Crush, Cursor CLI, and others. I chose Claude (Claude Code) this time.
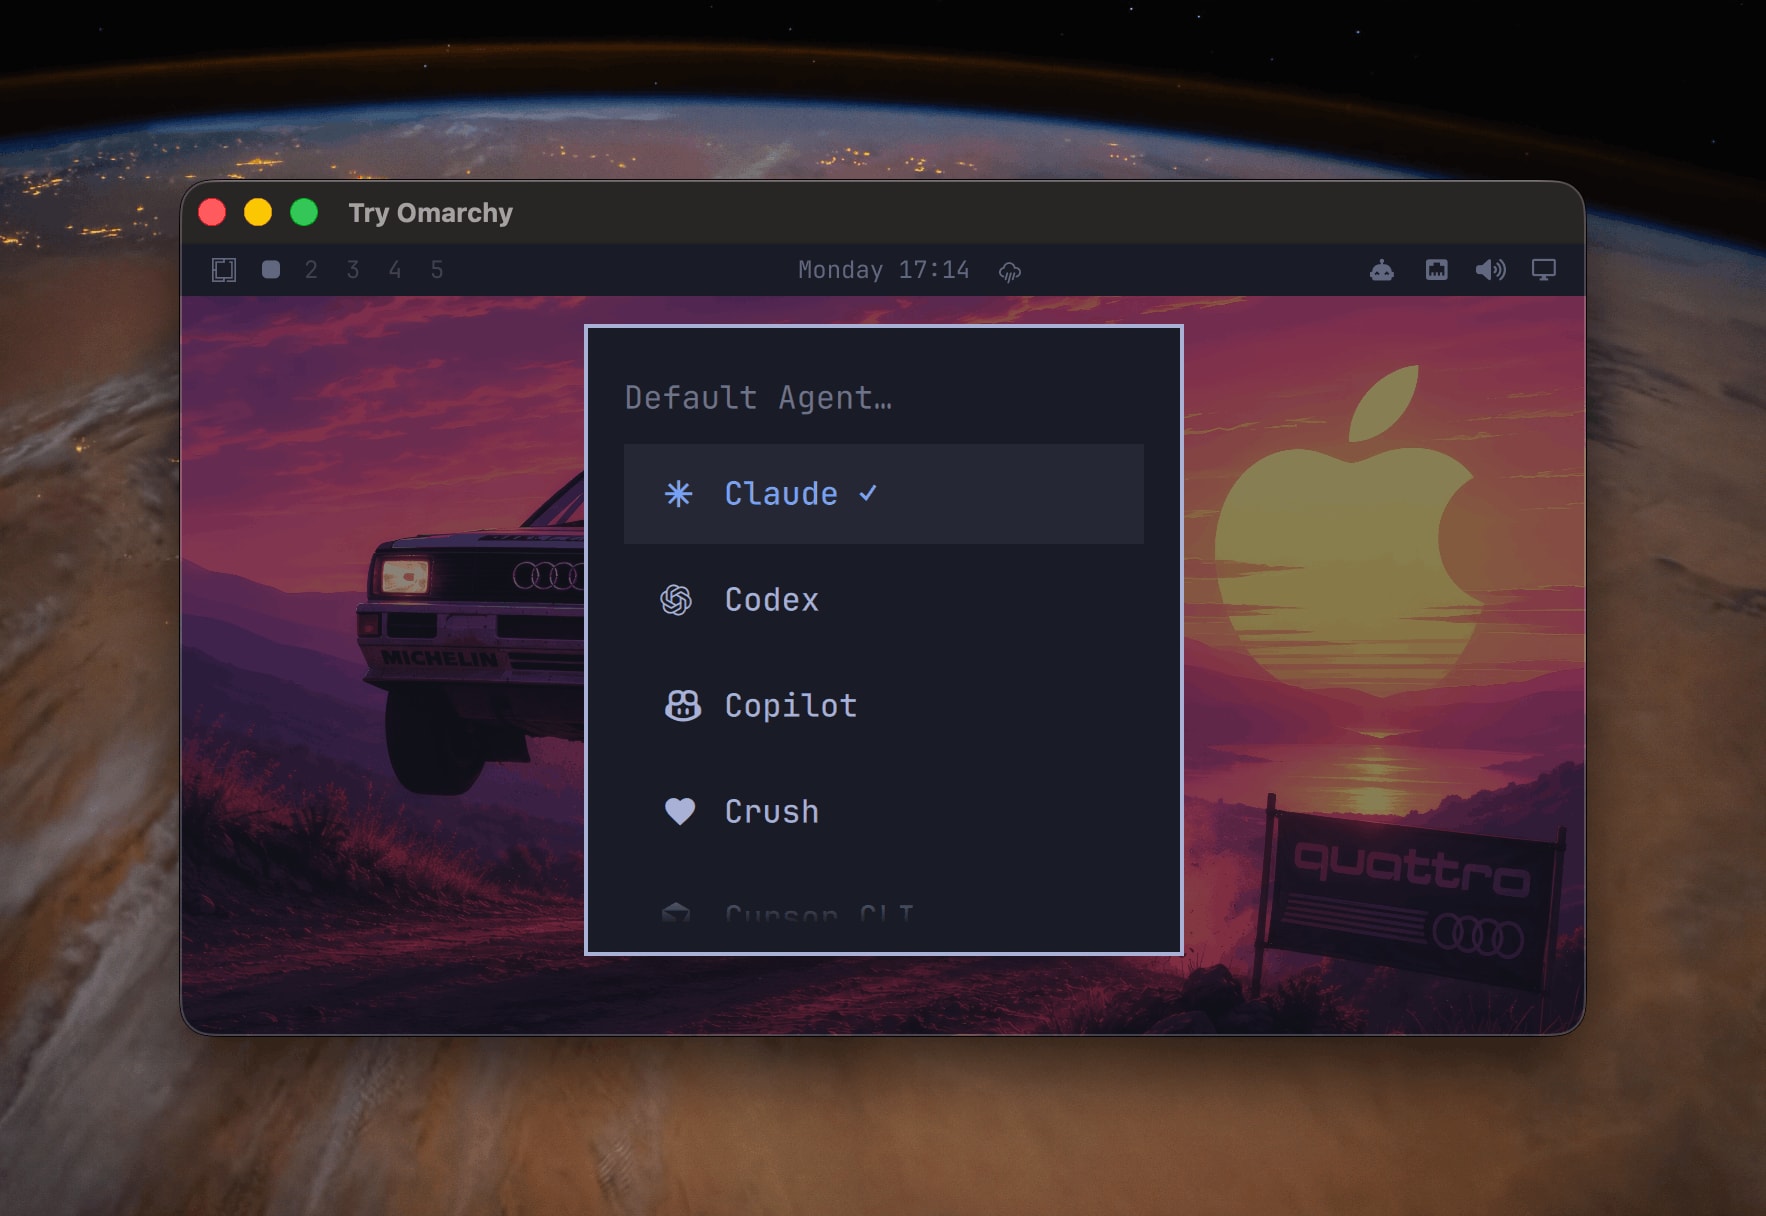
For logging into Claude Code, the browser inside Omarchy opened, not on the Mac side.
Since authentication completes inside the guest, it is separate from the Claude Code login state on the Mac side.
After selecting the default agent, pressing Super + Shift + Ctrl + A launches Claude Code in a dedicated window.
The launched Claude Code is in auto mode, and the working directory was ~/Work.
According to the official manual, when launched from the home directory, it starts in ~/Work.
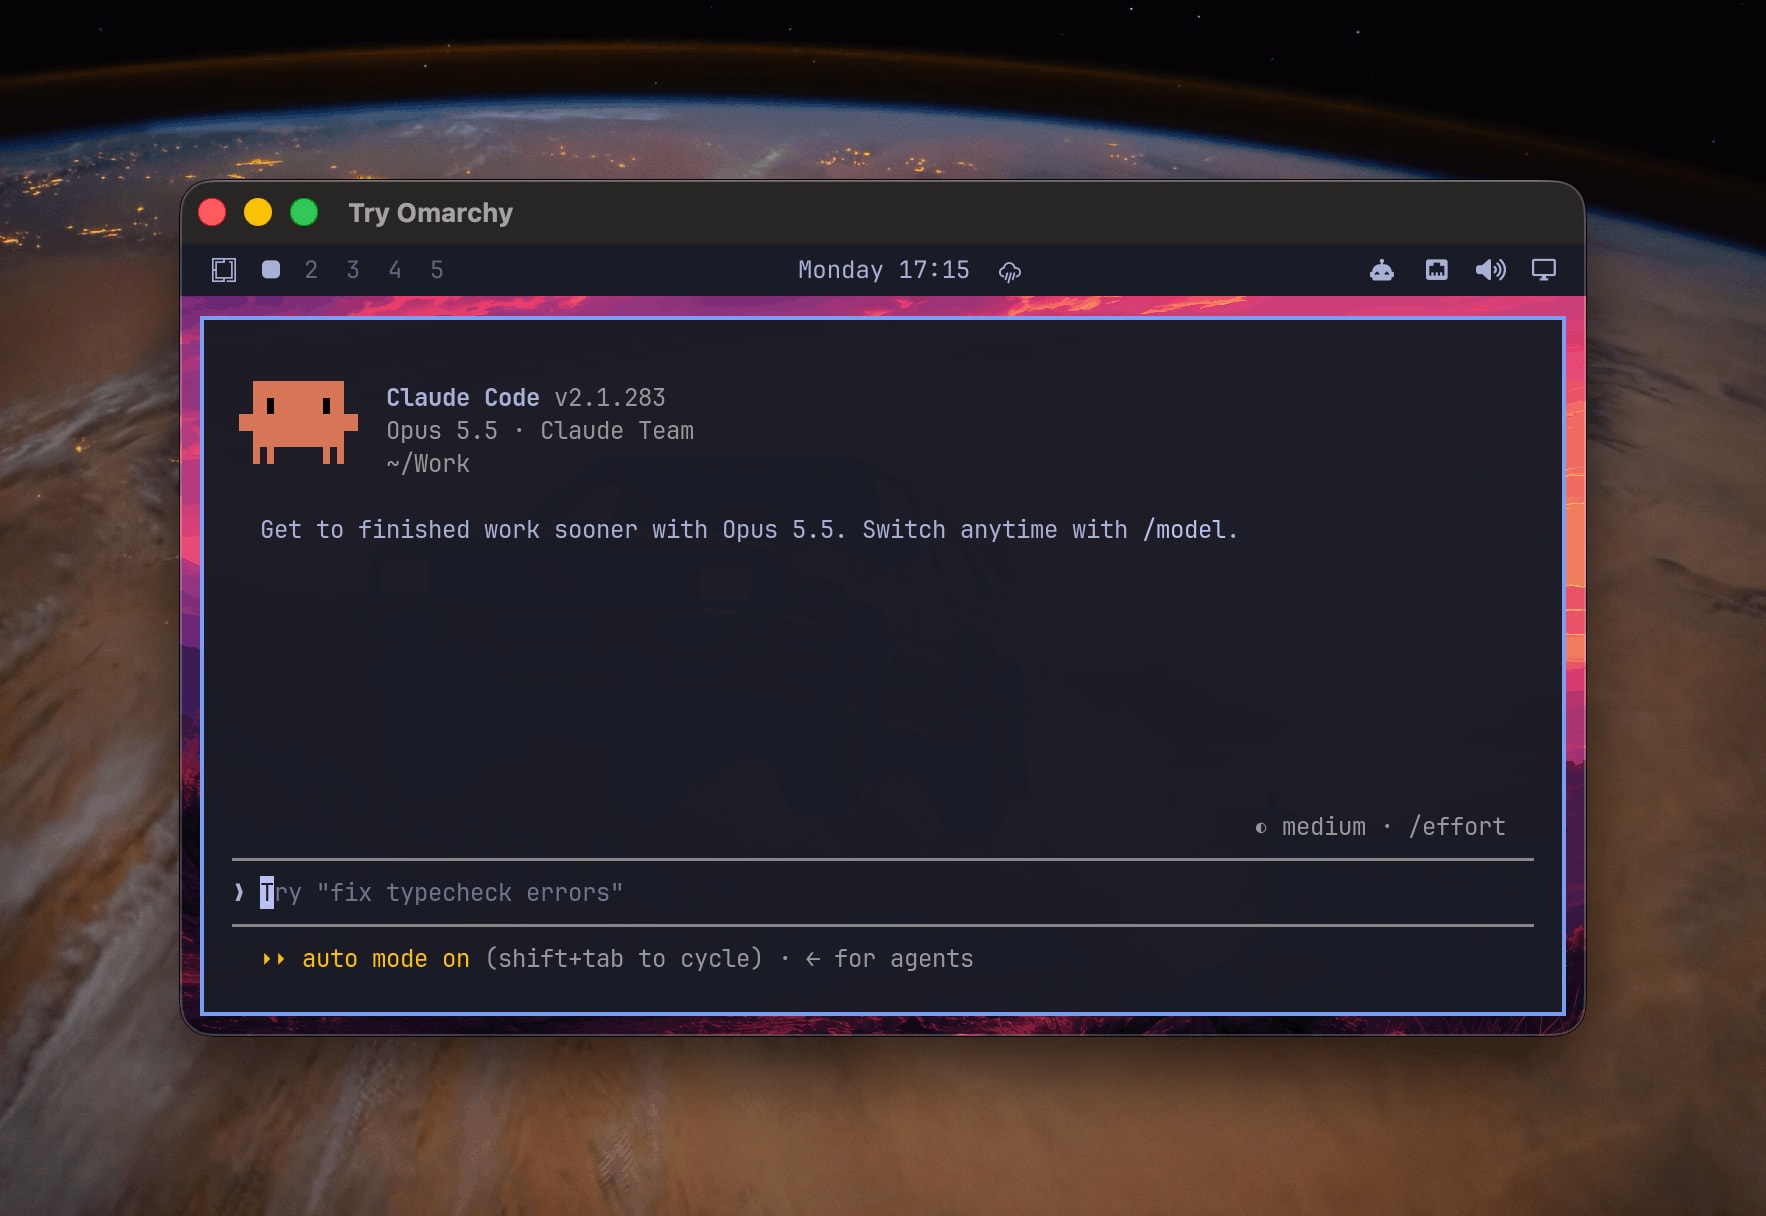
Claude Code launched with Super + Shift + Ctrl + A
After launching Claude Code, an agent icon appeared on the right side of the top bar.
According to the official manual, this icon appears when Omarchy first detects usage of a coding agent, and opens a panel where you can check subscription 5-hour slots, weekly usage rate, and token usage by day and model.
Claude Code, Codex, and Fireworks are supported.
The bundled Omarchy skills are also placed in ~/.claude/skills, which Claude Code can read.
These are skills for asking the agent to change Hyprland settings, the bar, or themes.
The official manual marks these skills as experimental and recommends first checking the changes in plan mode.
If the configuration breaks, you can restore it with omarchy reinstall configs.
Things that caught my attention in Try Omarchy
CPU usage at idle, as seen from the Mac side, was around 15% of one core for the QEMU process.
This is in line with the measured value stated in the README (approximately 15%).
Japanese input
Omarchy runs fcitx5 from the start for CapsLock compose input.
According to the official manual, to input Japanese you install fcitx5-mozc and fcitx5-configtool with omarchy pkg add, then configure the input method and switching key.
On Mac, I have Japanese input switching assigned to Command + Space.
In Omarchy, the same key (Super + Space) is assigned to the Omarchy menu, so you can't switch the same way you do on Mac.
You can solve this by setting a different switching key on the fcitx5 side, but I didn't verify that this time.
If you plan to use Japanese regularly in Omarchy, this seems like something to configure upfront.
Video playback
The Try Omarchy README states that video decoding is done with CPU only, so high-resolution playback may be slow.
An improved version is reportedly under development.
Conclusion
I tried Omarchy on an Apple Silicon Mac.
Using Try Omarchy, you can reach the Omarchy desktop in about 5 minutes after installing the DMG.
There's no need to erase macOS or partition your drive.
Actually trying it out, the omakase philosophy of removing the hassle of tool selection and handing users a state where they can immediately get to work was pervasive throughout the entire OS.
The terminal, editor, themes, and agents are already combined, and knowing the Super + K list is enough to get around.
The UI is also polished, and I found it easy to use without needing to tweak settings.
For those accustomed to macOS who want to try out a Linux environment, I think Omarchy is a reassuring entry point.
References
- Omarchy
- Omarchy Manual
- Omarchy Doctrine
- Introducing Omarchy M
- omacom/try-omarchy
- omacom/omarchy
- Rails is omakase
- The Rails Doctrine
- Omarchy: Bottling that inspiration before it spoils
The Rails Doctrine also has an item called "The menu is omakase." Omarchy also has Omarchy Doctrine, a set of 10 principles, and in the "Command is service" section, it positions itself as "a benevolent dictatorship in the grand tradition of Linux, Ruby, and Rails." ↩︎
There is also a discrepancy in Try Omarchy's own version — the
Info.plistof the app obtained from the v0.4.1 release displayed 0.4.0. ↩︎