
You can now directly call the Slack API using the api command in the Slack CLI

This page has been translated by machine translation. View original
Starting from Slack CLI v4.1.0, the slack api command was added, allowing you to call any Slack API method directly from the terminal[1].
What's great about it
For example, if you want to post a message to a channel, the curl command would look like this:
$ curl -X POST https://slack.com/api/chat.postMessage \
    -H "Content-Type: application/json; charset=utf-8" \
    -H "Authorization: Bearer $SLACK_BOT_TOKEN" \
    -d '{"channel":"C0123456789","text":"test"}'
As you can see, you generally have to write the endpoint URL, Content-Type, Authorization headers, and more every time, which is both tedious and error-prone.
On the other hand, using the slack api command, you can do it in just one line:
$ slack api chat.postMessage channel=C0123456789 text=test
Since the CLI resolves the token from the already logged-in credentials, there's no need for the endpoint URL or token strings, making it very convenient.
Being able to call it with a simple command is also a great advantage when you want to delegate Slack operations to an AI agent.
Additionally, there is the benefit that you no longer need to pass credentials such as tokens to the AI.
In this article, I'll summarize the steps from installing the Slack CLI to actually posting a message to a channel.
Prerequisites
As a prerequisite, you will need to have Node.js installed.
You will also need either a paid workspace or a free sandbox workspace that can be issued through the Slack Developer Program.
1. Install the Slack CLI
The installation steps differ depending on your OS. Please refer to the official guide.
2. Authenticate the CLI with your workspace
When you run slack login, a slash command starting with /slackauthticket will be displayed in the terminal.
$ slack login
Paste the displayed slash command into any channel or DM in the target workspace and send it. A modal will open for you to confirm permissions, and after approving it, a challenge code will be displayed.
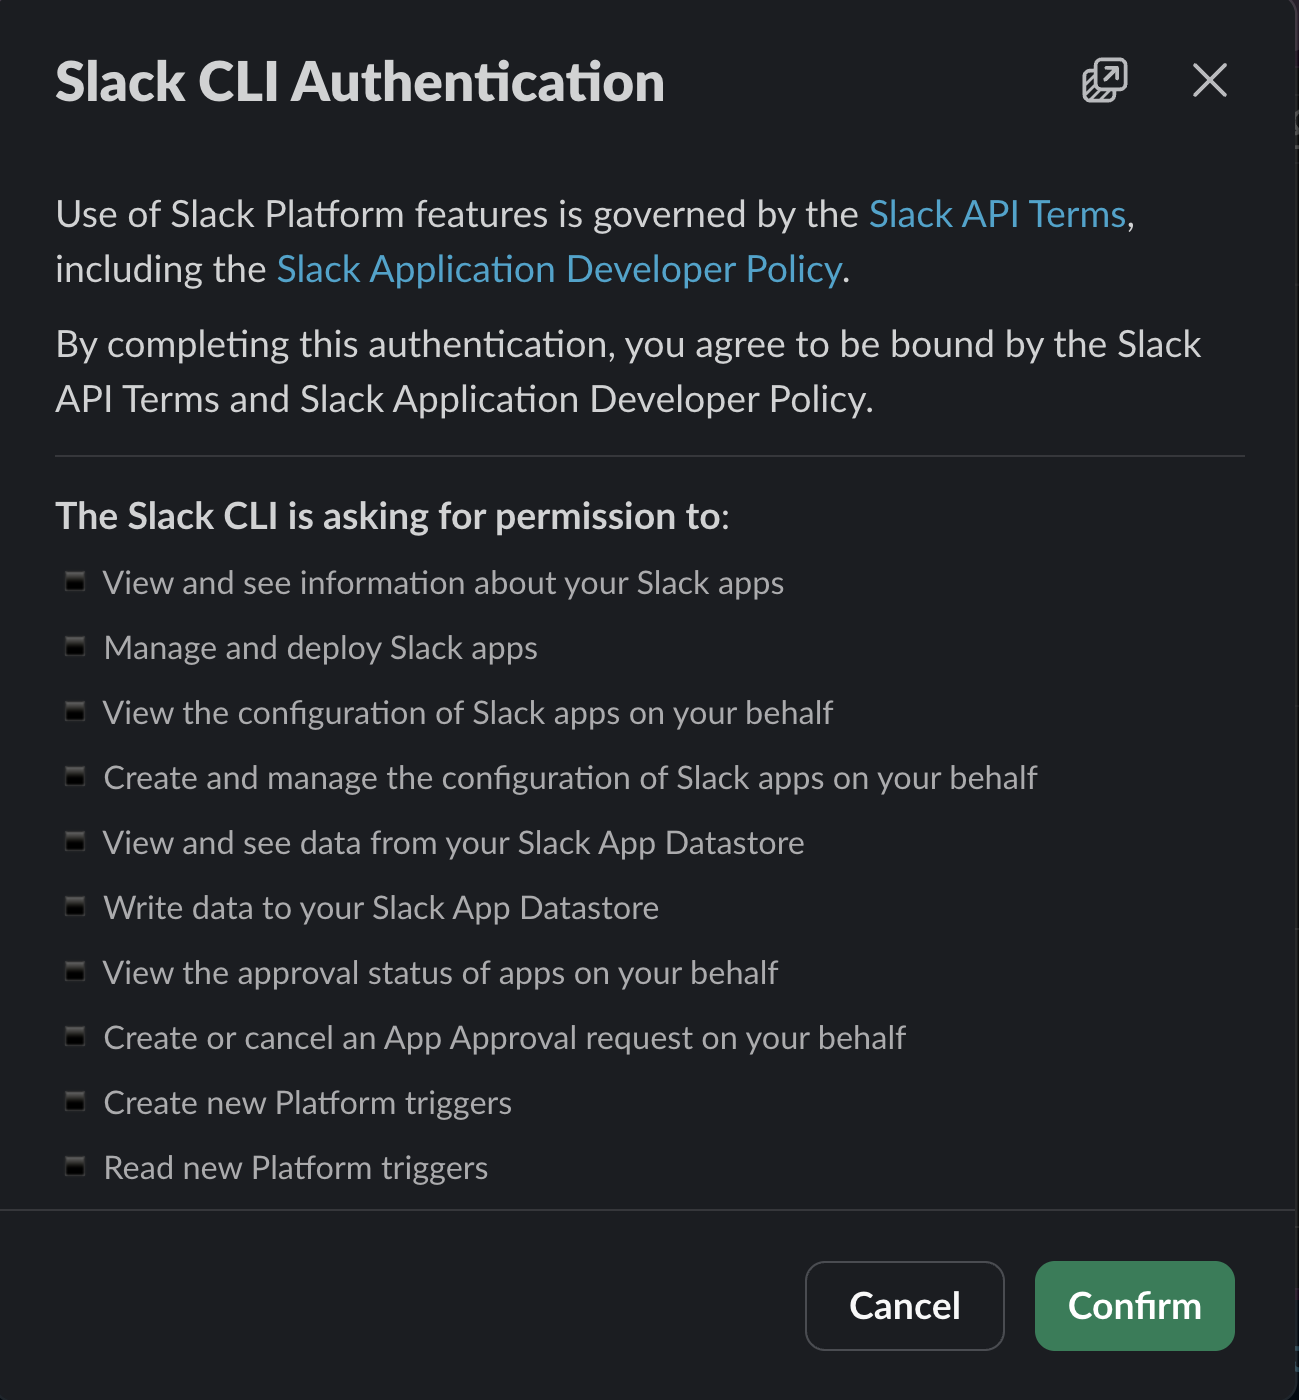
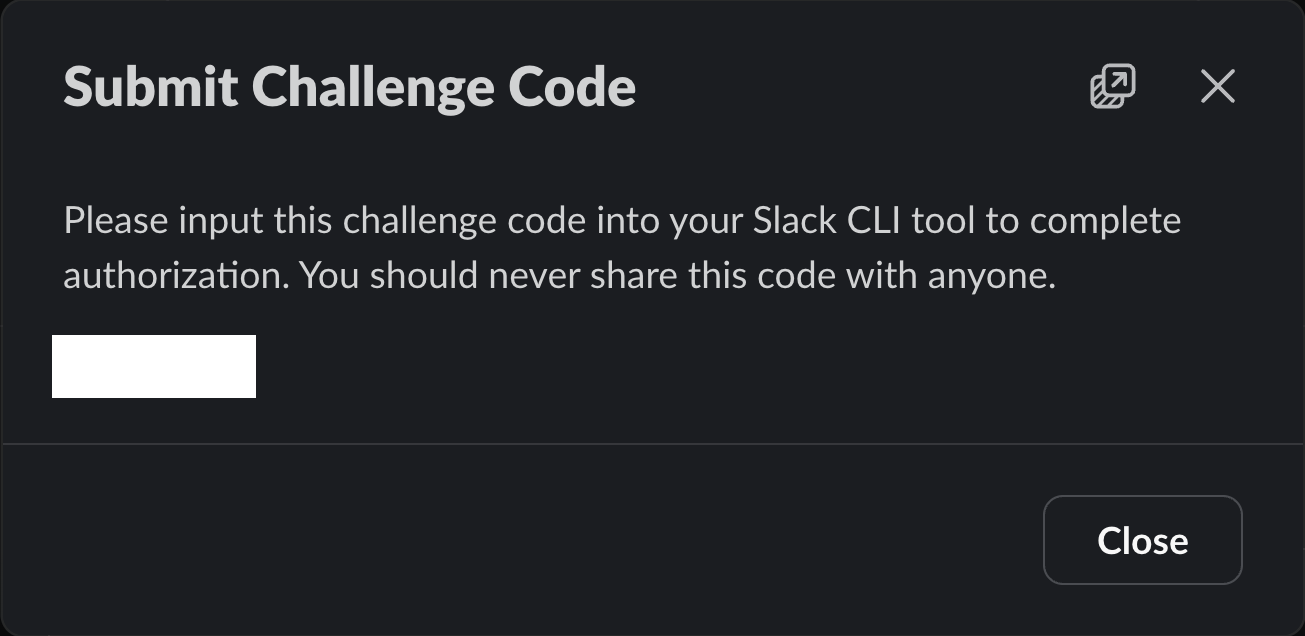
Paste the challenge code into the terminal to complete authentication. You can check authenticated accounts with slack auth list.
$ slack auth list
test-0828 (Team ID: XXXXXXXXXXXX)
User ID: XXXXXXXXXXX
Last Updated: 2026-08-28 20:40:14 +09:00
Authorization Level: Organization
3. Create an app
Run slack create with an app name as an argument. If omitted, one will be generated automatically.
$ slack create my-app
A prompt will appear asking you to choose the type of app to create. Select Starter App → Bolt for JavaScript.
4. Add scopes to the manifest
To skip inviting the bot to a channel, add chat:write.public to the scopes in manifest.json at the project root.
"oauth_config": {
  "scopes": {
    "bot": [
      "channels:history",
      "chat:write",
      "chat:write.public",
      "commands"
    ]
  }
}
5. Install to the workspace
Navigate to the project directory and run slack app install.
$ cd my-app
$ slack app install
Interactively, proceed through: Deployed → Create a new app → Select the team to install to → Select the workspace to grant access to.
Note that in the final grant step, if you select Organization instead of a specific workspace, the token may not be automatically resolved by the CLI.
6. Run chat.postMessage
Run the following command inside the project directory.
$ slack api chat.postMessage channel=C0123456789 text=test
A message will then be posted to the specified channel.

Summary
Once the initial setup is complete, you can call the Slack API with a very simple command.
This article focused mainly on the setup process, but next time I plan to introduce an advanced edition featuring convenient ways to use the Slack CLI that are unique to it. Stay tuned!