![[アップデート] Amazon Verified PermissionsのExpress.js統合ライブラリがリリース! #AWSreInforce](https://images.ctfassets.net/ct0aopd36mqt/wp-thumbnail-a951551bb44e2ee0ebdc3f6ed498b0c7/c397779f512906cf878f2da7fd9e4cfc/amazon-verified-permissions?w=3840&fm=webp)
[アップデート] Amazon Verified PermissionsのExpress.js統合ライブラリがリリース! #AWSreInforce
はじめに
こんにちは、コンサルティング部の神野です。
2025年6月17日、Amazon Verified Permissionsから@verifiedpermissions/authorization-clients-jsという新しいnpmパッケージがリリースされました。
このパッケージを使うと、Express.jsアプリケーションのAPI認可をわずか数分で実装できると謳っています。
直近のre:InforceのセッションでAmazon Verified Permissionsを使ったばかりで興味があったので試してみました。
そもそも認可を外部に切り出すと何がうれしいの?
まず、今回のアップデートの背景を理解するために、認可を外部に切り出すことについて少し整理してみたいと思います。
従来の埋め込み型認可の課題
従来のアプリケーション開発では、認可ロジックを直接アプリケーションコードに埋め込んでいました。またはフレームワークのmiddlewareなどでロジックを実装しているケースもあるかと思います。
例えばこんな感じです。
// 従来の埋め込み型認可
app.post('/pets', (req, res) => {
  // 認可ロジックがアプリケーションコードに埋め込まれている
  if (req.user.role === 'employee' || req.user.role === 'admin') {
    // ペットを作成する処理
  } else {
    res.status(403).send('Forbidden');
  }
});
最初はシンプルで良いのですが、アプリケーションが成長するにつれて以下のような課題が出てきます。
- 認可ロジックが複雑化し、コードの保守が困難に
- セキュリティ監査が大変
- 認可ルールの変更に伴う影響範囲が広い
外部に切り出すメリット
認可を外部に切り出して、これらの課題を解決を図ります。Amazon Verified Permissionでは、Cedarという言語を使って認可ポリシーを定義して認可を管理します。
// Cedarポリシーの例
permit (
  principal,
  action in [Action::"POST /pets"],
  resource
) when {
  principal.jobLevel = "employee"
};
独自言語ではあるものの直感的に書けてわかりやすそうなイメージですね。
また認可ルールを変更するときもアプリケーションコードを直接触ることがないのは良いポイントなのかなと思います。
今回のアップデートについて
本題の新パッケージについてです。@verifiedpermissions/authorization-clients-jsを使うと、
Express.jsアプリケーションとAmazon Verified Permissionsの統合が簡単になります。
公式ブログによると、カスタム統合と比較して最大90%のコード削減ができると書いてあるので試してみます。
自前で実装しなくて良いのは嬉しいアップデートかなと思います。
Pet Storeアプリケーションを作ってみる
それでは、実際にサンプルのPet Storeアプリケーションを使って実装してみましょう。
アプリケーション構成
今回作るアプリケーションの構成は以下のようになります。

- フロントエンド:React
- バックエンド:Express.js
- 認証:Amazon Cognito
- 認可:Amazon Verified Permissions
実装するAPIと認可ルール
Pet StoreアプリケーションのAPIは以下の5つです。
| API | 説明 |
|---|---|
| GET /api/pets | ペット一覧を取得 |
| GET /api/pets/{petId} | 特定のペットを取得 |
| POST /api/pets | ペットを追加 |
| PUT /api/pets/{petId} | ペットを更新 |
| DELETE /api/pets/{petId} | ペットを削除 |
そして、ユーザーグループごとのアクセス権限は以下のように設定します。
- Administrators: すべてのAPIにアクセス可能
- Employees: 削除以外のAPIにアクセス可能
- Customers: 参照と作成のみ可能
前提条件の準備
サンプルリポジトリが提供されているので、今回はサンプルを使用します。
まずクローンから始めます。
サンプルリポジトリのクローン
GitHubからサンプルコードをクローンします。
git clone https://github.com/verifiedpermissions/examples.git
cd examples/express-petstore
リポジトリにはstartフォルダとfinishフォルダがあります。startフォルダが今回実装していく初期状態のコードで、finishフォルダが完成版です。
cd start
インフラストラクチャのセットアップ
CognitoユーザープールとDynamoDBの準備をします。便利なセットアップスクリプトが含まれているので、これを実行します。
./scripts/setup-infrastructure.sh
実行すると、3人のユーザー(Admin、Employee、Customer)のパスワード設定を求められます。パスワードは8文字以上で、数字、大文字、小文字を含める必要があります。
Admin****
Employee****
Customer****

🚀 Cedar-Cognito Pet Store Infrastructure Setup
==============================================

ℹ️  Checking environment...
✅ Environment check passed.
ℹ️  Checking AWS CLI configuration...
✅ AWS CLI is properly configured.
ℹ️  Creating Cognito User Pool: PetStoreUserPool...
✅ Created User Pool: ap-northeast-1_XXXXXXXXX
✅ Created App Client: XXXXXXXXXXXXXXXXXXXXXXXXXX
ℹ️  Creating user group: administrator...
✅ Created group: administrator
ℹ️  Creating user group: employee...
✅ Created group: employee
ℹ️  Creating user group: customer...
✅ Created group: customer
✅ Cognito User Pool setup completed.
ℹ️  Creating test users...
Enter password for admin@example.com:
Enter password for employee@example.com:
Enter password for customer@example.com:
ℹ️  Creating user: admin@example.com in group administrator...
✅ Created user: admin@example.com with permanent password
✅ Added user admin@example.com to group administrator
ℹ️  Creating user: employee@example.com in group employee...
✅ Created user: employee@example.com with permanent password
✅ Added user employee@example.com to group employee
ℹ️  Creating user: customer@example.com in group customer...
✅ Created user: customer@example.com with permanent password
✅ Added user customer@example.com to group customer
✅ Test users created successfully.
ℹ️  Creating DynamoDB table: Pets...
✅ Created DynamoDB table: Pets
ℹ️  Seeding initial data...
✅ Seeded initial data into DynamoDB table.
ℹ️  Updating configuration files...
⚠️  Frontend environment file not found at ./frontend/.env.development. Creating new file...
✅ Frontend environment file created.
✅ All configuration files updated.

✅ Infrastructure setup completed successfully!

📋 Resource Summary:
  Region: ap-northeast-1
  Cognito User Pool ID: ap-northeast-1_XXXXXXXXX
  Cognito App Client ID: XXXXXXXXXXXXXXXXXXXXXXXXXX
  Cognito User Pool ARN: arn:aws:cognito-idp:ap-northeast-1:XXXXXXXXXXXX:userpool/ap-northeast-1_XXXXXXXXX
  DynamoDB Table: Pets

📝 Test Users:
  Admin: admin@example.com
  Employee: employee@example.com
  Customer: customer@example.com

🚀 Next Steps:
  1. Start the backend: ./run-backend-dev.sh
  2. Start the frontend: ./run-frontend-dev.sh
  3. Access the application at http://localhost:3001
スクリプトの実行が完了すると、以下の情報が出力されます。
- Cognito User Pool ID
- Cognito User Pool ARN
- Cognito Client ID
これらの情報は後の手順で使用するので、必ずメモしておいてください。
初期アプリケーションの動作確認(オプション)
認可を実装する前の状態を確認したい場合は、以下のコマンドで初期アプリケーションを起動できます。2つのターミナルを開いて、それぞれで実行してください。
# ターミナル1:バックエンドの起動
./scripts/run-backend-dev.sh

# ターミナル2:フロントエンドの起動
./scripts/run-frontend-dev.sh
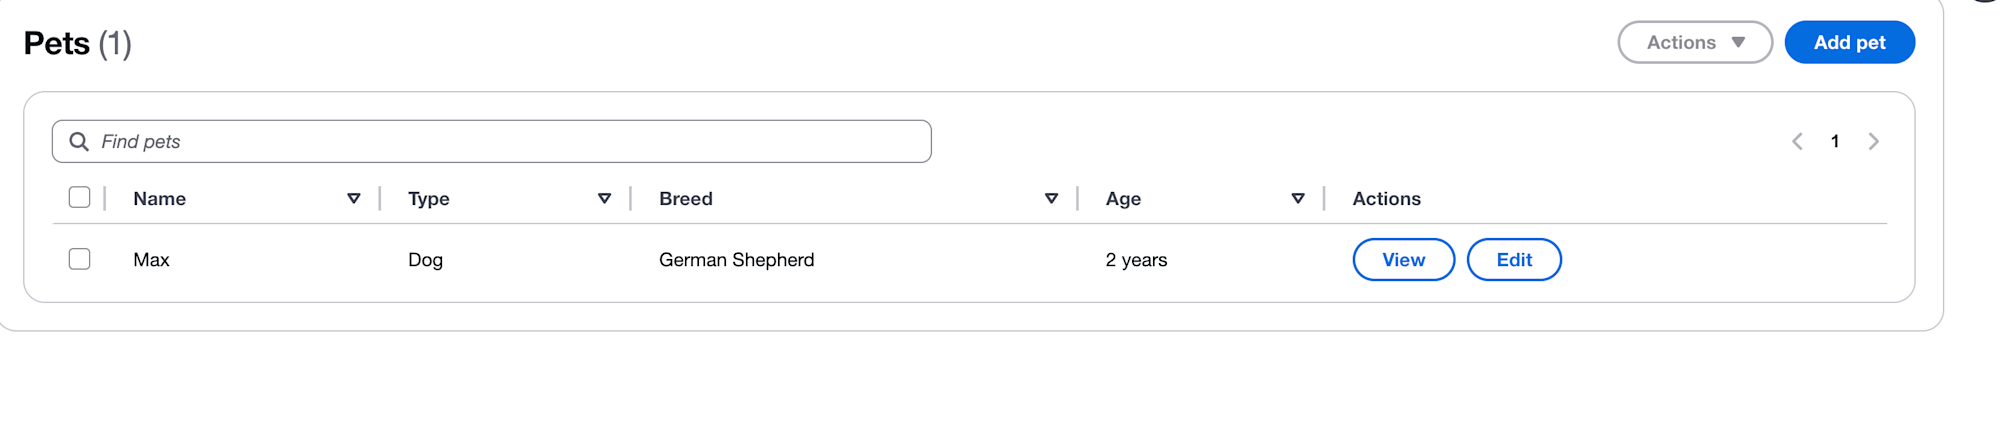
ブラウザで http://localhost:3001 にアクセスするとAWSのコンソール画面みたいなPet Store Dashboardが確認できます。
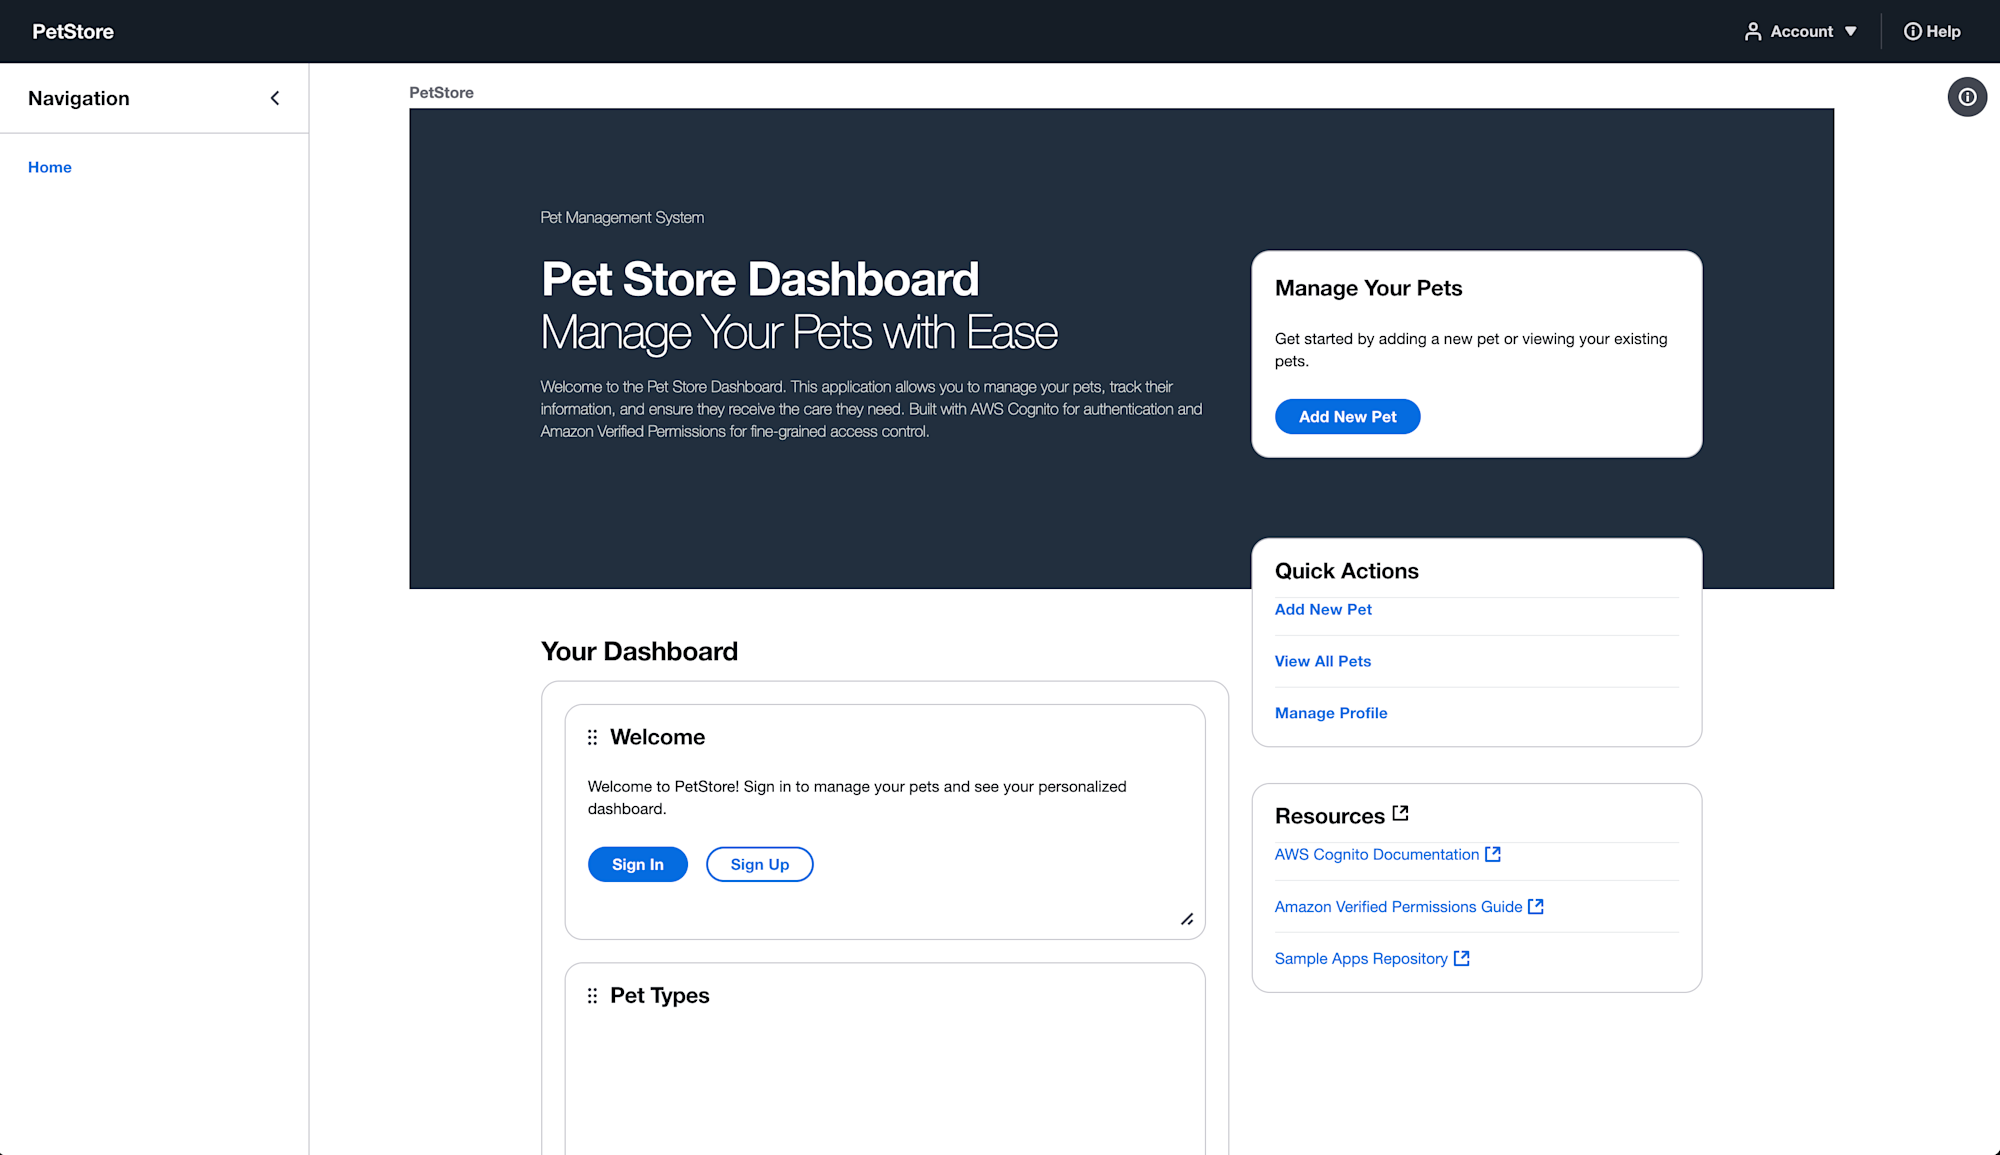
ログインボタンから任意のユーザーでログインするとペット一覧画面が確認できて追加や編集などのCRUD処理が可能です。

認可が実装されていない状態のアプリケーションを確認できます。誰でもすべての操作ができてしまう状態なのが分かると思います。
試しに可愛いしば犬を追加してみました。
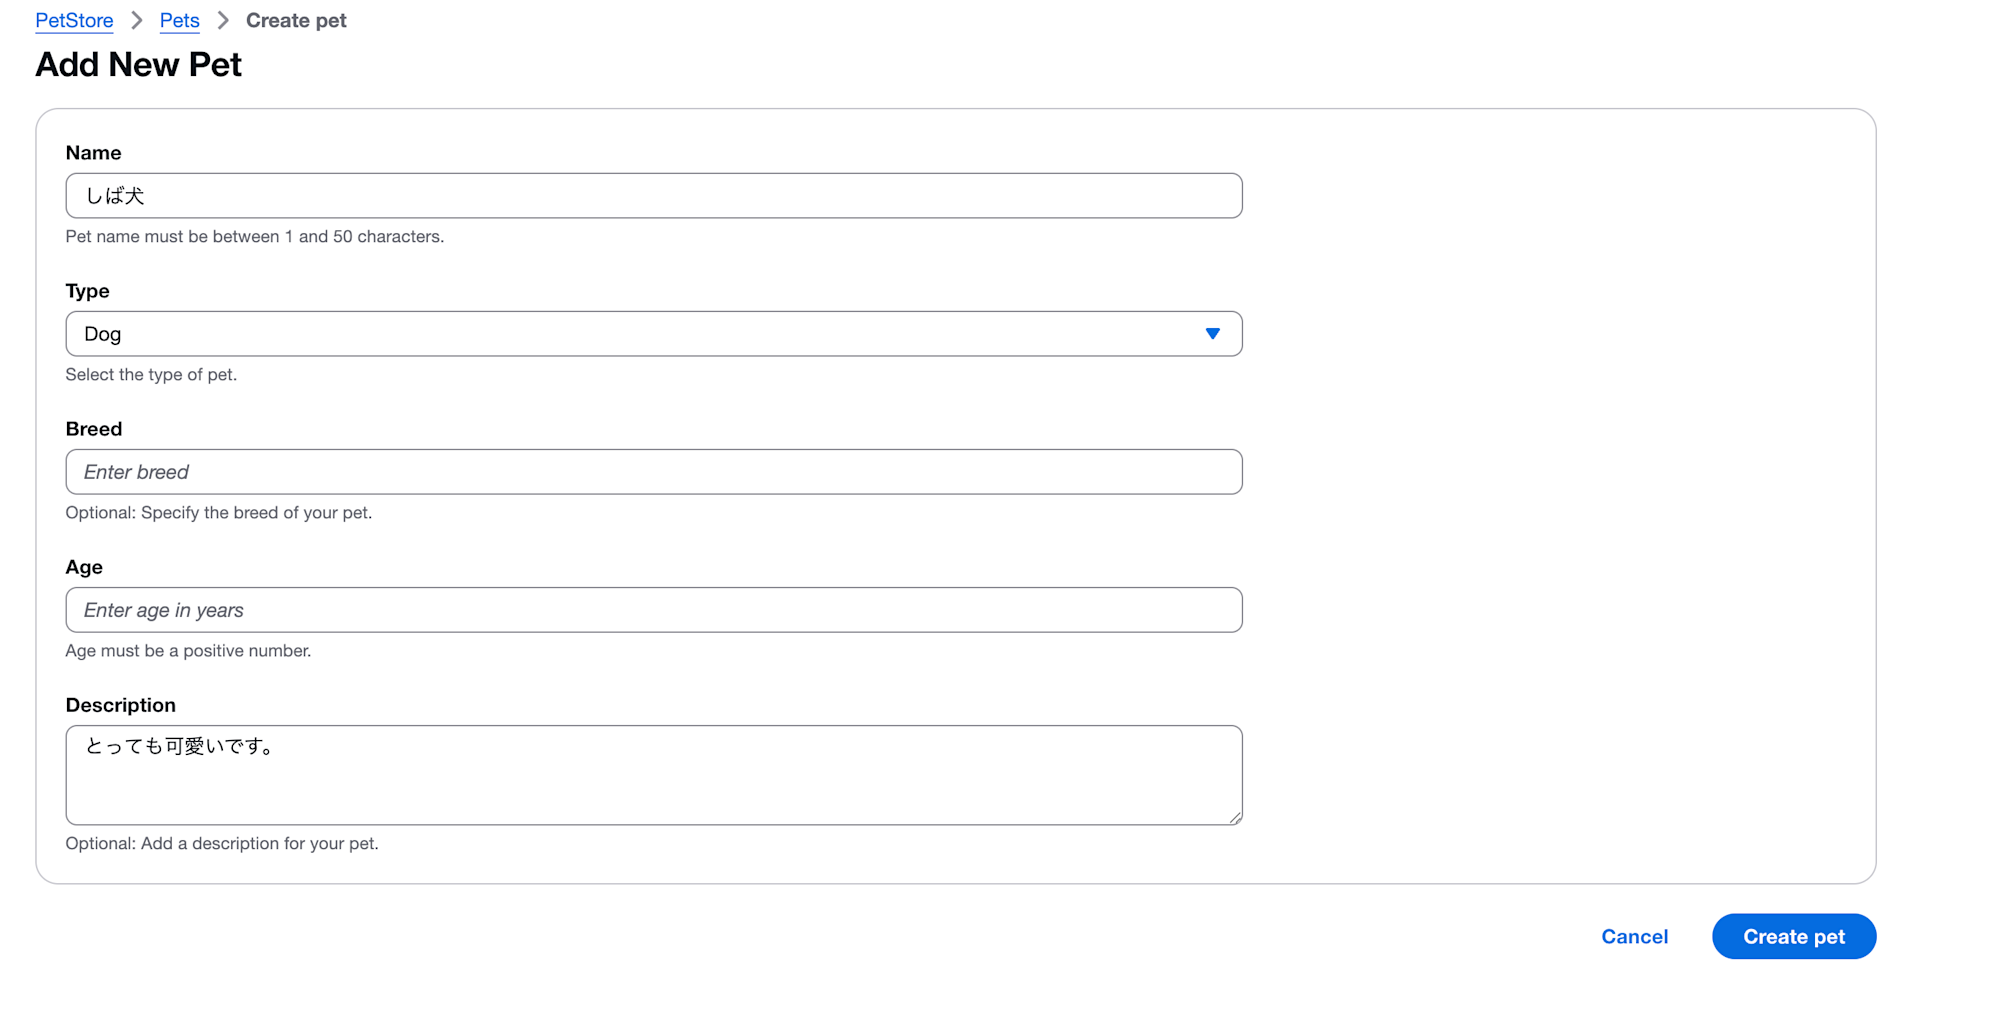
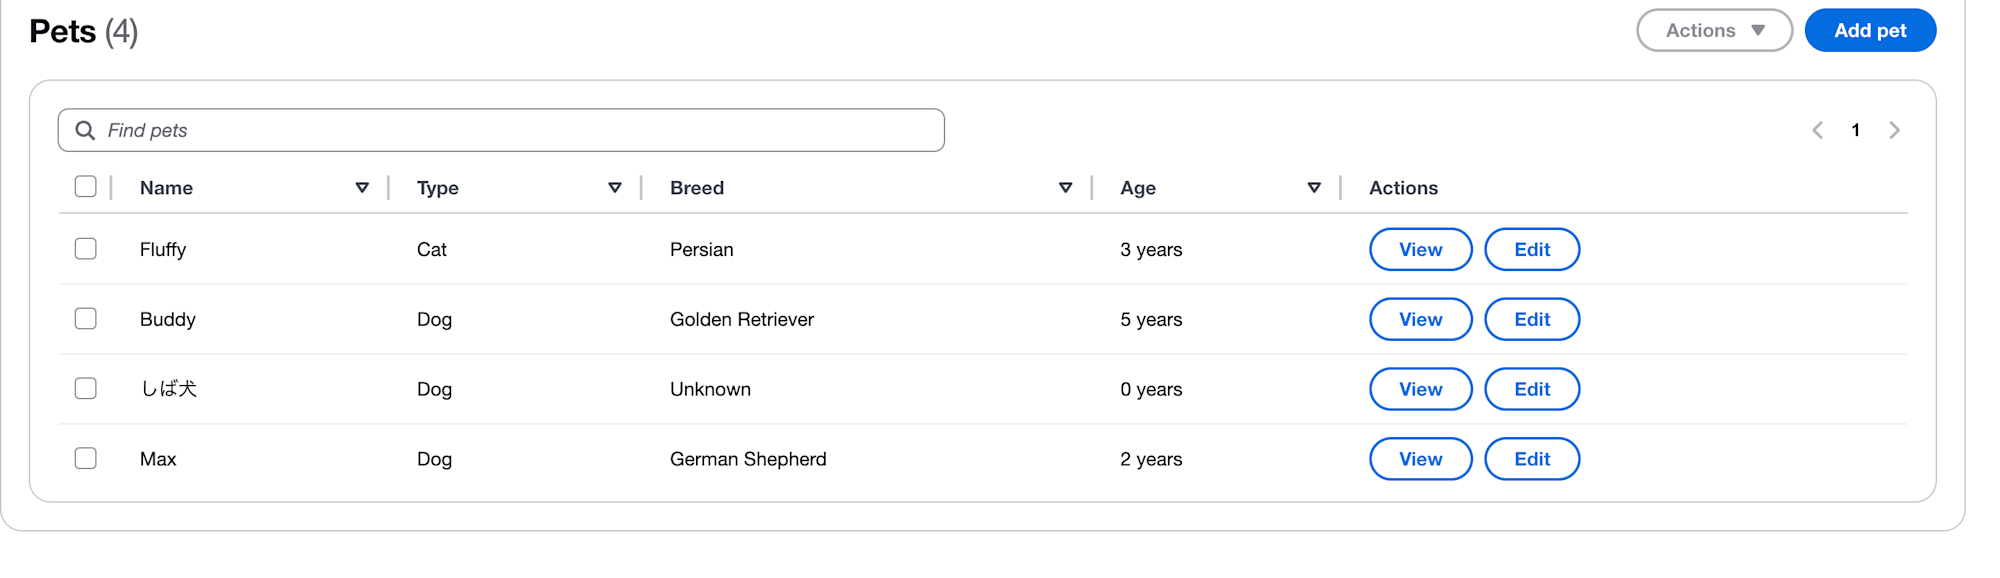
簡単に動作は確認できたので、Verfied Permissionsを統合していきます。
統合手順
それでは、実際にVerified Permissionsを統合していきましょう!以降の手順は、特に記載がない限り/start/backendディレクトリで実行します。
cd backend
1. ポリシーストアの作成
まずは、Verified Permissionsにポリシーストアを作成します。
aws verifiedpermissions create-policy-store --validation-settings "mode=STRICT"
以下のような出力が返ってきます。
{
    "policyStoreId": "XXXXXXXXXXXXXXXXXX",
    "arn": "arn:aws:verifiedpermissions::XXXXXXXXXXXX:policy-store/XXXXXXXXXXXXXXXXXX",
    "createdDate": "2025-06-05T19:30:37.896119+00:00",
    "lastUpdatedDate": "2025-06-05T19:30:37.896119+00:00"
}
出力されたpolicyStoreIdは後で使うので、メモしておきます。
2. 必要なパッケージのインストール
次に、必要なnpmパッケージをインストールします。
npm i --save @verifiedpermissions/authorization-clients-js
npm i --save @cedar-policy/authorization-for-expressjs
3. Cedarスキーマの生成とデプロイ
@cedar-policy/authorization-for-expressjsパッケージは、OpenAPIスキーマからCedarスキーマを自動生成してくれます。
npx @cedar-policy/cedar-authorization generate-schema --api-spec schemas/openapi.json --namespace PetStoreApp --mapping-type SimpleRest
このままだとエラーが出ます。openapi.jsonのserversセクションが相対パスだと動かないため、修正する必要があります。
まず、serversセクションを絶対URLに変更:
"servers": [
  {
    "url": "http://localhost:3000/api",
    "description": "API base path"
  }
]
そして、pathsセクションで"/api/pets"を全て"/pets"に変更(/apiを削除)します。
"paths": {
  "/pets": {
    "get": {
      "summary": "List all pets",
      // ...
    }
  },
  "/pets/{id}": {
    "get": {
      "summary": "Get a pet by ID",
      // ...
    }
  }
}
修正すると、問題なく実行可能となり以下のメッセージが表示されます。
Cedar schema successfully generated. Your schema files are named: v2.cedarschema.json, v4.cedarschema.json.
v2.cedarschema.json is compatible with Cedar 2.x and 3.x
v4.cedarschema.json is compatible with Cedar 4.x and required by the nodejs Cedar plugins.
生成されたスキーマをAWS CLIで使える形式に変換します。
../scripts/prepare-cedar-schema.sh v2.cedarschema.json v2.cedarschema.forAVP.json
変換したスキーマをVerified Permissionsにアップロードします(<policy-store-id>を実際のIDに置き換えてください)。
aws verifiedpermissions put-schema \
  --definition file://v2.cedarschema.forAVP.json \
  --policy-store-id <policy-store-id>
問題なく成功すると、下記出力がなされます。
{
    "policyStoreId": "XXXXXXXXXXXXXXXXXX",
    "namespaces": [
        "PetStoreApp"
    ],
    "createdDate": "2025-06-18T05:51:16.484394+00:00",
    "lastUpdatedDate": "2025-06-18T05:51:16.484394+00:00"
}
コンソールからも確認できます。
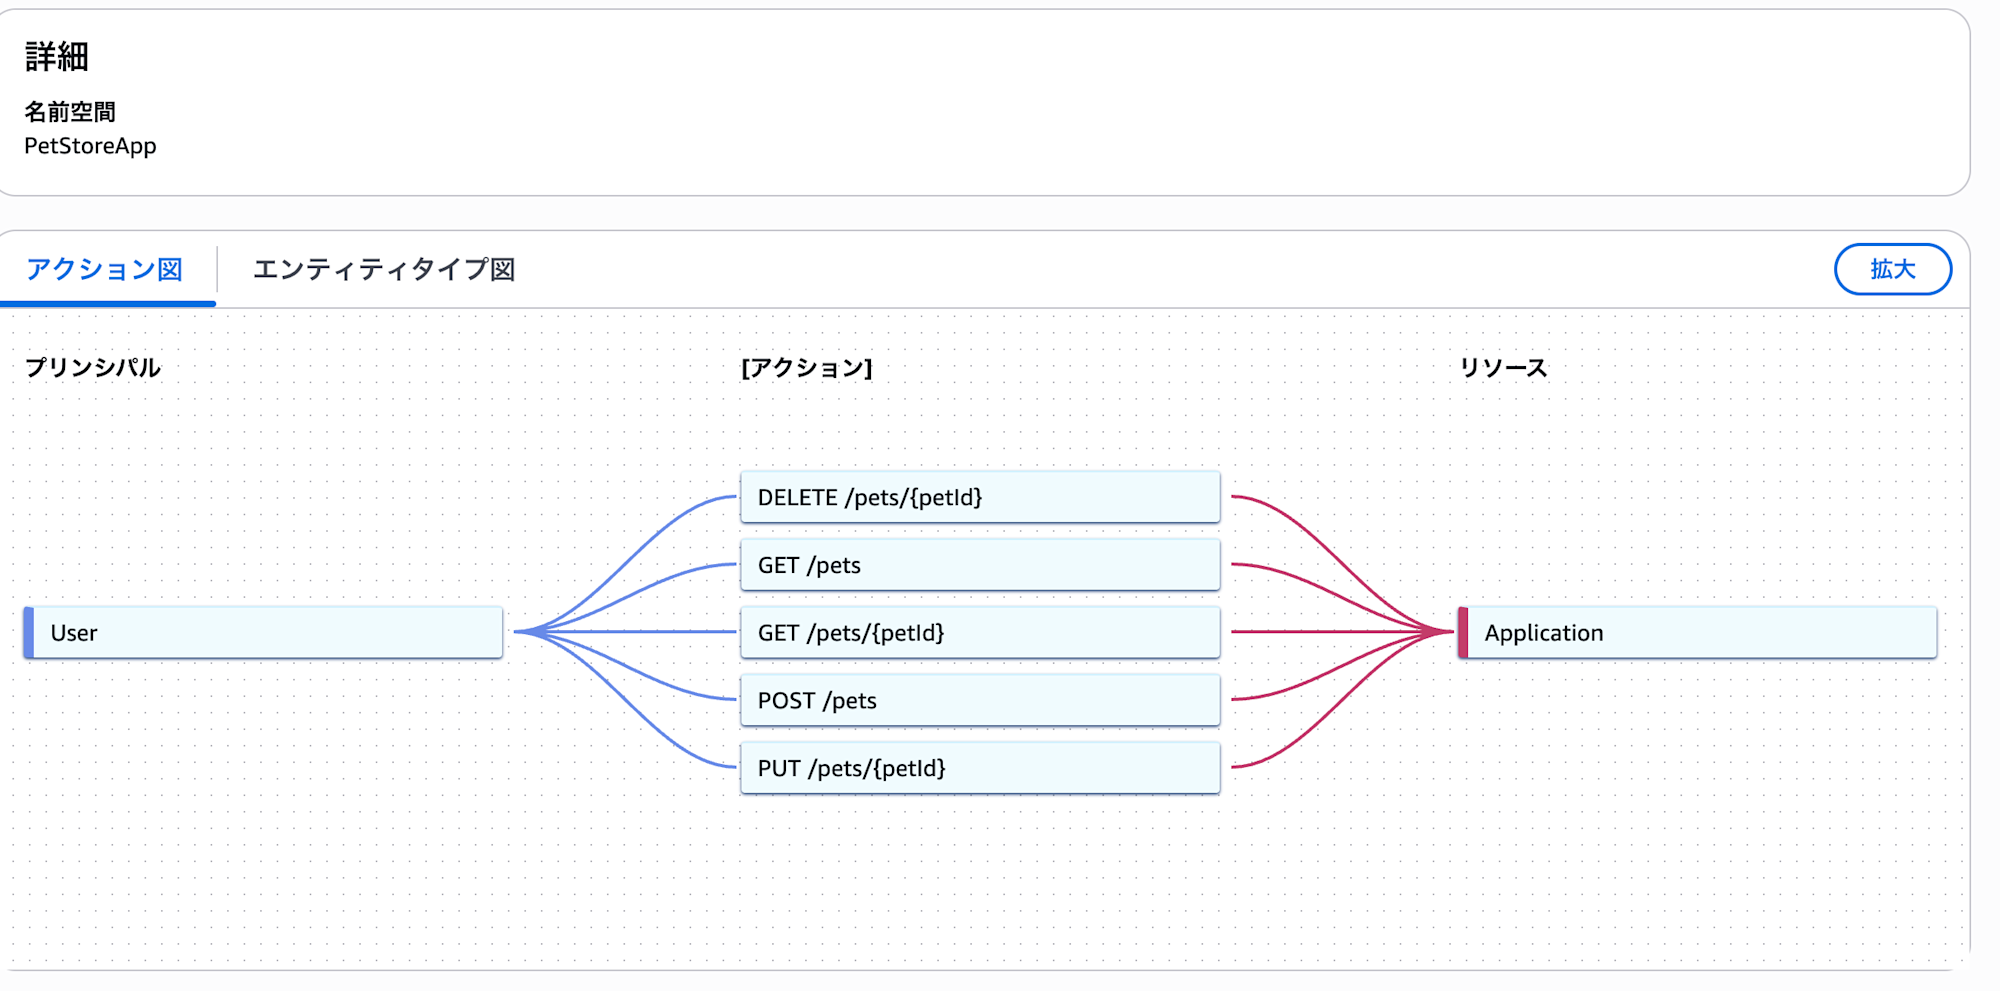
何やらそれっぽいスキーマが登録されていて面白いですね。
4. Cedarポリシーの作成とデプロイ
サンプルポリシーを生成します。
npx @cedar-policy/cedar-authorization generate-policies --schema v2.cedarschema.json
ここでエラーが発生する場合があります。生成されたスキーマファイルにrequiredフィールドが含まれているためです。これはCedar v2のスキーマ仕様ではサポートされていないフィールドです。
エラーが出た場合は、以下のPythonスクリプトを使用して修正します。
requiredを削除するだけのスクリプトです。もっといいやり方があるとは思うので、任意のやり方でrequiredセクションを消していただければと思います。
# fix_schema.py
import json

def remove_required_fields(obj):
    if isinstance(obj, dict):
        if 'required' in obj:
            del obj['required']
        for key, value in obj.items():
            remove_required_fields(value)
    elif isinstance(obj, list):
        for item in obj:
            remove_required_fields(item)
    return obj

# v2とv4の両方のスキーマファイルを修正
for filename in ['v2.cedarschema.json', 'v4.cedarschema.json']:
    with open(filename, 'r') as f:
        schema = json.load(f)
    remove_required_fields(schema)
    with open(filename, 'w') as f:
        json.dump(schema, f, indent=2)
    print(f"Fixed {filename}")
修正スクリプトを実行
python3 fix_schema.py
その後、再度ポリシー生成コマンドを実行
npx @cedar-policy/cedar-authorization generate-policies --schema v2.cedarschema.json
policiesディレクトリに2つのサンプルポリシーが生成されます。これらをベースに、以下の3つのポリシーファイルを作成します。
policy_1.cedarを以下の内容に書き換えます(<user-pool-id>は先ほどメモしたCognito User Pool IDに置き換えてください)。
// Defines permitted administrator user group actions
permit (
    principal in PetStoreApp::UserGroup::"<user-pool-id>|administrator",
    action,
    resource
);
policy_2.cedarを以下の内容に書き換えます。
// Defines permitted employee user group actions
permit (
    principal in PetStoreApp::UserGroup::"<user-pool-id>|employee",
    action in
        [PetStoreApp::Action::"GET /pets",
         PetStoreApp::Action::"POST /pets",
         PetStoreApp::Action::"GET /pets/{petId}",
         PetStoreApp::Action::"PUT /pets/{petId}"],
    resource
);
新たにpolicy_3.cedarを作成します。
// Defines permitted customer user group actions
permit (
    principal in PetStoreApp::UserGroup::"<user-pool-id>|customer",
    action in
        [PetStoreApp::Action::"GET /pets",
         PetStoreApp::Action::"POST /pets",
         PetStoreApp::Action::"GET /pets/{petId}"],
    resource
);
ポリシーをAWS CLI用の形式に変換します。
../scripts/convert_cedar_policies.sh
変換されたポリシーをVerified Permissionsにアップロードします(<policy-store-id>を実際のIDに置き換えてください)。
aws verifiedpermissions create-policy --definition file://policies/json/policy_1.json --policy-store-id <policy-store-id>
aws verifiedpermissions create-policy --definition file://policies/json/policy_2.json --policy-store-id <policy-store-id>
aws verifiedpermissions create-policy --definition file://policies/json/policy_3.json --policy-store-id <policy-store-id>
5. IDプロバイダーの接続
identity-source-configuration.txtファイルを作成し、以下の内容を記載します(<user-pool-arn>と<client-id>は先ほどメモした値に置き換えてください):
{
    "cognitoUserPoolConfiguration": {
        "userPoolArn": "<user-pool-arn>",
        "clientIds":["<client-id>"] ,
        "groupConfiguration": {
              "groupEntityType": "PetStoreApp::UserGroup"
        }
    }
}
Verified PermissionsとCognitoを接続します。
aws verifiedpermissions create-identity-source \
  --configuration file://identity-source-configuration.txt \
  --policy-store-id <policy-store-id> \
  --principal-entity-type PetStoreApp::User

{
    "createdDate": "2025-06-18T06:06:58.773069+00:00",
    "identitySourceId": "XXXXXXXXXXXXXXXXXX",
    "lastUpdatedDate": "2025-06-18T06:06:58.773069+00:00",
    "policyStoreId": "XXXXXXXXXXXXXXXXXX"
}
6. アプリケーションコードの更新
最後に、Express.jsアプリケーションにミドルウェアを追加します。backend/src/app.tsファイルを開き、importステートメントの直後(13行目あたり)に以下のコードを追加します。
policyStoreIdは実際の値に書き換えてください。
const fs = require('fs');
const path = require('path');
const { ExpressAuthorizationMiddleware } = require('@cedar-policy/authorization-for-expressjs');
const { AVPAuthorizationEngine } = require('@verifiedpermissions/authorization-clients-js');

const avpAuthorizationEngine = new AVPAuthorizationEngine({
    policyStoreId: '<policy-store-id>', // ここを実際のpolicyStoreIdに置き換え
    callType: 'identityToken'
});

const expressAuthorization = new ExpressAuthorizationMiddleware({
    schema: {
        type: 'jsonString',
        schema: fs.readFileSync(path.join(__dirname, '../v4.cedarschema.json'), 'utf8'),
    },
    authorizationEngine: avpAuthorizationEngine,
    principalConfiguration: { type: 'identityToken' },
    skippedEndpoints: [],
    logger: {
        debug: (s: any) => console.log(s),
        log: (s: any) => console.log(s),
    }
});
次に、// Configure security and performance middlewareというコメントの後にあるapp.use(...)ステートメントの最後(45行目あたり)に、以下の行を追加します:
app.use(expressAuthorization.middleware);
これで統合は完了です!
動作確認
実装が完了したら、動作を確認してみましょう。
2つのターミナルで以下のコマンドを実行してサーバーを起動します。
# backendディレクトリから移動
cd ..

# ターミナル1:バックエンドの起動
./scripts/run-backend-dev.sh

# ターミナル2:フロントエンドの起動
./scripts/run-frontend-dev.sh
ブラウザで http://localhost:3001 にアクセスし、各ユーザーでログインして動作を確認します。
- Administratorユーザーでログイン
- ✅ ペット一覧の表示
- ✅ ペットの作成
- ✅ ペットの更新
- ✅ ペットの削除
- Employeeユーザーでログイン
- ✅ ペット一覧の表示
- ✅ ペットの作成
- ✅ ペットの更新
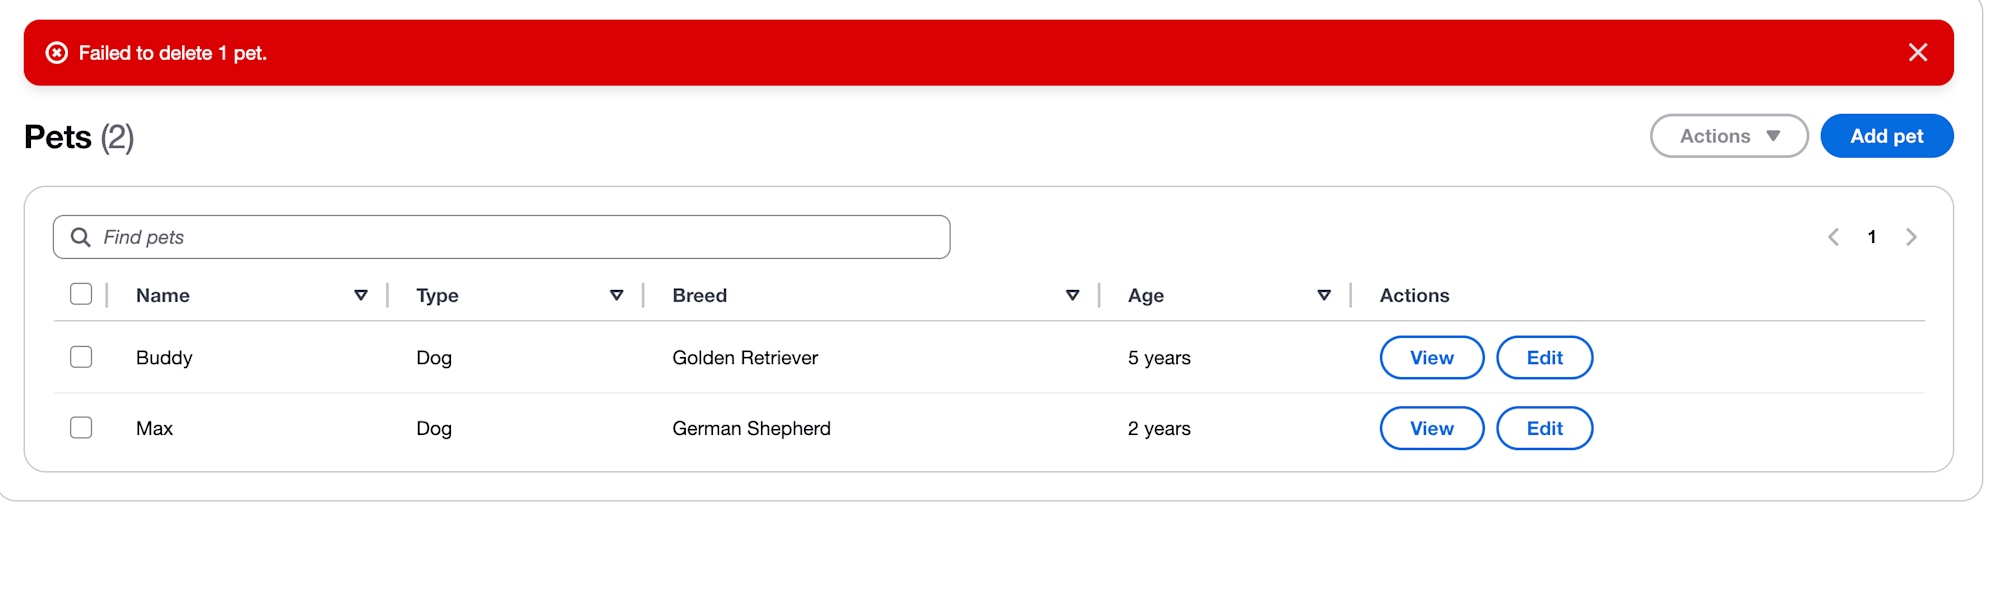
- ❌ ペットの削除(403エラー)
- Customerユーザーでログイン
- ✅ ペット一覧の表示
- ✅ ペットの作成
- ❌ ペットの更新(403エラー)
- ❌ ペットの削除(403エラー)
バックエンドのターミナルには、認可の結果がログとして出力されます。認可が拒否された場合は以下のようなメッセージが表示されます。
Authorization result: {"type":"deny"}
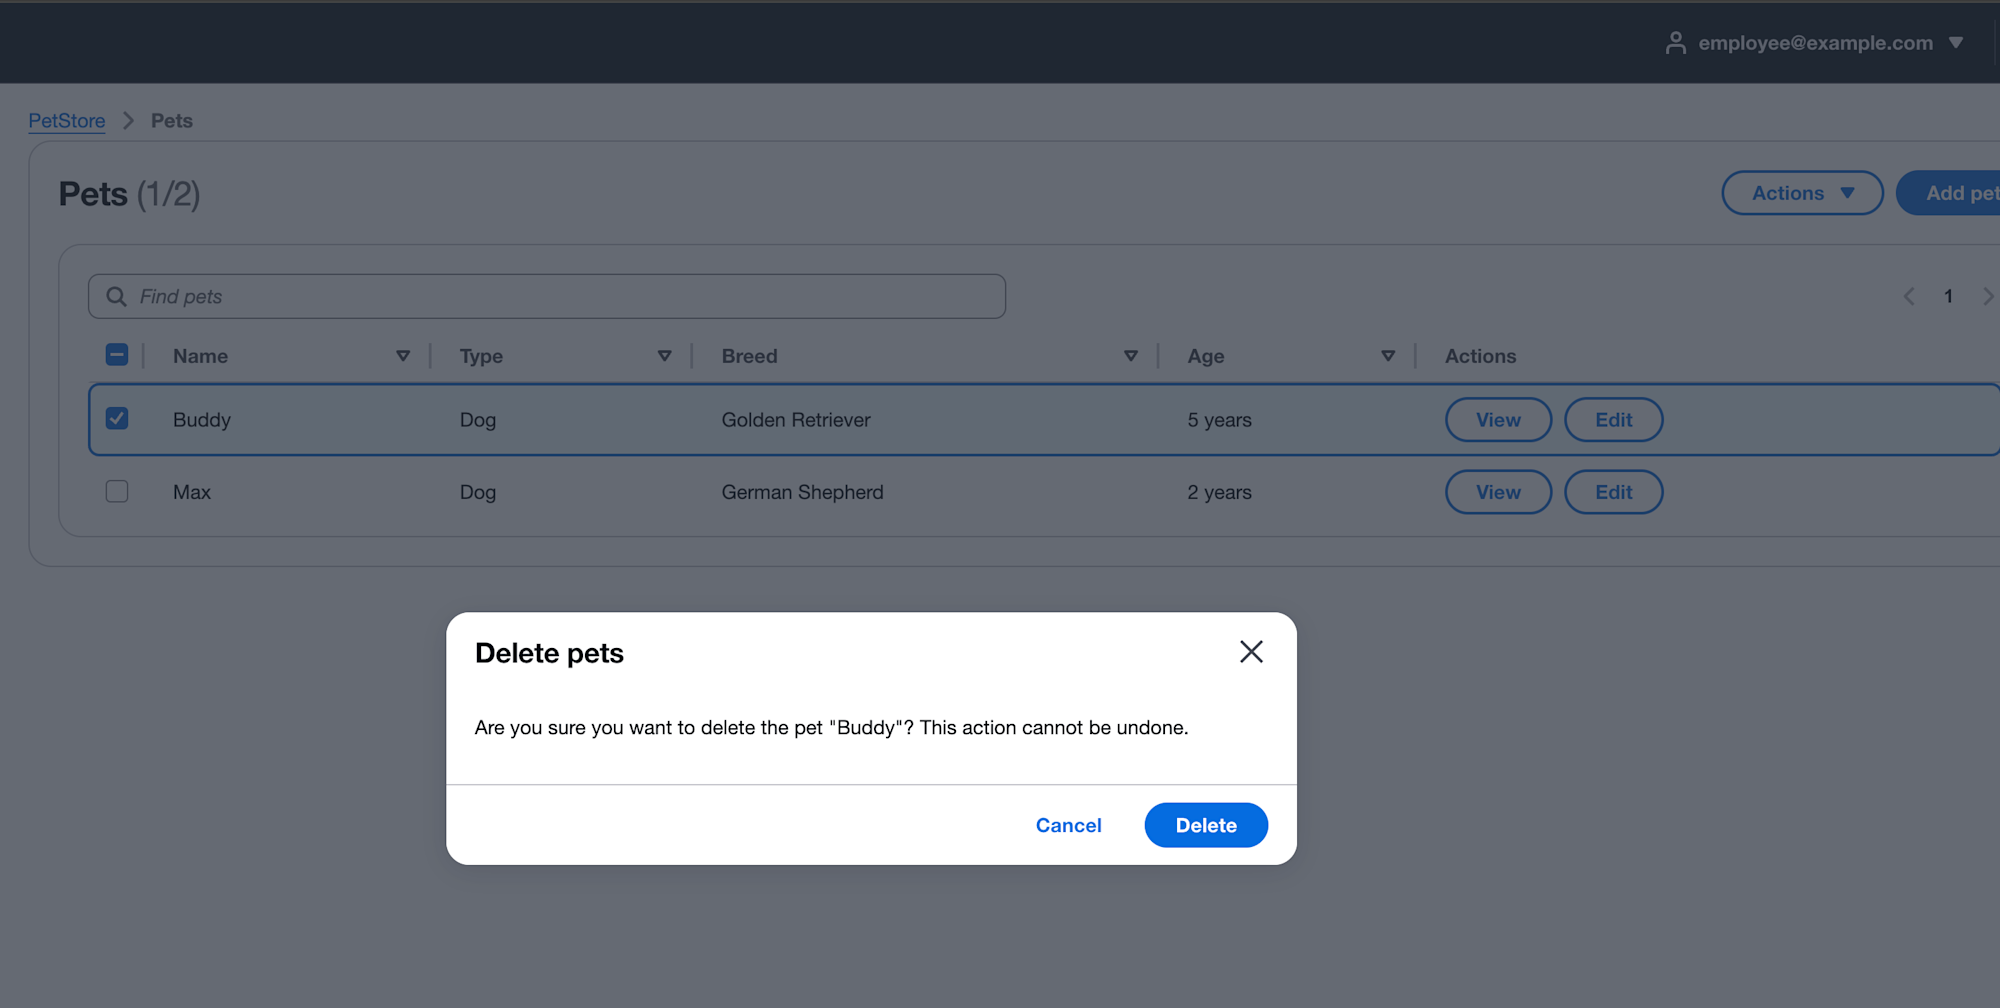
削除がわかりやすくのでそれぞれのユーザーでログインして削除処理してみましょう。
Customerユーザー


Employeeユーザー
Administratorユーザー
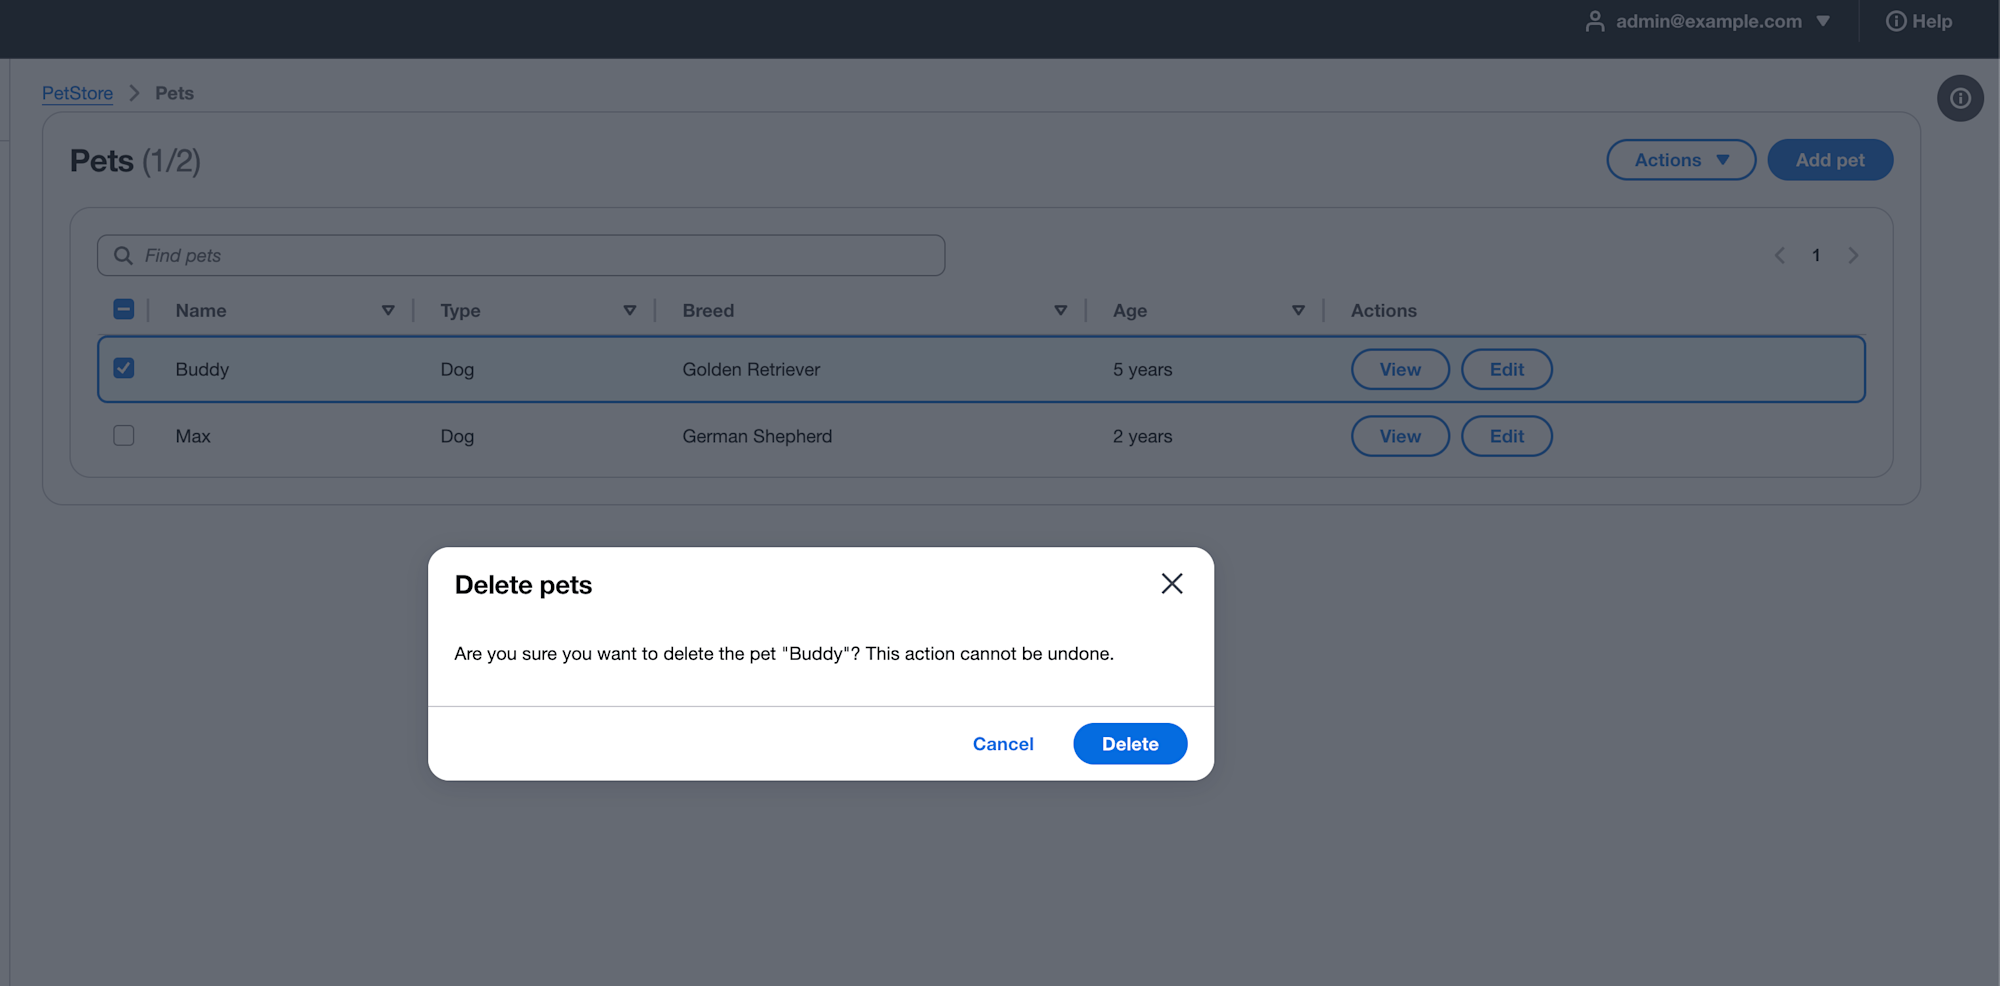
Administratorユーザーだけ無事削除できるよう権限制御されていますね!
認可の部分を外部にオフロードできて面白いですね!
おわりに
Amazon Verified PermissionsのExpress.js統合パッケージを試してみました。セットアップから実装まで行って、認可機能を実装できました。
現時点ではリリースされたばかりで、情報が整っていない部分や変換周りのツールでバグらしき挙動もあるため、動かすのに一手間かかりましたが、大きく難しいところはないように感じます。
OpenAPIスキーマからCedarスキーマを自動生成できる点や、認可ロジックをミドルウェアとして簡単に統合できる点も魅力的だと感じました。
現状はExpress.jsのみのサポートですが、HonoやFastifyなど他のWebフレームワークでも使えるようになったり、他言語でも似たようなライブラリが出てくることに期待したいですね!
今後もAmazon Verified Permissionsを試してみて、情報を発信していこうと思います。
早速明日はre:Inforceでもセッションがあるので楽しみです!
本記事が少しでも参考になりましたら幸いです!ありがとうございました!