
AWS Amplify Gen2でカスタムメッセージのLambdaトリガーを使用する
この記事は公開されてから1年以上経過しています。情報が古い可能性がありますので、ご注意ください。
はじめに
Amplify Gen 2 のデフォルト認証プロバイダーは Cognito ユーザープールが使われており、カスタムメッセージLambdaトリガーを使用することで、検証コードを送信する際に送るメールの内容を動的に変更することが可能です。
Amplifyの公式ドキュメントで実装方法が紹介されていたので、少しカスタマイズして実際に設定を行ってみます。
実装してみる
1. プロジェクトの作成
まずは、Next.jsを用いた簡易的なアプリケーションの作成とAmplify Gen2の初期設定を行います。
以下のコマンドを実行し、プロジェクトを作成します。
$ npx create-next-app@latest <任意のプロジェクト名>
Need to install the following packages:
create-next-app@14.2.9

$ cd <任意のプロジェクト名>
$ npm create amplify@latest
以下コマンドを実行し、ブラウザからlocalhost:3000でアプリケーションにアクセスできることを確認します。
$ npm run dev

> tmp@0.1.0 dev
> next dev

  ▲ Next.js 14.2.9
  - Local:        http://localhost:3000

 ✓ Starting...
2. 認証機能の追加
初期設定が終わったら、以下のドキュメントを参考に認証機能を追加します。
まず、@aws-amplify/ui-reactライブラリをインストールします。
$ npm add @aws-amplify/ui-react
次に、src/app/page.tsxを以下のように変更し、Authenticatorコンポーネントを追加します。
"use client";

import { Authenticator } from '@aws-amplify/ui-react';
import { Amplify } from 'aws-amplify';
import '@aws-amplify/ui-react/styles.css';
import outputs from "../../amplify_outputs.json";

Amplify.configure(outputs);

export default function App() {
  return (
    <Authenticator>
      {({ signOut, user }) => (
        <main>
          <h1>Hello {user?.username}</h1>
          <button onClick={signOut}>Sign out</button>
        </main>
      )}
    </Authenticator>
  );
}
ついでに、不要なCSSも削除しておきます。
- @tailwind base;
- @tailwind components;
- @tailwind utilities;

-:root {
-  --background: #ffffff;
-  --foreground: #171717;
-}
-
-@media (prefers-color-scheme: dark) {
-  :root {
-    --background: #0a0a0a;
-    --foreground: #ededed;
-  }
-}
-
-body {
-  color: var(--foreground);
-  background: var(--background);
-  font-family: Arial, Helvetica, sans-serif;
-}
-
-@layer utilities {
-  .text-balance {
-    text-wrap: balance;
-  }
-}
Authenticator コンポーネントをアプリに追加したら、サンドボックス環境を立ち上げて動作確認をします。
$ npx ampx sandbox
サインアップ後に問題なく画面が表示されればOKです。
3. カスタムメッセージのLambdaトリガーを追加
ドキュメントを参考にLambdaトリガーを追加します。
まず、@types/aws-lambdaハンドラーのタイプを定義するために使用するパッケージをインストールします。
$ npm add @types/aws-lambda
新しいディレクトリとリソース ファイルを作成します。
import { defineFunction } from '@aws-amplify/backend';

export const customMessage = defineFunction({
  name: "custom-message",
});
ハンドラーファイルを作成します。
ユーザー属性のlocaleに基づいて、動的にメッセージをカスタマイズします。
Lambdaトリガーのソースについては以下のドキュメントで確認できます。
今回はパスワードリセットのリクエストメールの内容をカスタマイズします。
event.triggerSourceをCustomMessage_ForgotPasswordにすることで、パスワードリセット時の送信内容を変更できます。
import type { CustomMessageTriggerHandler } from "aws-lambda";

export const handler: CustomMessageTriggerHandler = async (event) => {
  if (event.triggerSource === "CustomMessage_ForgotPassword") {
    const locale = event.request.userAttributes["locale"];
    if (locale === "en") {
      event.response.emailMessage = `Your new one-time code is ${event.request.codeParameter}`;
      event.response.emailSubject = "Reset my password";
    } else if (locale === "ja") {
      event.response.emailMessage = `新しいワンタイムコードは ${event.request.codeParameter} です`;
      event.response.emailSubject = "パスワードのリセット";
    }
  }

  return event;
};
最後にトリガーを設定します。
import { defineAuth } from '@aws-amplify/backend';
+ import { customMessage } from "./custom-message/resource";

/**
 * Define and configure your auth resource
 * @see https://docs.amplify.aws/gen2/build-a-backend/auth
 */
export const auth = defineAuth({
  loginWith: {
    email: true,
  },
+  triggers: {
+    customMessage,
+  },
});
4. ユーザー属性を追加する
ユーザー属性に基づいて、カスタムメッセージが送信されるため、ユーザー属性の追加設定を行います。
import { defineAuth } from '@aws-amplify/backend';
import { customMessage } from "./custom-message/resource";

/**
 * Define and configure your auth resource
 * @see https://docs.amplify.aws/gen2/build-a-backend/auth
 */
export const auth = defineAuth({
  loginWith: {
    email: true,
  },
  triggers: {
    customMessage,
-  }
+  },
+  userAttributes: {
+    locale: {
+      mutable: true,
+      required: true,
+    }
+  }
});
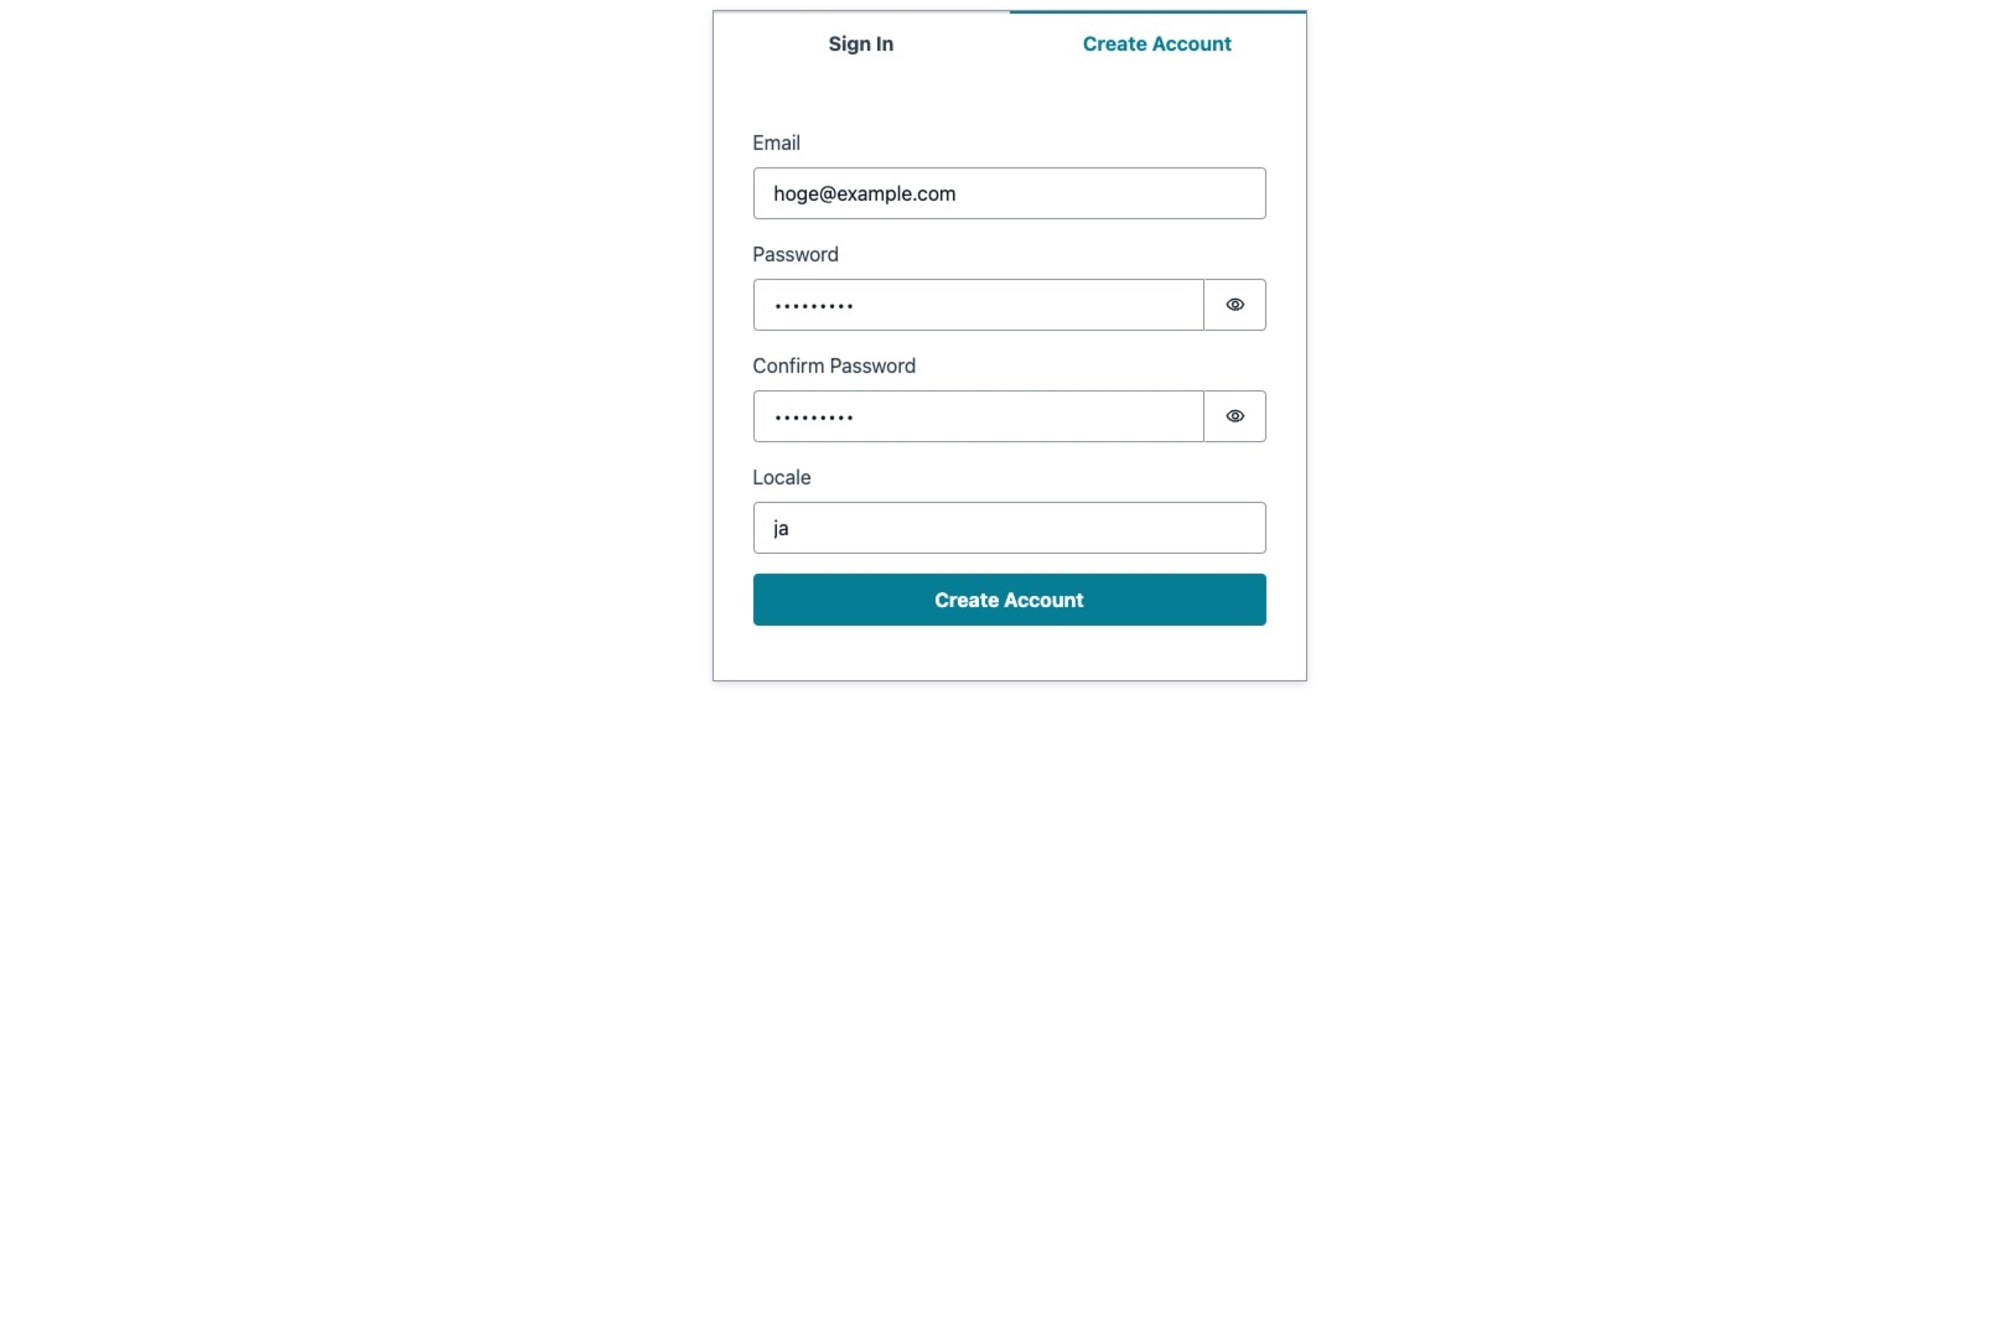
5. サインアップ画面をカスタマイズする
今回は簡易的な実装を行うため、サインアップ時にユーザーがlocaleを指定できる形にします。
以下のドキュメントを参考に、Authenticatorコンポーネントに変更を加えます。
"use client";

import { Authenticator } from '@aws-amplify/ui-react';
import { Amplify } from 'aws-amplify';
import '@aws-amplify/ui-react/styles.css';
import outputs from "../../amplify_outputs.json";

Amplify.configure(outputs);

export default function Home() {
+  const formFields = {
+    signUp: {
+      locale: {
+        label: 'Locale',
+        placeholder: 'Enter your locale',
+        isRequired: true,
+      }
+    }
+  };

  return (
-    <Authenticator>
+    <Authenticator signUpAttributes={[
+      'locale',
+    ]} formFields={formFields}>
      {({ signOut, user }) => (
        <main>
          <h1>Hello {user?.username}</h1>
          <button onClick={signOut}>Sign out</button>
        </main>
      )}
    </Authenticator>
  );
}
アカウント作成時にlocaleが設定できるようになっているはずなので、再度アカウントを作成します。
6. 動作確認
無事実装ができたので、実際にlocaleを変えて挙動を確認してみます。
locale = jaの場合


locale = enの場合


問題なくカスタムメッセージのLambdaトリガーが動作していることが確認できました。
まとめ
今回はCognitoのカスタムメッセージのLambdaトリガーをAmplify Gen2で使用してみました。
Amplifyを使うことで、必然的にDynamoDBやCognitoを触るきっかけにもなり勉強になっています。
本ブログがどなたかのお役に立てれば幸いです。


