
WindowsマシンでDocker Desktopを使用せずにDocker CLI実行環境を整備する方法
この記事は公開されてから1年以上経過しています。情報が古い可能性がありますので、ご注意ください。
こんちには。
データアナリティクス事業本部 機械学習チームの中村です。
今回は、ローカルのWindowsマシンでDocker DesktopなしにDocker CLI実行環境を整備する方法をご紹介します。
はじめに
前提として本記事の内容を実施すると、以下のようになりますのでその点にご注意ください。
- Windowsから直接dockerコマンドは実行できなくなり、WSL内からdockerコマンドを実行する必要がある。
- dockerコマンド実行時に頭にsudoを付けないといけなくなる可能性がある。
- 本記事では発生しなかったため未検証ですが、
sudo usermod -aG docker {ユーザ名}で対処可能なようです。 - 対処方法が記載されていた記事を、補足1に記述しています。
- 本記事では発生しなかったため未検証ですが、
- PC再起動時は、
sudo service docker startを起動する必要がある。- ※こちらも対処方法が記載されていた記事を、補足1に記述しています。
- 既にビルド済みのコンテナイメージおよび起動済みのコンテナインスタンスは破棄される可能性がある。
- コンテナ内でPyTorchやTensorFlow使用時に、GPUを使えなくなる可能性がある。
- ※こちらの対処については参考までですが、補足2に記載しています。
上記が問題ない方は、以降の手順をご覧いただければと思います。
手順
Docker Desktopをアンインストール
まずはともあれ、Docker Desktopをアンインストールします。
手順は特に不要だと思いますが、コントロールパネルからDocker Desktopを見つけてアンインストールします。

アンインストールが終わりましたら、念のためコマンドがないことを確認します。
>where docker
情報: 与えられたパターンのファイルが見つかりませんでした。

>
WSLのセットアップ
WSLをインストール済みの方はスキップしてOKですが、そうでない方はインストールします。
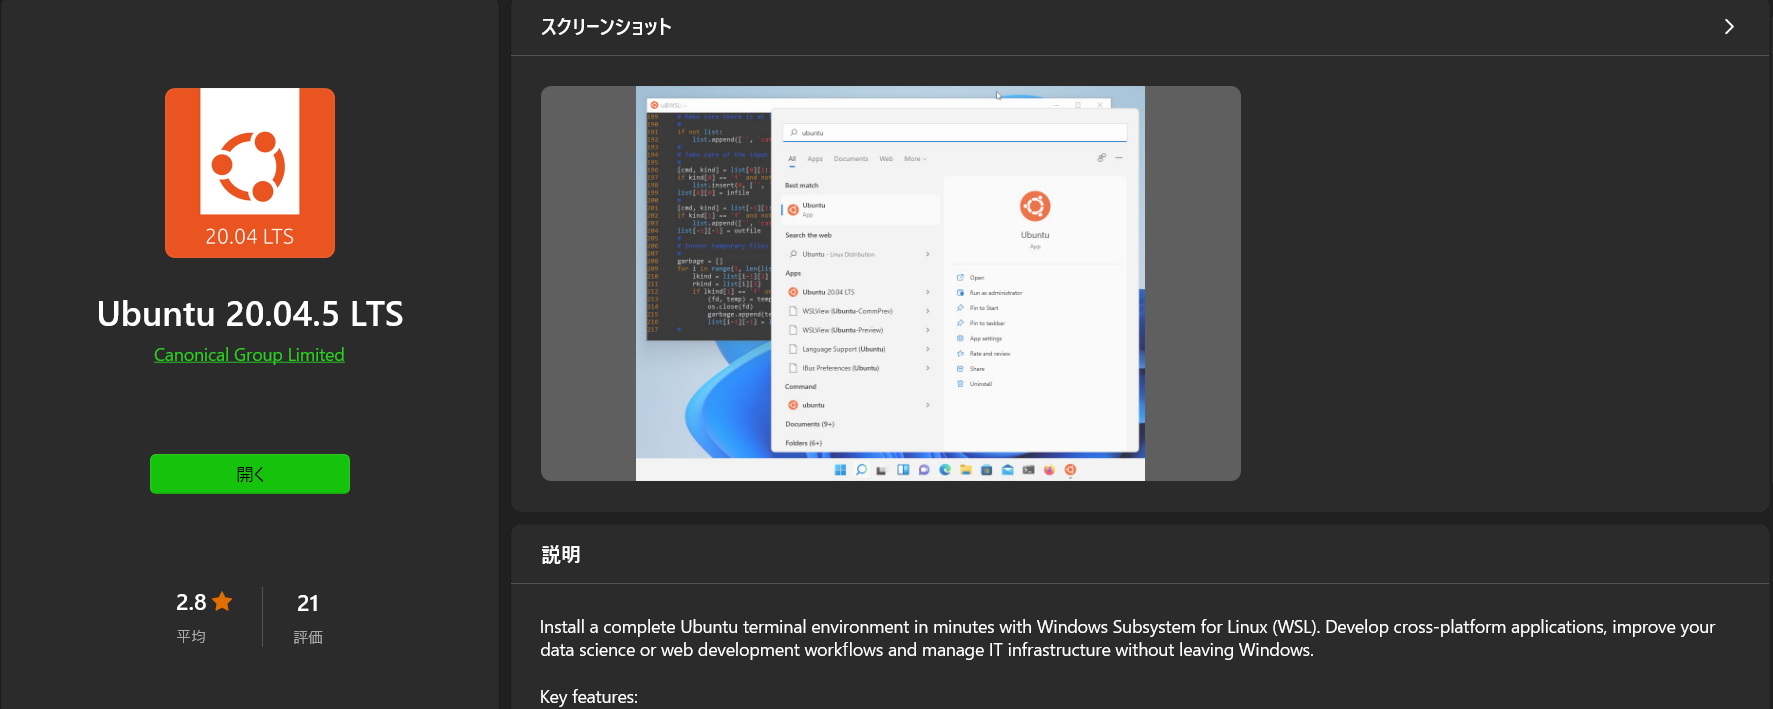
本記事では、Ubuntu 20.04.5 LTSをインストールしました。
インストール手順は公式の以下を参照ください。
この公式の手順を終えたら、Microsoft Storeから Ubuntu 20.04.5 LTSを選択してインストールします。
インストール後、開くボタンがあらわれるので起動をします。
WSLのバージョン変更
起動後、ターミナルが立ち上がりますが念のため、WSLのバージョンを確認します。
> wsl -l -v
  NAME            STATE           VERSION
* Ubuntu-20.04    Running         1
VERSIONが1になっていますので、一応2にしておきます。(1でも大丈夫かどうかまでは検証できていません)
> wsl --set-version Ubuntu-20.04 2
変換中です。この処理には数分かかることがあります...
WSL 2 との主な違いについては、https://aka.ms/wsl2 を参照してください
変換が完了しました。
デフォルトのバージョンも変更しておきます。
> wsl --set-default-version 2
WSL 2 との主な違いについては、https://aka.ms/wsl2 を参照してください
この操作を正しく終了しました。
WSLでの作業
以降はWSLのターミナルで作業していきます。
Docker CLIのインストール
基本的にはUbuntuにインストールする時と同様の手順です。
まずは古いパッケージをアンインストールします。
$ sudo apt-get remove docker docker-engine docker.io containerd runc
以下を実行して、リポジトリにアクセスするために必要なパッケージを入れます。
$ sudo apt-get update
$ sudo apt-get -y install ca-certificates curl gnupg lsb-release
以下を実行して、GPGキーを追加します。
$ sudo mkdir -p /etc/apt/keyrings
$ curl -fsSL https://download.docker.com/linux/ubuntu/gpg | \
sudo gpg --dearmor -o /etc/apt/keyrings/docker.gpg
以下を実行して、リポジトリを設定します。
$ echo "deb [arch=$(dpkg --print-architecture) signed-by=/etc/apt/keyrings/docker.gpg] \
https://download.docker.com/linux/ubuntu $(lsb_release -cs) stable" | \
sudo tee /etc/apt/sources.list.d/docker.list > /dev/null
再度updateをして、dockerのパッケージをインストールします。
$ sudo apt-get update
$ sudo apt-get install -y docker-ce docker-ce-cli containerd.io
Docker Compose用に以下も入れておきます。
$ sudo apt-get install -y docker-compose-plugin
Dockerデーモンの起動
以下で起動ができます。(ここはsudoが必要)
$ sudo service docker start
 * Starting Docker: docker                  [ OK ]
動作確認
Hello Worldコンテナを試しに起動してみます。無事に動作することを確認できました。
$ docker run hello-world
Unable to find image 'hello-world:latest' locally
latest: Pulling from library/hello-world
2db29710123e: Pull complete
Digest: sha256:e18f0a777aefabe047a671ab3ec3eed05414477c951ab1a6f352a06974245fe7
Status: Downloaded newer image for hello-world:latest

Hello from Docker!
This message shows that your installation appears to be working correctly.

To generate this message, Docker took the following steps:
 1. The Docker client contacted the Docker daemon.
 2. The Docker daemon pulled the "hello-world" image from the Docker Hub.
    (amd64)
 3. The Docker daemon created a new container from that image which runs the
    executable that produces the output you are currently reading.
 4. The Docker daemon streamed that output to the Docker client, which sent it
    to your terminal.

To try something more ambitious, you can run an Ubuntu container with:
 $ docker run -it ubuntu bash

Share images, automate workflows, and more with a free Docker ID:
 https://hub.docker.com/

For more examples and ideas, visit:
 https://docs.docker.com/get-started/
今回の環境の場合、sudoなしで最初から実行できましたが、dockerグループにユーザを追加すればsudoなしで実行できます。
$ sudo usermod -aG docker
おそらく、WSLとDocker Desktopをどういう順番でインストールしているかで若干アンインストール後の挙動が変わるのではと思います。
動作確認(Docker Compose側)
以下のようなdocker-compose.ymlファイルを作成します。
version: "3"
services:
  nginx-container:
    image: nginx:latest
以下でコンテナが起動できることが確認できました。
$ docker compose up
[+] Running 7/7
 ⠿ nginx-container Pulled                                                                               12.1s
   ⠿ e9995326b091 Pull complete                                                                          7.4s
   ⠿ 71689475aec2 Pull complete                                                                          7.8s
   ⠿ f88a23025338 Pull complete                                                                          7.9s
   ⠿ 0df440342e26 Pull complete                                                                          7.9s
   ⠿ eef26ceb3309 Pull complete                                                                          7.9s
   ⠿ 8e3ed6a9e43a Pull complete                                                                          8.0s
[+] Running 2/2
 ⠿ Network nakamura_default              Created                                                         0.8s
 ⠿ Container nakamura-nginx-container-1  Created                                                         0.2s
Attaching to nakamura-nginx-container-1
nakamura-nginx-container-1  | /docker-entrypoint.sh: /docker-entrypoint.d/ is not empty, will attempt to perform configuration
nakamura-nginx-container-1  | /docker-entrypoint.sh: Looking for shell scripts in /docker-entrypoint.d/
nakamura-nginx-container-1  | /docker-entrypoint.sh: Launching /docker-entrypoint.d/10-listen-on-ipv6-by-default.sh
nakamura-nginx-container-1  | 10-listen-on-ipv6-by-default.sh: info: Getting the checksum of /etc/nginx/conf.d/default.conf
nakamura-nginx-container-1  | 10-listen-on-ipv6-by-default.sh: info: Enabled listen on IPv6 in /etc/nginx/conf.d/default.conf
nakamura-nginx-container-1  | /docker-entrypoint.sh: Launching /docker-entrypoint.d/20-envsubst-on-templates.sh
nakamura-nginx-container-1  | /docker-entrypoint.sh: Launching /docker-entrypoint.d/30-tune-worker-processes.sh
nakamura-nginx-container-1  | /docker-entrypoint.sh: Configuration complete; ready for start up
nakamura-nginx-container-1  | 2022/10/29 11:34:54 [notice] 1#1: using the "epoll" event method
nakamura-nginx-container-1  | 2022/10/29 11:34:54 [notice] 1#1: nginx/1.23.2
nakamura-nginx-container-1  | 2022/10/29 11:34:54 [notice] 1#1: built by gcc 10.2.1 20210110 (Debian 10.2.1-6)
nakamura-nginx-container-1  | 2022/10/29 11:34:54 [notice] 1#1: OS: Linux 5.10.16.3-microsoft-standard-WSL2
nakamura-nginx-container-1  | 2022/10/29 11:34:54 [notice] 1#1: getrlimit(RLIMIT_NOFILE): 1048576:1048576
nakamura-nginx-container-1  | 2022/10/29 11:34:54 [notice] 1#1: start worker processes
nakamura-nginx-container-1  | 2022/10/29 11:34:54 [notice] 1#1: start worker process 29
nakamura-nginx-container-1  | 2022/10/29 11:34:54 [notice] 1#1: start worker process 30
nakamura-nginx-container-1  | 2022/10/29 11:34:54 [notice] 1#1: start worker process 31
nakamura-nginx-container-1  | 2022/10/29 11:34:54 [notice] 1#1: start worker process 32
nakamura-nginx-container-1  | 2022/10/29 11:34:54 [notice] 1#1: start worker process 33
nakamura-nginx-container-1  | 2022/10/29 11:34:54 [notice] 1#1: start worker process 34
nakamura-nginx-container-1  | 2022/10/29 11:34:54 [notice] 1#1: start worker process 35
nakamura-nginx-container-1  | 2022/10/29 11:34:54 [notice] 1#1: start worker process 36
...
補足1:その他の設定
sudoを付けたくないのにつけないと実行できない場合や、service docker startを毎回実行するが手間な場合の対処は以下の参考記事をご覧ください。
補足2:GPU対応について
以下のNVIDIAのページで手順は示してありますが、手元でマシンがなく検証できませんでしたので参考までに記載しておきます。
まとめ
いかがでしたでしょうか。
この記事がDocker環境の構築で悩まれている方の参考になれば幸いです。


