Amazon EMR の入門チュートリアルをやってみた
2025.11.05
Amazon EMR に対して知見がなかったため、まずは触ってみようということでこちらのチュートリアルを実施しました。
ざっくりまとめ
- 所要時間:30分程度
- 使用するサービス:Amazon S3, Amazon EMR
- 必要な作業:Amazon S3 バケットの作成、Amazon EMR クラスターの作成
事前準備
S3 バケットを作成する
アプリケーションと入力データをアップロードするための S3 バケットを作成します。
aws s3api create-bucket
    --bucket <bucket-name>
    --region ap-northeast-1
    --create-bucket-configuration LocationConstraint=ap-northeast-1
アプリケーションを準備する
先程作成した S3 バケットにサンプルスクリプト(health_violations.py)とサンプル入力データ(food_establishment_data.csv)をアップロードします。
- health_violations.py
import argparse

from pyspark.sql import SparkSession

def calculate_red_violations(data_source, output_uri):
    """
    Processes sample food establishment inspection data and queries the data to find the top 10 establishments
    with the most Red violations from 2006 to 2020.

    :param data_source: The URI of your food establishment data CSV, such as 's3://amzn-s3-demo-bucket/food-establishment-data.csv'.
    :param output_uri: The URI where output is written, such as 's3://amzn-s3-demo-bucket/restaurant_violation_results'.
    """
    with SparkSession.builder.appName("Calculate Red Health Violations").getOrCreate() as spark:
        # Load the restaurant violation CSV data
        if data_source is not None:
            restaurants_df = spark.read.option("header", "true").csv(data_source)

        # Create an in-memory DataFrame to query
        restaurants_df.createOrReplaceTempView("restaurant_violations")

        # Create a DataFrame of the top 10 restaurants with the most Red violations
        top_red_violation_restaurants = spark.sql("""SELECT name, count(*) AS total_red_violations
          FROM restaurant_violations
          WHERE violation_type = 'RED'
          GROUP BY name
          ORDER BY total_red_violations DESC LIMIT 10""")

        # Write the results to the specified output URI
        top_red_violation_restaurants.write.option("header", "true").mode("overwrite").csv(output_uri)

if __name__ == "__main__":
    parser = argparse.ArgumentParser()
    parser.add_argument(
        '--data_source', help="The URI for you CSV restaurant data, like an S3 bucket location.")
    parser.add_argument(
        '--output_uri', help="The URI where output is saved, like an S3 bucket location.")
    args = parser.parse_args()

    calculate_red_violations(args.data_source, args.output_uri)
- food_establishment_data.csv
food_establishment_data.zip からサンプル入力データをダウンロードします。
ステップ 1: Amazon EMR クラスターを起動する
[クラスター名] と [クラスターログ] 以外の項目は、デフォルトの設定のまま作成しています。

[クラスターログ] で、「s3://事前準備で作成した S3 バケット/logs」を指定します。

クラスターを作成し、[ステータス] が「待機中」になったことを確認できたら、次のステップに進みます。

ステップ 2: 作業を Amazon EMR クラスターに送信する
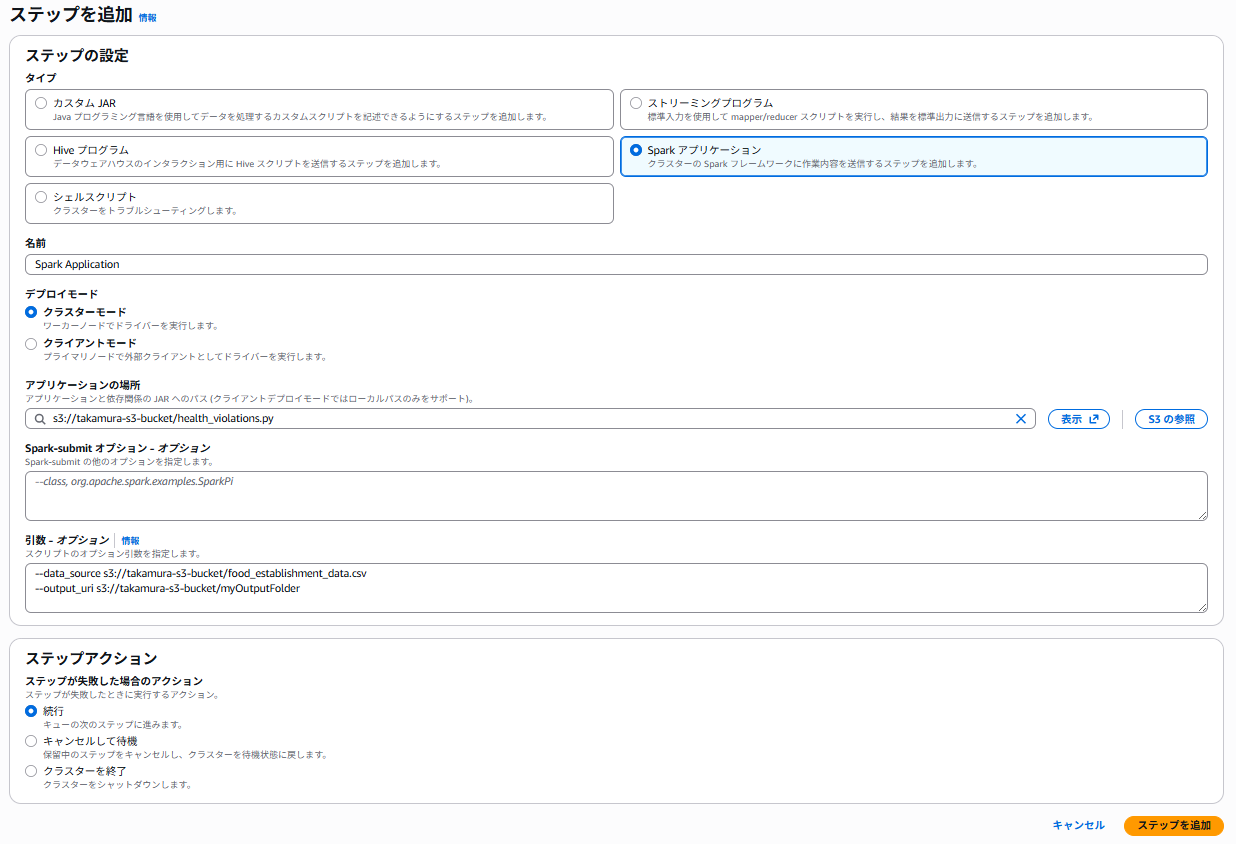
ステップを追加する
ステップとは、Amazon EMR クラスター上で実行される作業単位です。データ処理ジョブを定義します。
下記の設定でステップを追加します。
- [タイプ]:Spark アプリケーション
- [名前]:任意の名前
- [デプロイモード]:クラスターモード
- [アプリケーションの場所]:s3://事前準備で作成した S3 バケット/health_violations.py
- [Spark-submit オプション]:空欄
- [引数]:下記の引数と値を入力します。
--data_source s3://事前準備で作成した S3 バケット/food_establishment_data.csv
--output_uri s3://事前準備で作成した S3 バケット/myOutputFolder
- [ステップが失敗した場合のアクション]:続行
結果を表示する
先程 --output_uri で指定した出力フォルダ(例:myOutputFolder)を開き、part- で始まる CSV ファイルをダウンロードし、任意のエディターで開きます。
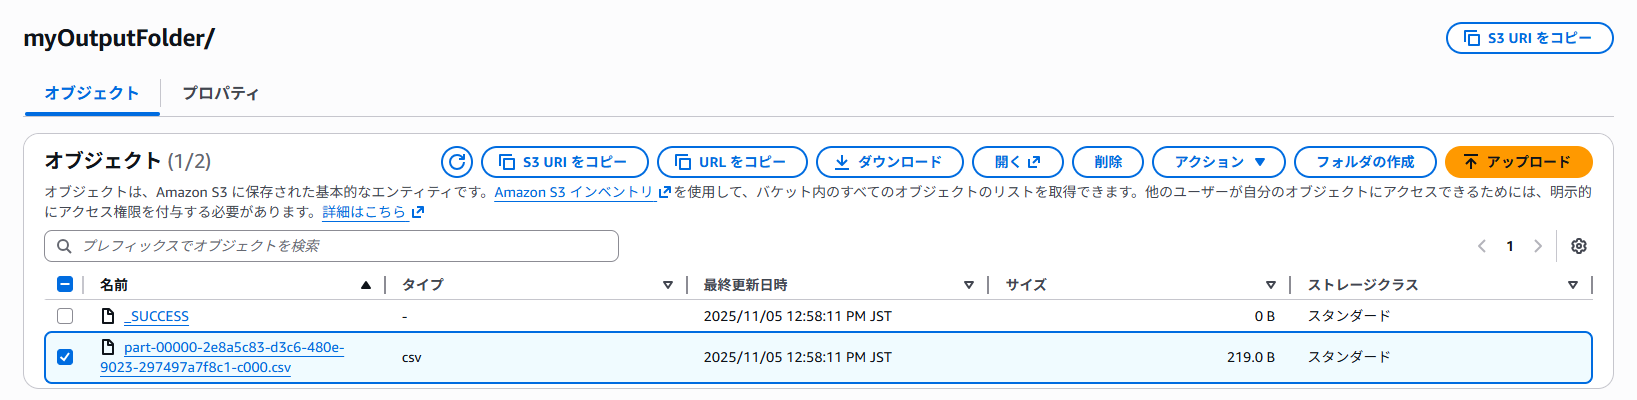
結果は以下の通りです。
name, total_red_violations
SUBWAY, 322
T-MOBILE PARK, 315
WHOLE FOODS MARKET, 299
PCC COMMUNITY MARKETS, 251
TACO TIME, 240
MCDONALD'S, 177
THAI GINGER, 153
SAFEWAY INC #1508, 143
TAQUERIA EL RINCONSITO, 134
HIMITSU TERIYAKI, 128
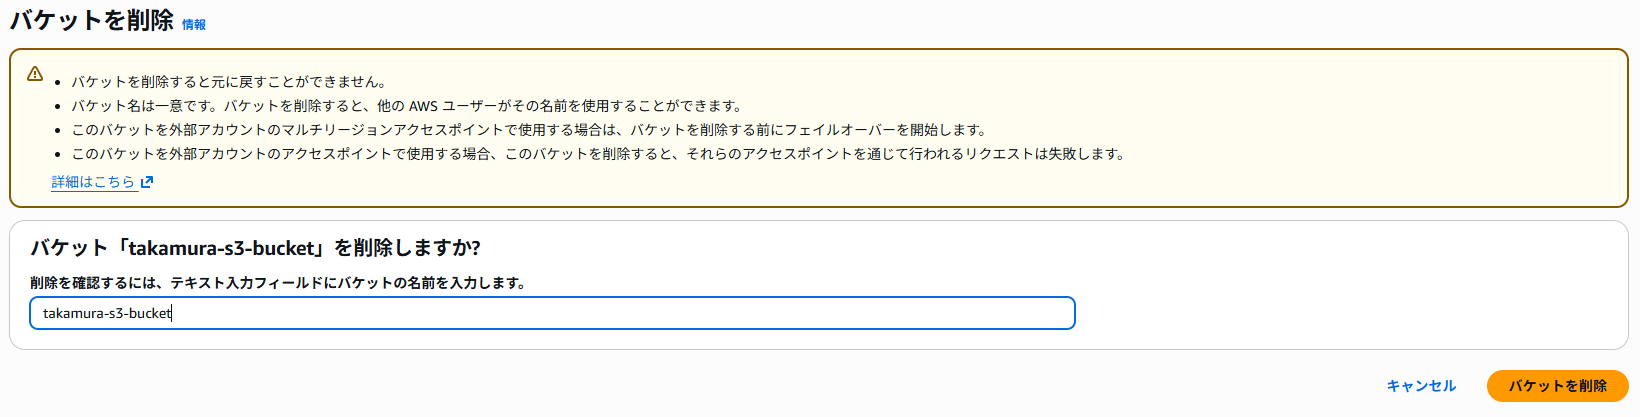
ステップ 3: Amazon EMR リソースをクリーンアップする
作成したクラスターを選択し、[終了] を選択します。

S3 バケットを削除します。
最後に
Amazon EMR のワークフローをざっくりと触れることができる良いチュートリアルでした。
管理ガイドや Black Belt などのドキュメントと併せて、より知識を深めていこうと思います。