
Lambda Web FunctionsでNext.jsを動かしてみる

こんばんは、情報システム室の夏目です。
昨日Lambda Web Functionsがリリースされました。
Lambda Web Functions
WebアプリケーションやAPIバックエンドをServerless HTTP Serverとして実行ができる新サービスです。
現状RuntimeはNode.js 24のみですが、ExpressやHono, Next.jsなどのHTTPサーバーを起動するNode.jsのWebフレームワークであればどれでも使用できます。
従来のLambdaではAWS Lambda Web Adapterが必要でしたが、Web Functionsでは不要となり直接HTTPリクエストを処理します。
(ちなみに従来のLambda FunctionsのことをWeb Functionsと区別するために、Event Functionsと呼称するらしい)
HTTPサーバーがリッスンするホストネームとポートは AWS_LAMBDA_HTTP_ENDPOINT という環境変数で host:port 形式で取得することができます。
Next.jsなど一部のフレームワークではサーバーを起動させる前に AWS_LAMBDA_HTTP_ENDPOINT からホストやポートを設定するindex.jsエントリファイルを作成する必要があります。
Next.jsアプリをデプロイする
今回は、Next.jsアプリを output: "standalone" で作成して、AWS CLIを使ってデプロイしてみます。
Next.jsアプリを作成する
Next.jsのQuick startを参考にNext.jsのアプリを作成します。
$ npx create-next-app@latest
選択肢は次のようにしています。
What is your project named?:trial-nextjs-web-functionWould you like to use the recommended Next.js defaults?:No, customize settingsWould you like to use TypeScript?:YesWhich linter would you like to use?:ESLintWould you like to use React Compiler?:YesWould you like to use Tailwind CSS?:NoWould you like your code inside a `src/` directory?:NoWould you like to use App Router? (recommended):YesWould you like to use Cache Components?:NoWould you like to customize the import alias (`@/*` by default)?:NoWould you like to include AGENTS.md to guide coding agents to write up-to-date Next.js code?:NoWould you like to help improve Next.js by letting agents prepare anonymized feedback for your review as you code? (Disable anytime with `experimental.agentFeedback: false`.):No
$ cd trial-nextjs-web-function
$ eza -alT -L 2 -F=auto --time-style=long-iso
drwxr-xr-x@    - natsume.yuta 2026-10-13 16:52 ./
drwxr-xr-x@    - natsume.yuta 2026-10-13 16:52 ├── .git/
.rw-r--r--@  480 natsume.yuta 2026-10-13 16:52 ├── .gitignore
drwxr-xr-x@    - natsume.yuta 2026-10-13 16:52 ├── .next/
drwxr-xr-x@    - natsume.yuta 2026-10-13 16:52 ├── app/
.rw-r--r--@  15k natsume.yuta 2026-10-13 16:52 │   ├── favicon.ico
.rw-r--r--@  697 natsume.yuta 2026-10-13 16:52 │   ├── globals.css
.rw-r--r--@  617 natsume.yuta 2026-10-13 16:52 │   ├── layout.tsx
.rw-r--r--@ 2.6k natsume.yuta 2026-10-13 16:52 │   ├── page.module.css
.rw-r--r--@ 2.2k natsume.yuta 2026-10-13 16:52 │   └── page.tsx
.rw-r--r--@  465 natsume.yuta 2026-10-13 16:52 ├── eslint.config.mjs
.rw-r--r--@  288 natsume.yuta 2026-10-13 16:52 ├── next-env.d.ts
.rw-r--r--@  156 natsume.yuta 2026-10-13 16:52 ├── next.config.ts
drwxr-xr-x@    - natsume.yuta 2026-10-13 16:52 ├── node_modules/
.rw-r--r--@ 215k natsume.yuta 2026-10-13 16:52 ├── package-lock.json
.rw-r--r--@  532 natsume.yuta 2026-10-13 16:52 ├── package.json
drwxr-xr-x@    - natsume.yuta 2026-10-13 16:52 ├── public/
.rw-r--r--@  391 natsume.yuta 2026-10-13 16:52 │   ├── file.svg
.rw-r--r--@ 1.0k natsume.yuta 2026-10-13 16:52 │   ├── globe.svg
.rw-r--r--@ 1.4k natsume.yuta 2026-10-13 16:52 │   ├── next.svg
.rw-r--r--@  128 natsume.yuta 2026-10-13 16:52 │   ├── vercel.svg
.rw-r--r--@  385 natsume.yuta 2026-10-13 16:52 │   └── window.svg
.rw-r--r--@ 1.4k natsume.yuta 2026-10-13 16:52 ├── README.md
.rw-r--r--@  666 natsume.yuta 2026-10-13 16:52 └── tsconfig.json
2. standaloneに設定し、ビルドする
今回はスタンドアローンモードでビルドします。
 import type { NextConfig } from "next";

 const nextConfig: NextConfig = {
   /* config options here */
   reactCompiler: true,
+  output: "standalone",
 };

 export default nextConfig;
$ npm run build
$ eza -al -F=auto --time-style=long-iso .next
.rw-r--r--@  138 natsume.yuta 2026-10-13 16:58 app-path-routes-manifest.json
.rw-r--r--@ 1.3k natsume.yuta 2026-10-13 16:58 build-manifest.json
.rw-r--r--@   21 natsume.yuta 2026-10-13 16:58 BUILD_ID
drwxr-xr-x@    - natsume.yuta 2026-10-13 16:58 cache/
drwxr-xr-x@    - natsume.yuta 2026-10-13 16:58 diagnostics/
.rw-r--r--@  111 natsume.yuta 2026-10-13 16:58 export-marker.json
.rw-r--r--@  366 natsume.yuta 2026-10-13 16:58 fallback-build-manifest.json
.rw-r--r--@ 1.2k natsume.yuta 2026-10-13 16:58 images-manifest.json
.rw-rw-r--@ 9.8k natsume.yuta 2026-10-13 16:58 next-minimal-server.js.nft.json
.rw-rw-r--@ 111k natsume.yuta 2026-10-13 16:58 next-server.js.nft.json
.rw-r--r--@   20 natsume.yuta 2026-10-13 16:58 package.json
.rw-r--r--@ 3.5k natsume.yuta 2026-10-13 16:58 prerender-manifest.json
.rw-r--r--@  11k natsume.yuta 2026-10-13 16:58 required-server-files.js
.rw-r--r--@  11k natsume.yuta 2026-10-13 16:58 required-server-files.json
.rw-r--r--@ 1.7k natsume.yuta 2026-10-13 16:58 routes-manifest.json
drwxr-xr-x@    - natsume.yuta 2026-10-13 16:58 server/
drwxr-xr-x@    - natsume.yuta 2026-10-13 16:58 standalone/
drwxr-xr-x@    - natsume.yuta 2026-10-13 16:58 static/
.rw-r--r--@ 6.6k natsume.yuta 2026-10-13 16:58 trace
.rw-r--r--@ 2.0k natsume.yuta 2026-10-13 16:58 trace-build
.rw-r--r--@    0 natsume.yuta 2026-10-13 16:58 turbopack
drwxr-xr-x@    - natsume.yuta 2026-10-13 16:58 types/

$ eza -al -F=auto --time-style=long-iso .next/standalone
drwxr-xr-x@    - natsume.yuta 2026-10-13 16:58 .next/
drwxr-xr-x@    - natsume.yuta 2026-10-13 16:58 node_modules/
.rw-r--r--@  532 natsume.yuta 2026-10-13 16:58 package.json
.rw-r--r--@ 7.9k natsume.yuta 2026-10-13 16:58 server.js
.next/standalone/ が作成されました。
今回は .next/standalone/server.js だけで静的ファイルも配信できるようにしたいので、 public/ と .next/static/ をコピーします。
$ cp -r public .next/standalone/ && cp -r .next/static .next/standalone/.next/
3. エントリーファイルとしてindex.jsを作成する
Next.jsのスタンドアローンモードでは HOSTNAME と PORT という環境変数でリッスンアドレスを設定します。
Lambda Web Functionsでは AWS_LAMBDA_HTTP_ENDPOINT という環境変数で host:port 形式で渡されます。
そのため、index.jsを作成し HOSTNAME と PORT を設定します。
const address = process.env.AWS_LAMBDA_HTTP_ENDPOINT ?? "0.0.0.0:3000";
const separator = address.lastIndexOf(":");

process.env.HOSTNAME = address.slice(0, separator);
process.env.PORT = address.slice(separator + 1);

await import("./server.js");
4. AWS CLIでデプロイする
準備ができたのでAWSにデプロイします。
$ aws lambda-web deploy --create --name trial-nextjs-web-function --code .next/standalone/
Creating deployment package ...
Preparing Amazon S3 bucket ...
Preparing AWS IAM execution role ...
Uploading deployment package ...
Creating Lambda Web Function ...
Waiting for endpoint to become active (timeout 600s) ...
Waiting for endpoint to become active (state Pending, 0s elapsed, timeout 600s) ...
Waiting for endpoint to become active (state Pending, 5s elapsed, timeout 600s) ...
https://fk06zqh3ed9wjtm9.bhb.lambda-web.ap-northeast-1.on.aws
Console: https://ap-northeast-1.console.aws.amazon.com/lambda/home#/web-functions/trial-nextjs-web-function
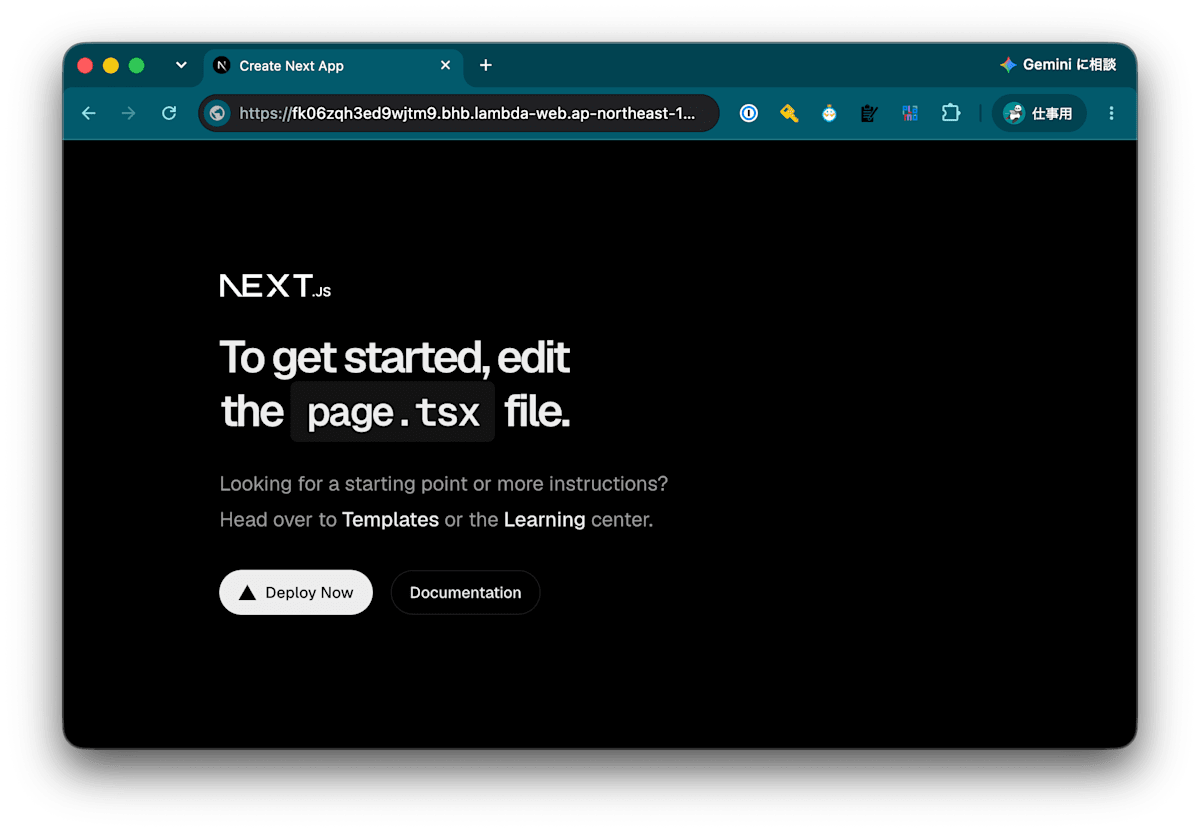
デプロイできました。
URLにアクセスすると表示されました。
aws lambda-web deploy ではデプロイに使用するS3 BucketやIAM Roleを自動的に作成します。
オプションで渡せば、自動作成をさせずに、既存のリソースを使用することができます。
まとめ
以上、Lambda Web Functionsを使ってNext.jsをデプロイしてみました。
何かのお役に立てたら幸いです。