
Github Actionsの中でollamaを動かしてみる

こんばんは、情報システム室の夏目です。
ちょっとLLMで処理を定期実行させたくなったので、Github Actions上でollamaを使って gemma4:e2b を動かそうと思います。
使うアクション
Github Actions上でollamaを動かす方法を色々調べたのですが、以下の二つのアクションが使いやすかったです。
ai-action/ollama-action
# .github/workflows/ollama.yml
on: push
jobs:
  ollama:
    runs-on: ubuntu-latest
    steps:
      - name: Run model
        uses: ai-action/ollama-action@v2
        id: model
        with:
          model: llama3.2
          prompt: Explain the basics of machine learning.

      - name: Print response
        run: echo "$response"
        env:
          response: ${{ steps.model.outputs.response }}
https://github.com/ai-action/ollama-action/blob/master/README.md
ollamaのセットアップからプロンプトを投入するところまで一気通貫で実行してくれるアクションです。
単一のプロンプトを渡して、テキストのレスポンスを受け取り使いたいのなら非常に便利です。
ai-action/setup-ollama
# .github/workflows/ollama.yml
name: ollama
on: push
jobs:
  ollama:
    runs-on: ubuntu-latest
    steps:
      - name: Setup Ollama
        uses: ai-action/setup-ollama@v2

      - name: Run model
        run: ollama run gemma4:e2b 'What model are you?'
https://github.com/ai-action/setup-ollama/blob/master/README.md
ollamaのセットアップと ollama serve までしてくれるアクションです。
ollamaコマンドを使って動かすこともできるし、プログラムからの使用もできます。
OpenAI互換のエンドポイントにプログラムからアクセスする
OpenAI互換のエンドポイントでPythonのコードから動かしてみます。
on: workflow_dispatch
env:
  MODEL_NAME: gemma4:e2b

jobs:
  ollama:
    runs-on: ubuntu-latest
    steps:
      - uses: actions/checkout@v7

      - uses: ai-action/setup-ollama@v2

      - run: ollama pull $MODEL_NAME

      - uses: actions/setup-python@v7
        with:
          python-version: v3.14

      - run: pip install openai

      - run: python main.py

      - run: ollama ps
import os
import warnings

from openai import OpenAI
from pydantic import BaseModel

# 構造化アウトプットで警告が出るため
warnings.filterwarnings("ignore", module="pydantic")

class ResponseFormat(BaseModel):
    nums: list[int]

client = OpenAI(
    base_url="http://localhost:11434/v1",
    api_key="dummy",  # ollamaでは必要ないけど必須なので
)

resp = client.responses.parse(
    model=os.environ["MODEL_NAME"],
    input="Please calculate the first 20 numbers of the Fibonacci sequence and output them as an array.",
    text_format=ResponseFormat,
)

## Debugのために全部出力する
print(resp.model_dump_json(indent=2, ensure_ascii=False))
これを実行すると、次のようなに出力されて、ちゃんと動いていることがわかります。
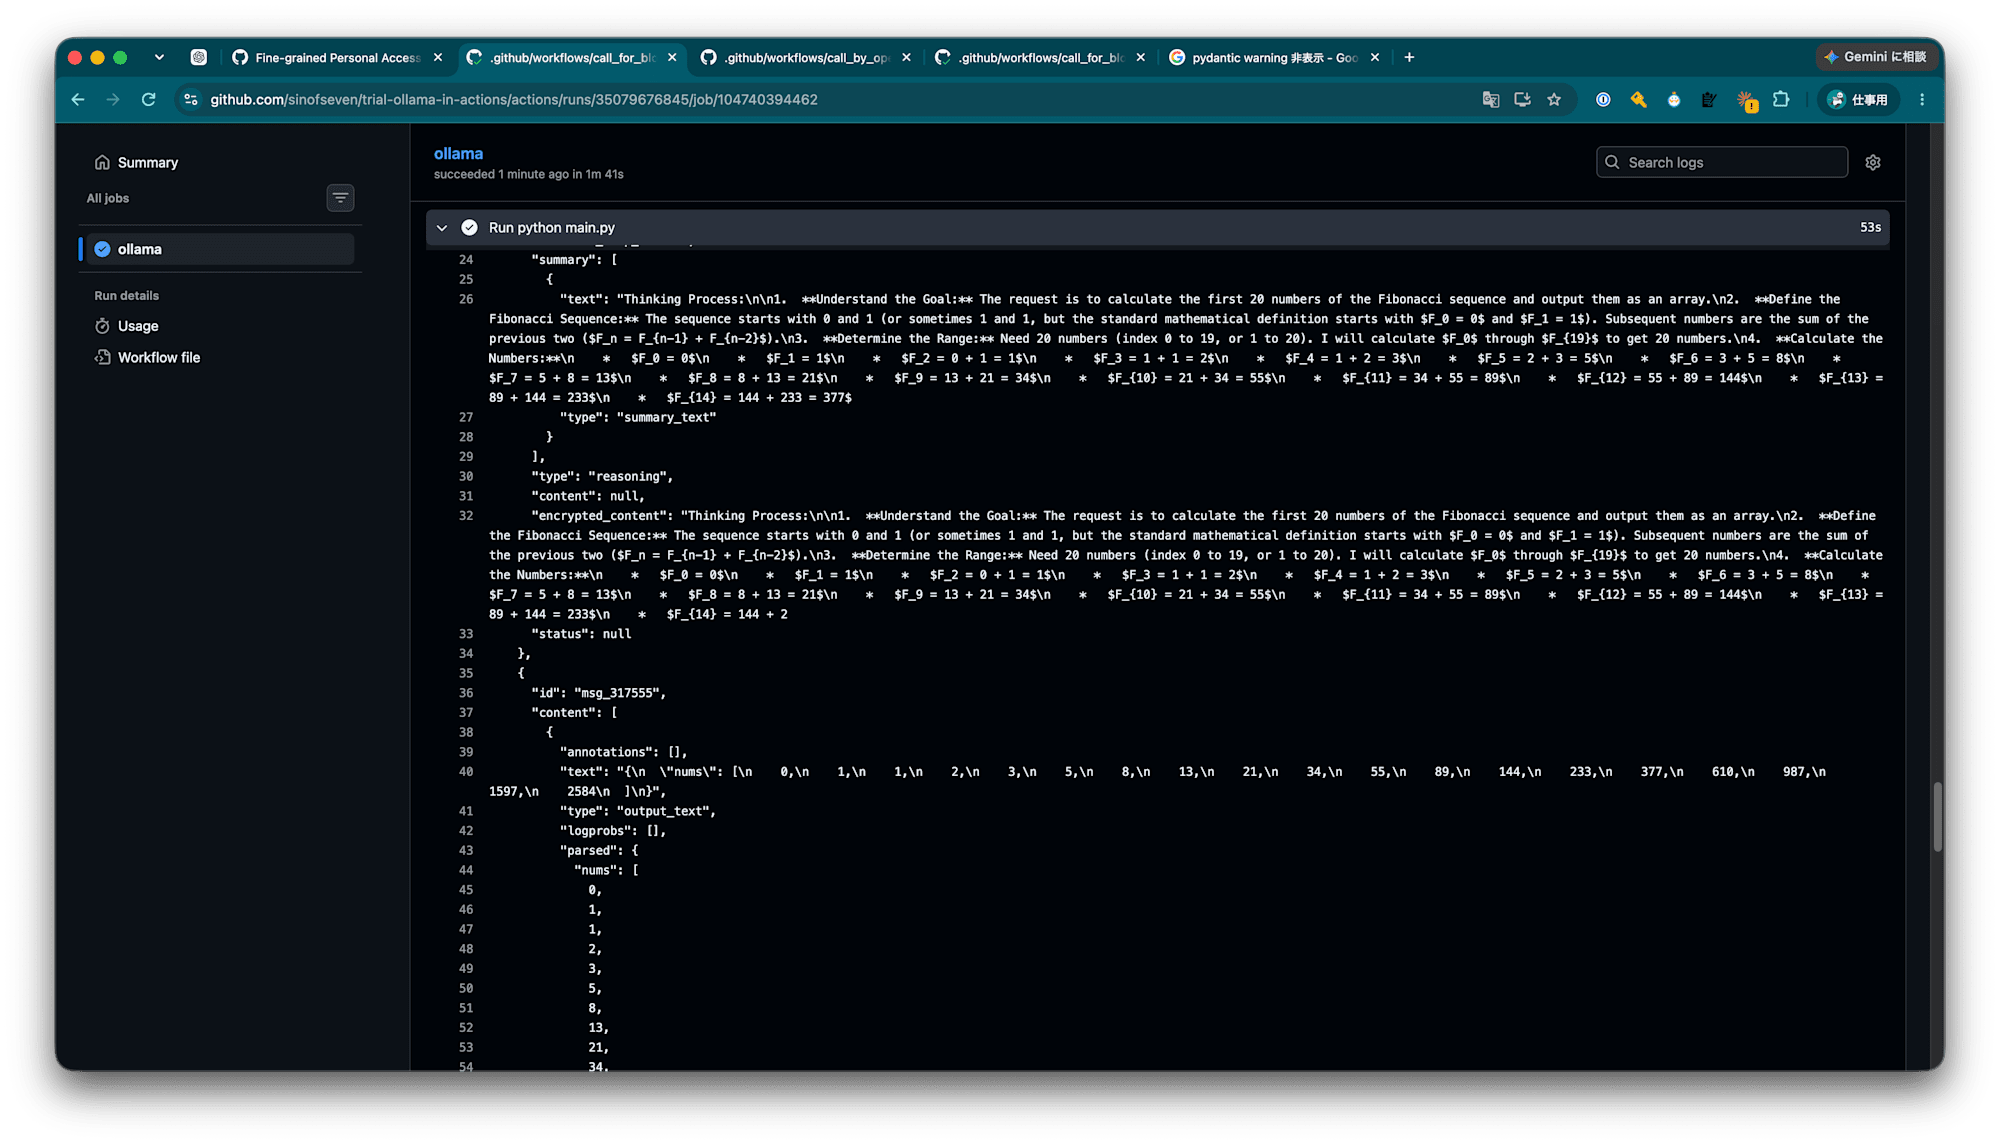
{
  "id": "resp_888604",
  "created_at": 1789551981.0,
  "error": null,
  "incomplete_details": null,
  "instructions": null,
  "metadata": {},
  "model": "gemma4:e2b",
  "object": "response",
  "output": [
    {
      "id": "rs_resp_888604",
      "summary": [
        {
          "text": "Thinking Process:\n\n1.  **Understand the Request:** The user wants the first 20 numbers of the Fibonacci sequence, presented as an array.\n2.  **Define the Fibonacci Sequence:** The sequence starts with 0 and 1 (or sometimes 1 and 1, depending on convention, but the standard mathematical definition is $F_0=0, F_1=1, F_n = F_{n-1} + F_{n-2}$).\n3.  **Calculate the Sequence (N=20):**\n    *   $F_0 = 0$\n    *   $F_1 = 1$\n    *   $F_2 = 0 + 1 = 1$\n    *   $F_3 = 1 + 1 = 2$\n    *   $F_4 = 1 + 2 = 3$\n    *   $F_5 = 2 + 3 = 5$\n    *   $F_6 = 3 + 5 = 8$\n    *   $F_7 = 5 + 8 = 13$\n    *   $F_8 = 8 + 13 = 21$\n    *   $F_9 = 13 + 21 = 34$\n    *   $F_{10} = 21 + 34 = 55$\n    *   $F_{11} = 34 + 55 = 89$\n    *   $F_{12} = 55 + 89 = 144$\n    *   $F_{13} = 89 + 144 = 233$\n    *   $F_{14} = 144 + 233 = 377$\n    *   $F_{15} = 233 + 377 = 610$\n    *   $F_{16} = 377 + 610 = 987$\n    *   $F_{17} = 610 + 987 = 1597$\n    *   $F_{18} = 987 + 1597 = 2584$\n    *   $F_{19} = 1597 + 2584 = 4181$\n
          "type": "summary_text"
        }
      ],
      "type": "reasoning",
      "content": null,
      "encrypted_content": "Thinking Process:\n\n1.  **Understand the Request:** The user wants the first 20 numbers of the Fibonacci sequence, presented as an array.\n2.  **Define the Fibonacci Sequence:** The sequence starts with 0 and 1 (or sometimes 1 and 1, depending on convention, but the standard mathematical definition is $F_0=0, F_1=1, F_n = F_{n-1} + F_{n-2}$).\n3.  **Calculate the Sequence (N=20):**\n    *   $F_0 = 0$\n    *   $F_1 = 1$\n    *   $F_2 = 0 + 1 = 1$\n    *   $F_3 = 1 + 1 = 2$\n    *   $F_4 = 1 + 2 = 3$\n    *   $F_5 = 2 + 3 = 5$\n    *   $F_6 = 3 + 5 = 8$\n    *   $F_7 = 5 + 8 = 13$\n    *   $F_8 = 8 + 13 = 21$\n    *   $F_9 = 13 + 21 = 34$\n    *   $F_{10} = 21 + 34 = 55$\n    *   $F_{11} = 34 + 55 = 89$\n    *   $F_{12} = 55 + 89 = 144$\n    *   $F_{13} = 89 + 144 = 233$\n    *   $F_{14} = 144 + 233 = 377$\n    *   $F_{15} = 233 + 377 = 610$\n    *   $F_{16} = 377 + 610 = 987$\n    *   $F_{17} = 610 + 987 = 1597$\n    *   $F_{18} = 987 + 1597 = 2584$\n    *   $F_{19} = 1597 + 2584 =
      "status": null
    },
    {
      "id": "msg_243102",
      "content": [
        {
          "annotations": [],
          "text": "{\n  \"nums\": [\n    0,\n    1,\n    1,\n    2,\n    3,\n    5,\n    8,\n    13,\n    21,\n    34,\n    55,\n    89,\n    144,\n    233,\n    377,\n    610,\n    987,\n    1597,\n    2584,\n    4181\n  ]\n}",
          "type": "output_text",
          "logprobs": [],
          "parsed": {
            "nums": [
              0,
              1,
              1,
              2,
              3,
        "properties": {
          "nums": {
            "items": {
              "type": "integer"
            },
            "title": "Nums",
            "type": "array"
          }
        },
        "required": [
          "nums"
        ],
        "title": "ResponseFormat",
        "type": "object",
        "additionalProperties": false
      },
      "type": "json_schema",
      "description": null,
      "strict": true
    },
    "verbosity": null
  },
  "top_logprobs": 0,
  "truncation": "disabled",
  "usage": {
    "input_tokens": 35,
    "input_tokens_details": {
      "cache_write_tokens": null,
      "cached_tokens": 0
    },
    "output_tokens": 829,
    "output_tokens_details": {
      "reasoning_tokens": 0
    },
    "total_tokens": 864
  },
  "user": null,
  "presence_penalty": 0,
  "frequency_penalty": 0,
  "store": false
}
デフォルトのコンテキスト長
実行したあと ollama ps を実行すると次のように出力されます。

gemma4:e2b のコンテキスト長は 128k なのですが 4096 しか使えないことになっています。
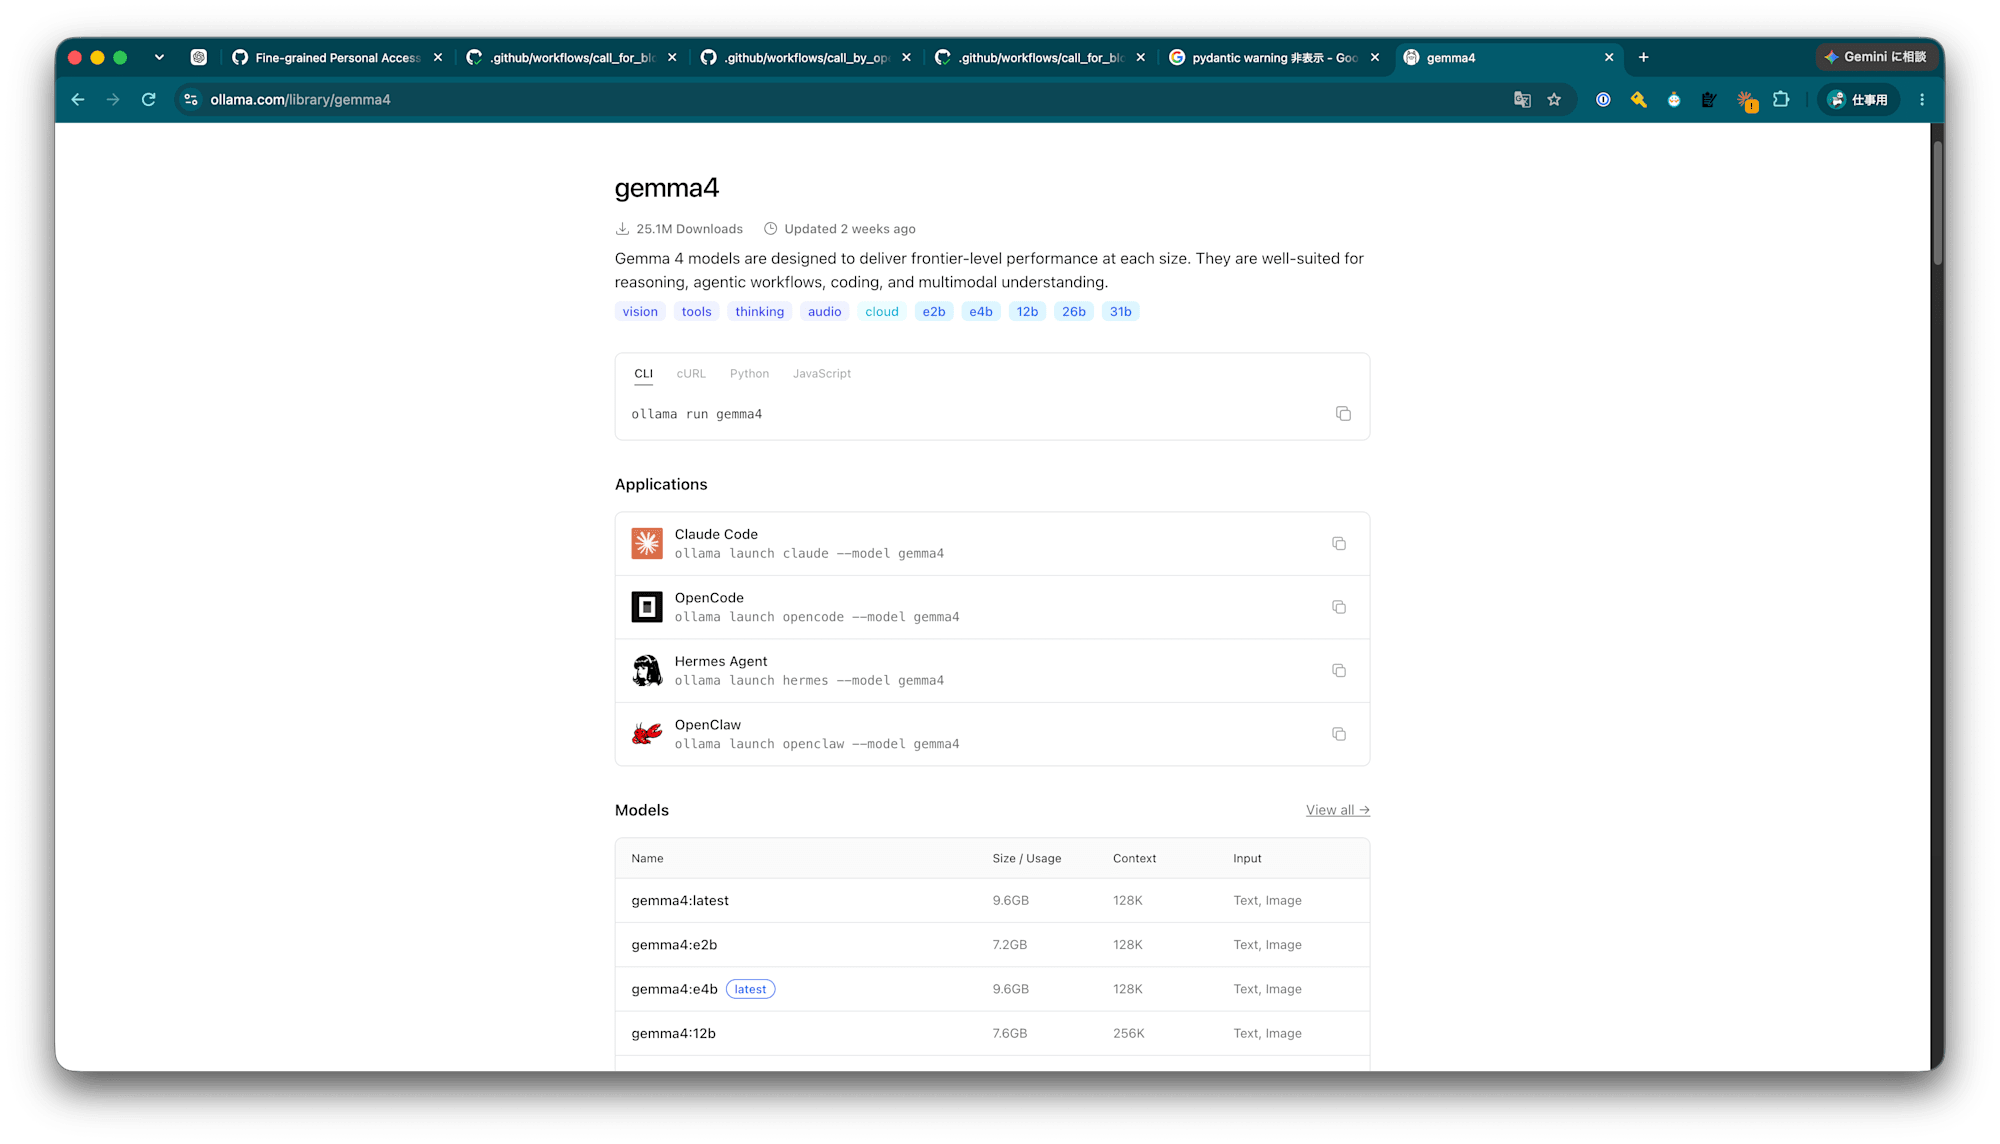
これはollamaの挙動として、使用できるメモリ量によってコンテキスト長のデフォルトが制限されるからです。
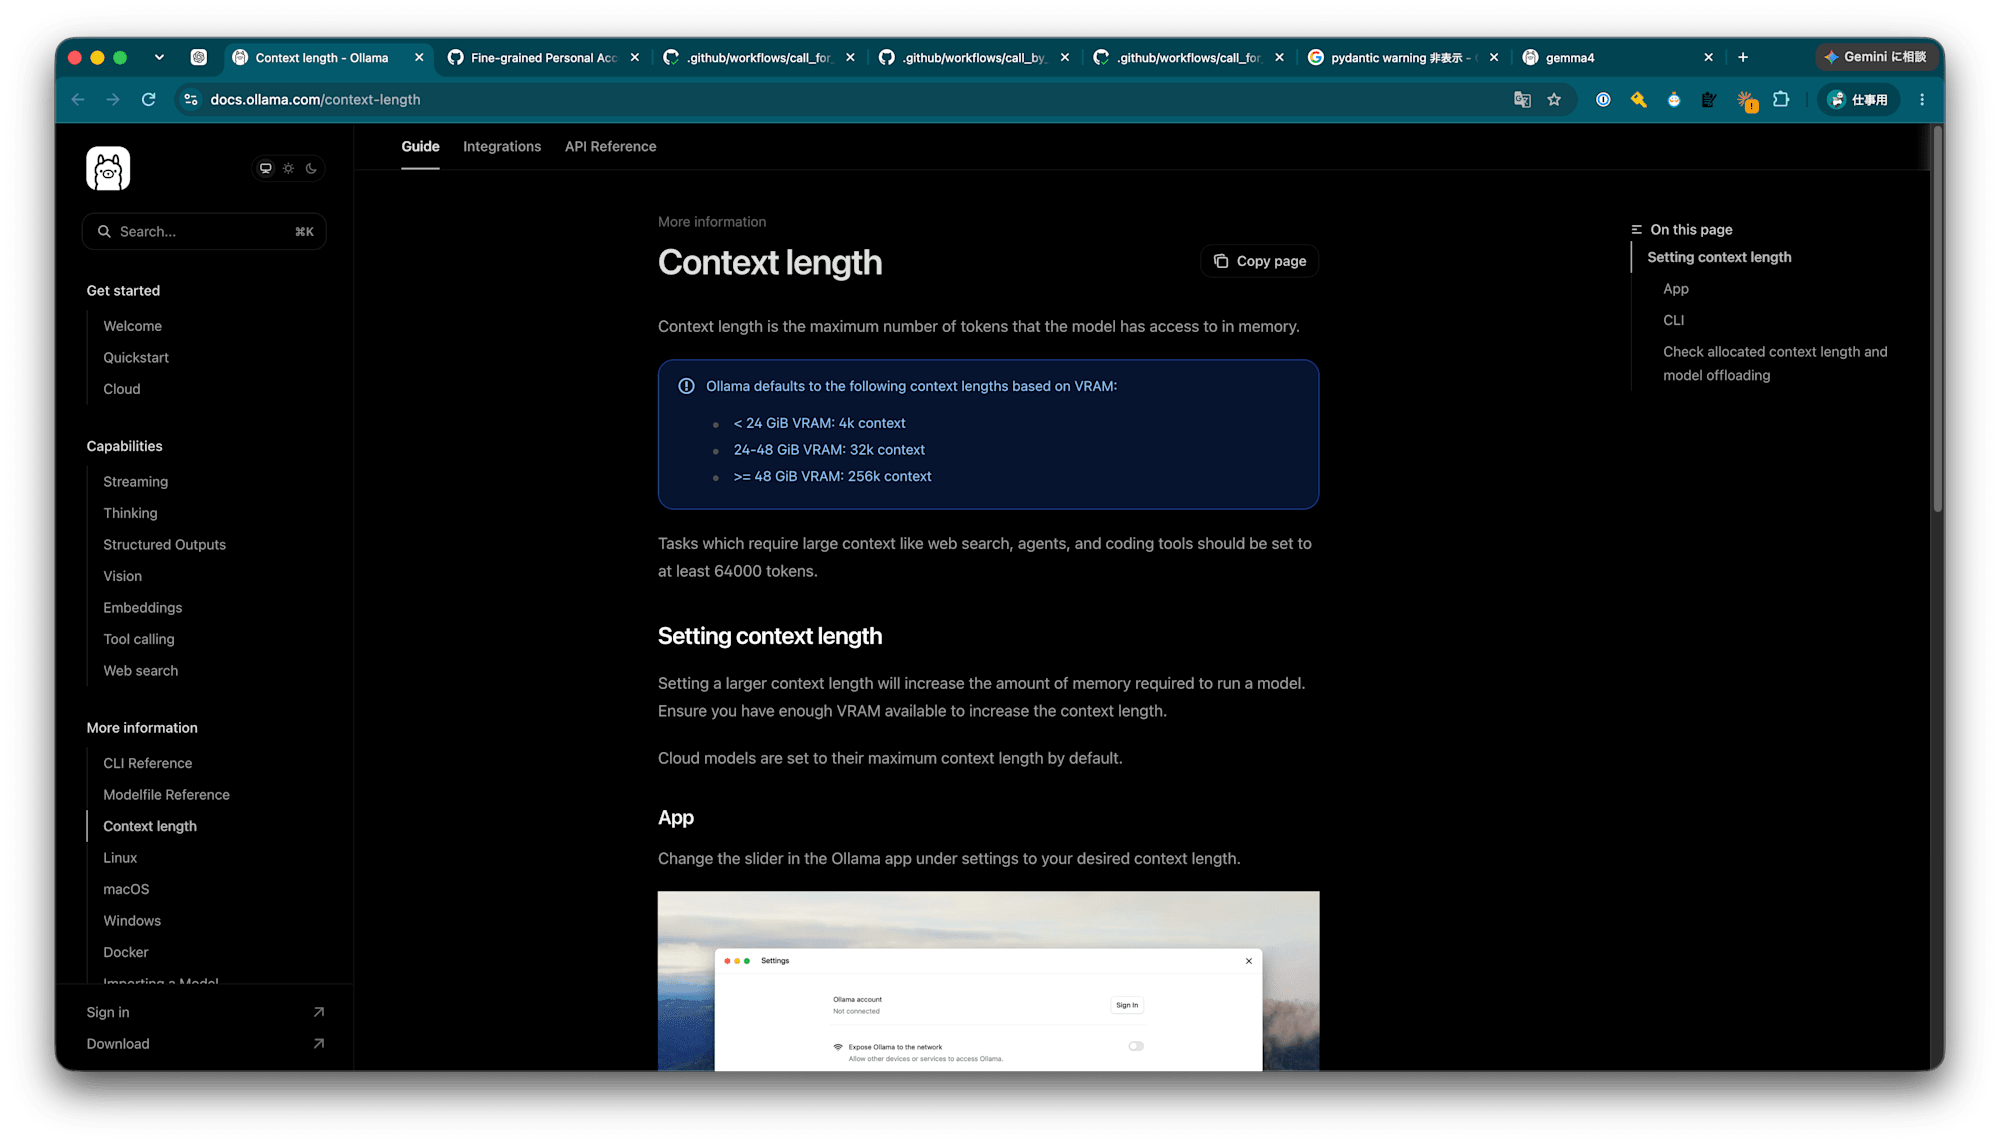
環境変数 OLLAMA_CONTEXT_LENGTH を設定して ollama serve するとデフォルトのコンテキスト長を変更できるので次のようにします。
on: workflow_dispatch
env:
  MODEL_NAME: gemma4:e2b

jobs:
  ollama:
    runs-on: ubuntu-latest
    steps:
      - uses: actions/checkout@v7

      - uses: ai-action/setup-ollama@v2
        env:
          # このアクションの中で `ollama serve` しているので、
          # 環境変数の適用範囲を最小限にするにはここで書く
          OLLAMA_CONTEXT_LENGTH: 20000

      - run: ollama pull $MODEL_NAME

      - uses: actions/setup-python@v7
        with:
          python-version: v3.14

      - run: pip install openai

      - run: python main.py

      - run: ollama ps
すると、 ollama ps は次のようになりました。

ai-action/ollama-action の場合も同様に、アクションを実行しているステップで環境変数を設定すれば動きます。
まとめ
以上、Github Actions内でollamaを動かしてみました。
何かのお役に立てたら幸いです。