Service Quotasの自動管理設定をAWS CLIでやってみた
先日発表されたService Quotasの自動管理設定をAWS CLIで行ってみました。
やってみた
以下を参考にやってみます。
User Notificationsの作成
Service Quotasの自動設定では、User Notificationsを使ってSlackやEmailに通知を送信できます。
マネジメントコンソール上では自動管理設定作成時に自動で作成されます。
自動作成されるものと同等の設定でAWS CLIで作成してみます。今回はEmailチャンネルを作成します。
Emailチャンネルを作成し、ARNを変数に保存します。
EMAIL_CHANNEL_ARN=$(aws notificationscontacts create-email-contact \
    --name "<名前>" \
    --email-address "<メールアドレス>" \
    --query 'arn' --output text)
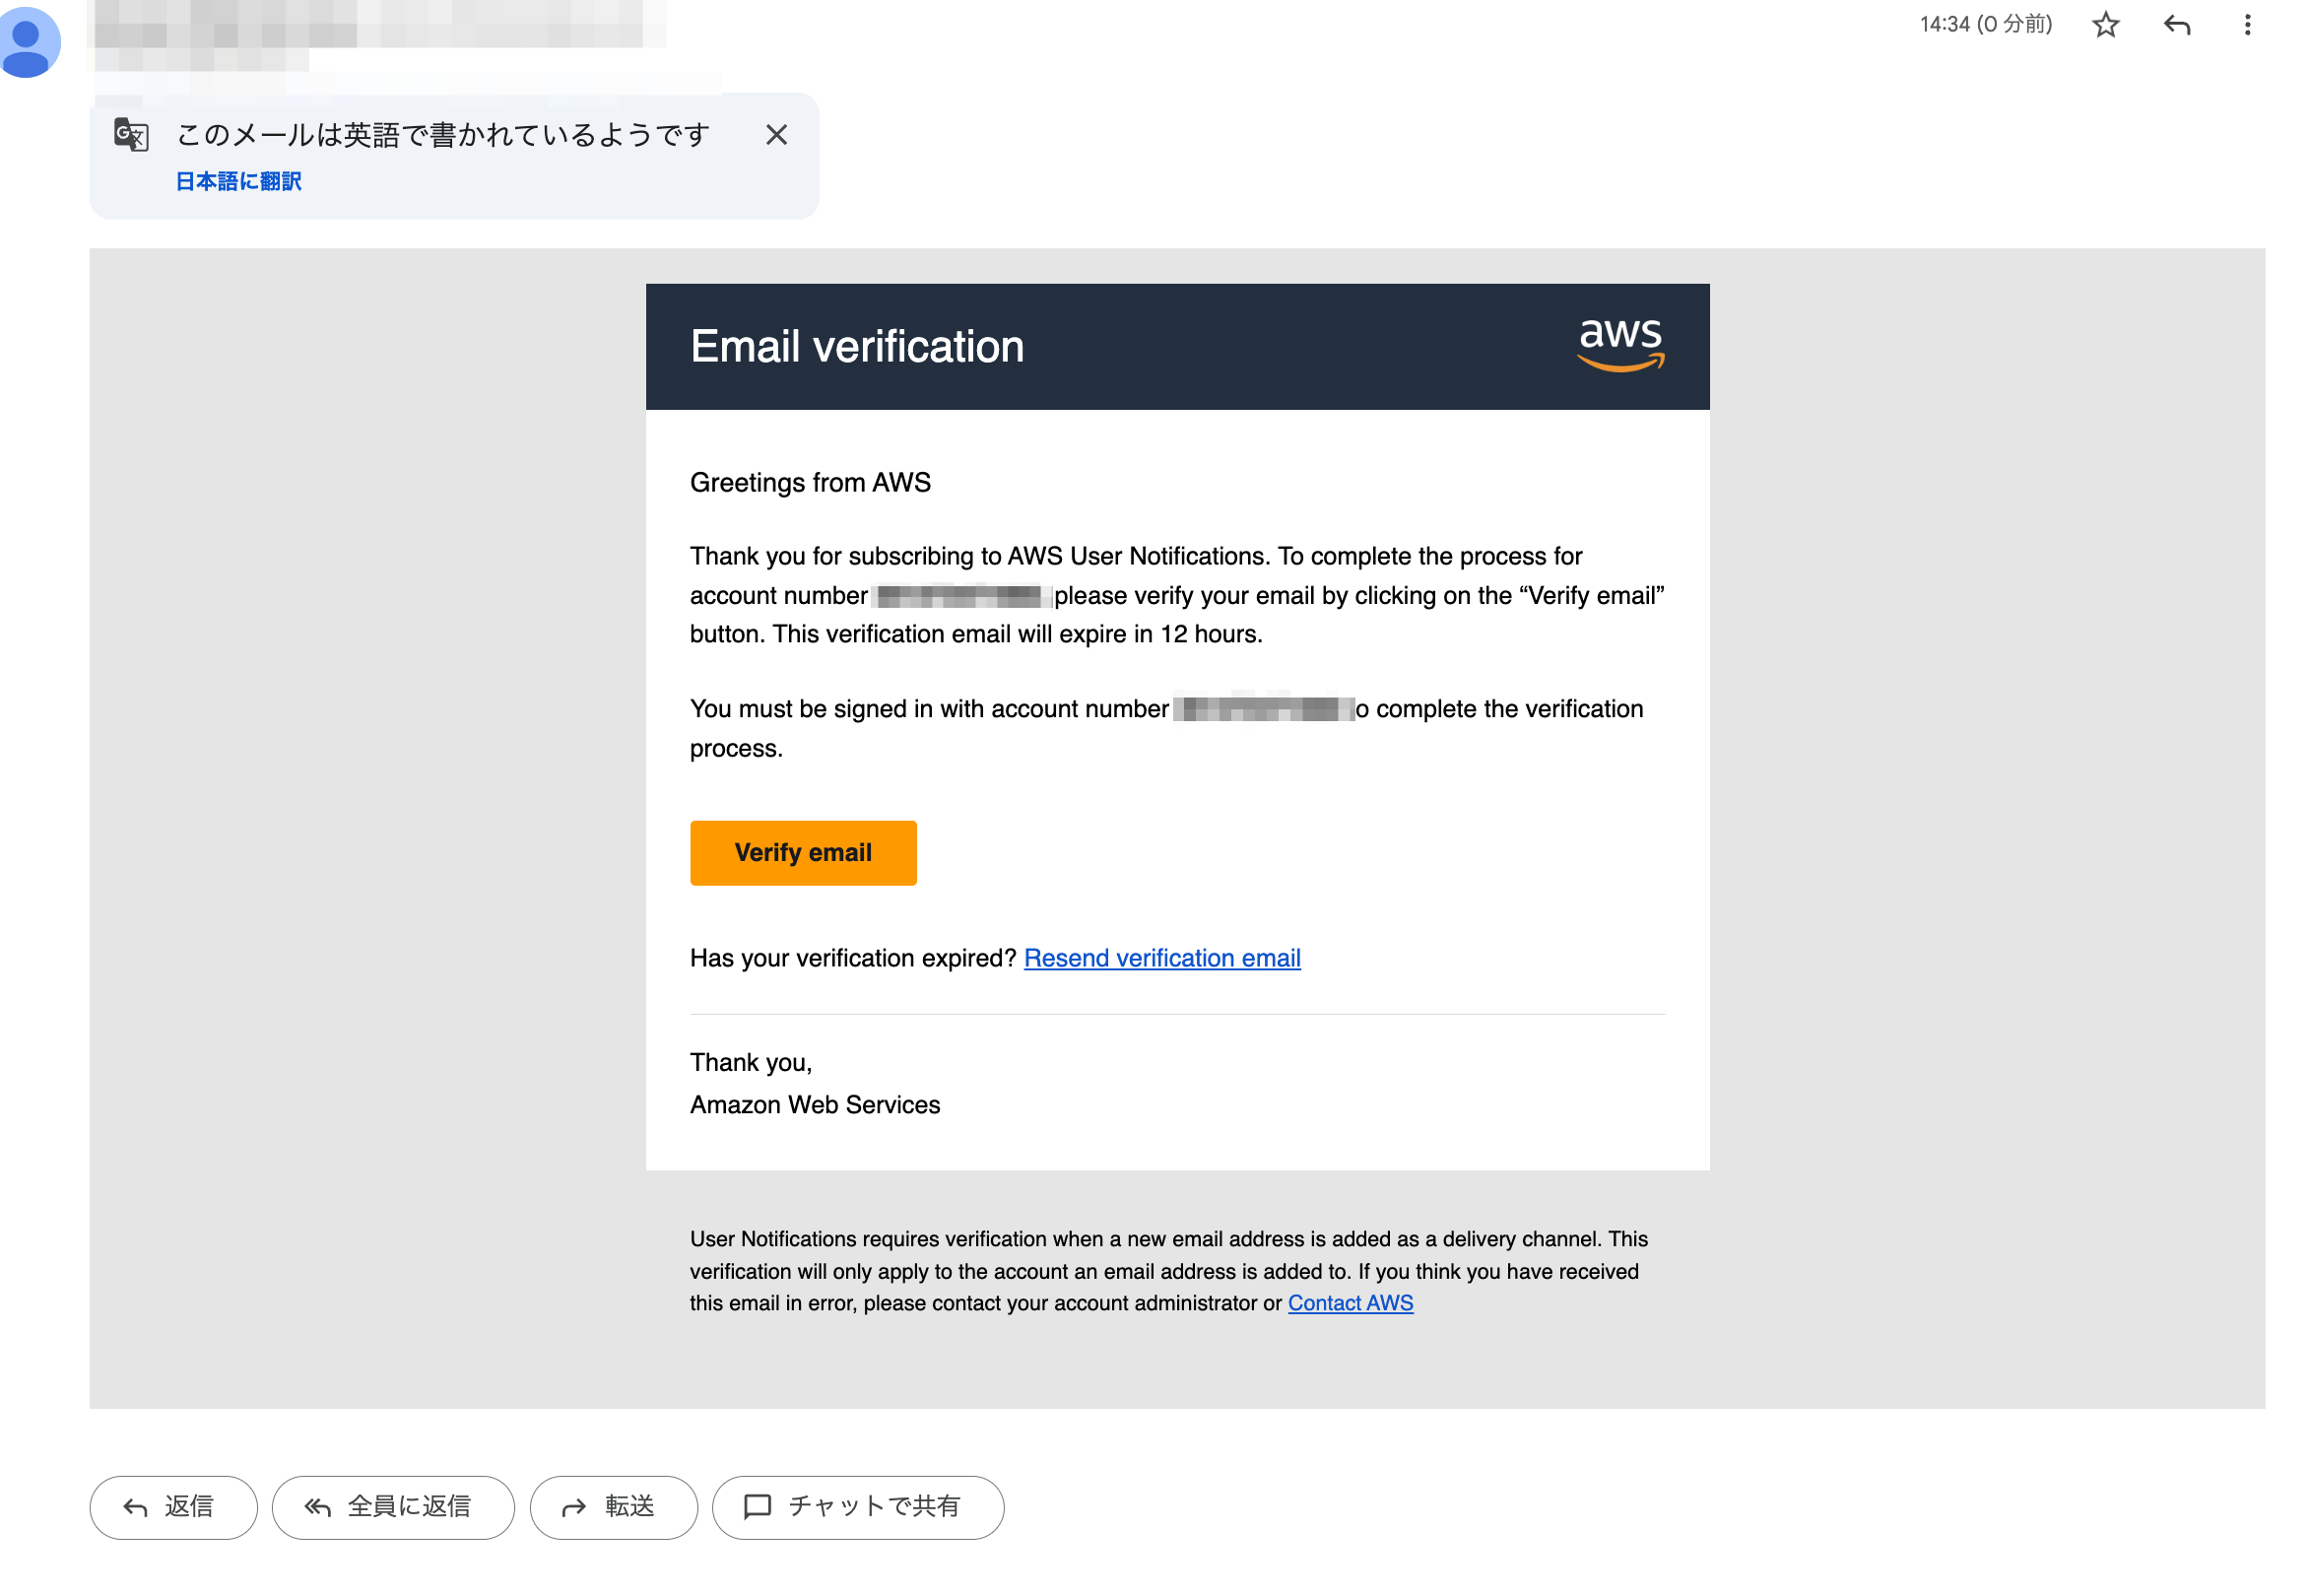
検証用メールが送信されるため、受信したメールを検証しておきます。

通知設定を作成し、ARNを変数に保存します。
NOTIFICATION_CONFIG_ARN=$(aws notifications create-notification-configuration \
    --name "Health-Service-Quotas-test" \
    --description "Health notifications created for Service Quotas" \
    --aggregation-duration SHORT \
    --query 'arn' --output text)
イベントルールを作成します。
aws notifications create-event-rule \
    --notification-configuration-arn "$NOTIFICATION_CONFIG_ARN" \
    --source "aws.health" \
    --event-type "AWS Health Event" \
    --event-pattern '{"source":["aws.health"],"detail-type":["AWS HealthEvent"],"detail":{"service":["SERVICEQUOTAS"],"eventTypeCode":["AWS_SERVICEQUOTAS_THRESHOLD_BREACH","AWS_SERVICE_QUOTAS_INCREASE_REQUEST_FAILED","AWS_SERVICEQUOTAS_APPROACHING_THRESHOLD"],"eventTypeCategory":["accountNotification"]}}' \
作成したチャンネルと通知設定を関連付けます。
aws notifications associate-channel \
    --notification-configuration-arn "$NOTIFICATION_CONFIG_ARN" \
    --arn "$EMAIL_CHANNEL_ARN"
自動管理設定を有効化・通知の設定
自動管理設定の有効化はシンプルで、以下のコマンドを実行するだけです。
aws service-quotas start-auto-management \
  --opt-in-level ACCOUNT \
  --opt-in-type NotifyOnly \
  --notification-arn "$NOTIFICATION_CONFIG_ARN"
ちなみに、User Notifications設定なしで有効化することも可能です。
この場合は、User Notificationsを使った通知は行われませんが、AWS Health Dashboard上で通知を確認することは可能です。
aws service-quotas start-auto-management \
  --opt-in-level ACCOUNT \
  --opt-in-type NotifyOnly \
自動管理設定の例外追加
現在設定されている例外はget-auto-management-configurationで確認できます。
aws service-quotas get-auto-management-configuration
例外設定なしの状態でコマンドを実行すると以下のようになります。除外設定があるとExclusionListフィールドに除外設定が出力されます。
{
    "OptInLevel": "ACCOUNT",
    "OptInType": "NotifyOnly",
    "NotificationArn": "arn:aws:notifications::1234567890:configuration/hogehogehoge",
    "OptInStatus": "ENABLED",
}
例外追加には、該当のQuotaのQuotaコードが必要です。
まずはlist-servicesで除外対象のサービスコードを確認します。
aws service-quotas list-services
{
    "Services": [
        {
            "ServiceCode": "AWSCloudMap",
            "ServiceName": "AWS Cloud Map"
        },
        {
            "ServiceCode": "access-analyzer",
            "ServiceName": "Access Analyzer"
        },
        {
            "ServiceCode": "account",
            "ServiceName": "AWS Account Management"
        },
        {
            "ServiceCode": "acm",
            "ServiceName": "AWS Certificate Manager (ACM)"
        },
        # 省略
}
その後、list-service-quotasでQuotaコードを確認します。
aws service-quotas list-service-quotas --service-code AWSCloudMap
{
    "Quotas": [
        {
            "ServiceCode": "AWSCloudMap",
            "ServiceName": "AWS Cloud Map",
            "QuotaArn": "arn:aws:servicequotas:us-east-1:1234567890:AWSCloudMap/L-0FE3F50E",
            "QuotaCode": "L-0FE3F50E",
            "QuotaName": "Namespaces per Region",
            "Value": 50.0,
            "Unit": "None",
            "Adjustable": true,
            "GlobalQuota": false,
            "QuotaAppliedAtLevel": "ACCOUNT",
            "Description": "The maximum number of namespaces that you can create per Region."
        },
        {
            "ServiceCode": "AWSCloudMap",
            "ServiceName": "AWS Cloud Map",
            "QuotaArn": "arn:aws:servicequotas:us-east-1:1234567890:AWSCloudMap/L-76CF203B",
            "QuotaCode": "L-76CF203B",
            "QuotaName": "DiscoverInstances operation per account burst rate",
            "Value": 2000.0,
            "Unit": "None",
            "Adjustable": true,
            "GlobalQuota": false,
            "QuotaAppliedAtLevel": "ACCOUNT",
            "Description": "The maximum burst rate to call DiscoverInstances operation from a single account."
        },
        {
            "ServiceCode": "AWSCloudMap",
            "ServiceName": "AWS Cloud Map",
            "QuotaArn": "arn:aws:servicequotas:us-east-1:1234567890:AWSCloudMap/L-0BA10AAE",
            "QuotaCode": "L-0BA10AAE",
            "QuotaName": "DiscoverInstancesRevision operation per account rate",
            "Value": 3000.0,
            "Unit": "None",
            "Adjustable": true,
            "GlobalQuota": false,
            "QuotaAppliedAtLevel": "ACCOUNT",
            "Description": "The maximum rate to call DiscoverInstancesRevision operation from a single account."
        },
        # 省略
}
除外追加には、update-auto-managementを使います。
以下では、AWS Cloud MapのDiscoverInstances API操作のバーストレート制限を除外してみました。
aws service-quotas update-auto-management \
  --opt-in-type NotifyOnly \
  --exclusion-list '{"AWSCloudMap":["L-76CF203B"]}'
再度、get-auto-management-configurationを実行するとExclusionListフィールドに除外設定が追加されていることを確認できました。
aws service-quotas get-auto-management-configuration
{
    "OptInLevel": "ACCOUNT",
    "OptInType": "NotifyOnly",
    "NotificationArn": "arn:aws:notifications::1234567890:configuration/hogehogehoge",
    "OptInStatus": "ENABLED",
    "ExclusionList": {
        "AWSCloudMap": [
            {
                "QuotaCode": "L-76CF203B",
                "QuotaName": "DiscoverInstances operation per account burst rate"
            }
        ]
    }
}
自動管理設定の無効化
自動管理設定の無効化は、stop-auto-management-configurationを使います。
aws service-quotas stop-auto-management
上記を実行後ステータスを確認すると、"OptInStatus": "DISABLED"になっており無効化が確認できました。
aws service-quotas get-auto-management-configuration
{
    "OptInStatus": "DISABLED"
}
おわりに
AWS CLIでService Quotasの自動管理設定を一通り試してみました。
必要な操作は特に不便なく実行できる印象です。
現在はACCOUNTしかありませんが、OptInLevelという引数があり将来的にAWS Organizationsとか指定できるようになるのかもと妄想しています。


