Swift で書ける Web フレームワーク「Kitura」を触ってみた
この記事は公開されてから1年以上経過しています。情報が古い可能性がありますので、ご注意ください。
Swift で書ける Web フレームワーク「Kitura」
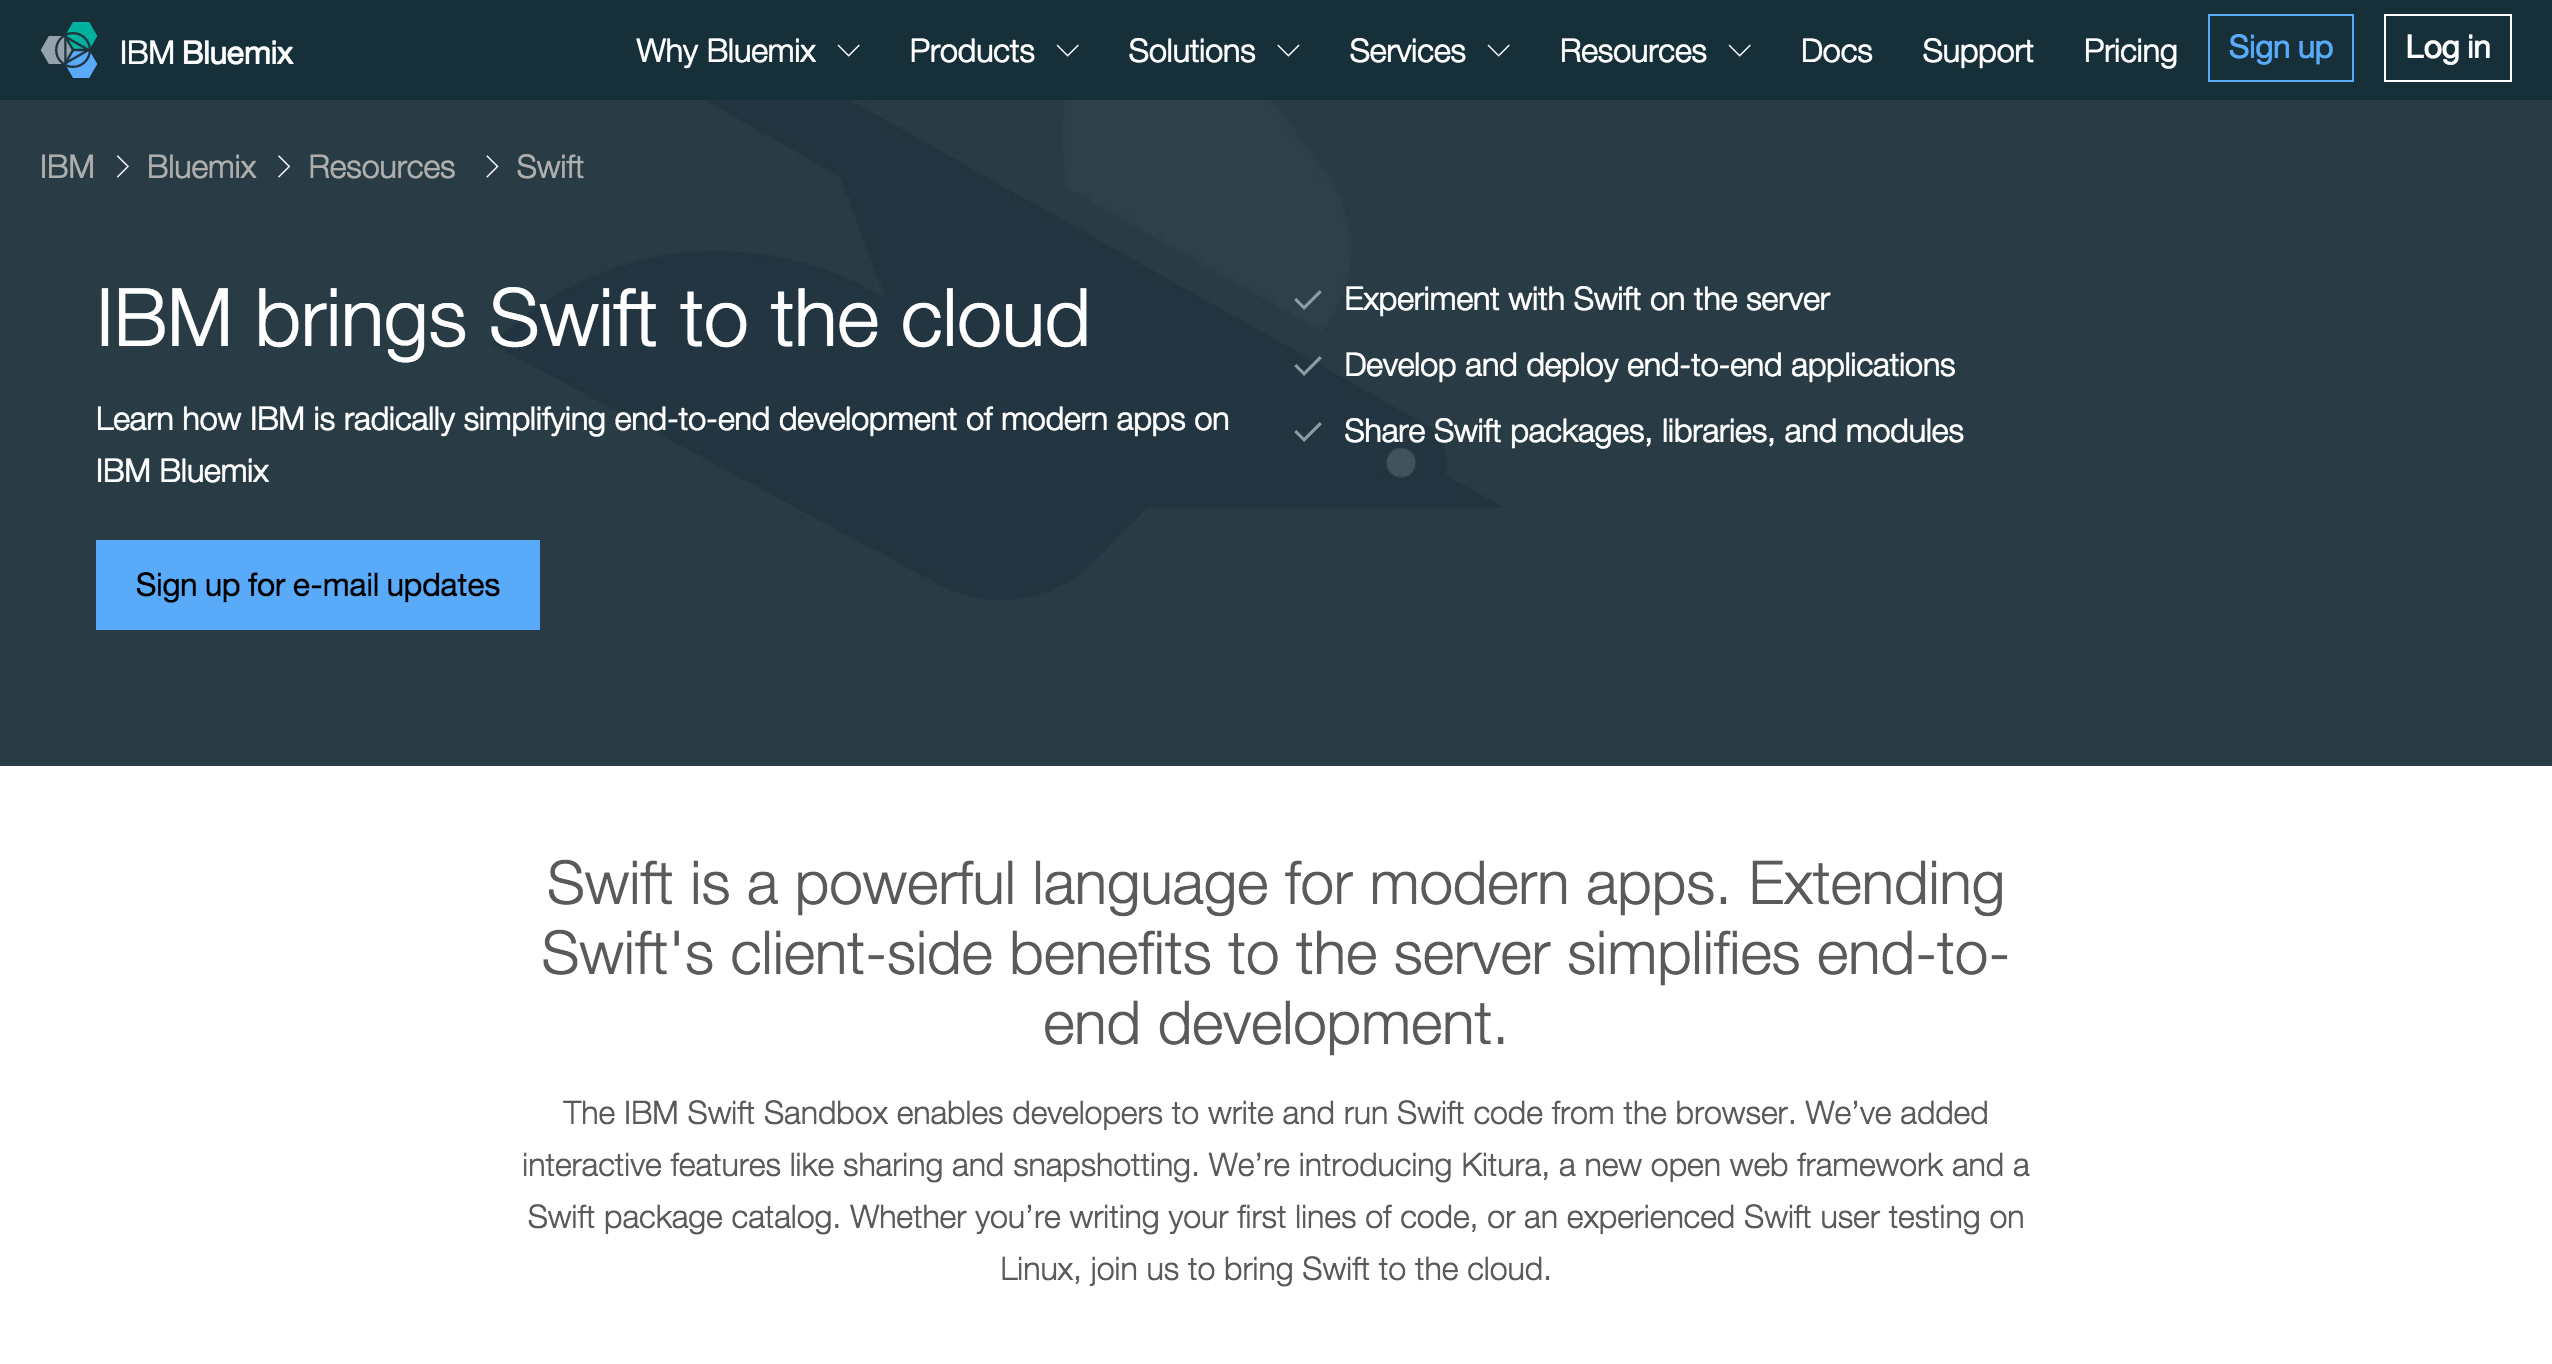
本日 IBM 社が Swift で記述できる Web フレームワーク「Kitura」を公開しました。どなたでもすぐに試すことができます。
早速、簡単ではありますがサンプルをローカルで起動するところまでをやってみました。
Kitura のインストール
まず Kitura のソースコードを Clone します。
$ git clone https://github.com/IBM-Swift/Kitura
依存関係のあるライブラリを Homebrew でインストールします。
$ brew install http-parser pcre2 curl hiredis
以下のページから Swift のコンパイラをダウンロードし、インストールします。
パスを通します。 .bash_profile などに記載しておきましょう。
$ export PATH=/Library/Developer/Toolchains/swift-latest.xctoolchain/usr/bin:$PATH
セットアップ完了です。
プロジェクトの作成
次にプロジェクトを作成します。まずはディレクトリを作成し Swift のプロジェクトにします。
$ mkdir swift-sample && cd swift-sample
$ swift build --init
Creating Package.swift
Creating .gitignore
Creating Sources/
Creating Sources/main.swift
Creating Tests/
Package.swift を書き換えます。
import PackageDescription

let package = Package(
    name: "myFirstProject",

    dependencies: [
        .Package(url: "https://github.com/IBM-Swift/Kitura-router.git", majorVersion: 0),
    ]

)
もう一度 swift build を叩きます。このコマンドは Ruby の bundle install や Node.js の npm install 相当のインストールコマンドです。
$ swift build
Cloning https://github.com/IBM-Swift/Kitura-router.git
Using version 0.2.0 of package Kitura-router
Cloning https://github.com/IBM-Swift/Kitura-net.git
Using version 0.2.0 of package Kitura-net
Cloning https://github.com/IBM-Swift/Kitura-sys.git
Using version 0.2.0 of package Kitura-sys
Cloning https://github.com/IBM-Swift/LoggerAPI.git
Using version 0.2.0 of package LoggerAPI
Cloning https://github.com/IBM-Swift/BlueSocket.git
Using version 0.0.4 of package BlueSocket
Cloning https://github.com/IBM-Swift/Kitura-CurlHelpers.git
Using version 0.2.0 of package Kitura-CurlHelpers
Cloning https://github.com/IBM-Swift/Kitura-HttpParserHelper.git
Using version 0.2.0 of package Kitura-HttpParserHelper
Cloning https://github.com/IBM-Swift/Kitura-Pcre2.git
Using version 0.2.0 of package Kitura-Pcre2
Cloning https://github.com/SwiftyJSON/SwiftyJSON.git
Using version 2.3.3 of package SwiftyJSON

...
ここで以下のようなエラーが出ますが、ビルドに成功はしているので気にしなくて良いです( README に書いてます)。
ld: library not found for -lcurlHelpers for architecture x86_64
<unknown>:0: error: link command failed with exit code 1 (use -v to see invocation)
<unknown>:0: error: build had 1 command failures
error: exit(1): ["/Library/Developer/Toolchains/swift-DEVELOPMENT-SNAPSHOT-2016-02-08-a.xctoolchain/usr/bin/swift-build-tool", "-f", "/Users/XXX/work/swift-sample/.build/debug/myFirstProject.o/llbuild.yaml"]
次に Makefile をコピペします。
$ cp Packages/Kitura-net-0.2.0/Makefile-client Makefile
Sources/main.swift を以下のように書き換えます。
import KituraRouter
import KituraNet
import KituraSys

let router = Router()

router.get("/") {
request, response, next in

    response.status(HttpStatusCode.OK).send("Hello, World!")

    next()
}

let server = HttpServer.listen(8090, delegate: router)
Server.run()
これで make を実行します。
$ make
make -f Packages/Kitura-net-0.2.0/Makefile
mkdir -p ./.build/debug
clang -c -fPIC -mmacosx-version-min=10.10 ./Packages/Kitura-CurlHelpers-0.2.0/CurlHelpers.c -o ./.build/debug/CurlHelpers.o
ar rcs ./.build/debug/libcurlHelpers.a ./.build/debug/CurlHelpers.o
g++ -dynamiclib -undefined suppress -flat_namespace ./.build/debug/CurlHelpers.o -o ./.build/debug/libcurlHelpers.dylib
clang -c -fPIC -mmacosx-version-min=10.10 -I/usr/local/include ./Packages/Kitura-HttpParserHelper-0.2.0/utils.c -o ./.build/debug/httpParserHelper.o
ar rcs ./.build/debug/libhttpParserHelper.a ./.build/debug/httpParserHelper.o
g++ -dynamiclib -undefined suppress -flat_namespace ./.build/debug/httpParserHelper.o -o ./.build/debug/libhttpParserHelper.dylib
swift build -Xcc -fblocks -Xlinker -L./.build/debug
Compiling Swift Module 'LoggerAPI' (1 sources)

...

Linking Library:  .build/debug/KituraRouter.a
Compiling Swift Module 'myFirstProject' (1 sources)
Linking Executable:  .build/debug/myFirstProject
最後に書かれている通り .build/debug/myFirstProject を実行するとサーバーが起動します。
$ .build/debug/myFirstProject
アクセスしてみると、起動していることが確認できました!
$ curl http://localhost:8090/
Hello, World!
まとめ
セットアップは今後、もっと楽になっていくでしょう。それであっても既にかなり簡単に試すことはできました。
Swift の記述のしやすさが全面的に出ているような実装方法だったので、好感が持てます。ライブラリが多く出回ってくれば実用的になってくるのではないでしょうか。


