Segment Anythingを使用して動画からデータセット用の画像を切り出してみました
この記事は公開されてから1年以上経過しています。情報が古い可能性がありますので、ご注意ください。
1 はじめに
CX 事業本部 delivery部の平内(SIN)です。
Meta社による Segment Anything Model(SAM)は、セグメンテーションのための汎用モデルで、ファインチューニングなしで、あらゆる物体がセグメンテーションできます。
前回は、これを使用してUSBカメラからの入力をセグメンテーションしてみました。
今回は、「コンピュータビジョン用のデータセット画像」の切り出しに焦点をあてて、事前に録画した動画から、画像を切り出してみました。
最初に動作している様子です。
動画を読み込むと最初のフレームで停止し、対象オブジェクトの指定が行えます。マウスで、対象を囲むと、その後は、そのオブジェクトを追従しながらデータを切り出して保存します。(動画の後半では、同じ動画で、別のアヒルを抽出しています)
抽出された画像は、背景が白と透過の2種類となります。
2 Object masks from prompts
今回も、使用しているのは、Object masks from promptsです。
input_boxに検出範囲を指定することで、特定のオブジェクトが対象となるようになっています。
self.predictor.set_image(image)
masks, _, _ = self.predictor.predict(
    point_coords=None,
    point_labels=None,
    box=input_box[None, :],
    multimask_output=False,
)
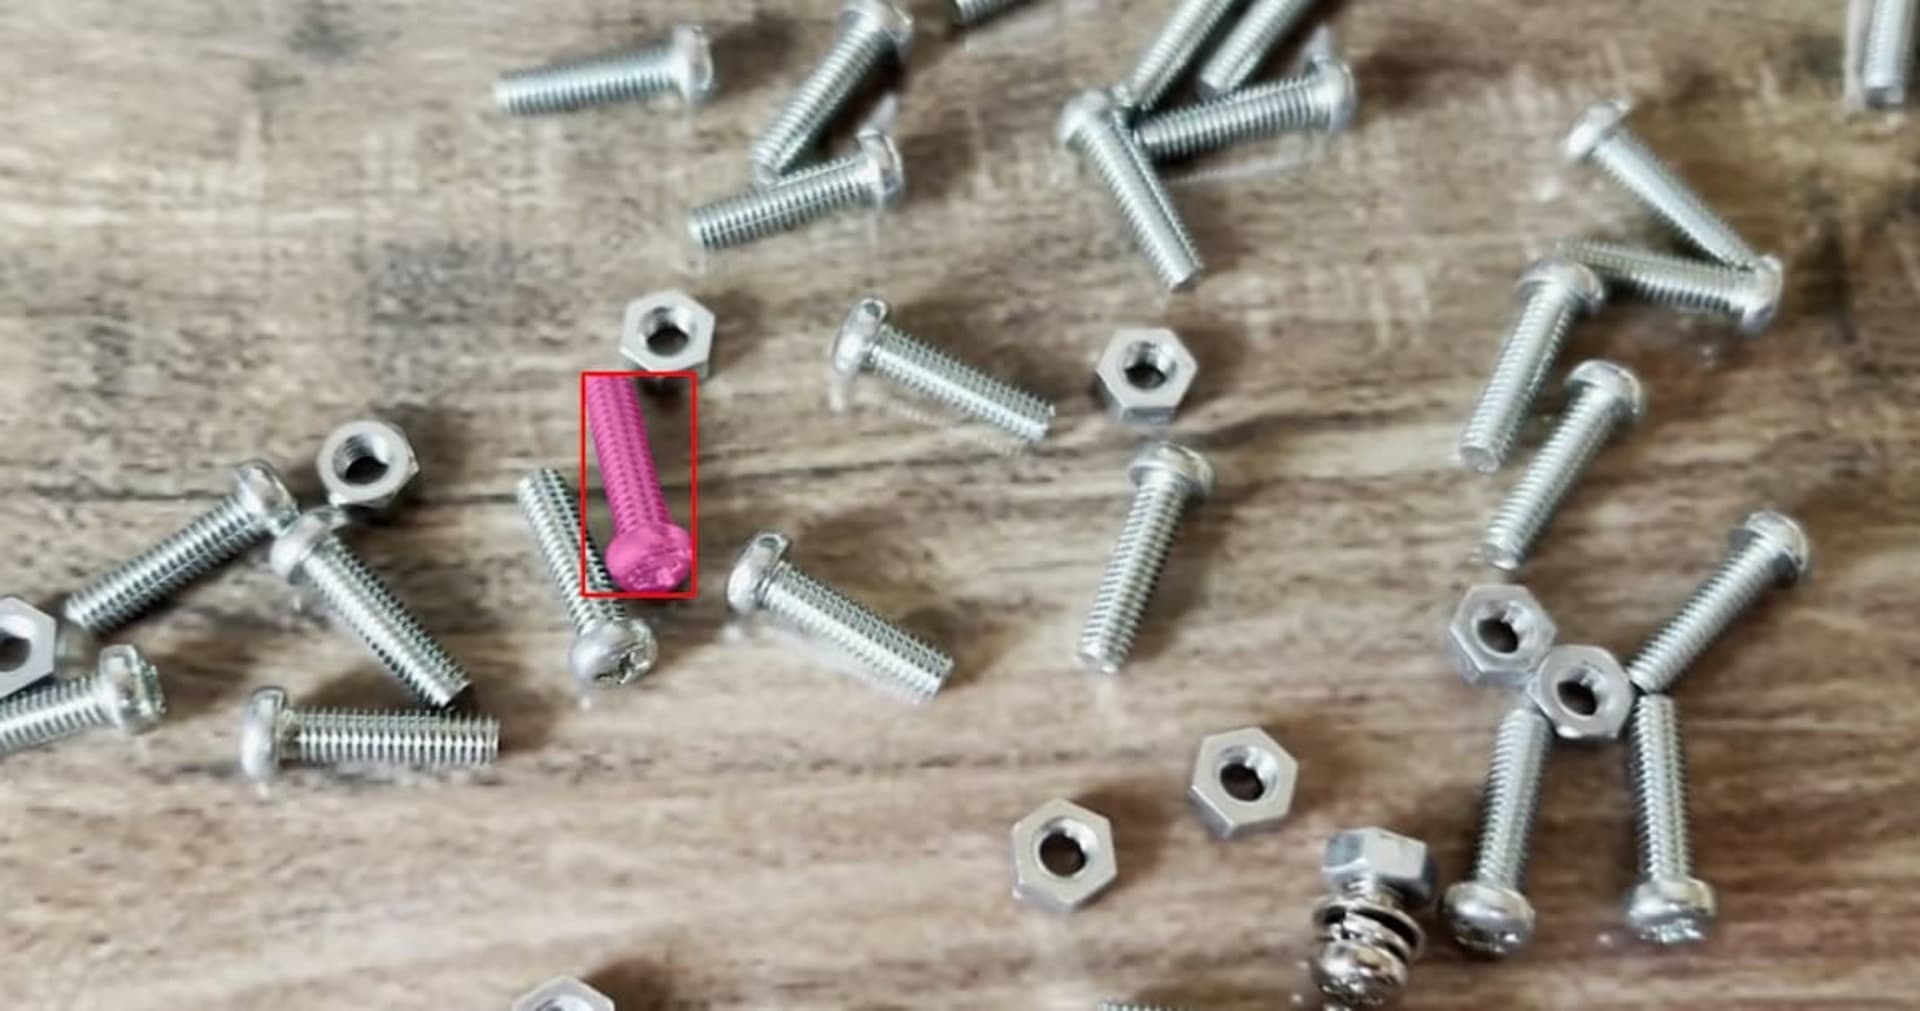
3 対象の選択
最初のフレームで、マウスを使用してオブジェクト検出範囲を指定するコードです。 matplotlib.pyplotで画像を表示し、マウスの操作をトラップしています。
# マウスで範囲指定する
class BoundingBox:
    def __init__(self, image):
        self.x1 = -1
        self.x2 = -1
        self.y1 = -1
        self.y2 = -1
        self.image = image.copy()
        plt.figure()
        plt.connect("motion_notify_event", self.motion)
        plt.connect("button_press_event", self.press)
        plt.connect("button_release_event", self.release)
        self.ln_v = plt.axvline(0)
        self.ln_h = plt.axhline(0)
        plt.imshow(cv2.cvtColor(self.image, cv2.COLOR_BGR2RGB))
        plt.show()

    # 選択中のカーソル表示
    def motion(self, event):
        if event.xdata is not None and event.ydata is not None:
            self.ln_v.set_xdata(event.xdata)
            self.ln_h.set_ydata(event.ydata)
            self.x2 = event.xdata.astype("int16")
            self.y2 = event.ydata.astype("int16")
        if self.x1 != -1 and self.x2 != -1 and self.y1 != -1 and self.y2 != -1:
            plt.clf()
            plt.imshow(cv2.cvtColor(self.image, cv2.COLOR_BGR2RGB))
            ax = plt.gca()
            rect = patches.Rectangle(
                (self.x1, self.y1),
                self.x2 - self.x1,
                self.y2 - self.y1,
                angle=0.0,
                fill=False,
                edgecolor="#00FFFF",
            )
            ax.add_patch(rect)
        plt.draw()

    # ドラッグ開始位置
    def press(self, event):
        self.x1 = event.xdata.astype("int16")
        self.y1 = event.ydata.astype("int16")

    # ドラッグ終了位置、表示終了
    def release(self, event):
        plt.clf()
        plt.close()

    def get_area(self):
        return int(self.x1), int(self.y1), int(self.x2), int(self.y2)
当初、十字のカーソルが表示され、ドラッグ開始以降は、選択された矩形を表示します。また、クリックが離された時点で、画像の表示は終了します。

4 ノイズ除去
動画で撮影した場合、対象のオブジェクトが、最初に指定した範囲から移動・拡大・縮小する可能性があります。
そこで、取得したマスクの上下左右15%拡大した範囲を、次のフレームの抽出範囲として順次使用しています。これにより、ある程度の追跡が可能となっています。
しかし、ここで問題となるのは、ノイズです。検出されたマスクは、その状況により、やや、ノイズが入ったものとなることがあり、このノイズの入ったマスクを基準にすると、次のフレームの指定範囲が、対象オブジェクトより、大きなものとなってしまい、結果的に、対象以外が検出されてしまうことになります。

そこで、取得したマスクは、以下のような手順で、ノイズを除去しています。
- 取得したマスクを、2値画像に展開
- 2値画像から輪郭を取得する
- 最大面積の輪郭のみを使用して新たに2値画像を生成
- 上記の2値画像からマスクを再構成

# ノイズ除去
def _remove_noise(self, image, mask):
    # 2値画像(白及び黒)を生成する
    height, width, _ = image.shape
    tmp_black_image = np.full(np.array([height, width, 1]), 0, dtype=np.uint8)
    tmp_white_image = np.full(np.array([height, width, 1]), 255, dtype=np.uint8)
    # マスクによって黒画像の上に白を描画する
    tmp_black_image[:] = np.where(
        mask[:height, :width, np.newaxis] == True, tmp_white_image, tmp_black_image
    )

    # 輪郭の取得
    contours, _ = cv2.findContours(
        tmp_black_image, cv2.RETR_EXTERNAL, cv2.CHAIN_APPROX_SIMPLE
    )
    # 最も面積が大きい輪郭を選択
    max_contours = max(contours, key=lambda x: cv2.contourArea(x))
    # 黒画面に一番大きい輪郭だけ塗りつぶして描画する
    black_image = np.full(np.array([height, width, 1]), 0, dtype=np.uint8)
    black_image = cv2.drawContours(
        black_image, [max_contours], -1, color=255, thickness=-1
    )
    # 輪郭を保存
    self._contours, _ = cv2.findContours(
        black_image, cv2.RETR_EXTERNAL, cv2.CHAIN_APPROX_SIMPLE
    )

    # マスクを作り直す
    new_mask = np.full(np.array([height, width, 1]), False, dtype=np.bool_)
    new_mask[::] = np.where(black_image[:height, :width] == 0, False, True)
    new_mask = np.squeeze(new_mask)

    return new_mask
5 抽出画像
抽出された画像は、output_pathで指定されたフォルダの下に、フレーム番号で保存されます。
- 0000000001_w.png(背景が白の画像)
- 0000000001_t.png(背景が透過の画像)


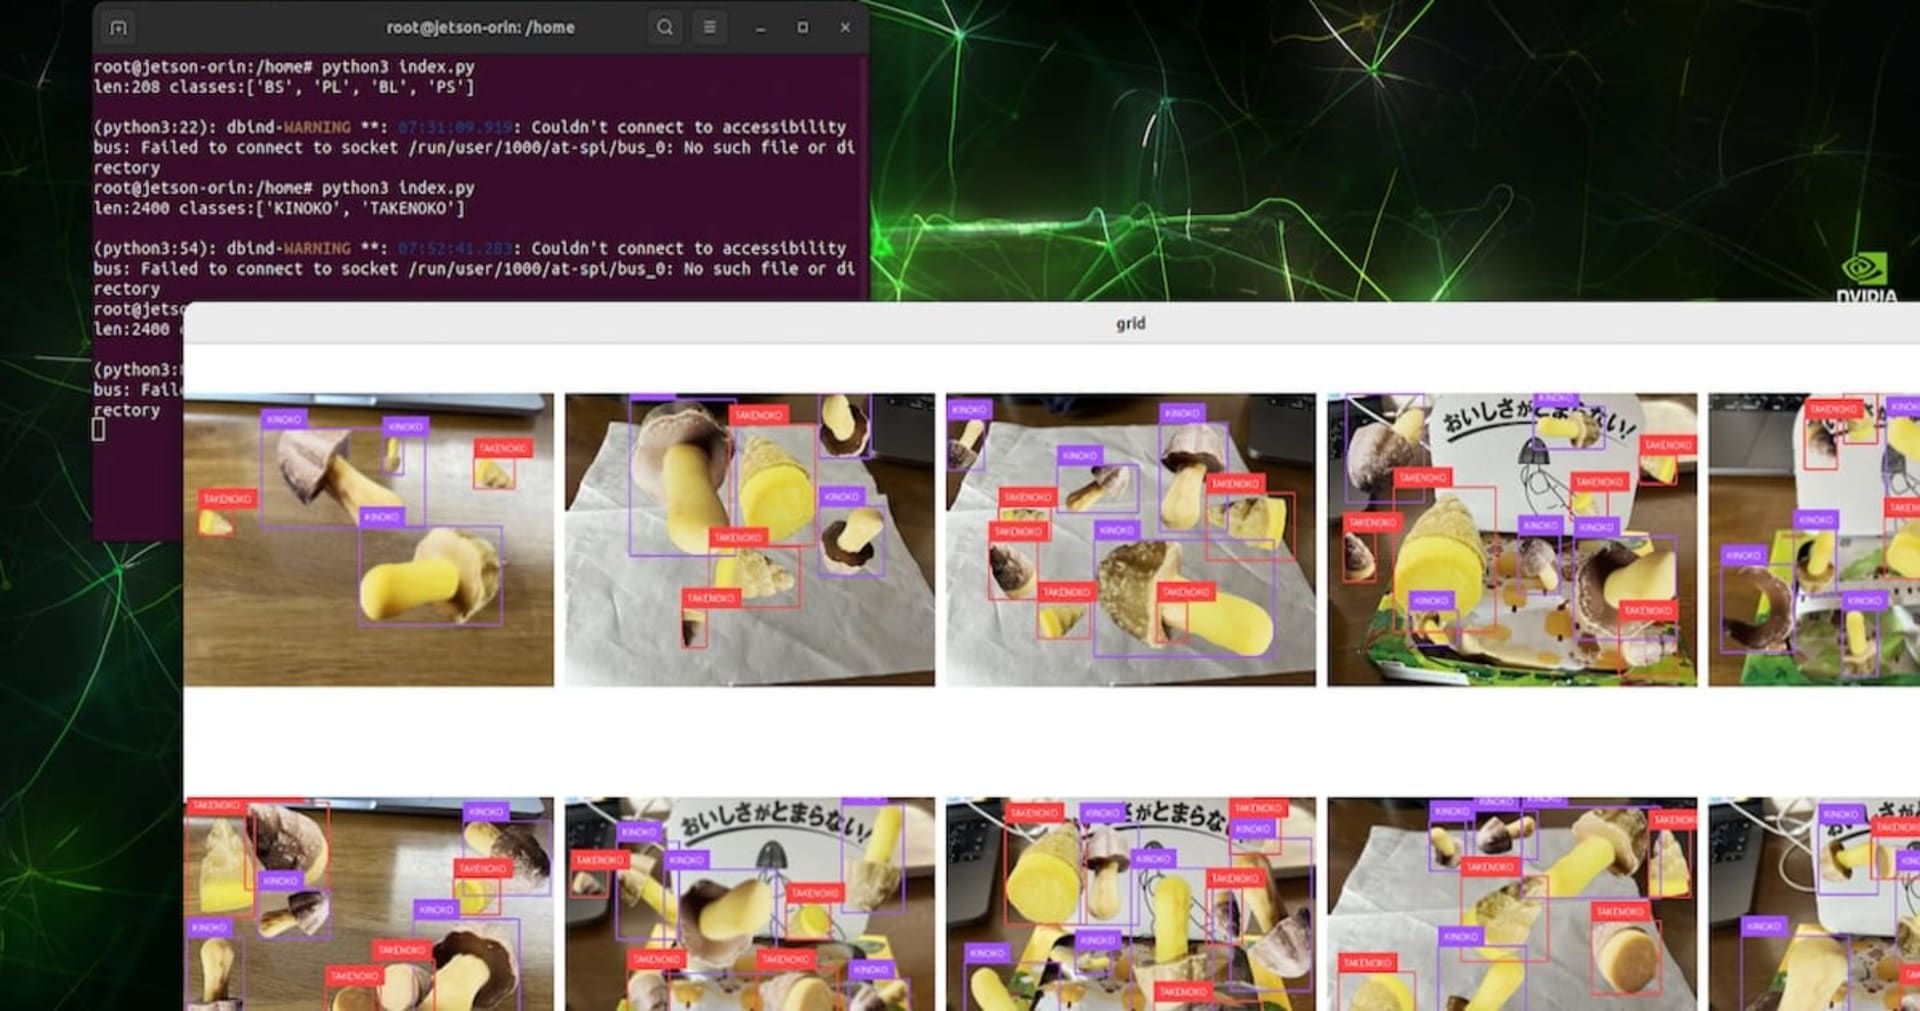
背景が白の画像は、分類モデルのデータセットに利用できると思います。また、透過の画像は、別途用意した背景の上に重ねて検出モデル用のデータセットが生成できると思います。
参考:下記では、透過画像からYOLOv5のデータセットを生成しています。
6 最後に
今回は、Segment Anythingを使用して、コンピュータビジョン用のデータセット画像を生成してみました。
これにより、軽易に動画を撮影するだけで、後は半自動で画像の切り出しまでできるようになりました。
この作業が、簡単になれば、手返し良くデータセットを試せるので、モデルの精度を上げることに貢献できると、個人的には信じています。
動画で動作していたソースコードは、以下です。説明が不足している部分については、こちらを参照頂ければ幸いです。
index.py
import os
import datetime
import numpy as np
import torch
import cv2
import matplotlib.pyplot as plt
from matplotlib import patches
from segment_anything import sam_model_registry, SamPredictor


# マウスで範囲指定する
class BoundingBox:
    def __init__(self, image):
        self.x1 = -1
        self.x2 = -1
        self.y1 = -1
        self.y2 = -1
        self.image = image.copy()
        plt.figure()
        plt.connect("motion_notify_event", self.motion)
        plt.connect("button_press_event", self.press)
        plt.connect("button_release_event", self.release)
        self.ln_v = plt.axvline(0)
        self.ln_h = plt.axhline(0)
        plt.imshow(cv2.cvtColor(self.image, cv2.COLOR_BGR2RGB))
        plt.show()

    # 選択中のカーソル表示
    def motion(self, event):
        if event.xdata is not None and event.ydata is not None:
            self.ln_v.set_xdata(event.xdata)
            self.ln_h.set_ydata(event.ydata)
            self.x2 = event.xdata.astype("int16")
            self.y2 = event.ydata.astype("int16")
        if self.x1 != -1 and self.x2 != -1 and self.y1 != -1 and self.y2 != -1:
            plt.clf()
            plt.imshow(cv2.cvtColor(self.image, cv2.COLOR_BGR2RGB))
            ax = plt.gca()
            rect = patches.Rectangle(
                (self.x1, self.y1),
                self.x2 - self.x1,
                self.y2 - self.y1,
                angle=0.0,
                fill=False,
                edgecolor="#00FFFF",
            )
            ax.add_patch(rect)
        plt.draw()

    # ドラッグ開始位置
    def press(self, event):
        self.x1 = event.xdata.astype("int16")
        self.y1 = event.ydata.astype("int16")

    # ドラッグ終了位置、表示終了
    def release(self, event):
        plt.clf()
        plt.close()

    def get_area(self):
        return int(self.x1), int(self.y1), int(self.x2), int(self.y2)


# SAM
class SegmentAnything:
    def __init__(self, device, model_type, sam_checkpoint):
        print("init Segment Anything")
        self.device = device
        sam = sam_model_registry[model_type](checkpoint=sam_checkpoint)
        sam.to(self.device)
        self.predictor = SamPredictor(sam)

    @property
    def contours(self):
        return self._contours

    @property
    def transparent_image(self):
        return self._transparent_image

    @property
    def white_back_image(self):
        return self._white_back_image

    @property
    def box(self):
        return self._box

    # マスク取得
    def predict(self, frame, input_box):
        image = cv2.cvtColor(frame, cv2.COLOR_BGR2RGB)
        self.predictor.set_image(image)
        masks, _, _ = self.predictor.predict(
            point_coords=None,
            point_labels=None,
            box=input_box[None, :],
            multimask_output=False,
        )

        # ノイズ除去
        self._mask = self._remove_noise(frame, masks[0])
        # 範囲取得
        self._box = self._get_box()
        # 部分画像取得
        self._white_back_image, self._transparent_image = self._get_extract_image(frame)

    # マスクの範囲取得
    def _get_box(self):
        mask_indexes = np.where(self._mask)
        y_min = np.min(mask_indexes[0])
        y_max = np.max(mask_indexes[0])
        x_min = np.min(mask_indexes[1])
        x_max = np.max(mask_indexes[1])
        return np.array([x_min, y_min, x_max, y_max])

    # ノイズ除去
    def _remove_noise(self, image, mask):
        # 2値画像(白及び黒)を生成する
        height, width, _ = image.shape
        tmp_black_image = np.full(np.array([height, width, 1]), 0, dtype=np.uint8)
        tmp_white_image = np.full(np.array([height, width, 1]), 255, dtype=np.uint8)
        # マスクによって黒画像の上に白を描画する
        tmp_black_image[:] = np.where(
            mask[:height, :width, np.newaxis] == True, tmp_white_image, tmp_black_image
        )

        # 輪郭の取得
        contours, _ = cv2.findContours(
            tmp_black_image, cv2.RETR_EXTERNAL, cv2.CHAIN_APPROX_SIMPLE
        )
        # 最も面積が大きい輪郭を選択
        max_contours = max(contours, key=lambda x: cv2.contourArea(x))
        # 黒画面に一番大きい輪郭だけ塗りつぶして描画する
        black_image = np.full(np.array([height, width, 1]), 0, dtype=np.uint8)
        black_image = cv2.drawContours(
            black_image, [max_contours], -1, color=255, thickness=-1
        )
        # 輪郭を保存
        self._contours, _ = cv2.findContours(
            black_image, cv2.RETR_EXTERNAL, cv2.CHAIN_APPROX_SIMPLE
        )

        # マスクを作り直す
        new_mask = np.full(np.array([height, width, 1]), False, dtype=np.bool_)
        new_mask[::] = np.where(black_image[:height, :width] == 0, False, True)
        new_mask = np.squeeze(new_mask)

        return new_mask

    # 部分イメージの取得
    def _get_extract_image(self, image):
        # boxの範囲でマスクを切り取る
        part_of_mask = self._mask[
            self._box[1] : self._box[3], self._box[0] : self._box[2]
        ]
        # boxの範囲で元画像を切り取る
        copy_image = image.copy()  # 個々の食品を切取るためのテンポラリ画像
        white_back_image = copy_image[
            self._box[1] : self._box[3], self._box[0] : self._box[2]
        ]
        # boxの範囲で白一色の2値画像を作成する
        h = self._box[3] - self._box[1]
        w = self._box[2] - self._box[0]
        white_image = np.full(np.array([h, w, 1]), 255, dtype=np.uint8)
        # マスクによって白画像の上に元画像を描画する
        white_back_image[:] = np.where(
            part_of_mask[:h, :w, np.newaxis] == False, white_image, white_back_image
        )

        transparent_image = cv2.cvtColor(white_back_image, cv2.COLOR_BGR2BGRA)
        transparent_image[np.logical_not(part_of_mask), 3] = 0
        return white_back_image, transparent_image


class Video:
    def __init__(self, filename):
        self.cap = cv2.VideoCapture(filename)
        if self.cap.isOpened() == False:
            print("Video open faild.")
        else:
            self._frame_max = int(self.cap.get(cv2.CAP_PROP_FRAME_COUNT))

    # 次のフレーム取得
    def next_frame(self):
        return self.cap.read()

    ## 総フレーム数
    @property
    def frame_max(self):
        return self._frame_max

    def destroy(self):
        print("video destroy.")
        self.cap.release()
        cv2.destroyAllWindows()


# 縦横それぞれ、0.15倍まで広げた、ボックスを取得する
def get_next_input(box):
    x1 = box[0]
    y1 = box[1]
    x2 = box[2]
    y2 = box[3]
    w = x2 - x1
    h = y2 - y1
    x_margen = int(w * 0.15)
    y_margen = int(h * 0.15)

    return np.array([x1 - x_margen, y1 - y_margen, x2 + x_margen, y2 + y_margen])


def main():
    print("PyTorch version:", torch.__version__)
    device = "cuda" if torch.cuda.is_available() else "cpu"
    print("Using {} device".format(device))

    step = 3
    start_frame = 0  # 684から乱れる
    # filename = "DuckBrothers2.mp4"
    filename = "post_1.mp4"
    output_path = "./output"
    basename = os.path.splitext(os.path.basename(filename))[0]
    os.makedirs("{}/{}".format(output_path, basename), exist_ok=True)

    video = Video(filename)

    # Segment Anything
    sam = SegmentAnything(device, "vit_h", "sam_vit_h_4b8939.pth")

    try:
        print("start")
        for i in range(video.frame_max):
            ret, frame = video.next_frame()
            if ret == False:
                continue

            # 開始位置まで読み飛ばす
            if i < start_frame:
                continue

            # フレーム省略
            if i % step != 0:
                continue

            # 最初のフレームで、バウンディングボックスを取得する
            if i == start_frame:
                bounding_box = BoundingBox(frame)
                x1, y1, x2, y2 = bounding_box.get_area()
                input_box = np.array([x1, y1, x2, y2])

            print(
                "{} filename:{} shape:{} start_frame:{} input_box:{} frams:{}/{}".format(
                    datetime.datetime.now(),
                    filename,
                    frame.shape,
                    start_frame,
                    input_box,
                    i + 1,
                    video.frame_max,
                )
            )

            # マスク生成
            sam.predict(frame, input_box)
            # 輪郭描画
            frame = cv2.drawContours(
                frame, sam.contours, -1, color=[255, 255, 0], thickness=6
            )

            # バウンディングボックス描画
            frame = cv2.rectangle(
                frame,
                pt1=(input_box[0], input_box[1]),
                pt2=(input_box[2], input_box[3]),
                color=(255, 255, 255),
                thickness=2,
                lineType=cv2.LINE_4,
            )

            # データ保存
            cv2.imwrite(
                "{}/{}/{:09}_t.png".format(output_path, basename, i),
                sam.transparent_image,
            )
            cv2.imwrite(
                "{}/{}/{:09}_w.png".format(output_path, basename, i),
                sam.white_back_image,
            )

            # 表示
            cv2.imshow("Extract", sam.white_back_image)
            cv2.waitKey(1)
            cv2.imshow("Video", cv2.resize(frame, None, fx=0.3, fy=0.3))
            cv2.waitKey(1)

            # 次のFrameで、検出範囲よりひと回り大きい範囲をBOX指定する
            input_box = get_next_input(sam.box)
    except KeyboardInterrupt:
        video.destroy()


if __name__ == "__main__":
    main()