UIKitとSwiftUIでタイトルの無いActionSheetを表示する
この記事は公開されてから1年以上経過しています。情報が古い可能性がありますので、ご注意ください。
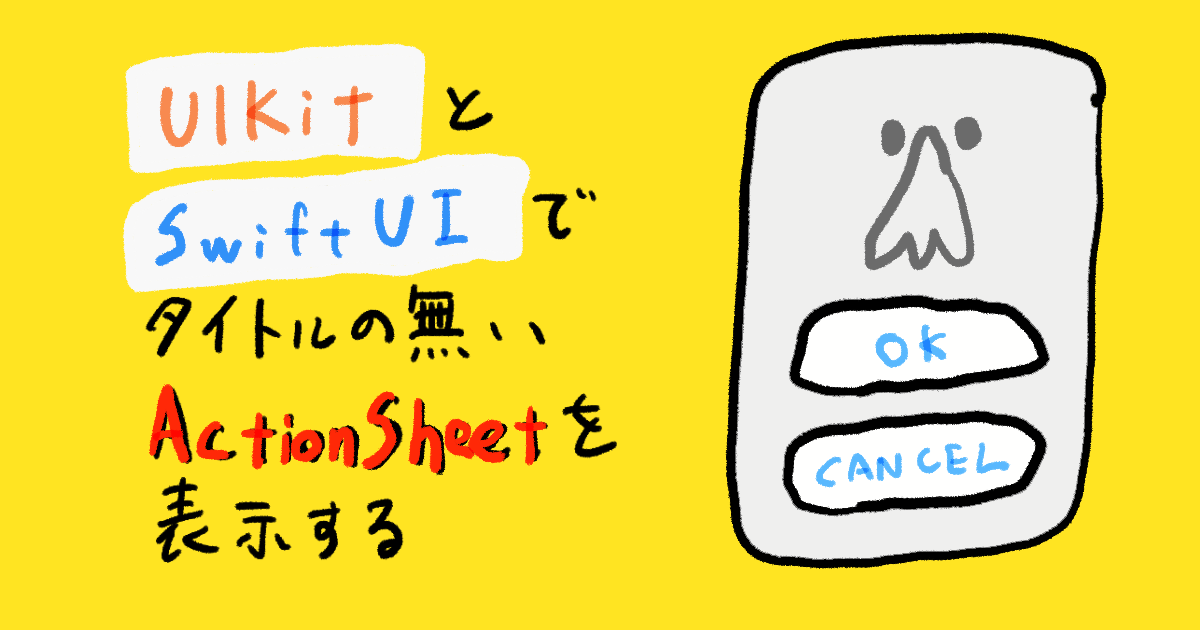
タイトルの無いActionSheetを実装する機会があり、UIKitとSwiftUIでの方法を調べたので記載しておきます。
環境
- Xcode 13.3
- iOS 15.4
タイトルの無いActionSheetを表示する
SwiftUI
SwiftUIのActionSheetはiOS 13.0~ 16.0までの記載があり、現在非推奨になっております。公式ドキュメント内でconfirmationDialog(_:isPresented:titleVisibility:presenting:actions:message:)を代わりに使うように記載されております。
confirmationDialog
func confirmationDialog<A, M, T>(_ titleKey: LocalizedStringKey, isPresented: Binding<Bool>, titleVisibility: Visibility = .automatic, presenting data: T?, @ViewBuilder actions: (T) -> A, @ViewBuilder message: (T) -> M) -> some View where A : View, M : View
- titleKey
- ダイアログのタイトル
- isPresented
- Confirmダイアログの表示フラグ
- titleVisibility
- タイトルを表示するかしないか
- data
- 表示するデータ
- actions
- ダイアログのアクション
- message
- タイトルの下に表示するメッセージ
実際に使ってみましよう。
コード
コードの例は下記になります。
import SwiftUI

struct ContentView: View {

    @State private var shouldPresentDialog = false
    @State private var dialogDetail: DialogDetail? = nil

    var body: some View {
        Button {
            shouldPresentDialog.toggle()

            if shouldPresentDialog {
                dialogDetail = DialogDetail(name: "選択肢")
            }
        } label: {
            VStack {
                HStack {

                    Image(systemName: "circle.fill")

                    Image(systemName: "circle.fill")
                }
                Image(systemName: "nose")
                    .resizable()
                    .frame(width: 100, height: 100)
            }
        }
        .confirmationDialog("タイトル無し",
                            isPresented: $shouldPresentDialog,
                            titleVisibility: .hidden,
                            presenting: dialogDetail) { detail in

            // ダイアログの選択肢
            Button {
                print(detail.name)
            } label: {
                Text(detail.name)
            }

            // キャンセルボタン
            Button("キャンセル", role: .cancel) {
                dialogDetail = nil
            }
        }
    }
}

struct DialogDetail: Identifiable {
    var id: String { name }
    let name: String
}
confirmDialogのtitleKeyにはタイトル無しと入力していますが、タイトルはtitleVisibilityを.hiddenにすることで非表示に出来ます。
isPresentedで表示非表示を切り替えるフラグを監視おり、ダイアログを閉じるとフラグはfalseに切り替わります。
presentingにはダイアログを表示する為のデータを渡して、actionsの中でダイアログのアクションを設定します。
messageはタイトル下に表示されるメッセージですが、こちらは省略可能になります。今回はタイトルの無いダイアログを作成したかった為、こちらは使用しません。
プレビュー
タイトルの無いダイアログが表示出来ました。

UIKit
UIKitでアクションシートを表現する為にUIAlertControllerを使用します。
UIAlertController
init(title: String?, message: String?, preferredStyle: UIAlertController.Style)
UIAlertControllerの引数のtitleとmessageはオプショナル型になっており、引数にnilを渡すとタイトルの無いUIAlertControllerを表示することが出来ます。
また、preferredStyleを.actionSheetにすることでアクションシートを表現出来ます。
ただ.actionSheetにはやや罠があり、通常のアラート実装だけではiPadで使用する時にクラッシュしてしまうので注意が必要です。以前、そのことを記事にしたので今回はその説明は割愛させていただきます。
コード
import UIKit

class ViewController: UIViewController {

    @IBAction func showActionSheet(_ sender: UIButton) {

        let actionSheet = UIAlertController(title: nil,
                                            message: nil,
                                            preferredStyle: .actionSheet)

        // iPadの対応でポップオーバーに対してロケーション情報を渡してあげる必要がある
        actionSheet.popoverPresentationController?.sourceView = sender.superview
        actionSheet.popoverPresentationController?.sourceRect = sender.frame

        let choiceAction = UIAlertAction(title: "選択肢", style: .default) { _ in
            print("選択肢")
        }

        let cancelAction = UIAlertAction(title: "キャンセル", style: .cancel)
        actionSheet.addAction(choiceAction)
        actionSheet.addAction(cancelAction)
        present(actionSheet, animated: true)
    }
}
タイトルとメッセージをnilしたアクションシートスタイルのアラートを作成し、各アラートアクションを追加した後にpresentしています。
プレビュー
タイトルの無いアクションシートが表示出来ました。

おわりに
UIAlertControllerはタイトルをnilではなく、""のように空文字にした時の見え方も違うので、色々試行錯誤しながら遊んでみるのも楽しいですね!
また、confirmationDialogには今回紹介している方法以外でも別の引数を持った呼び出し方法もあるので色々と試してみるもいいかもしれません。


