Trend Vision One Endpoint Security(Server & Workload Protection)のエージェントがスクリプトで導入できるようになりました
この記事は公開されてから1年以上経過しています。情報が古い可能性がありますので、ご注意ください。
こんにちは、シマです。
皆さんはTrend Vision One Endpoint Security(Server & Workload Protection)(以降V1ES)を使っていますか?V1ESでは対象サーバへエージェントの導入が必要です。従来では、V1ESのエージェントインストールはインストーラをダウンロードし、対象サーバで実行するようなアクションが必要でした。しかし、先日のアップデートでV1ESにおいてもCloud One Workload Security(以降C1WS)と同じようにスクリプトを利用してエージェントをインストールできるようになりましたので、早速試していきます。
前提条件
- Vision Oneのアカウント発行
- AWSとの連携
以下の記事で説明している上記2点を実施済みの前提で進めます。
https://dev.classmethod.jp/articles/v1-aws-setup/
1.配信スクリプトの生成
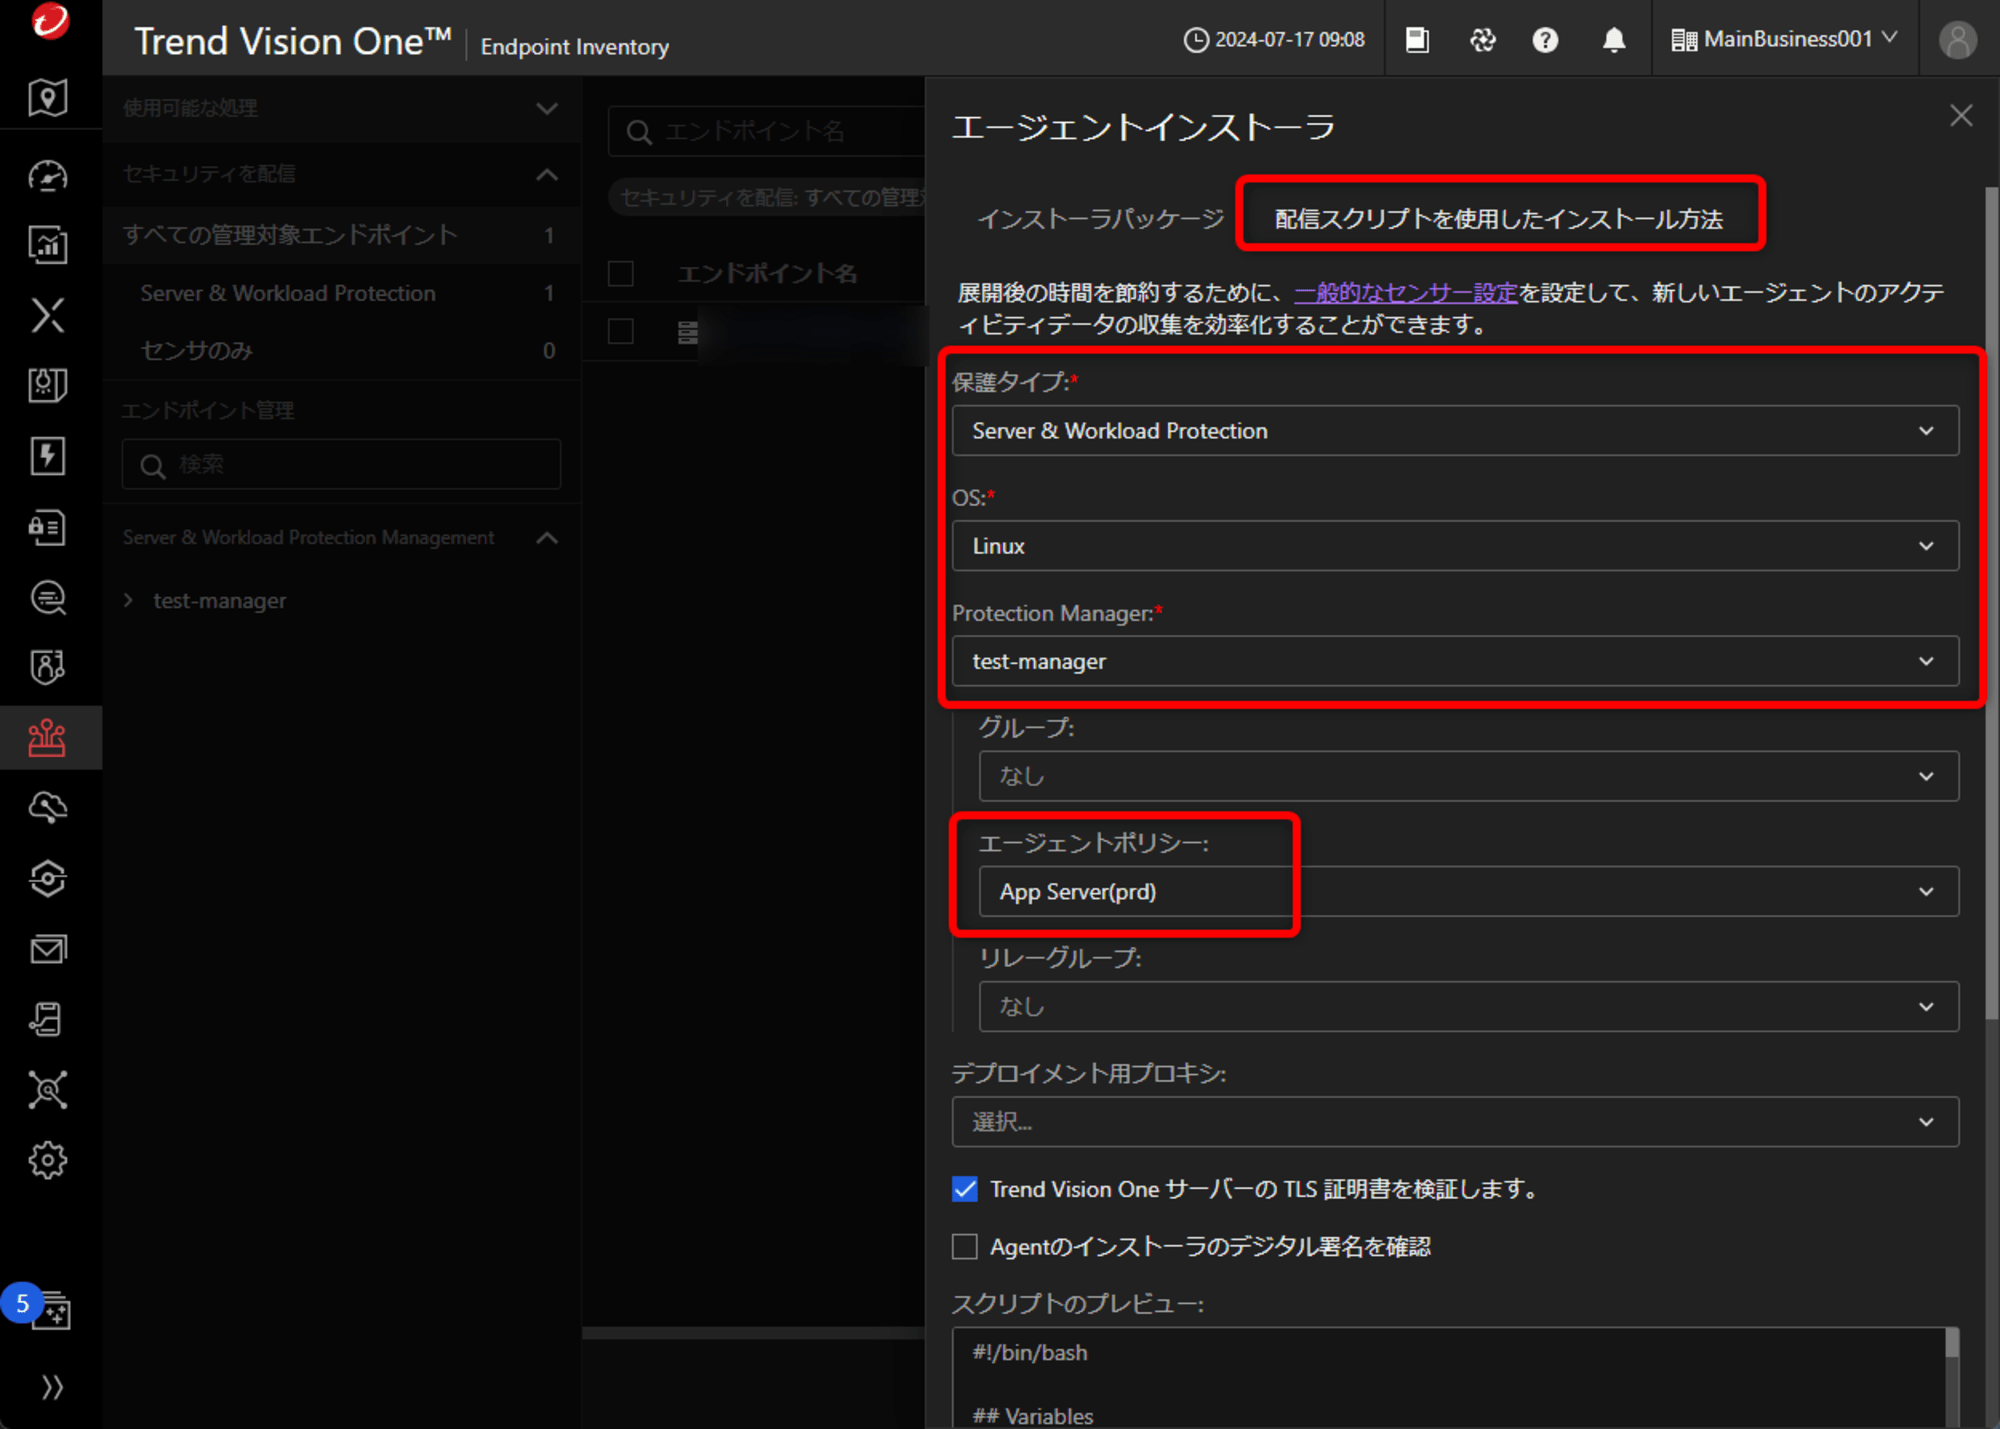
左ペインから「Endpoint Security」→「Endpoint Inventory」を選択します。表示された画面から「エージェントインストーラ」を選択します。

「配信スクリプトを使用したインストール方法」を選択し、保護タイプは「Server & Workload Protection」を選択します。その他は環境に合わせた値を指定します。今回は、OSは「Linux」、「Protection Manager」ではAWSとの連携時に作成したものを選択し、このスクリプトでインストールしたEC2のポリシーを指定したいので、エージェントポリシーを指定しました。
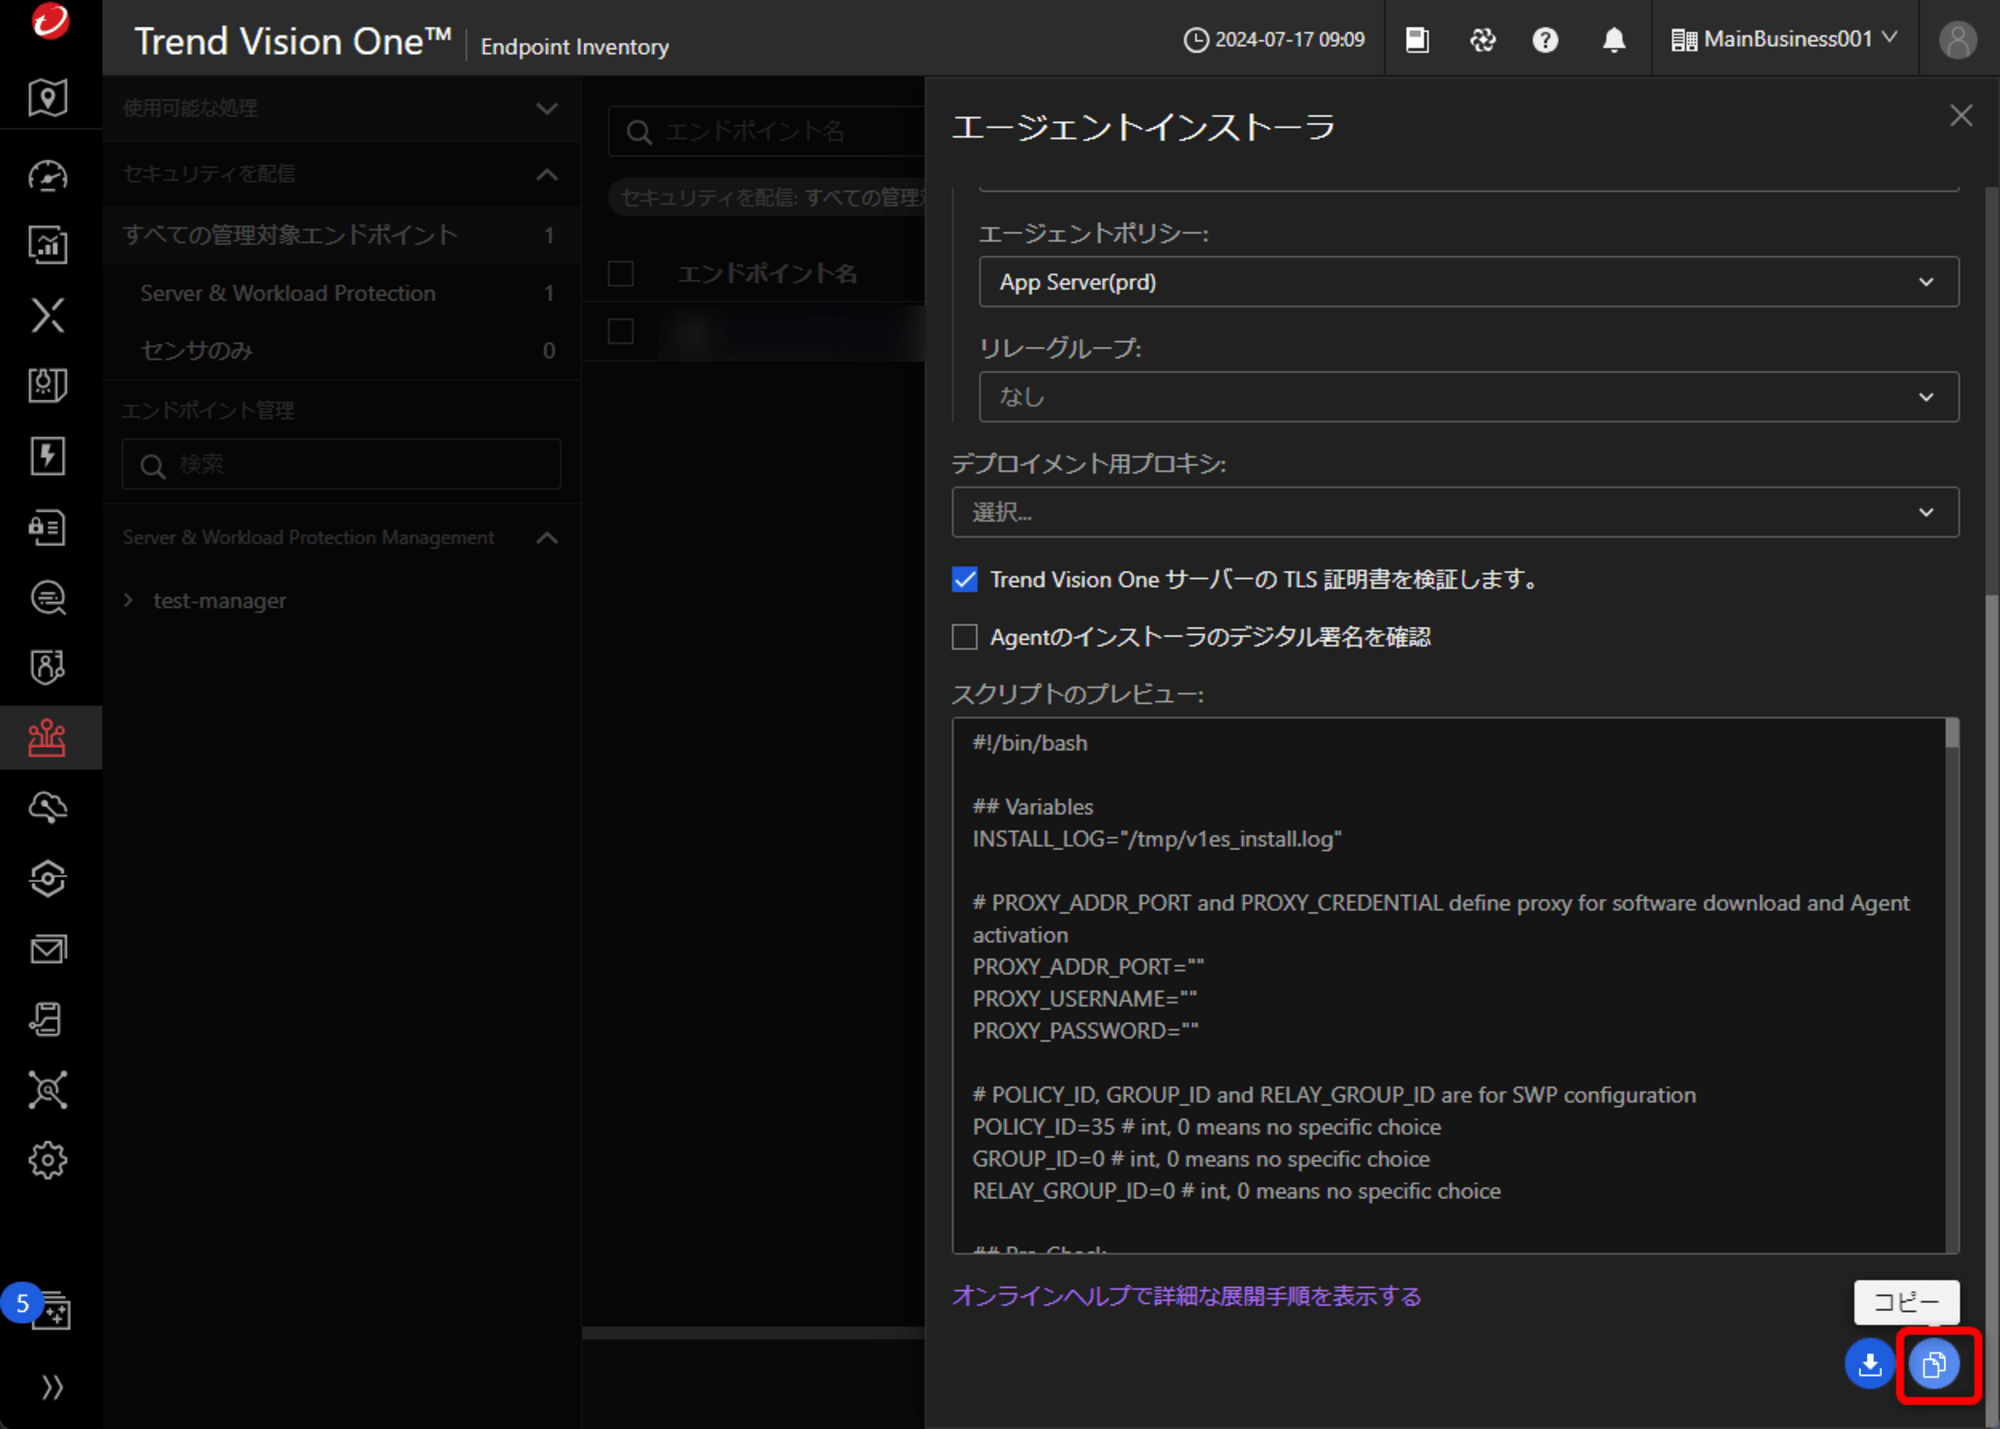
右下のコピーボタンを押下します。
2.EC2へエージェントのインストール
従来のC1WSと同様にインストール方法は2パターンあります。既にEC2が構築済みの場合は、EC2内でスクリプトを実行する方法になり、これからEC2を構築する場合やAuto Scalingを使う場合はユーザデータでインストールする方法が便利かと思いますので、それぞれご紹介いたします。
2-1.EC2でスクリプトを実行する方法
対象EC2へログインし、「1.配信スクリプトの生成」でコピーしたテキスト内容でスクリプトファイルを作成します。
$ ll
-rw-r--r--. 1 ec2-user ec2-user 11881 Jul 17 00:24 tmxbc_install.sh
実行権限を付与し、sudoで実行します。
$ chmod +x tmxbc_install.sh
$ sudo ./tmxbc_install.sh
[INFO] curl support tls v1.2.
[INFO] Start deploying.
[INFO] Start downloading the installer.
[INFO] The installer downloaded.
./checksum
./checksum.p7
./manifest
./tmxbc
./.property
[INFO] Start agent installation
[INFO] Agent is installing...
[INFO] The agent installation is using a direct connection.
Verifying root access... Done. Checking for existing Endpoint Basecamp installation... Done. Verifying installation package... Done. Verifying platform support... Done. Checking network connection. This might take some time... Done. Installing Endpoint Basecamp... Installation complete.
[INFO] Agent is installed.
[INFO] Waiting for agent to register.
[INFO] Agent is registered.
Unit ds_agent.service could not be found.
[INFO] Waiting for Server & Workload Protection to install.
[INFO] Server & Workload Protection is installed.
[INFO] Waiting for Server & Workload Protection to activate.
[INFO] Server & Workload Protection is activated.
[INFO] Server & Workload Protection configuration is set.
[INFO] Finish deploying.
問題なく完了しました!
2-2.ユーザデータでインストールする方法
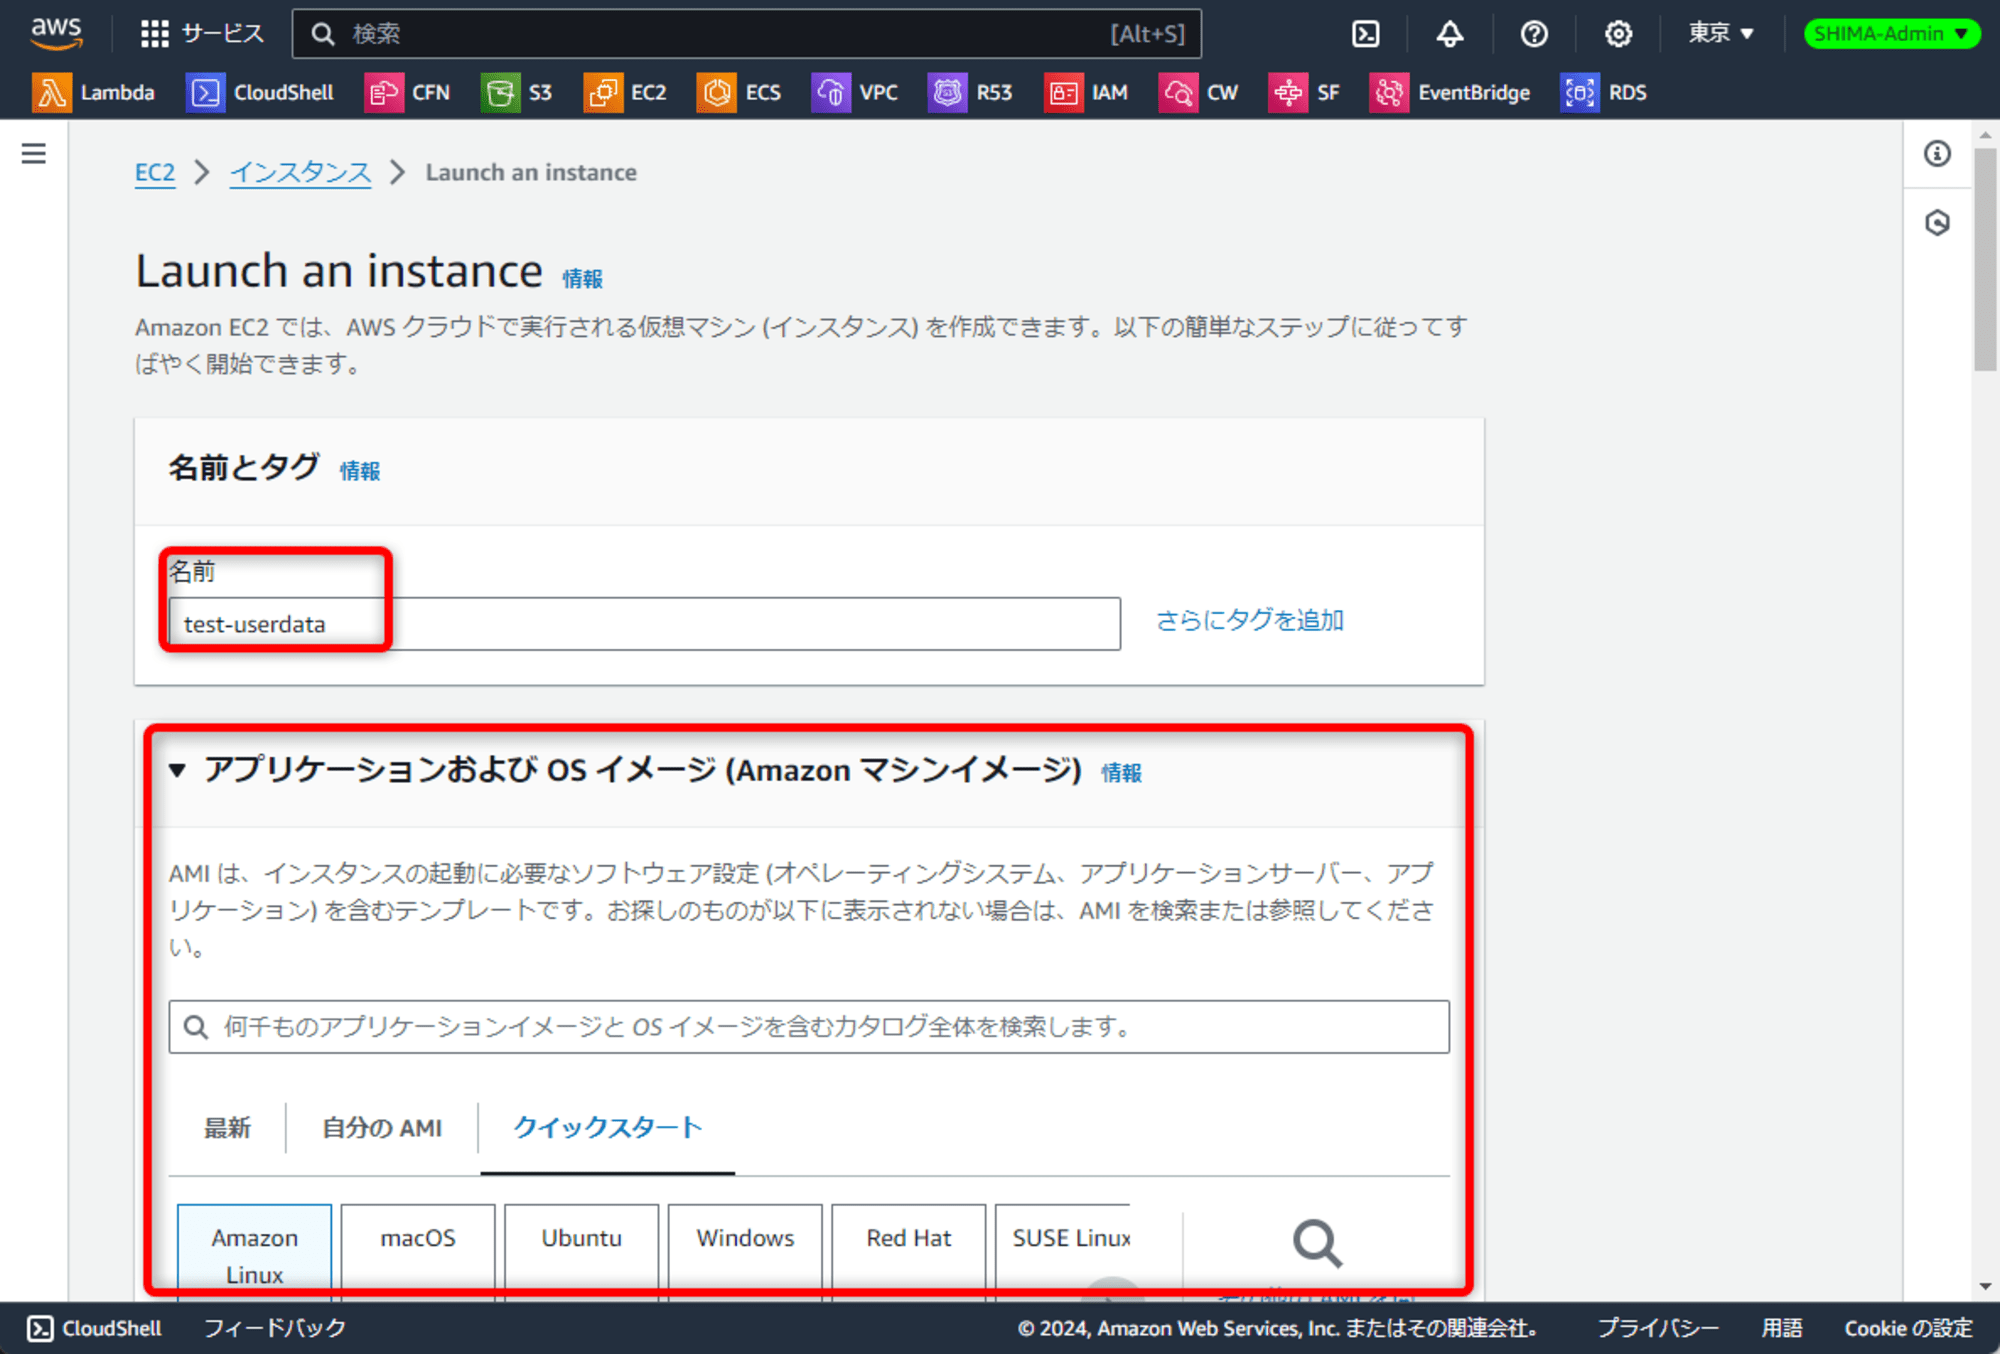
こちらの方法では、EC2新規作成時を想定して試していきます。まず、EC2作成時に必要な設定として名前、AMIやインスタンスタイプ等の選択をしていきますが、エージェントの導入とは直接関係ないので詳細は割愛します。
「高度な詳細」をクリックします。
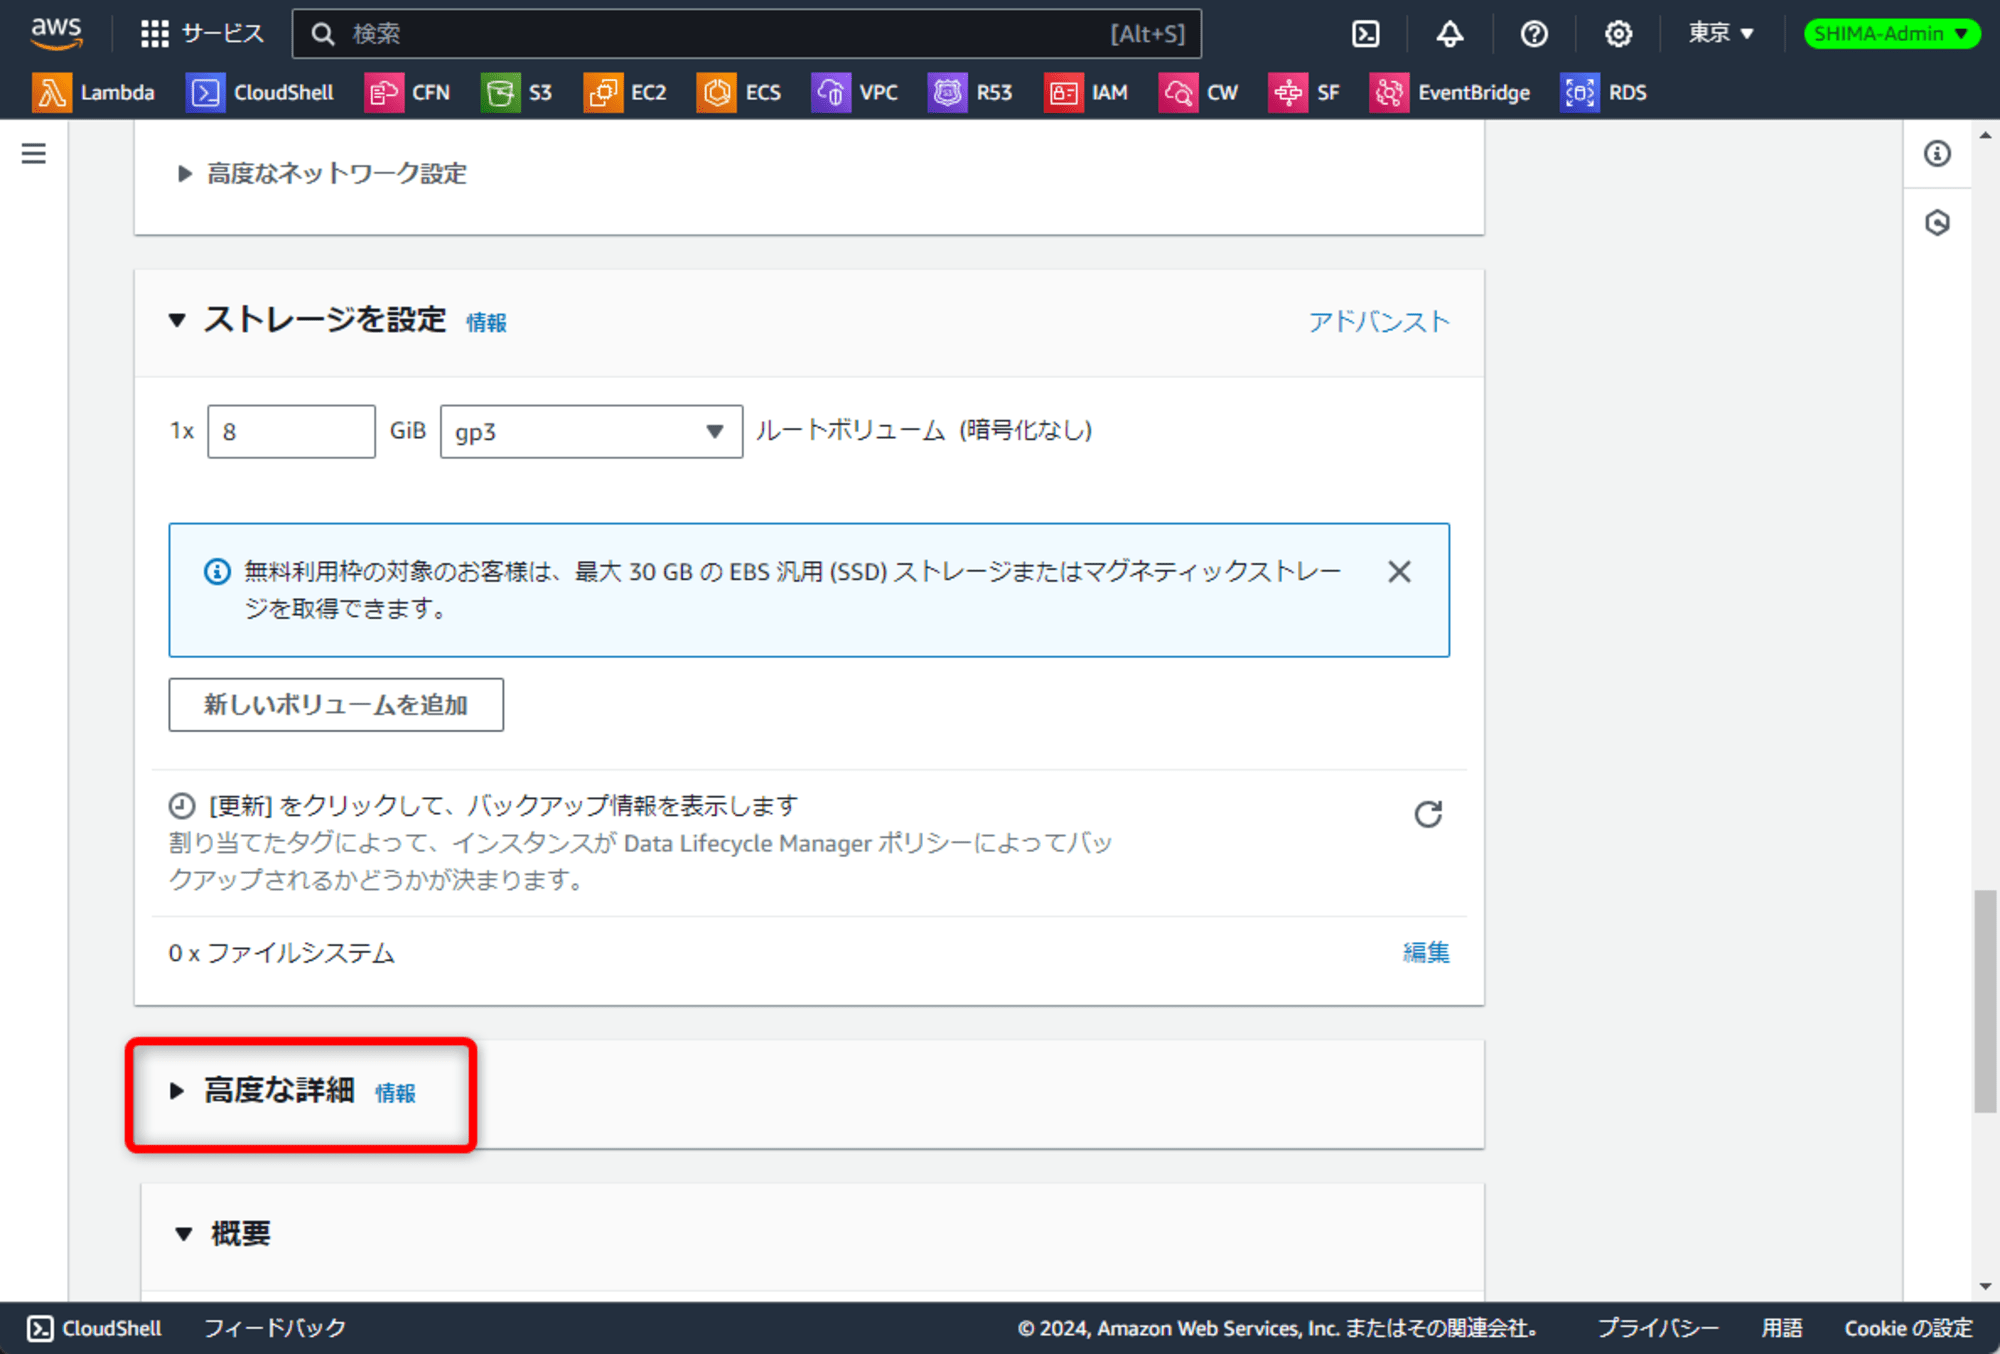
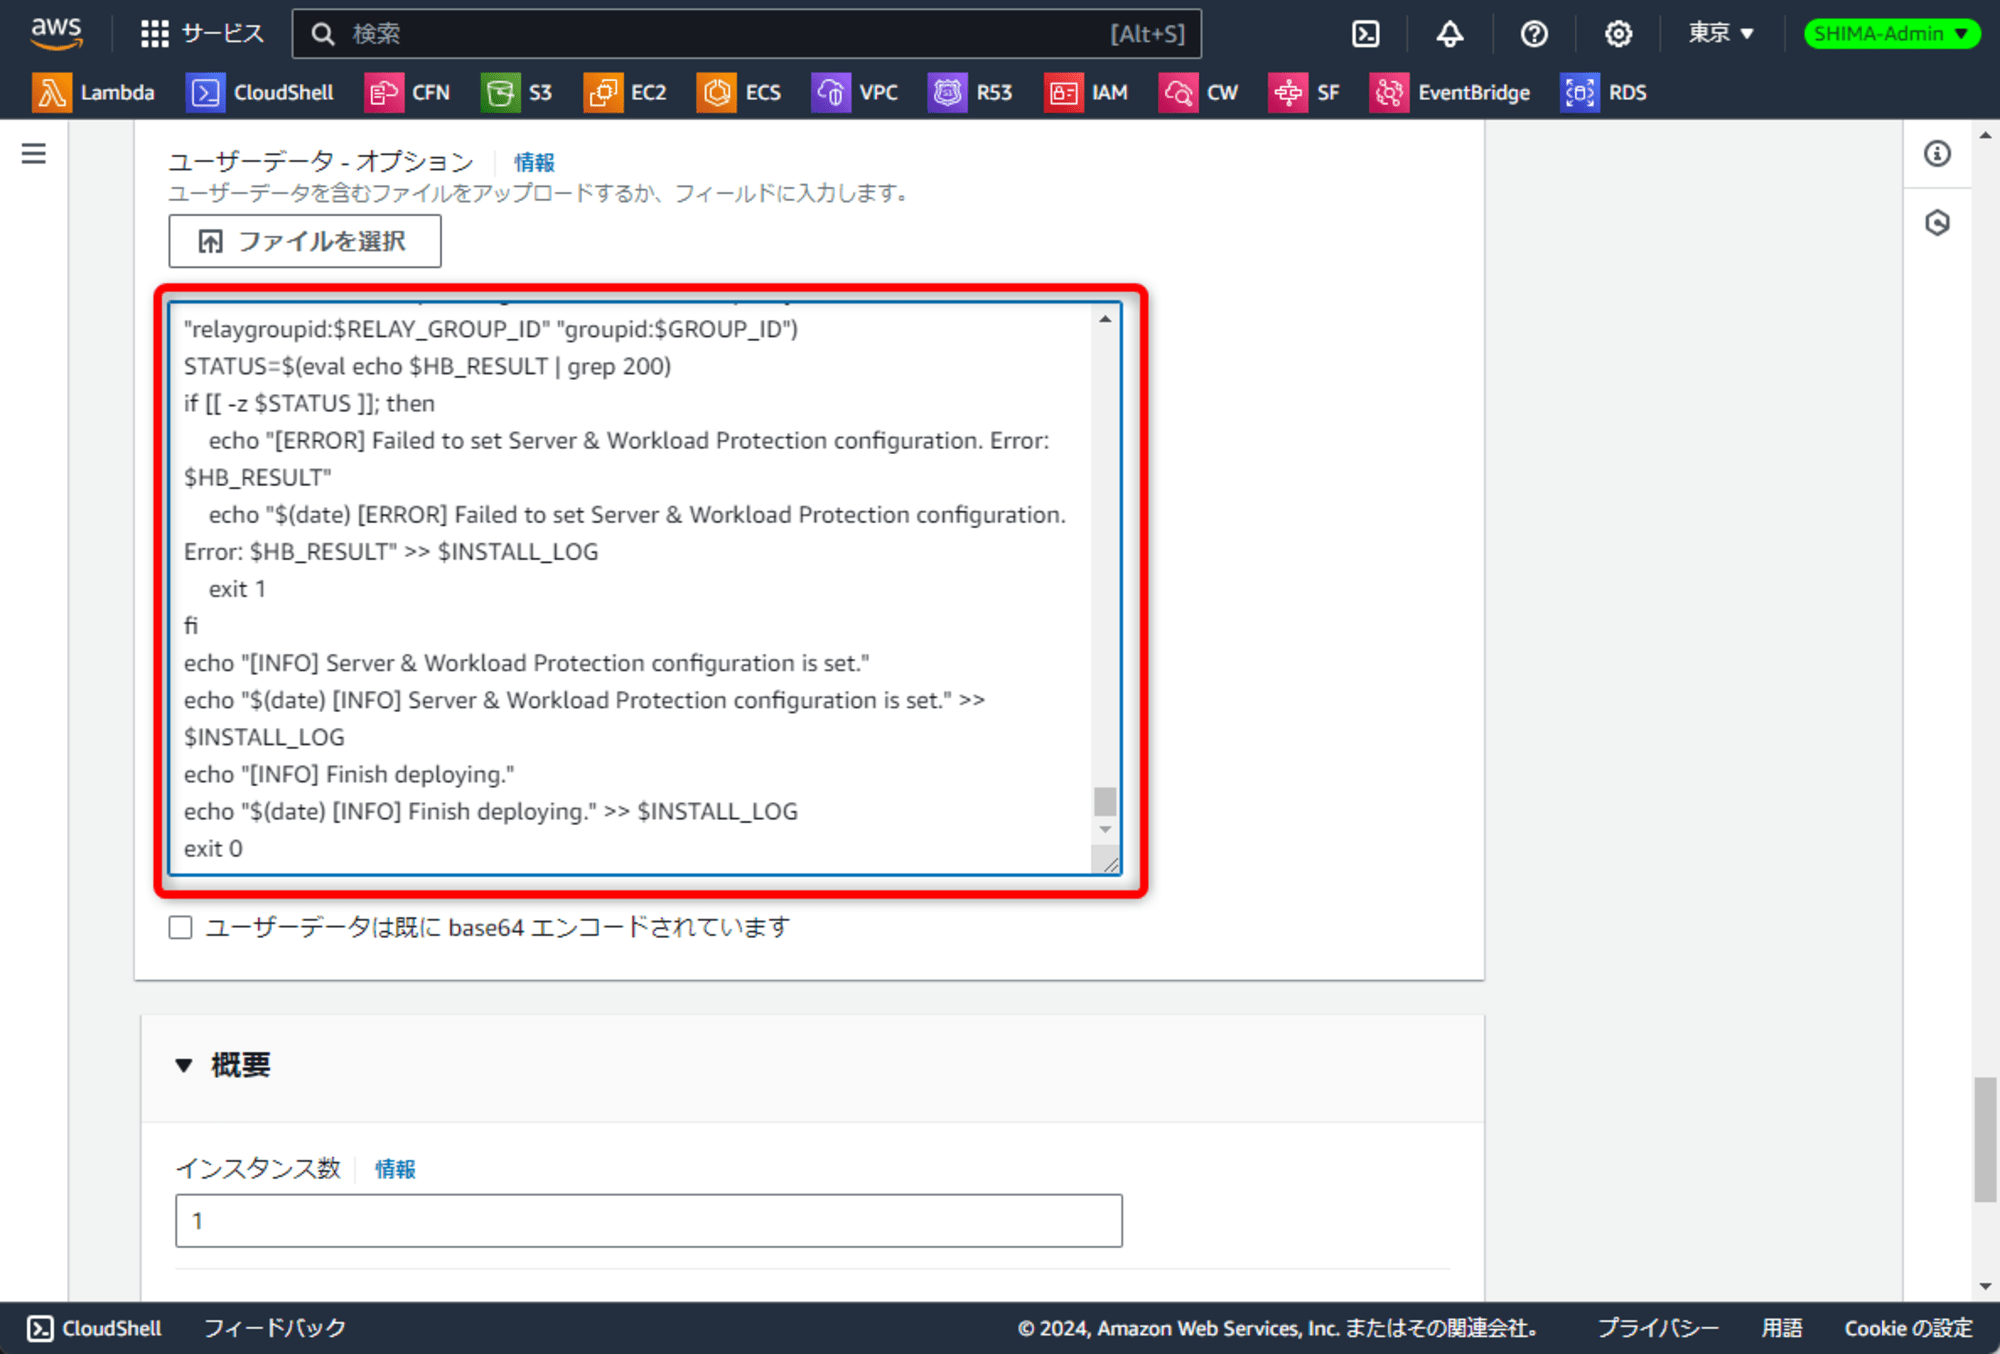
「ユーザデータ」に「1.配信スクリプトの生成」でコピーした内容を貼り付け、インスタンスを起動します。
3.Vision Oneの管理画面で確認する
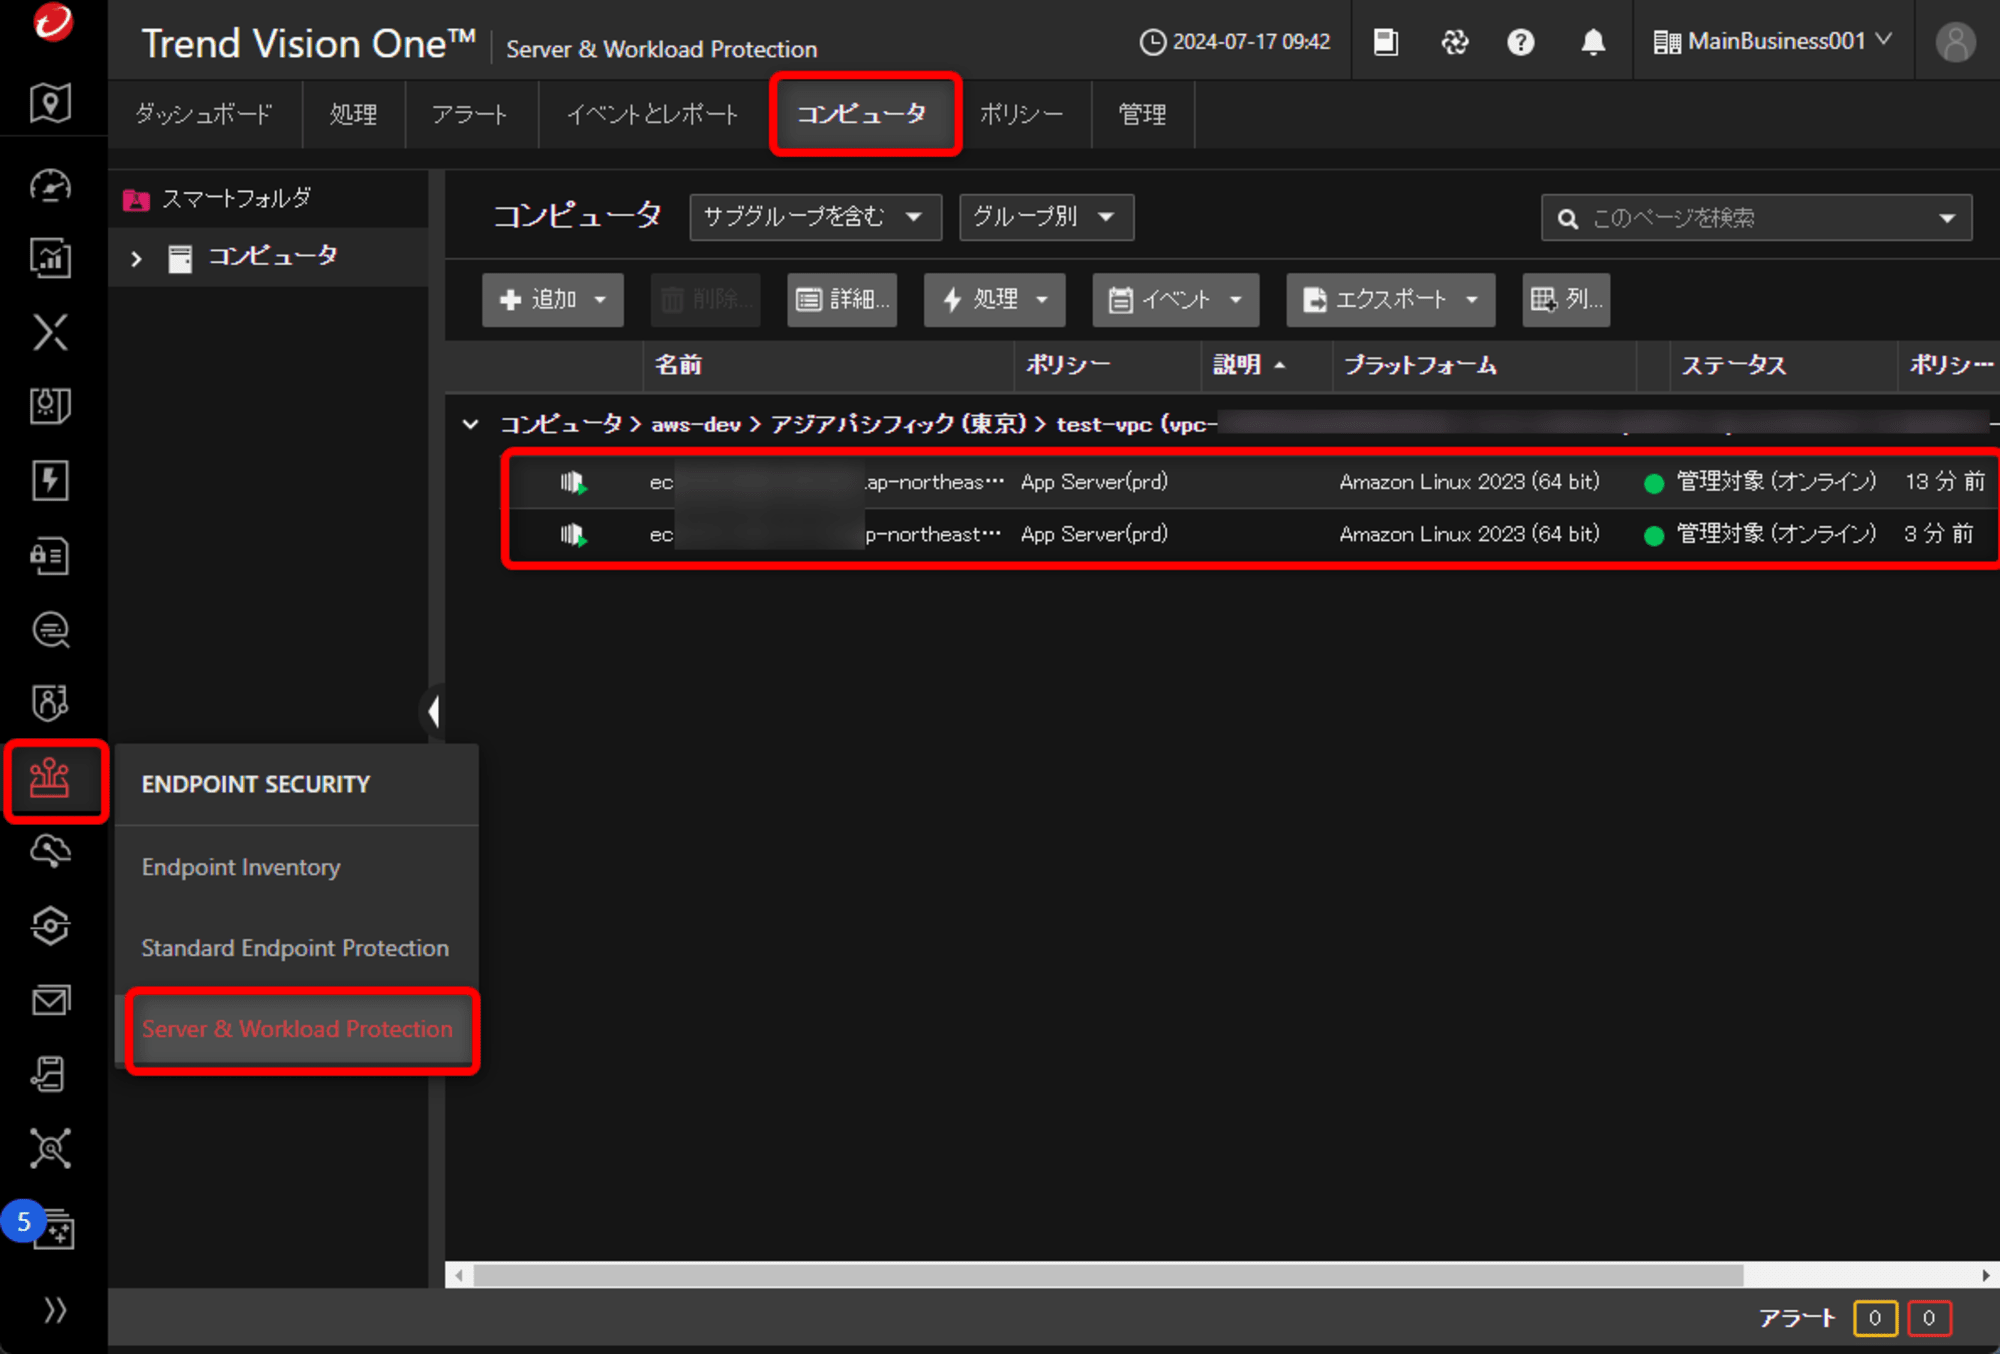
Trend Vision Oneコンソールの左ペインの「ENDPOINT SECURITY」→「Server & Workload Protection」から、「コンピュータ」タブを選択すると、スクリプトでインストールした対象の確認をすることができました。また、スクリプト生成時に指定したポリシーが適用されていることも確認できました。
最後に
今回はV1ESのAgentをスクリプトで導入してみました。スクリプトによる導入は任意のポリシーを適用した状態でAgentを導入できますし、インストーラをEC2に配置する必要もないのでとても便利ですね。
本記事がどなたかのお役に立てれば幸いです。