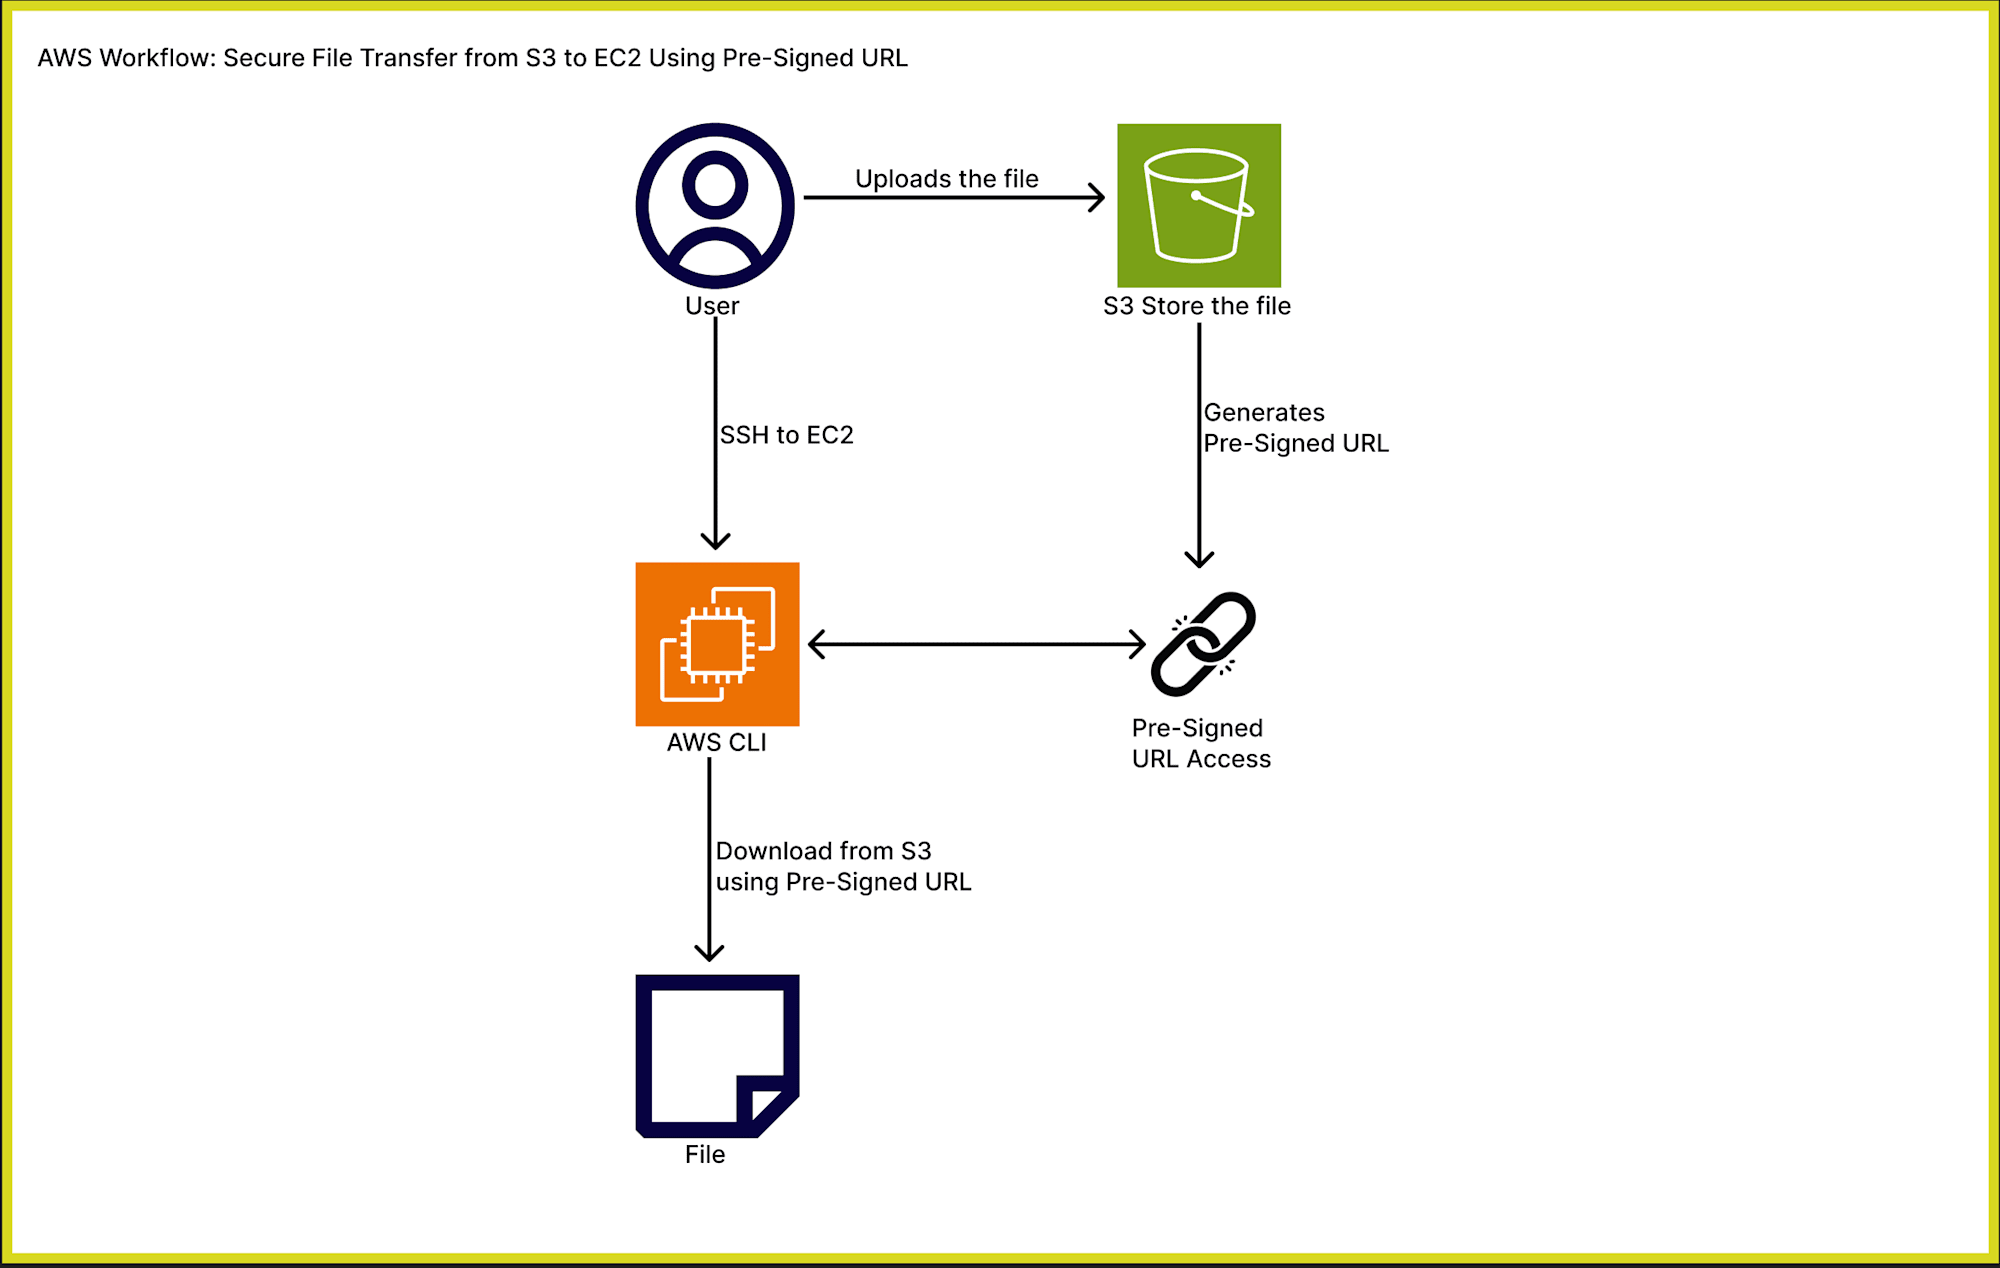
Accessing AWS resource inside EC2 instance!
この記事は公開されてから1年以上経過しています。情報が古い可能性がありますので、ご注意ください。
Introduction
Amazon Web Services (AWS) provides a wide range of cloud computing services, two of the most popular being Amazon EC2 and Amazon S3.
In this blog, we’ll combine these services to accomplish the following:
- Launch an EC2 instance and configure SSH access.
- Upload a file to an S3 bucket and generate a pre-signed URL for temporary access.
- Use the EC2 instance to download the file from S3 using AWS CLI.
The diagram below illustrates the workflow, showing how different AWS services interact to achieve secure file transfer.
Getting Started.
The steps below serve as a guide on creating an EC2 instance and use it to access the file stored in S3.
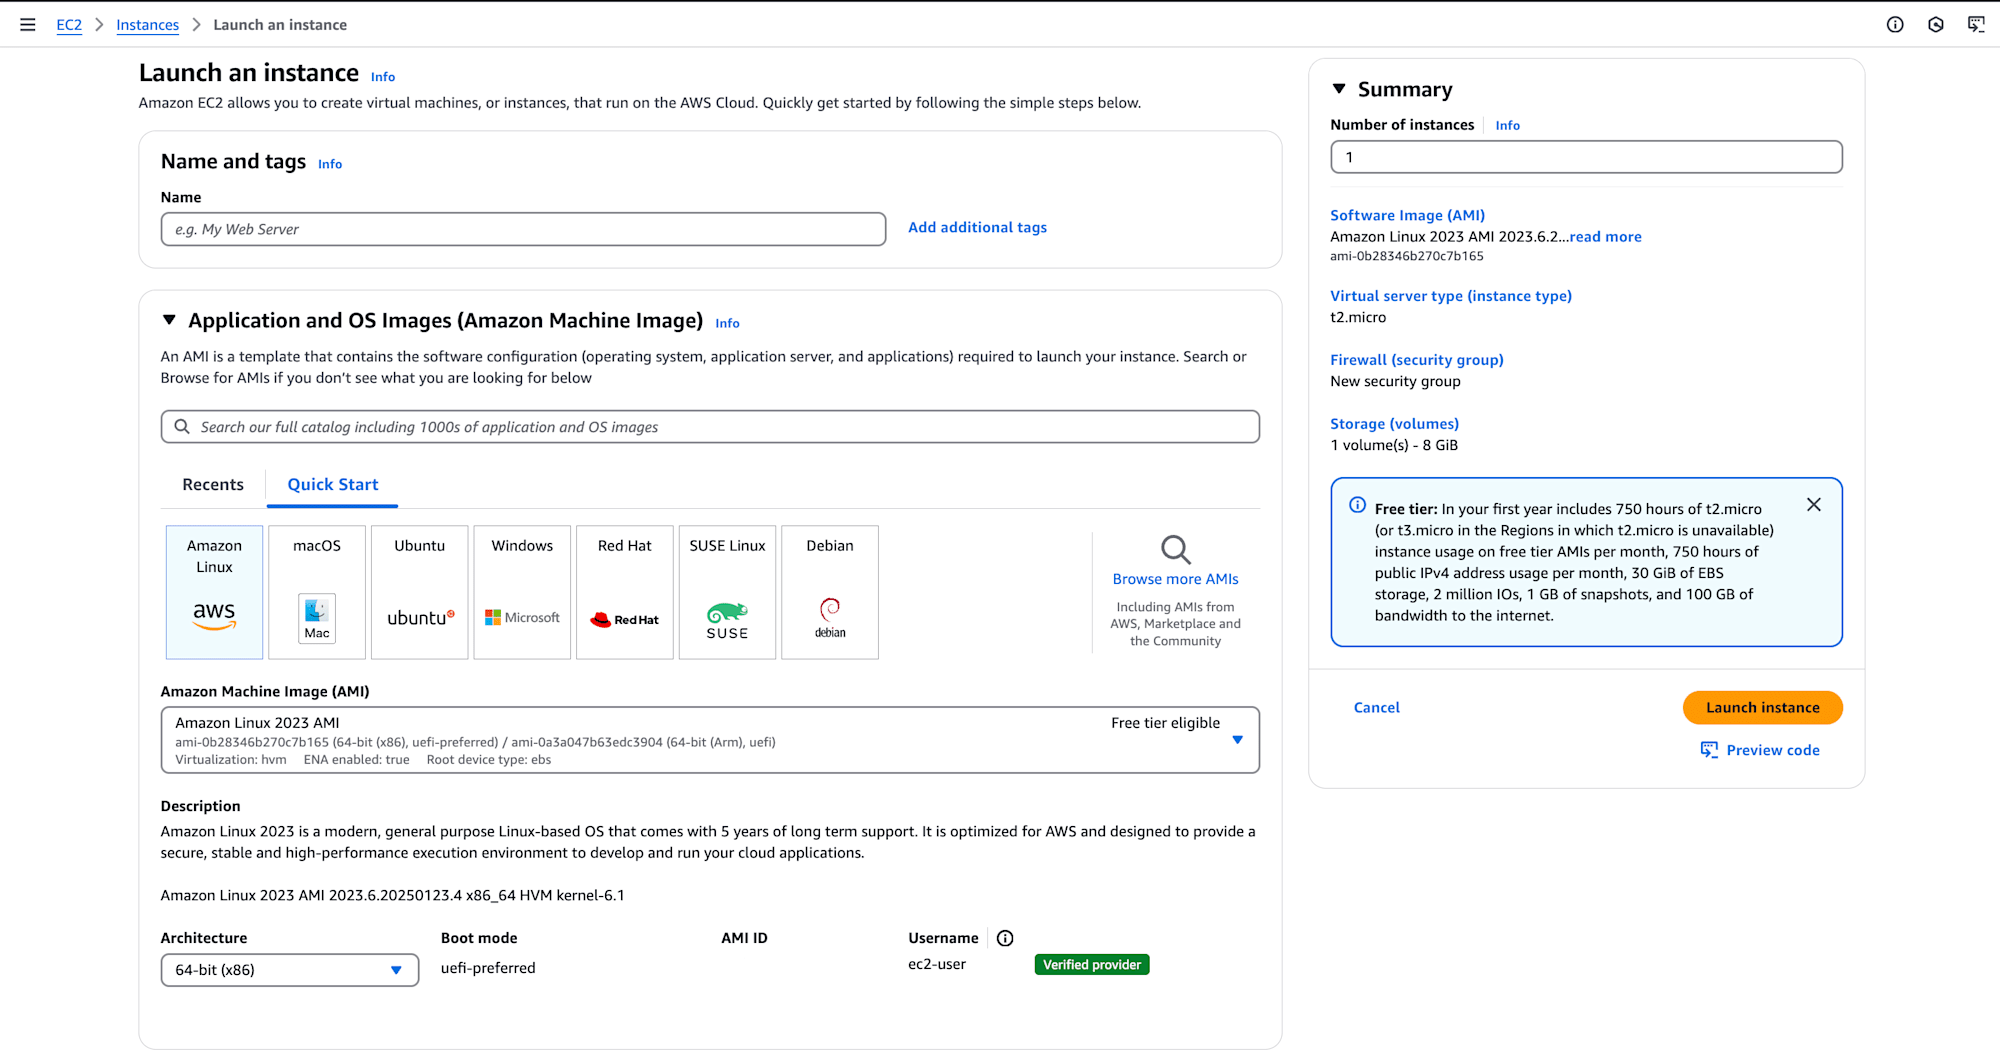
Step 1: Launch an EC2 Instance and Allow SSH Access.
- Log in to the AWS Management Console and navigate to the EC2 service.
- Click on "Launch Instances" and configure the following:
- Choose an Amazon Machine Image (AMI) (e.g., Amazon Linux 2).
- Select an instance type (e.g., t2.micro for free-tier eligible).
- Configure the instance details (default settings are fine for this task).
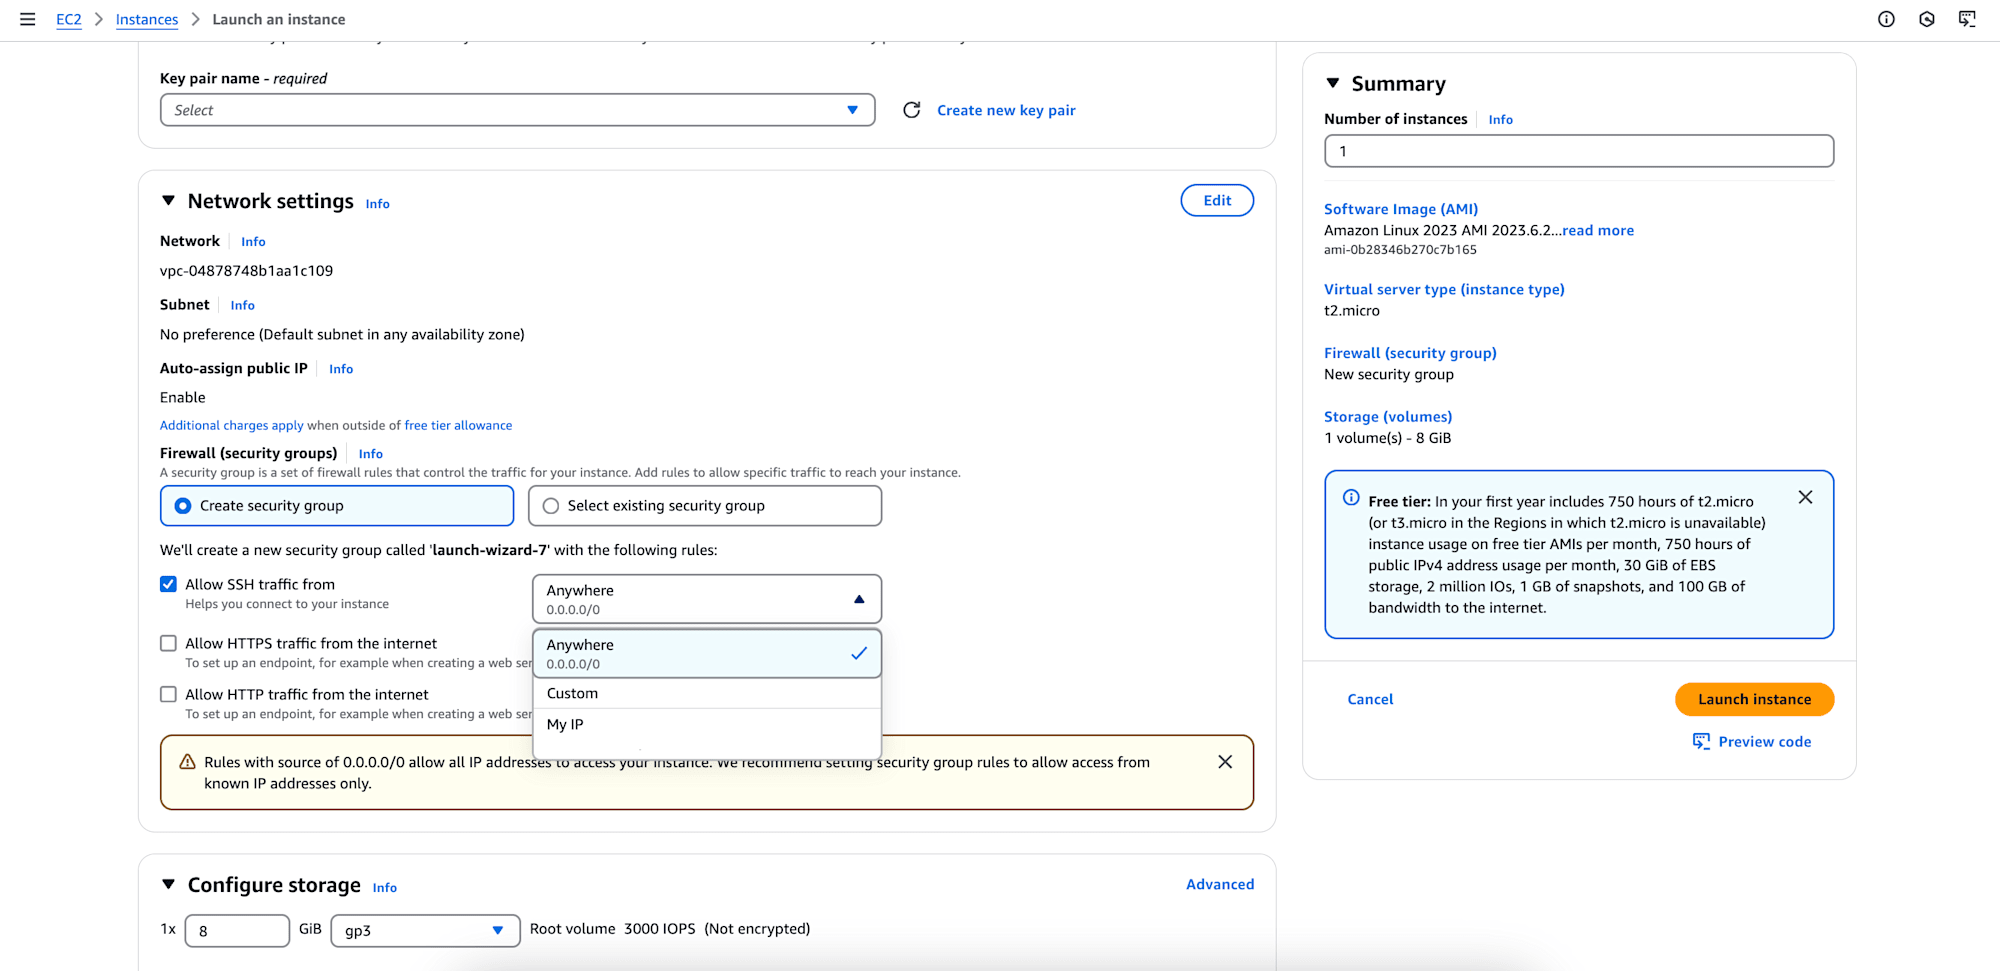
- Set up Security Group Rules:
- Add a rule to allow SSH access from your specific IP address (use My IP to automatically detect your IP).
- Example:
Type: SSH
Protocol: TCP
Port Range: 22
Source: Your IP (e.g., 203.0.113.25/32)
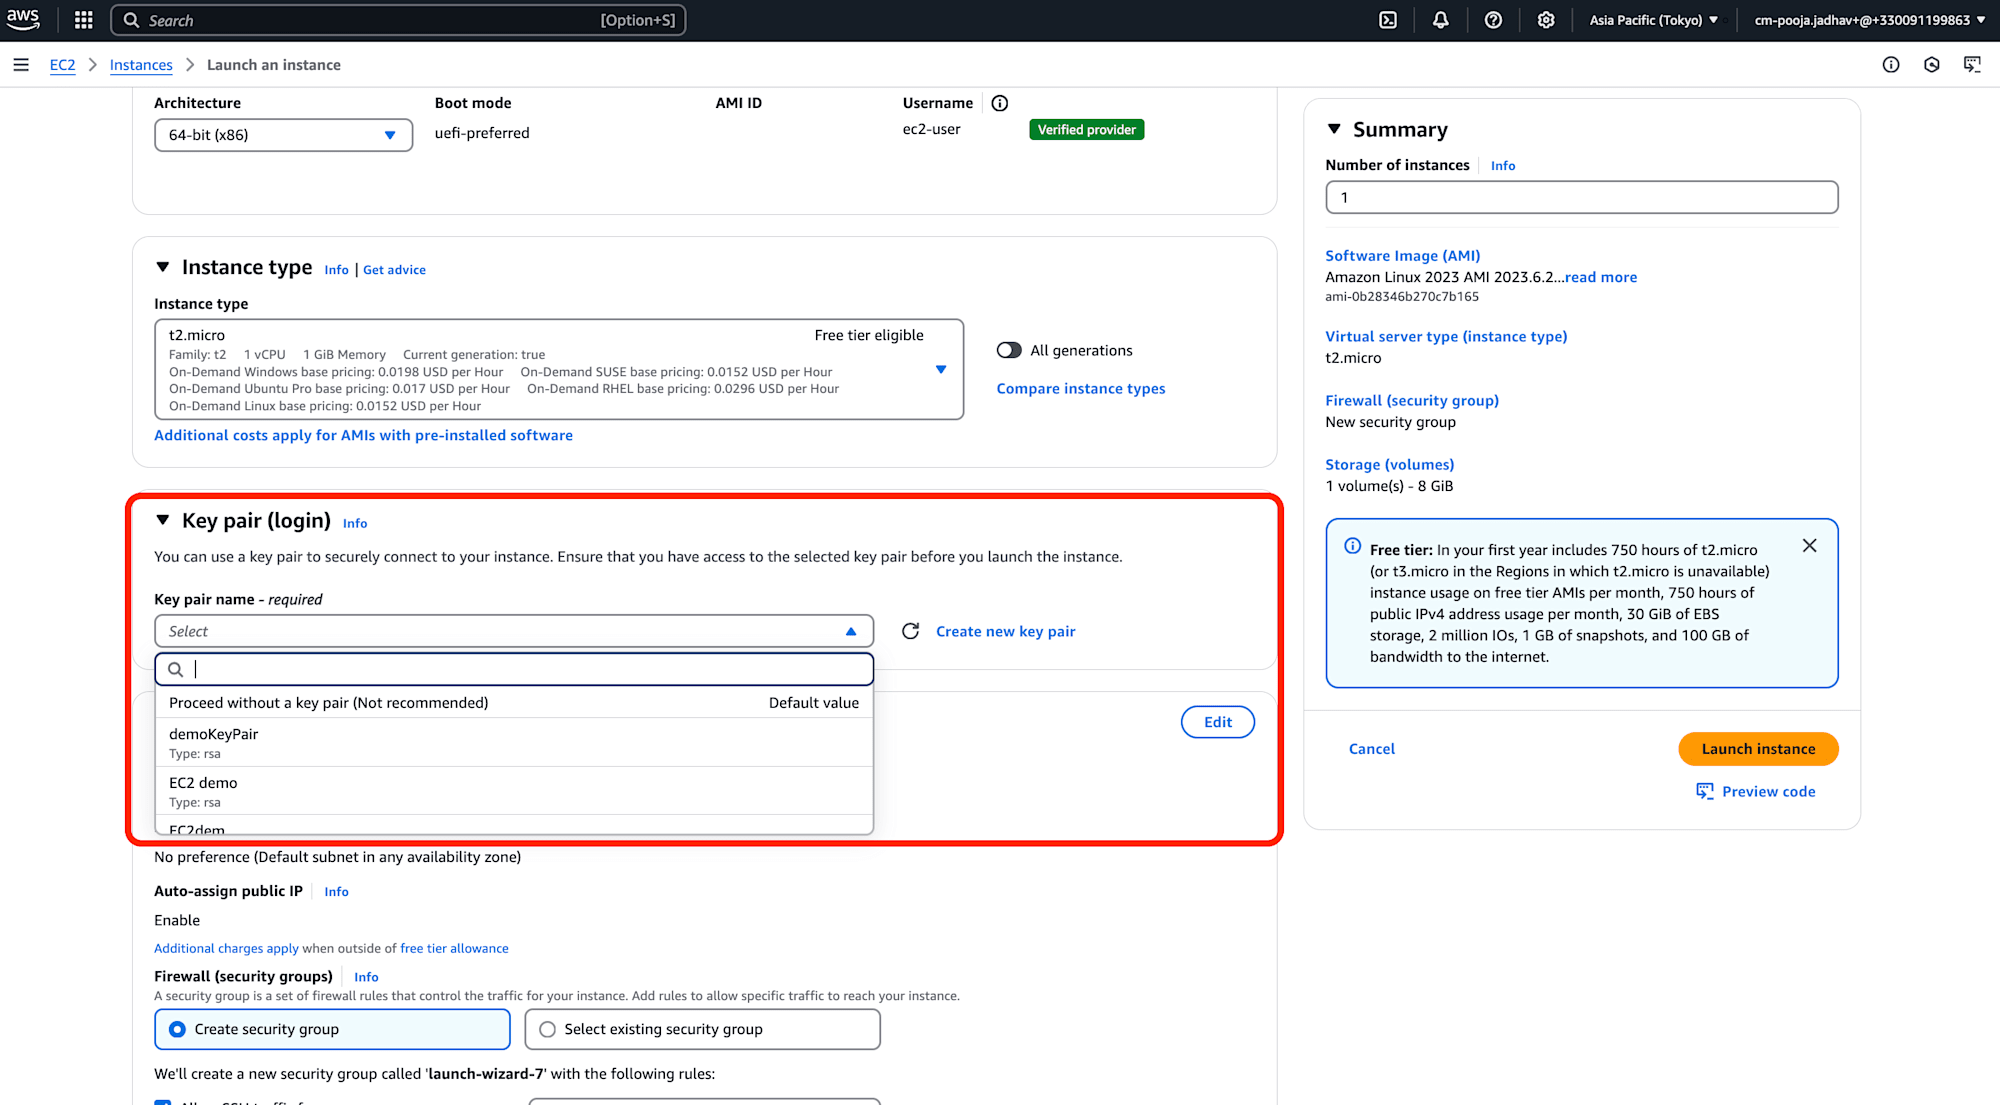
- Launch the instance and download the private key file (.pem) if you don't already have one.
Step 2: Upload a File to S3 and Generate a Pre-Signed URL
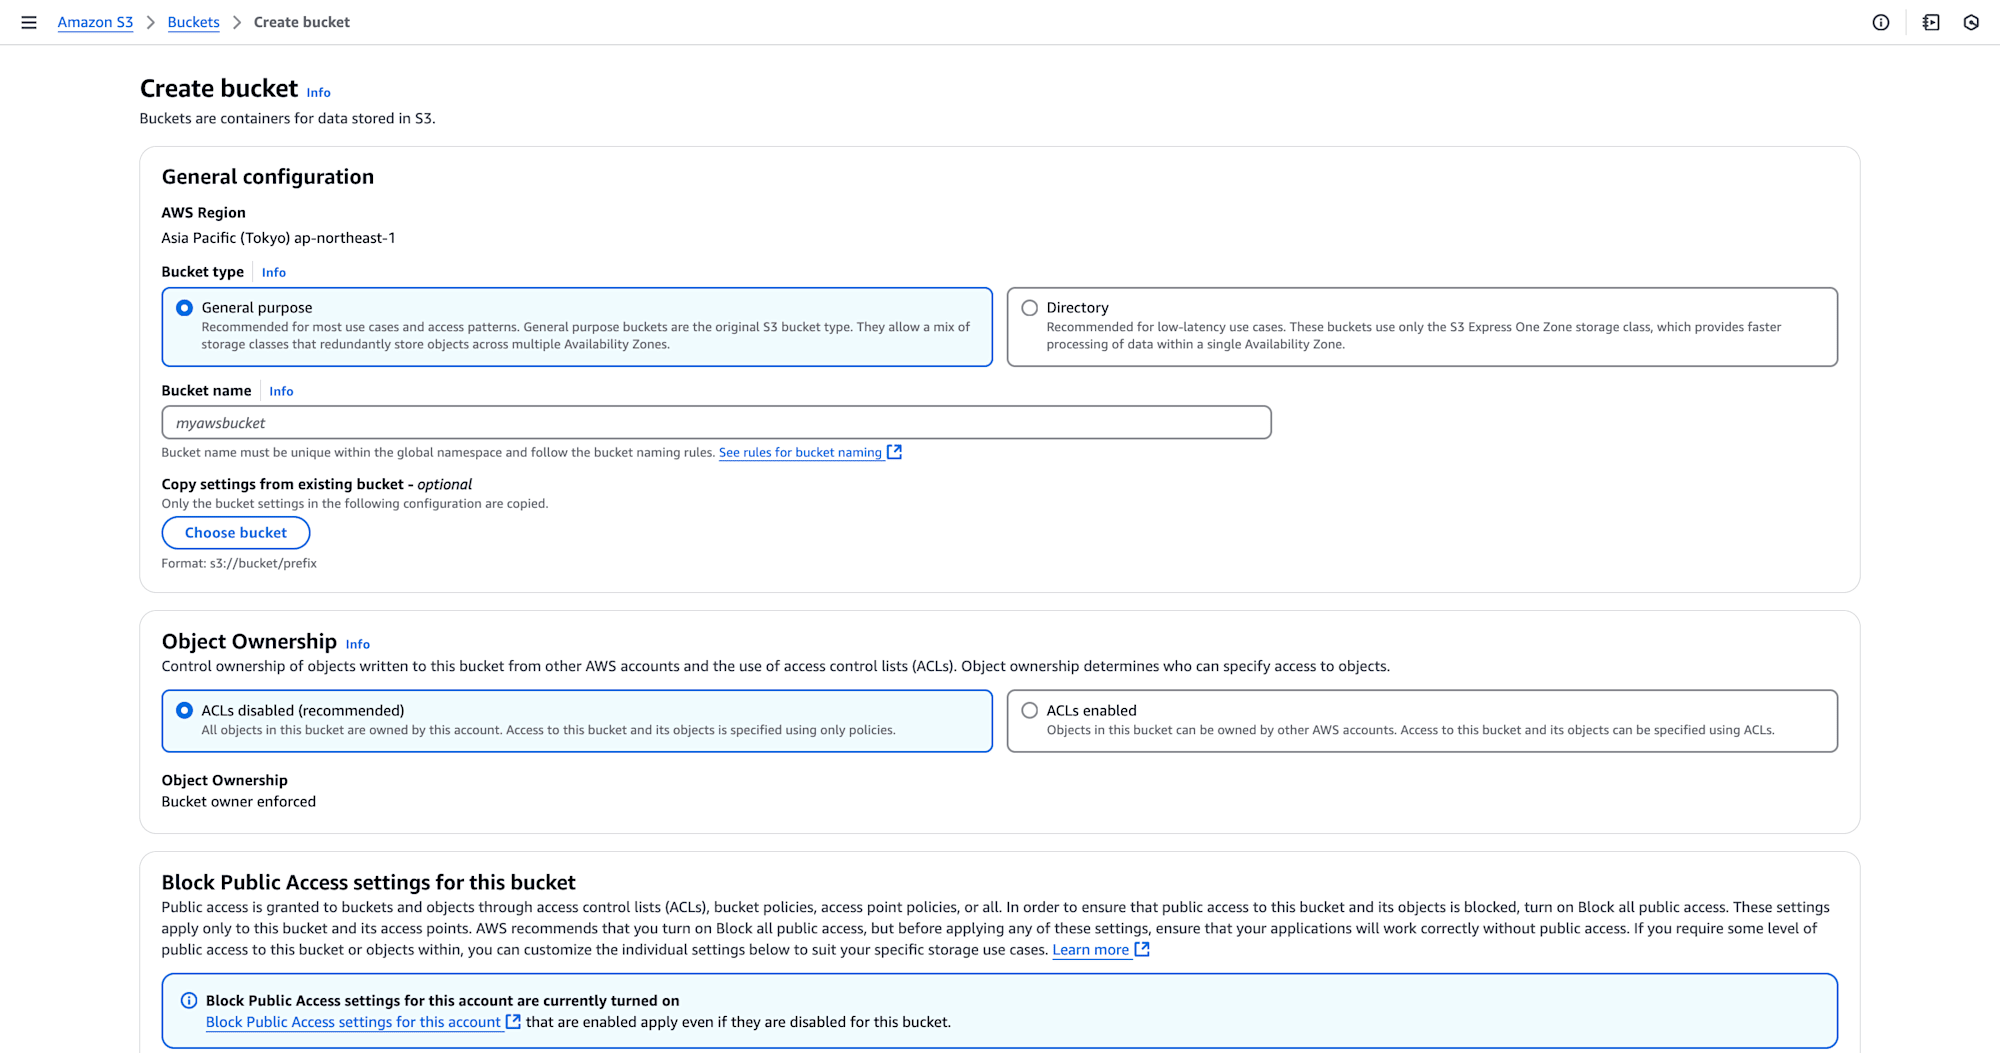
- Navigate to the S3 service in the AWS Management Console and create a bucket (if you don’t already have one):
- Click
Create bucketand provide a unique bucket name. - Leave other settings as default and create the bucket.
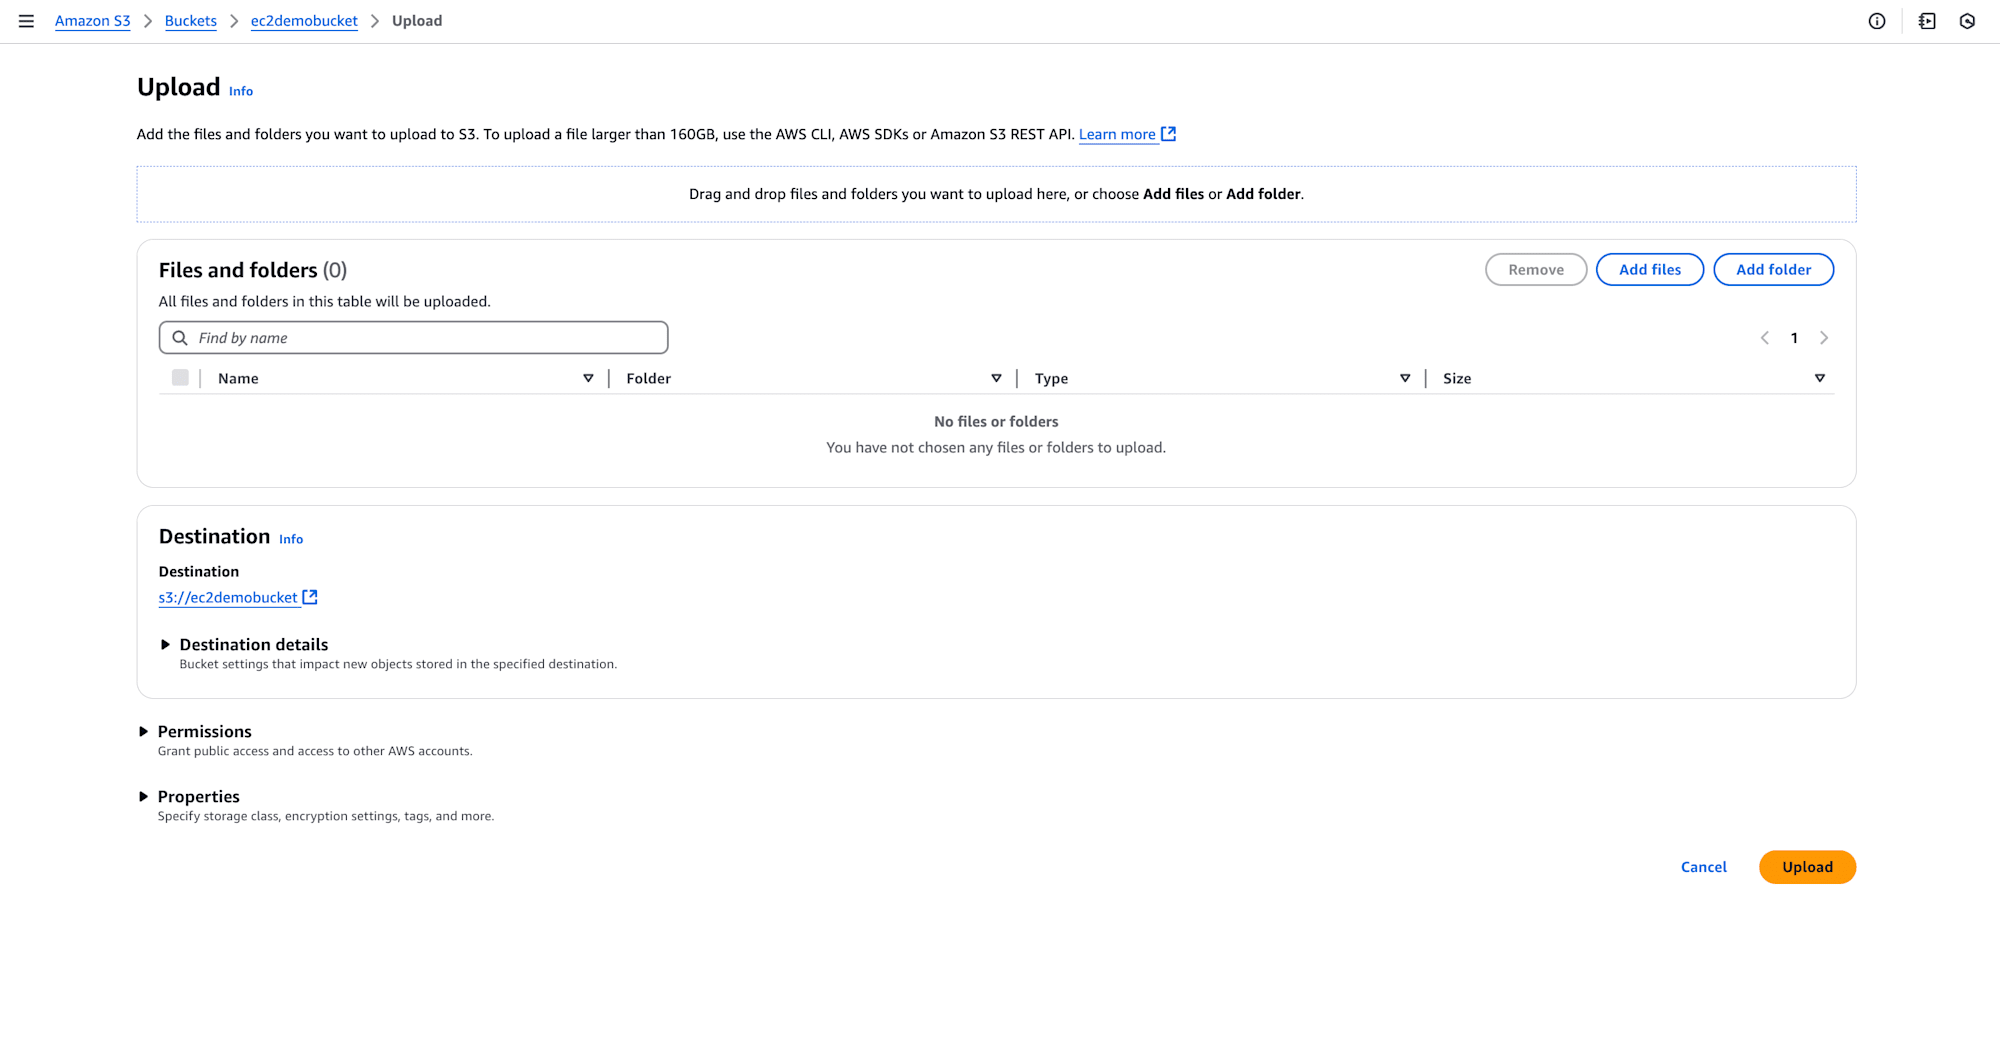
- Upload a file to the S3 bucket:
- Click on the bucket name, then click
Upload. - Select the file you want to upload and complete the upload process.
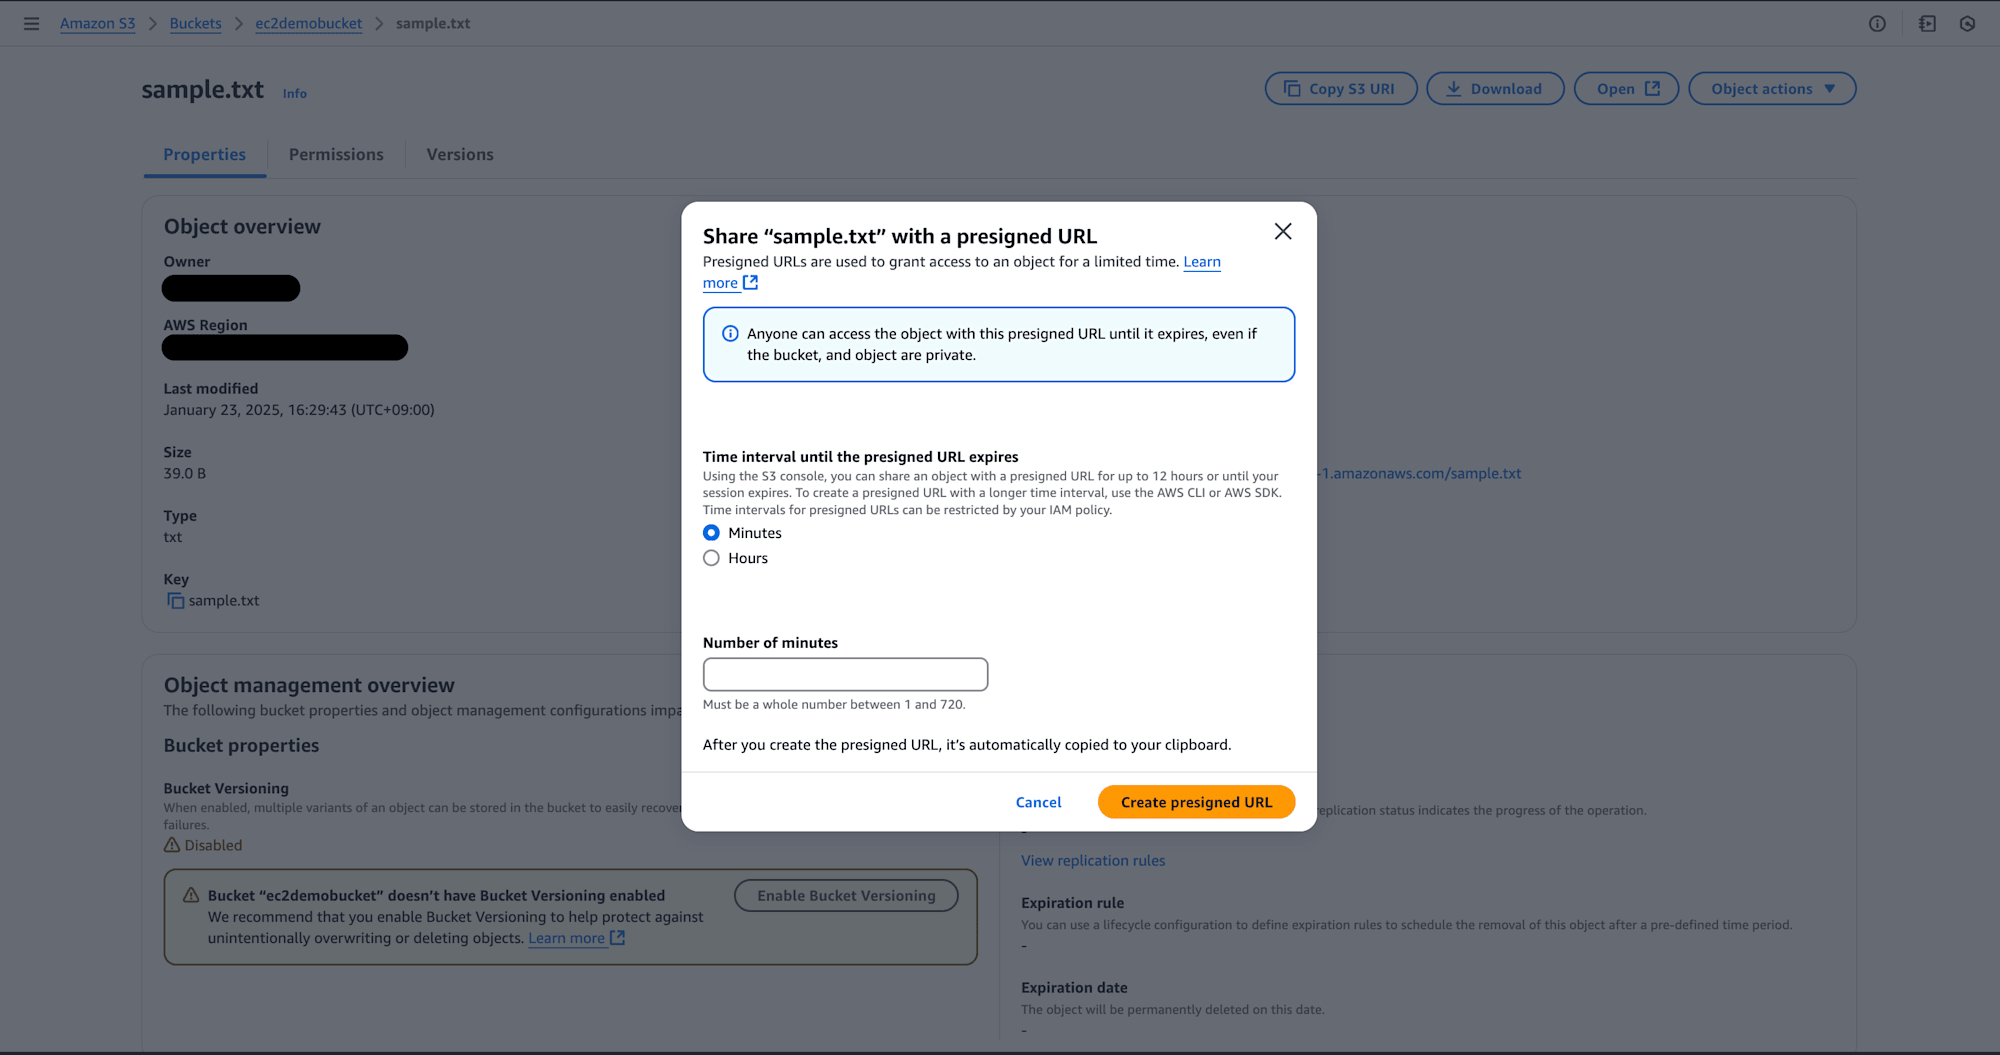
- Generate a pre-signed URL for the file:
- Go to the Objects tab in your bucket and find the uploaded file.
- Click
Actions" → "Generate pre-signed URL. - Specify an expiration time (e.g., 1 hour) and copy the URL.
Step 3: Connect to the EC2 Instance
You can connect to your EC2 instance using either EC2 Instance Connect or your local terminal.
- Using EC2 Instance Connect (Web-Based):
- Go to the EC2 Dashboard, select your instance, and click "Connect".
- Choose "EC2 Instance Connect" and click "Connect" to open a terminal in your browser.
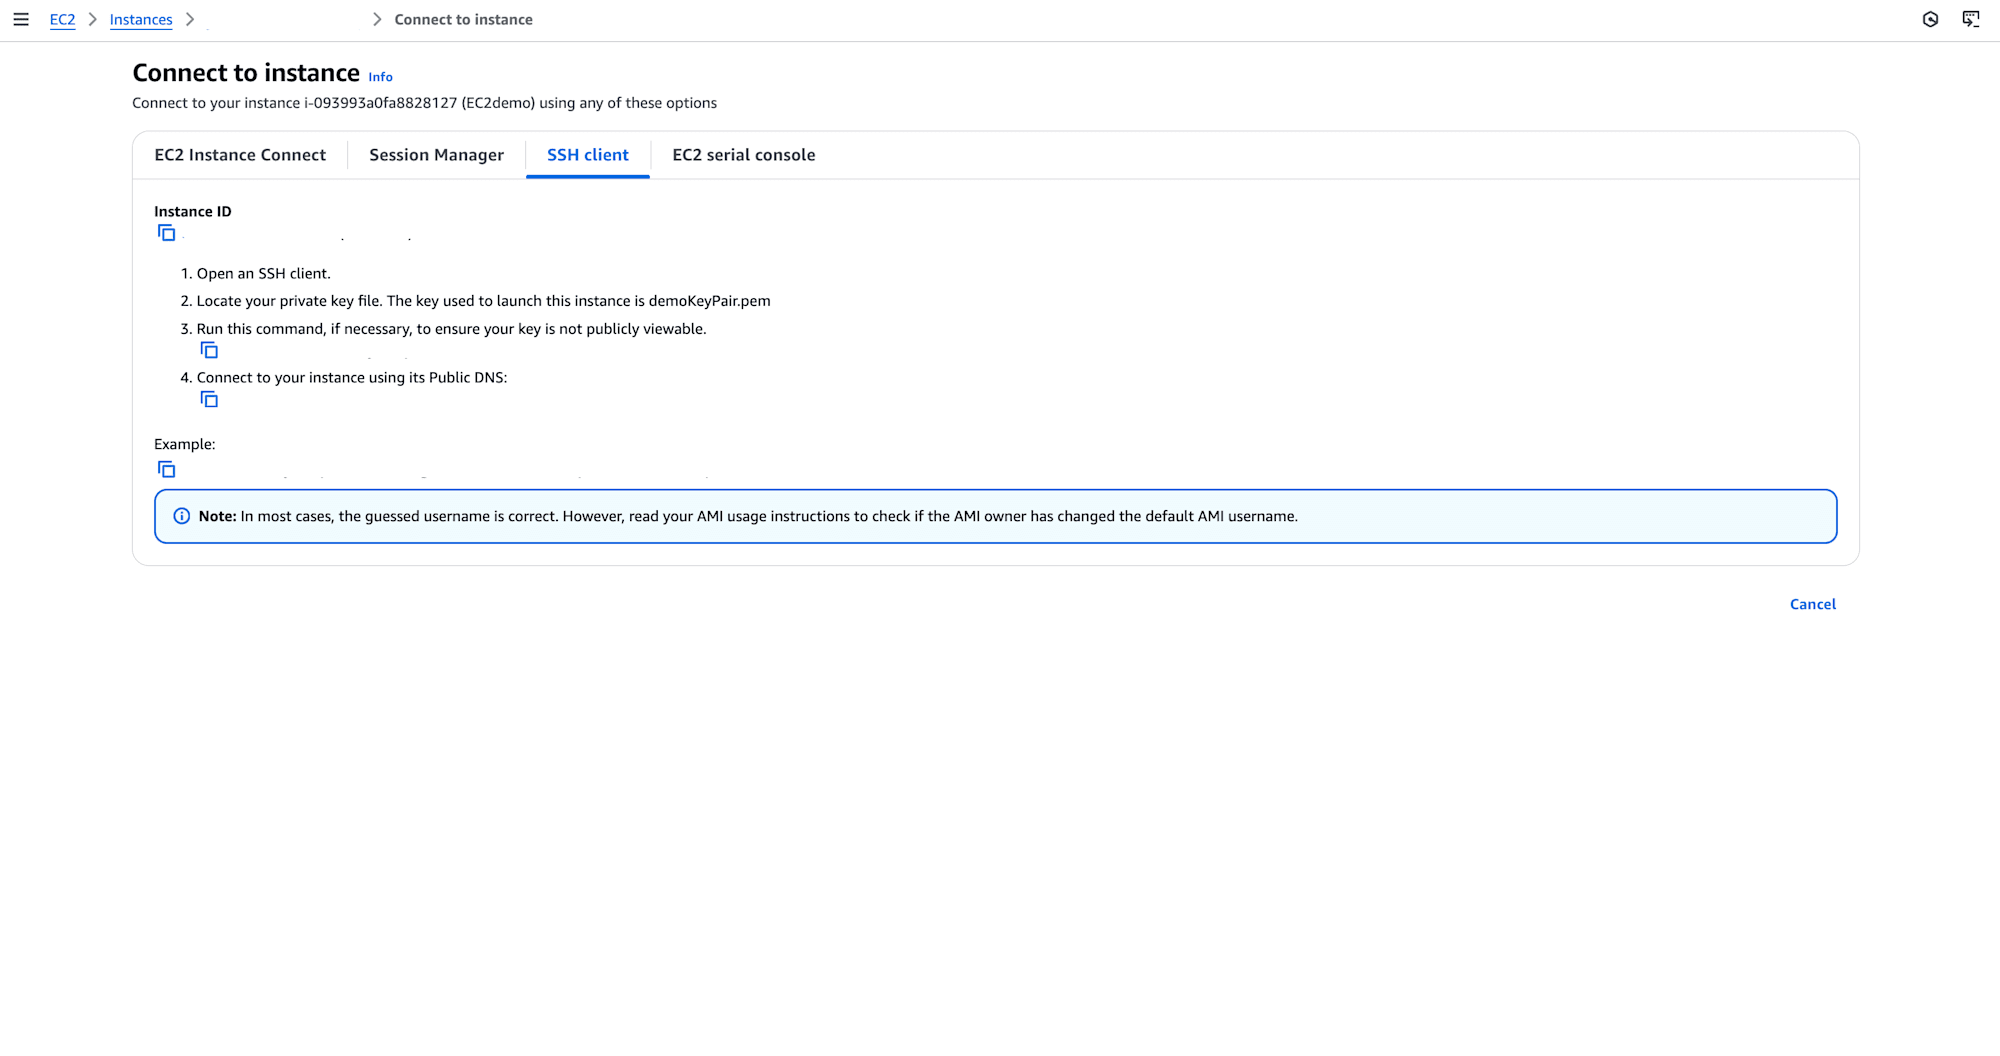
- Using a Local Terminal:
- Open your terminal and navigate to the directory where your
.pemkey file is stored. - Run the following command to SSH into the instance:
ssh -i "your-key-file.pem" ec2-user@<Public-IP-of-EC2>
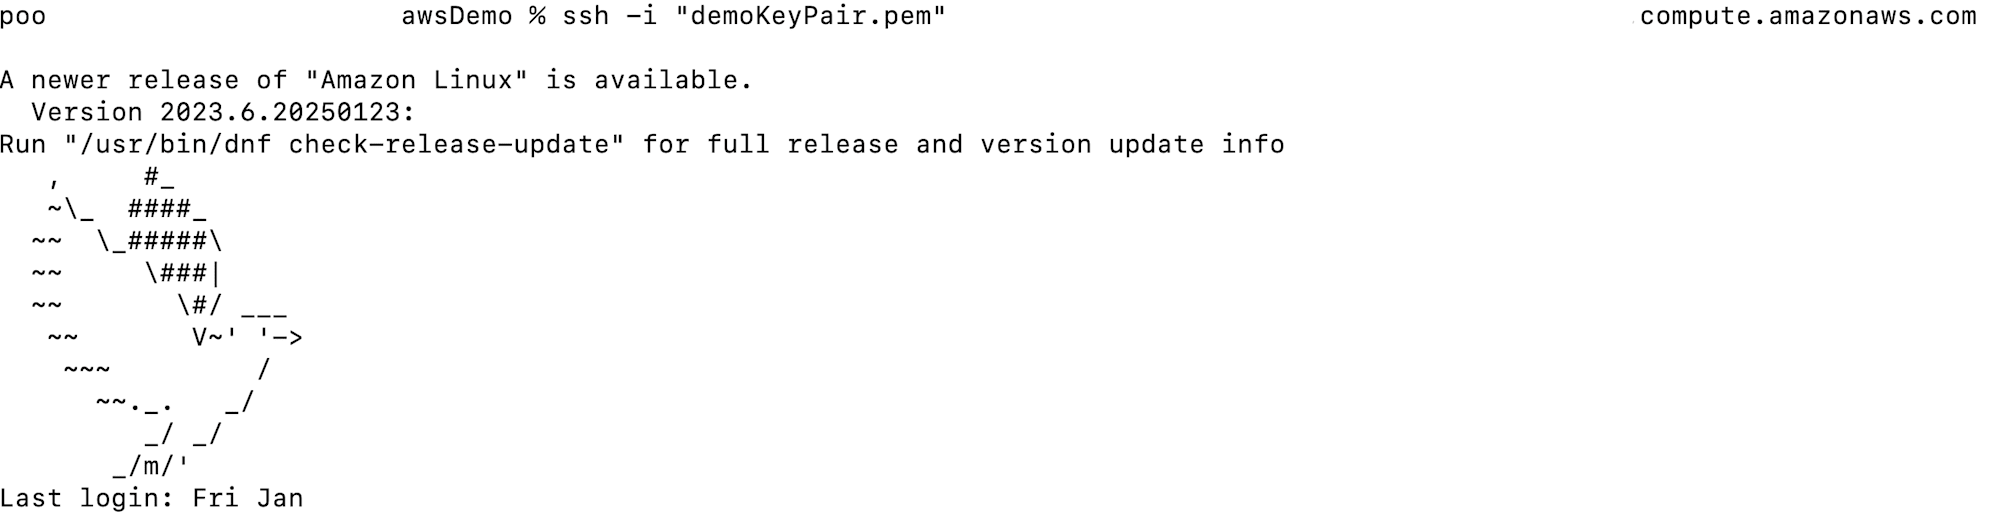
- Replace
your-key-file.pemwith the path to your private key file andPublic-IP-of-EC2with the instance's public IP address.
Step 4: Install and Configure AWS CLI
- Install AWS CLI on the EC2 instance:
sudo yum update -y
sudo yum install aws-cli -y
- Configure AWS CLI:
Run the following command to configure AWS CLI:
aws configure
Provide your AWS credentials (Access Key, Secret Key) and default region (e.g., us-east-1) when prompted.
Step 5: Download the File Using the Pre-Signed URL
- Use the curl command to download the file from the pre-signed URL:
curl 'presigned-url' --output file-name
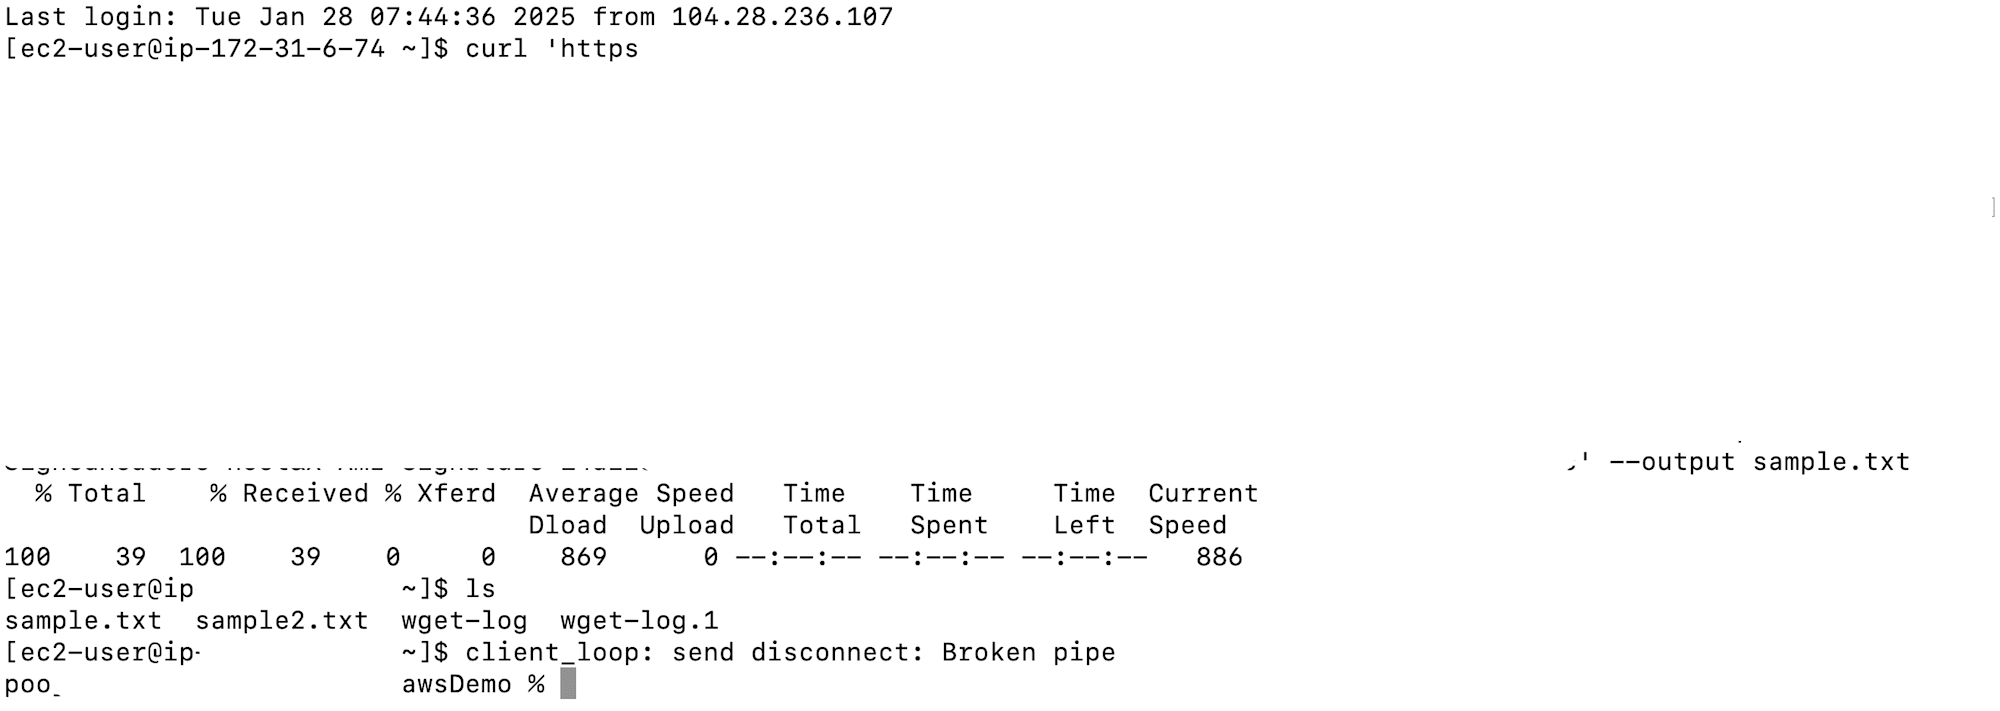
- To check wether the file has been downloaded use the command below:
cat file-name

Conclusion
This blog demonstrated how to launch an EC2 instance, upload a file to S3, generate a pre-signed URL, and download the file using AWS CLI.
The goal of this process is to securely transfer files between Amazon S3 and an EC2 instance using AWS CLI and pre-signed URLs.