ローカルで実行できるPlaywright のテストスクリプトを Amazon CloudWatch Synthetics にアップロードしてみた
この記事は公開されてから1年以上経過しています。情報が古い可能性がありますので、ご注意ください。
オペレーション部のさかもとです。
先月のアップデートで、Amazon CloudWatch Synthetics で 新たに Playwright のruntime がサポートされるようになりました。
ブループリントから選択して、作成することもできますし、インラインエディタから作成やS3からファイルをアップロードすることも可能です。ローカル環境で実行している Playwright のスクリプトはどのようにしたら、Amazon CloudWatch Syntheticsで利用できるか気になったので検証してみました。
ローカルで実行できる Playwright スクリプトを作成する
ローカルで実行するサンプルスクリプトをまず作り、ローカル環境で実行してみます。
コードをドキュメントにあるサンプルコードを参考にして、以下のようなスクリプトを作りました。
import { test, expect } from '@playwright/test';

test('sample test', async ({ page }) => {
  console.log('Running Playwright test');

  // Step 1
  console.log("Verify home page loads");
  await page.goto('http://xxxxxxx.xxx', {waitUntil: "load"});
  await new Promise(r => setTimeout(r, 5000));

  // Step 2
  console.log("Searching for a product");
  const searchInput = page.getByPlaceholder("searchpost").first();
  await searchInput.click();
  await searchInput.fill('test');
  const btn = page.getByRole('button', { name: 'Search' }).first();
  await btn.click({ timeout: 15000 });
  console.log("Clicked search button");

  // Step 3
  console.log("Verifying search results");
  const resultsHeading = page.getByText("Results", {exact: true}).first();
  await resultsHeading.highlight();
  await new Promise(r => setTimeout(r, 5000));
  });
レポートはブラウザで以下のように表示されます。

ローカルで実行できる Playwright スクリプトをAmazon CloudWatch Synthetics で実行できるように変換をする
ローカル環境のスクリプトをそのままAmazon CloudWatch Synthetics にアップロードしても、実行できないので、スクリプトを書き換えていきます。
※書き換え方については、こちらのドキュメントをご参照ください。
修正箇所をコメントアウトしています。
//import { test, expect } from '@playwright/test';
const { synthetics } = require('@amzn/synthetics-playwright');

//test('Amazon search test', async ({ page }) => {
module.exports.handler = async function(event, context) {
  try {
  console.log('Running Playwright test');

  //add
  const browser = await synthetics.launch();
  const browserContext = await browser.newContext();
  const page = await synthetics.newPage(browserContext);

  // Step 1
  console.log("Verify home page loads");
  await page.goto('http://xxxxxx.xxx/', {waitUntil: "load"});
  await new Promise(r => setTimeout(r, 5000));

  // Step 2
  console.log("Searching for a post");
  const searchInput = page.getByPlaceholder("searchpost").first();
  await searchInput.click();
  await searchInput.fill('test');
  const btn = page.getByRole('button', { name: 'Search' }).first();
  await btn.click({ timeout: 15000 });
  console.log("Clicked search button");

  // Step 3
  console.log("Verifying search results");
  const resultsHeading = page.getByText("Results", {exact: true}).first();
  await resultsHeading.highlight();
  await new Promise(r => setTimeout(r, 5000));
//});
  } finally {
  // Close all browser contexts and
  await synthetics.close();
  }
}
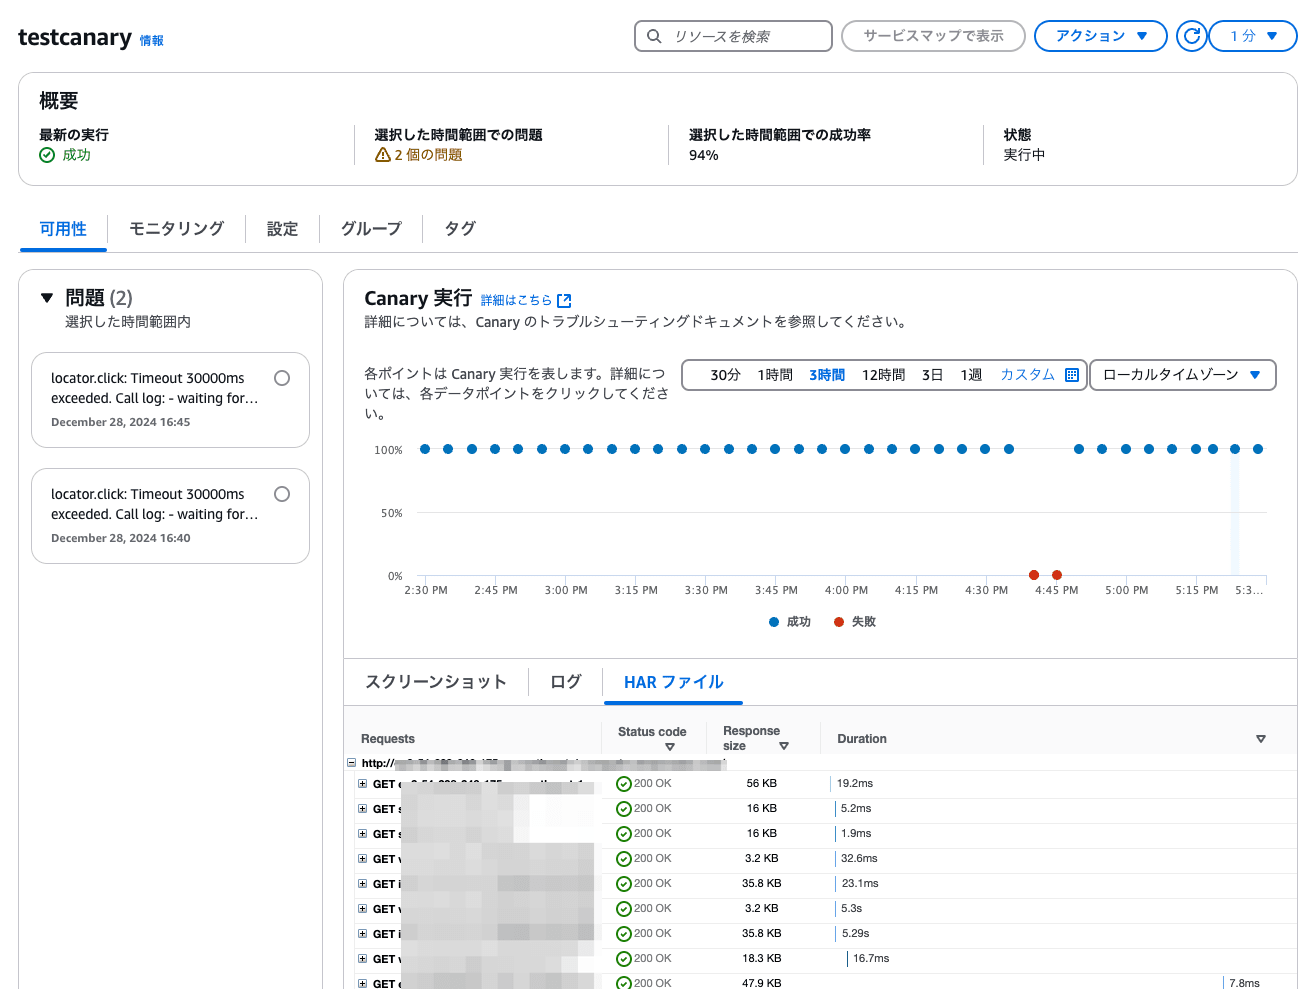
コンソール上からHARが確認できます。

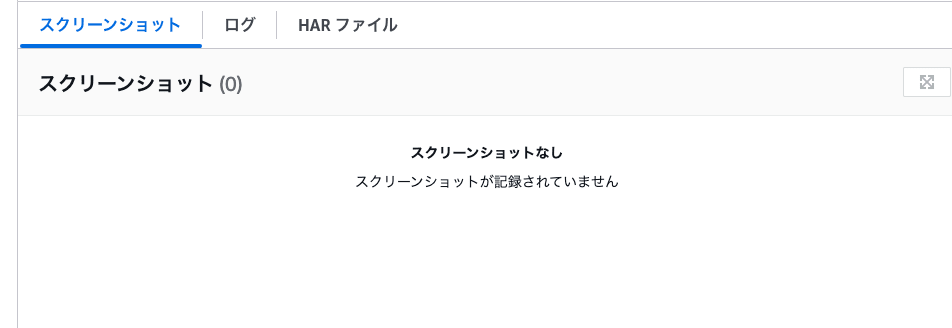
スクリーンショットの記述はないため、スクリーンショットのタブは空白でした。

ローカルで実行できる Playwright スクリプトをAmazon CloudWatch Synthetics 独自関数を用いて、コンソール上で情報を表示する
Amazon CloudWatch Synthetics の関数で "executeStep" を利用するとステップ毎のログやスクリーンショットが記録されてAWSのコンソール上に表示できます。
コードは以下の通り
//import { test, expect } from '@playwright/test';
const { synthetics } = require('@amzn/synthetics-playwright');

//test('Amazon search test', async ({ page }) => {
module.exports.handler = async function(event, context) {
  try {
  console.log('Running Playwright test');

  //add
  const browser = await synthetics.launch();
  const browserContext = await browser.newContext();
  const page = await synthetics.newPage(browserContext);

  // Step 1
  await synthetics.executeStep("home-page", async () => {
   console.log("Verify home page loads");
   await page.goto('http://xxxxx.xxx/', {waitUntil: "load"});
   await new Promise(r => setTimeout(r, 5000));
  });
  // Step 2
  await synthetics.executeStep("search", async () => {
   console.log("Searching for a post");
   const searchInput = page.getByPlaceholder("searchpost").first();
   await searchInput.click();
   await searchInput.fill('test');
   const btn = page.getByRole('button', { name: 'Search' }).first();
   await btn.click({ timeout: 15000 });
   console.log("Clicked search button");
  });

  // Step 3
  await synthetics.executeStep("searchresult", async () => {
   console.log("Verifying search results");
   const resultsHeading = page.getByText("Results", {exact: true}).first();
   await resultsHeading.highlight();
   await new Promise(r => setTimeout(r, 5000));
  });
//});
  } finally {
  //Close all browser
  contexts and browser
  await synthetics.close();
  }
}
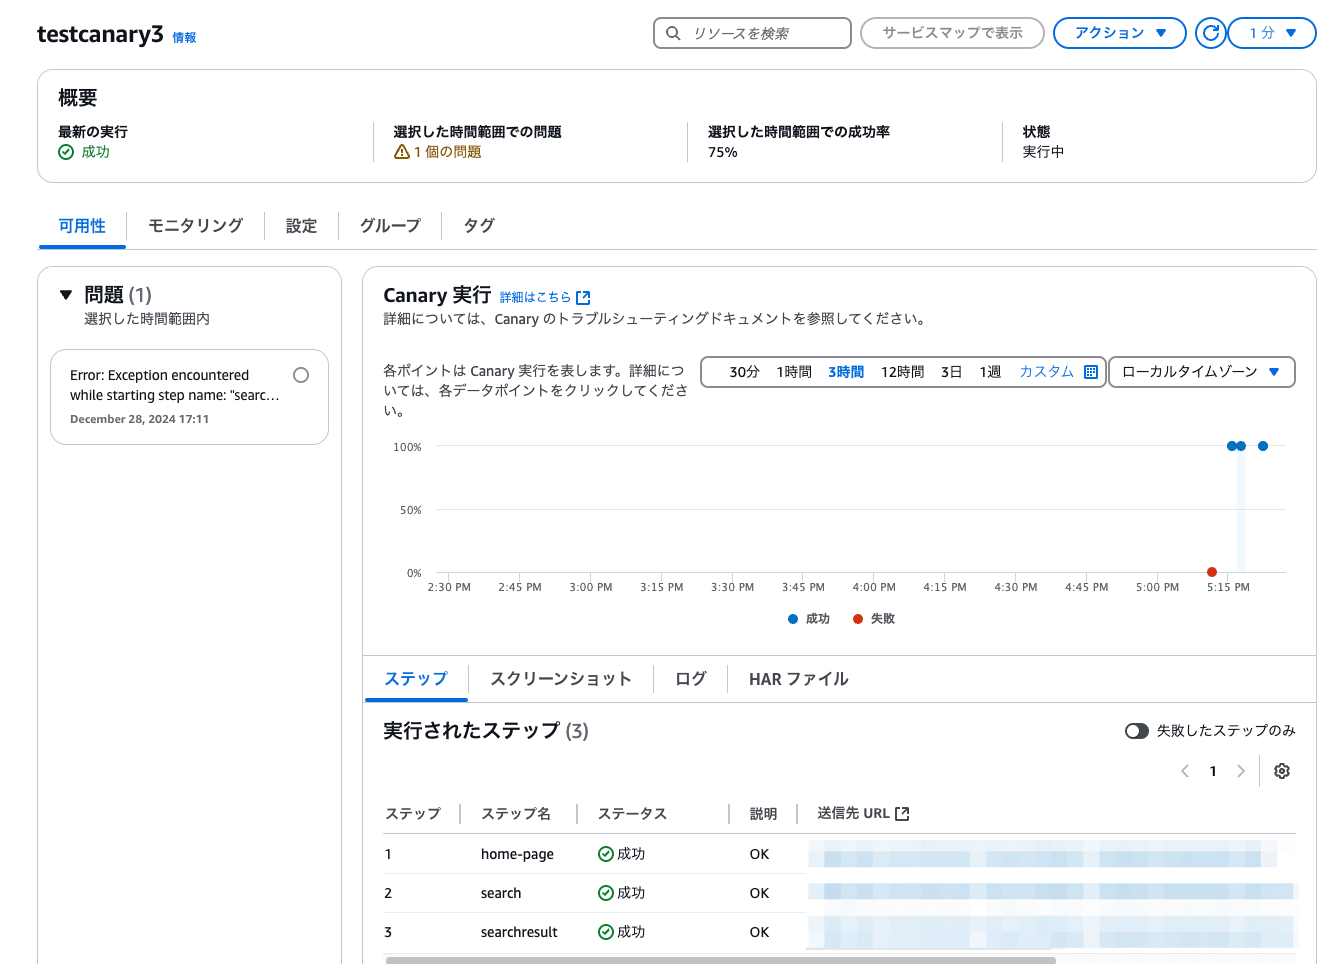
上記コードを実行するとAmazon CloudWatch Syntheticsのコンソール上の以下のような情報が表示されます。

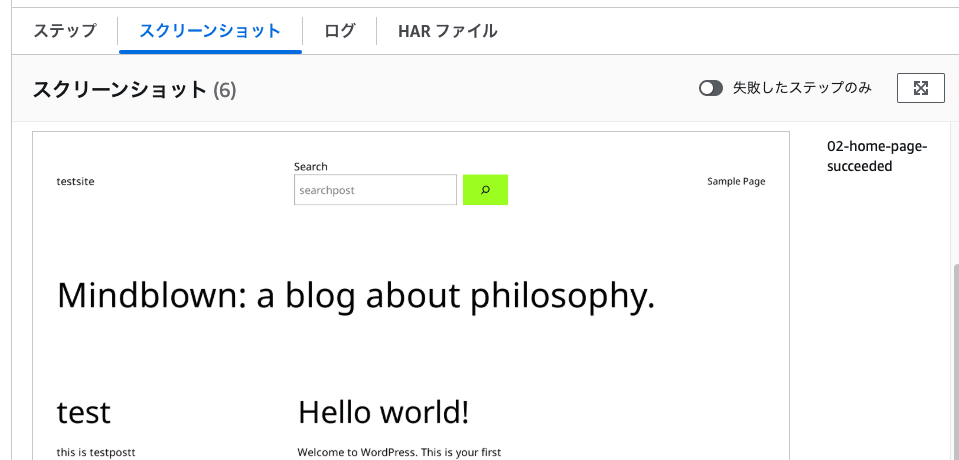
スクリーンショットも実行前、実行後で取得してくれます。※設定で変更可能です。

まとめ
Playwright のスクリプトをAmazon CloudWatch Synthetics で流用するには、対象のスクリプト改修が必要そうです。
一方で、Playwright側にも便利な機能が備わっていました。
既存のPlaywright のスクリプトを流用したい方の参考になりましたら、幸いです。


