
Issue EventによりGitHub Actionsを実行してFile/Branch/Pull Requestを作成する
この記事は公開されてから1年以上経過しています。情報が古い可能性がありますので、ご注意ください。
こんにちは、CX事業本部 IoT事業部の若槻です。
今回は、Issue EventをトリガーにしてGitHub Actionsを実行し、File/Branch/Pull Requestを作成する仕組みを作ってみました。
やってみた
Workflow全体
まず最初に、作成したWorkflow Configの全体はこちらとなります。
on:
  issues:
    types:
      - assigned

jobs:
  create_pr:
    runs-on: ubuntu-latest
    env:
      REPO: ${{ github.repository }}
      ISSUE_NUM: ${{ github.event.issue.number }}
      ISSUE_TITLE: ${{ github.event.issue.title }}
      GITHUB_TOKEN: ${{ secrets.GITHUB_TOKEN }}
      AWS_OIDC_ROLE_ARN: ${{ secrets.AWS_OIDC_ROLE_ARN }}
      AWS_REGION: ap-northeast-1
    permissions:
      id-token: write
      issues: write
      contents: write
      pull-requests: write
    steps:
      - name: Get open linked PR
        id: get_open_linked_pr
        run: |
          open_linked_pr_length=$(\
            gh pr list \
              --repo $REPO \
              --state open \
              --search "close #$ISSUE_NUM in:body" \
              --json number | jq '. | length'\
          )
          echo "::set-output name=open_linked_pr_length::$open_linked_pr_length"

      - name: Check open linked pr length
        if: steps.get_open_linked_pr.outputs.open_linked_pr_length != 0
        run: |
          echo "Unclosed pull request is existing."
          exit 1

      - name: Checkout
        uses: actions/checkout@v3

      - name: Get merged linked PR
        id: get_merged_linked_pr
        run: |
          merged_linked_pr_length=$(\
            gh pr list \
              --repo $REPO \
              --state merged \
              --search "close #$ISSUE_NUM in:body" \
              --json  number | jq '. | length'\
          )
          echo "::set-output name=merged_linked_pr_length::$merged_linked_pr_length"

      - name: Assume Role
        uses: aws-actions/configure-aws-credentials@v1
        with:
          role-to-assume: ${{ env.AWS_OIDC_ROLE_ARN }}
          aws-region: ${{env.AWS_REGION}}

      - name: Create files
        if: steps.get_merged_linked_pr.outputs.merged_linked_pr_length == 0
        run: |
          generated_post_name=$(aws translate translate-text \
            --text "${ISSUE_TITLE}" \
            --source-language-code ja \
            --target-language-code en)
          generated_post_name=$(echo $generated_post_name | \
            jq -r '.TranslatedText' | \
            sed -e 's/ /-/g' -e 's/[^a-zA-Z0-9-]//g' | \
            tr '[:upper:]' '[:lower:]',,)
          mkdir $ISSUE_NUM
          echo -e "こんにちは、CX事業本部 IoT事業部の若槻です。\n\n今回は、${ISSUE_TITLE}\n\n## おわりに\n\n\n\n## 参考\n\n\n\n以上" \
            >> $ISSUE_NUM/article.md
          echo -e "{\n  \"postName\": \"${generated_post_name}\",\n  \"title\": \"${ISSUE_TITLE}\",\n  \"description\": \"\"\n}" \
            >> $ISSUE_NUM/config.json

      - name: Reopen issue
        if: ${{ github.event.issue.state }} == "closed"
        run: gh issue reopen $ISSUE_NUM

      - name: Define new branch name
        id: define_new_branch_name
        run: |
          new_branch_name=$(echo "${ISSUE_NUM}-$(TZ=UTC-9 date '+%Y%m%d')")
          echo "::set-output name=new_branch_name::$new_branch_name"

      - name: Create branch
        uses: EndBug/add-and-commit@v9
        with:
          new_branch: ${{ steps.define_new_branch_name.outputs.new_branch_name }}

      - name: Create PR
        run: |
          gh pr create \
            --head $NEW_BRANCH_NAME \
            --base $BASE_BRANCH_NAME \
            --title "$ISSUE_TITLE" \
            --body "close #${ISSUE_NUM}"
        env:
          NEW_BRANCH_NAME: ${{ steps.define_new_branch_name.outputs.new_branch_name }}
          BASE_BRANCH_NAME: ${{ github.event.repository.default_branch }}

      - name: Copy Commands
        run: |
          echo "git fetch origin ${NEW_BRANCH}"
          echo "git checkout ${NEW_BRANCH}"
          echo "code --reuse-window ${ISSUE_NUM}/article.md ${ISSUE_NUM}/config.json"
        env:
          NEW_BRANCH: ${{ steps.define_new_branch_name.outputs.new_branch_name }}
上記は私がGitHub(Issue、Pull Request)を利用したDevelopersIOのブログ執筆のために作成したWorkflowの素材そのままのためユースケースがとても限定されていますが、「Issue Eventをトリガーにして」「File/Branch/Pull Requestを作成する」という観点で広く使える部分を掻い摘んで解説したいと思います。
Workflow解説
Issue Event
on: issuesのようにすれば、IssueのEvent(issues)をトリガーとしてWorkflowを実行させることができます。Activityにはopenedやclosedなど16種類あり細やかに指定が可能です。
ここではassignedにより誰かがIssueにAssignされたことをトリガーとしています。
on:
  issues:
    types:
      - assigned
gh pr list
GitHub CLIでgh pr listコマンドを使えばPull Requestのリストを取得することができます。またPull RequestのBodyにclose #$ISSUE_NUMと記載することによりIssueとリンクさせることが出来ます。よってコマンドのオプションで--search "close #$ISSUE_NUM in:body"と指定することにより、特定のIssueにリンクするPull Requestを検索できます。
ここでは同じIssueに対して複数のPull Requestが作成されないように、1つ目のStepでOpen中のPull Requestの存在確認をして、既に存在していれば2つ目のStepでexit 1によりWorkflowをFailさせるようにしています。
    steps:
      - name: Get open linked PR
        id: get_open_linked_pr
        run: |
          open_linked_pr_length=$(\
            gh pr list \
              --repo $REPO \
              --state open \
              --search "close #$ISSUE_NUM in:body" \
              --json number | jq '. | length'\
          )
          echo "::set-output name=open_linked_pr_length::$open_linked_pr_length"

      - name: Check open linked pr length
        if: steps.get_open_linked_pr.outputs.open_linked_pr_length != 0
        run: |
          echo "Unclosed pull request is existing."
          exit 1
File作成
このStepではPull Requestの差分と成るFile作成を行っています。echo -e "<content>" >> <filepath>のようにすれば内容が複数行のファイルを作成できます。
      - name: Create files
        if: steps.get_merged_linked_pr.outputs.merged_linked_pr_length == 0
        run: |
          generated_post_name=$(aws translate translate-text \
            --text "${ISSUE_TITLE}" \
            --source-language-code ja \
            --target-language-code en)
          generated_post_name=$(echo $generated_post_name | \
            jq -r '.TranslatedText' | \
            sed -e 's/ /-/g' -e 's/[^a-zA-Z0-9-]//g' | \
            tr '[:upper:]' '[:lower:]',,)
          mkdir $ISSUE_NUM
          echo -e "こんにちは、CX事業本部 IoT事業部の若槻です。\n\n今回は、${ISSUE_TITLE}\n\n## おわりに\n\n\n\n## 参考\n\n\n\n以上" \
            >> $ISSUE_NUM/article.md
          echo -e "{\n  \"postName\": \"${generated_post_name}\",\n  \"title\": \"${ISSUE_TITLE}\",\n  \"description\": \"\"\n}" \
            >> $ISSUE_NUM/config.json
EndBug/add-and-commit action
GitHub Actions上でgit addやgit commit、git pushによるRepositoryへのFile/Branch作成を行いたいならEndBug/add-and-commit actionが便利です。
      - name: Create branch
        uses: EndBug/add-and-commit@v9
        with:
          new_branch: ${{ steps.define_new_branch_name.outputs.new_branch_name }}
gh pr create
最後にPull Requestの作成です。GitHub CLIでgh pr createコマンドを使います。
      - name: Create PR
        run: |
          gh pr create \
            --head $NEW_BRANCH_NAME \
            --base $BASE_BRANCH_NAME \
            --title "$ISSUE_TITLE" \
            --body "close #${ISSUE_NUM}"
        env:
          NEW_BRANCH_NAME: ${{ steps.define_new_branch_name.outputs.new_branch_name }}
          BASE_BRANCH_NAME: ${{ github.event.repository.default_branch }}
動作
IssueにユーザーをAssignします。
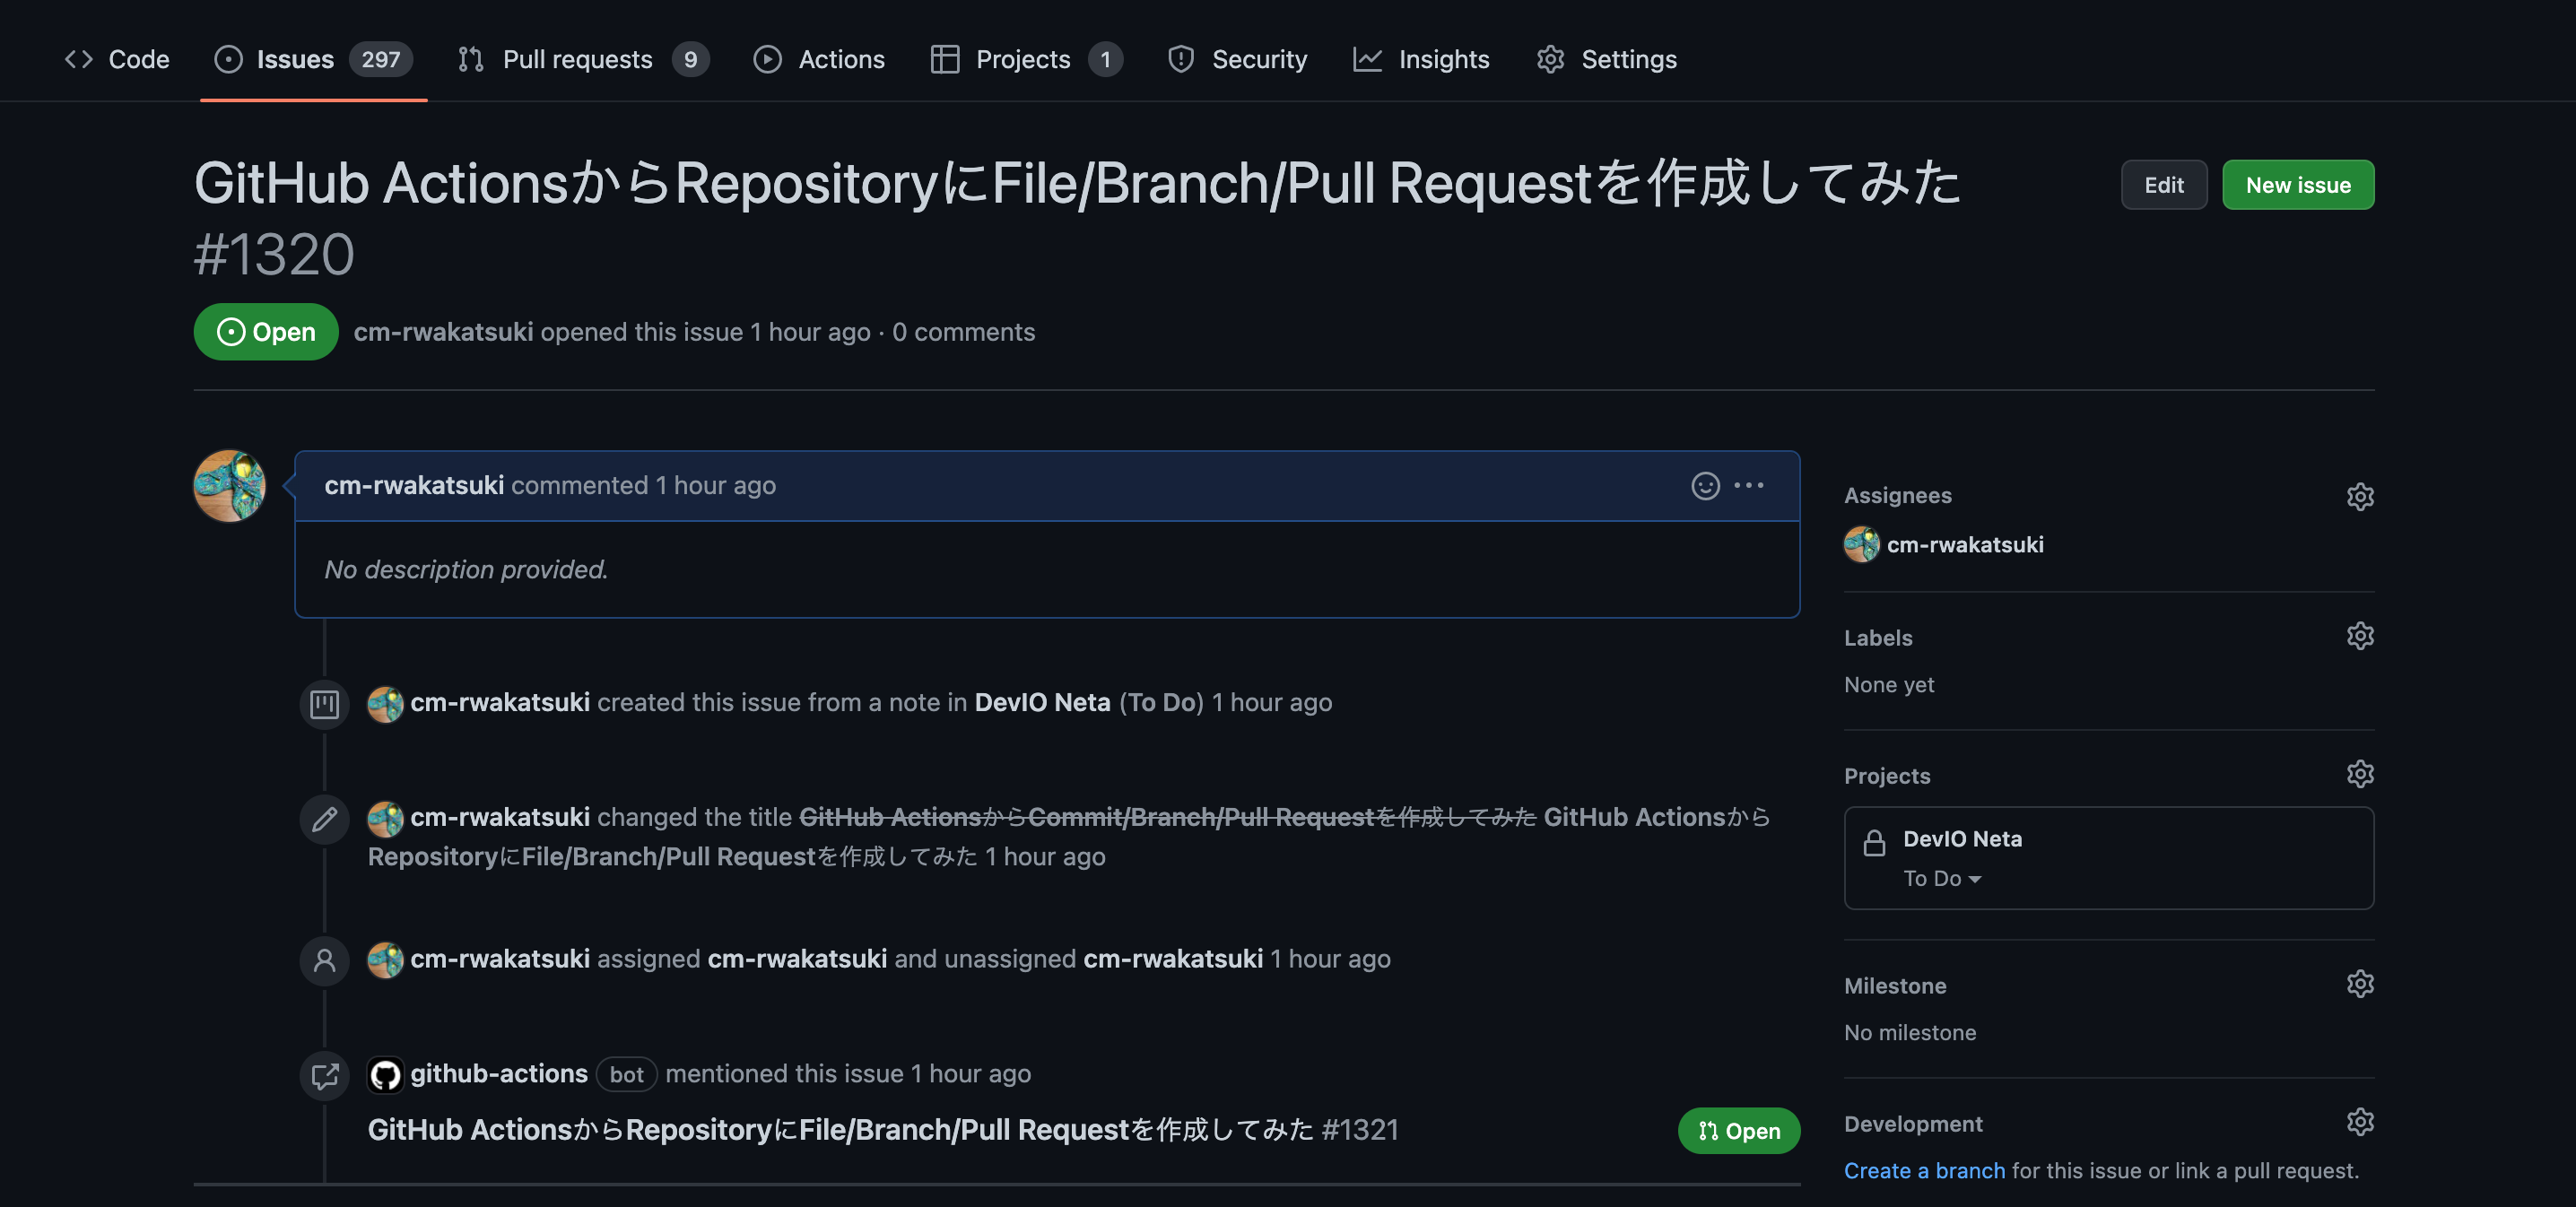
するとWorkflowが実行されました。

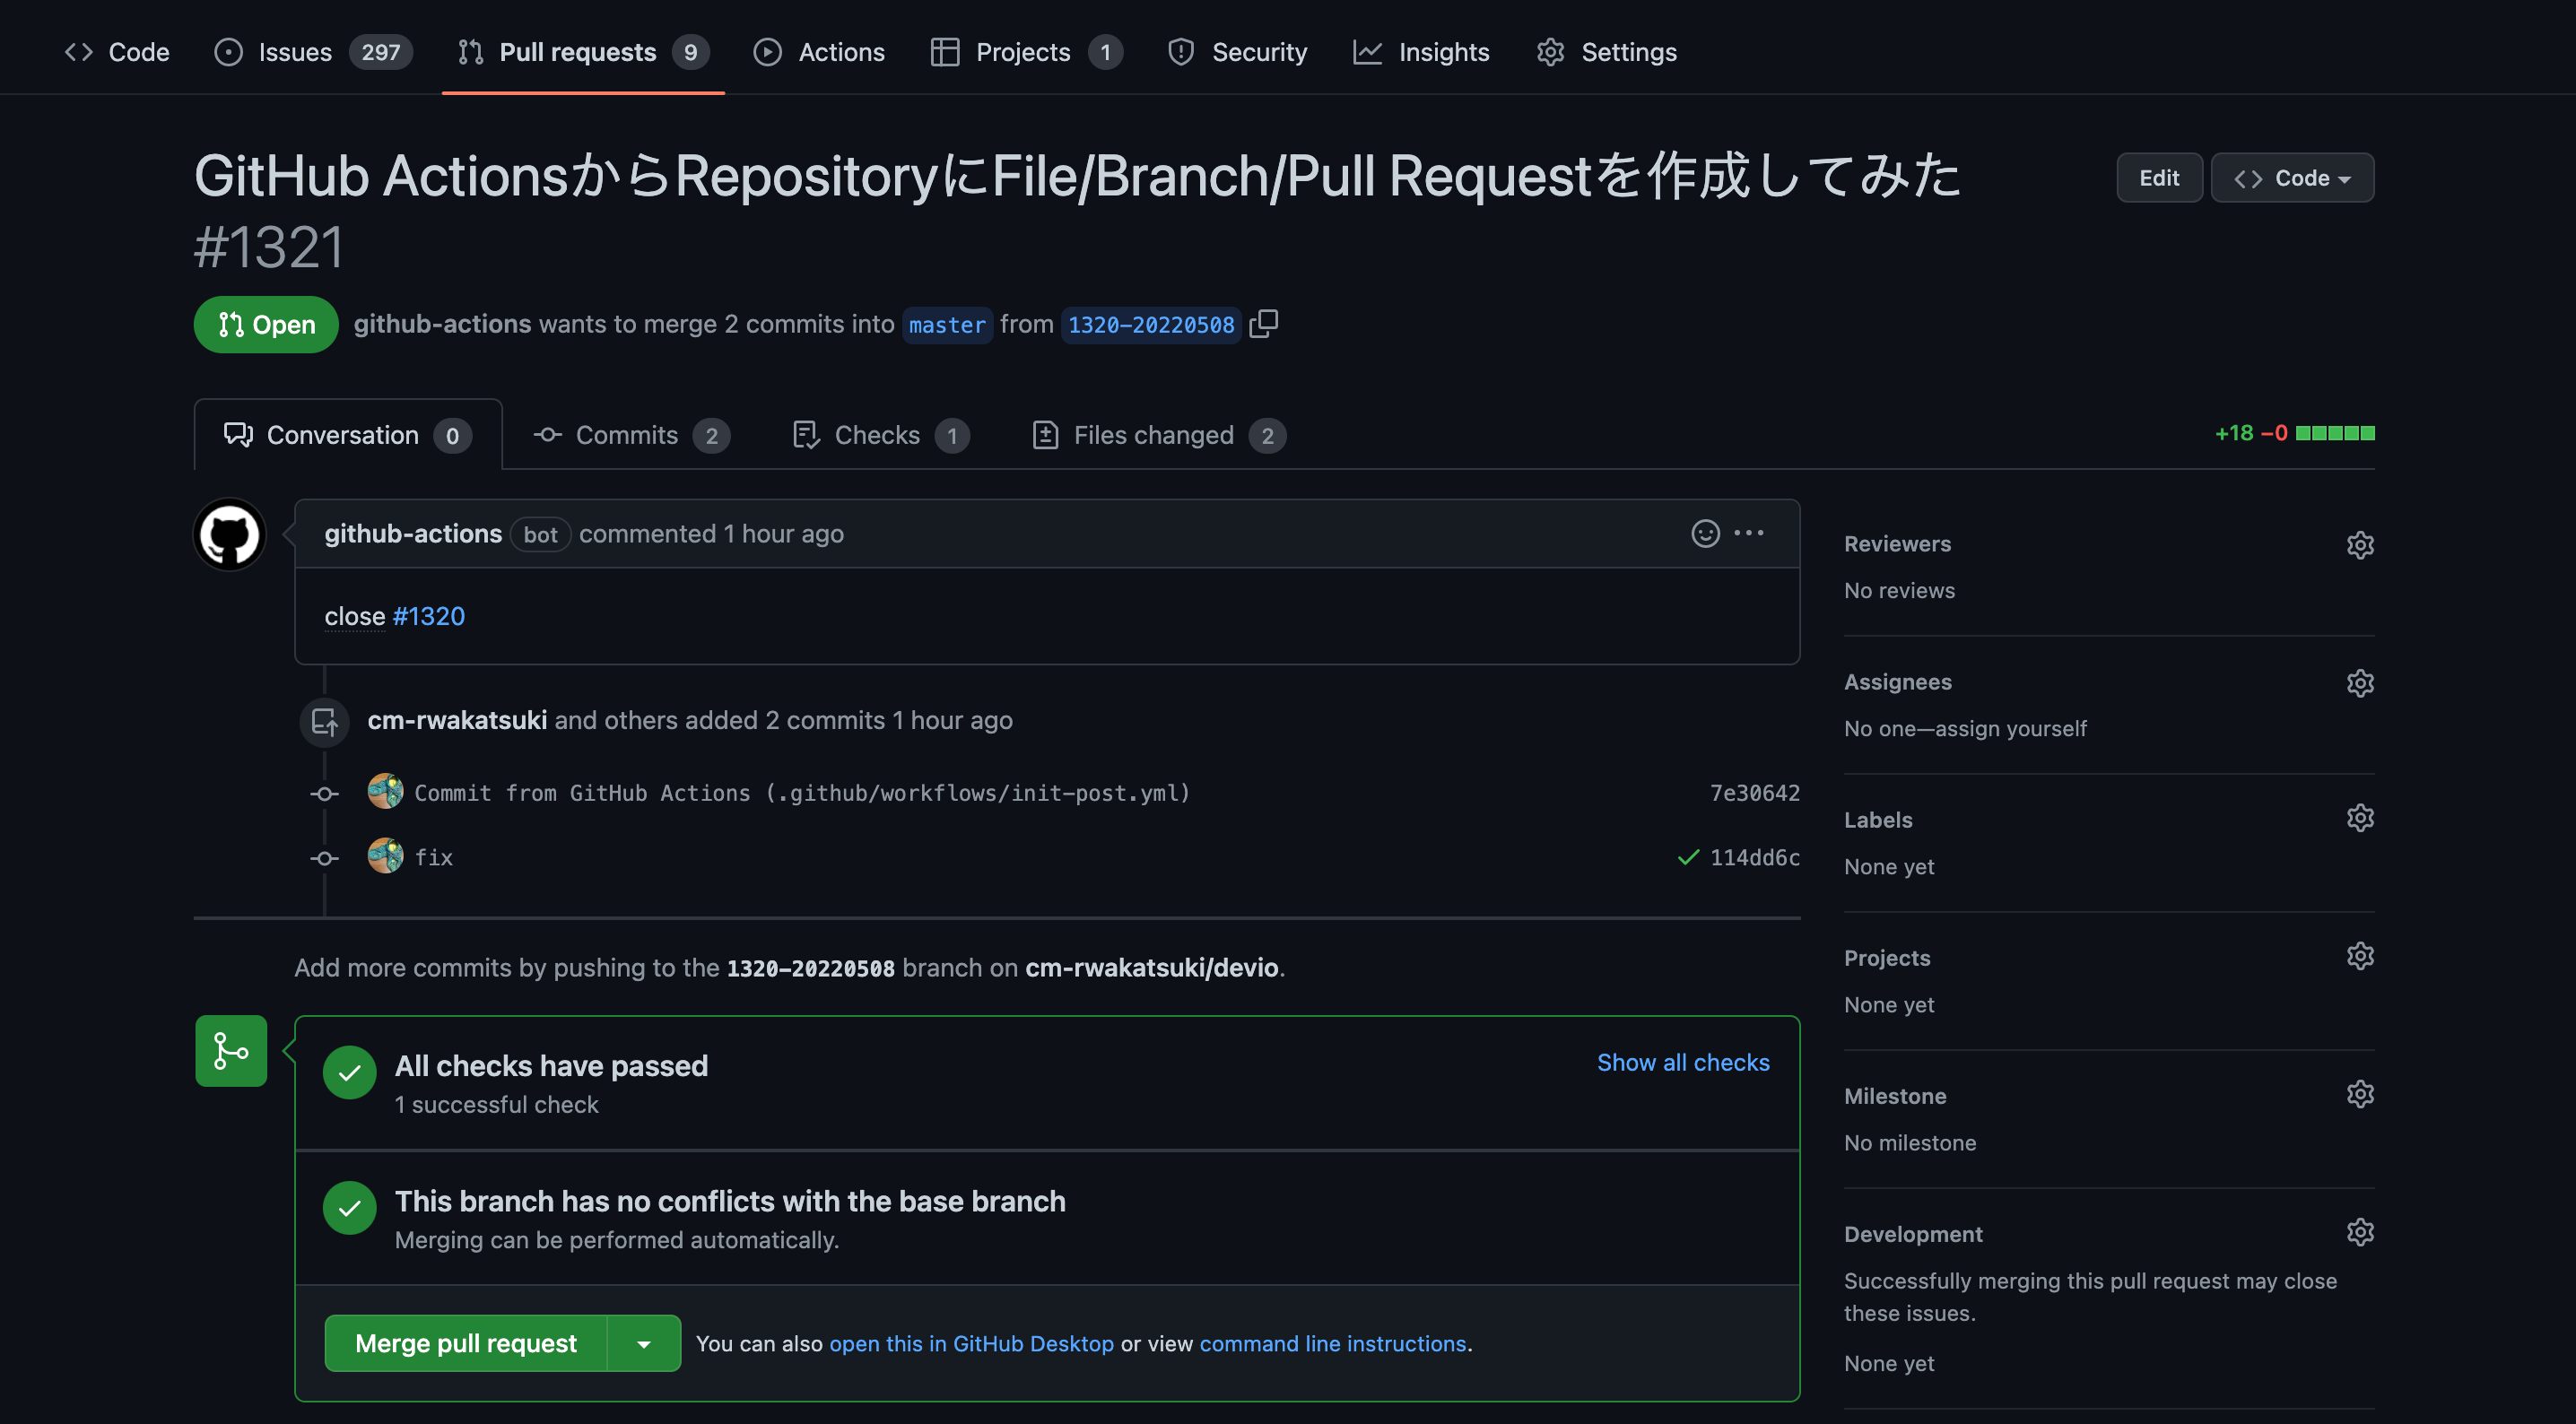
GitHub ActionsによりPull Requestが作成されています!
おわりに
Issue EventをトリガーにしてGitHub Actionsを実行し、File/Branch/Pull Requestを作成する仕組みを作ってみました。
もともと同様の処理(Event部分以外の)をローカルでシェルスクリプトで実行させていましたが、GitHub Actionsを活用すれば記述がシンプルになり、さらなる自動化も行えました。またローカルに余計な認証情報を持つ必要も無くなりました。一石三鳥ですね。
参考
- Can GitHub actions directly edit files in a repository? - Code to Cloud / GitHub Actions - GitHub Community
- Search - GitHub Docs
- GitHub Actions: Control permissions for GITHUB_TOKEN | GitHub Changelog
以上


