Exploring Zendesk’s Foundational Support
この記事は公開されてから1年以上経過しています。情報が古い可能性がありますので、ご注意ください。
Introduction.
This is Pooja from Alliance Department. This blog sums up my very first encounter with Zendesk foundational support and what it's all about!
Zendesk.
Known for providing software-as-a-service products related to customer support, sales, and other customer communications. Zendesk primarily focuses on providing an efficient and quick way to provide customer support which allows it to stand out in a multi billion dollar industry and make its mark.
Zendesk's foundational support courses is tailored for learners who are new to its email ticketing solution(known as Zendesk Support).
Before we begin there are few things to keep in mind.
- Customers: These are the internal or the external users that generally reach out with question and want support.
- Team members: Comprises of members that are in Zendesk, they are usually categorised as agents and admins.
- Admins: These members have full access to Zendesk whereabouts.
- Agents: Members who usually solve tickets are agents, they don't have complete access to the environment like the admins do.
Below is the quick overview of Zendesk Foundational support features that help prioritise tickets and reduce the amount of time spent on simple requests.
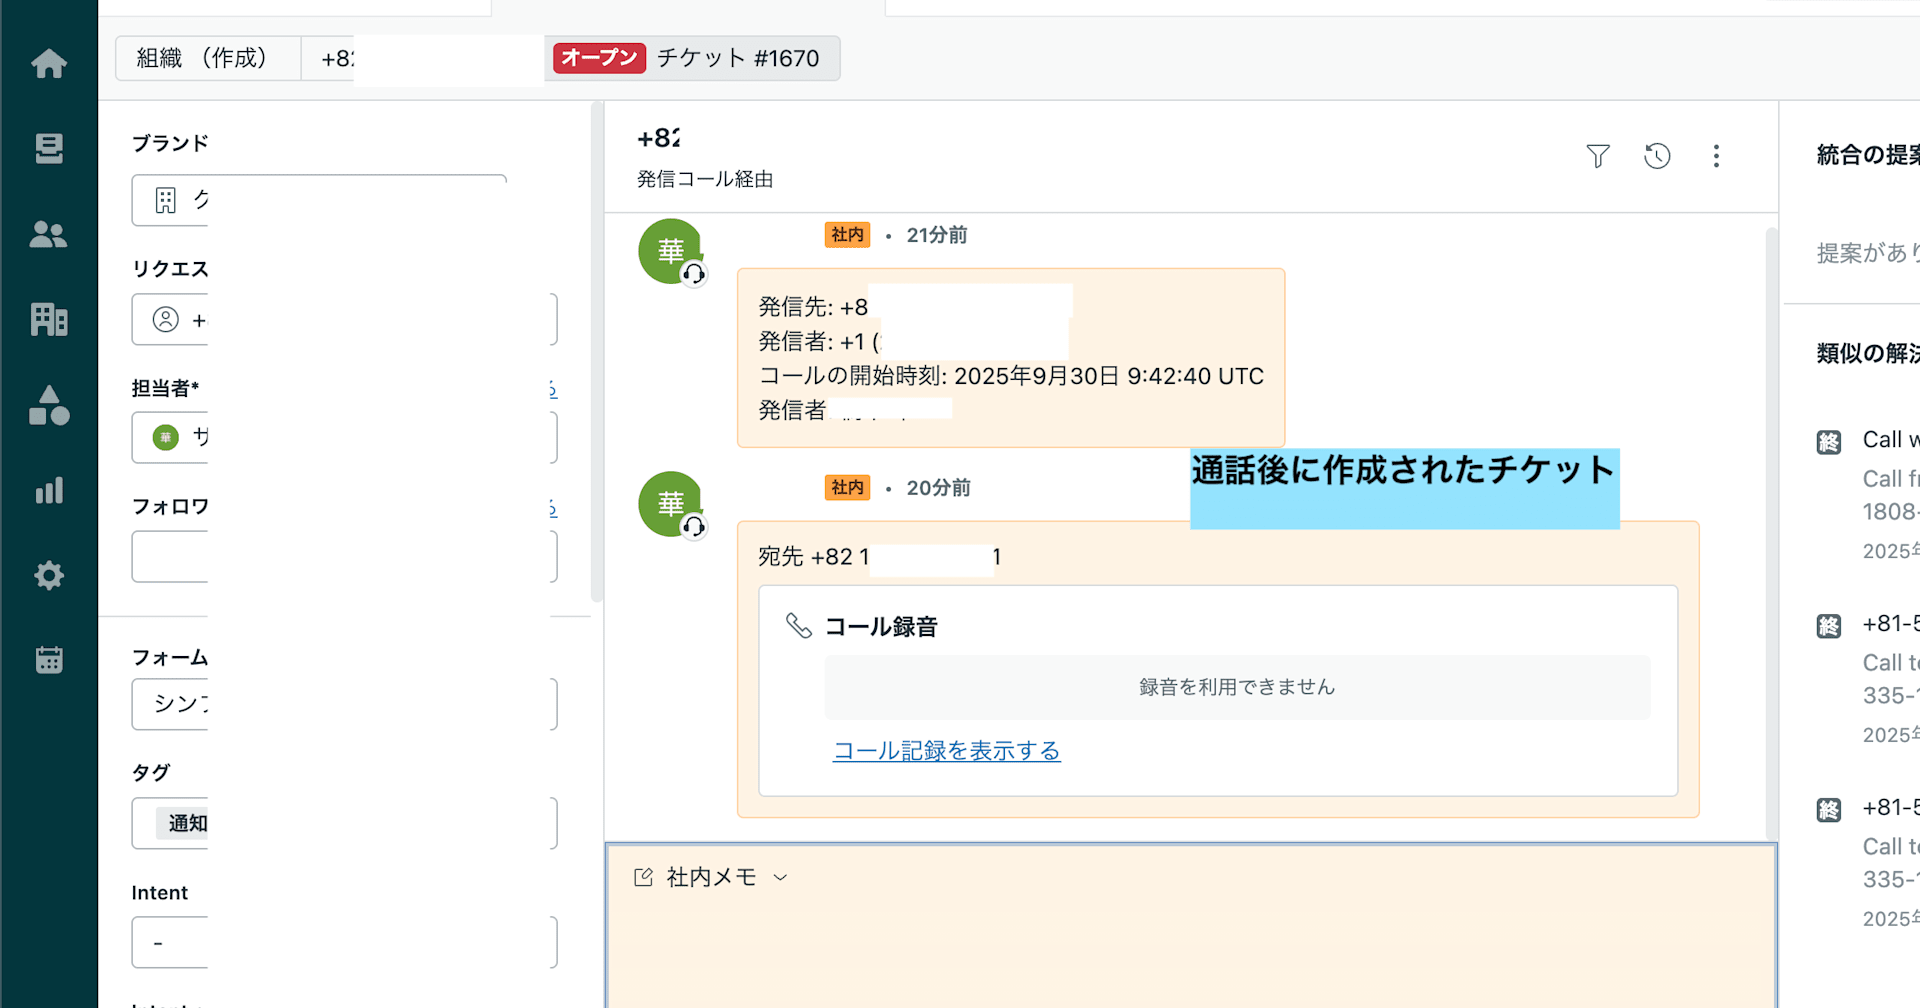
Tickets.
Record of conversation between an agent and a user is called a ticket. Usually cases or support in Zendesk becomes a ticket, emails are one of the channels that are used widely in training. all the customer interaction be it the support request, cases or some issues or incident is stored in the ticket hence it contains granular pieces of information.
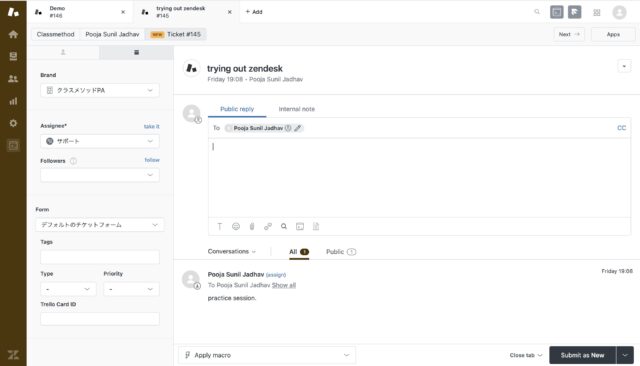
In order to create a ticket here are the following steps.
- Click the Add button at the top, in the toolbar to create a new ticket.
- Enter your Name in the field called "Requester".
- Fill in all the necessary ticket fields like, subject, description properties etc, Ticket fields help to provide additional information about the customer's request.
- Select the New status option for the ticket and submit .
- Make a note of its status ,ID and requester.
- After that locate the ticket on the dashboard.
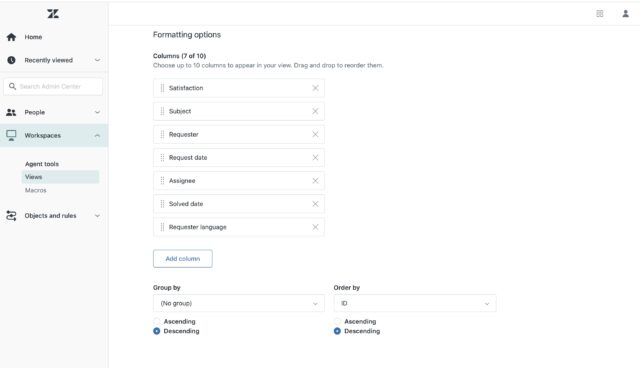
Views.
Views are like a list that has tickets organised according to a specific criteria that has been defined by you. Views provide a structured way of viewing tickets.
Views can be managed by editing, deleting or deactivating them as needed.
To edit a view following are the steps:
- At the Admin Centre > Workspace > Agent tools > Views.
- To edit a specific view click on it.
- The title, conditions, availability and formatting are modified as needed.
- Once done click on Save.
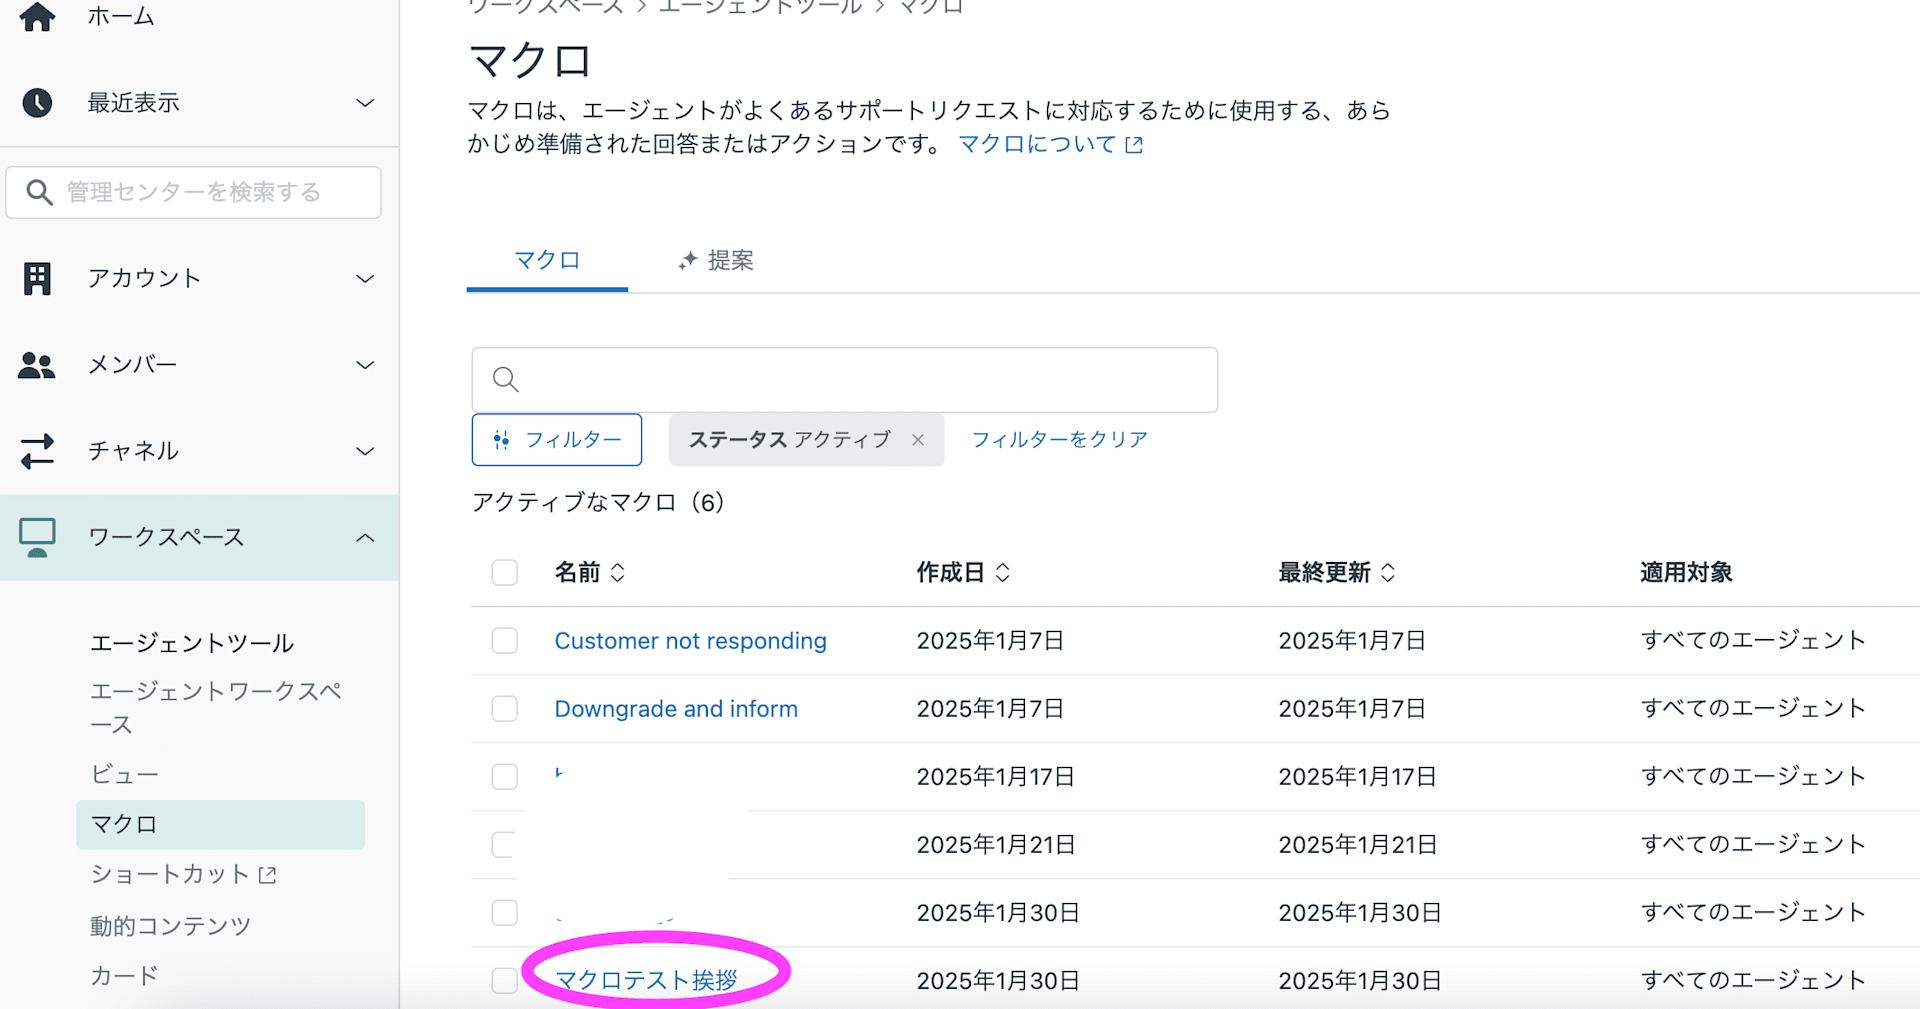
Macros.
Macros allows the agents to update tickets with answers to customer query that are already scripted and actions that are already predefined in a single step hence saving them time.
Following are the steps to create Macros.
- Head to the Admin Centre > Workspaces > Agent Tools > Macros.
- Click on Add Macros.
- Fill out the Macro name > Description > Available for.
- At the add Action click on Add action > Choose Comment/description, type in the appropriate comment. You can add other actions according to specific updates for the tickets.


Conclusion.
Zendesk has many more things to explore and to learn this blog was just an overview by a beginner with no prior knowledge about it. I have just scratched the surface, more blogs will follow through.!
Hope this was helpful. Thank you for your time!