AWS CloudShellでnpmが動作しない時の対処法
この記事は公開されてから1年以上経過しています。情報が古い可能性がありますので、ご注意ください。
先日まで生成AIのユースケース集であるGenUの導入支援を行っており、CloudShellを使用したデプロイを行なっていました。
GenUはCDKで構成されているのですが、11月中旬頃からCloudShell上でnpm ciが動作せず困る場面がありました。
紆余曲折ありながらも最終的にCloudShell上でnpmコマンドが動作するようになったので、対処法についてまとめたいと思います。
先にまとめ
- Node.jsのバージョンを変更することで改善
- バージョン管理には
nvmを使用
- バージョン管理には
- シェルスクリプト使用時には別途追記が必要
事象
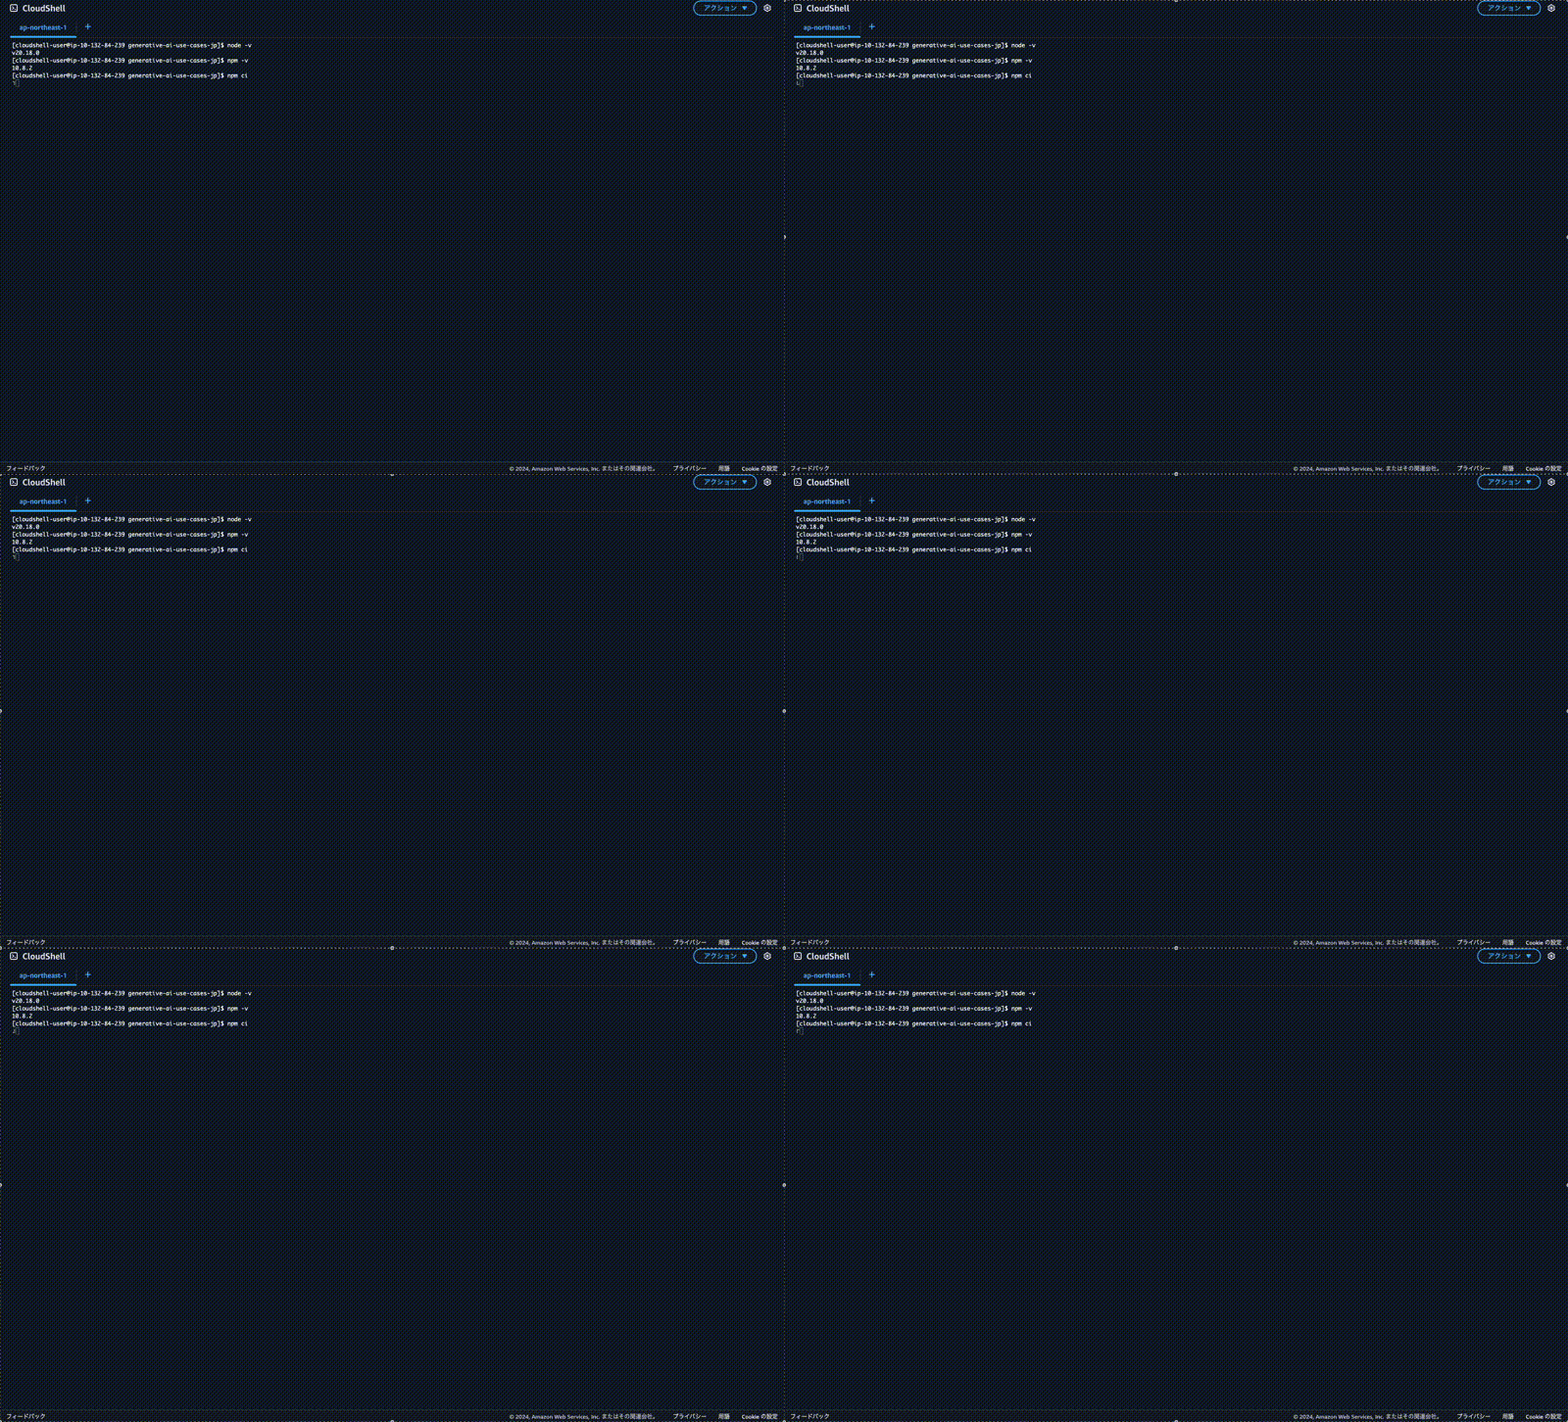
CloudShell上でnpm ciを実行すると以下のようにインストールが始まらない事象に陥りました。

CloudShellのNode.jsとnpmのバージョンは以下のとおりです。
$ node -v
v20.18.0
$ npm -v
10.8.2
対処法
ここからはNode.jsのバージョンを変更して、npm ciが動作するところまで実施します。
まずはバージョン管理ツールのnvmをインストールします。
$ curl -o- https://raw.githubusercontent.com/nvm-sh/nvm/v0.40.1/install.sh | bash
 % Total    % Received % Xferd  Average Speed   Time    Time     Time  Current
                                 Dload  Upload   Total   Spent    Left  Speed
100 16563  100 16563    0     0  57938      0 --:--:-- --:--:-- --:--:-- 58115
=> Downloading nvm from git to '/home/cloudshell-user/.nvm'
=> Cloning into '/home/cloudshell-user/.nvm'...
remote: Enumerating objects: 380, done.
remote: Counting objects: 100% (380/380), done.
remote: Compressing objects: 100% (323/323), done.
remote: Total 380 (delta 43), reused 179 (delta 29), pack-reused 0 (from 0)
Receiving objects: 100% (380/380), 382.75 KiB | 2.15 MiB/s, done.
Resolving deltas: 100% (43/43), done.
* (HEAD detached at FETCH_HEAD)
  master
=> Compressing and cleaning up git repository

=> Appending nvm source string to /home/cloudshell-user/.bashrc
=> Appending bash_completion source string to /home/cloudshell-user/.bashrc
=> You currently have modules installed globally with `npm`. These will no
=> longer be linked to the active version of Node when you install a new node
=> with `nvm`; and they may (depending on how you construct your `$PATH`)
=> override the binaries of modules installed with `nvm`:

/usr/lib
├── aws-cdk@2.163.0
└── aws-sdk@2.1691.0
=> If you wish to uninstall them at a later point (or re-install them under your
=> `nvm` node installs), you can remove them from the system Node as follows:

     $ nvm use system
     $ npm uninstall -g a_module

=> Close and reopen your terminal to start using nvm or run the following to use it now:

export NVM_DIR="$HOME/.nvm"
[ -s "$NVM_DIR/nvm.sh" ] && \. "$NVM_DIR/nvm.sh"  # This loads nvm
[ -s "$NVM_DIR/bash_completion" ] && \. "$NVM_DIR/bash_completion"  # This loads nvm bash_completion
.bashrcを再読み込みし、nvmを使えるようにします。
$ source ~/.bashrc
nvmがインストールできているか確認します。
$ command -v nvm
nvm
nvmが使える状態になったら、Node.jsのバージョンを切り替えます。
今回は最新のLTSバージョンをインストールしていますが、要件に応じて適宜変更してください。
$ nvm install --lts
Installing latest LTS version.
Downloading and installing node v22.12.0...
Downloading https://nodejs.org/dist/v22.12.0/node-v22.12.0-linux-x64.tar.xz...
##################################################################################################################################################################################################################### 100.0%
Computing checksum with sha256sum
Checksums matched!
Now using node v22.12.0 (npm v10.9.0)
動作確認して問題なければ完了です。
$ npm ci

~省略~

added 1363 packages, and audited 1421 packages in 39s

found 0 vulnerabilities
余談
シェルスクリプト内でNode.jsのバージョンを変えたい場合は、スクリプト内に以下を追記する必要があります。
#!/bin/bash
source /home/cloudshell-user/.nvm/nvm.sh
nvm use --lts
最後に
今回は、CloudShell上でnpmコマンドが動作しない問題とその解決方法についてまとめました。
開発環境が整っていない場合にCloudShellを使用することが往々にしてあると思います。
どなたかの参考になれば幸いです。


