
I Tried Using Informatica Normalizer Transformation in a Mapping
この記事は公開されてから1年以上経過しています。情報が古い可能性がありますので、ご注意ください。
Introduction
I'm Shiwani from the Data Analytics Division.
This time, i will try using Normalizer transformation in informatica.
The Normalizer transformation is an active transformation that transforms one incoming row into multiple output rows.
In this blog i will use Normalizer transformation that represents the data in a smarter and organized manner. This will normalize your data and create multiple records for single source of data.
Exercise
- I want find the list of top performers in the store for the last four quarters.
- Use the Informatica Cloud Mapping Designer to calculate the sales percentage for each employee for NH suppliers in the last four quarters.
- Use the Rank transformation to list the top twenty performers based on the overall sales percentage.
Objective
- Configure a mapping in Informatica Cloud.
- Use Normalizer, Rank, and Aggregator transformations in the mapping.
Create Mapping
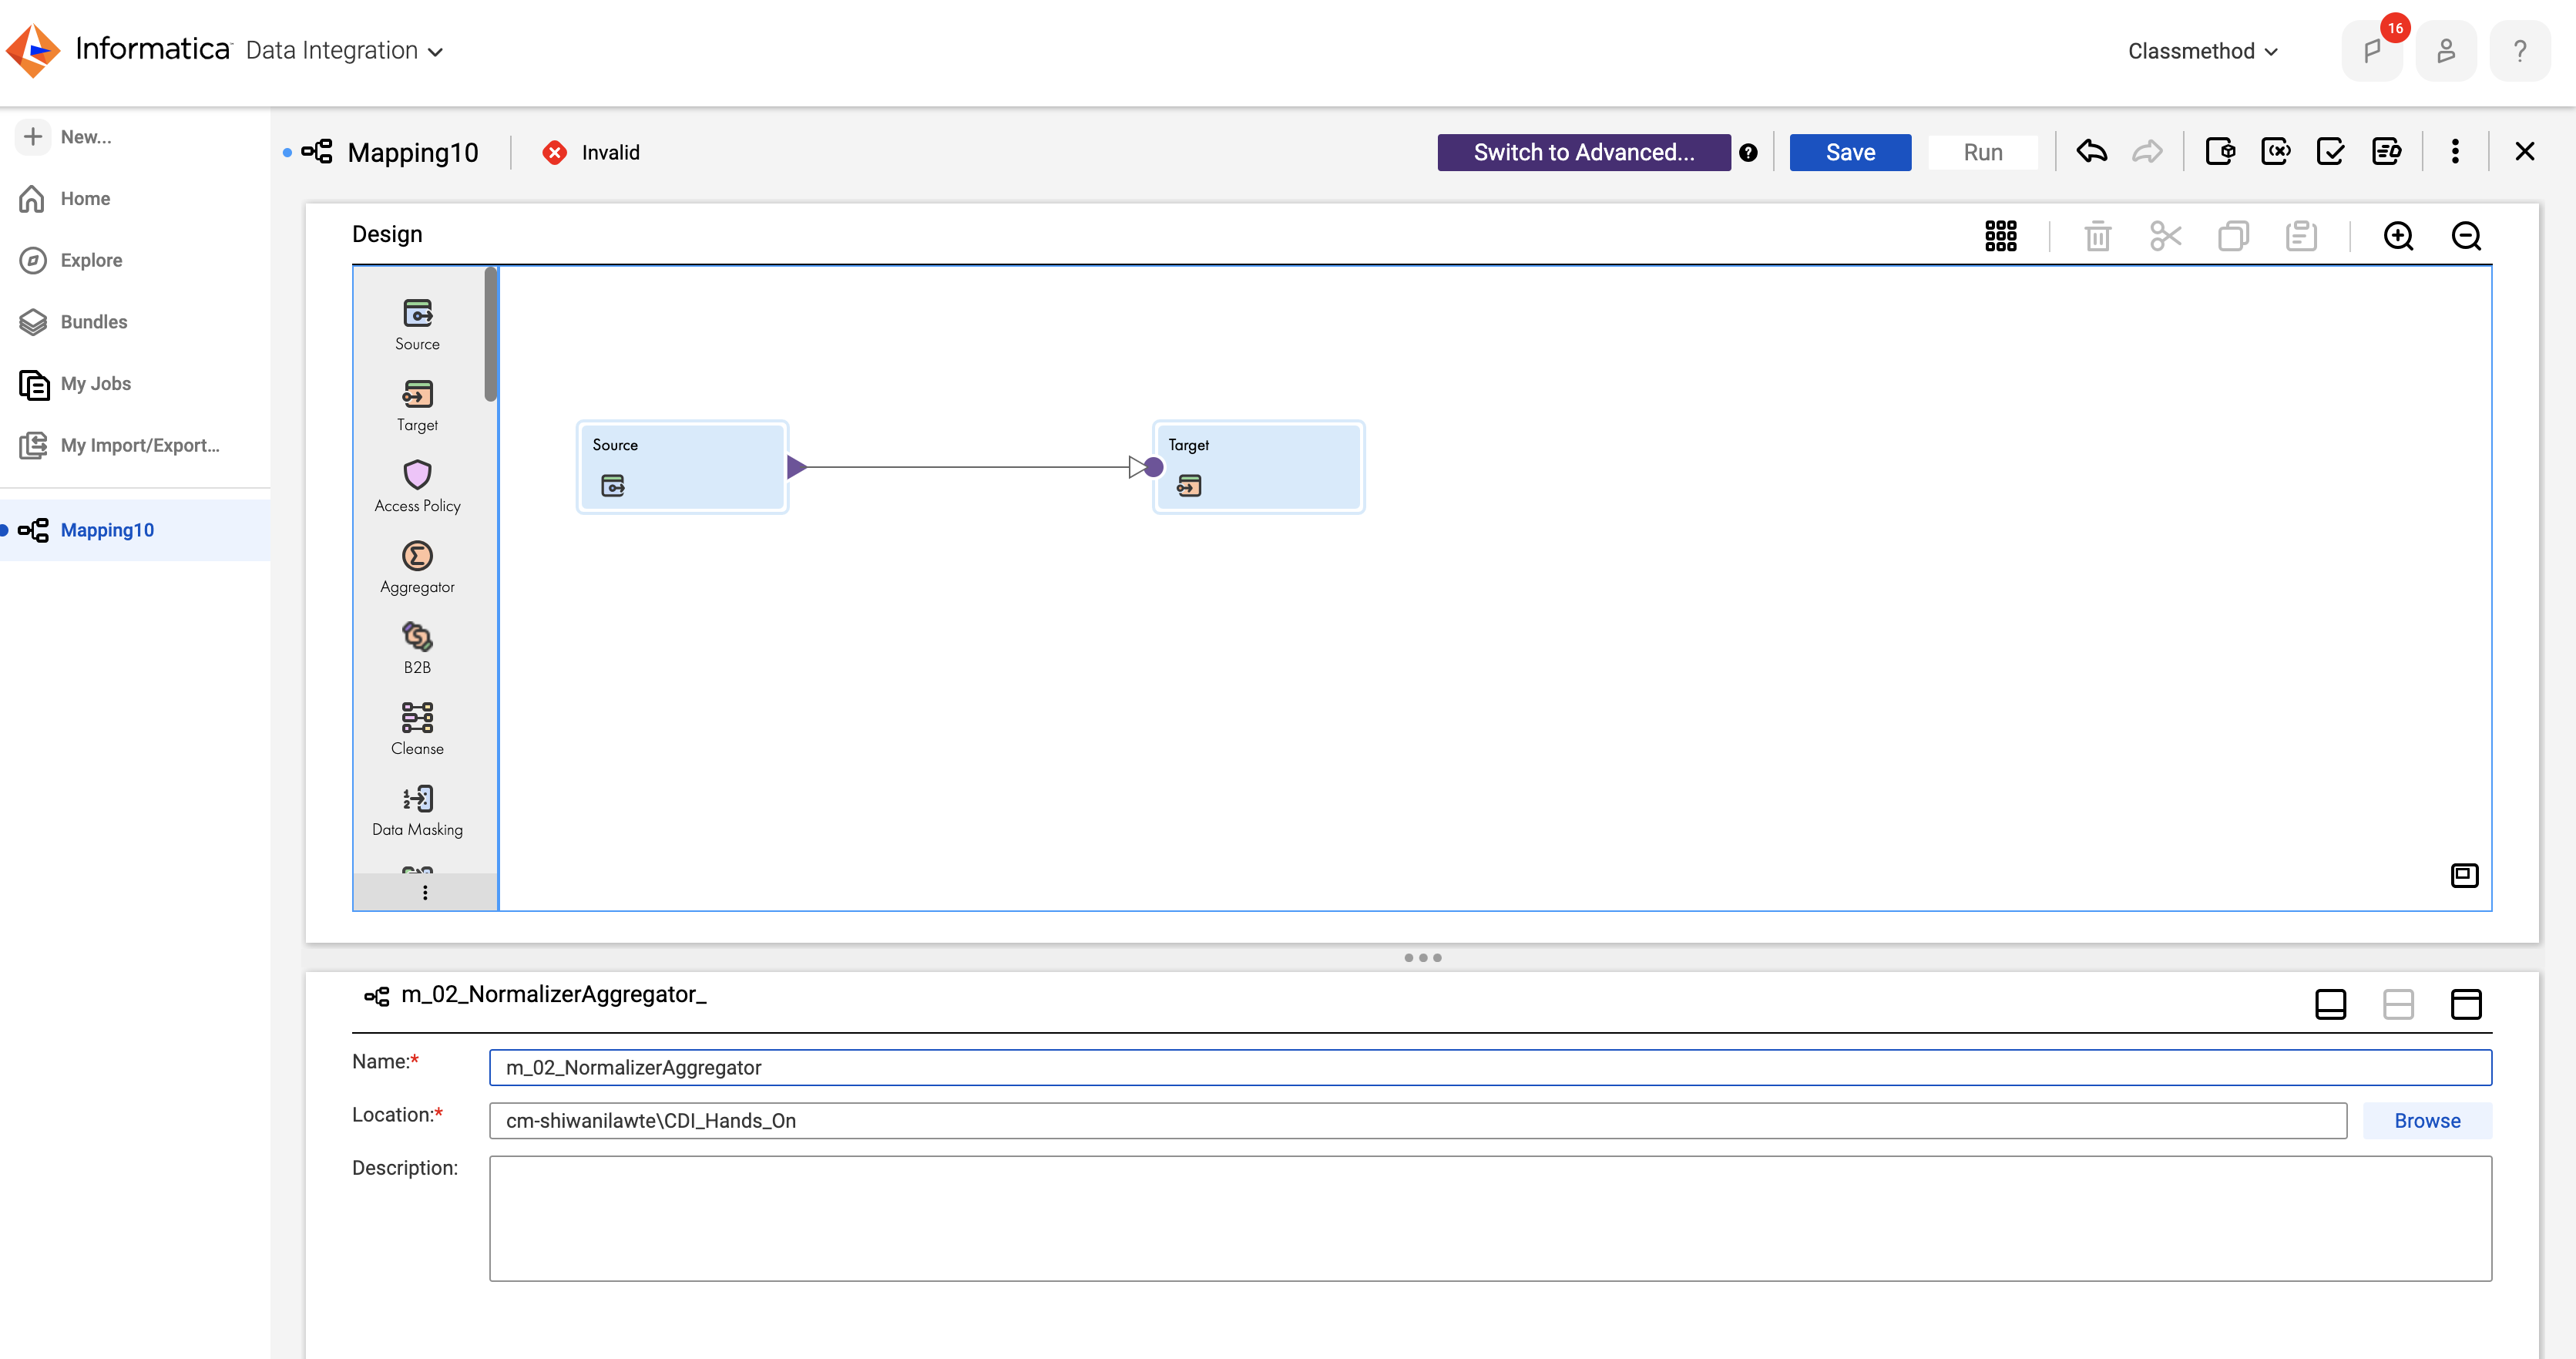
- Create a new Mapping.
- In the Name field, enter the name of the Mapping as m_02_NormalizerAggregator.
Add Source Transformation
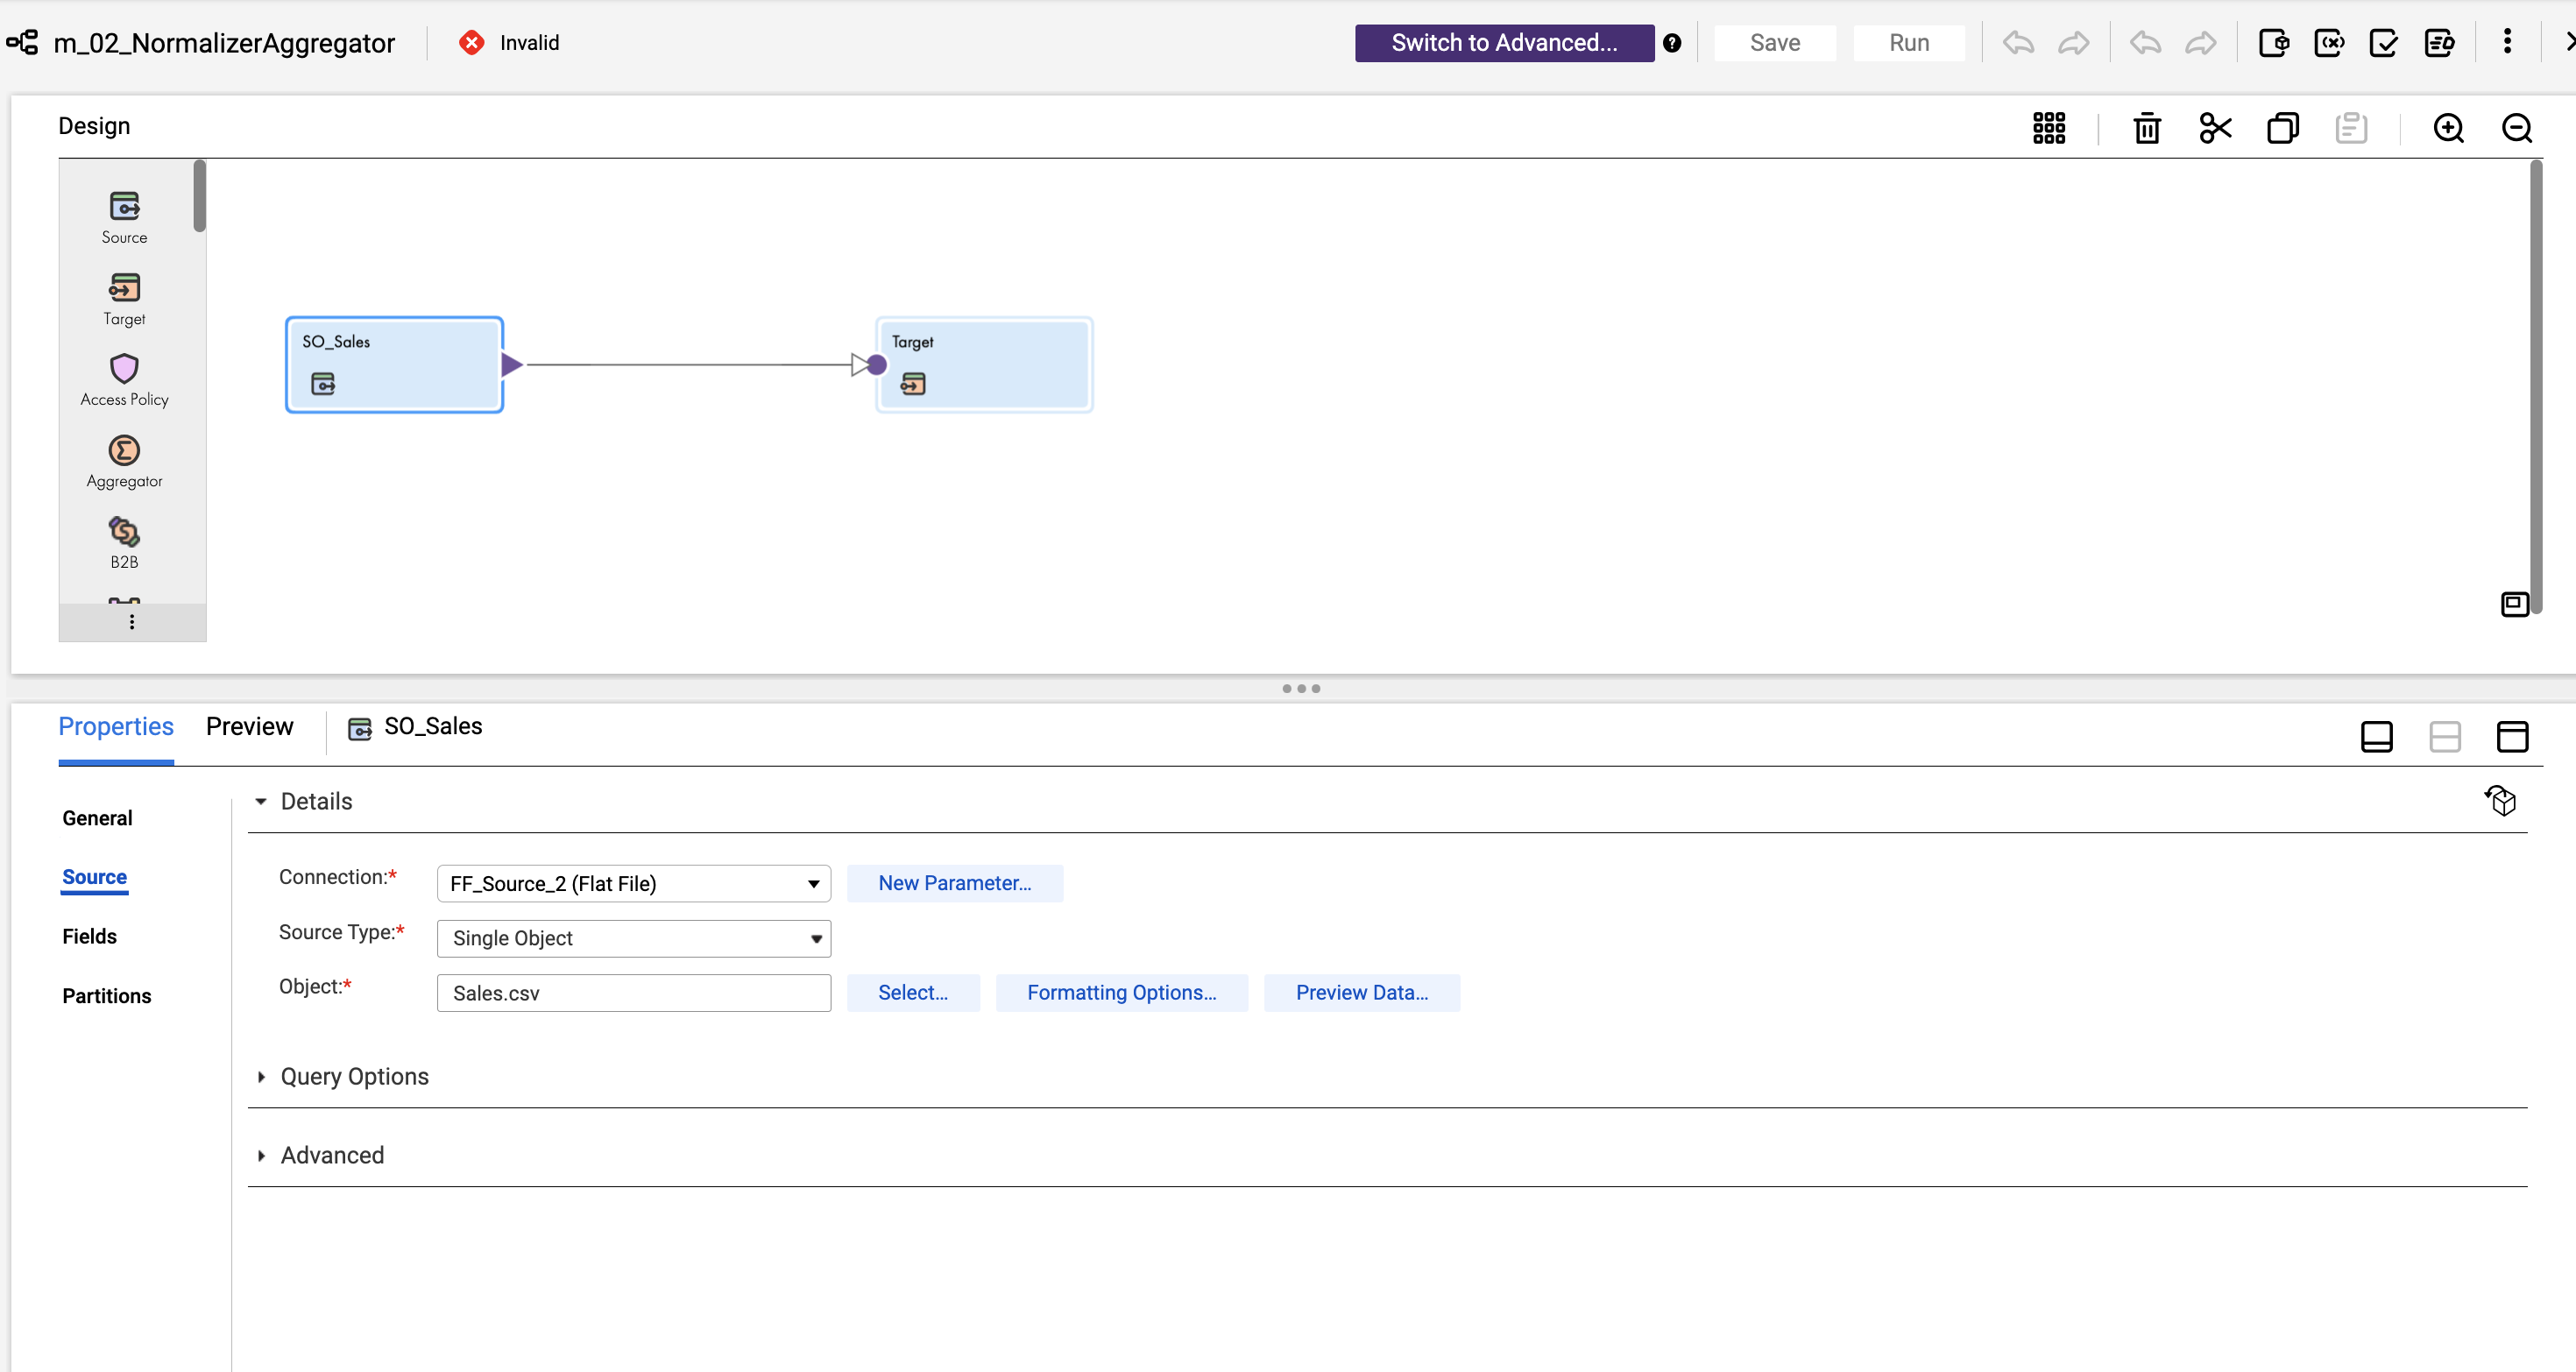
- Select the Source transformation from the mapping and enter the properties bellow.
- General :
- Enter the Name as SO_Sales.
- Source.
- From the Connection drop-down, select Source file connection. Here i have selected the connection called FF_Source_2.
- Select the source object from the Object field. I have selected the object called Sales.csv .
- General :
Add Normalizer Transformation
- Add the Normalizer transformation onto the link between SO_Sales and Target.
- Select the Normalizer transformation from the mapping and enter the properties below.
-
General :
- Keep the Name as Normalizer.
-
Normalized Fields :
- From the Create Field drop-down, select Select From Incoming Fields and select Emp_ID, Emp_Name.
- From the Create Field drop-down, select New Field and Enter the details as shown in table below.
Name Type Precision Scale QuarterSales number 10 2
-

- Field Mapping :
- Map the fields, as shown in image:

Add Expression Transformation
- Add the Expression transformation onto the link between Normalizer and Target.
- Select Expression transformation and enter the properties below.
-
General :
- Enter the Name as NormalizerExpression.
-
Expression :
- Click the plus icon and enter the details as shown in table below.
Field Type Name Type Precision Output Field Quarter string 10 -
Configure the expression :
- Click Configure.
- In the Expression field, Add the following expression.
-
DECODE(TRUE, GCID_QuarterSales=1, 'Qtr1', GCID_QuarterSales=2, 'Qtr2',
GCID_QuarterSales=3, 'Qtr3', GCID_QuarterSales=4, 'Qtr4')

Add Target Transformation
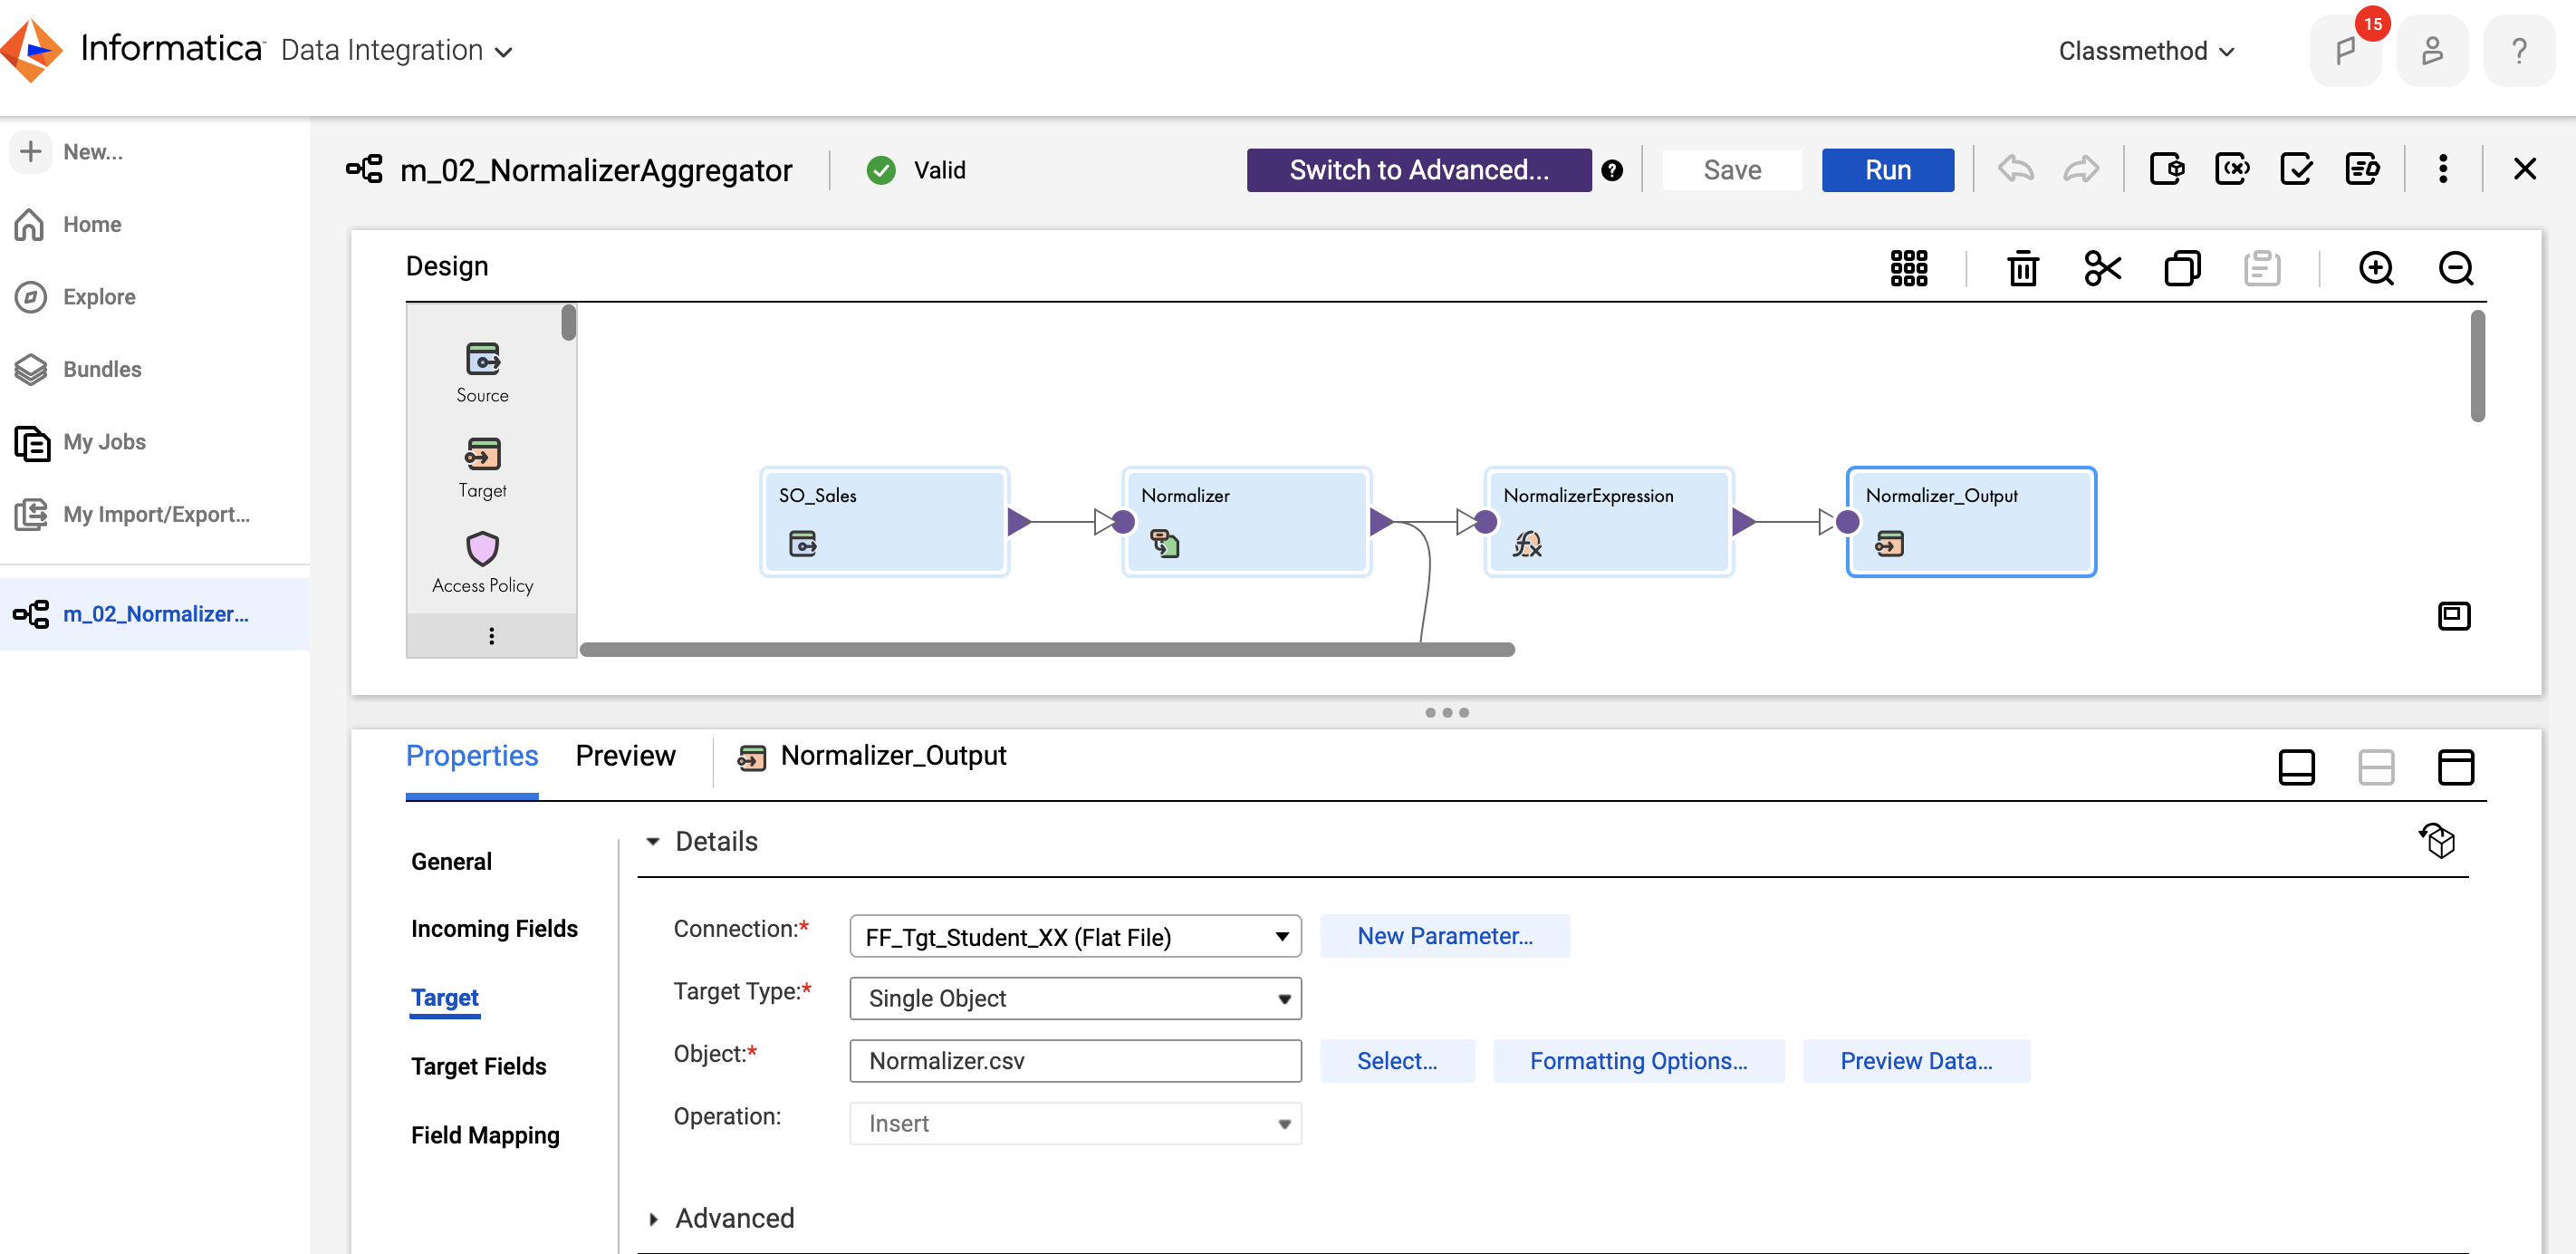
- To configure the target, from the mapping canvas, click the Target transformation.
- Enter the properties details as below.
- General :
- Enter Name as Normalizer_Output.
- Incoming Fields :
- Select Emp_ID, Emp_Name, Quarter, and QuarterSales.
- Target :
- From the Connection drop-down, select your target flat file connection.
- To select the target object from the Object field. Here i have selected Normalizer.csv.
- Field Mapping :
- Map the fields as shown in the image below.
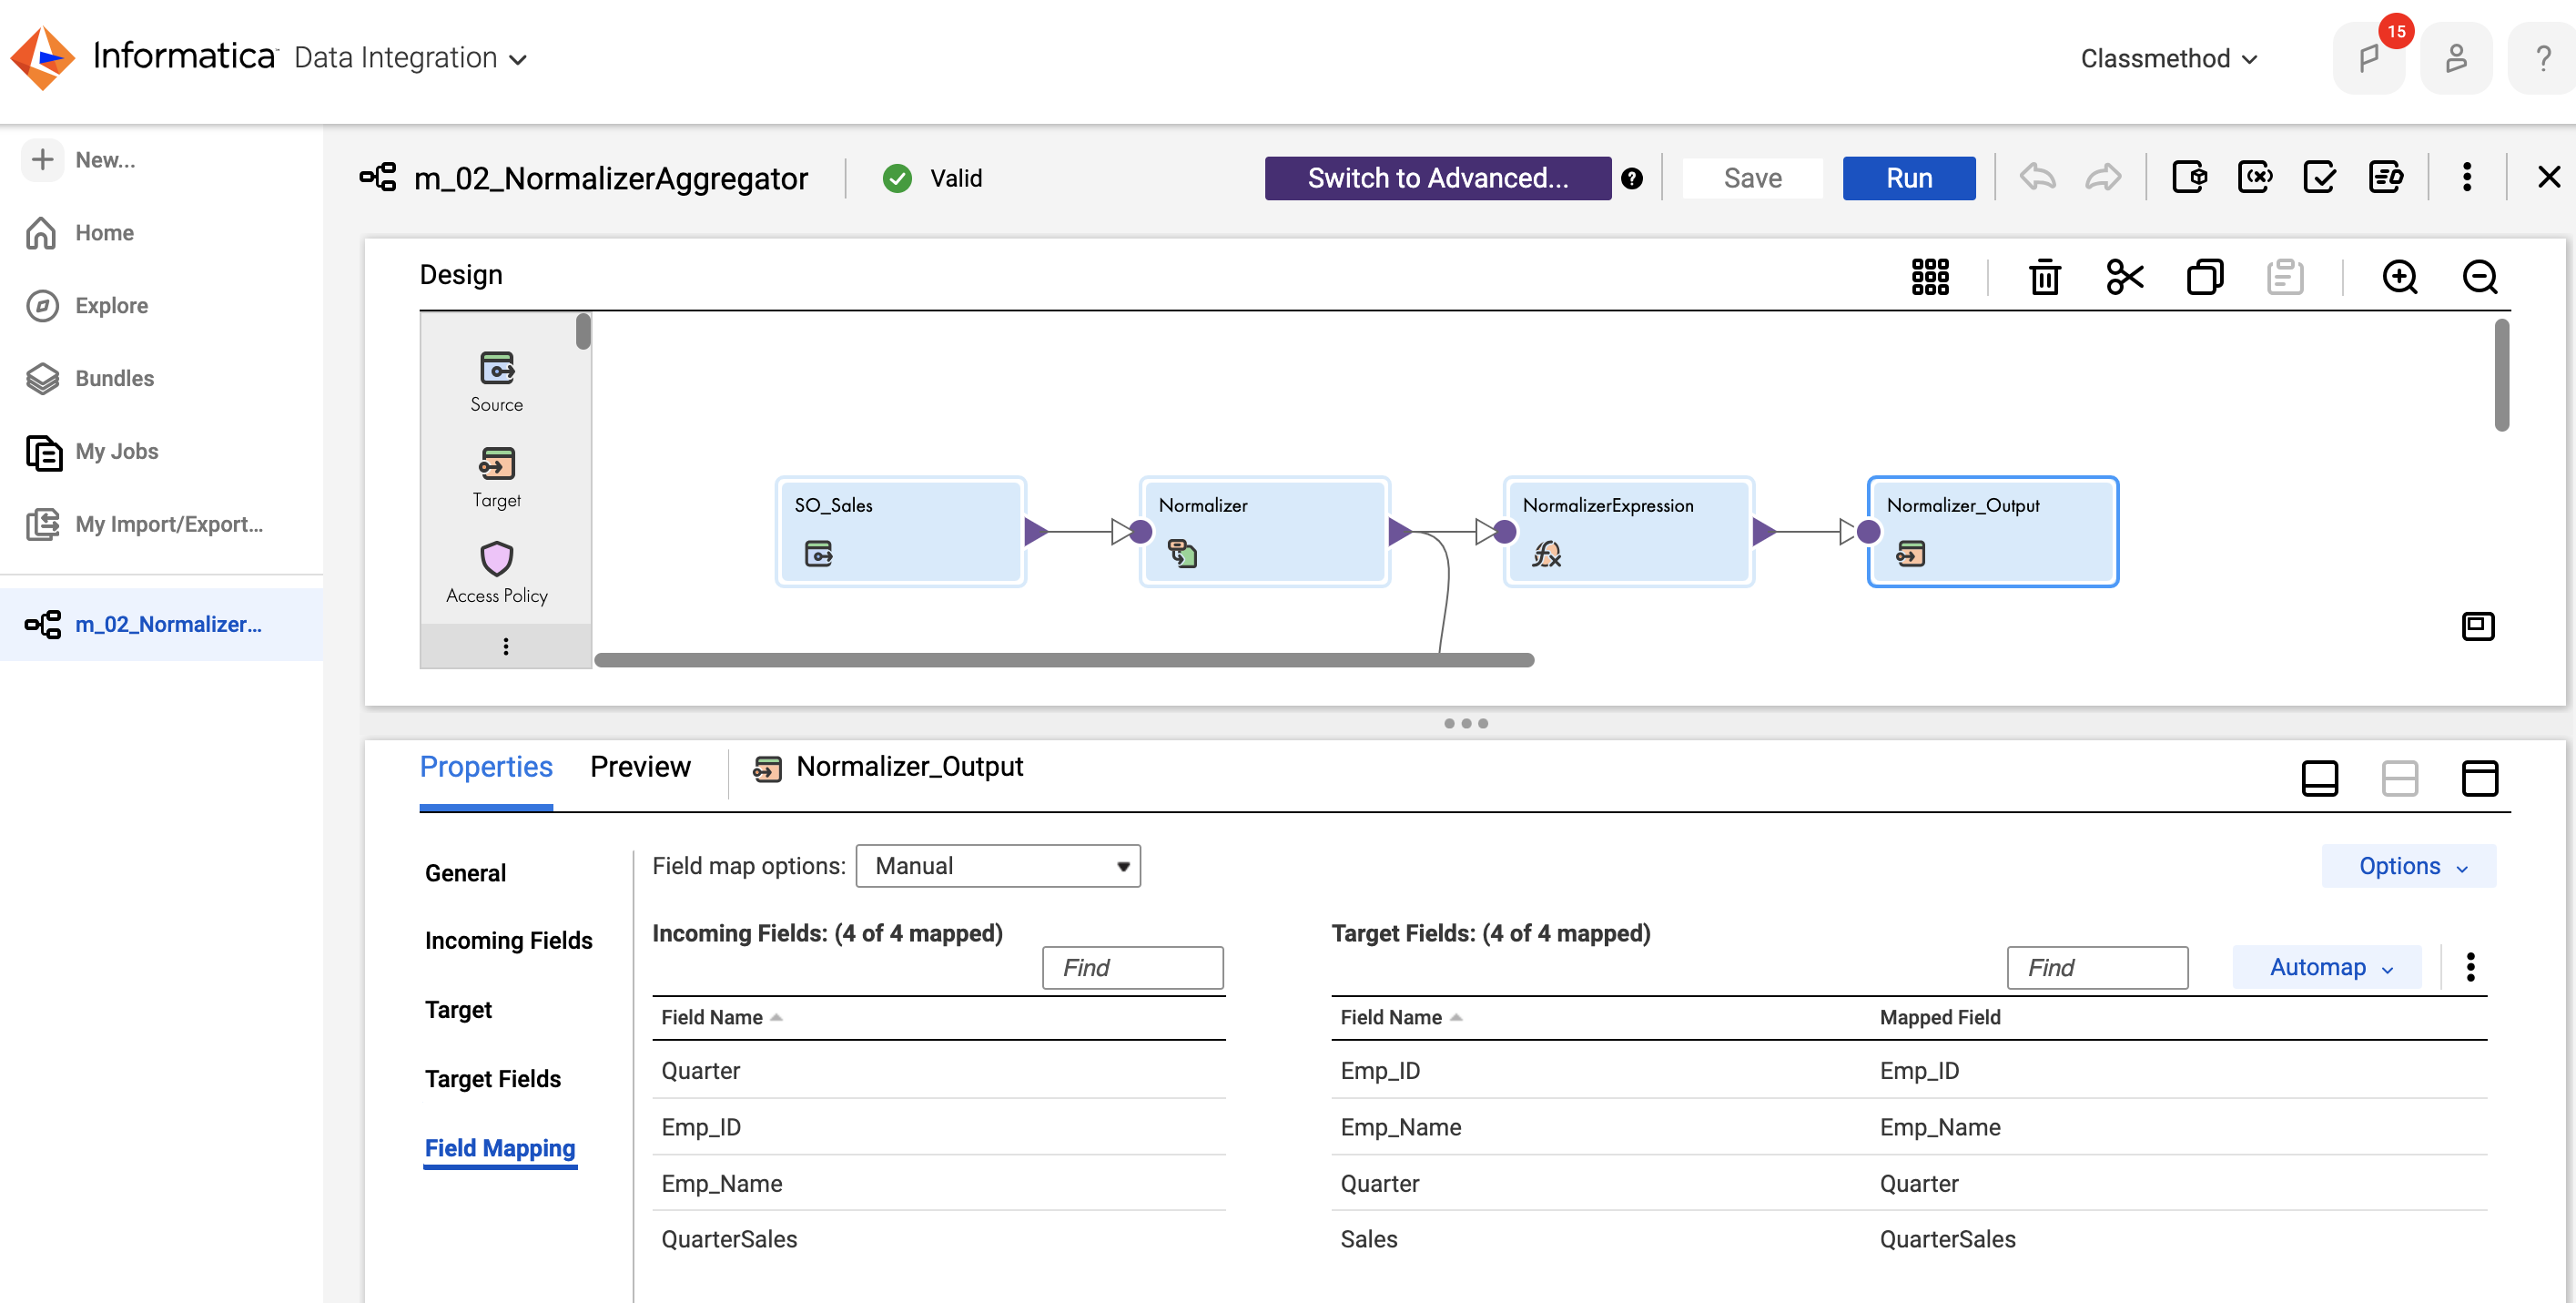
- Map the fields as shown in the image below.
- General :
Add Aggregator Transformation
- Add Aggregator transformation on the mapping canvas.
- Link the Normalizer transformation with the Aggregator transformation.
- Select the Aggregator transformation and enter the properties details below.
-
General :
- Keep the Name as Aggregator.
-
Group By :
- From the Field Name drop-down, select Emp_ID.
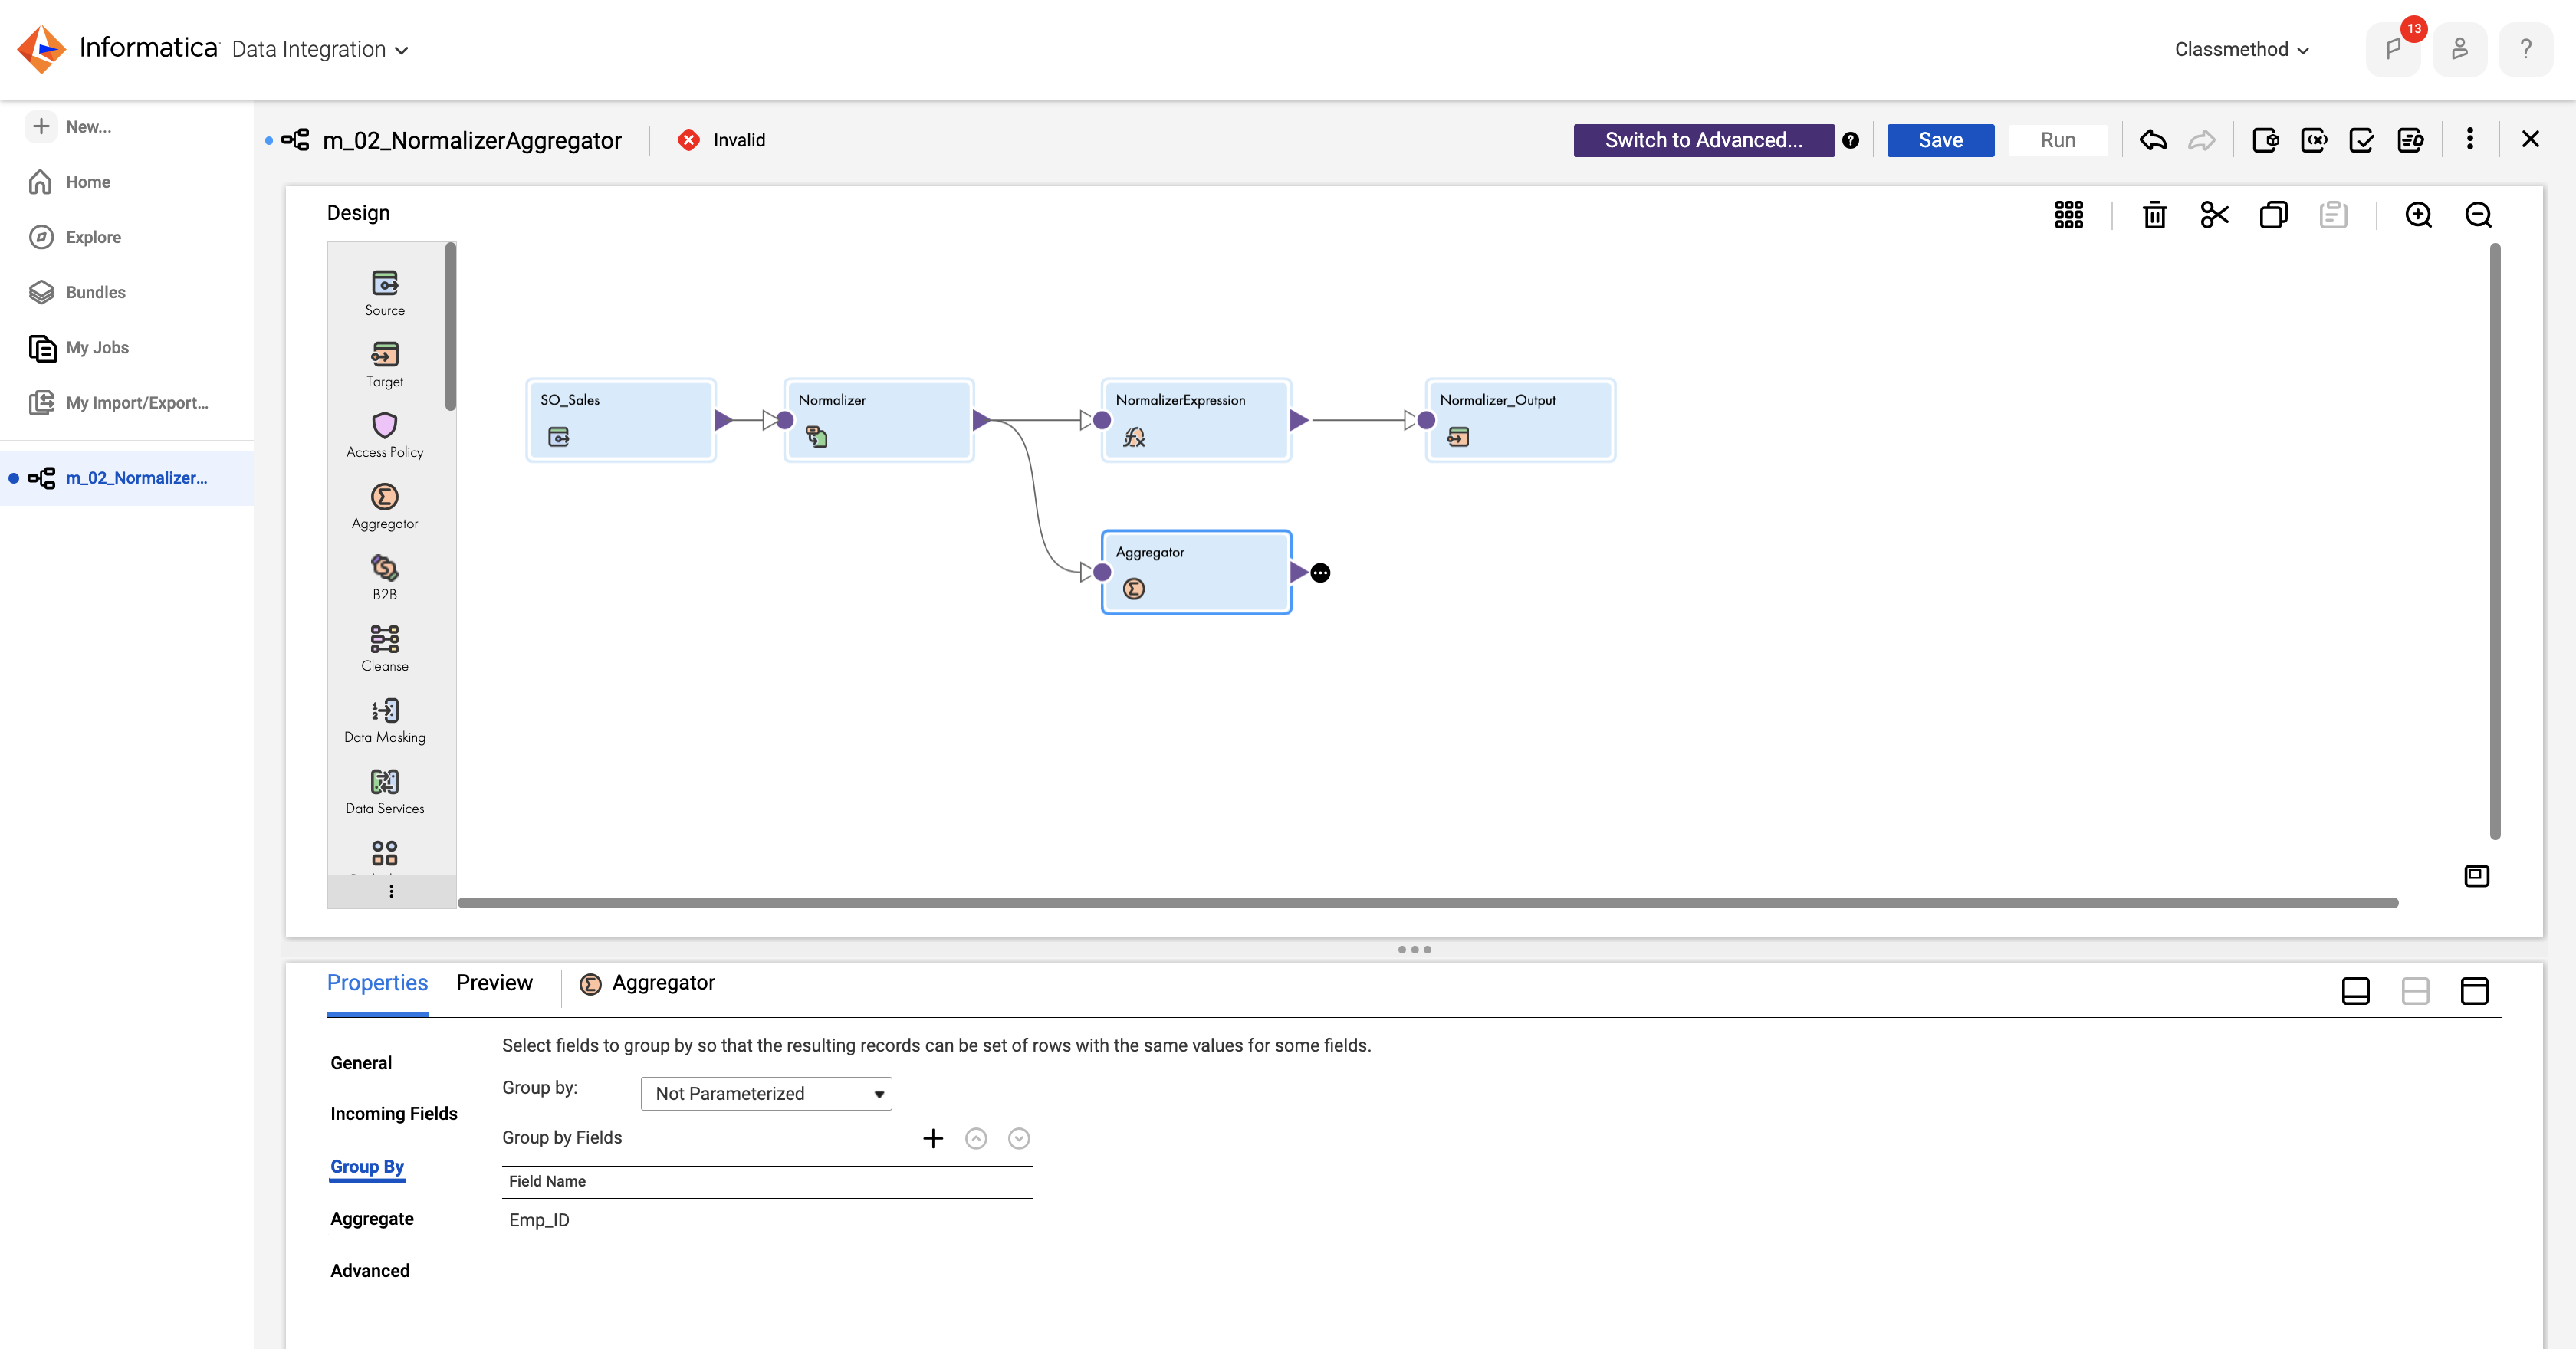
- From the Field Name drop-down, select Emp_ID.
-
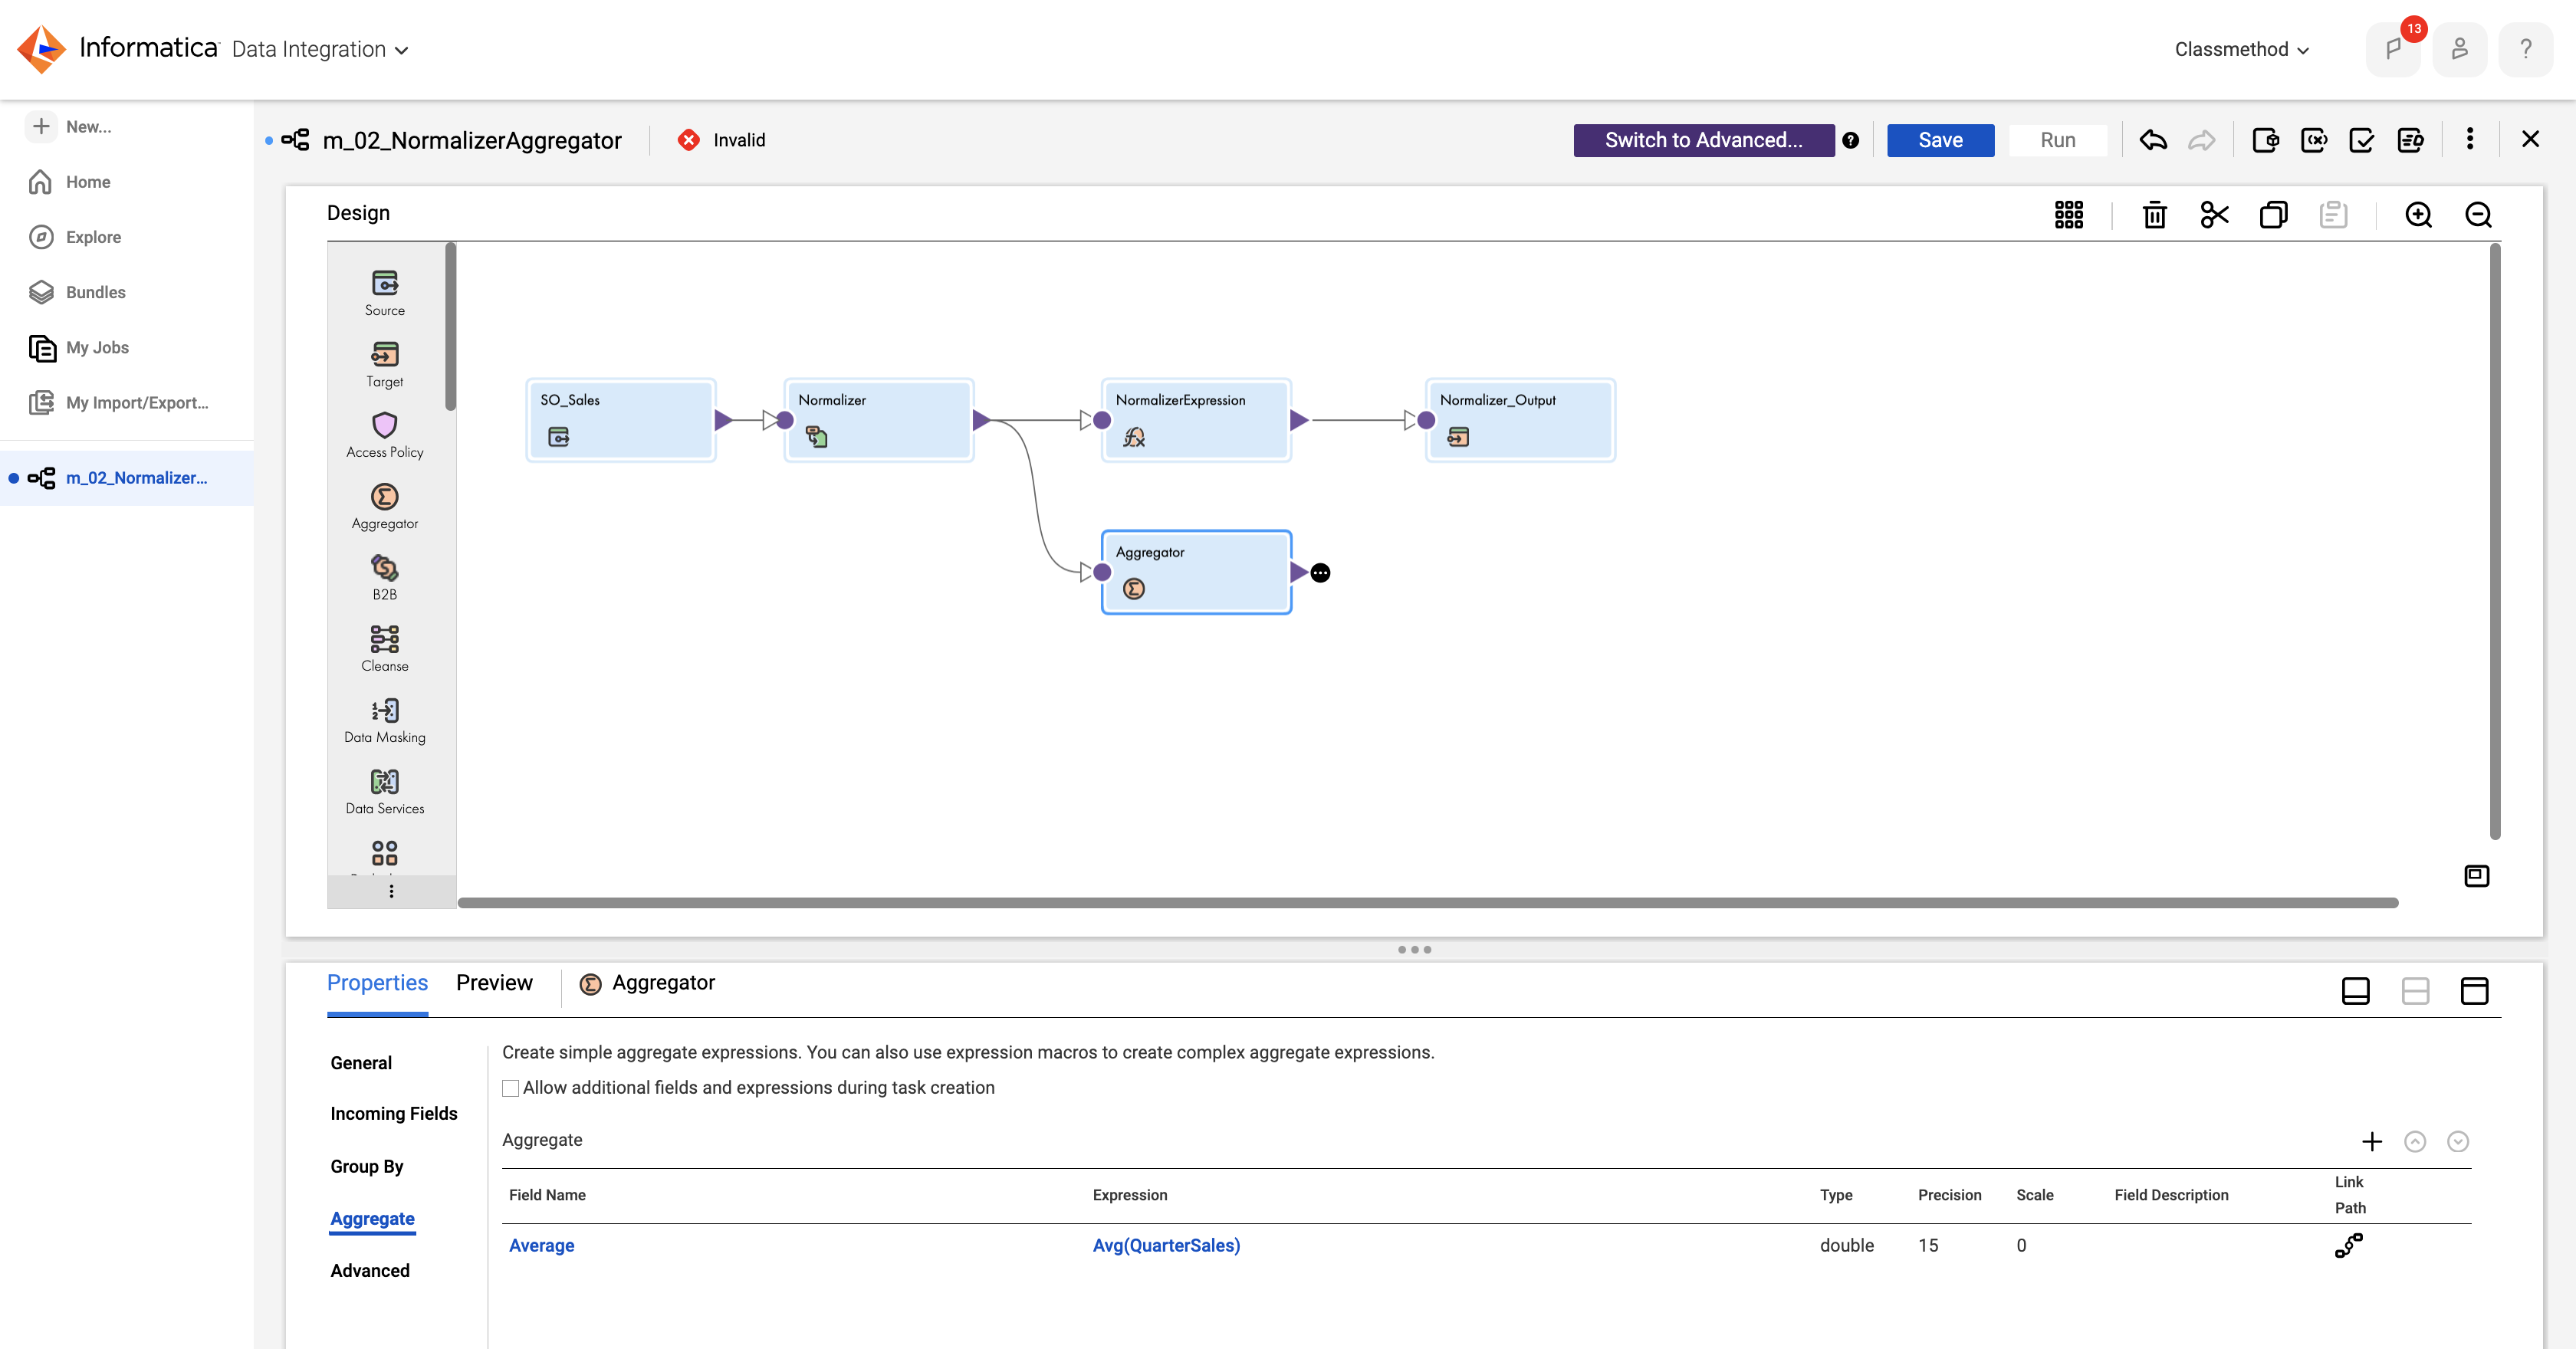
Aggregate :
- To add a new aggregate condition, click plus icon and enter the details as shown in table below.
Field Type Name Type Output Field Average double - To configure the field, click Configure.
- In the Expression field, enter the following expression:
Avg(QuarterSales)
-
Add Rank Transformation
- Add Rank transformation on the mapping canvas.
- Link the Aggregator with Rank transformation.
- Select the Rank transformation and enter the properties details below.
- General :
- Keep the name as Rank.
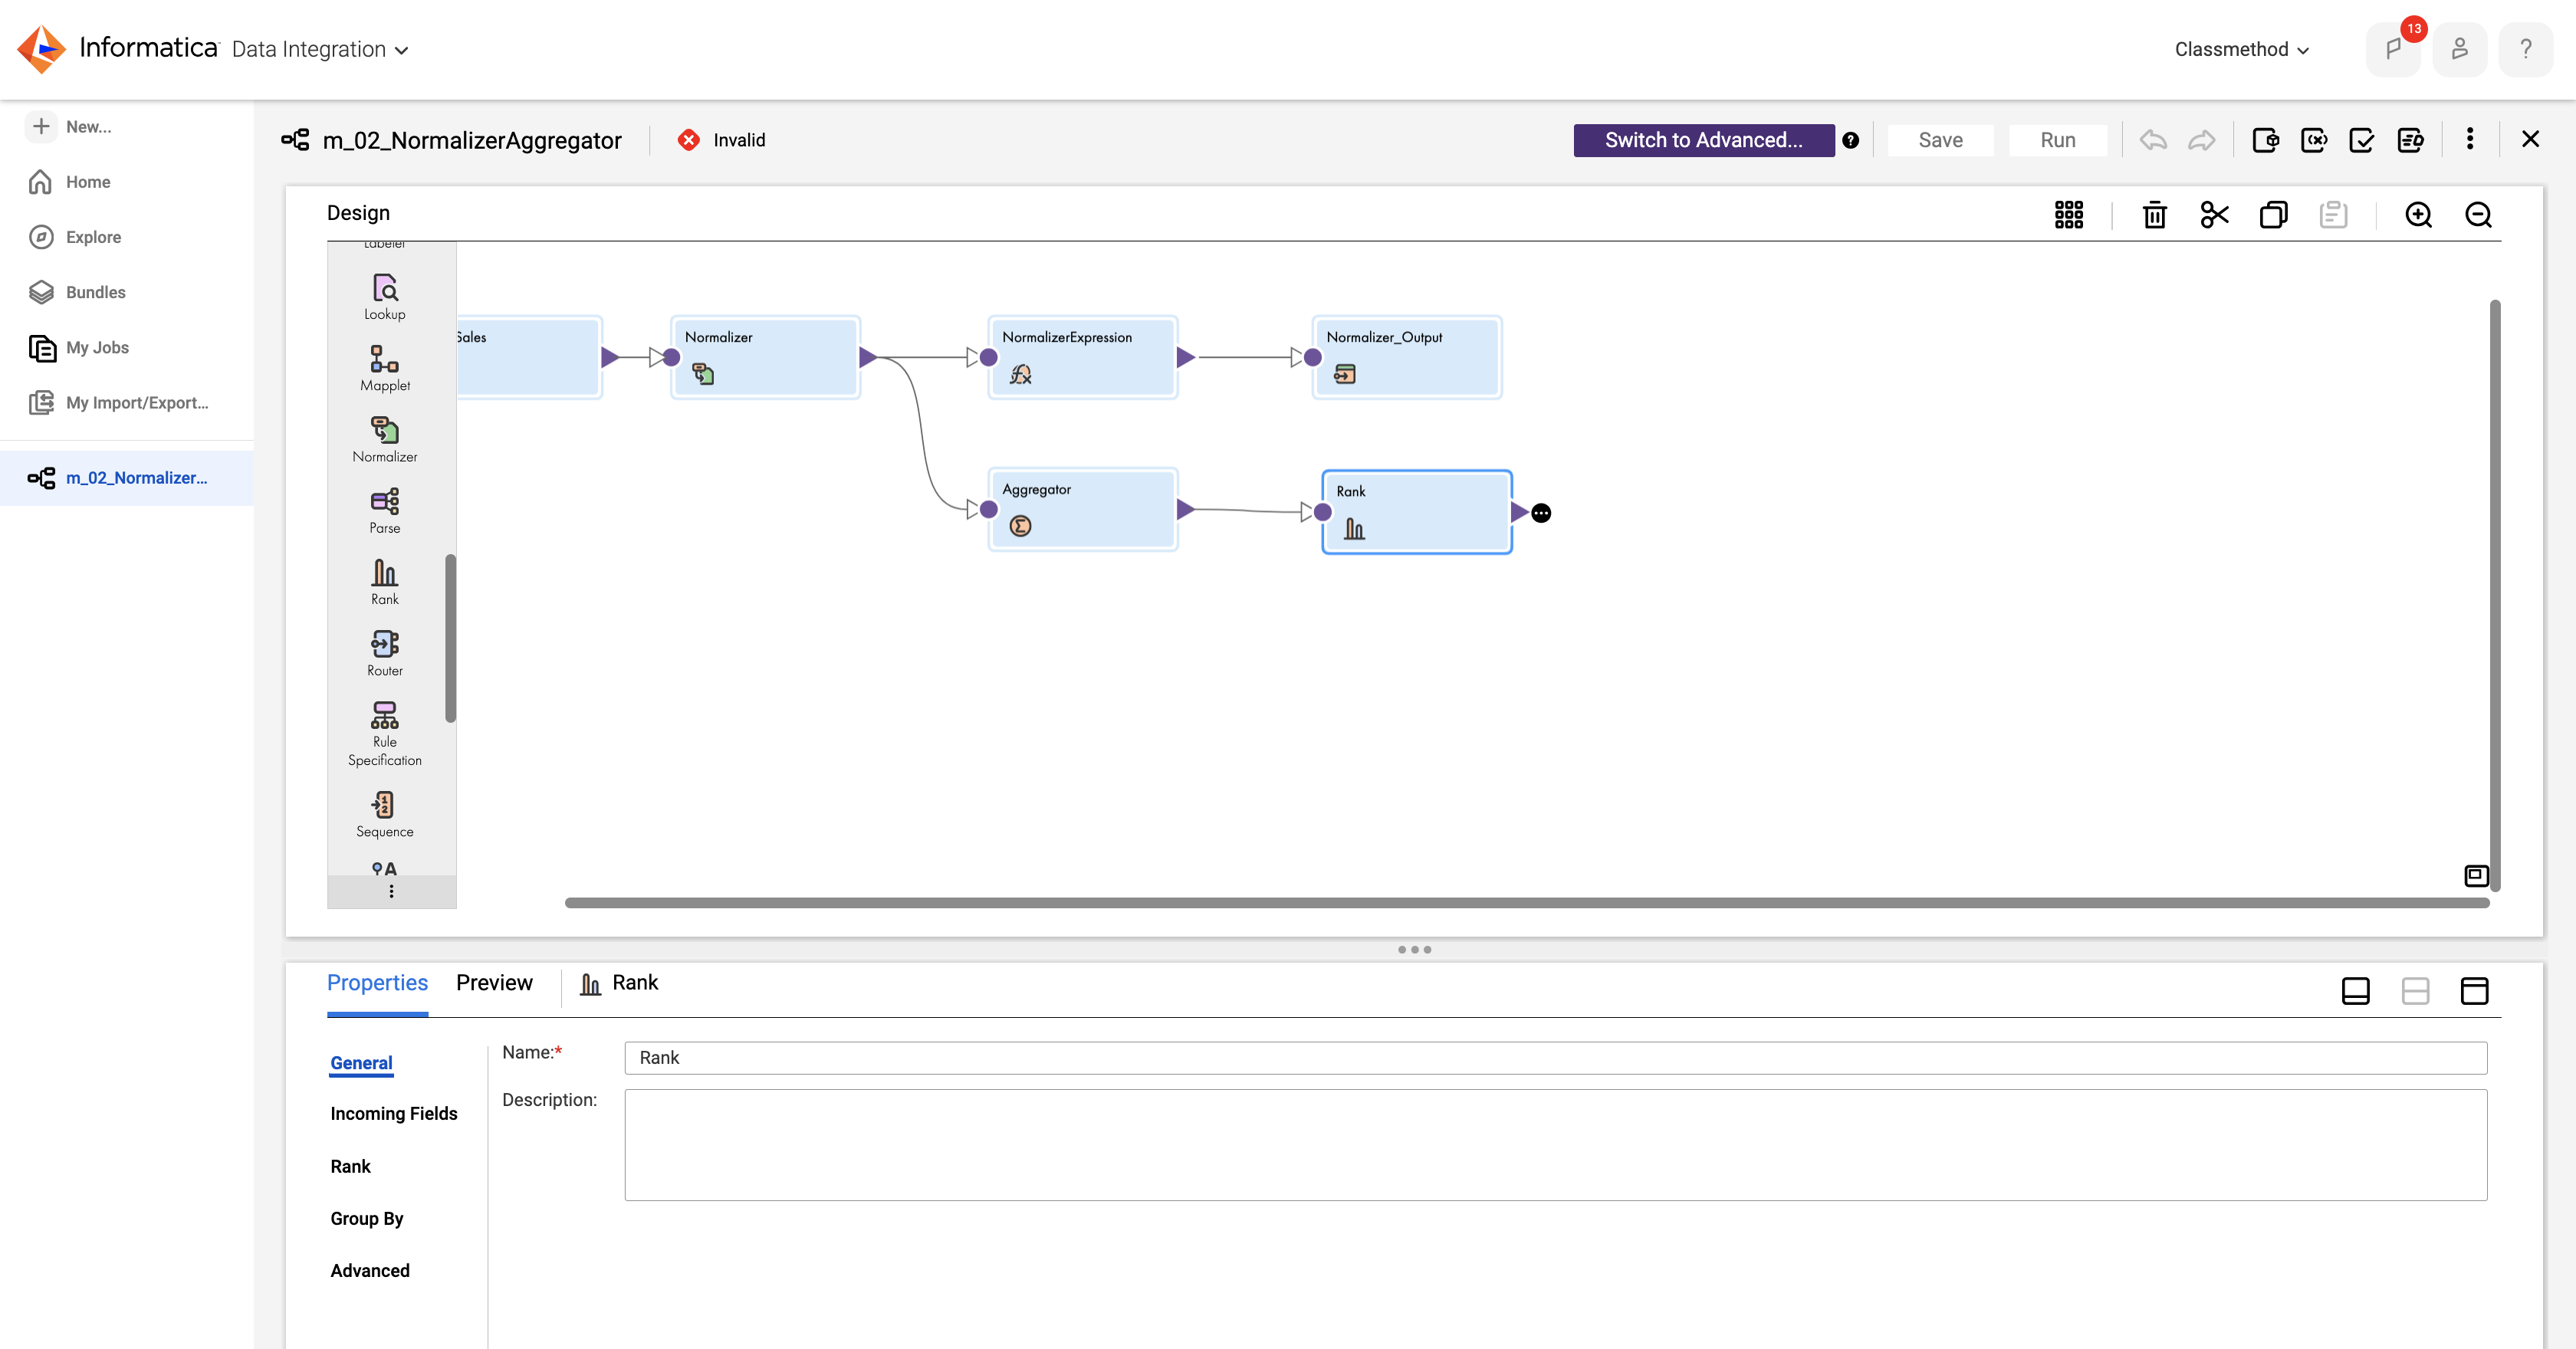
- Keep the name as Rank.
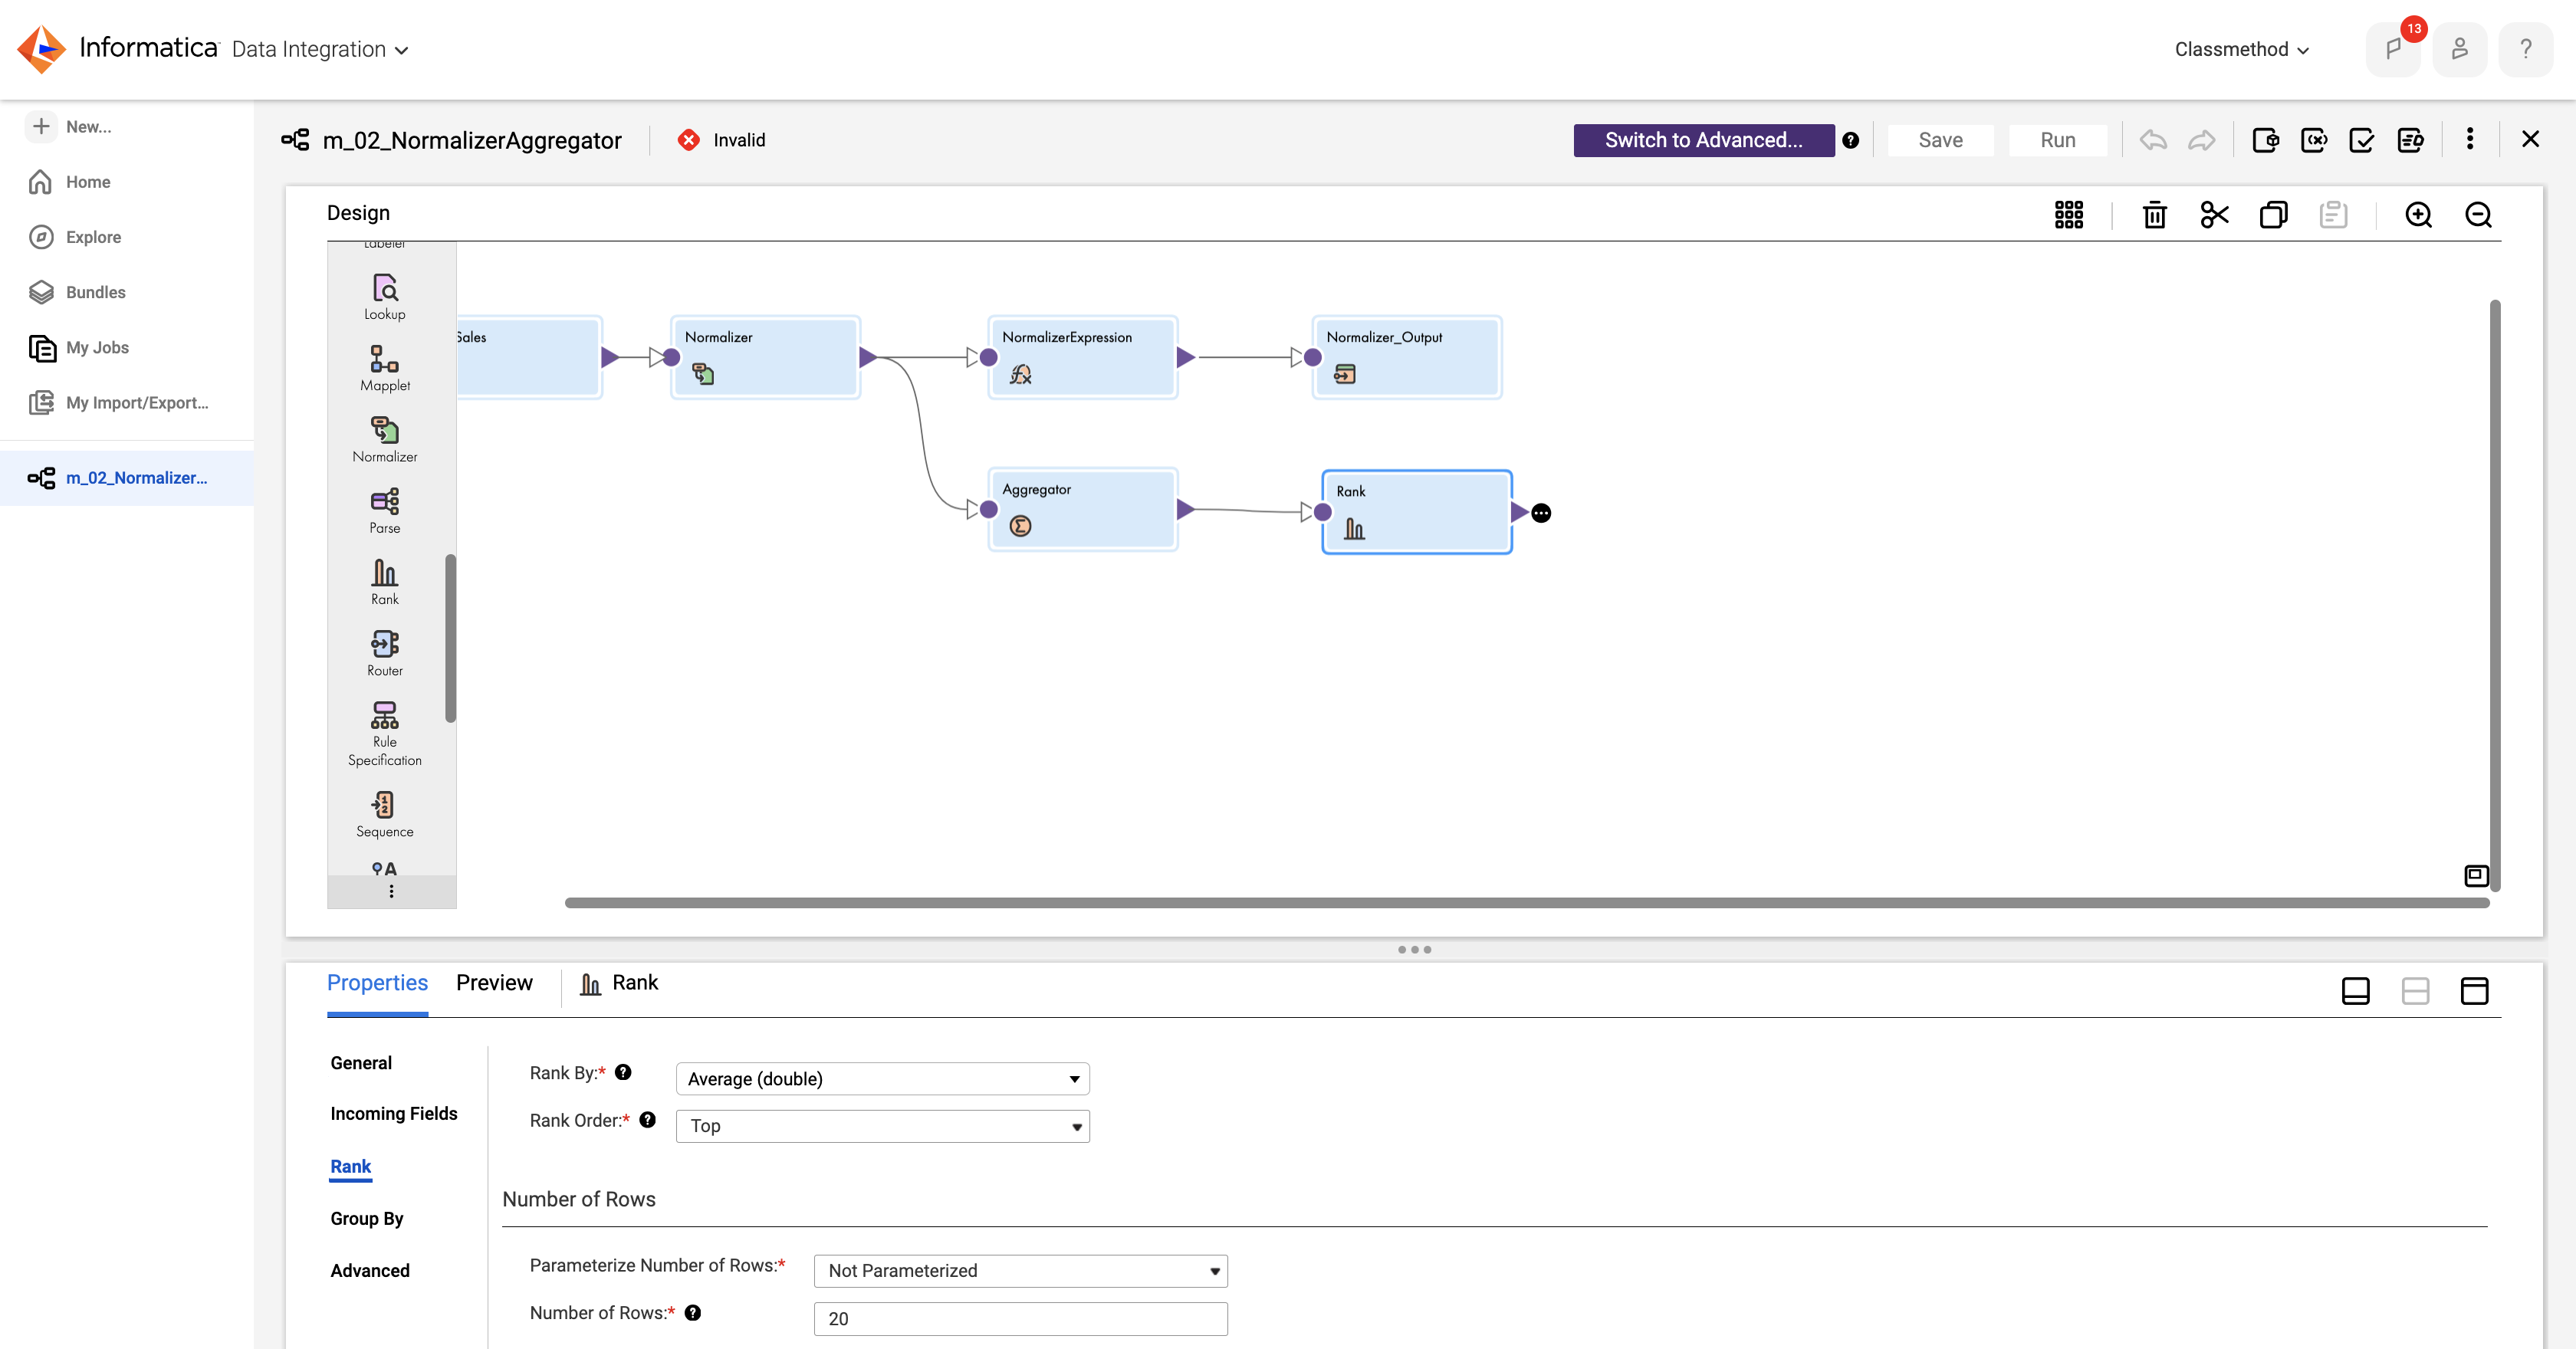
- Rank :
- From the Rank By drop-down, select Average.
- Keep the Rank Order as Top.
- In the Number of Rows section, enter Number of Rows as 20.
- General :
Add Target Transformation
- Target transformation on the mapping canvas and link the Rank with Target transformation.
- Select the Target transformation and enter the properties details as below.
- General :
- Enter Name as NormalizedAggregated.
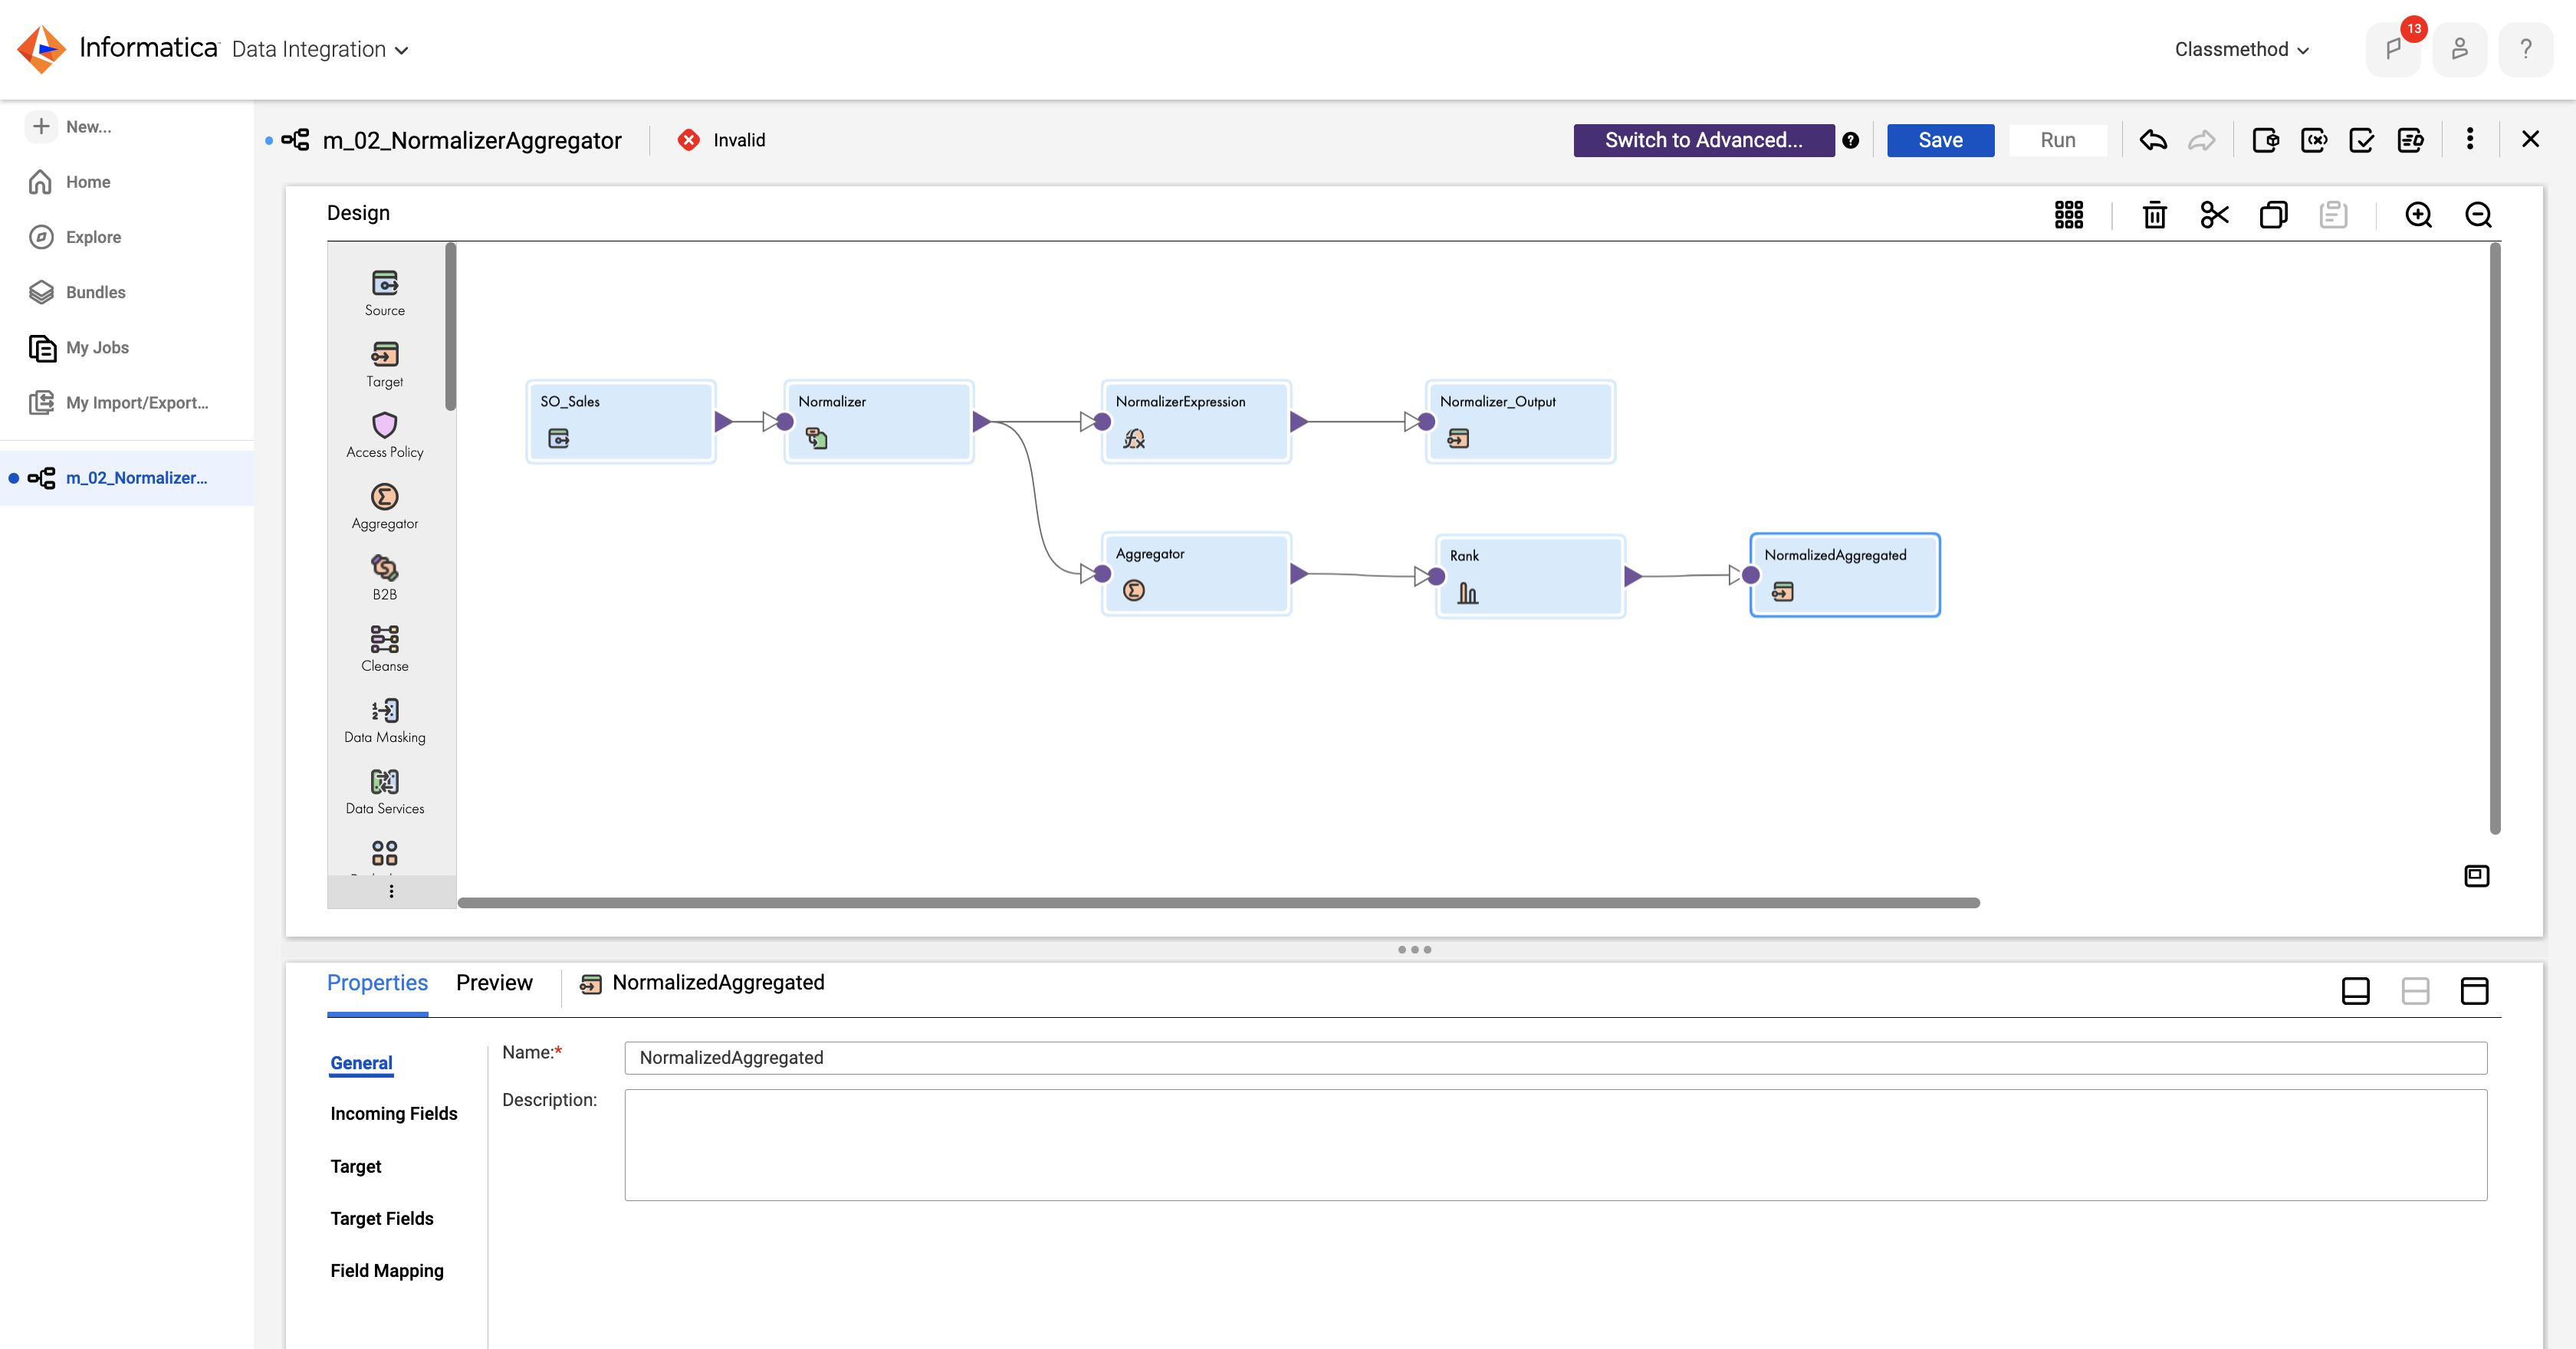
- Enter Name as NormalizedAggregated.
- Incoming Fields :
- Select Emp_ID, Emp_Name, Average.
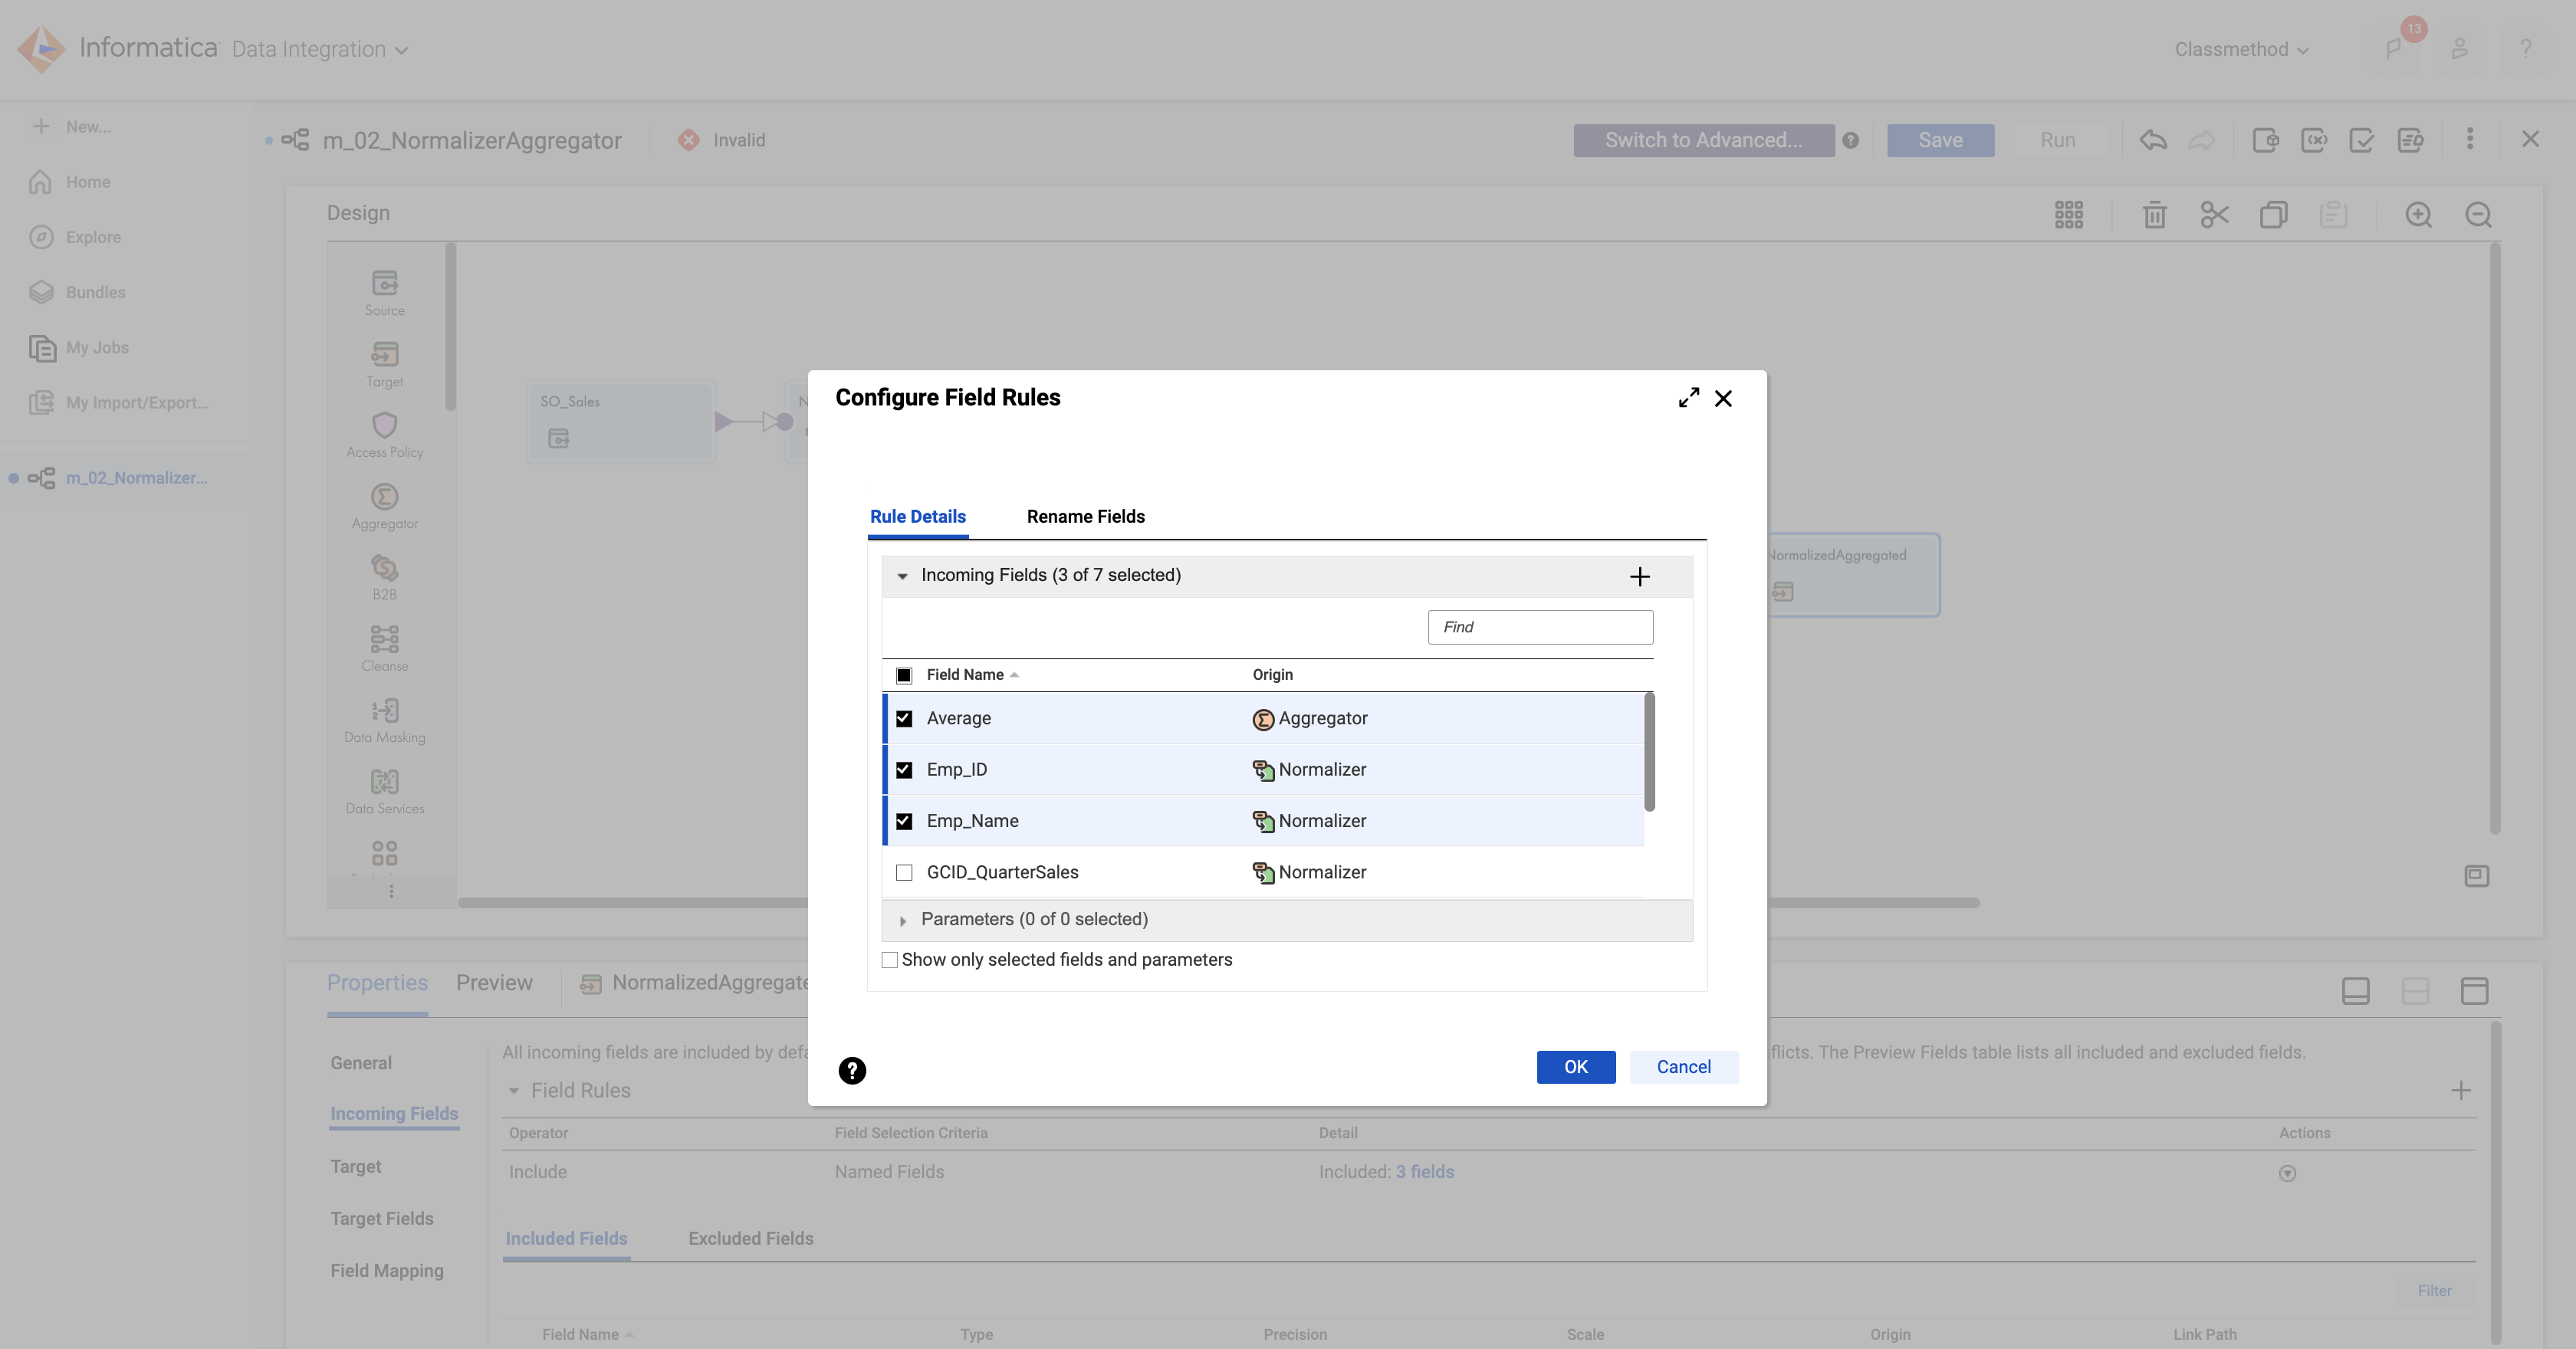
- Select Emp_ID, Emp_Name, Average.
- Target :
- From the Connection drop-down, select your target flat file connection.
- In the Object field, select Aggregated.csv.
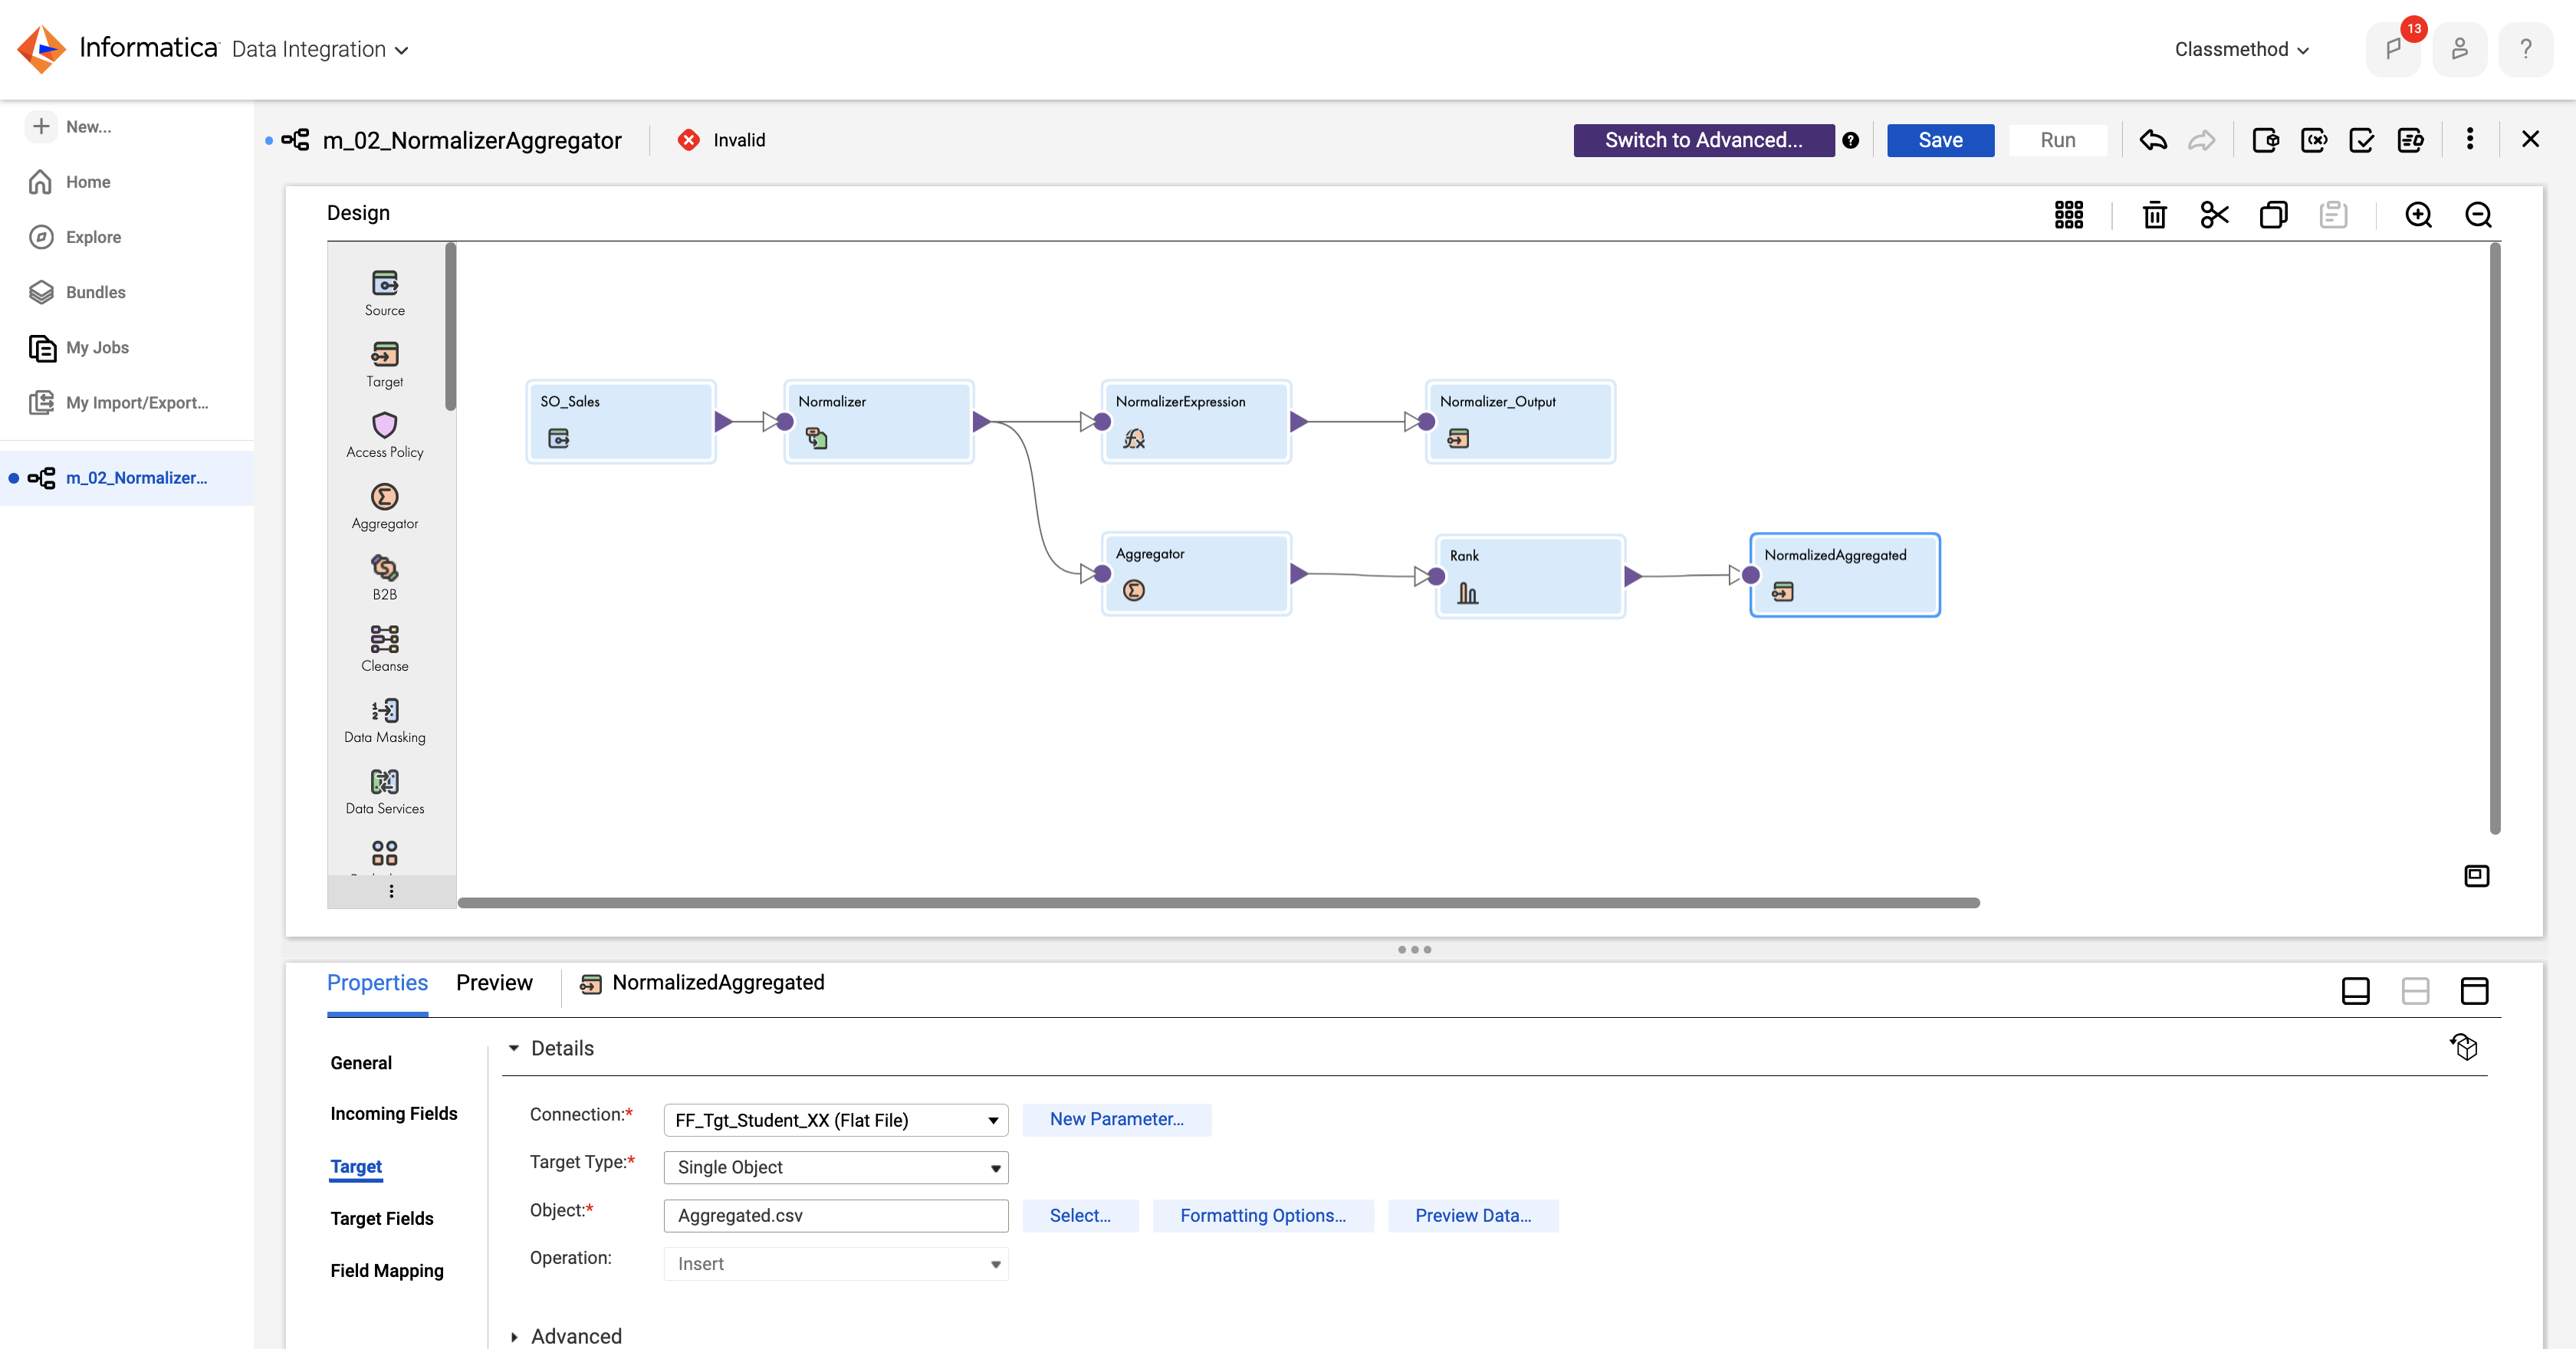
- Field Mapping :
- Map the fields as shown in the image below.
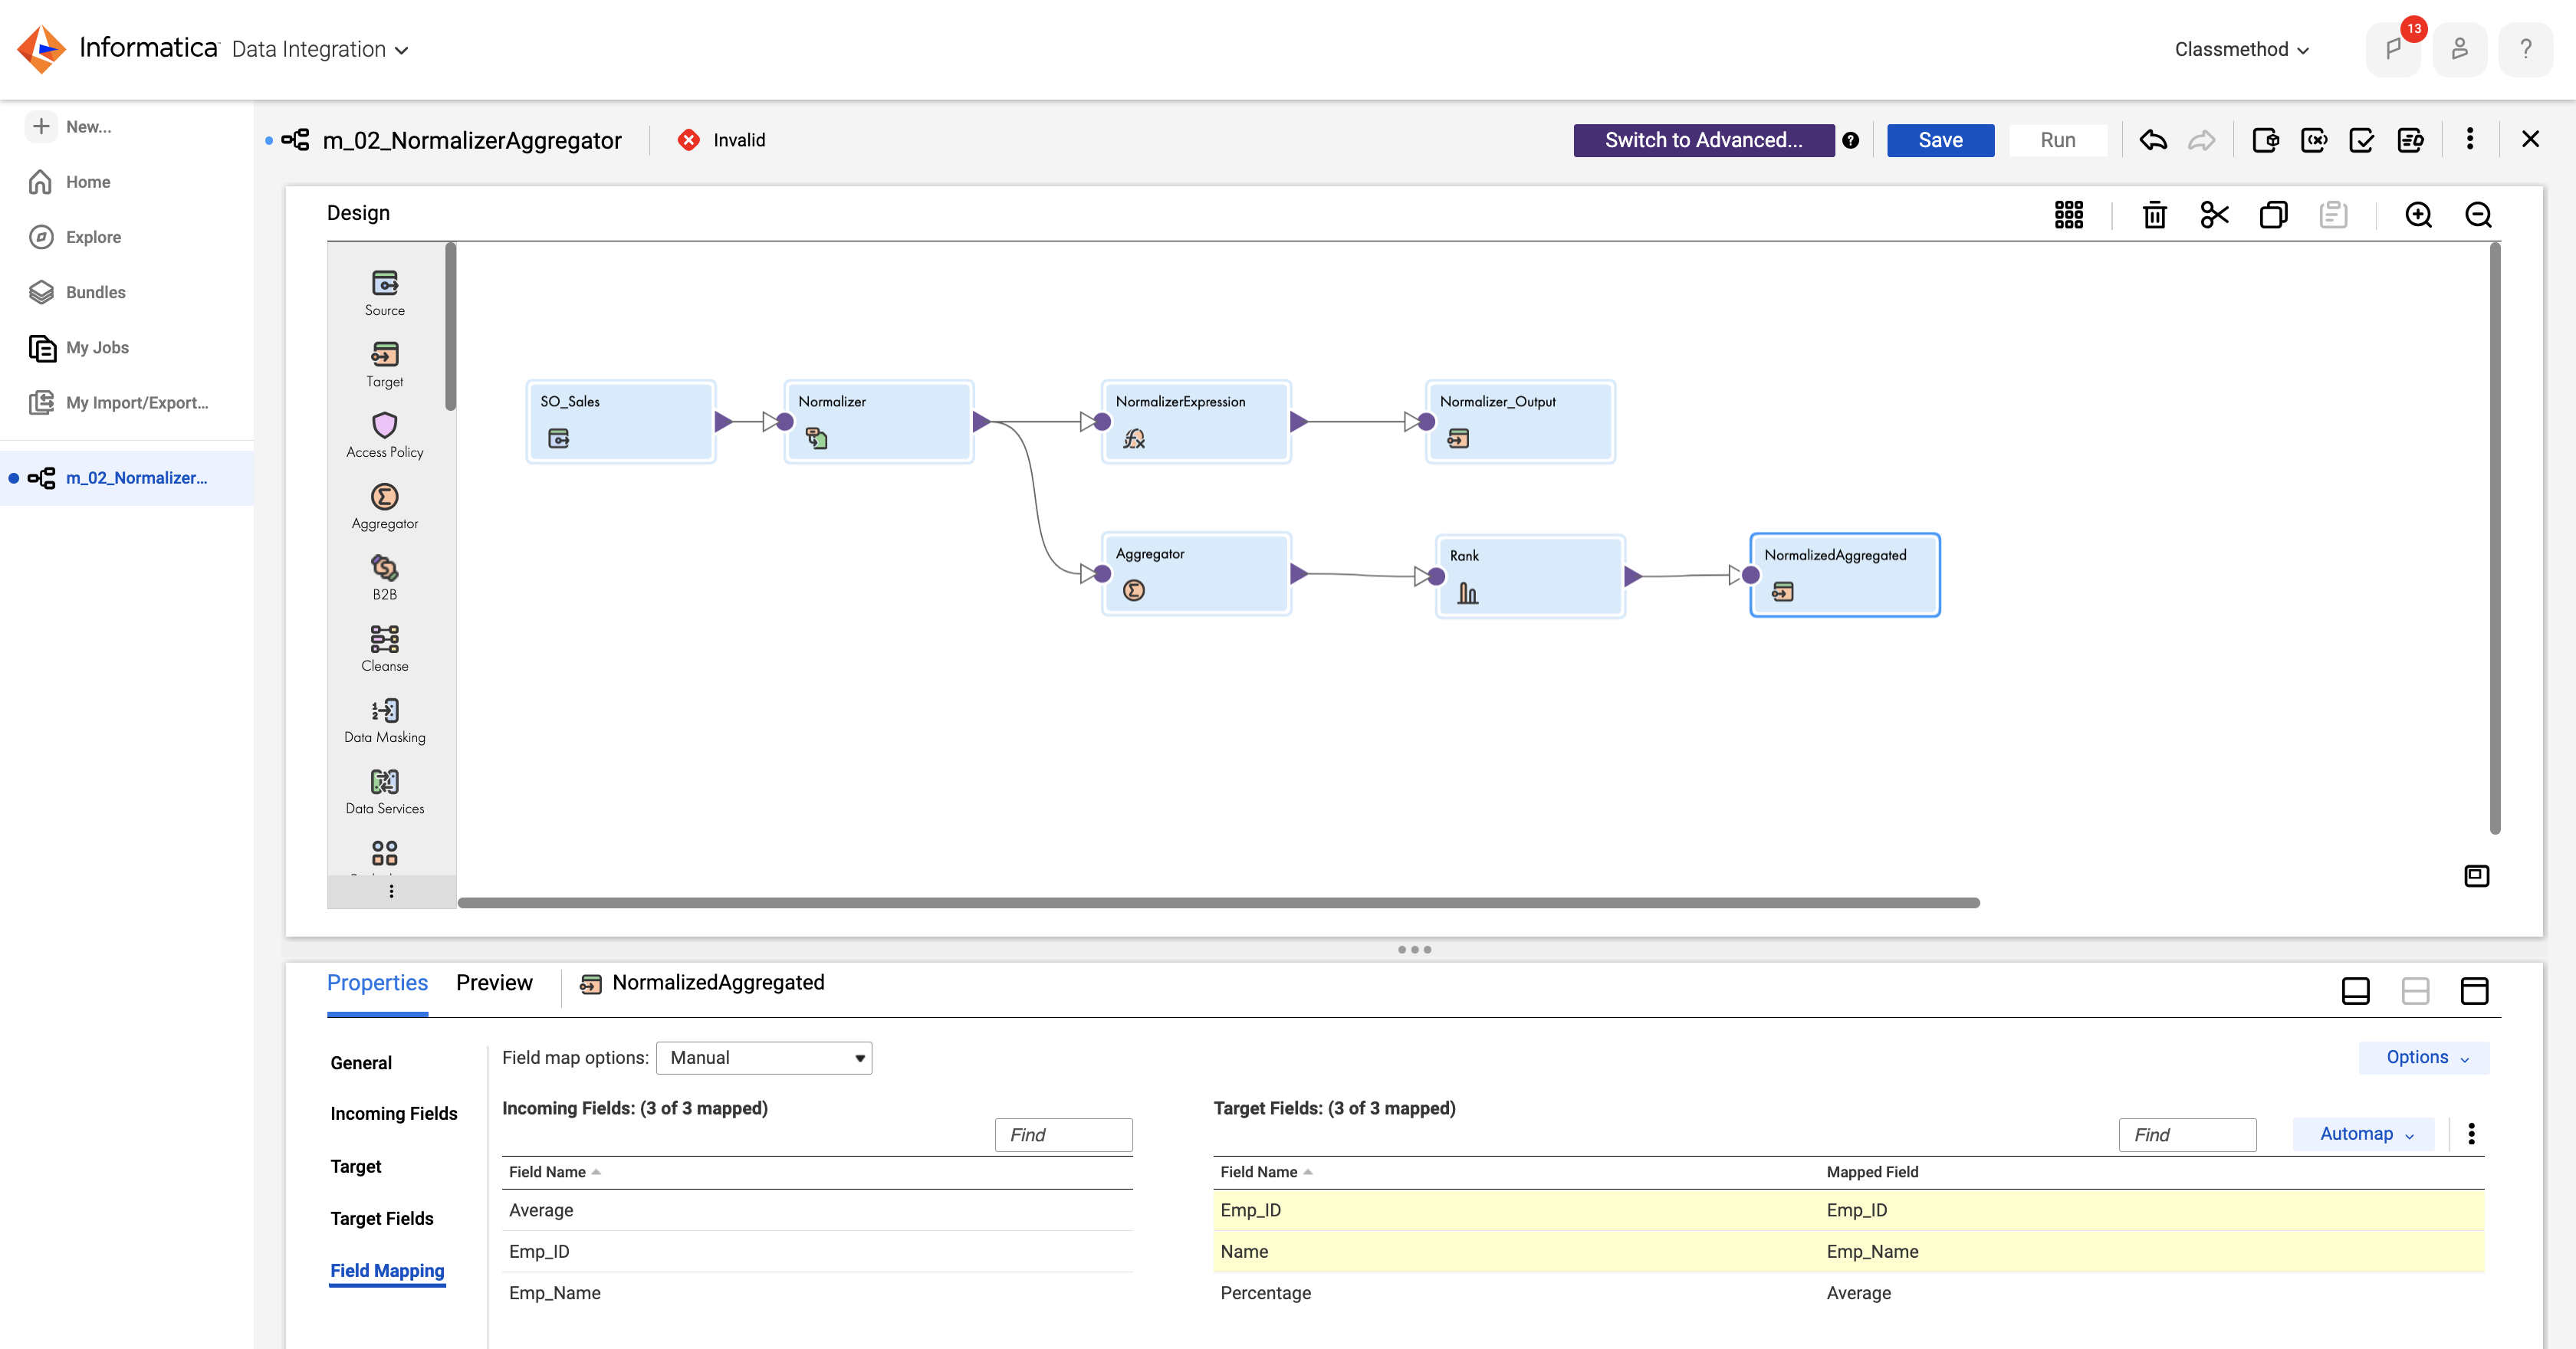
- Map the fields as shown in the image below.
- General :
Execution
- Save and run the mapping.
- From the Runtime Environment drop-down, select INFA-SERVER(Replace it with your Runtime environment) .
- Click Run.

Results
- Monitor the task status from the My Jobs page.
- When the task completes, the status changes to Success.

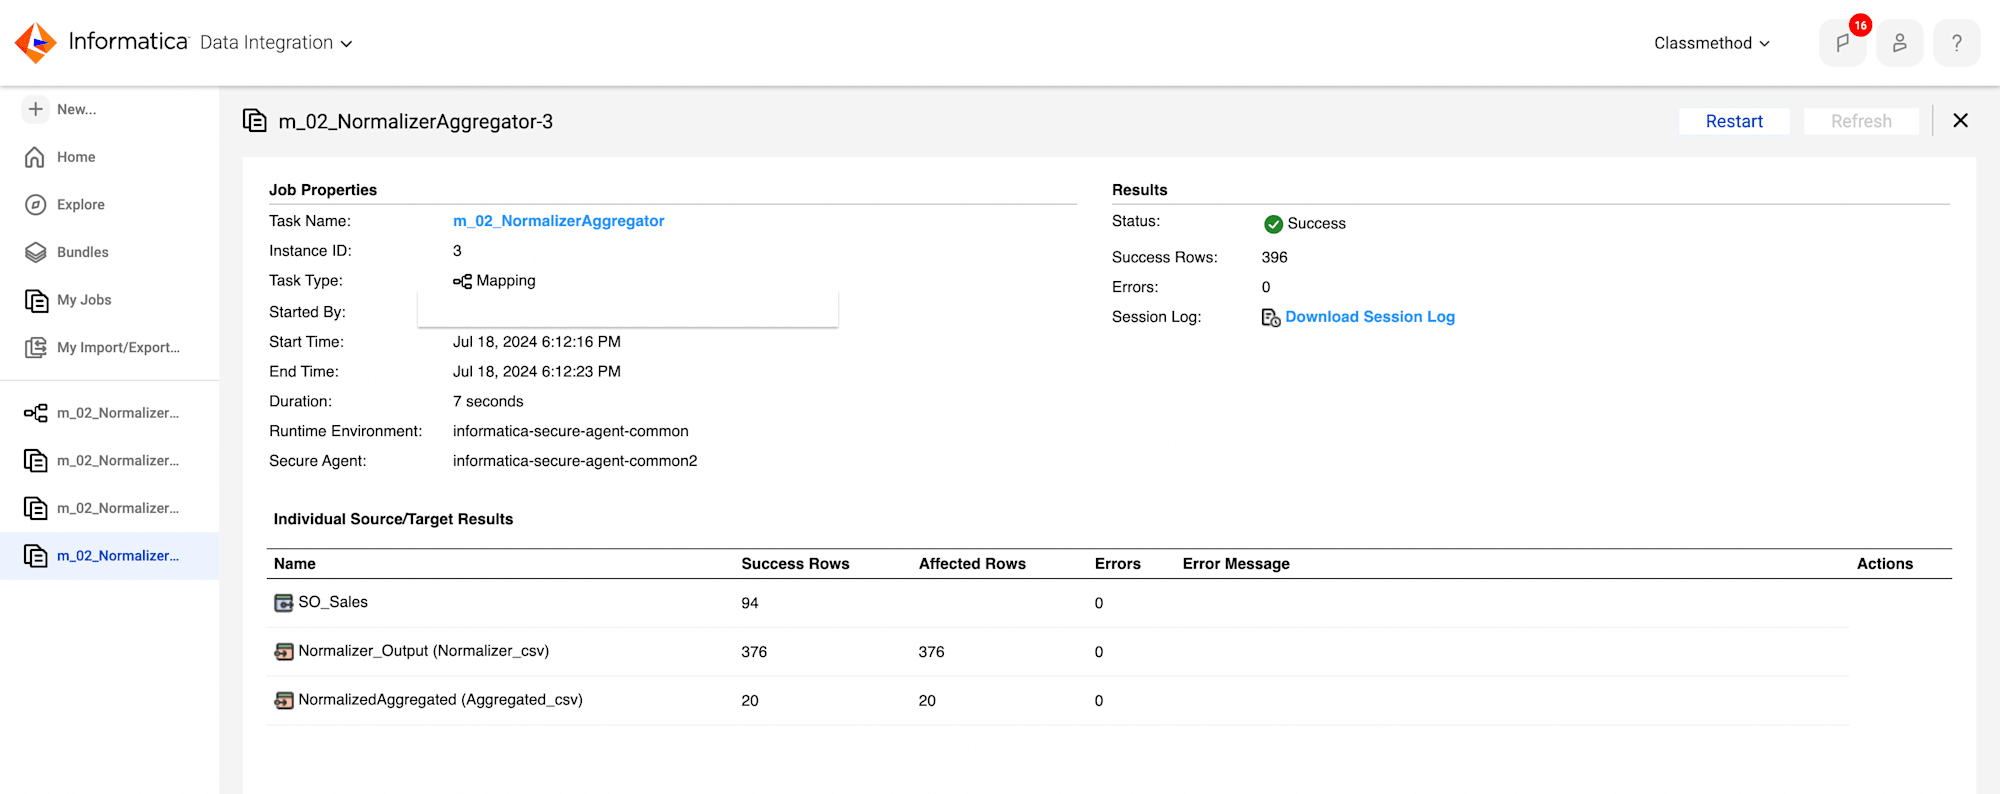
- Confirm the results by verifying the output data in target files.
- Check the data of Normalizer.csv.

- As result shows, mapping has accurately calculated the sales percentages for employees linked to NH suppliers over the last four quarters.
- Check the data of Aggregated.csv.

- As results shows, it has created the list of top twenty performers based on their sales performance.


