
AWS CodeArtifactよりインターネット通信がないVPC環境からpipでライブラリをインストールする
この記事は公開されてから1年以上経過しています。情報が古い可能性がありますので、ご注意ください。
データ事業本部の鈴木です。
直近でAWS CodeArtifactを使う機会がありましたが、とても便利で使いやすいサービスです。
CodeArtifactの用途としては、大きく以下の2つがあるように考えています。
- 独自のモジュールをAWS上で管理するためのプライベートなリポジトリとして使う
- インターネット通信がないVPC環境からCodeArtifactが対応するアップストリームのプロキシとして使う
今回は後者の用途で使う際にどのような動線になるのか確認しましたのでご紹介します。環境の準備が少し手間なため、CodeArtifactの使い方の概要に加えてインターネット通信がないVPC環境からCodeArtifactをリポジトリとして利用するために必要なネットワークリソースも合わせてご紹介します。
AWS CodeArtifactとは
パッケージ管理のためのサービスです。リポジトリは同じアカウントでもクロスアカウントでも利用できます。
用途としては、冒頭にも記載した通り、大きく以下の2つがあるように考えています。
- 独自のモジュールをAWS上で管理するためのプライベートなリポジトリとして使う
- インターネット通信がないVPC環境からCodeArtifactが対応するアップストリームのプロキシとして使う
前者は例えば以下のような使い方です。独自パッケージをpipなどの対応するパッケージマネージャーからインストールする際の、パッケージ管理のためのサービスの一つとして使えます。
後者もよく見るユースケースです。私はデータエンジニアリング・AI/ML関連のシステム開発によく関わるため、インターネット通信のないVPC内でAWS Glue JobやSageMakerを使う際にpipだけは使用できるようプロキシとして使えます。
CodeArtifactとの通信に必要なリソース
コンピュートからアクセスできる場所にVPCエンドポイントが必要になります。必要なものは以下です。
- AWS CodeArtifact向けのVPCエンドポイント
com.amazonaws.<region>.codeartifact.apicom.amazonaws.<region>.codeartifact.repositories
- Amazon S3向けのVPCエンドポイント
インターフェース型のエンドポイントを使う場合、コンピュートのセキュリティグループからIngressを許可したセキュリティグループをつけておく必要があります。
コンピュートにはCodeArtifactを操作するためのIAM権限が必要です。マネージドポリシーとしてAWSCodeArtifactReadOnlyAccessが提供されています。
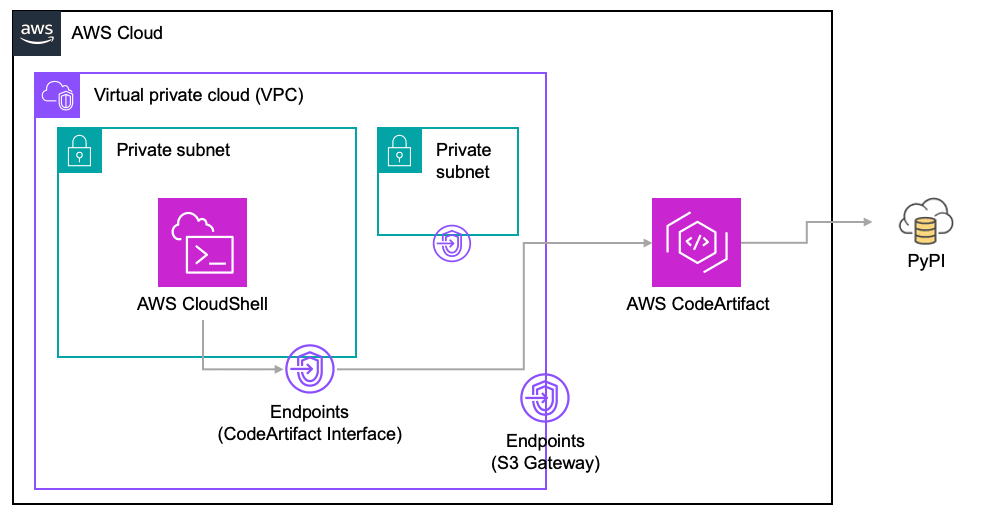
検証した環境
プライベートサブネットのみのVPCを作成し、必要なエンドポイントなどを作成した上で、プライベートサブネット内のCloudShell VPC environmentからCodeArtifact経由でpip installできるか確認しました。
以下はネットワーク部分のCloudFormationテンプレートです。
CloudFormationテンプレート
Parameters:
  EnvironmentName:
    Description: An environment name that is prefixed to resource names
    Type: String

  VpcCIDR:
    Description: Please enter the IP range (CIDR notation) for this VPC
    Type: String
    Default: 192.168.0.0/22

Resources:
  VPC:
    Type: AWS::EC2::VPC
    Properties:
      CidrBlock: !Ref VpcCIDR
      EnableDnsSupport: true
      EnableDnsHostnames: true
      Tags:
        - Key: Name
          Value: !Ref EnvironmentName

  PrivateSubnet1:
    Type: AWS::EC2::Subnet
    Properties:
      VpcId: !Ref VPC
      AvailabilityZone: !Select [ 0, !GetAZs  '' ]
      CidrBlock: !Select [ 0, !Cidr [ !GetAtt VPC.CidrBlock, 4, 8 ]]
      MapPublicIpOnLaunch: false
      Tags:
        - Key: Name
          Value: !Sub ${EnvironmentName} Private Subnet (AZ1)

  PrivateSubnet2:
    Type: AWS::EC2::Subnet
    Properties:
      VpcId: !Ref VPC
      AvailabilityZone: !Select [ 1, !GetAZs  '' ]
      CidrBlock: !Select [ 1, !Cidr [ !GetAtt VPC.CidrBlock, 4, 8 ]]
      MapPublicIpOnLaunch: false
      Tags:
        - Key: Name
          Value: !Sub ${EnvironmentName} Private Subnet (AZ2)

  PrivateRouteTable1:
    Type: AWS::EC2::RouteTable
    Properties:
      VpcId: !Ref VPC
      Tags:
        - Key: Name
          Value: !Sub ${EnvironmentName} Private Routes (AZ1)

  PrivateSubnet1RouteTableAssociation:
    Type: AWS::EC2::SubnetRouteTableAssociation
    Properties:
      RouteTableId: !Ref PrivateRouteTable1
      SubnetId: !Ref PrivateSubnet1

  PrivateRouteTable2:
    Type: AWS::EC2::RouteTable
    Properties:
      VpcId: !Ref VPC
      Tags:
        - Key: Name
          Value: !Sub ${EnvironmentName} Private Routes (AZ2)

  PrivateSubnet2RouteTableAssociation:
    Type: AWS::EC2::SubnetRouteTableAssociation
    Properties:
      RouteTableId: !Ref PrivateRouteTable2
      SubnetId: !Ref PrivateSubnet2

  NoIngressSecurityGroup:
    Type: AWS::EC2::SecurityGroup
    Properties:
      GroupName: "no-ingress-sg"
      GroupDescription: "Security group with no ingress rule"
      VpcId: !Ref VPC

  SelfRefSecurityGroupIgress:
    Type: AWS::EC2::SecurityGroupIngress
    Properties:
      GroupId: !GetAtt NoIngressSecurityGroup.GroupId
      IpProtocol: tcp
      FromPort: "0"
      ToPort: "65535"
      SourceSecurityGroupId: !GetAtt NoIngressSecurityGroup.GroupId

  EndpointS3:
      Type: AWS::EC2::VPCEndpoint
      Properties:
        RouteTableIds:
          - !Ref PrivateRouteTable1
          - !Ref PrivateRouteTable2
        ServiceName: !Sub com.amazonaws.${AWS::Region}.s3
        VpcEndpointType: Gateway
        VpcId: !Ref VPC

  EndpointCodeArtifactApi:
      Type: AWS::EC2::VPCEndpoint
      Properties:
        VpcEndpointType: Interface
        ServiceName: !Sub com.amazonaws.${AWS::Region}.codeartifact.api
        VpcId: !Ref VPC
        PrivateDnsEnabled: True
        SubnetIds:
          - !Ref PrivateSubnet1
          - !Ref PrivateSubnet2
        SecurityGroupIds:
          - !Ref NoIngressSecurityGroup

  EndpointCodeArtifactRepositories:
      Type: AWS::EC2::VPCEndpoint
      Properties:
        VpcEndpointType: Interface
        ServiceName: !Sub com.amazonaws.${AWS::Region}.codeartifact.repositories
        VpcId: !Ref VPC
        PrivateDnsEnabled: True
        SubnetIds:
          - !Ref PrivateSubnet1
          - !Ref PrivateSubnet2
        SecurityGroupIds:
          - !Ref NoIngressSecurityGroup

Outputs:
  VPC:
    Description: A reference to the created VPC
    Value: !Ref VPC

  PrivateSubnets:
    Description: A list of the private subnets
    Value: !Join [ ",", [ !Ref PrivateSubnet1, !Ref PrivateSubnet2 ]]

  PrivateSubnet1:
    Description: A reference to the private subnet in the 1st Availability Zone
    Value: !Ref PrivateSubnet1

  PrivateSubnet2:
    Description: A reference to the private subnet in the 2nd Availability Zone
    Value: !Ref PrivateSubnet2

  NoIngressSecurityGroup:
    Description: Security group with no ingress rule
    Value: !Ref NoIngressSecurityGroup
以下を参考にしました。
CodeArtifactのドメインおよびリポジトリは後に記載するよう手動で作成しました。
CodeArtifactの検証
ドメインおよびリポジトリ作成
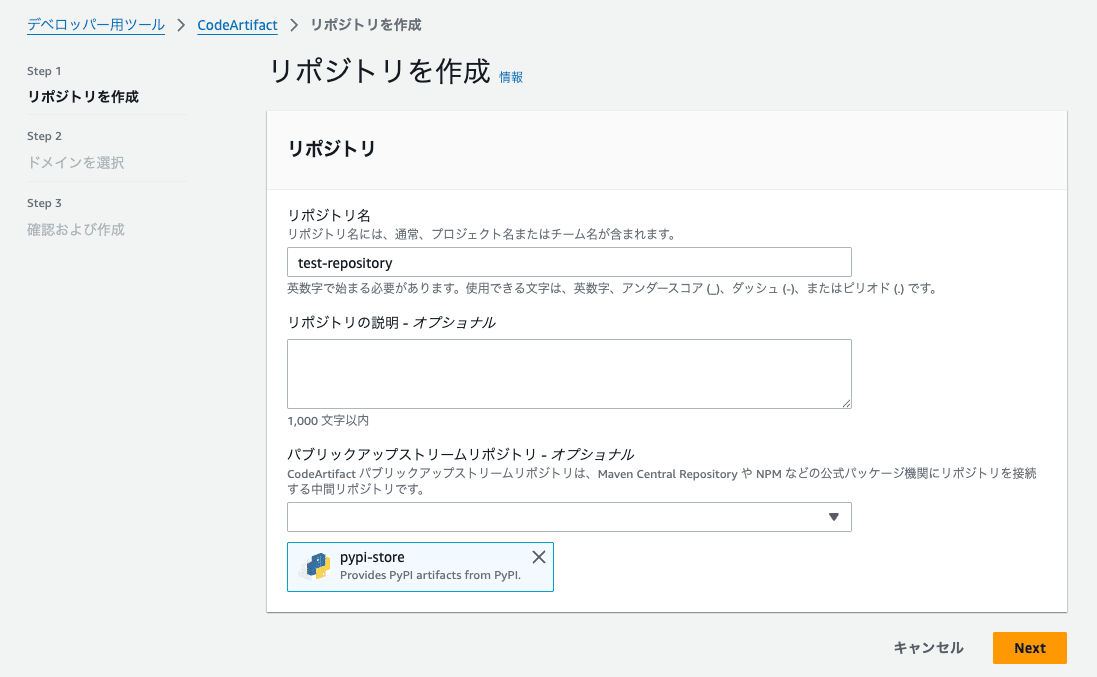
初めてだったのでリポジトリの作成からドメインおよびリポジトリを作成しました。
リポジトリ名を入力しました。今回はPyPIからライブラリをインストールしたいため、パブリックアップストリームリポジトリでpypi-storeを選択しました。
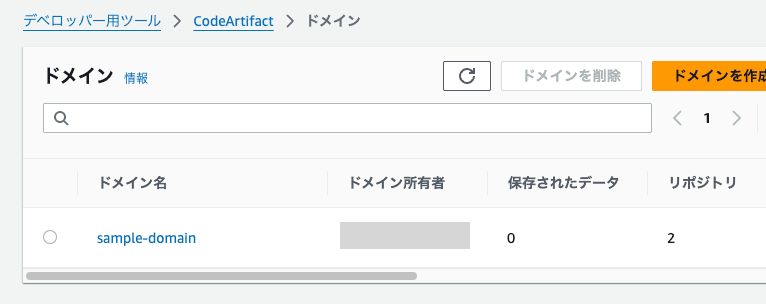
ドメインを選択で、まだドメインがなかったため作成しました。

Step3で内容を確認し、リソースを作成しました。
ドメインが作成されていることが確認できました。
リポジトリを確認すると、PyPI向けのリポジトリとパブリックアップストリームリポジトリ向けではないリポジトリの2つが作成されていました。
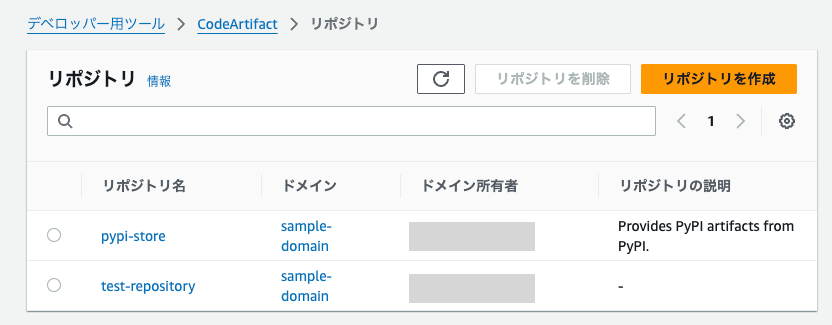
リポジトリはまだ空でした。
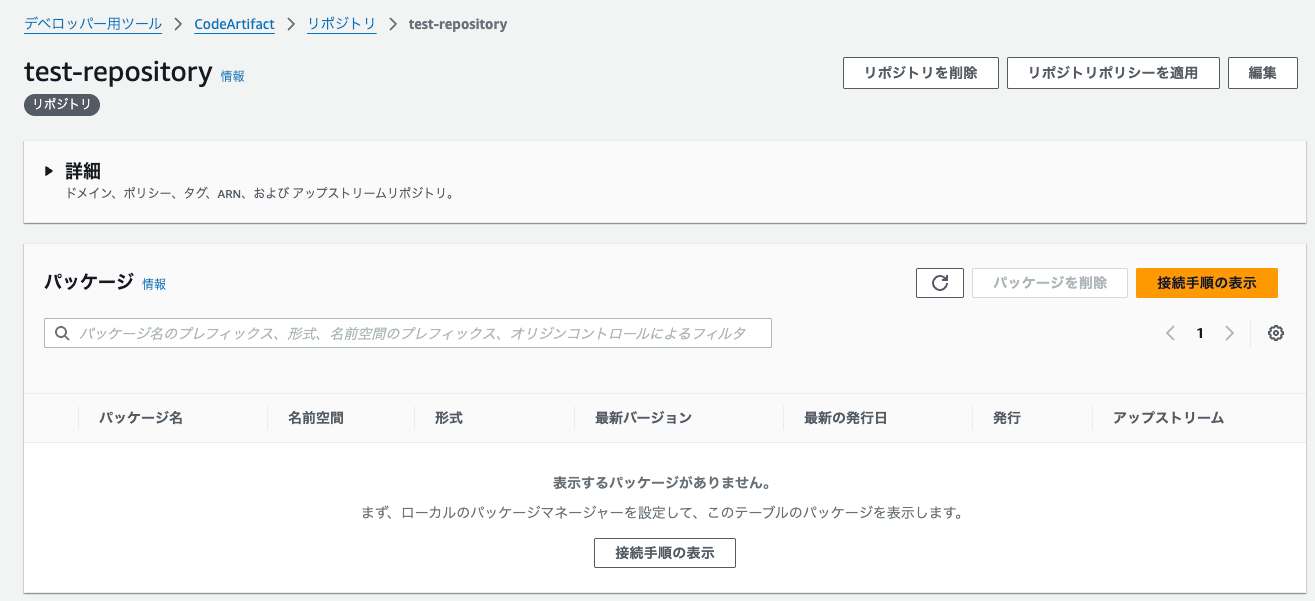
リポジトリ経由のpipコマンド実行
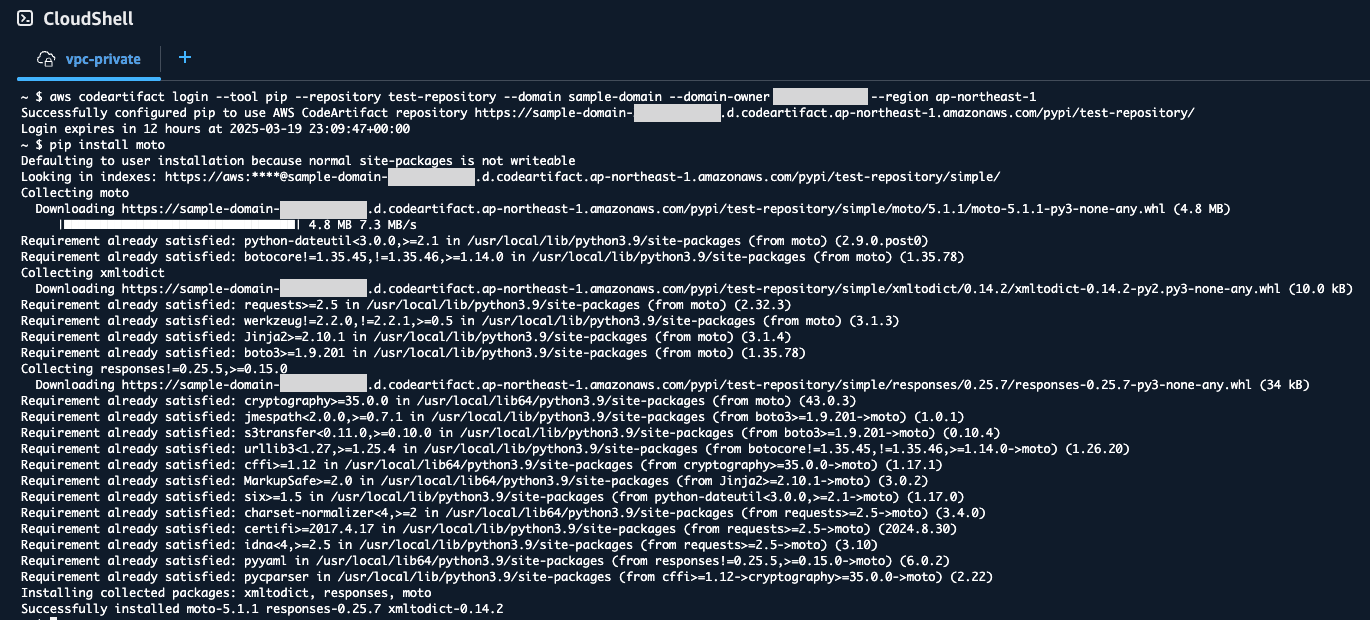
各リポジトリの接続手順の表示を押すと、OS・パッケージマネージャーのクライアントごとに設定方法のCLIコマンドが確認できました。

CloudShellでコマンドを実行し、ログインできたことを確認してからpipを実行すると、確かにライブラリのインストールができました。
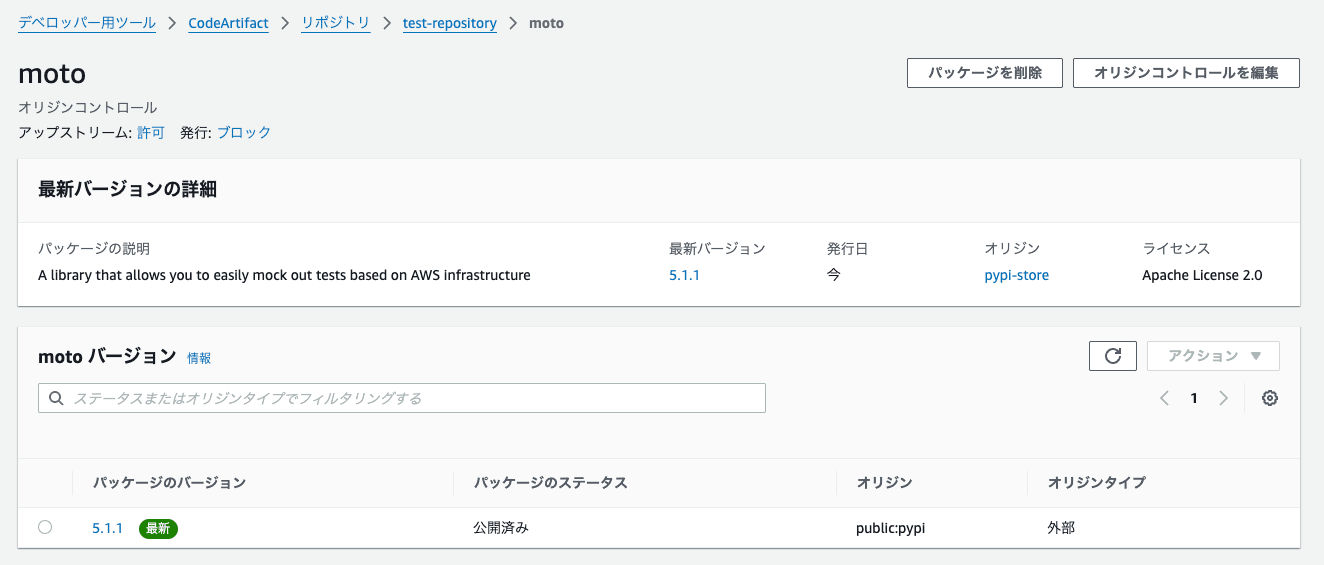
リポジトリを確認すると、インストールおよび依存関係にあるライブラリがキャッシュされていました。
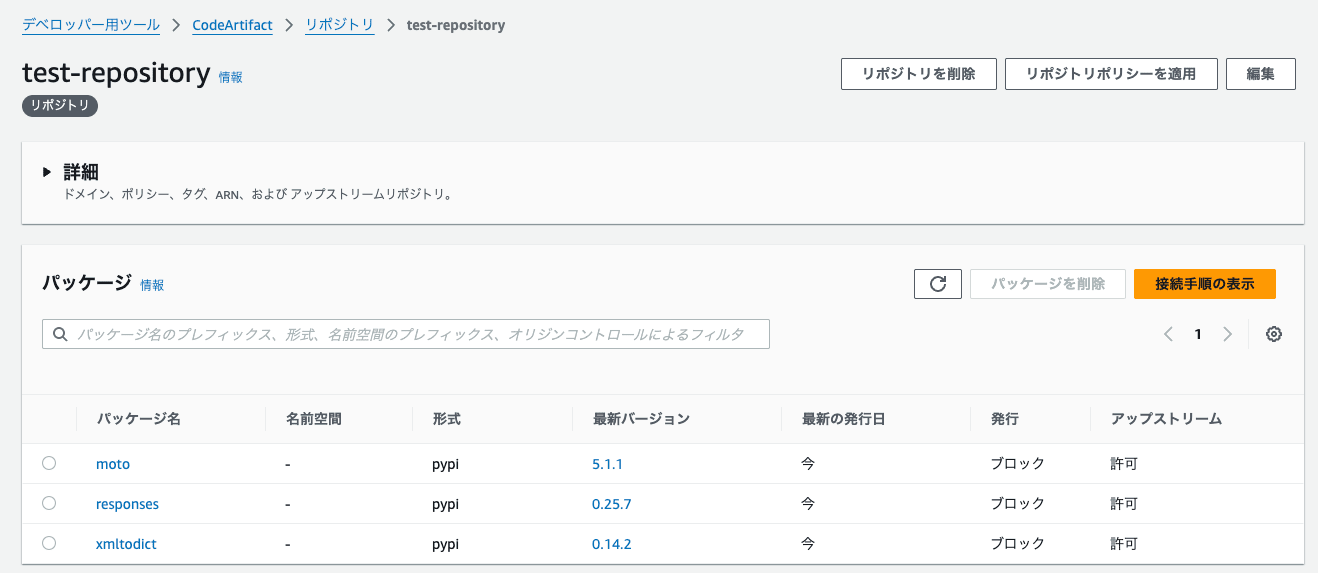
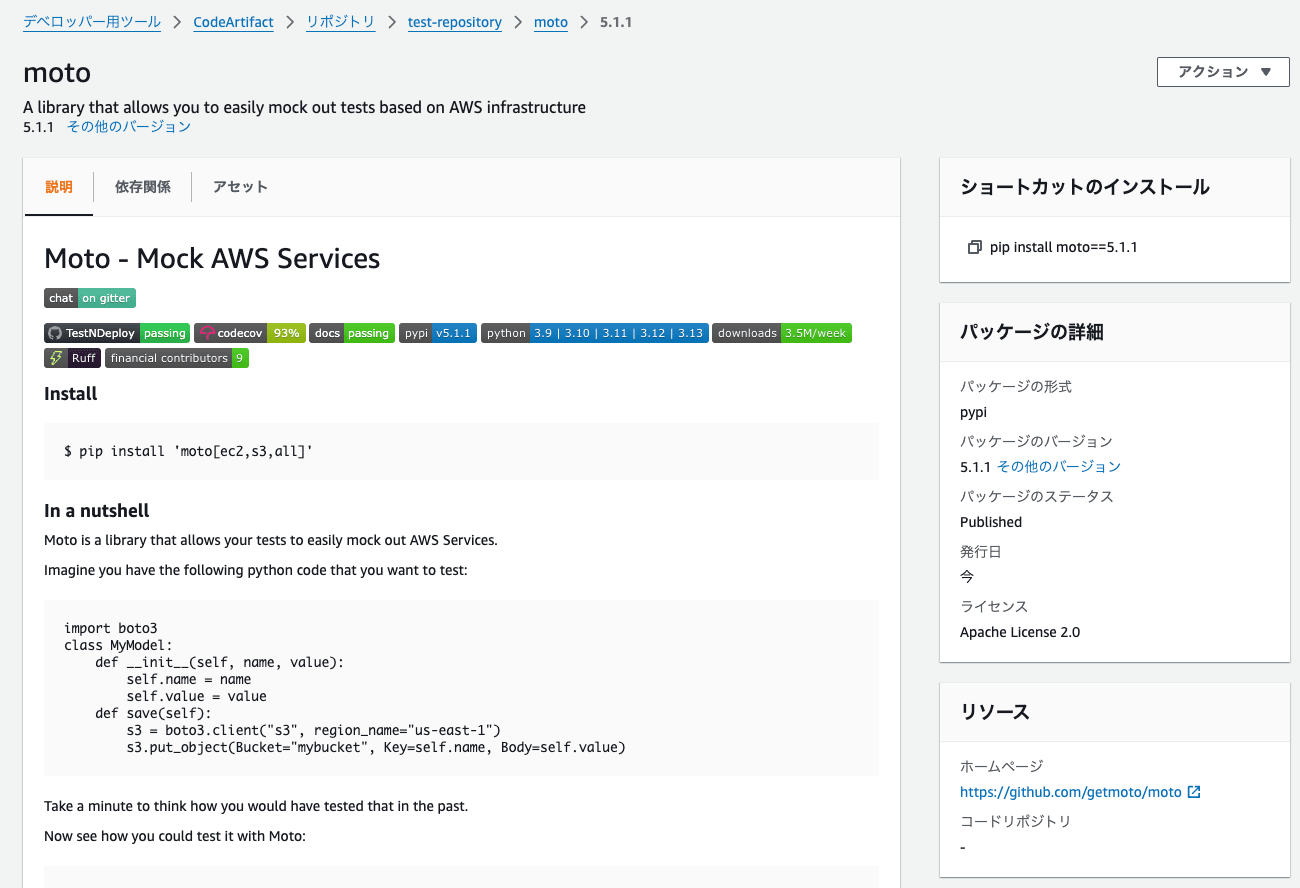
ライブラリはバージョンごとにReadmeや依存関係など確認でき、管理も非常にしやすそうです。
最後に
AWS CodeArtifactの紹介と、検証用のネットワークリソース用CloudFormationテンプレートのご共有でした。参考になりましたら幸いです。


