My Experience using Slack Bot with Serverless framework on AWS
この記事は公開されてから1年以上経過しています。情報が古い可能性がありますので、ご注意ください。
Deploying Slack Bot with Serverless framework on AWS
Introduction to Serverless Framework
After about a few months of working with Amazon Web Service tools, I finally laid my hands on deploying a Slack Bot application with a Serverless framework and hosting it on AWS.
There are few requirements for the project:
- AWS user account
- Installing Serverless
- Slack workspace and user account
Setup AWS account
Setting up an AWS account. The screenshots are added for easy reference
If you already have an account, you can log in as a user or create an account as a first-time user. For this blog, I will be proceeding as a current user.
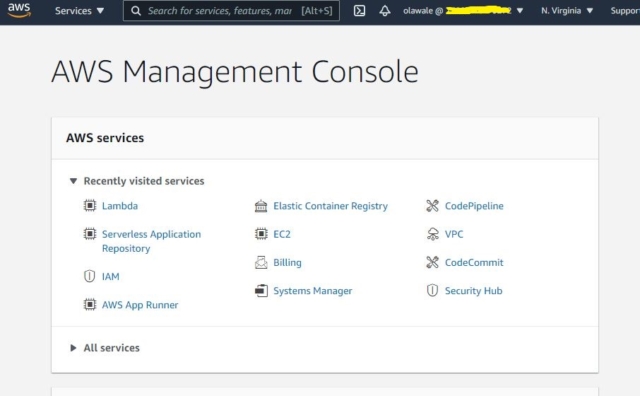
After login, this page should be displayed.
NOTE: make sure your user has programmatic access to AWS and download the credentials as CSV file for later use.
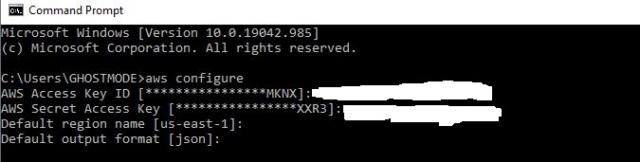
Now we install AWS CLI
To test if installation is a successful run $ aws –-version

Run $ aws configure and put in the downloaded credential as stated. The result is shown below
Setting up your Slack App
We need to firstly create a slack app
Click on your app icon to see created apps or to create a new one
Click on create new app icon

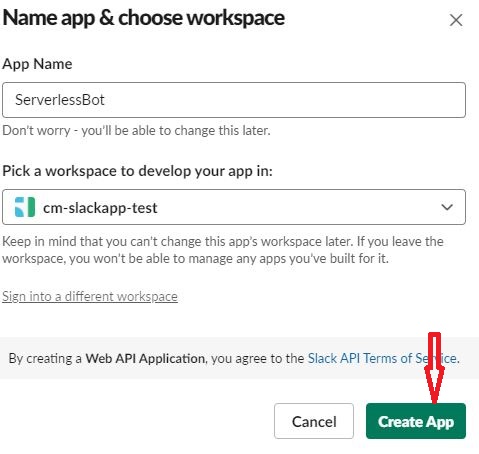
After giving your app name and choosing your preferred workspace, click on create app icon.
Navigate to Feature, click on OAuth & Permissions at the right side and scroll down Scopes.


Add
- channel: History
- chat: write
- groups: history
- reactions: read
Then click on install to workspace
What does Serverless mean?
An environment where the developers no longer need to worry about managing or developing the application with the traditional method is referred to as Serverless.
This is to say the servers will be fully and efficiently managed by the cloud provider (AWS) when deploying the code or application.
Setting up Serverless
Open your terminal and install the serverless package using npm: $ npm install -g serverless
The block of code is used to install serverless package, run serverless, and deploy the serverless application
$ npm install -g serverless
$ serverless
$ serverless deploy –-aws-profile exampleslackapp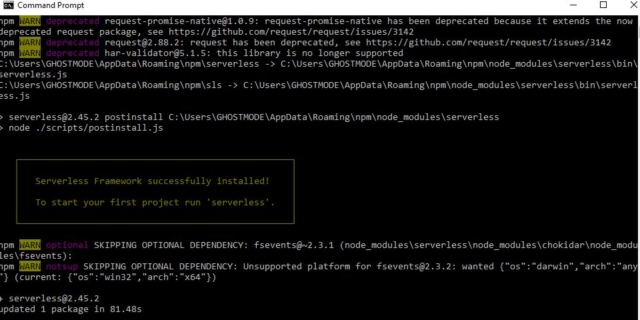
Navigate to the directory of your app and run $ serverless
In the directory where you created your app, a serverless.yml file is created. Below is an example of my serverless.yml file.
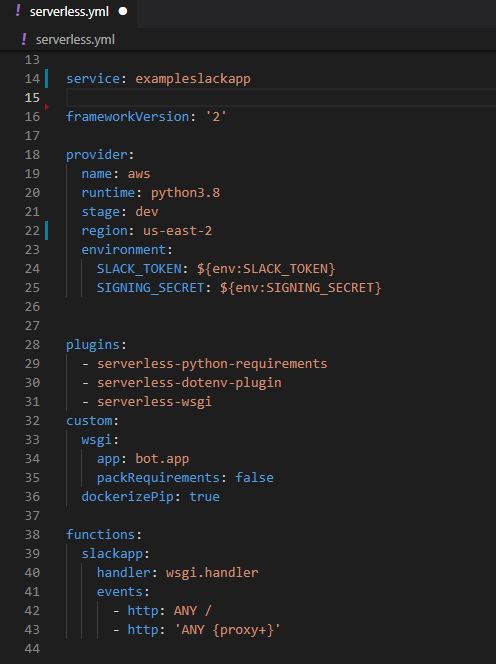
The runtime python 3.8, and the SLACK_TOKEN is the OAth token from your slack app, also SIGNING_SECRET is the signing secret of your slack app.
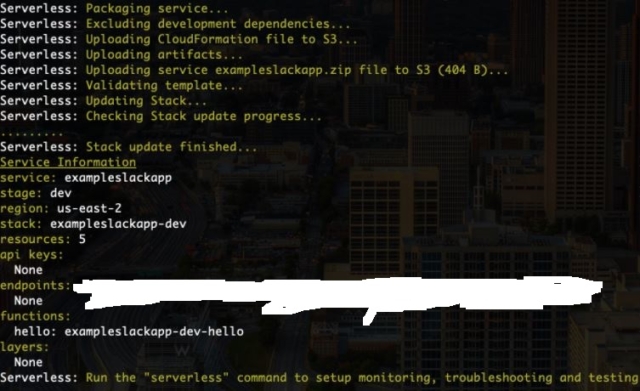
In the directory of the app, deploy the app by running $ serverless deploy --aws-profile exampleslackapp. The output is as below
Testing
To run a check if the deployed correctly, go to the slack dashboard and click on the app you created.
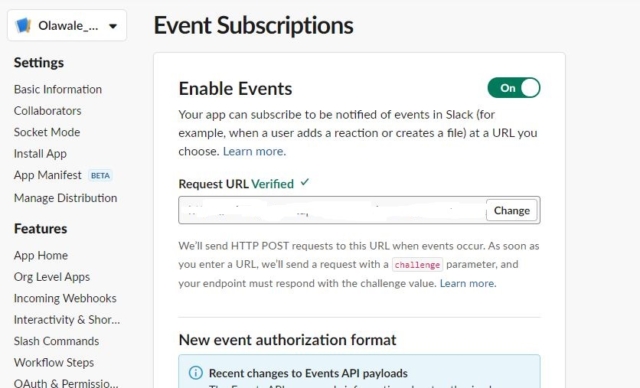
Navigate to features> Event Subscriptions, make sure to put on the enable events.
Under the Request URL, change the URL to endpoints in your serverless deploy output and must be verified and save the changes.
Conclusion
This project demonstrates the usefulness of serverless in deploying applications with minimal infrastructure and reduced cost. It exposes us to the use of different AWS services, also in subsequent blogs, I will be sharing how to deploy applications using Dockers and EC2.