![[レポート] How to design your HPC cluster in the cloud for sustainability #AWSreInvent](https://devio2024-media.developers.io/image/upload/f_auto,q_auto,w_3840/v1733298485/user-gen-eyecatch/udiswyf0qsu2lyeiaq1q.png)
[レポート] How to design your HPC cluster in the cloud for sustainability #AWSreInvent
この記事は公開されてから1年以上経過しています。情報が古い可能性がありますので、ご注意ください。
こんにちは!AWS 事業本部コンサルティング部のたかくに(@takakuni_)です。
re:Invent 2024 でラスベガスに来ています。
「How to design your HPC cluster in the cloud for sustainability」という、面白そうなワークショップがあったので参加してみました。
HPC Cluster をサステナビリティと掛け算したタイトルで非常に興味深いですね。
セッション概要
タイトル
CMP313 | How to design your HPC cluster in the cloud for sustainability
説明
As organizations strive to reduce their carbon footprint and promote environmental sustainability, optimizing high performance computing (HPC) workloads in the cloud has become a critical priority. In this hands-on builders’ session, learn how to design and deploy HPC clusters on AWS that deliver both performance and sustainability. Work through the process of architecting an HPC cluster using the latest AWS services, with a strong focus on the AWS Well-Architected Framework sustainability pillar. Leave this session equipped to design and deploy sustainable HPC clusters on AWS that deliver both high performance and environmental responsibility. You must bring your laptop to participate.
スピーカー
- Francesco Ruffino, HPC Specialist SA, AWS
内容
先ず初めに 10 分程度の講義がありました。
Carbon footprint をもとに顧客事例を紹介し、AWS 上で HCP を行う意義を紹介いただきました。
また、 HPC のベストプラクティスとして、「Compute」、「Network」、「Storage」の 3 つの柱の解説がありました。
どの内容も HCP に限らずな部分もあると思ってて、要チェックですね。
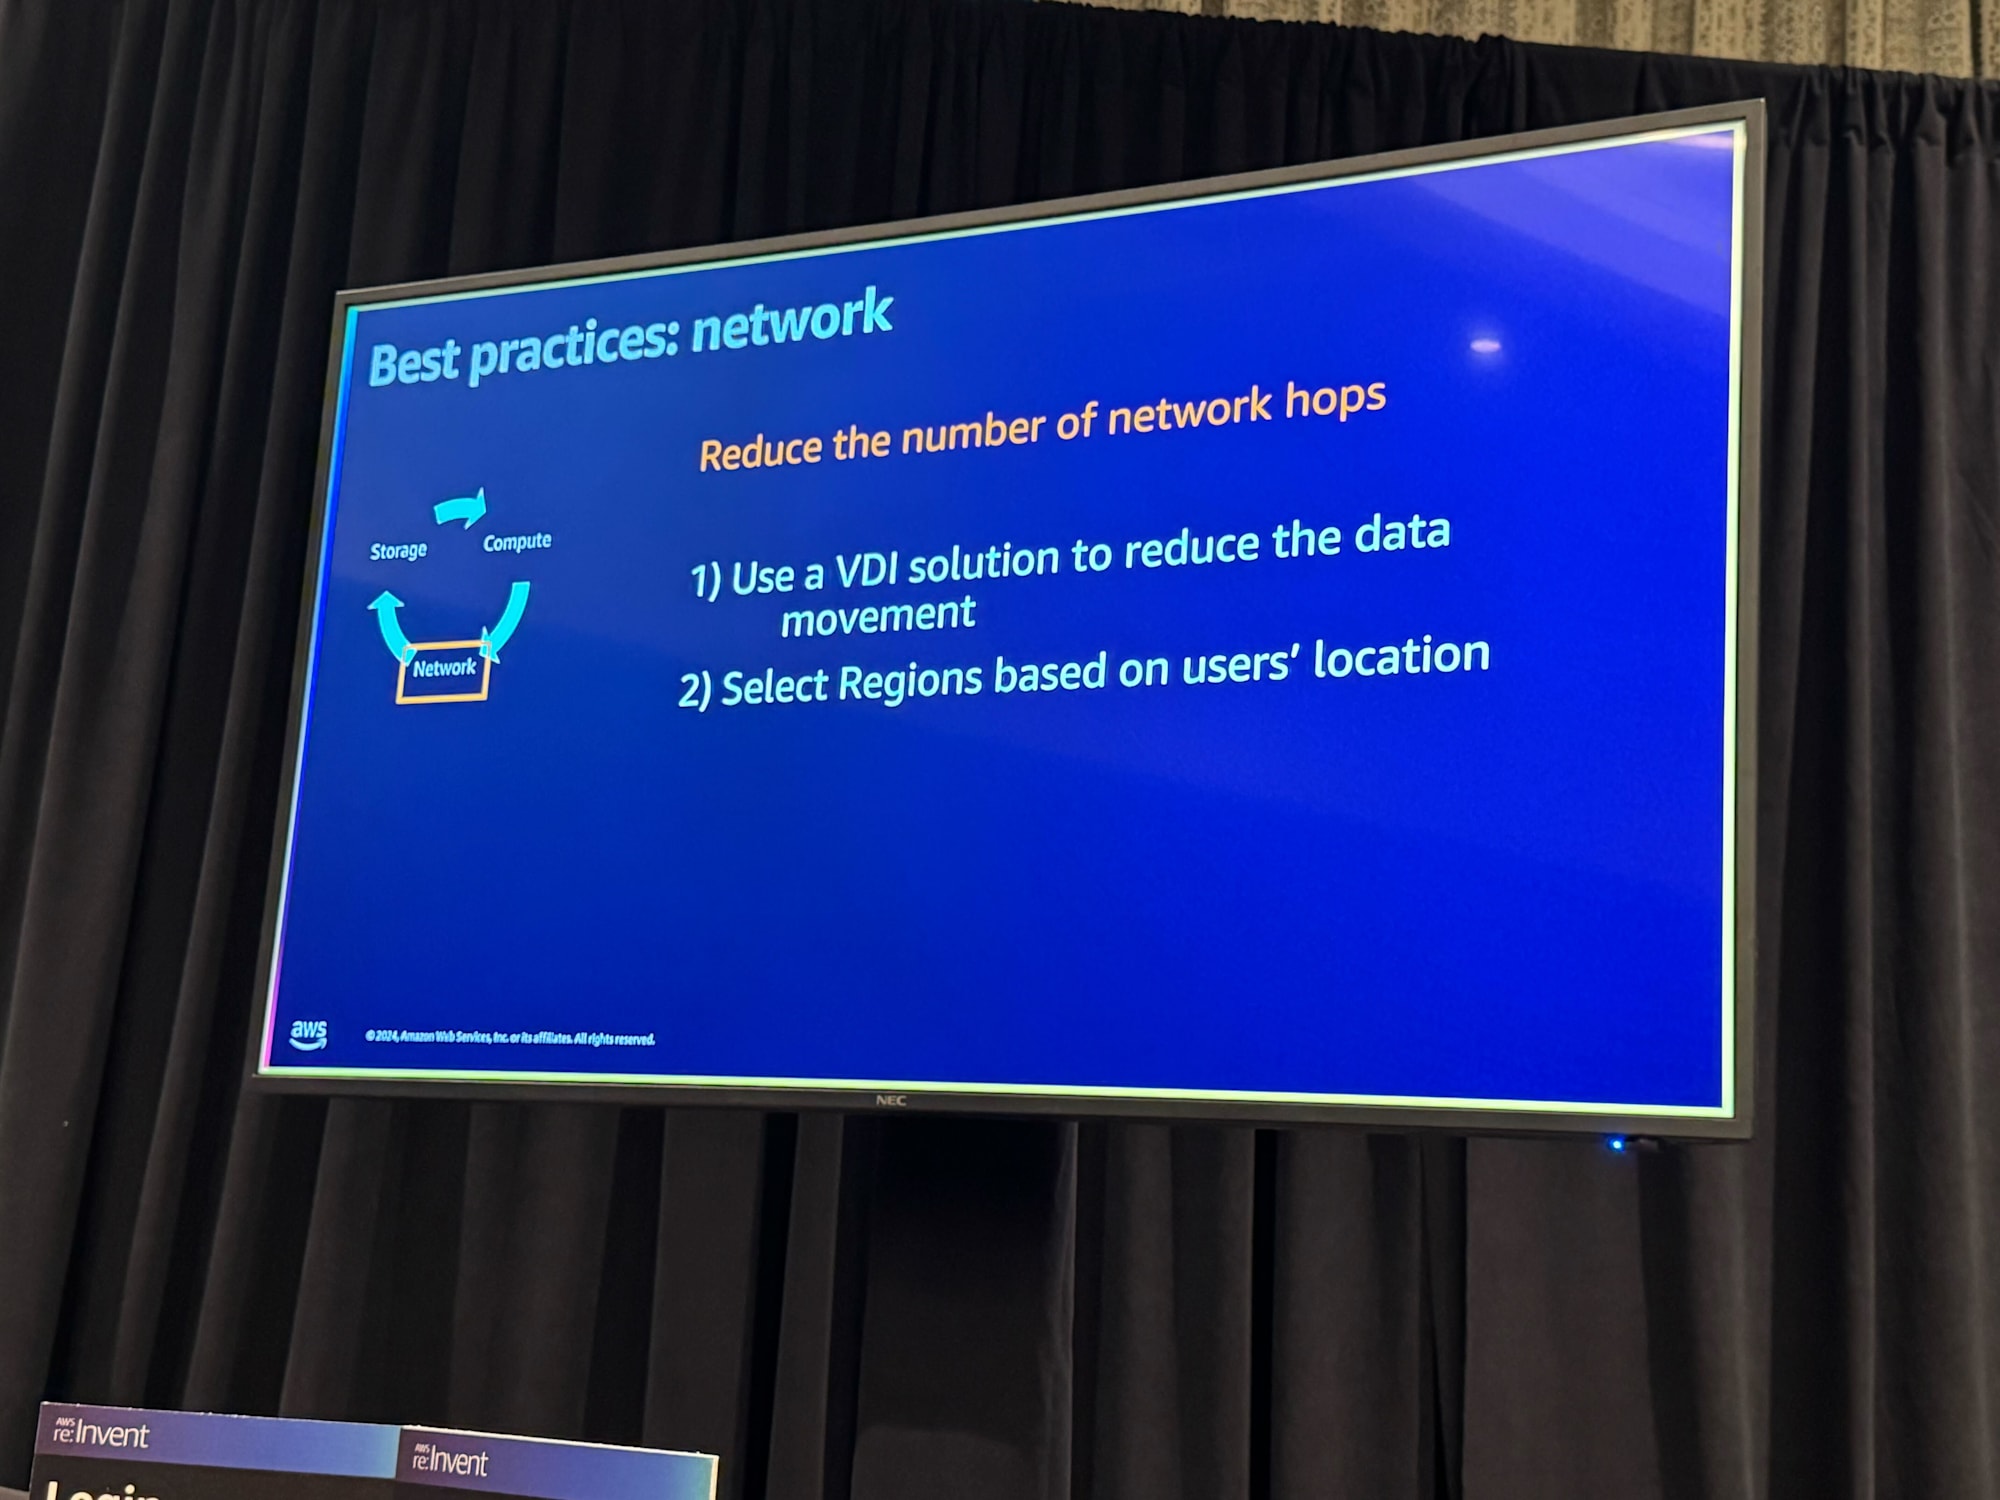
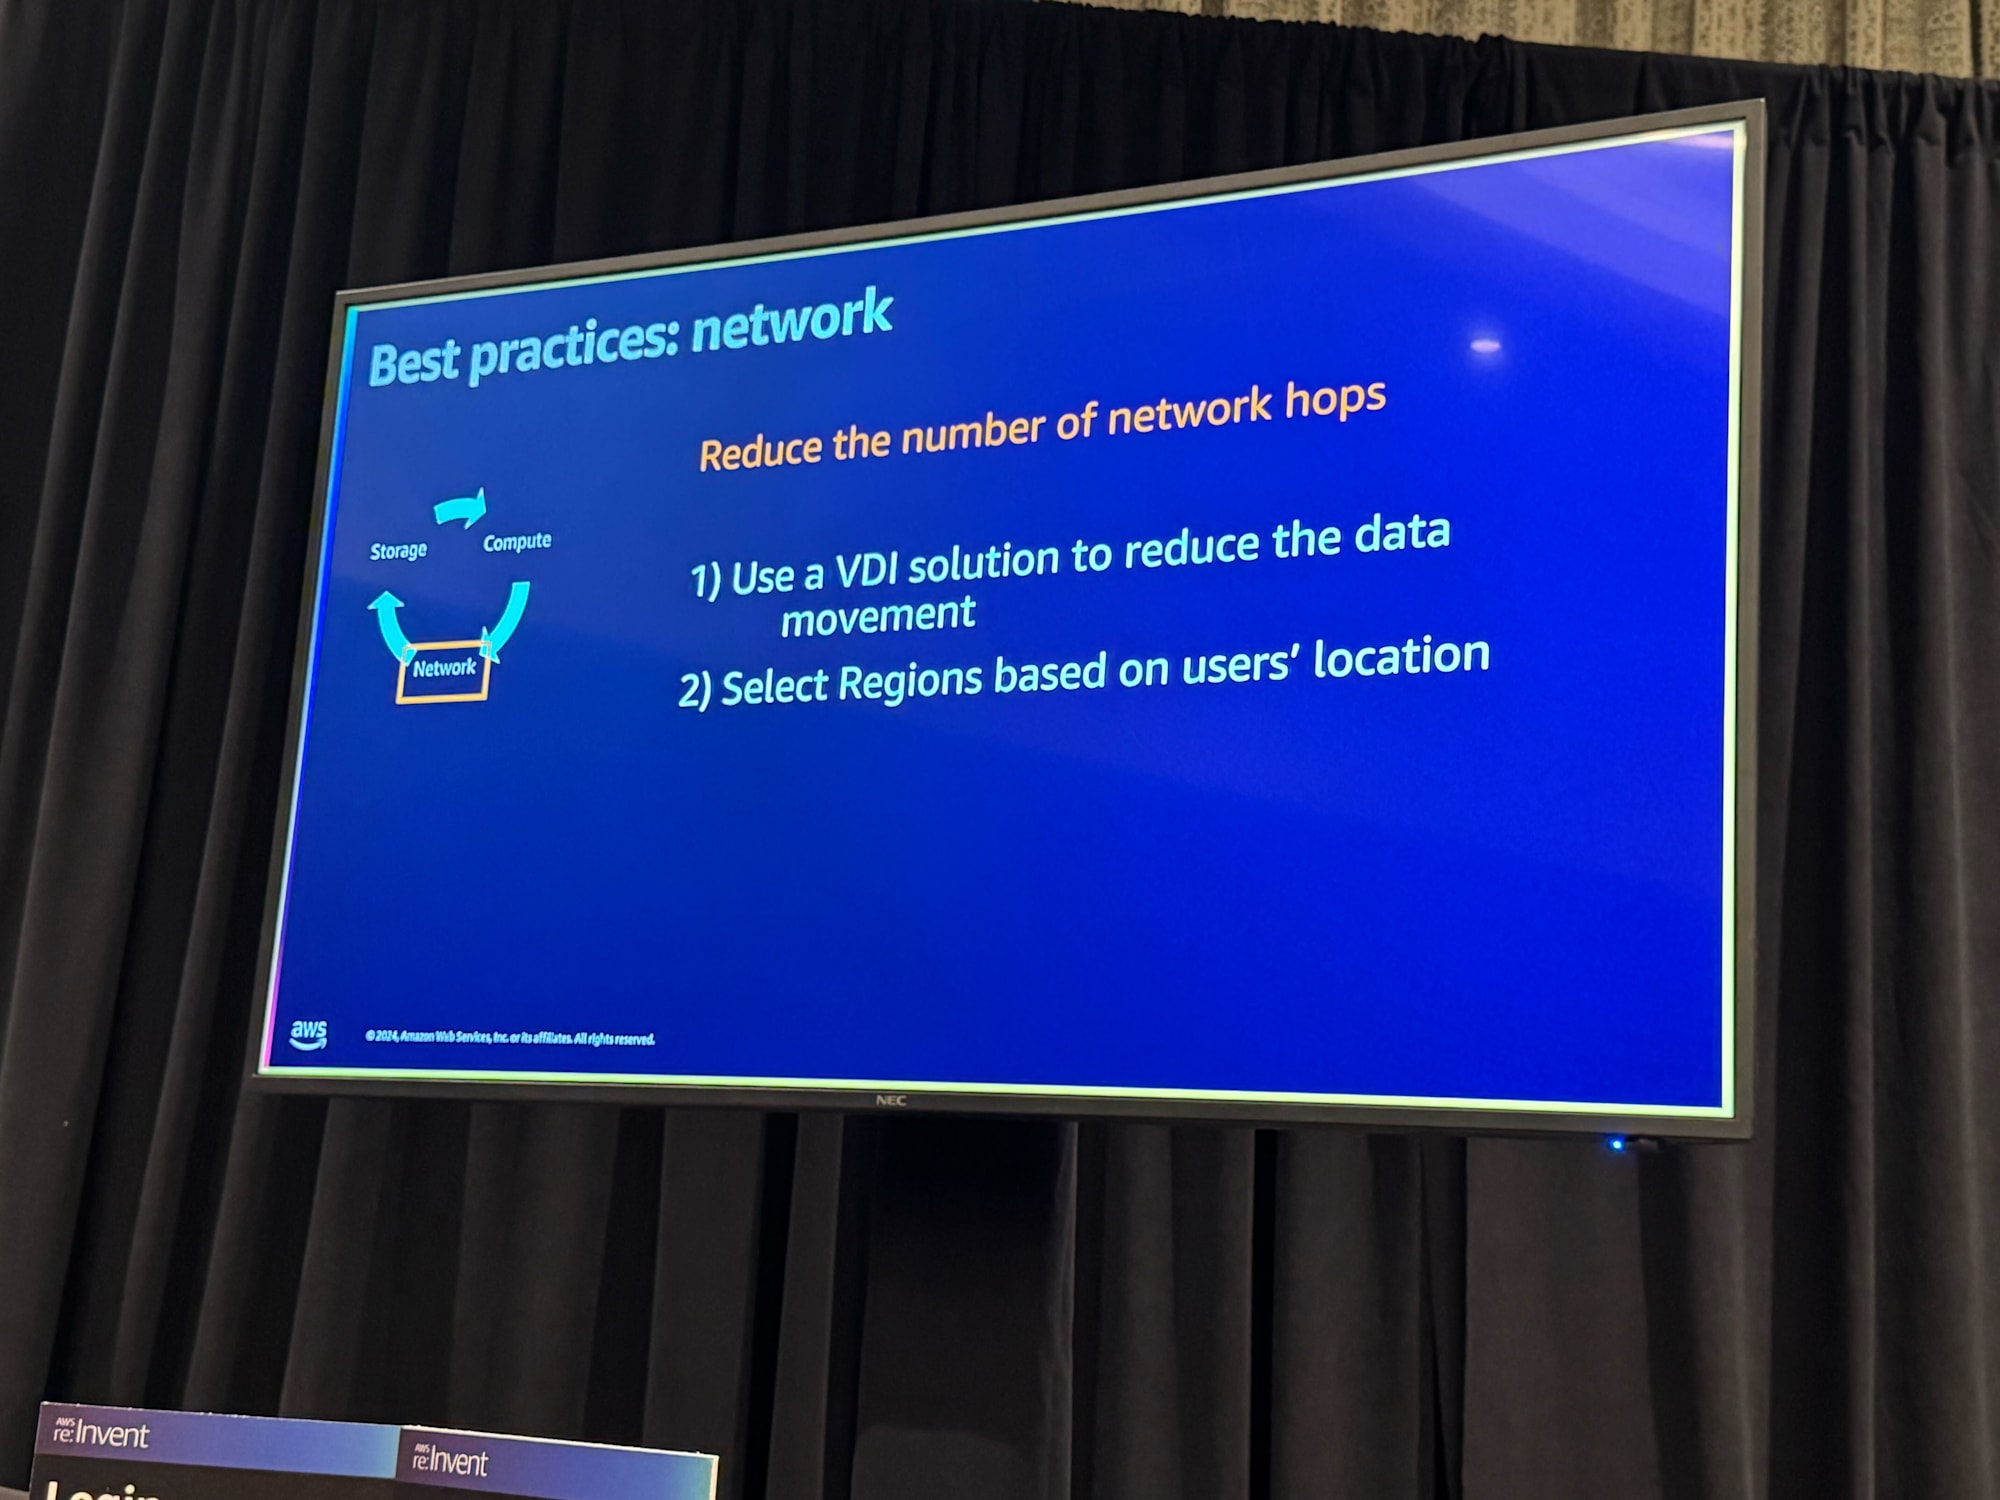
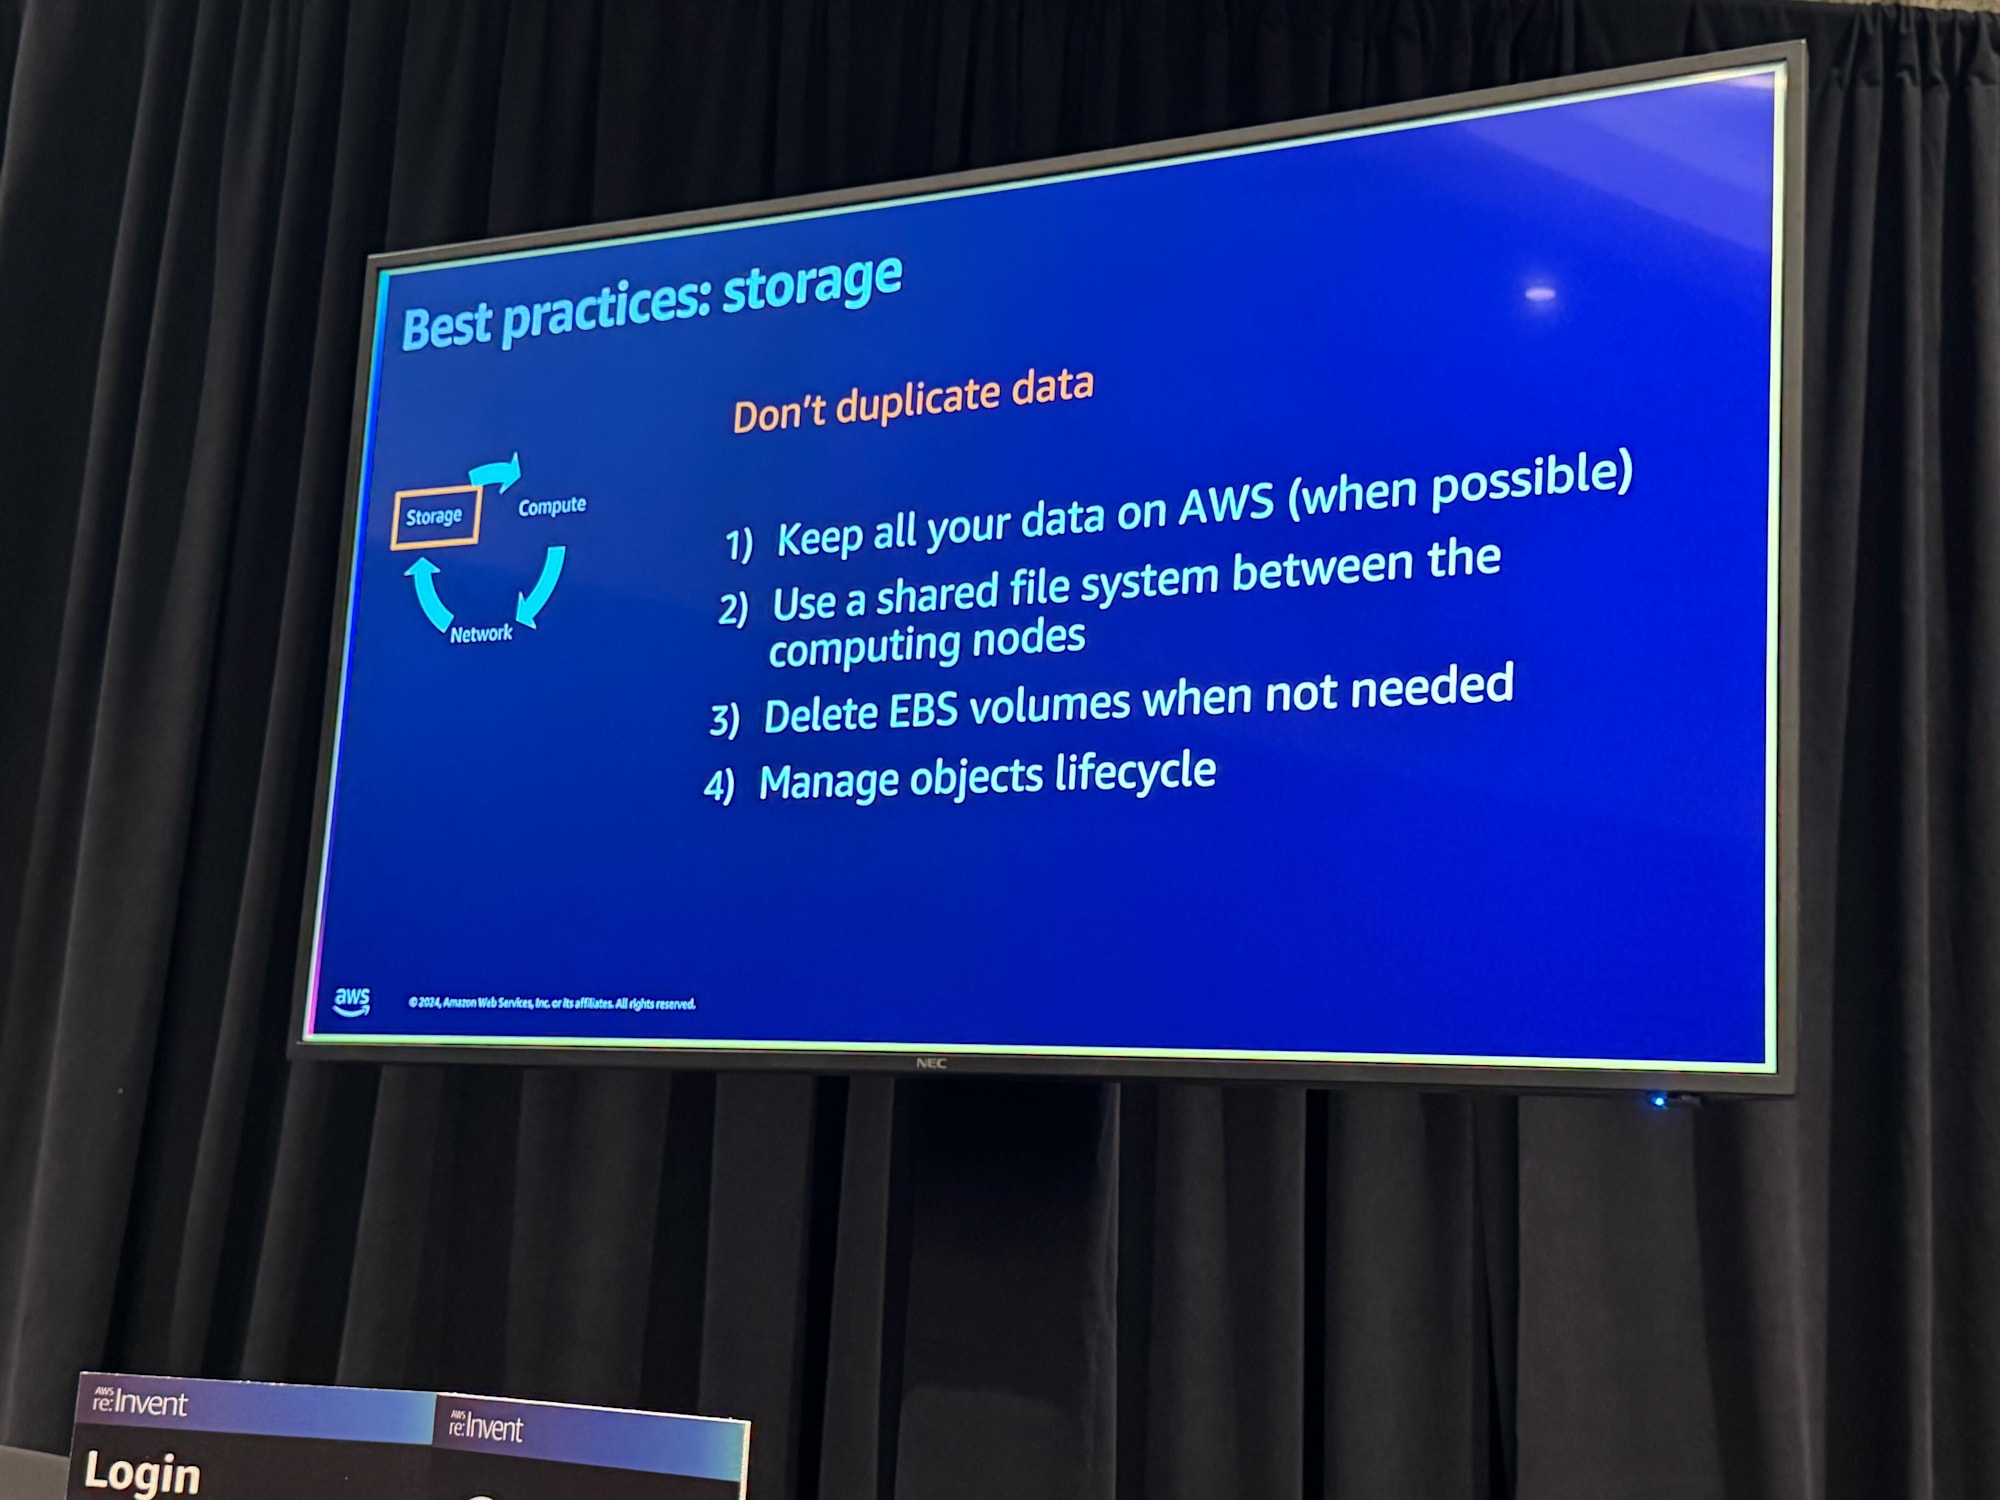
ハンズオンのアジェンダは同じく 3 つの柱を体験するシナリオでした。このセッションでは Compute と Network のみ行いました。
- Module 1 - Compute: in this module you will discover how to use AWS ParallelCluster to design an elastic cluster where computing nodes are automatically started (and stopped) only when needed. Moreover, you will use AWS Graviton-based Amazon EC2 instances that use up to 60% less energy than comparable EC2 instances for the same performance.
- Module 2 - Network: in this module you will use Amazon DCV to establish a remote visualization session between your laptop and the HPC cluster running in the cloud. A Virtual Desktop Infrastructure (or VDI) will allow you to visualize your results directly, removing the need of synching data between the cloud and your data center on-premises.
- Module 3 (optional) - Storage: in this module you will learn how to use Amazon FSx for Lustre to store your data. This managed file system is designed for high performances and it can be synched with Amazon S3 that provides durability for a lower cost. This will allow you to keep all your data on AWS.
今回は Parallel Cluster + FSx Lustre を使った構成で 3 つの柱を体験します。

Compute
初期セットアップ
まずは Parallel Cluster のインストールです。操作は CloudShell で行いました。
pip3 install aws-parallelcluster==3.10.1 -U --user
無事、インストールできていますね。
[cloudshell-user@ip-10-136-49-165 ~]$ pcluster version
{
  "version": "3.10.1"
}
pcluster コマンドで、すでに作成されているものを表示できるか確認します。
[cloudshell-user@ip-10-136-49-165 ~]$ pcluster list-clusters
{
  "clusters": [
    {
      "clusterName": "pcluster-default",
      "cloudformationStackStatus": "CREATE_COMPLETE",
      "cloudformationStackArn": "arn:aws:cloudformation:us-east-1:778941108563:stack/pcluster-default/74fc9780-b147-11ef-a925-123407dc82dd",
      "region": "us-east-1",
      "version": "3.10.1",
      "clusterStatus": "CREATE_COMPLETE",
      "scheduler": {
        "type": "slurm"
      }
    }
  ]
}
続いてパラレルクラスターの設定ファイルを作成します。
今回はジョブスケジューラーに Slurm を利用するタイプで作成しました。
cat > cluster-config.yaml << EOF
HeadNode:
  InstanceType: $HEADNODE
  Imds:
    Secured: true
  Ssh:
    KeyName: ${SSH_KEY_NAME}
  LocalStorage:
    RootVolume:
      VolumeType: gp3
  Networking:
    SubnetId: $PUBLIC_SUBNET_ID
  Iam:
    AdditionalIamPolicies:
      - Policy: arn:aws:iam::aws:policy/AmazonSSMManagedInstanceCore
  Dcv:
    Enabled: true
Scheduling:
  Scheduler: slurm
  SlurmQueues:
    - Name: compute
      AllocationStrategy: lowest-price
      ComputeResources:
        - Name: compute
          Instances:
            - InstanceType: $COMPUTE_INSTANCES
          MinCount: 0
          MaxCount: 2
          Efa:
            Enabled: true
            GdrSupport: true
      ComputeSettings:
        LocalStorage:
          RootVolume:
            VolumeType: gp3
      Networking:
        SubnetIds:
          - $PRIVATE_SUBNET_ID
        PlacementGroup:
          Enabled: true
    - Name: cgn
      AllocationStrategy: lowest-price
      ComputeResources:
        - Name: compute
          Instances:
            - InstanceType: c7gn.16xlarge
          MinCount: 0
          MaxCount: 2
          DisableSimultaneousMultithreading: true
          Efa:
            Enabled: true
            GdrSupport: true
      ComputeSettings:
        LocalStorage:
          RootVolume:
            VolumeType: gp3
      Networking:
        SubnetIds:
          - $PRIVATE_SUBNET_ID
        PlacementGroup:
          Enabled: true
  SlurmSettings: {}
Region: $AWS_REGION
Image:
  Os: rhel8
Imds:
  ImdsSupport: v2.0
SharedStorage:
  - Name: FsxLustre
    StorageType: FsxLustre
    MountDir: /fsx
    FsxLustreSettings:
      FileSystemId: ${FSX_APPS_ID}
EOF
クラスターの作成
設定ファイルをもとに作成できていそうです。
[cloudshell-user@ip-10-136-49-165 ~]$ pcluster create-cluster --cluster-name hpc --cluster-configuration cluster-config.yaml
{
  "cluster": {
    "clusterName": "hpc",
    "cloudformationStackStatus": "CREATE_IN_PROGRESS",
    "cloudformationStackArn": "arn:aws:cloudformation:us-east-1:778941108563:stack/hpc/c96bade0-b1bc-11ef-8864-126c1a721c7f",
    "region": "us-east-1",
    "version": "3.10.1",
    "clusterStatus": "CREATE_IN_PROGRESS",
    "scheduler": {
      "type": "slurm"
    }
  },
  "validationMessages": [
    {
      "level": "WARNING",
      "type": "DcvValidator",
      "message": "With this configuration you are opening DCV port 8443 to the world (0.0.0.0/0). It is recommended to restrict access."
    }
  ]
}
設定ファイルがあることでバージョン管理ができますし、インタラクティブにやりたい時は pcluster configure を利用するようです。
設定ファイルの確認
今回作成した cluster-config の設定値について触れていきました。
以下の仕組みで最適化されているようです。
- ヘッドノード、ワーカーノード共に Graviton を利用していること
- MinCount を 0 にすることでキューにジョブがない時は自動で縮退する
- プレイスメントグループを利用して、インスタンスを近接させ帯域幅を最大化させる
- 単一のアベイラビリティゾーン内の 1 つの物理データセンター内にまとめる
- Elastic Fabric Adapter (EFA)でインスタンス間通信のパフォーマンスを向上
HeadNode:
+  InstanceType: c7g.2xlarge
  Imds:
    Secured: true
  Ssh:
    KeyName: hpc-lab-key
  LocalStorage:
    RootVolume:
      VolumeType: gp3
  Networking:
    SubnetId: subnet-0dcee7d75c3e55ca9
  Iam:
    AdditionalIamPolicies:
      - Policy: arn:aws:iam::aws:policy/AmazonSSMManagedInstanceCore
  Dcv:
    Enabled: true
Scheduling:
  Scheduler: slurm
  SlurmQueues:
    - Name: compute
      AllocationStrategy: lowest-price
      ComputeResources:
        - Name: compute
          Instances:
            - InstanceType: hpc7g.16xlarge
+          MinCount: 0
          MaxCount: 2
          Efa:
            Enabled: true
            GdrSupport: true
      ComputeSettings:
        LocalStorage:
          RootVolume:
            VolumeType: gp3
      Networking:
+        SubnetIds:
+          - subnet-0d0ebfffa6dddf646
+        PlacementGroup:
+          Enabled: true
    - Name: cgn
      AllocationStrategy: lowest-price
      ComputeResources:
        - Name: compute
          Instances:
            - InstanceType: c7gn.16xlarge
          MinCount: 0
          MaxCount: 2
          DisableSimultaneousMultithreading: true
          Efa:
            Enabled: true
            GdrSupport: true
      ComputeSettings:
        LocalStorage:
          RootVolume:
            VolumeType: gp3
      Networking:
        SubnetIds:
          - subnet-0d0ebfffa6dddf646
        PlacementGroup:
          Enabled: true
  SlurmSettings: {}
Region: us-east-1
Image:
  Os: rhel8
Imds:
  ImdsSupport: v2.0
SharedStorage:
  - Name: FsxLustre
    StorageType: FsxLustre
    MountDir: /fsx
    FsxLustreSettings:
      FileSystemId: fs-05da71421cbce2332
ジョブの投入
ヘッドノードにログインし、キューにジョブがないことを確認します。
[ec2-user@ip-10-3-131-234 ~]$ sinfo
PARTITION AVAIL  TIMELIMIT  NODES  STATE NODELIST
compute*     up   infinite      2  idle~ compute-dy-compute-[1-2]
cgn          up   infinite      2  idle~ cgn-dy-compute-[1-2]
[ec2-user@ip-10-3-131-234 ~]$ squeue
             JOBID PARTITION     NAME     USER ST       TIME  NODES NODELIST(REASON)
[ec2-user@ip-10-3-131-234 ~]$
/fsx 配下に FSx Lustre をマウントしているため、 /fsx 配下で OpenFORM をインストールしました。
OpenFORM はオープンソースの流体解析ツールです。
curl 'tarファイル' --output openfoam-build.tar.gz
sudo yum install -y pv
pv openfoam-build.tar.gz | tar xz

cd OpenFOAM
curl 'motorBikeDemo' --output motorBikeDemo.tgz
tar xf motorBikeDemo.tgz
cd motorBikeDemoArm
sbatch でジョブを投げる前に、投入するジョブの内容を確認します。
[ec2-user@ip-10-3-131-234 motorBikeDemoArm]$ cd /fsx/OpenFOAM/motorBikeDemoArm
[ec2-user@ip-10-3-131-234 motorBikeDemoArm]$ cat openfoam-arm.sbatch
#!/bin/bash
#SBATCH --job-name=foam-128
#SBATCH --ntasks=128
#SBATCH --output=%x_%j.out
#SBATCH --partition=compute
#SBATCH --constraint=hpc7g.16xlarge

module load openmpi
source /fsx/OpenFOAM/OpenFOAM-v2012/etc/bashrc

cp $FOAM_TUTORIALS/resources/geometry/motorBike.obj.gz constant/triSurface/
surfaceFeatureExtract  > ./log/surfaceFeatureExtract.log 2>&1
blockMesh  > ./log/blockMesh.log 2>&1
decomposePar -decomposeParDict system/decomposeParDict.hierarchical  > ./log/decomposePar.log 2>&1
mpirun -np $SLURM_NTASKS snappyHexMesh -parallel -overwrite -decomposeParDict system/decomposeParDict.hierarchical   > ./log/snappyHexMesh.log 2>&1
mpirun -np $SLURM_NTASKS checkMesh -parallel -allGeometry -constant -allTopology -decomposeParDict system/decomposeParDict.hierarchical > ./log/checkMesh.log 2>&1
mpirun -np $SLURM_NTASKS redistributePar -parallel -overwrite -decomposeParDict system/decomposeParDict.ptscotch > ./log/decomposePar2.log 2>&1
mpirun -np $SLURM_NTASKS renumberMesh -parallel -overwrite -constant -decomposeParDict system/decomposeParDict.ptscotch > ./log/renumberMesh.log 2>&1
mpirun -np $SLURM_NTASKS patchSummary -parallel -decomposeParDict system/decomposeParDict.ptscotch > ./log/patchSummary.log 2>&1
ls -d processor* | xargs -i rm -rf ./{}/0
ls -d processor* | xargs -i cp -r 0.orig ./{}/0
mpirun -np $SLURM_NTASKS potentialFoam -parallel -noFunctionObjects -initialiseUBCs -decomposeParDict system/decomposeParDict.ptscotch > ./log/potentialFoam.log 2>&1s
mpirun -np $SLURM_NTASKS simpleFoam -parallel  -decomposeParDict system/decomposeParDict.ptscotch > ./log/simpleFoam.log 2>&1
それでは sbatch でジョブの投入を行います。
sbatch openfoam-arm.sbatch
compute に割当たってますね。(STATE が alloc になっています。)
[ec2-user@ip-10-3-131-234 motorBikeDemoArm]$ sbatch openfoam-arm.sbatch
Submitted batch job 1
[ec2-user@ip-10-3-131-234 motorBikeDemoArm]$ sinfo
PARTITION AVAIL  TIMELIMIT  NODES  STATE NODELIST
compute*     up   infinite      2 alloc~ compute-dy-compute-[1-2]
cgn          up   infinite      2  idle~ cgn-dy-compute-[1-2]
Network
Amazon DCV
つづいて、 Amazon DCV でジョブの出力結果を可視化します。
pcluster dcv-connect -n pcluster-default --key-path ~/.ssh/ws-default-keypair
生成された URL を踏みます。
[cloudshell-user@ip-xx-xxx-xxx-xxx ~]$ pcluster dcv-connect -n pcluster-default --key-path ~/.ssh/ws-default-keypair

Please use the following one-time URL in your browser within 30 seconds:
https://54.196.97.120:8443?authToken=sample
GUI にログインできました。

ターミナルで次コマンドを実行し paraview をインストール、起動します。
sudo yum -y install paraview
paraview
うまく動いてそうです。(未知の領域すぎて小並感しか出ないですが、すごいなと思いました。)

でき上がった成果物を paraview で確認してみました。バイクが原動の流体解析がうまくできているようですね。

まとめ
以上、「[レポート] How to design your HPC cluster in the cloud for sustainability」でした。
「Storage は返ってから楽しんでね。」と最後に自分のアカウントで試せる URL を共有してもらったのではっつけます。
Parallel Cluster の基本操作周りを抑えられるワークショップで受けてよかったです。
AWS 事業本部コンサルティング部のたかくに(@takakuni_)でした!

