Cloudflare Artifactsがオープンベータになったので試してみる

こんばんは、情報システム室の夏目です。
先日Cloudflare Artifactsがオープンベータになりました。
現在Workers Paid Planに契約しているユーザーが使用できます。
個人的に契約しているので試してみます。
Cloudflare Artifacts
Git互換インターフェースを持ったバージョン管理ストレージです。
Gitクライアントを使用した接続が可能なのでリモートリポジトリとして扱えます。
また、REST APIやWorkerのバインディング、CLIツール(wrangler, cf)でリポジトリの作成・削除・フォークなどの操作を行うことができます。
WorkerやREST APIをコントロールプレーンとしてリポジトリの管理やワークフローで使用します。
Artifactsは大規模運用を想定して設計されていて、大量のリポジトリを作成することができます。
そのためプロジェクト単位どころか、ユーザー単位、セッション単位、リポジトリ単位でリポジトリを作成したりフォークしたりすることができます。
リポジトリデータを複数のデータセンター間で同期的に複製し、オブジェクトストレージへのコピーとスナップショットを非同期的に作成しています。
独自にレプリケーションなどを構築する必要はありません。
基本的な構成
Artifactsは Namespace と Repository, Token の3つで構成されます。
Namespaceの中に複数のRepositoryがあり、Repositoryの中に複数のTokenをもちます。
- Namespace
- Repositoryを最上位レベルで整理するための箱
- Namespaceの中に複数のRepositoryを持つことができる
- データの管轄区域を指定して作成することもでき、USかEUを指定できる
- Repository作成の際、Namespaceが存在していなければ自動で作成される
- Repository
- Gitのリモートリポジトリ
Namespace NameとRepository Nameの組み合わせで一意にする必要がある
- Token
- 各Repositoryごとに持つ有効期限付きのToken
- A リポジトリで発行されたトークンはB リポジトリでは使用できない
- HTTPS経由のGit操作時の認証に使用する
- Clone, Fetch, Pullに使用するread tokenと、変更をPushするためのwrite tokenがある
- 各Repositoryごとに持つ有効期限付きのToken
Event Subscription
Cloudflare QueueのEvent Subscriptionという機能で、リポジトリの作成やFork, PushなどのイベントがJSONとしてQueueに入れられます。
そのQueueをトリガーとするWorkerを使って、自動化を行うことも可能です。
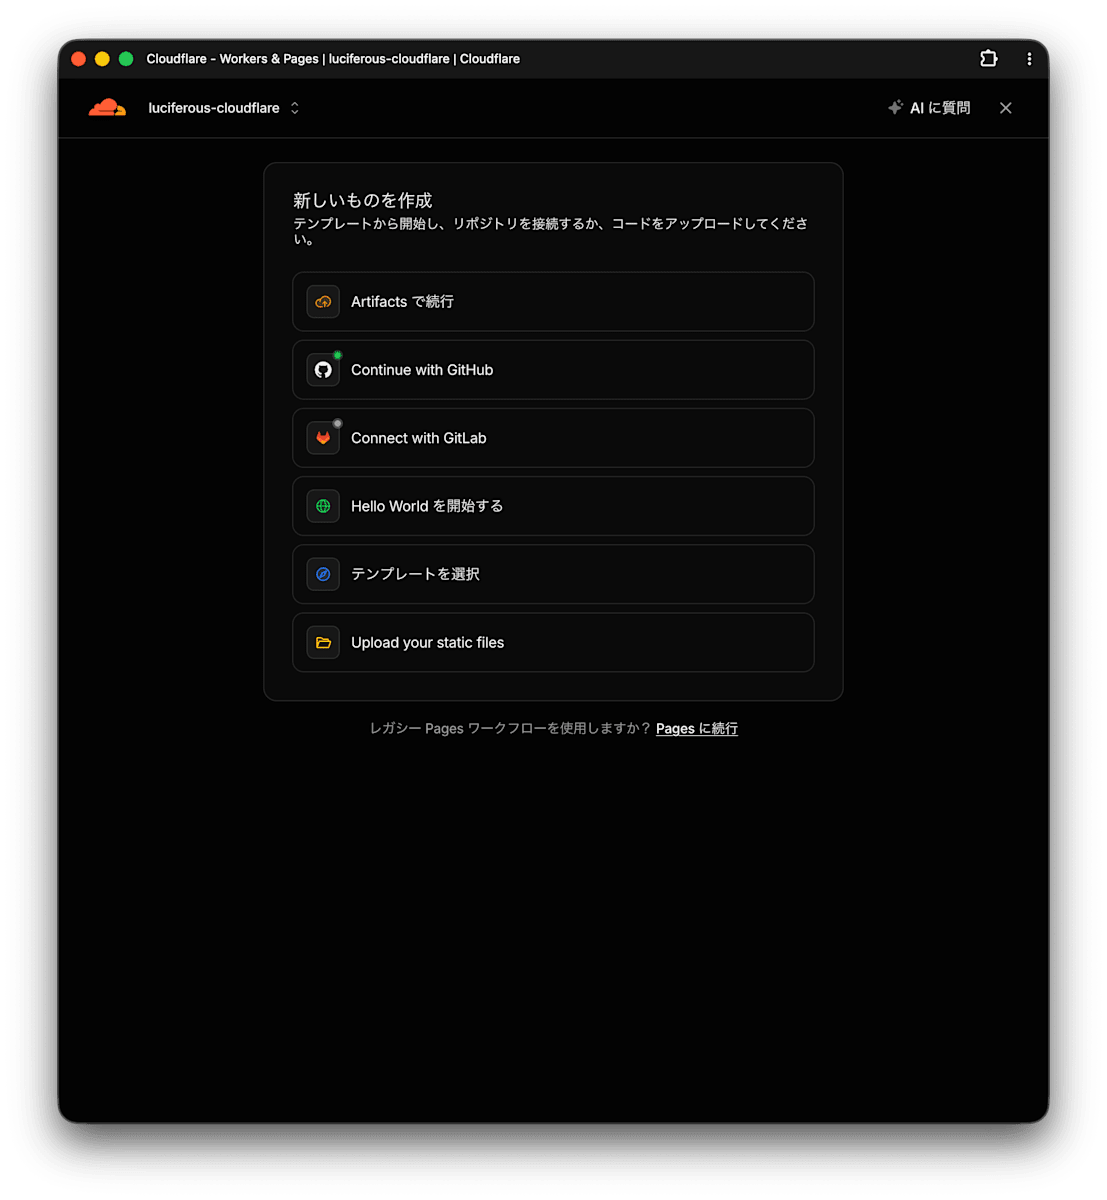
Workers Buildと連携させる
ArtifactsのリポジトリをWorkers Buildと連携させて、Githubなどと同様に、Workerのデプロイが可能です。
料金
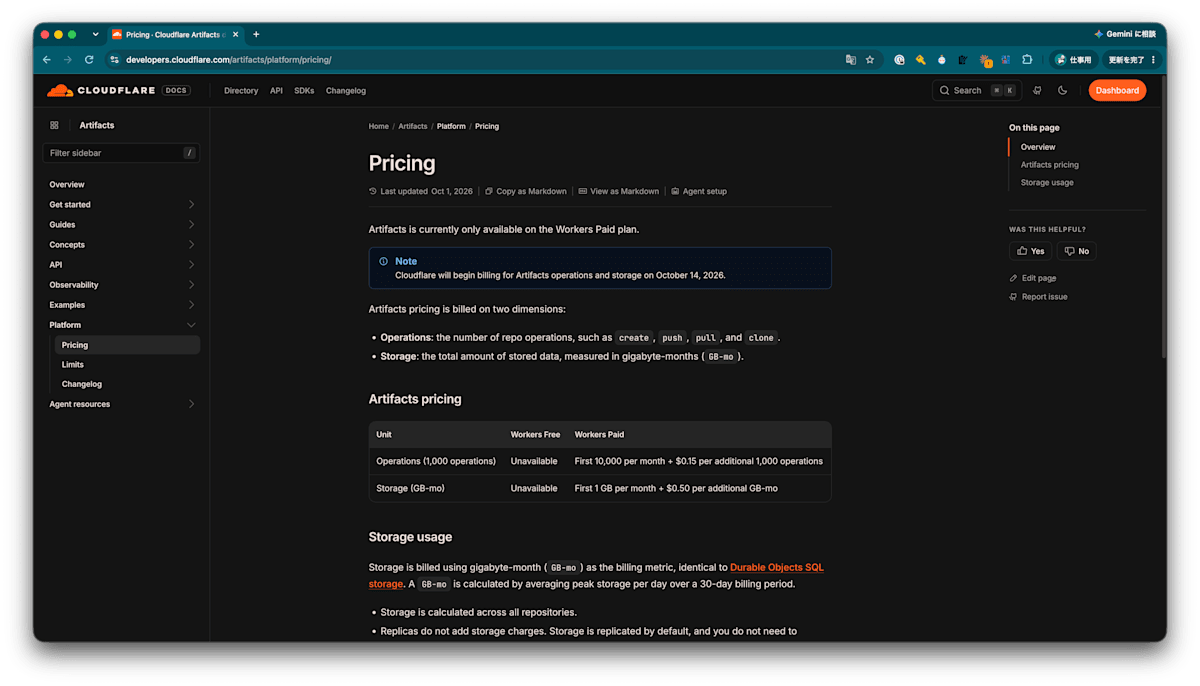
Workers Paid planのユーザーしか現状使えませんが、一部無料枠があります。
- Operations
create,push,pull,cloneなどリポジトリへの操作- 月10,000回までは無料
- 以後は1,000回ごとに$0.15
- Storage
- 月1GBまでは無料
- 以後は 1GB-mo ごとに$0.5
試してみる
Get started を参考にwranglerコマンドではなく、cfコマンドで試してみます。
ArtifactsのRepositoryを作成し、Tokenを返すWorkerを作ります。
1. プロジェクトの雛型を作成する
$ npx cf init trial-artifacts-worker
npm notice run npx
npm notice run 'cf' init trial-artifacts-worker
🍊☁  cf · v1.0.0-beta.12
─────────────────────────
●  Creating a new Worker in /Users/natsume.yuta/spaces/tmp/061/trial-artifacts-worker
│
◇  Which package manager do you want to use?
│  npm
◆  Created the trial-artifacts-worker Worker in trial-artifacts-worker
│  Delegating to npm install

added 61 packages, and audited 62 packages in 5s

16 packages are looking for funding
  run `npm fund` for details

found 0 vulnerabilities
npm warn install-scripts 3 packages had install scripts blocked because they are not covered by allowScripts:
npm warn install-scripts   workerd@1.20260930.2 (postinstall: node install.js)
npm warn install-scripts   fsevents@2.3.3 (install: node-gyp rebuild)
npm warn install-scripts   workerd@1.20261001.1 (postinstall: node install.js)
npm warn install-scripts
npm warn install-scripts Run `npm install-scripts ls` to review, or `npm install-scripts approve <pkg>` to allow.
│
◇  Generating types [0s]
◆  Generated types in trial-artifacts-worker/.cloudflare/types/index.d.ts
│
├  Next steps
│    cd trial-artifacts-worker
│    npx cf dev     Start a local development server
│    npx cf deploy  Deploy to Cloudflare

$ cd trial-artifacts-worker
2. Artifactsとのバインディングを設定する
cloudflare.config.tsを編集して、Artifactsへのバインディングを設定します。
 import { bindings, defineConfig } from "cf/config";

 import * as entrypoint from "./src/index.ts" with { type: "cf-worker" };

 export default defineConfig({
   worker: {
     name: "trial-artifacts-worker",
     compatibilityDate: "2026-10-01",
     entrypoint,
     env: {
-      WORLD: bindings.text("World"),
+      ARTIFACTS: bindings.artifacts({
+        namespace: "default",
+        dev: { remote: true },
+      }),
     },
   },
 });
Get started のサンプルコードはArtifactsの操作フローに焦点を当てるために認証処理が省略されています。
今回試す上でもCloudflareへのデプロイは行わず、ローカルからの実行のみとします。
ローカルからの実行のみですが dev: { remote: true } をつけて、実際のCloudflareの環境を操作するようにしています。
バインディングを設定したので、型ファイルを再生成します。
$ npx cf workers types
3. コードを実装する
import { env } from "cloudflare:workers";

export default {
  async fetch(request) {
    const url = new URL(request.url);

    if (request.method === "POST" && url.pathname === "/repos") {
      const body = (await request.json().catch(() => {})) as Record<string, unknown>;

      const repoName = (body.name ?? "starter-repo") as string;

      const created = await env.ARTIFACTS.create(repoName);

      return Response.json({
        name: created.name,
        remote: created.remote,
        token: created.token,
      });
    }

    return new Response("Use POST /repos to create an Artifacts repo.", {
      status: 405,
      headers: { Allow: "POST" },
    });
  },
} satisfies ExportedHandler;
基本的には Get started のコードを踏襲していますが、 const body と const repoName だけは修正しています。
これは記載されたコードのままだとTypeScriptの型チェックでエラーが出たからです。
cloudflare.config.tsのところでも書きましたが、 Get started のサンプルコードでは認証処理が省略されています。
実際に運用する環境では、Cloudflare Accessによるアクセス制限や呼び出し元の認証を行ってください。
4. ローカル実行して叩いてみる
$ npx cf dev
npm notice run npx
npm notice run 'cf' dev
🍊☁  cf · v1.0.0-beta.12
─────────────────────────
│  Delegating to npx vite
npm notice run npx
npm notice run 'vite'
Default inspector port 9229 not available, using 9230 instead

⎔ Establishing remote connection...
Port 5173 is in use, trying another one...

  VITE v8.3.2  ready in 4513 ms

  ➜  Local:   http://localhost:5174/
  ➜  Network: use --host to expose
  ➜  Debug:   http://localhost:5174/__debug
  ➜  press b + enter to list configured Cloudflare bindings
  ➜  press e + enter to open local explorer
  ➜  press t + enter to start tunnel
  ➜  press h + enter to show help
Workerが立ち上がったので、curlで叩いてみます。
$  curl http://localhost:5174/repos \
                  --header "Content-Type: application/json" \
                  --data '{"name": "sample-repo"}' | jq
{
  "name": "sample-repo",
  "remote": "https://6c0ed76030fe090d0fb0a9cd20a874af.artifacts.cloudflare.net/git/default/sample-repo.git",
  "token": "art_v2_x_b885f8a8a992318e5292b3adb893ec29aef42c20?expires=1791278385"
}
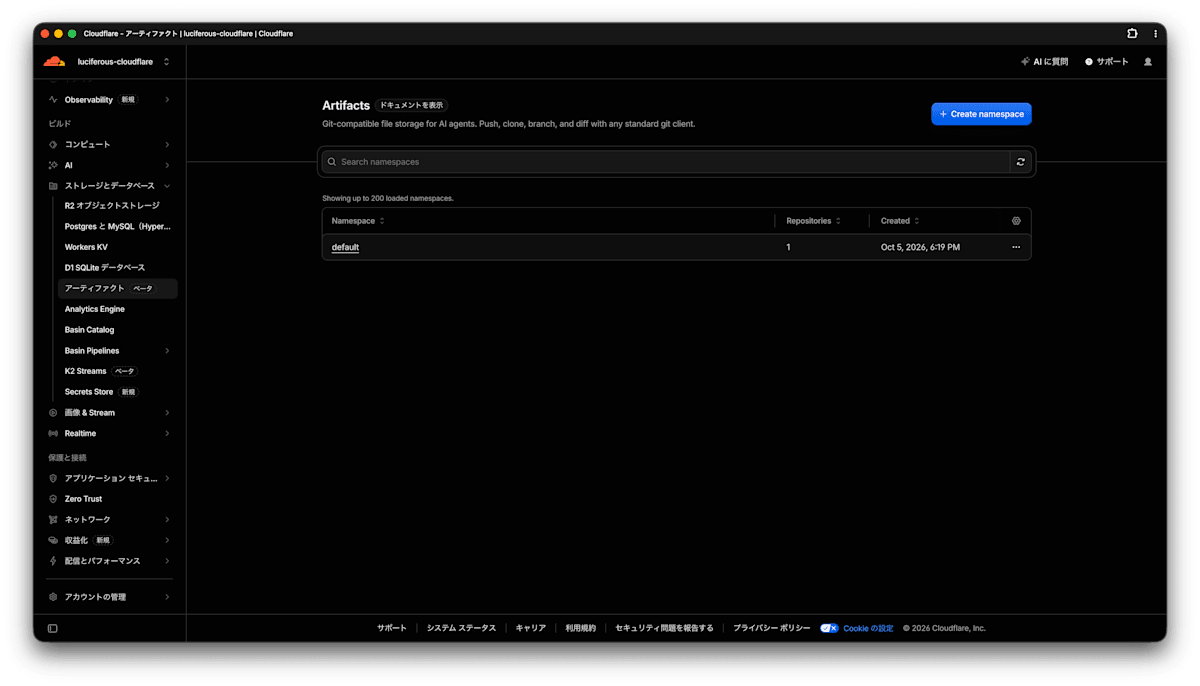
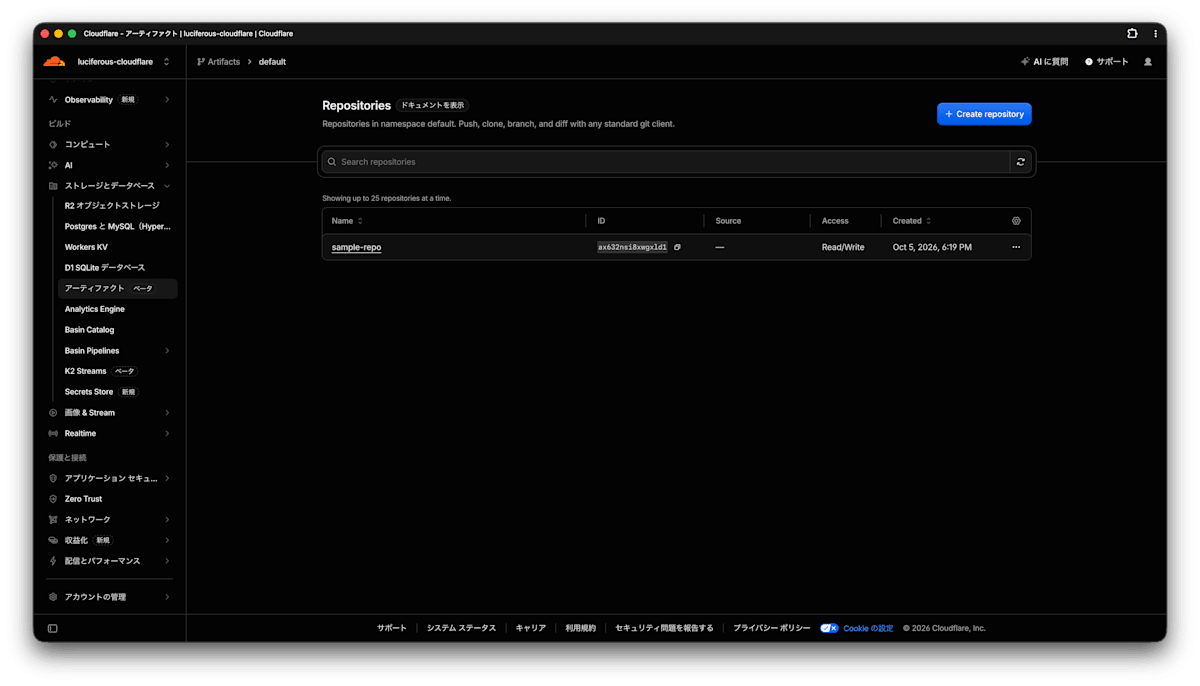
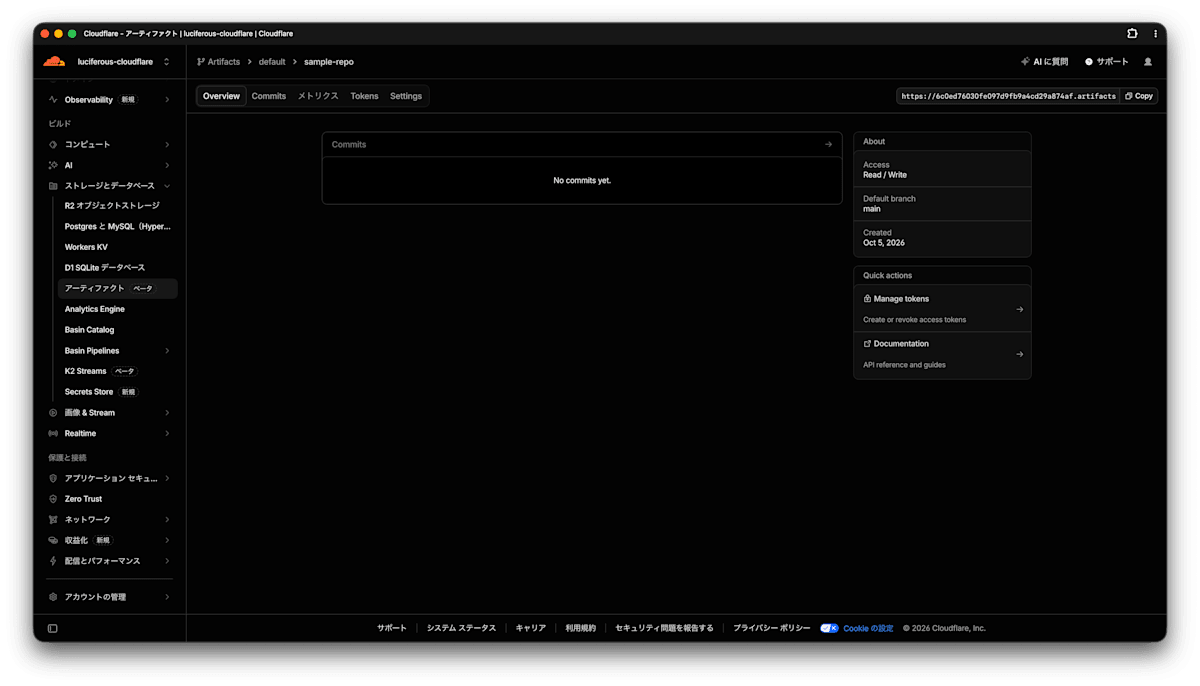
リポジトリが作成されました。
Cloudflareのダッシュボードを確認すると次のようになっています。
5. 最初のコミットをプッシュする
curlで叩いて、remote urlとtokenを取得できたのでファイルをコミットしてみます。
最初にremote urlとtokenを環境変数にしておきます。
$ export ARTIFACT_TOKEN="art_v2_x_b885f8a8a992318e5292b3adb893ec29aef42c20?expires=1791278385"
$ export ARTIFACT_REMOTE="https://6c0ed76030fe090d0fb0a4cd20a874af.artifacts.cloudflare.net/git/default/sample-repo.git"
次に、Gitの初期化をしコミットします。
$ mkdir artifacts-demo
$ cd artifacts-demo
$ git init -b main
$ echo '# Artifacts demo' > README.md
$ git add README.md
$  git commit -m "Initial commit"
[main (root-commit) 254ad73] Initial commit
 1 file changed, 1 insertion(+)
 create mode 100644 README.md
Artifactsに作ったリポジトリをremoteに登録してプッシュします。
$ git remote add origin "$ARTIFACT_REMOTE"
$ git \
      -c http.extraHeader="Authorization: Bearer $ARTIFACT_TOKEN" \
      push -u origin main
Enumerating objects: 3, done.
Counting objects: 100% (3/3), done.
Writing objects: 100% (3/3), 230 bytes | 230.00 KiB/s, done.
Total 3 (delta 0), reused 0 (delta 0), pack-reused 0 (from 0)
To https://6c0ed76030fe097d9fb9a4cd29a874af.artifacts.cloudflare.net/git/default/sample-repo.git
 * [new branch]      main -> main
branch 'main' set up to track 'origin/main'.
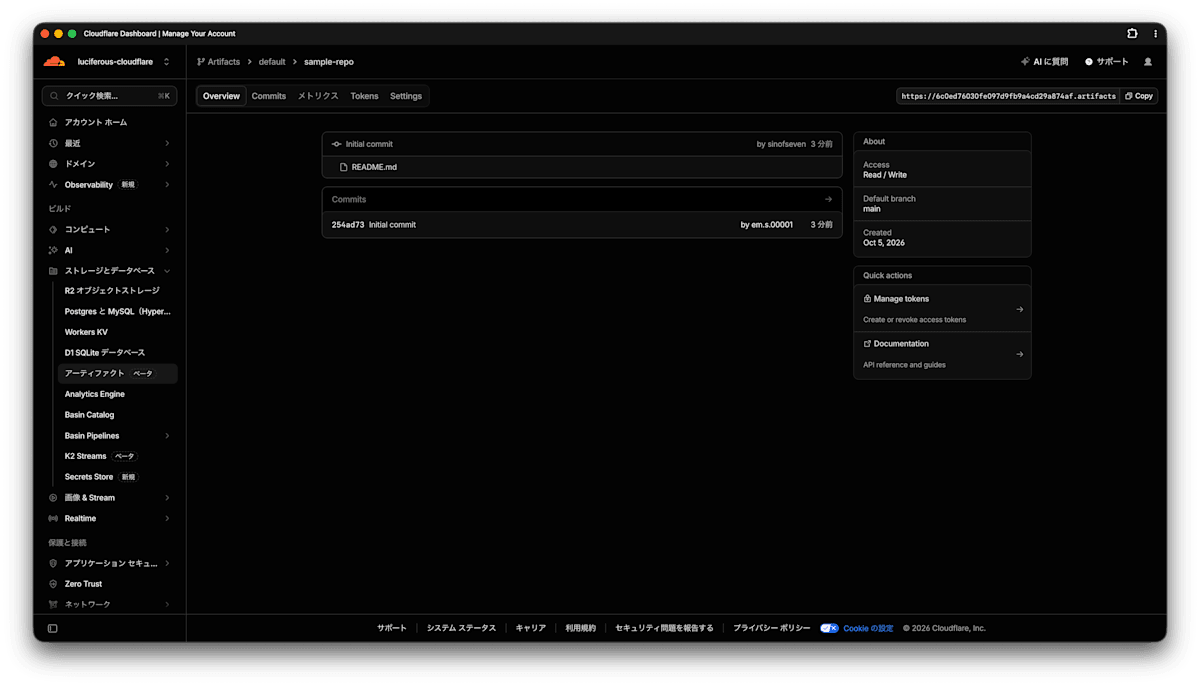
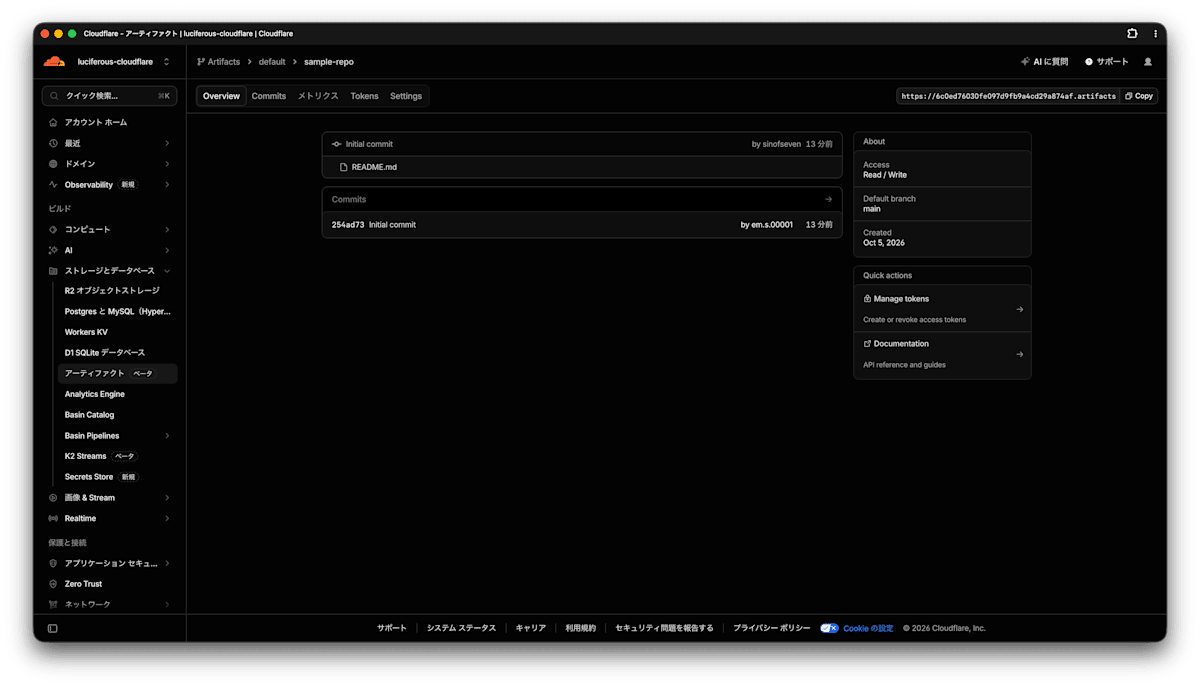
Pushできました。
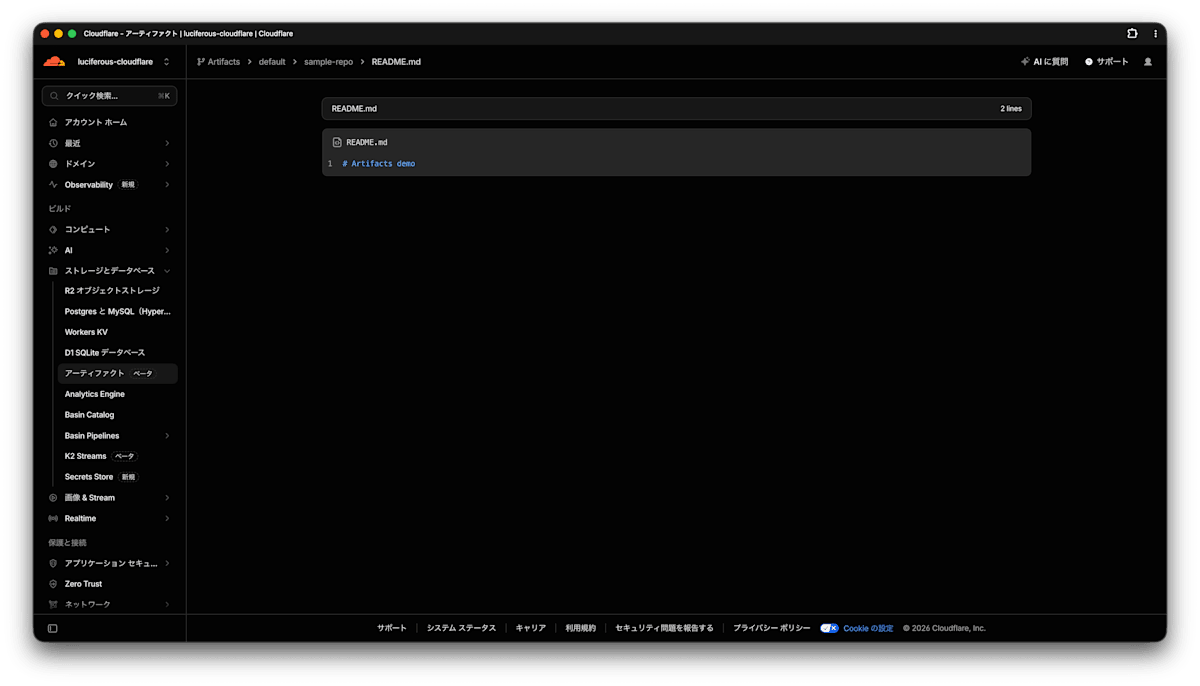
ダッシュボードを確認すると、Pushができていることがわかります。
6. cloneしてみる
今度は git clone してみます。
$ cd ..
$ git \
      -c http.extraHeader="Authorization: Bearer $ARTIFACT_TOKEN" \
      clone "$ARTIFACT_REMOTE" artifacts-clone
Cloning into 'artifacts-clone'...
remote: Enumerating objects: 3, done.
Receiving objects: 100% (3/3), done.

$ cd artifacts-clone
$ git log --oneline
254ad73 (HEAD -> main, origin/main, origin/HEAD) Initial commit
cloneできました。
7. 別branchにpushしてみる
Get started の内容とは異なりますが、気になったので別branchにpushしてみます。
$ git checkout -b other
$ echo "other branch" >> README.md
$ git commit -a -m 'branch commit'
[other c4b9155] branch commit
 1 file changed, 1 insertion(+)

$ git \
      -c http.extraHeader="Authorization: Bearer $ARTIFACT_TOKEN" \
      push origin other
Enumerating objects: 5, done.
Counting objects: 100% (5/5), done.
Writing objects: 100% (3/3), 271 bytes | 271.00 KiB/s, done.
Total 3 (delta 0), reused 0 (delta 0), pack-reused 0 (from 0)
To https://6c0ed76030fe097d9fb9a4cd29a874af.artifacts.cloudflare.net/git/default/sample-repo.git
 * [new branch]      other -> other
別branchにpushしました。
Cloudflareのダッシュボードを確認しても、branchの切り替え用のボタンなどは見当たりませんでした。
ダッシュボードのUIとしてはまだないようです。
まとめ
以上、Cloudflare Artifactsを試した話でした。
ドキュメントを読んだ感想としては、やりたいことに対して少しAPIが足りていない部分があるようです。
オープンベータなので今後に期待かなと思います。
何かのお役に立てたら幸いです。