![[やってみた] Agent Development Kit を試してみた #GoogleCloudNext](https://images.ctfassets.net/ct0aopd36mqt/mfvnpH15PsVPOaNIwYZ33/4e17c25441441bdd9f44672815983fd3/eyechatch_googlecloudnext25.png?w=3840&fm=webp)
[やってみた] Agent Development Kit を試してみた #GoogleCloudNext
この記事は公開されてから1年以上経過しています。情報が古い可能性がありますので、ご注意ください。
はじめに
本日より 2025/4/9-11 の 3日間の日程で Google Cloud Next '25 がラスベガスで開催されています!
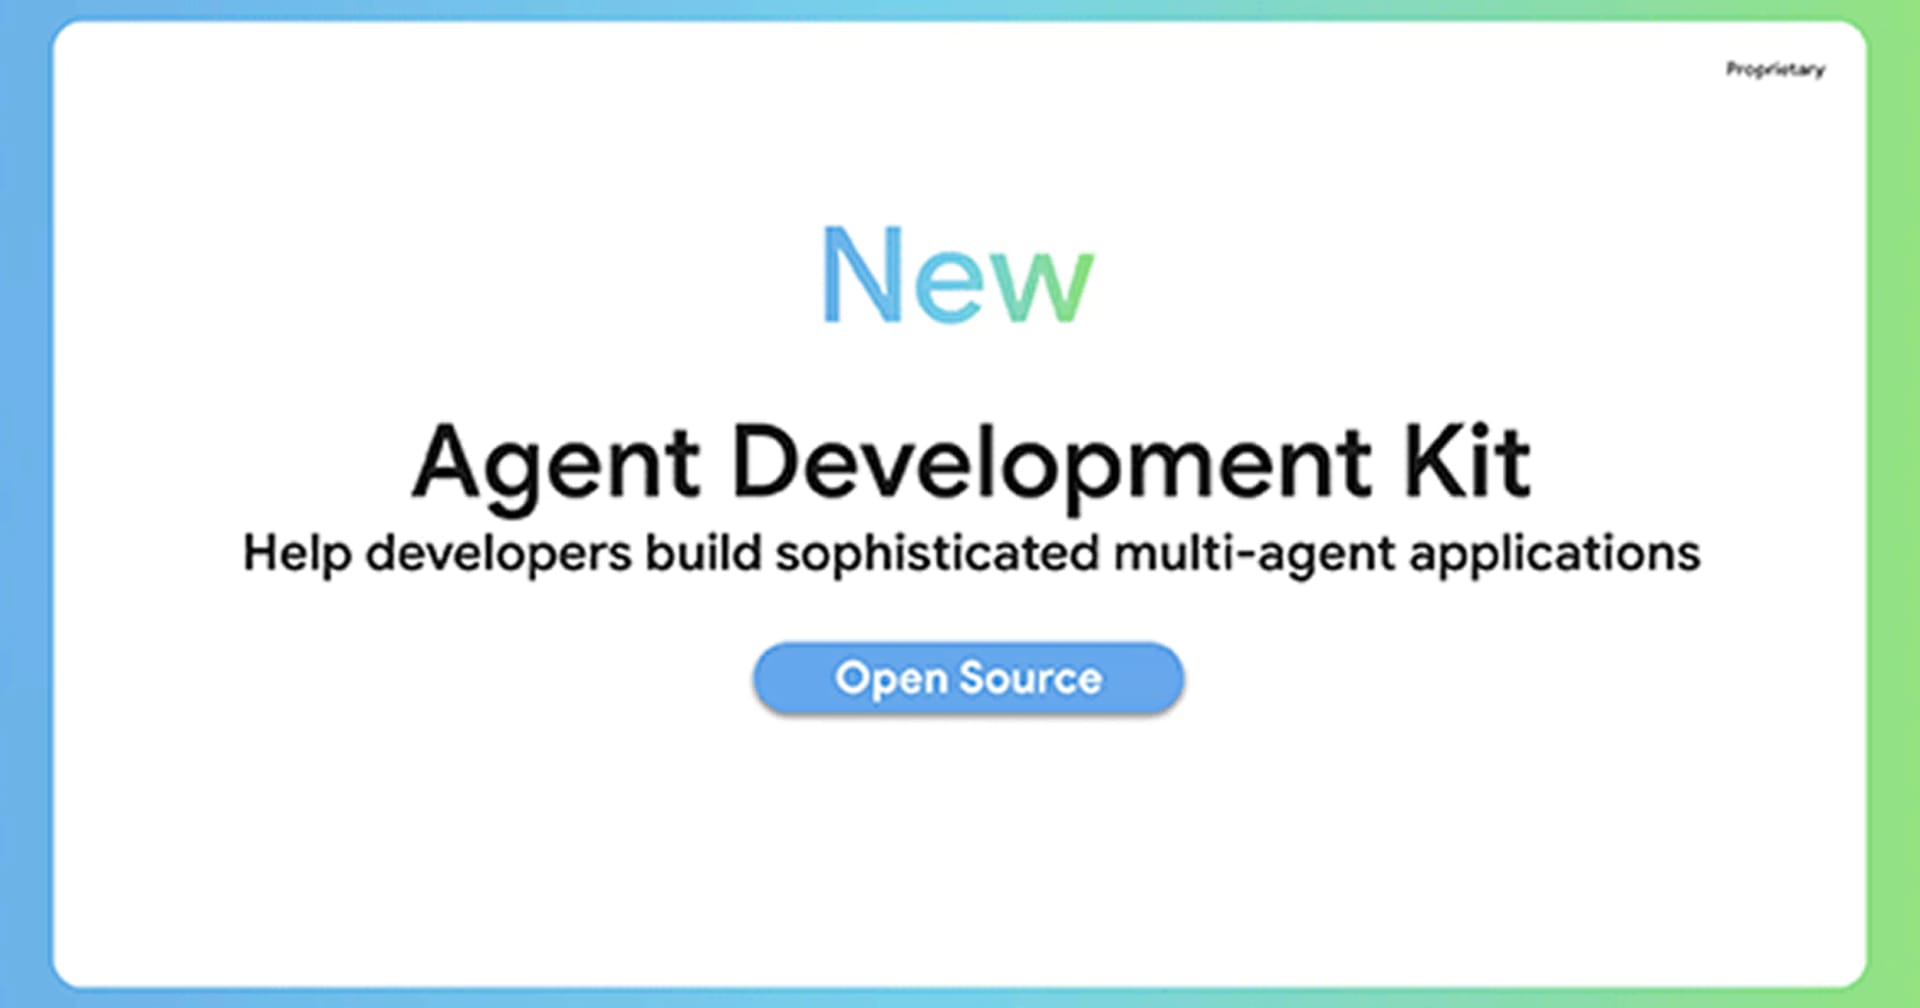
4/9 の Keynote にて複数のアップデートがリリースされましたが、リリースの中から Agent Development Kit について実際に試してみましたので速報します。
Agent Development Kit とは
Agent Development Kit(ADK) とは、エージェントを設計するためのオープンソースフレームワークです。
ADK を利用することで直感的かつ少ないコード量でAIエージェントを構築することができます。
Agent Development Kit (ADK) とは、AIエージェントを開発、デプロイするためのモジュール化されたオープンソースフレームワークです。 ADKは、一般的なLLMやオープンソースの生成AIツールと共に使用することができ、Google エコシステムと Gemini との統合に重点を置いて設計されています。 ADKは、より複雑なマルチエージェントアーキテクチャやオーケストレーションに必要な機能を提供する一方で、Gemini や Google AI ツールによって駆動されるシンプルなエージェントから簡単に始めることができます。
また、ADK は MCP(Model Context Protocol) 対応していることも発表されました。
現時点では Python のみのサポートとなりますが、2025年後半には多言語対応を予定しているとのことです。
その他、詳細は以下をご参照ください。
触ってみた
クイックスタートを参考に動作を確認してみます。
本検証では Vertex AI API 経由でモデルにアクセスします。認証などの動作確認がしやすいため Google Cloud の Cloud Shell から検証を行うこととします。
インストール
Google Cloud の Cloud Shell にて環境準備と ADK のインストールを行います。
python -m venv .venv
source .venv/bin/activate
pip install google-adk
エージェント の作成
mkdir multi_tool_agent/
touch \
multi_tool_agent/__init__.py \
multi_tool_agent/agent.py \
multi_tool_agent/.env
それぞれのファイルに以下コードを記述します。
from . import agent
import datetime
from zoneinfo import ZoneInfo
from google.adk.agents import Agent

def get_weather(city: str) -> dict:
    """Retrieves the current weather report for a specified city.

    Args:
        city (str): The name of the city for which to retrieve the weather report.

    Returns:
        dict: status and result or error msg.
    """
    if city.lower() == "new york":
        return {
            "status": "success",
            "report": (
                "The weather in New York is sunny with a temperature of 25 degrees"
                " Celsius (41 degrees Fahrenheit)."
            ),
        }
    else:
        return {
            "status": "error",
            "error_message": f"Weather information for '{city}' is not available.",
        }

def get_current_time(city: str) -> dict:
    """Returns the current time in a specified city.

    Args:
        city (str): The name of the city for which to retrieve the current time.

    Returns:
        dict: status and result or error msg.
    """

    if city.lower() == "new york":
        tz_identifier = "America/New_York"
    else:
        return {
            "status": "error",
            "error_message": (
                f"Sorry, I don't have timezone information for {city}."
            ),
        }

    tz = ZoneInfo(tz_identifier)
    now = datetime.datetime.now(tz)
    report = (
        f'The current time in {city} is {now.strftime("%Y-%m-%d %H:%M:%S %Z%z")}'
    )
    return {"status": "success", "report": report}

root_agent = Agent(
    name="weather_time_agent",
    model="gemini-2.0-flash-exp",
    description=(
        "Agent to answer questions about the time and weather in a city."
    ),
    instruction=(
        "I can answer your questions about the time and weather in a city."
    ),
    tools=[get_weather, get_current_time],
)
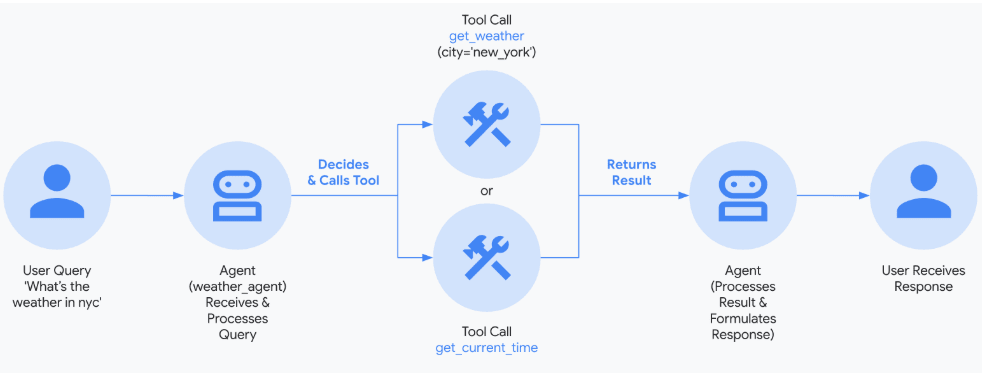
get_weather と get_current_time の2つのツールを作成し、エージェントがクエリに応じて呼び出すツールを判断します。モデルはgemini-2.0-flash-expを使います。
モデルの設定
今回は Google Cloud の Vertex AI API から呼び出すことにします。
まずは Vertex AI API を有効化します。
gcloud services enable aiplatform.googleapis.com
先ほど作成した .env ファイルに以下を記述します。
GOOGLE_GENAI_USE_VERTEXAI=TRUE
GOOGLE_CLOUD_PROJECT=<Project ID>
GOOGLE_CLOUD_LOCATION=us-central1
エージェントの実行
multi_tool_agent の親ディレクトリまで移動します。
parent_folder/      <-- 移動
    multi_tool_agent/
        __init__.py
        agent.py
        .env
以下コマンドを実行し、Application Default Credentials(ADC) による認証を行います。(ADC 認証についてはこちらの記事で詳細を解説しています。こちらは Google Cloud プロジェクトの Vertex AI API を利用する場合のみ必要な手順となります)
gcloud auth application-default login
ADK の dev UI を実行します。
$ adk web
INFO:     Started server process [2307]
INFO:     Waiting for application startup.
+-----------------------------------------------------------------------------+
| ADK Web Server started                                                      |
|                                                                             |
| For local testing, access at http://localhost:8000.                         |
+-----------------------------------------------------------------------------+

INFO:     Application startup complete.
INFO:     Uvicorn running on http://0.0.0.0:8000 (Press CTRL+C to quit)
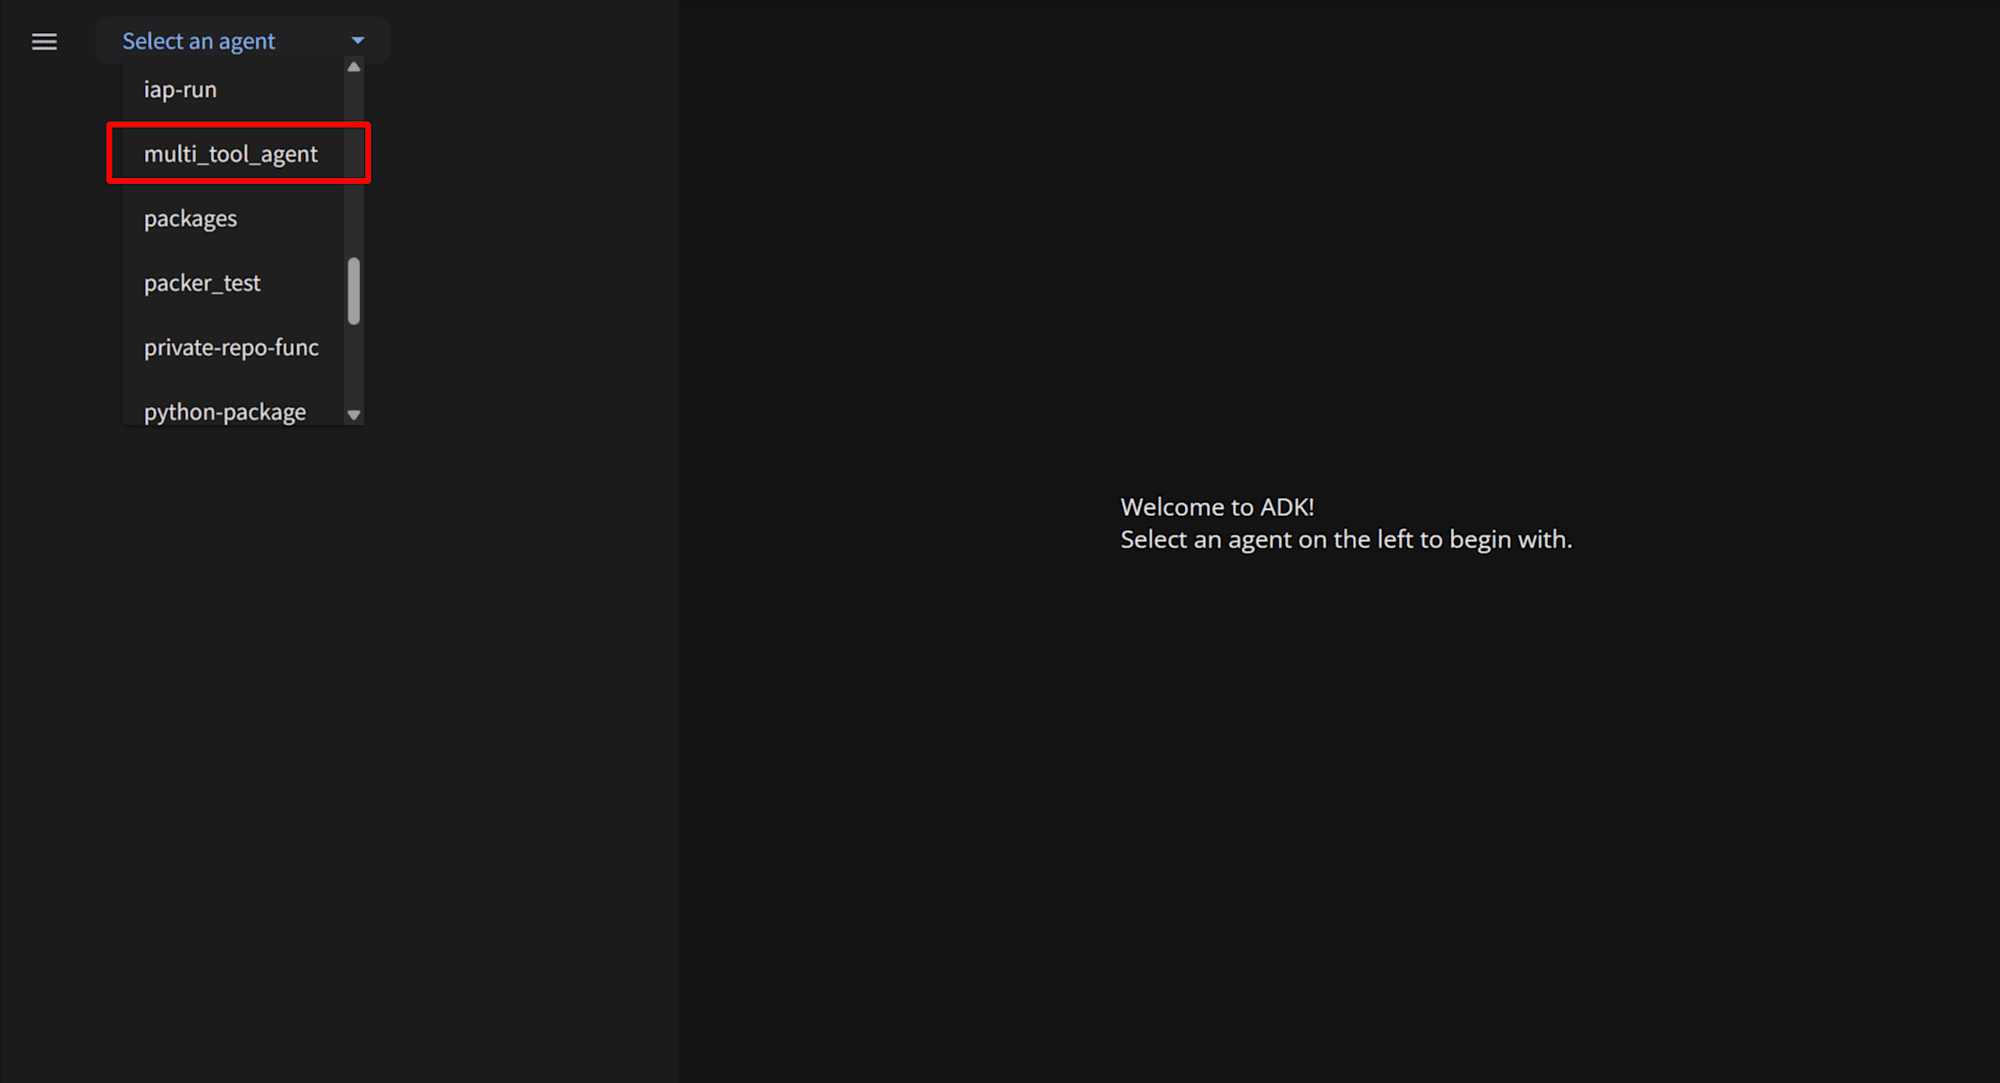
Cloud Shell から指定された URL をクリックすると、以下の画面が表示されます。
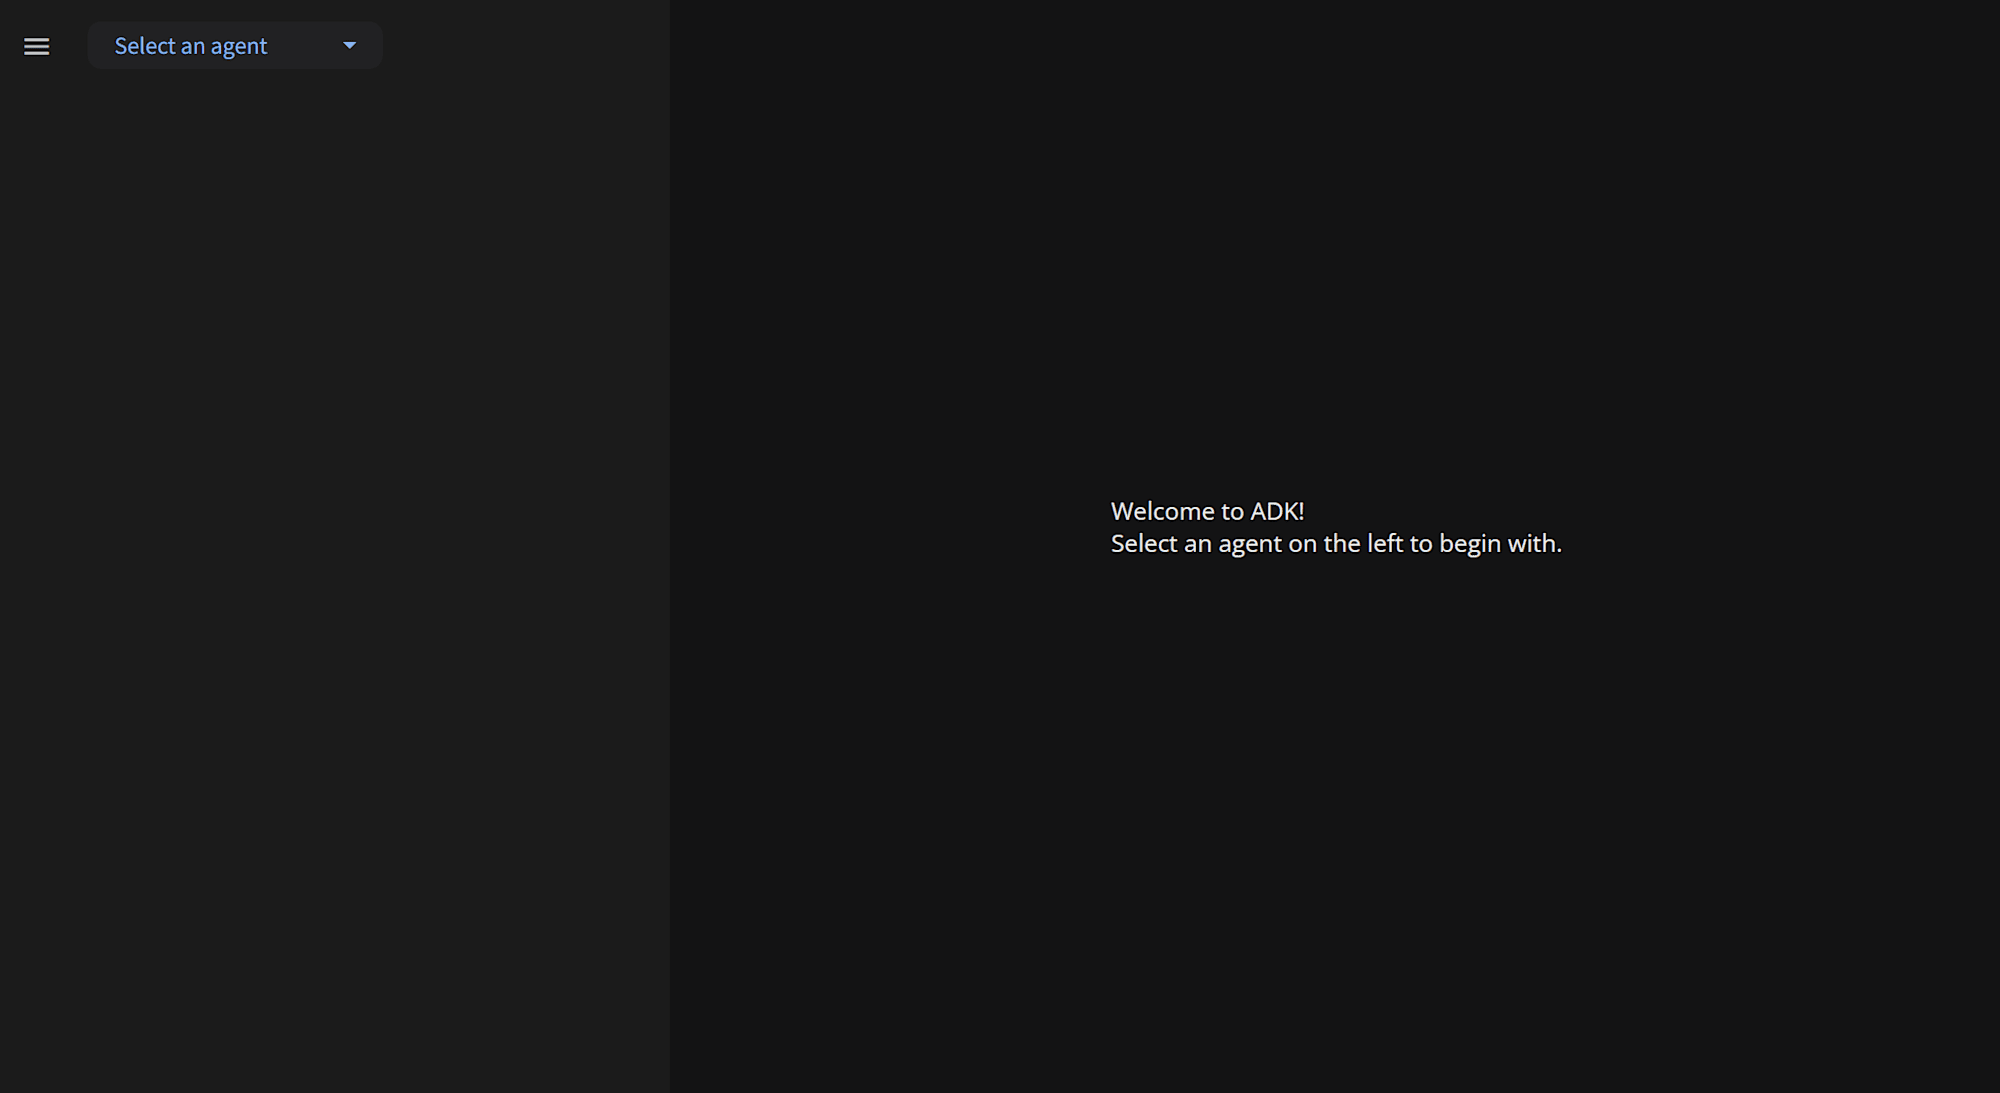
[Select an agent] から multi_tool_agent を選択します。
以下のようにテキストボックスにプロンプトを入力するとエージェントからのレスポンスが確認できます。
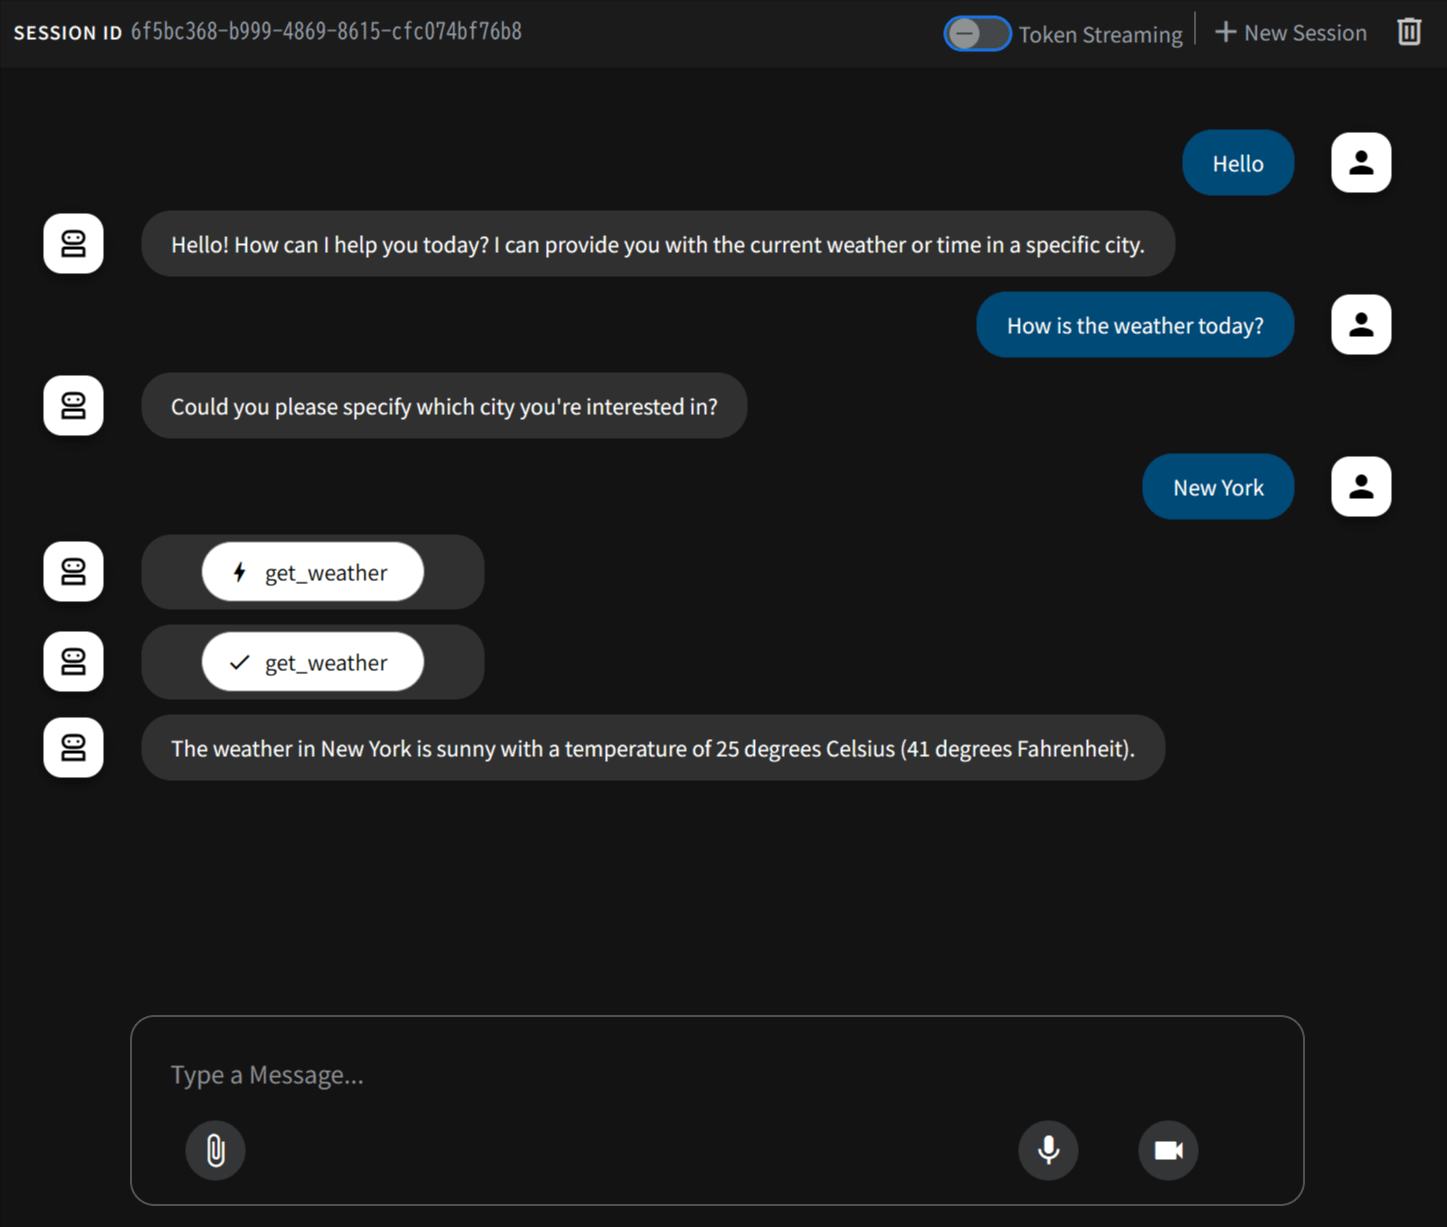
左側のペインではツール get_weather を呼び出す functionCall や、 functionResponse のイベントが確認できます。
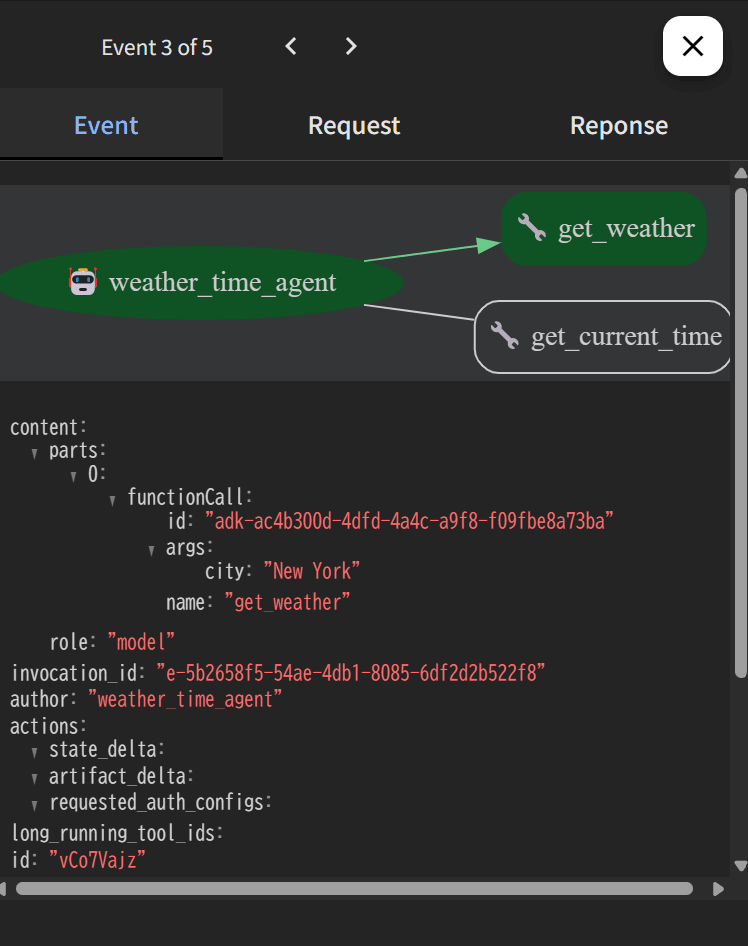
functionCall
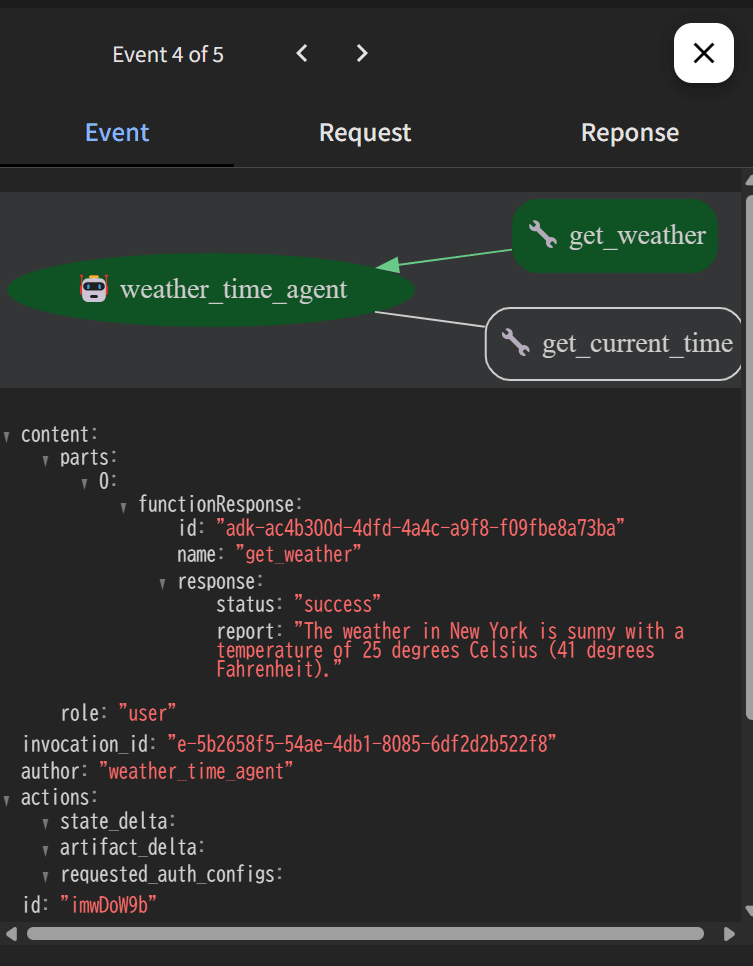
functionResponse
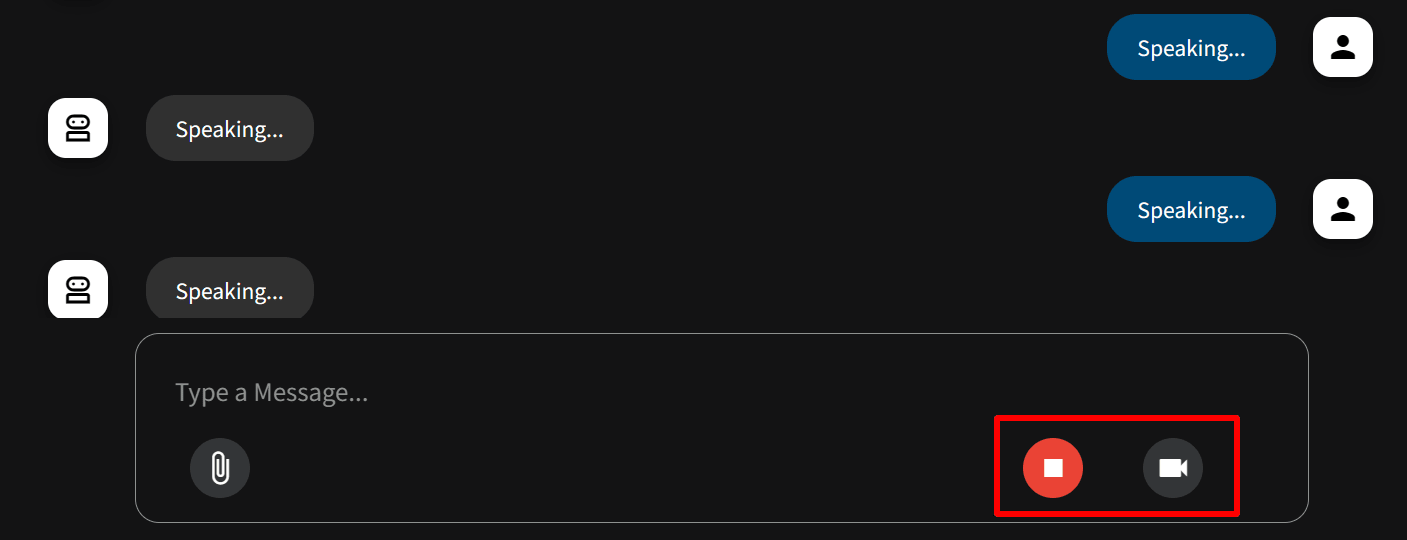
また、今回選択したモデル gemini-2.0-flash-exp は audio/video 入力にも対応しており、dev UI の以下画像のボタンから簡単に音声/ビデオ入力、音声による出力を試すこともできます。
おわりに
Agent Development Kit (ADK) を使うことで、簡易的なサンプルではありますが少ないコード量でツールを呼び出すエージェントが作成できました。
今回は Cloud Shell 上で、Vertex AI API をバックエンドに動作確認を行いましたが、Gemini API やオープンモデルもサポートしています。また、dev UI といったインタフェースも用意されており、簡単に動作検証やデバッグを行うこともできました。
現状サポートは Python のみですが、今後の他言語対応にも期待です。