![[AWS CDK] Amazon CognitoでHosted UIを実装する際にハマったこと](https://devio2023-media.developers.io/wp-content/uploads/2022/08/amazon-cognito.png)
[AWS CDK] Amazon CognitoでHosted UIを実装する際にハマったこと
この記事は公開されてから1年以上経過しています。情報が古い可能性がありますので、ご注意ください。
こんにちは、CX 事業本部 Delivery 部の若槻です。
Amazon Cognito では Hosted UI を利用することにより、アプリケーションのユーザーサインインやサインアップに使用する認証画面を自前で実装せずに Cognito がホスティングする画面を使用することができます。
今回は、Amazon Cognito Hosted UI をAWS CDKで実装する際にハマったことを共有します。
ハマったこと
URLにアクセスできない
Cognito のリソースを構成する以下のような AWS CDK のコードを作成しました。
import { aws_cognito, Stack } from 'aws-cdk-lib';
import { Construct } from 'constructs';

export class SampleStack extends Stack {
  constructor(scope: Construct, id: string) {
    super(scope, id);

    const userPool = new aws_cognito.UserPool(this, 'userPool', {
      userPoolName: 'userPool',
      selfSignUpEnabled: true,
    });

    userPool.addClient('userPoolClient', {
      userPoolClientName: 'userPoolClient',
      generateSecret: false,
      oAuth: {
        callbackUrls: ['https://dev.classmethod.jp/'], // DevelopersIOトップページ
        logoutUrls: ['https://classmethod.jp/'], // クラスメソッドトップページ
        flows: { authorizationCodeGrant: true },
        scopes: [
          aws_cognito.OAuthScope.EMAIL,
          aws_cognito.OAuthScope.PROFILE,
          aws_cognito.OAuthScope.OPENID,
        ],
      },
    });
  }
}
cdk deployでデプロイし、User pool および App client を作成します。
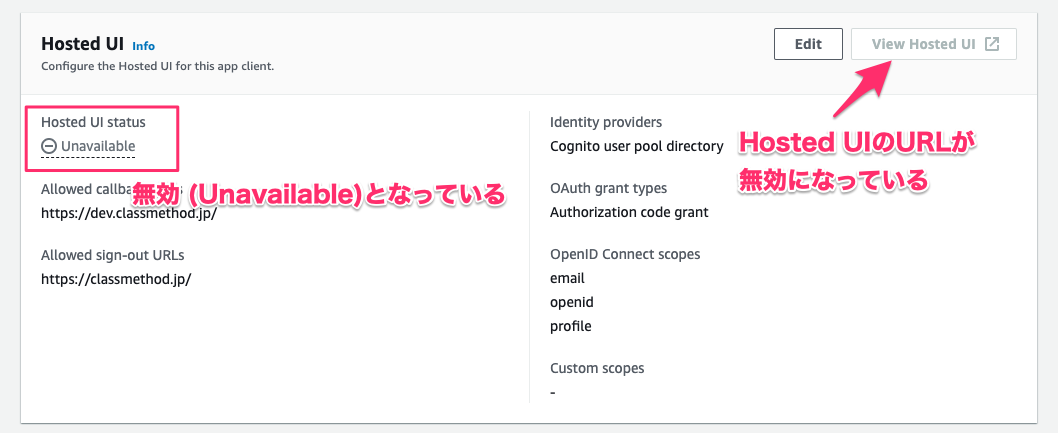
User pool に作成された App client のコンソールを開き、Hosted UI の設定を見てみます。
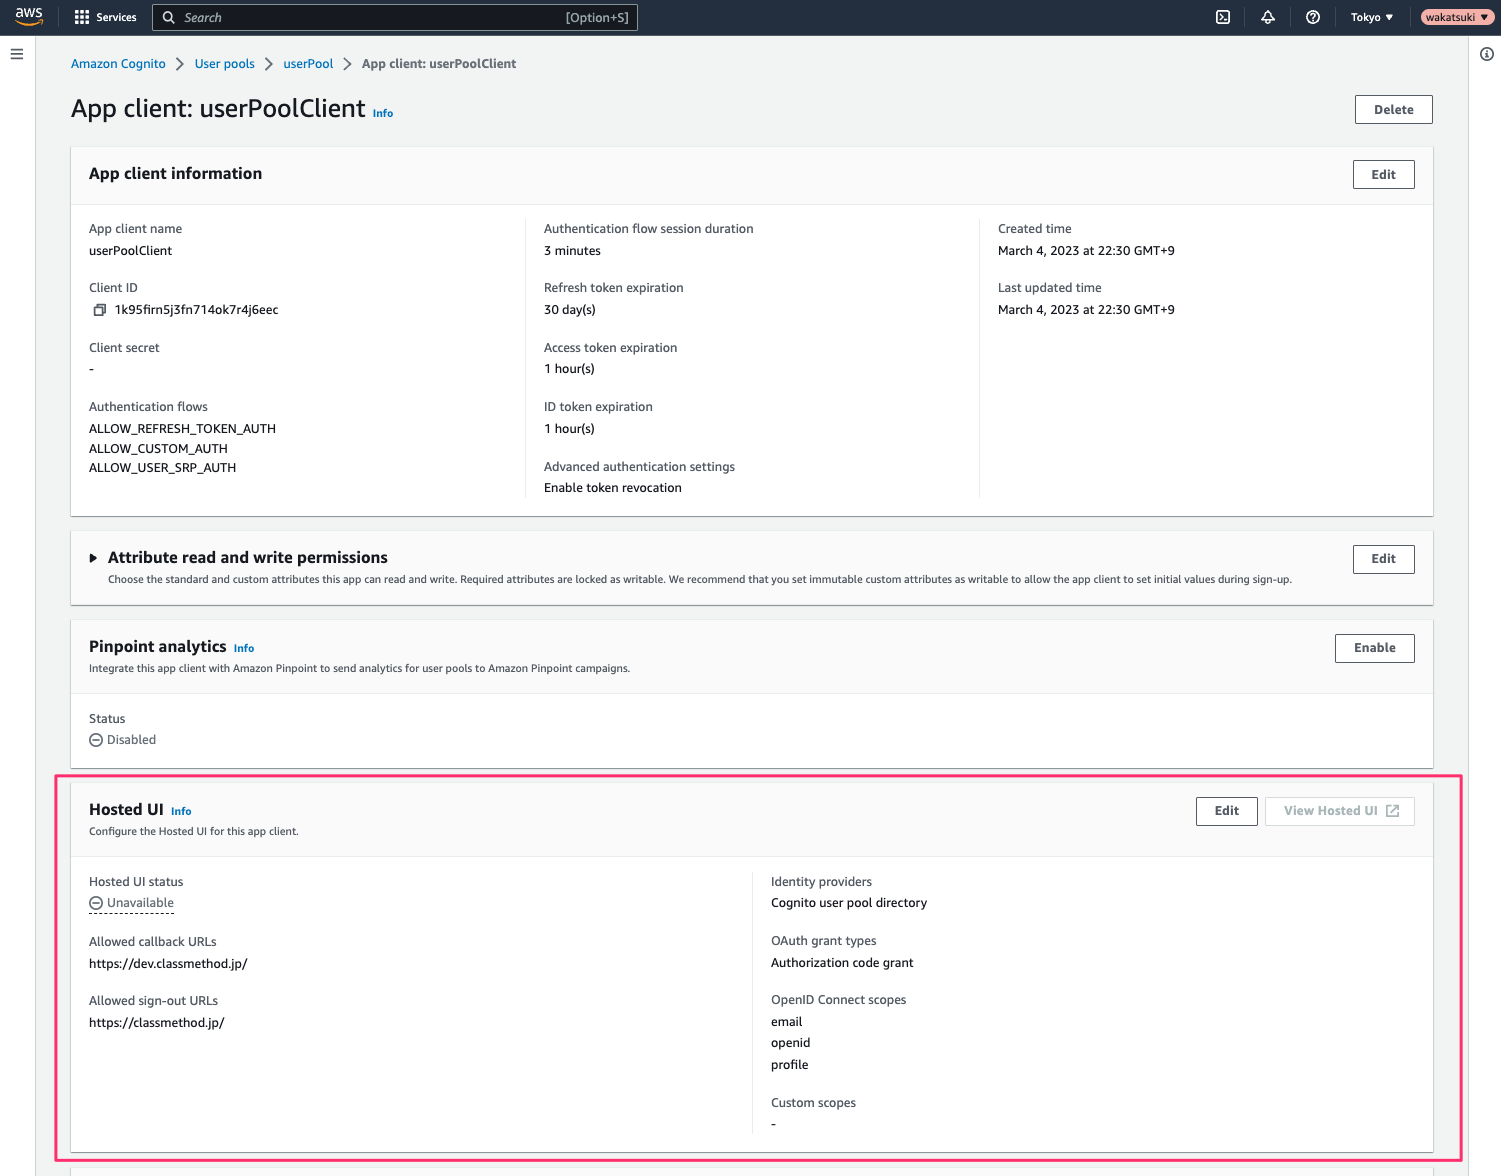
すると Hosted UI status が無効(Unavailable)となっており、また Hosted UI の URL が無効になっています。
原因、解決
User pool にドメインが設定されていないことが原因でした。
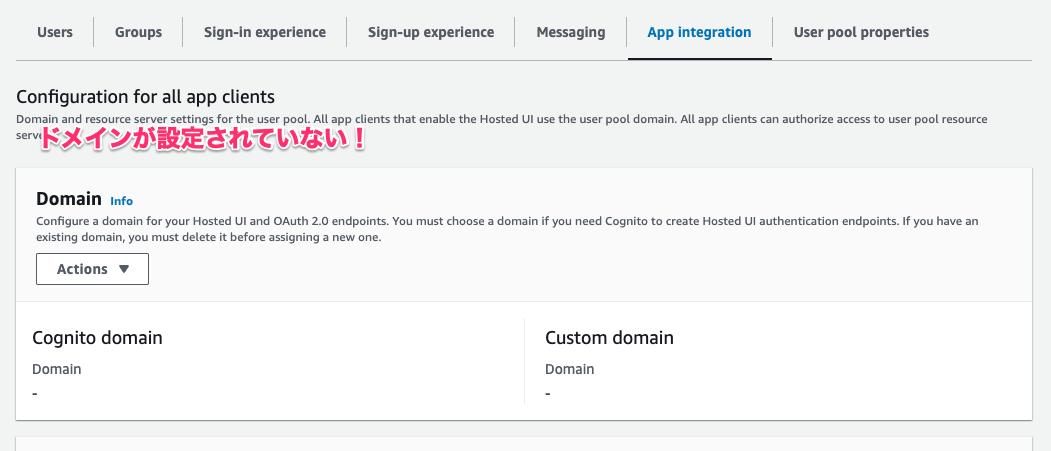
Hosted UI は Cognito にホストされた認証画面となるのですが、その際に使用されるドメインの指定が必要となっています。
AWS CDK ではaddDomainでドメインを設定します。
Cognito で設定できるドメインには Cognito がホスティングするドメイン(Cognito domain)またはカスタムドメインが使えます。今回は Cognito domain を設定してみます。
userPool.addDomain('userPoolDomain', {
  cognitoDomain: { domainPrefix: 'uniqdomain' },
});
cdk deployで変更をデプロイします。
Cognito domain が設定されました。
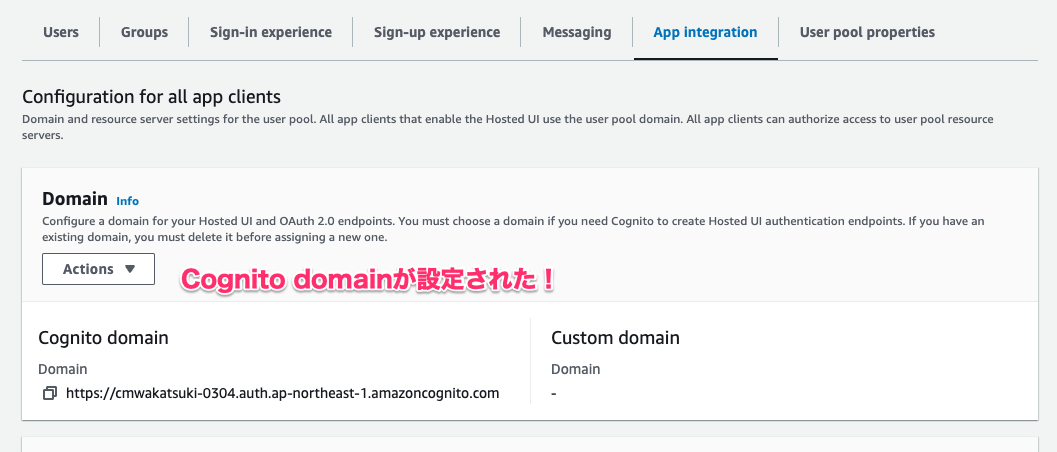
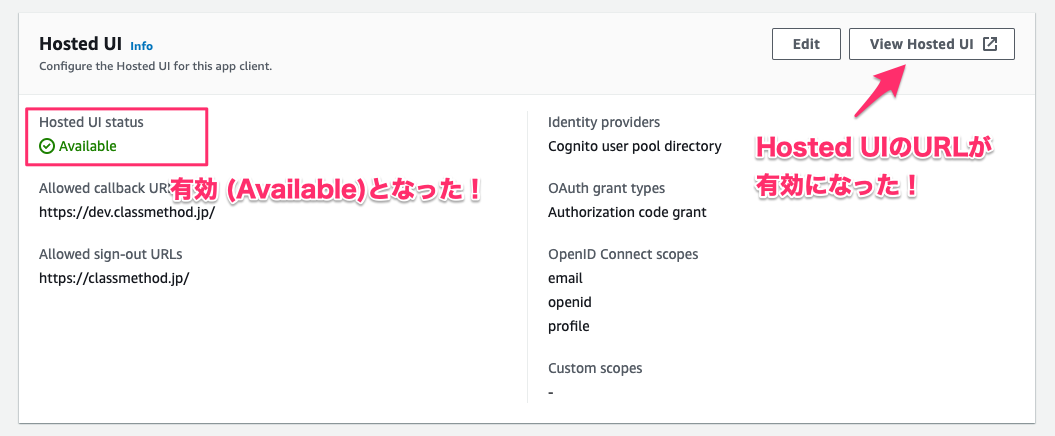
また Hosted UI status が有効 (Available)となり、また Hosted UI の URL が有効になりました。
サインアップがエラーとなる
先程有効になった Hosted UI の URL にアクセスしてみます。

サインイン画面が表示されました。
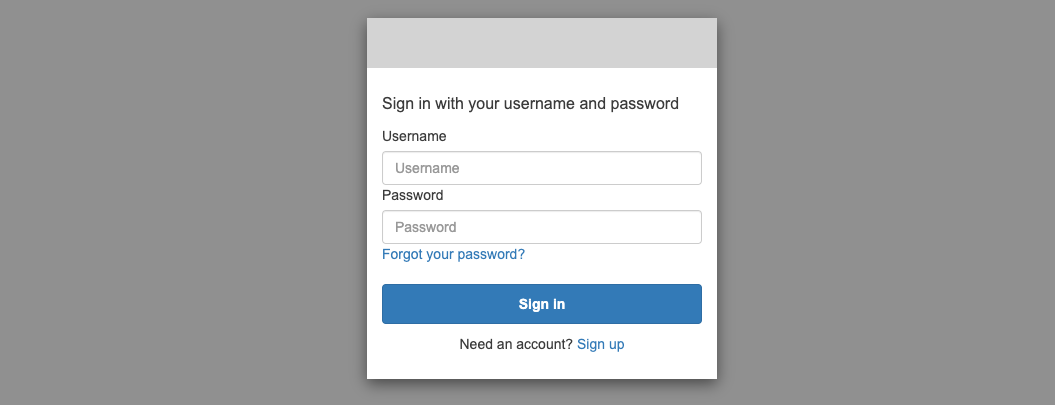
初回なのでまずはサインアップから行います。
メールアドレスとパスワードを指定して[Sign up]をクリック。
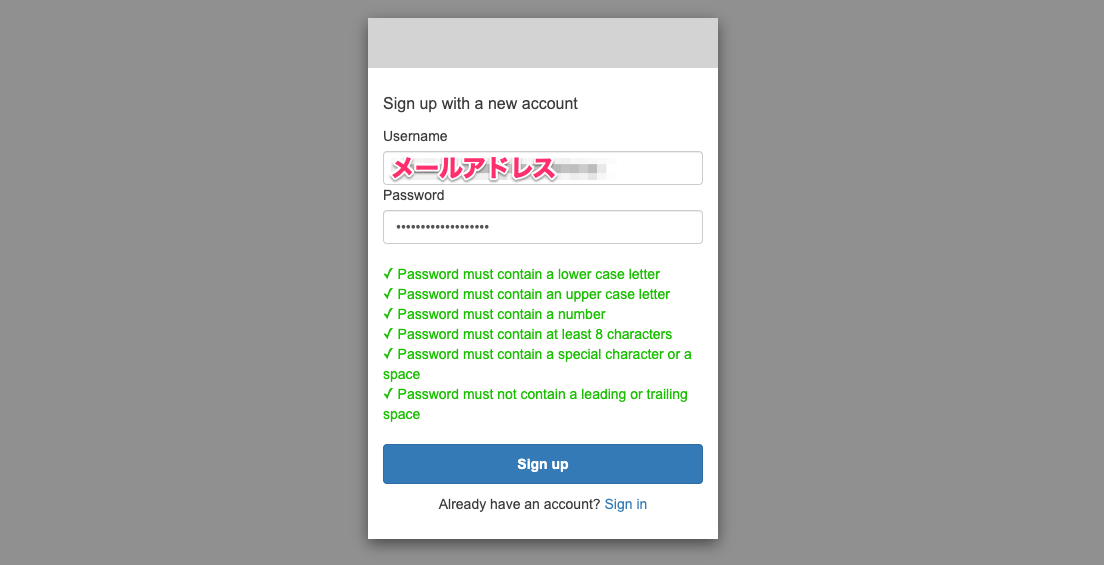
しかしエラー画面が表示されました。
An error was encountered with the requested page.

Verify(検証)画面に遷移し、指定したメールアドレスに Verify(検証)コードが記載されたメールが届くという期待動作となりませんでした。
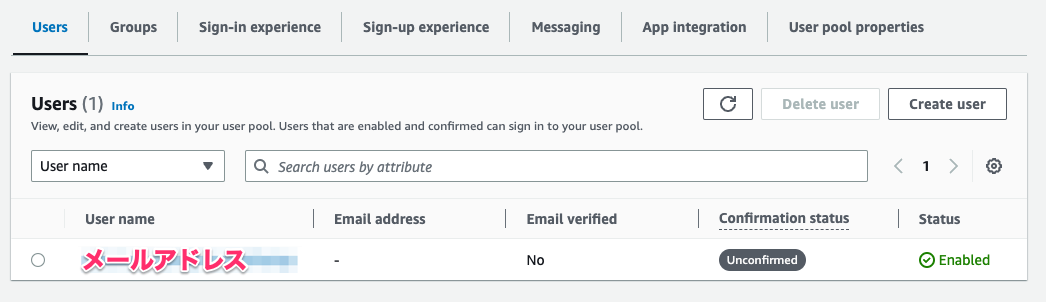
ここで User pool のユーザー一覧を見ると、ユーザーの登録はされていますが、Confirmation status はUnconfirmed(未検証)となっています。
原因、解決
User pool のsignInAliasesでemailを明示的に有効化する必要がありました。既定では無効となります。有効化することにより、ユーザーネームの代わりにメールアドレスをサインインおよびサインアップで使えるようになります。
signInAliases は次のように User pool で設定をします。
const userPool = new aws_cognito.UserPool(this, 'userPool', {
  userPoolName: 'userPool',
  selfSignUpEnabled: true,
  signInAliases: { email: true },
});
注意点として作成済みのUser poolでsignInAliasesの設定を変更できないため、変更する場合は User pool を再作成する必要があります。
先程と同様に Hosted UI からサインアップをしてみると、今度は検証画面に遷移されました。
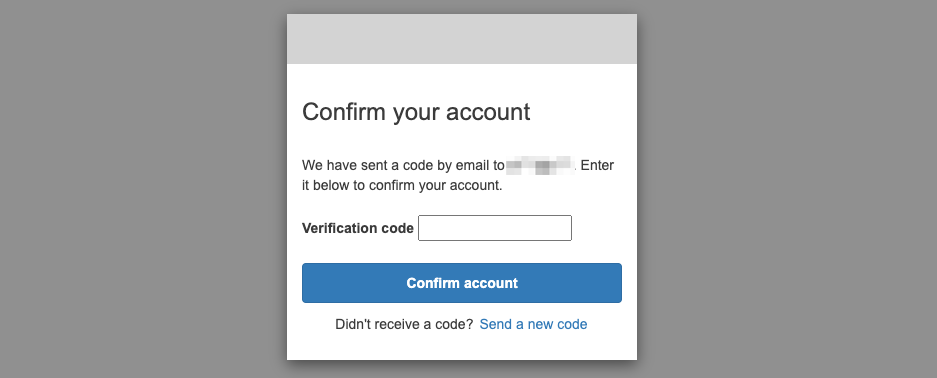
またメールアドレスに検証コードが届きました。
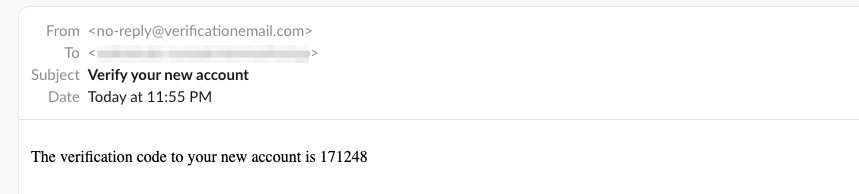
検証コードを使用して検証を完了するとリダイレクト URL に遷移しました。サインアップおよびサインインが成功したようです。

補足:autoVerifiedAttributesは自動で設定される
ちなみに User pool でメールアドレスを検証に使用する場合は、autoVerifiedAttributesプロパティで email が有効になっている必要があります。
しかし CDK(TypeScript)のドキュメントを見ると、signInAliasで有効にされている検証方法は自動的にautoVerify(autoVerifiedAttributes)で有効になるとのことです。
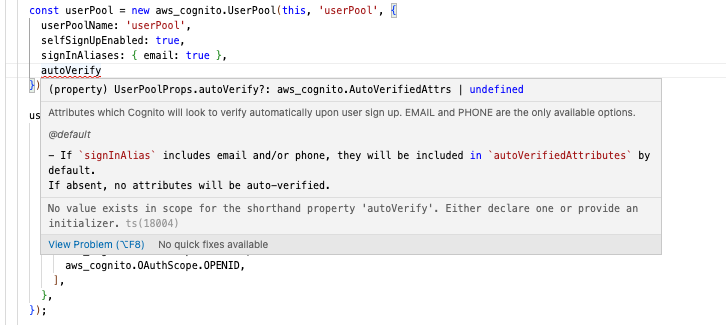
Attributes which Cognito will look to verify automatically upon user sign up. EMAIL and PHONE are the only available options.
If
signInAliasincludes email and/or phone, they will be included inautoVerifiedAttributesby default.
If absent, no attributes will be auto-verified.
ちなみに CLI で User pool を設定する際には autoVerifiedAttributes を明示的に有効化する必要があり、以前その部分でハマりました。(下記ブログ参照)
最終的に動いたコード
import { aws_cognito, Stack } from 'aws-cdk-lib';
import { Construct } from 'constructs';

export class SampleStack extends Stack {
  constructor(scope: Construct, id: string) {
    super(scope, id);

    const userPool = new aws_cognito.UserPool(this, 'userPool', {
      userPoolName: 'userPool',
      selfSignUpEnabled: true,
      signInAliases: { email: true },
    });

    userPool.addClient('userPoolClient', {
      userPoolClientName: 'userPoolClient',
      generateSecret: false,
      oAuth: {
        callbackUrls: ['https://dev.classmethod.jp/'], // DevelopersIOトップページ
        logoutUrls: ['https://classmethod.jp/'], // クラスメソッドトップページ
        flows: { authorizationCodeGrant: true },
        scopes: [
          aws_cognito.OAuthScope.EMAIL,
          aws_cognito.OAuthScope.PROFILE,
          aws_cognito.OAuthScope.OPENID,
        ],
      },
    });

    userPool.addDomain('userPoolDomain', {
      cognitoDomain: { domainPrefix: 'uniqdomain' },
    });
  }
}
以上


