Creating a new ticket field in Zendesk.
この記事は公開されてから1年以上経過しています。情報が古い可能性がありますので、ご注意ください。
Introduction.
It's Pooja from Alliance Department. This blog is an overview on how to create a new ticket field in Zendesk.
Ticket fields.
Ticket fields provide data about the tickets and are used to get additional information about the customers and the queries that they have.
Zendesk predominately has two type of ticket fields, one being the standard field and the other custom fields.
- Standard Fields:
- There are about seven standard fields in already available in the Zendesk environment.
- For example the type, priorities, assignee, body, subject, status are all turned on automatically, their components can be customised upto a really small extent. We can describe them being, "they are as they are".
- Considering the Status field we really can't change the colour or the name of its fields but we can make the on hold status as an option.
- Custom Fields:
- Zendesk allows us to create our own fields based on what we know and the information that we have received.
- These fields are called custom fields and as the name suggests they are customisable.
- They are an efficient way to label our tickets and keep a track of what kind of tickets we are receiving the most.
Steps to create ticket fields.
Below are the steps that are used to create a new ticket fields.
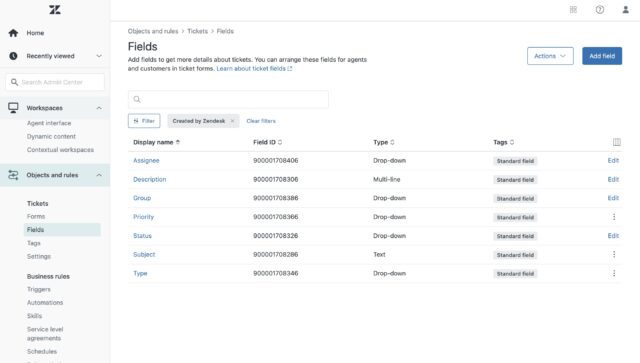
- Go to Admin Centre > Objects and Rules > Tickets > Fields.
- At the right corner click the Add field button.
- Select the appropriate field type. The best practice is to use field types. with a defined list like, a drop down, check box or a multi-line as they are more flexible in the environment and are better for consistency purpose.
- Fill in the required specifications for the selected fields, like Display name, Description, Permissions etc.
- There are three options in Permissions:
- Agents can edit: The field can be viewed or edited by the agent.
- Customers can edit: Both agents and end users can view or edit it.
- Customers can view: Agents can both view or edit the field but not end users, they can only view it.
- Scroll down and you can see the Customers section, this the section that will be visible to customer and according to that we fill out the appropriate description that helps the customer to select or inform the agent more efficiently about their queries.
- Field values help to reduce the number of times an agent has to inquire about follow up questions.
- At the right side of the screen we can see the preview of how the field will eventually look like both for the agent and the customers.
- Once you are done hit the Save button to create the field.
Pictorial Representation.
Below are the pictures of the various steps that are involved in creating a new ticket field.
Note: The last image is of the fields section with a new created field called "About".


Conclusion.
That's all about creating new ticket field in Zendesk.
Hope this was helpful. Thank You for your time.!