Deploy React & Vite App ไปยัง GitHub (Host Static-Website with AWS Amplify Part. 2)
สวัสดีครับ เบิร์ด จาก ClassMethod Thailand
บทความนี้เป็นส่วนหนึ่งของซีรีย์บทเรียน "สร้าง Host Static Website ด้วย React และ AWS Amplify" ที่ผมได้ทำการทดลองเลยอยากเอามาแชร์ให้เพื่อนๆได้อ่านกันและทำตาม โดยเนื้อหาในแต่ละบทความสามารถทำตามได้เป็นอิสระ แต่หากทำตามทุกขั้นตอนต่อเนื่องกัน จะมีลักษณะดังนี้
1.สร้าง React Application
2.Deploy React & Vite App ไปยัง GitHub
3.Deploy React แอปพลิเคชันด้วย AWS Amplify
ในบทความนี้จะเป็น Part 2 : Deploy React & Vite App ไปยัง GitHub
บทความนี้อ้างอิงจากเอกสารด้านล่างนี้
Ref:
ข้อดีของการ Deploy React Vite App ไปยัง GitHub
-
ฟรีและไม่จำกัด 💰
ไม่มีค่าใช้จ่ายสำหรับ public repositories
Bandwidth ไม่จำกัด (มีข้อจำกัดบางอย่างแต่เพียงพอสำหรับโปรเจกต์ส่วนใหญ่) -
ง่ายและรวดเร็ว ⚡
Build time เร็วด้วย Vite
Push code แล้วเว็บอัปเดตเอง -
เหมาะกับ Vite 🚀
Build เร็วกว่า Create React App มาก
Hot Module Replacement (HMR) ที่รวดเร็ว -
Version Control ในตัว 📝
ติดตาม history ของการ deploy ทั้งหมด
Rollback ได้ง่ายถ้ามีปัญหา
เห็นการเปลี่ยนแปลงทุกครั้ง -
Custom Domain ได้ 🌐
รองรับ custom domain ฟรี
สิ่งที่ต้องมี :
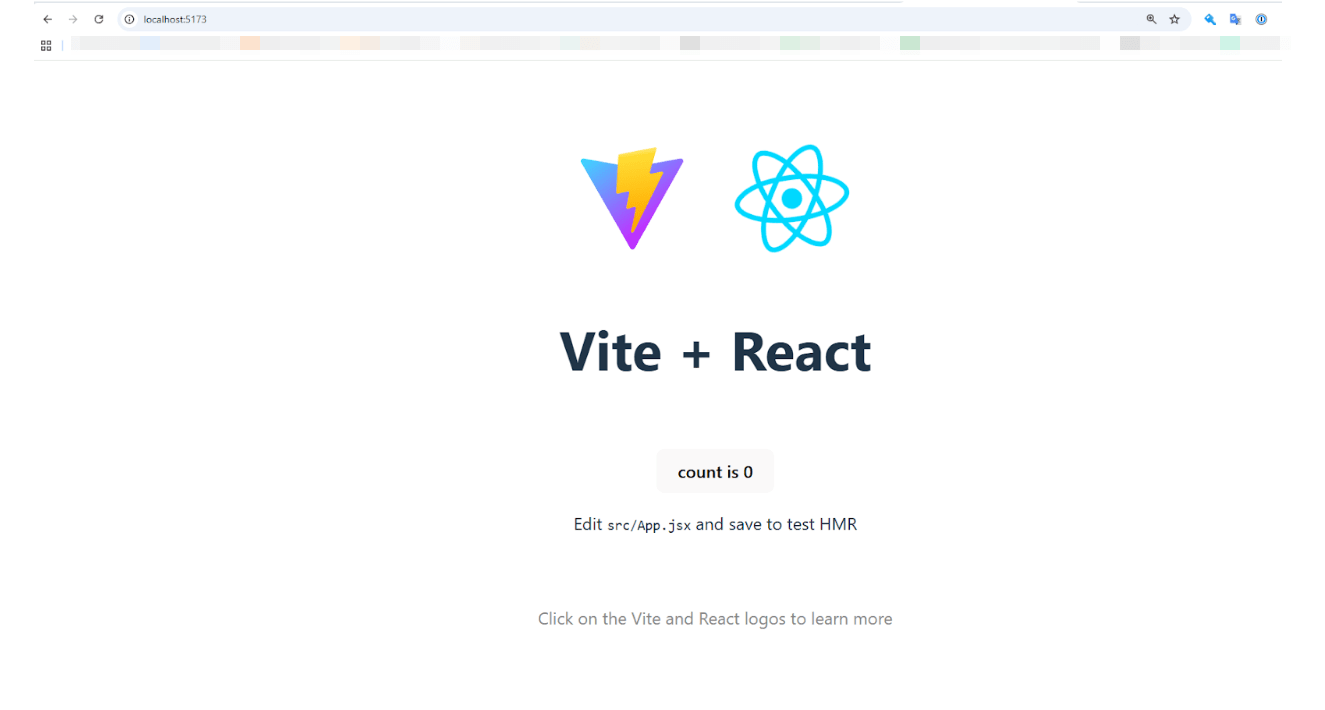
- Create the React application ตามรูปด้านล่าง ซึ่งในบทความนี้เราได้ทำการสร้าง app มาแล้ว
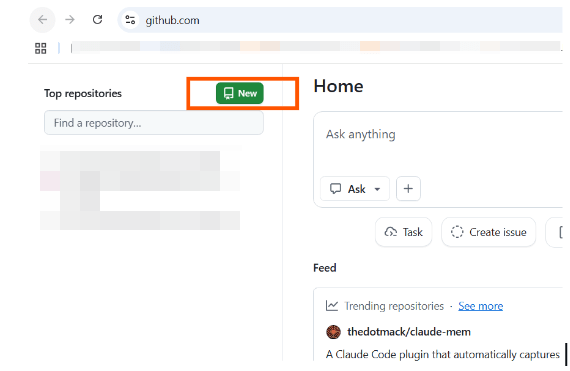
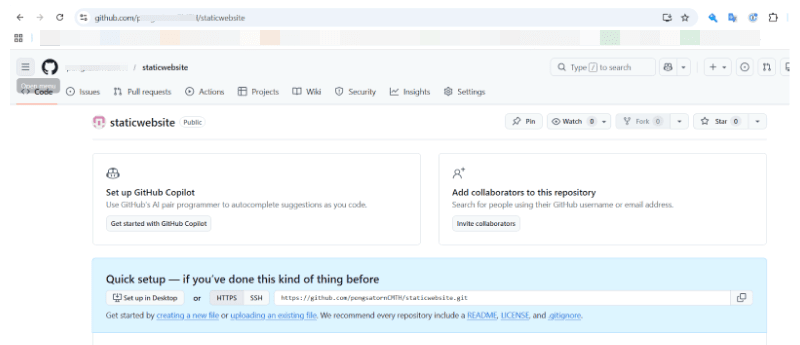
เรามาเริ่ม Create New Repository กันเลย
Create New Repository.
1. Open GitHub
Sign in to GitHub at https://github.com/.
เนื่องจากเราได้สร้างบัญชีแล้ว เราสามารถกด NEW ได้เลย
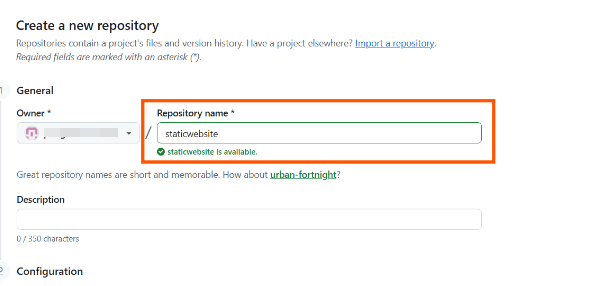
2. Repository name: enter staticwebsite
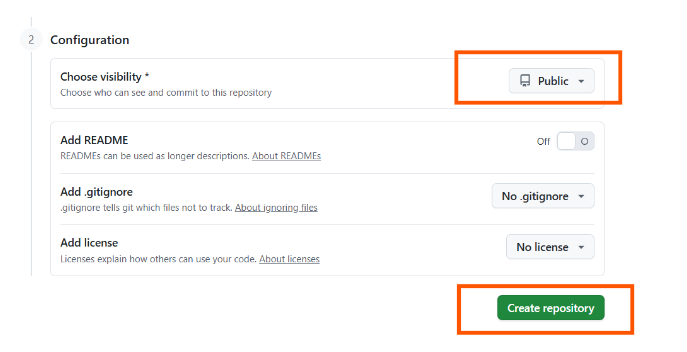
3. Config : ⇒ public ⇒ Create repository
หลังจาก Create repository แล้วเราจะเห็นหน้าต่างขึ้นมา
Push the Application ไปยัง GitHub
อัปโหลดแอปพลิเคชันไปยัง GitHub
เปิดหน้าต่างเทอร์มินัลใหม่ ไปที่โฟลเดอร์รากของโปรเจ็กต์ของคุณ (staticwebsite) และเรียกใช้คำสั่งต่อไปนี้เพื่อเริ่มต้น Git
และอัปโหลดแอปพลิเคชันไปยังที่เก็บ GitHub ใหม่:
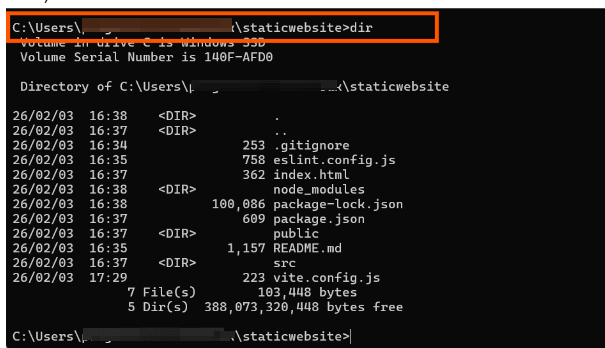
ก่อนจะเริ่มเรามาตรวจสอบว่ามีไฟล์อะไรบ้างที่จำเป็น
dir
คำสั่งที่ 1 : สร้าง Git Repository
git init

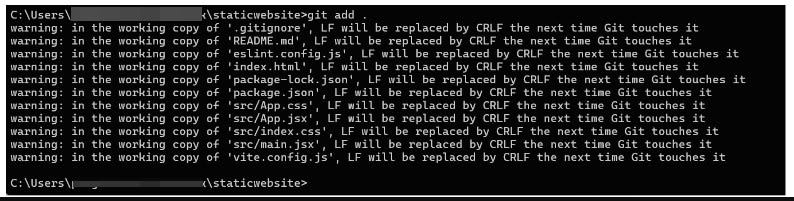
คำสั่งที่ 2 : Warning ที่เห็น เป็นเรื่องปกติ (เกี่ยวกับการแปลง line endings จาก LF เป็น CRLF บน Windows) ไม่มีปัญหาครับ
git add .
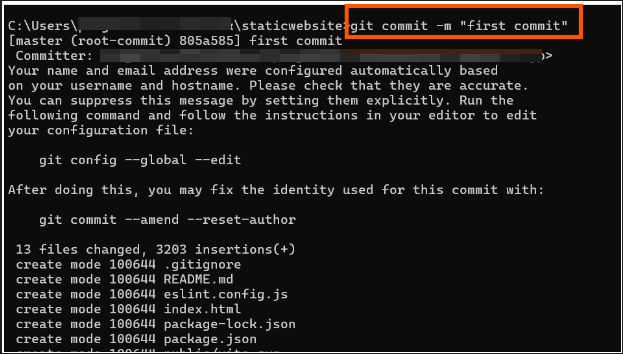
คำสั่งที่ 3: Commit ไฟล์
git commit -m "first commit"
คำสั่งที่ 4: เชื่อมต่อกับ GitHub
อธิบาย : xxxx คือ GitHub username ของตัวเอง
git remote add origin https://github.com/xxxx/staticwebsite.git

คำสั่งที่ 5: เปลี่ยน branch เป็น main
git branch -M main
คำสั่งที่ 6: Push ขึ้น GitHub (คำสั่งสุดท้าย)
git push -u origin main
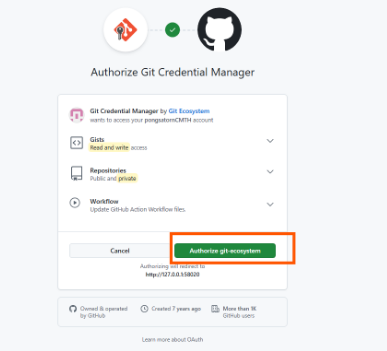
คลิก "Sign in with your browser"

หลังจากคลิก "Authorize git-ecosystem" แล้ว:
เท่านี้เราก็สามารถ Push the application ไปยัง GitHub แล้วครับ
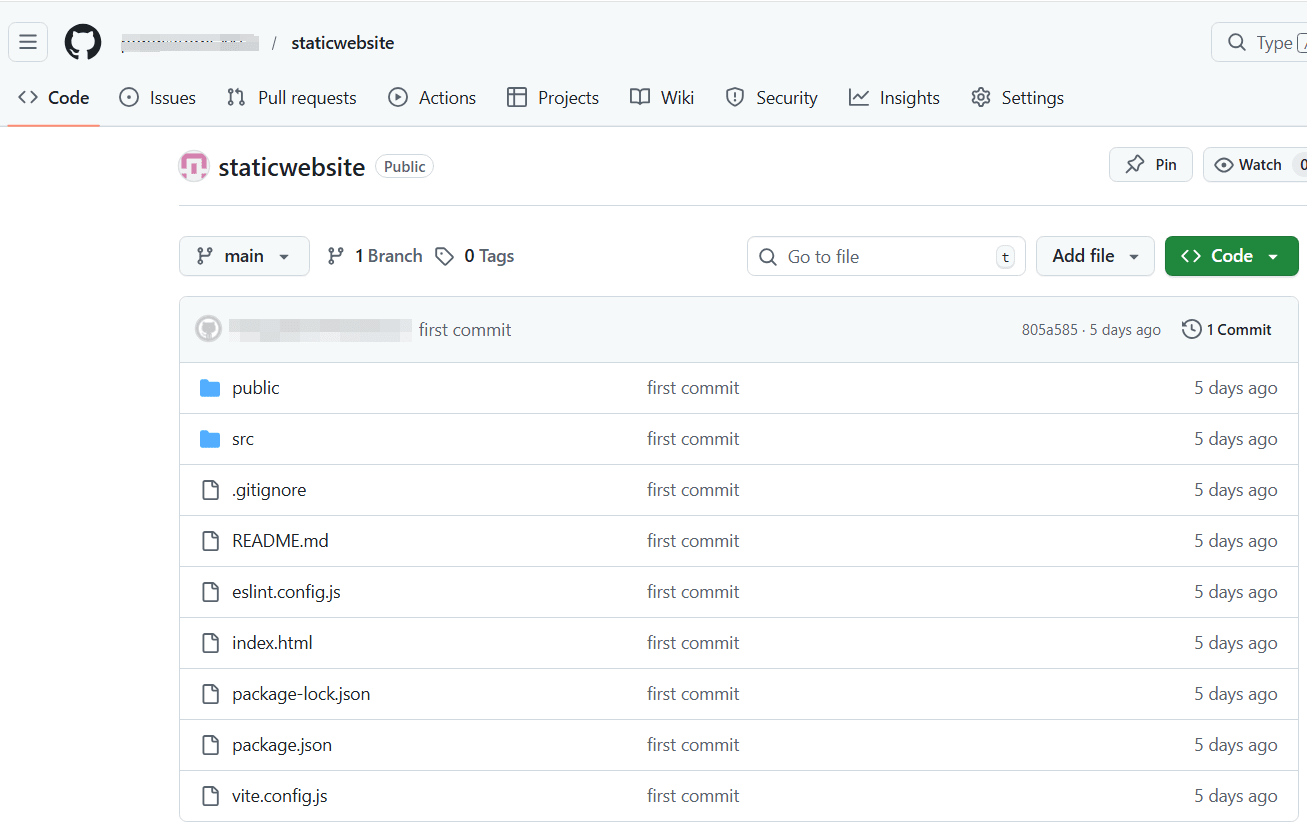
***เราจะเห็น file project เข้ามาอยู่ใน GitHub ของเราแล้วครับ
สรุป
- โค้ดจะถูก Push ขึ้น GitHub สำเร็จ
- กลับไปดูที่ Terminal จะเห็นข้อความ Push สำเร็จ
- ไปดูที่ GitHub Repository จะเห็นไฟล์ทั้งหมด
บทความอ้างอิง
บทความอื่นๆที่เกี่ยวข้องกับ AWS Amplify
(Thai)
(Japanese)