
Flutter Web AppをAWS CDKでCloudFront+S3にデプロイしてみた
この記事は公開されてから1年以上経過しています。情報が古い可能性がありますので、ご注意ください。
こんにちは、CX事業本部 IoT事業部の若槻です。
Flutterで作成したアプリの公開を試してみようと思うのですが、モバイル開発初学者にとってはいきなりiOSやAndroid Appのデプロイは難易度が高そうでした。
そこで今回は一番ハードルが低そうなFlutter Web AppをAWS CDKのCloudFront + S3へのデプロイを試してみました。
環境
- MacOS Big Sur Version 11.6
- Google Chrome 100.0.4896.75(Official Build) (x86_64)
- Flutter 2.10.4
やってみた
CDKプロジェクト作成
$ mkdir aws_cdk_app
$ cd aws_cdk_app
$ npx cdk init --language typescript
Flutterプロジェクト作成
$ flutter create flutter_sample_app
$ cd flutter_sample_app
ローカルでの動作確認
デバイスとしてGoogle Chromeが使えることを確認します。
$ flutter devices
1 connected device:

Chrome (web) • chrome • web-javascript • Google Chrome 100.0.4896.88
FlutterアプリをGoogle Chromeで起動します。
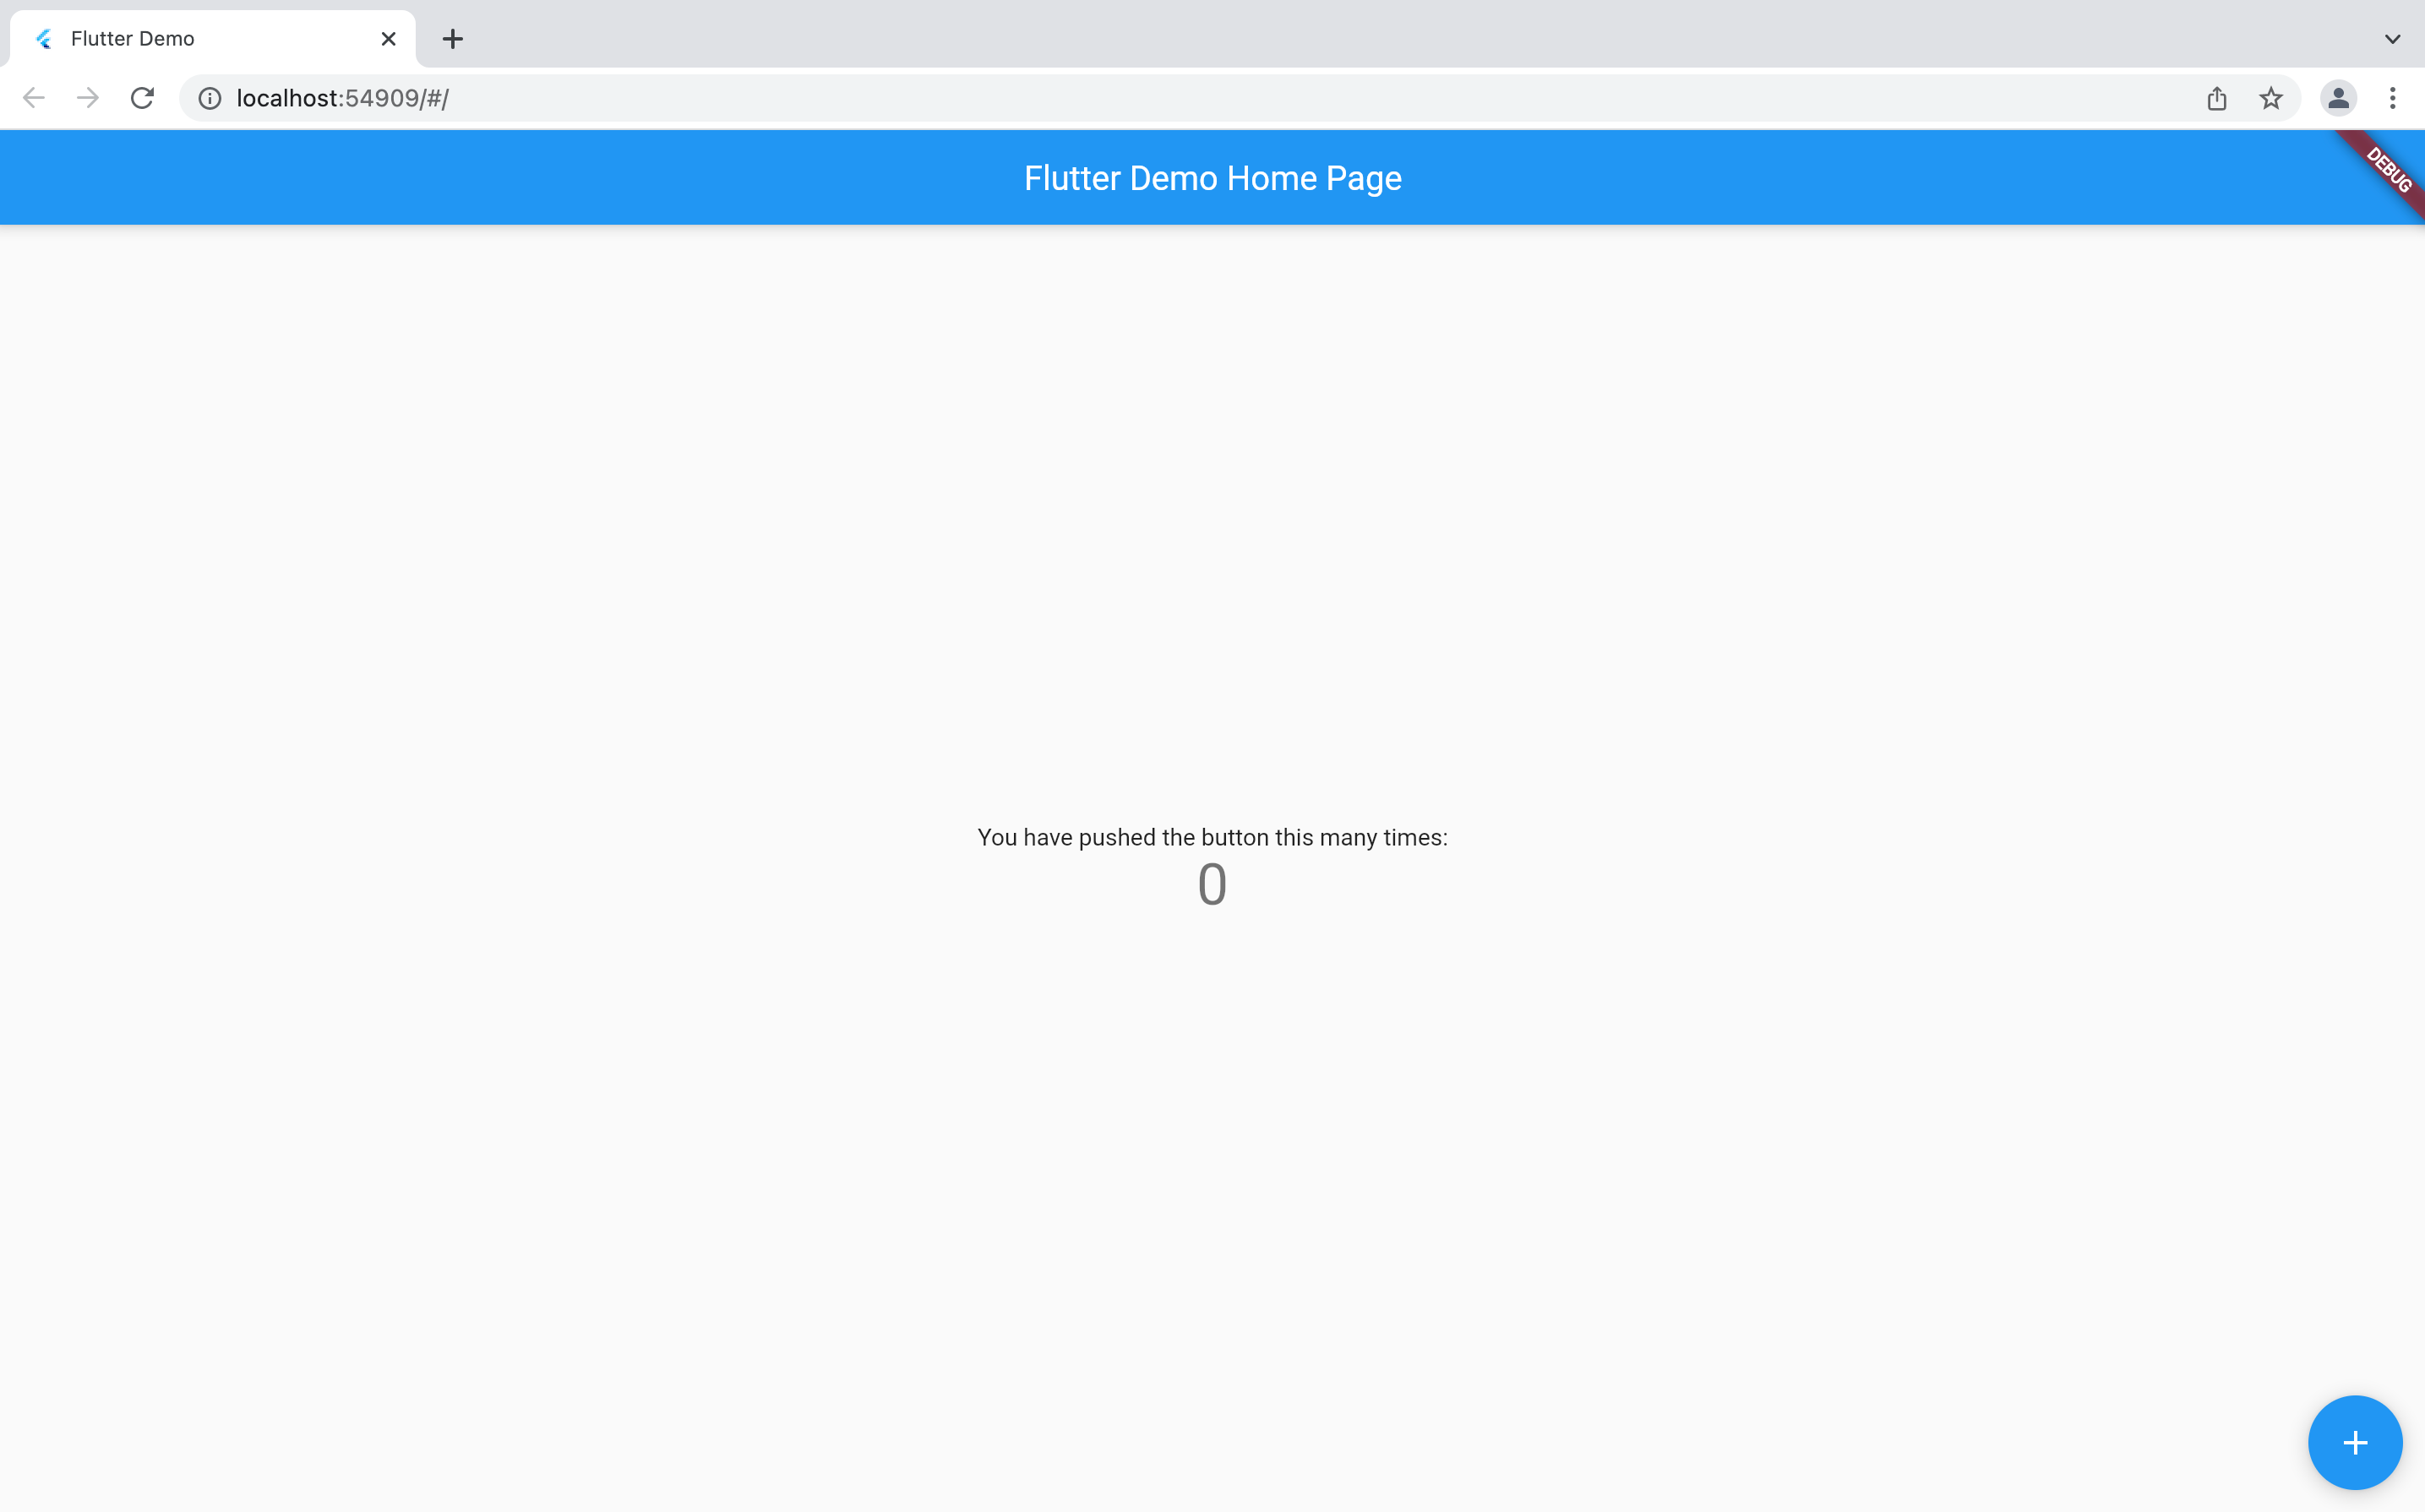
$ flutter run -d chrome
起動できました。
Flutter Appのビルド
FlutterアプリをWeb向けにビルドします。
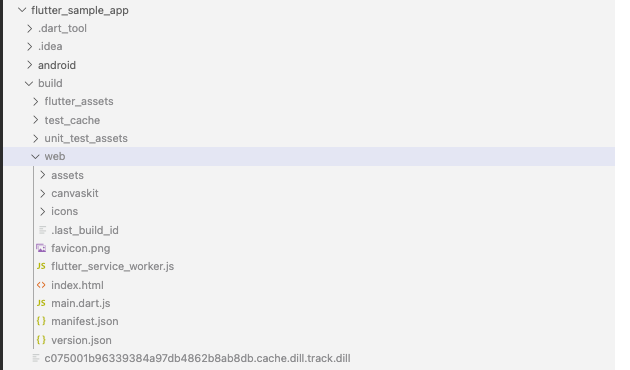
$ flutter build web
これによりbuild/web配下にビルドパッケージが作成されます。
CDK Stackの定義
AWS CDK Stackで、S3 Bucket、CloudFront Distribution、S3 Bucket Deployの定義を作成します。aws_s3_deployment.BucketDeployment()のsourcesではFlutterのビルドパッケージのパスを指定します。
import { Construct } from 'constructs';
import {
  Stack,
  StackProps,
  aws_s3,
  aws_cloudfront,
  aws_cloudfront_origins,
  aws_s3_deployment,
  aws_iam,
  RemovalPolicy,
  Duration,
} from 'aws-cdk-lib';

export class AwsCdkAppStack extends Stack {
  constructor(scope: Construct, id: string, props?: StackProps) {
    super(scope, id, props);

    const websiteBucket = new aws_s3.Bucket(this, 'WebsiteBucket', {
      removalPolicy: RemovalPolicy.DESTROY,
    });

    const originAccessIdentity = new aws_cloudfront.OriginAccessIdentity(
      this,
      'OriginAccessIdentity',
      {
        comment: 'website-distribution-originAccessIdentity',
      }
    );

    const webSiteBucketPolicyStatement = new aws_iam.PolicyStatement({
      actions: ['s3:GetObject'],
      effect: aws_iam.Effect.ALLOW,
      principals: [
        new aws_iam.CanonicalUserPrincipal(
          originAccessIdentity.cloudFrontOriginAccessIdentityS3CanonicalUserId
        ),
      ],
      resources: [`${websiteBucket.bucketArn}/*`],
    });

    websiteBucket.addToResourcePolicy(webSiteBucketPolicyStatement);

    const distribution = new aws_cloudfront.Distribution(this, 'distribution', {
      comment: 'website-distribution',
      defaultRootObject: 'index.html',
      errorResponses: [
        {
          ttl: Duration.seconds(300),
          httpStatus: 403,
          responseHttpStatus: 403,
          responsePagePath: '/index.html',
        },
        {
          ttl: Duration.seconds(300),
          httpStatus: 404,
          responseHttpStatus: 404,
          responsePagePath: '/index.html',
        },
      ],
      defaultBehavior: {
        allowedMethods: aws_cloudfront.AllowedMethods.ALLOW_GET_HEAD,
        cachedMethods: aws_cloudfront.CachedMethods.CACHE_GET_HEAD,
        cachePolicy: aws_cloudfront.CachePolicy.CACHING_OPTIMIZED,
        viewerProtocolPolicy:
          aws_cloudfront.ViewerProtocolPolicy.REDIRECT_TO_HTTPS,
        origin: new aws_cloudfront_origins.S3Origin(websiteBucket, {
          originAccessIdentity,
        }),
      },
      priceClass: aws_cloudfront.PriceClass.PRICE_CLASS_ALL,
    });

    new aws_s3_deployment.BucketDeployment(this, 'WebsiteDeploy', {
      sources: [
        //Flutterアプリのビルドパッケージのパスを指定
        aws_s3_deployment.Source.asset('./flutter_sample_app/build/web'),
      ],
      destinationBucket: websiteBucket,
      distribution: distribution,
      distributionPaths: ['/*'],
    });
  }
}
デプロイ
CDK Appをデプロイします。
$ cd ..
$ cdk deploy
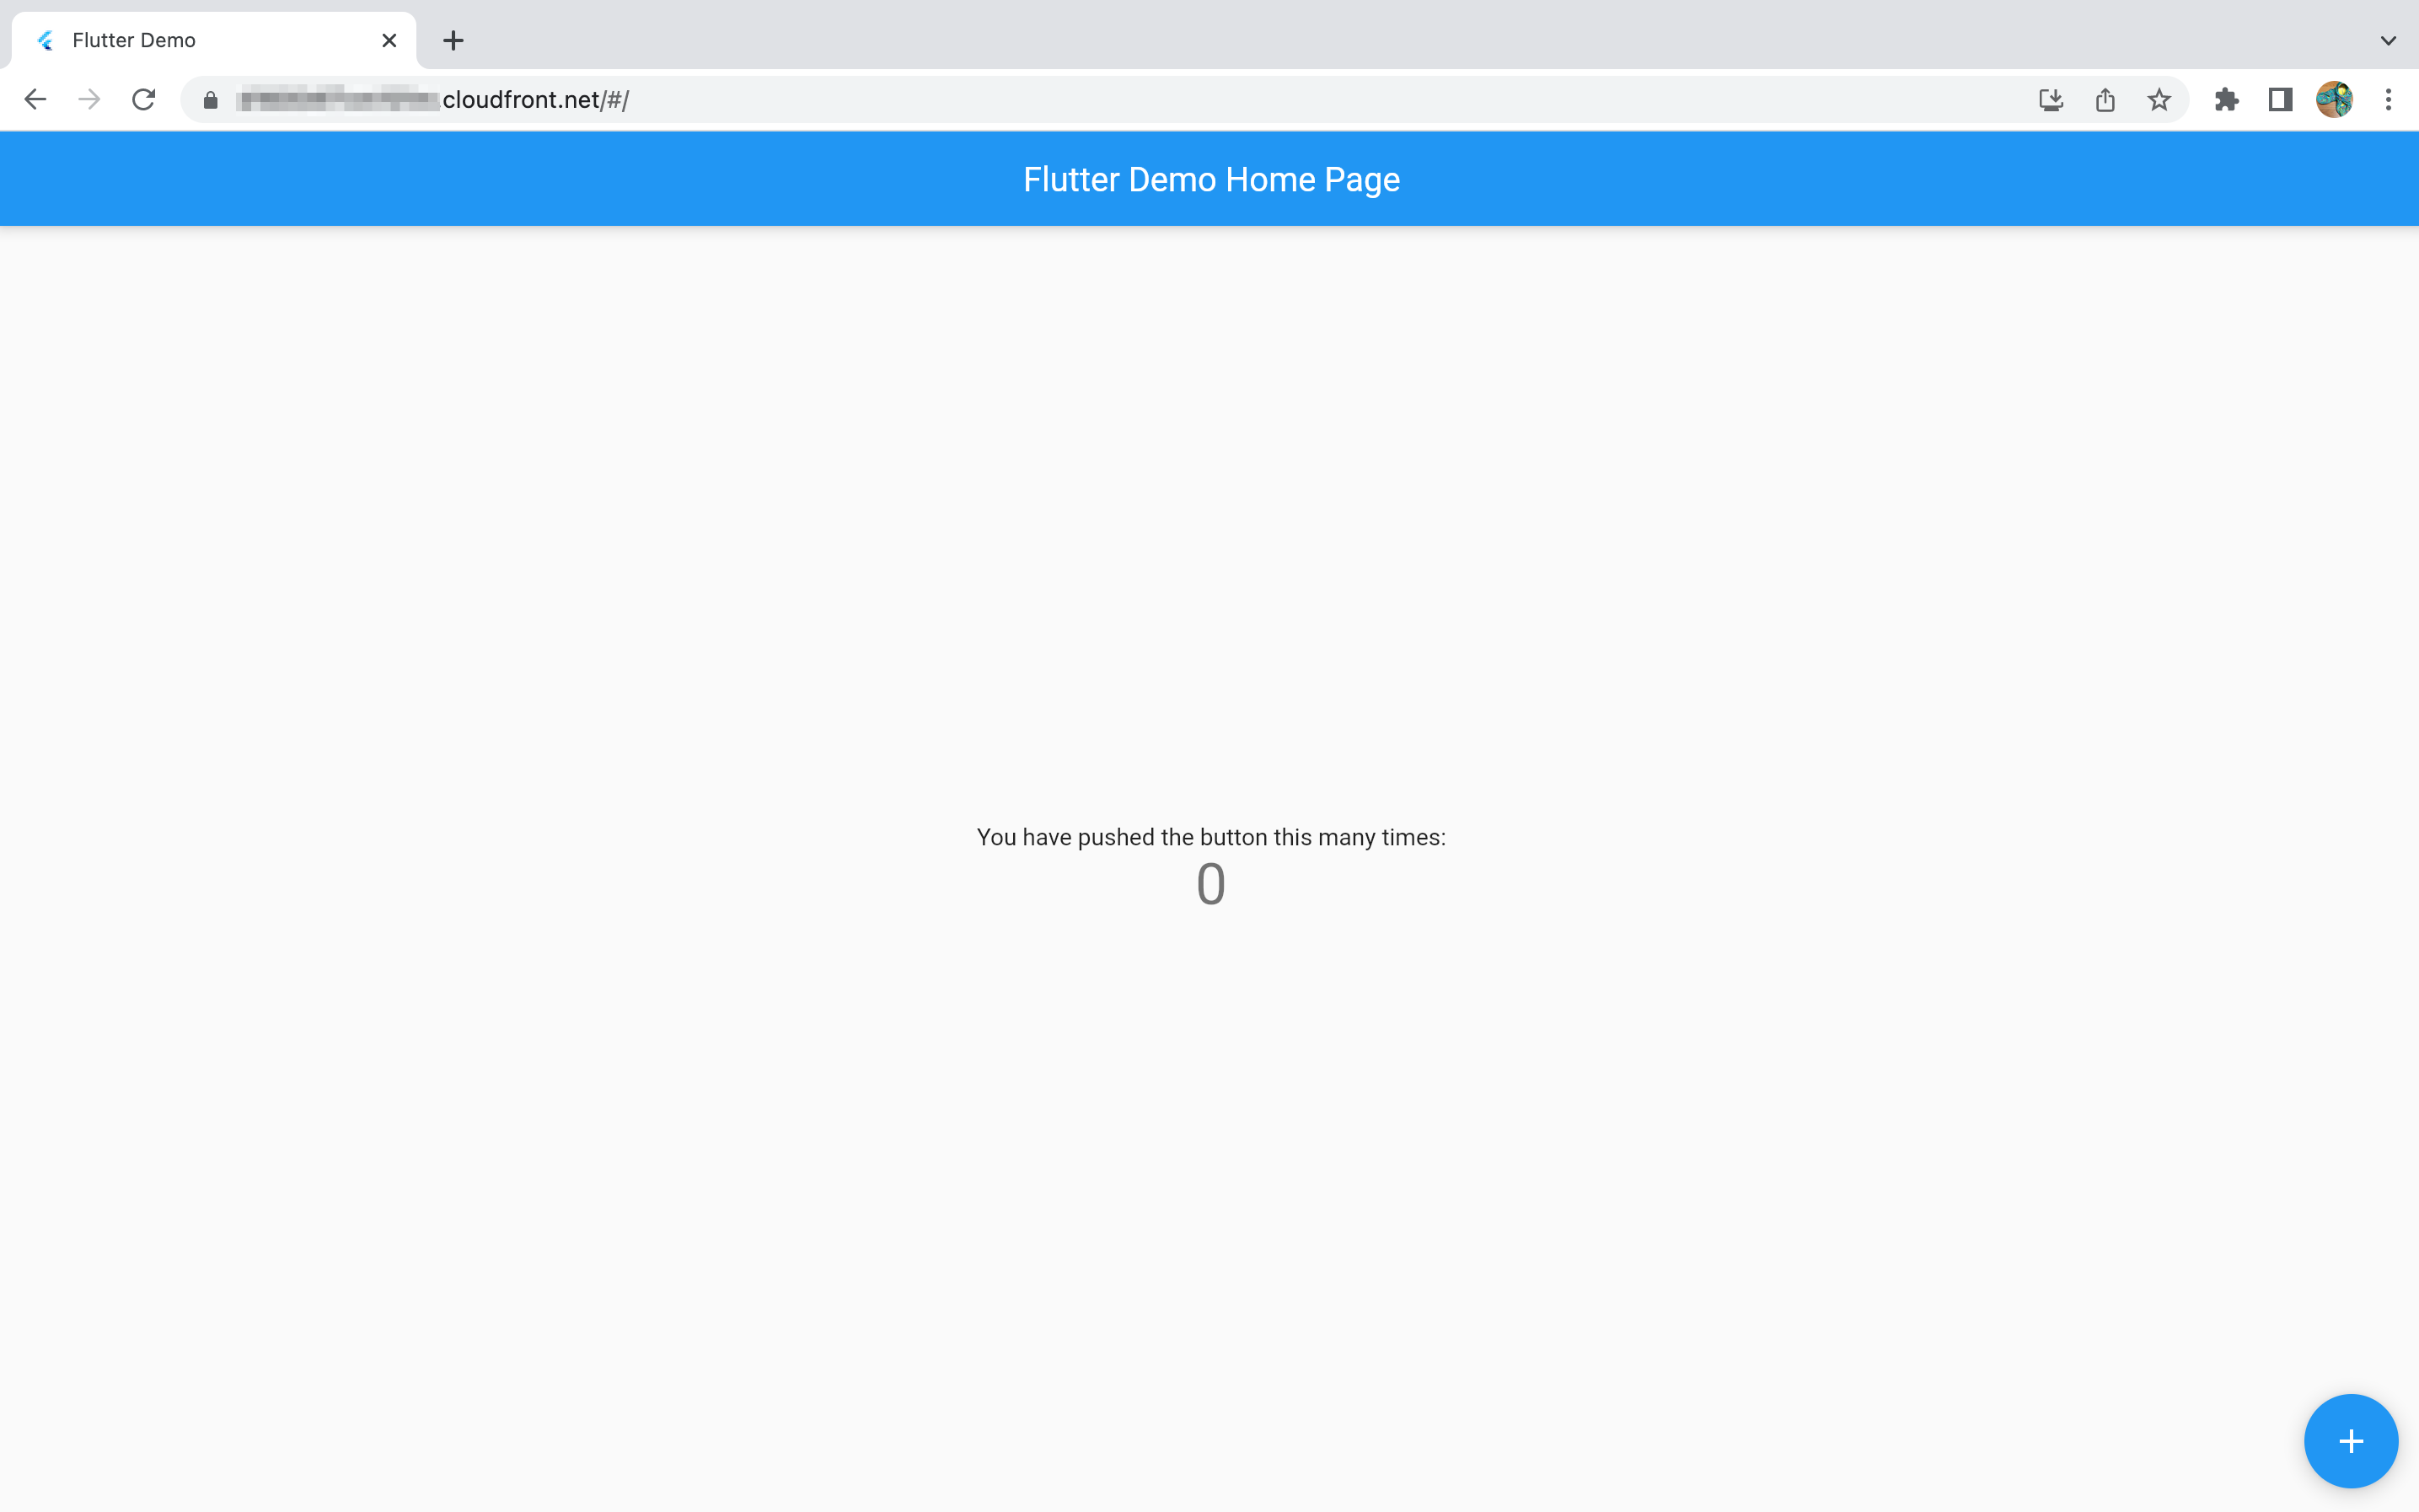
作成されたCloudFront DistributionのDomainをブラウザで開くと、デプロイされたFlutter Web Appにアクセスできました。
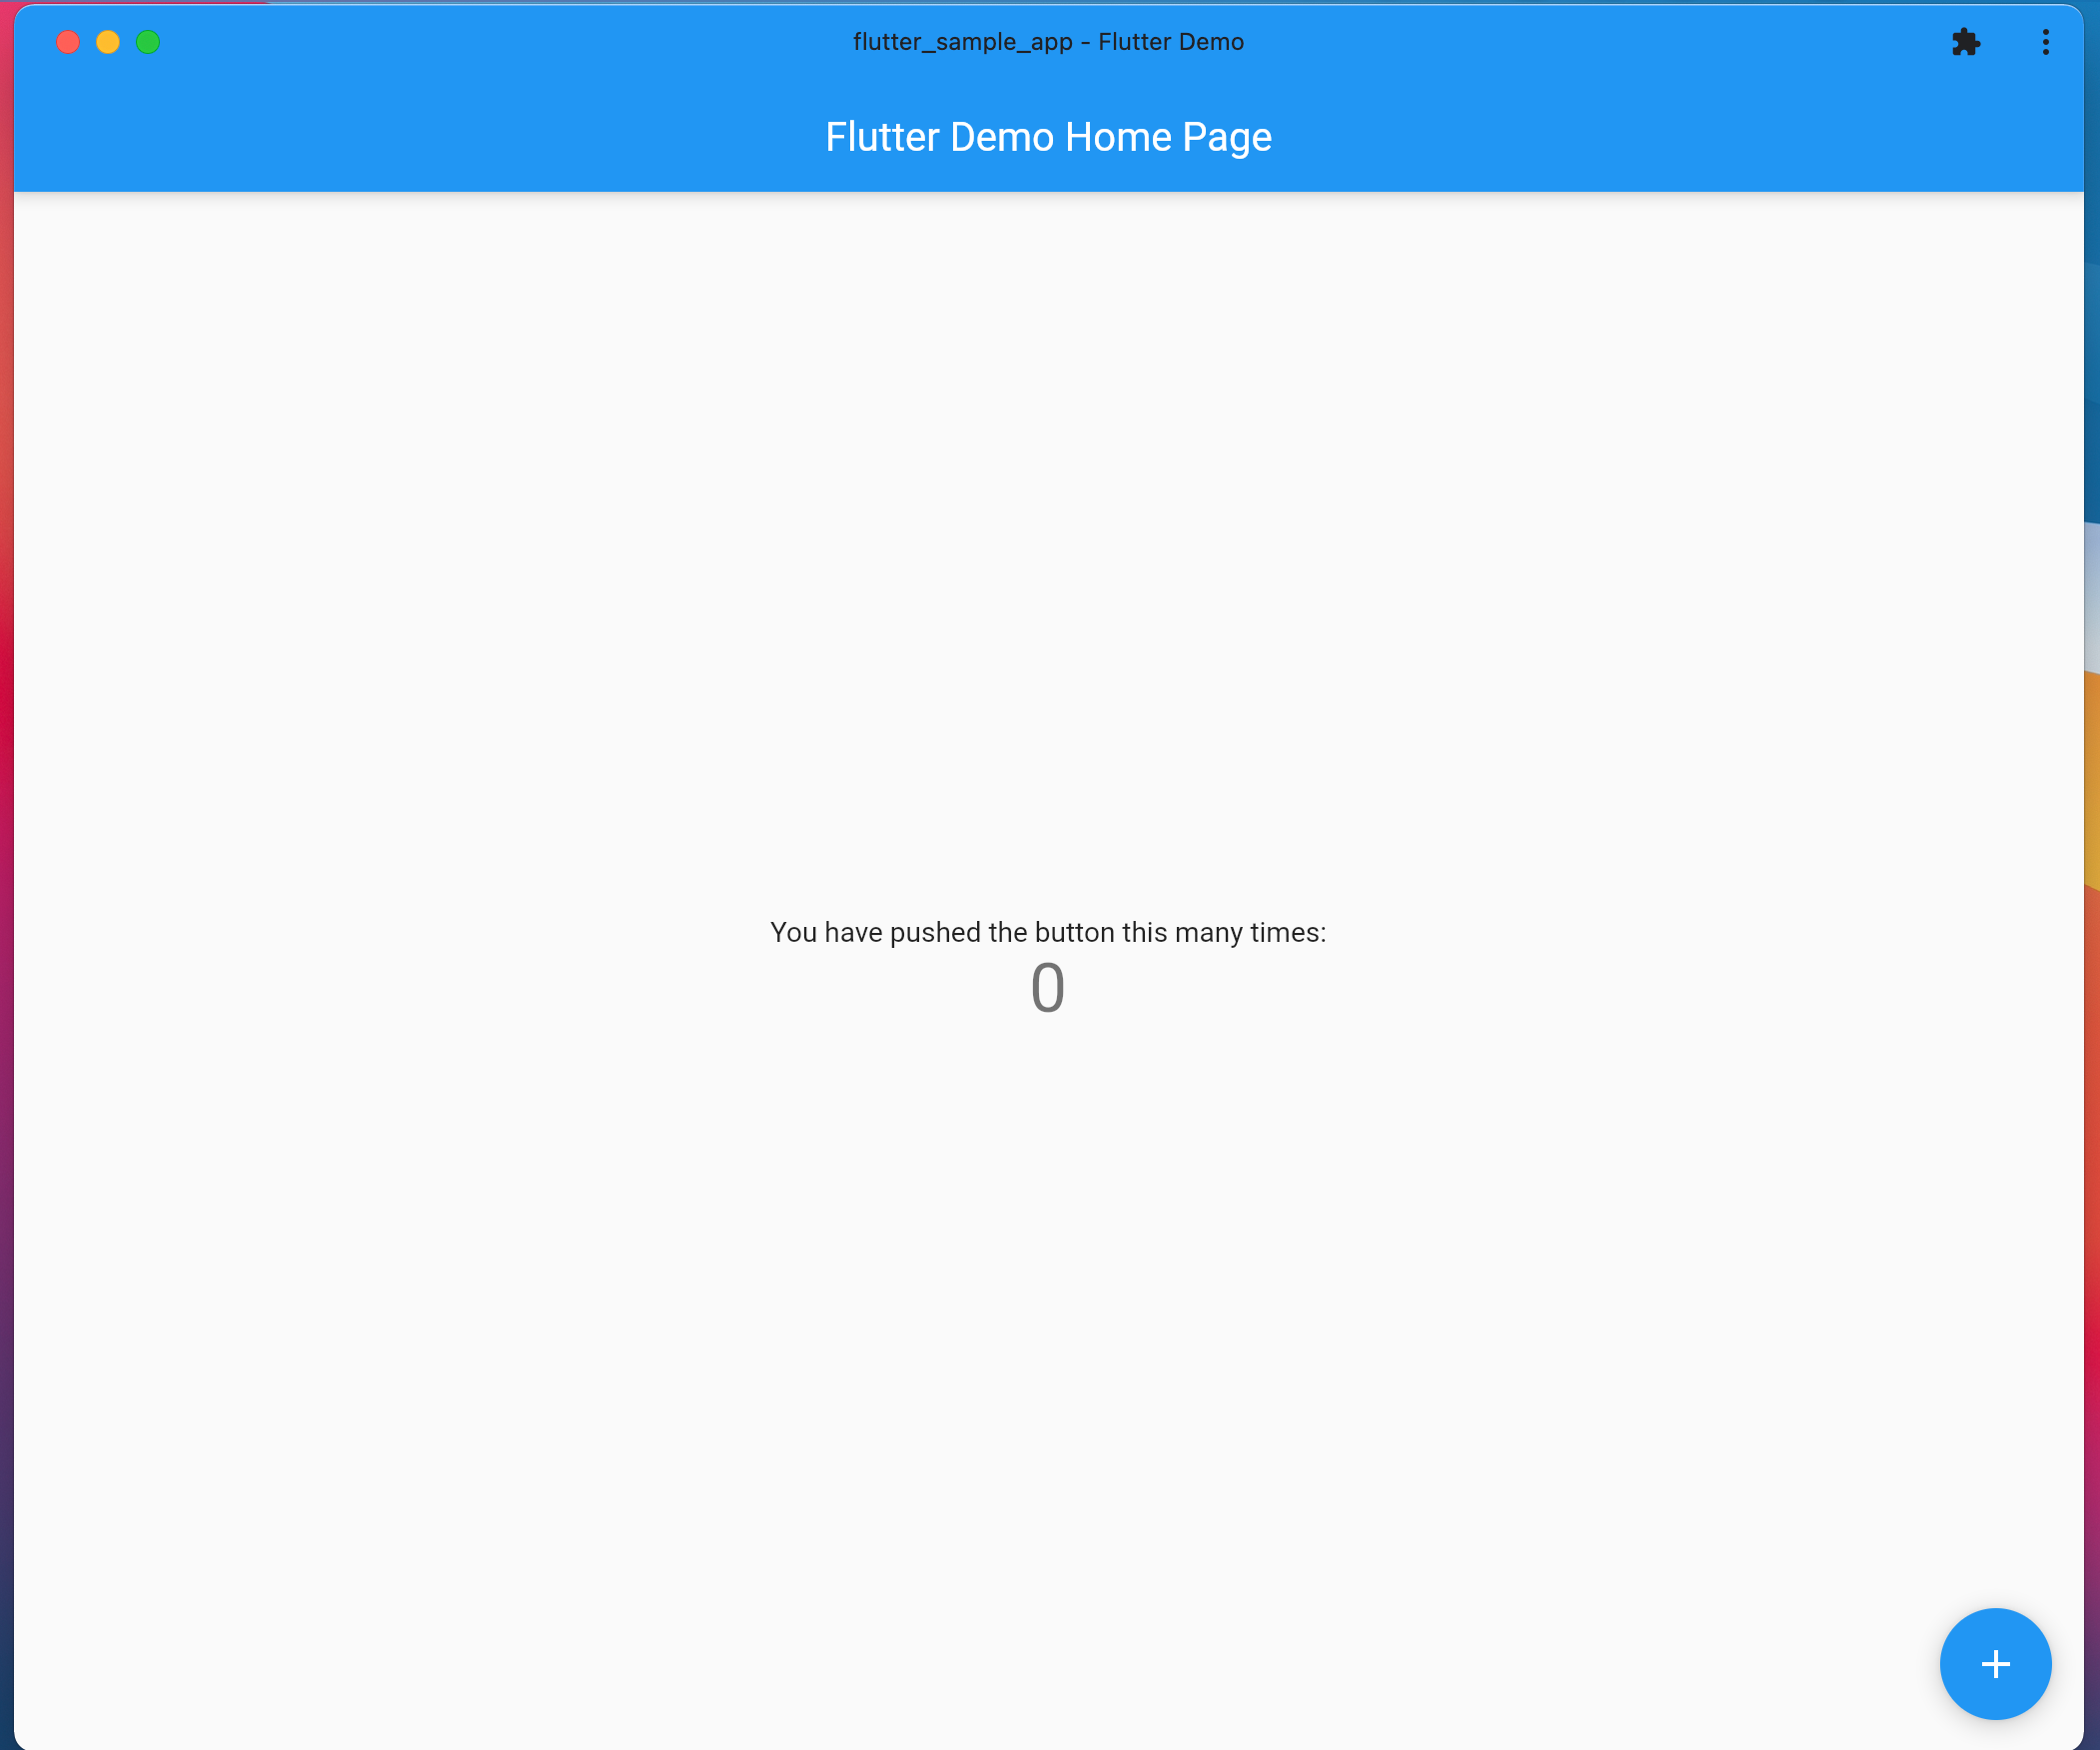
ブラウザの[インストール]をクリック。

するとProgressive Web Appでも開くことができました。
気付いたこと
デプロイしたWebアプリで次のようなことに気が付きました。
- テキストがクリック(タップ)で選択できない
- URLの末尾に
#が付いている
下記によると、前者はSelectableText Widgetを使う、後者はurl_strategy Packageを使うと対処できるようです。
おわりに
Flutter Web AppをAWS CDKでCloudFront+S3にデプロイしてみました。
今までよく触ってきたReactとほぼ同じ要領でデプロイすることができました。ただしFlutter WebはiOSやAndroidに比べてまだ発展途上な向きもあるみたいなので、本番プロダクトで使う際には世の中での採用動向などを要確認した方が良さそうです。
参考
以上


